While we waited for the leak test on our new cold water tank, we got on with the task of installing a 32mm water pipe, all the way from the Utility Room where there is a similar 32mm pipe coming up through the concrete floor, where the pipe is routed from the Garage and its buried rain water storage tank.
By law, we have to label our water pipe to indicate that rain water is flowing down the pipe and the standards states that it got to be a black and green striped pipe. We didn’t want to have to pay stupid prices so we had some electrical 19mm wide green sticky tape and wound it around and around the pipe. We also printed two entire rolls of 8metres of white on black tape with the word “rain water” repeated all along the length of the pipe.
We then lifted up the various floorboards in the Utility Room, along the two hallways, all the way to the Bathroom, so that we could aim up inside the wall that divides the Bathroom from Bedroom Two, through the wooden top plate and the floorboard itself.
We started at the Utility Room end by laying out the pipe all the way outside the house, across the driveway so we could route the very stiff plastic pipe, down under the floorboards, weaving in and out of the legs, making sure that we went pass other pipes and future ducting without causing problems. It was hard work, especially when we needed to turn the corner, to go down the side hall to the Bathroom. The tight sharp bend made pulling the pipe quite difficult and we ripped our nicely stuck on sticky tape and labels in some places – Phew!
But, we made it slowly and surely !! And We arrived in our bathroom!
We needed to pull a little bit more through because we needed to thread the other end of the pipe under the flooring and get it routed over to the pipe coming up through the concrete, situated underneath the washing machine section, under the worktop and window in our Utility Room.
There are two pipe to choose from but we selected the one that would be closer to our rain water connections in the Garage. We put on LSX sealant, put in the inserts and then push the right angle elbow joiner into place and tighten the two locking nuts down tight. 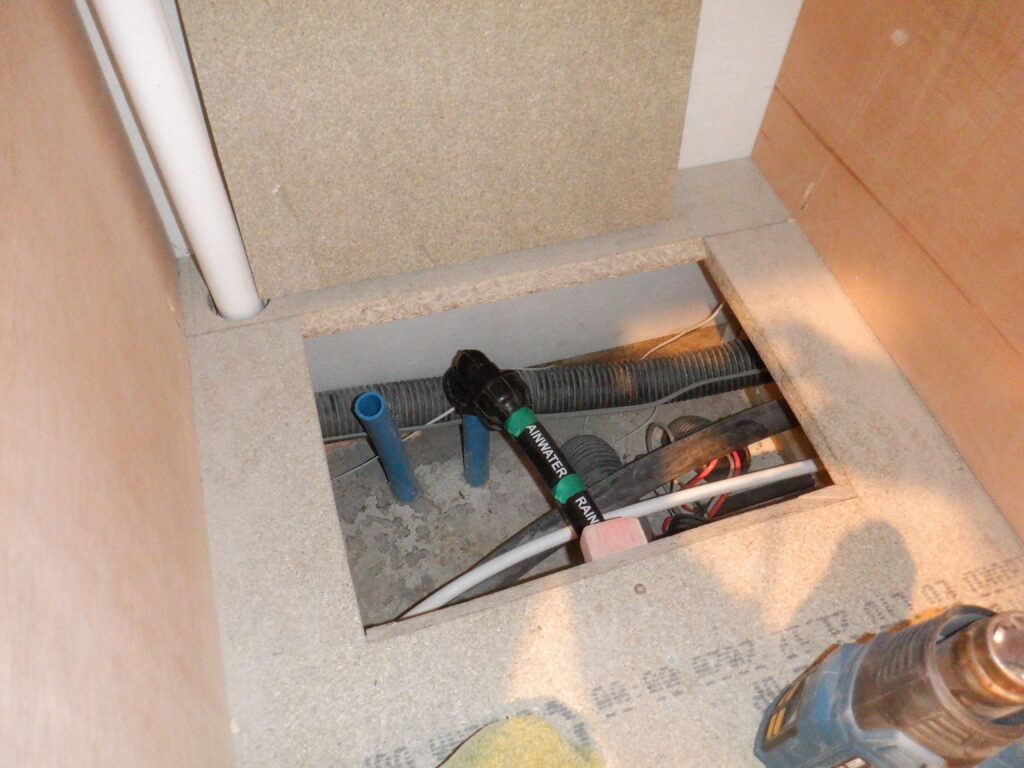

We also took this opportunity of laying in, on top of the rain water pipe, another 32mm water pipe, this time blue. It will come down from the header tank and go back into the Utility Room, to the Utility Cupboard, for connecting to the water pump and the pressure vessel. So, we put in the first length from the Utility Cupboard, under the floorboard like before, and reached the corner outside our Tech Cupboard where it will have a T-junction installed later on. This connection will allow for a supply of unpressurized cold water to be available for the fire suppression system and also to feed our downstairs WC so it doesn’t rely on electricity to fill the cistern and allow us to wash our hands. All the other basins and toilets will be fed via the pressurised system as we do not expect to have many interruptions, especially with our Solar Panels and Batteries providing a backup to the supply from the grid electricity. Mind you, the motor might go, or the controller, or even our computers that controls the pump!! So, we got our downstairs WC for emergencies!! Smile!
By law, we have to label our water pipe to indicate that rain water is flowing down the pipe and the standards states that it got to be a black and green striped pipe. We didn’t want to have to pay stupid prices so we had some electrical 19mm wide green sticky tape and wound it around and around the pipe. We also printed two entire rolls of 8metres of white on black tape with the word “rain water” repeated all along the length of the pipe.
Rainwater pipe being marked
We then lifted up the various floorboards in the Utility Room, along the two hallways, all the way to the Bathroom, so that we could aim up inside the wall that divides the Bathroom from Bedroom Two, through the wooden top plate and the floorboard itself.
We started at the Utility Room end by laying out the pipe all the way outside the house, across the driveway so we could route the very stiff plastic pipe, down under the floorboards, weaving in and out of the legs, making sure that we went pass other pipes and future ducting without causing problems. It was hard work, especially when we needed to turn the corner, to go down the side hall to the Bathroom. The tight sharp bend made pulling the pipe quite difficult and we ripped our nicely stuck on sticky tape and labels in some places – Phew!
But, we made it slowly and surely !! And We arrived in our bathroom!
We needed to pull a little bit more through because we needed to thread the other end of the pipe under the flooring and get it routed over to the pipe coming up through the concrete, situated underneath the washing machine section, under the worktop and window in our Utility Room.
There are two pipe to choose from but we selected the one that would be closer to our rain water connections in the Garage. We put on LSX sealant, put in the inserts and then push the right angle elbow joiner into place and tighten the two locking nuts down tight.
So in our Bathroom, up the ladder, we drilled a hole through the double layers of the CLS timber that is part of our wall structure, and and through the floorboard as well, to come up just alongside the platform that will have the tall header tank sitting on.

Rainwater pipe starts under utility floor

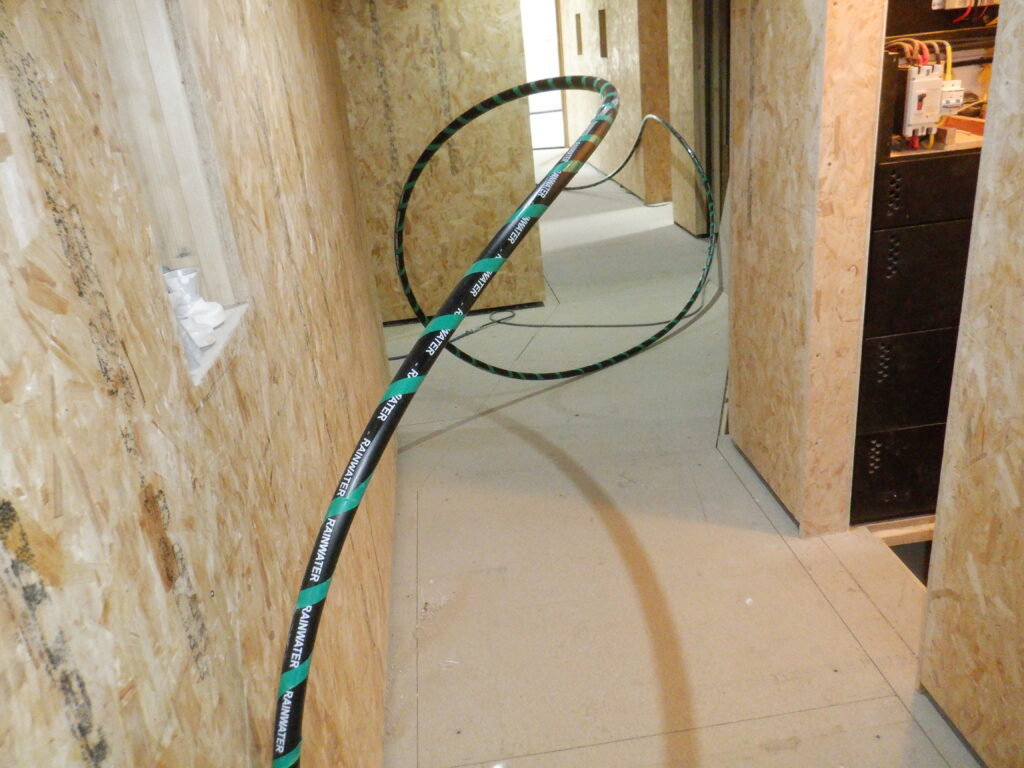
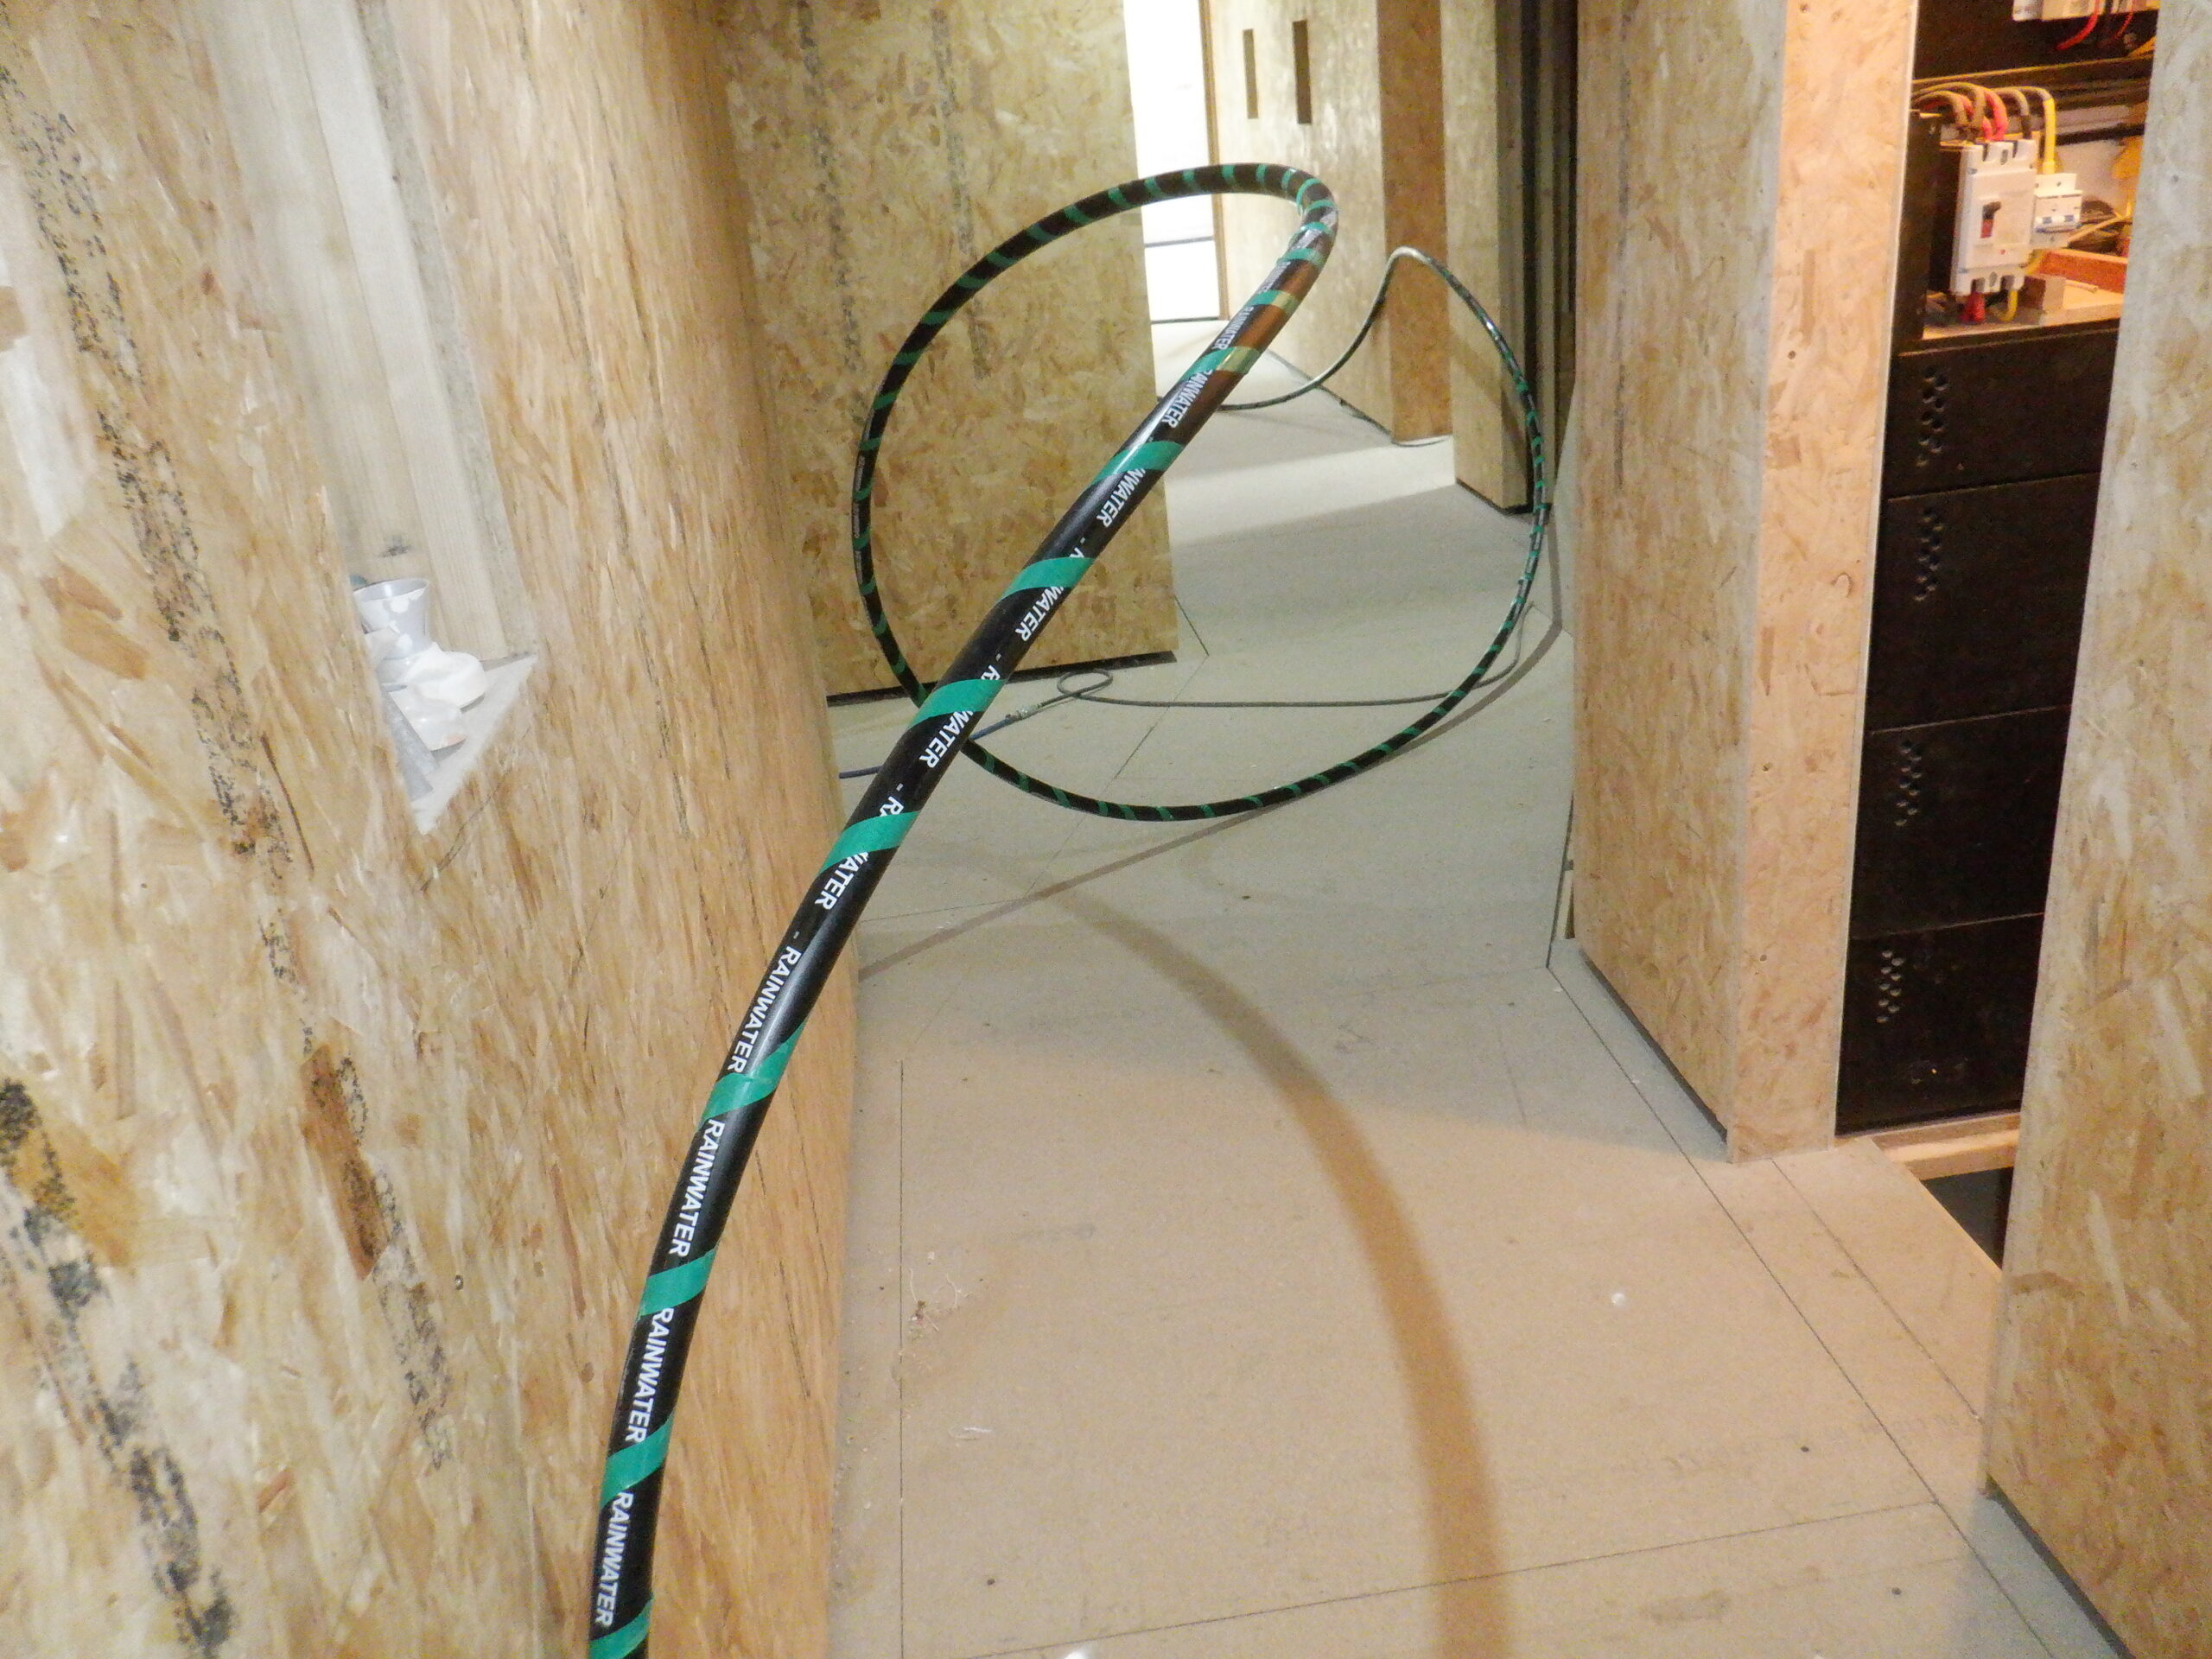
Rainwater pipe heads along the halls

Rainwater pipe Heading upstairs
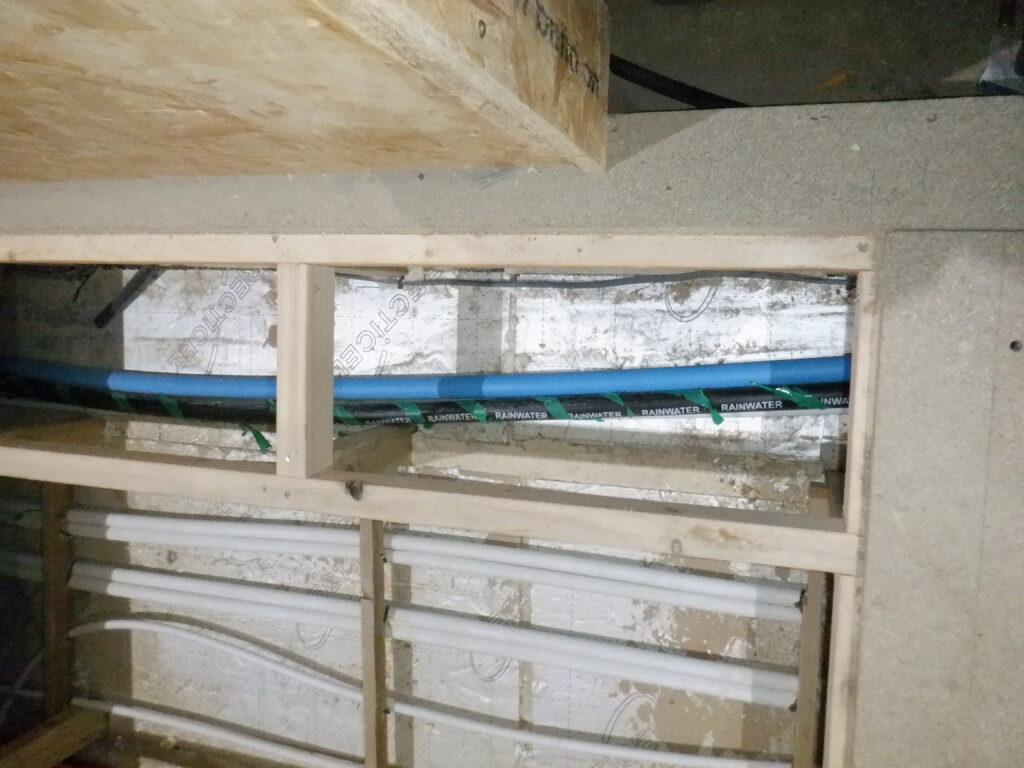
We also took this opportunity of laying in, on top of the rain water pipe, another 32mm water pipe, this time blue. It will come down from the header tank and go back into the Utility Room, to the Utility Cupboard, for connecting to the water pump and the pressure vessel. So, we put in the first length from the Utility Cupboard, under the floorboard like before, and reached the corner outside our Tech Cupboard where it will have a T-junction installed later on. This connection will allow for a supply of unpressurized cold water to be available for the fire suppression system and also to feed our downstairs WC so it doesn’t rely on electricity to fill the cistern and allow us to wash our hands. All the other basins and toilets will be fed via the pressurised system as we do not expect to have many interruptions, especially with our Solar Panels and Batteries providing a backup to the supply from the grid electricity. Mind you, the motor might go, or the controller, or even our computers that controls the pump!! So, we got our downstairs WC for emergencies!! Smile!
Leave a Reply
You must be logged in to post a comment.