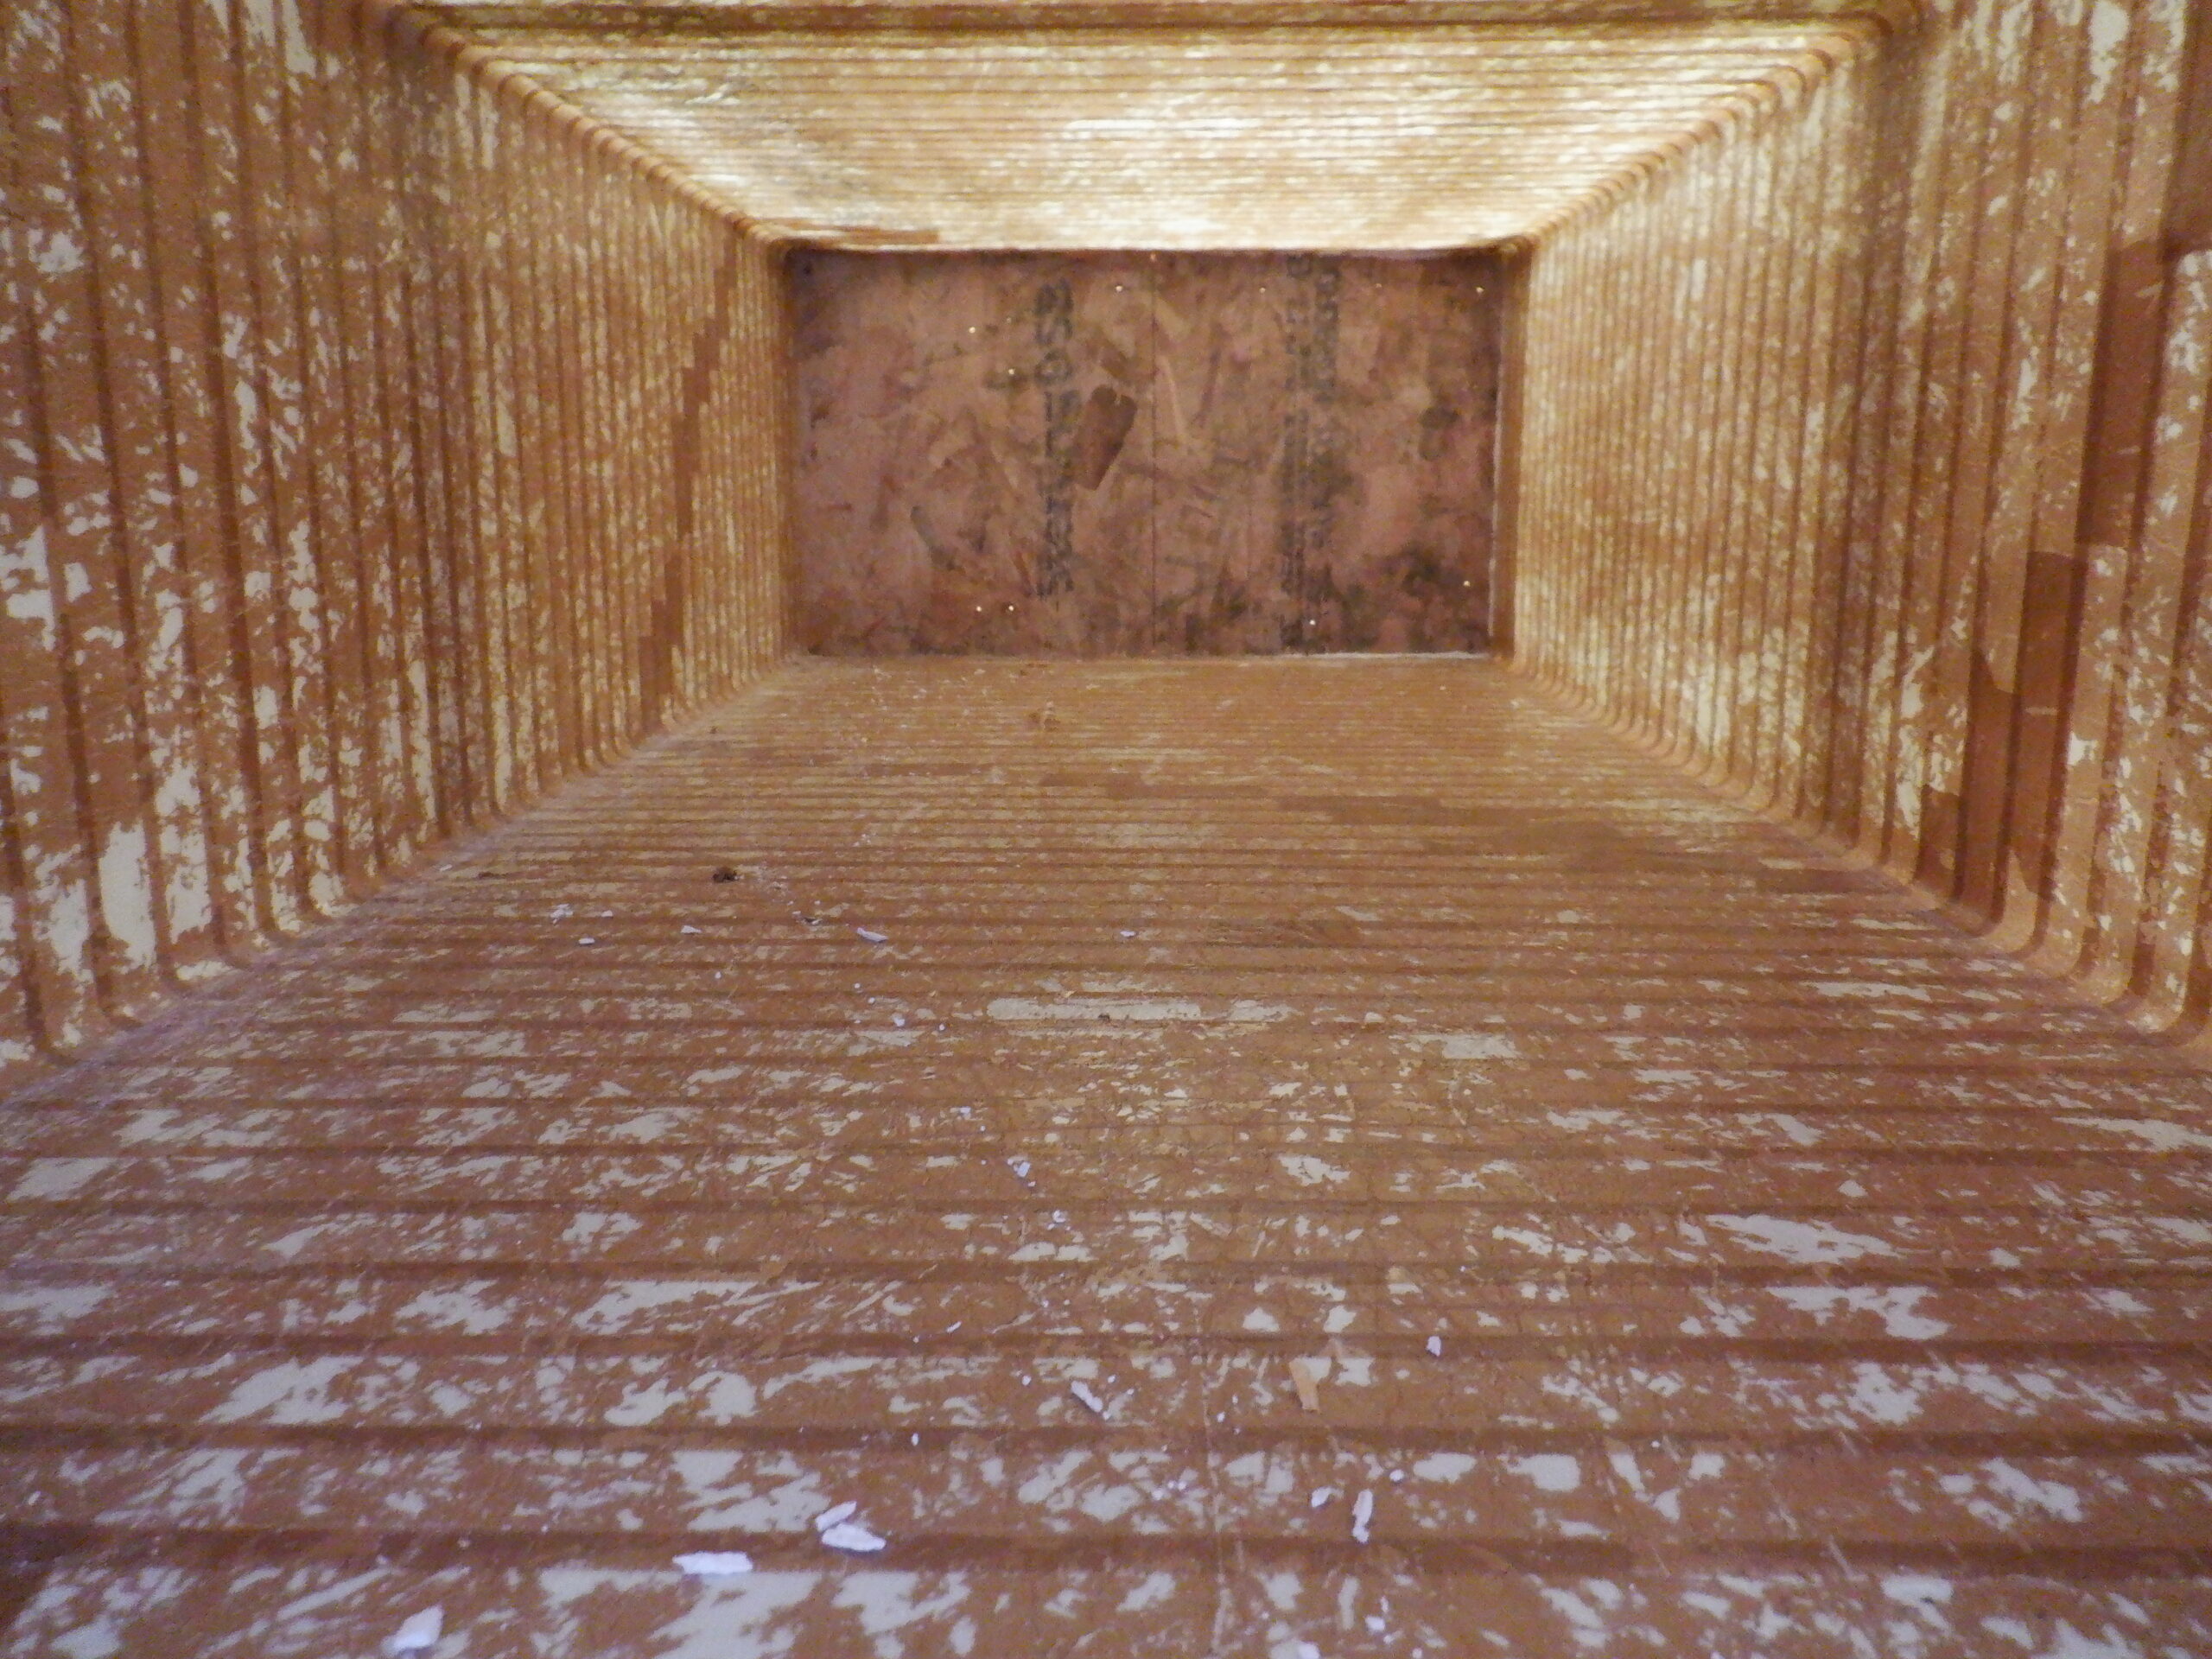
So, we got two more sheets of our 11mm OSB off our rack of miscellaneous sheet materials and proceeded to build a similar designed mould like we did before. One of the major differences is that we need to be able to crawl inside the mould to reach the screws that holds wooden blocks around the edges. We decided that this mould needed more secured edges because it is larger, hence the reason for having more wooden blocks around the long edges. It was quite interesting crawling inside, flat on our stomachs and screwing the final screws in place to tighten the mould together!!
We did the usual routing on all the edges, to put a nice curved and smooth edges for the glass fibres to bend gently around the flat surfaces.
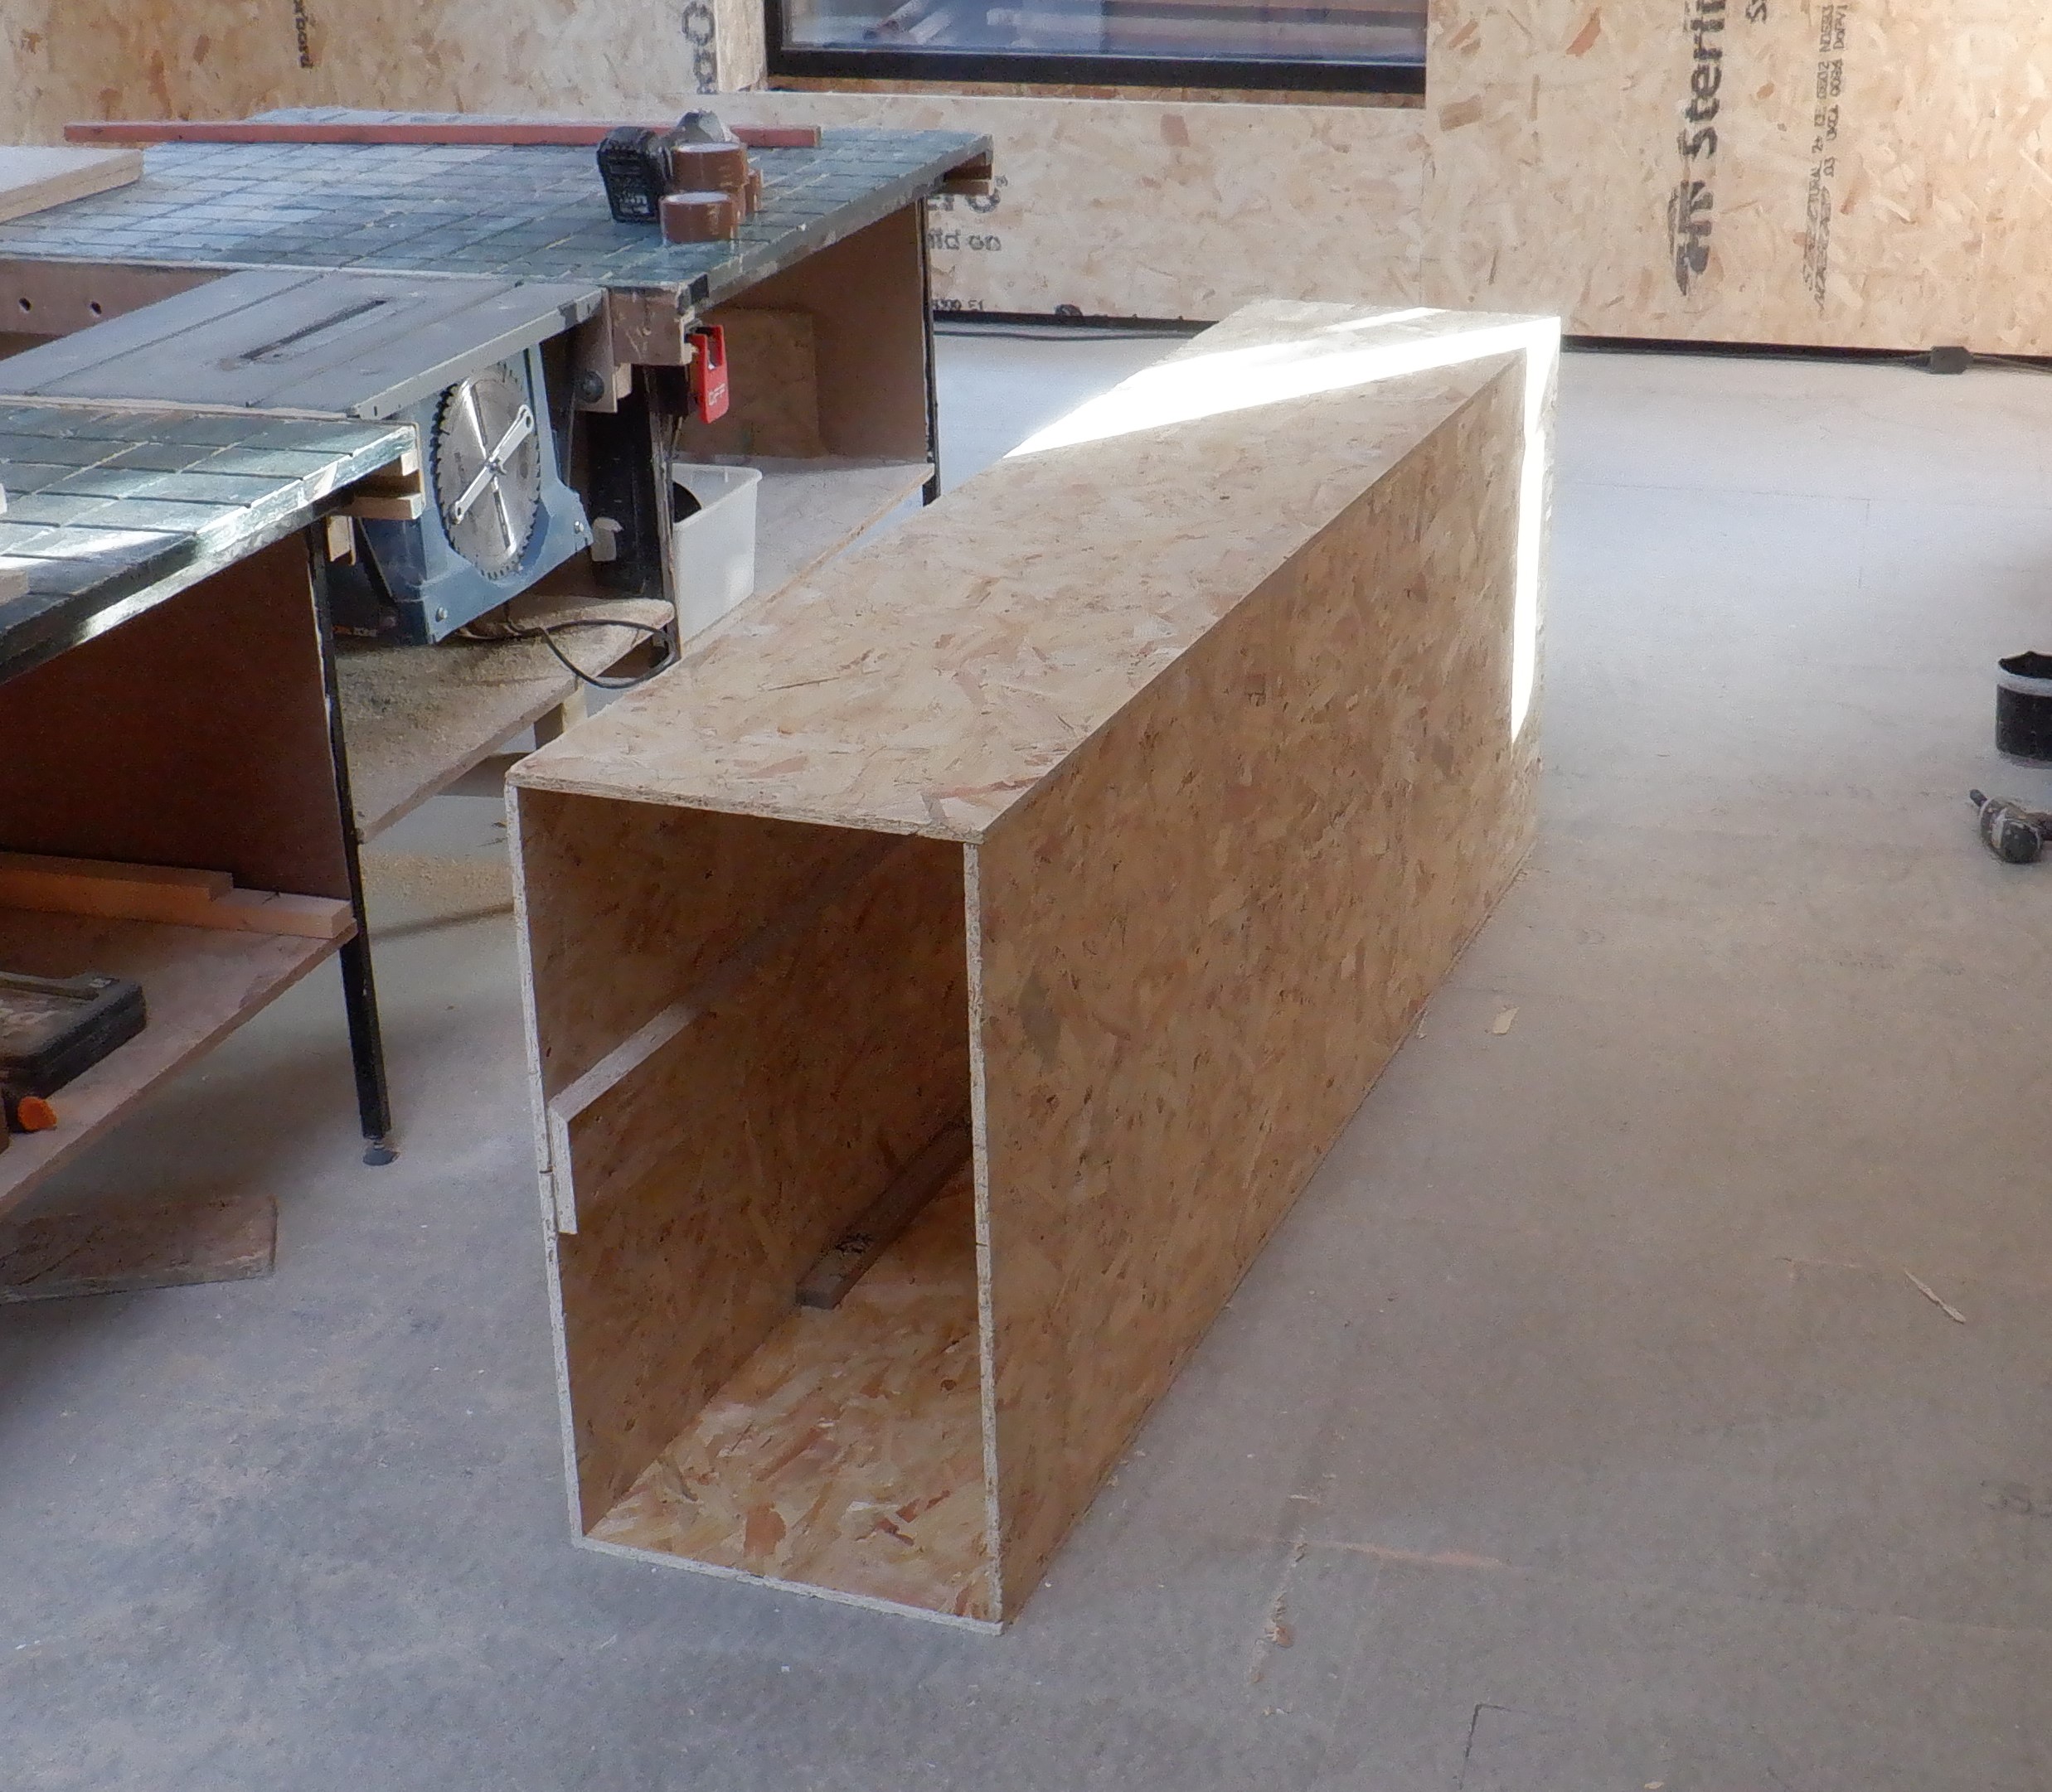
Cold Tank Mould being made

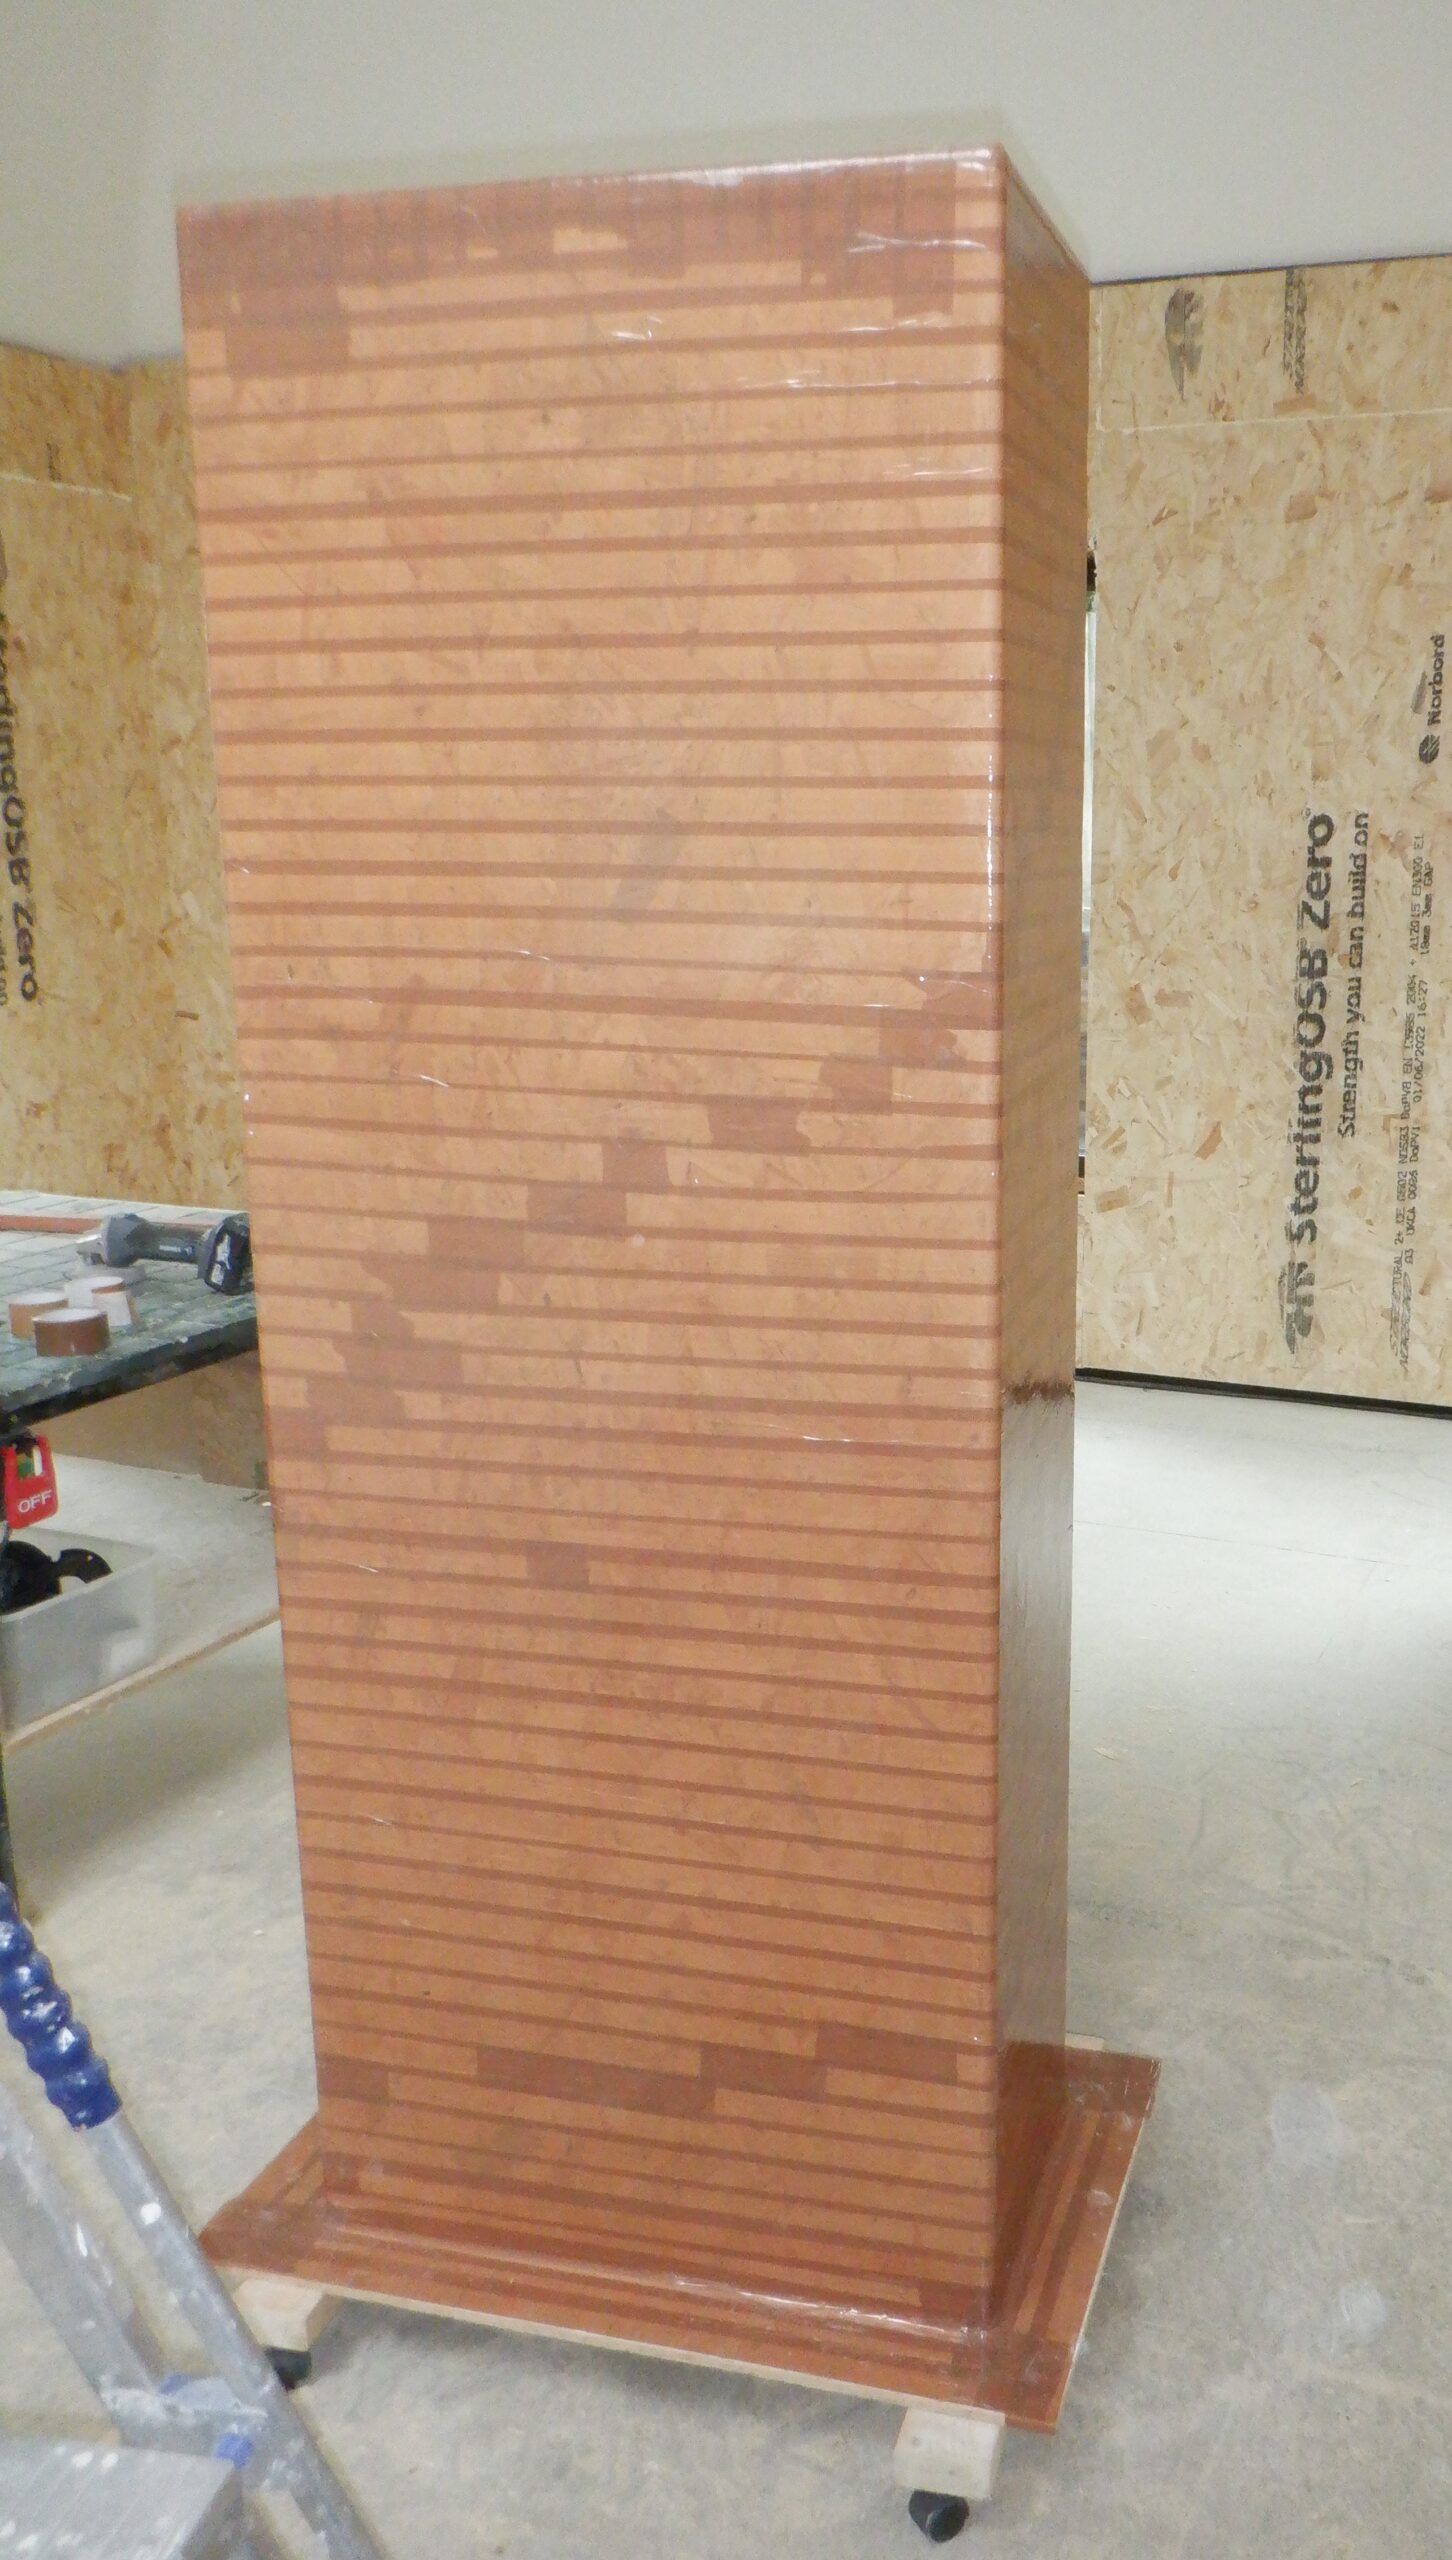
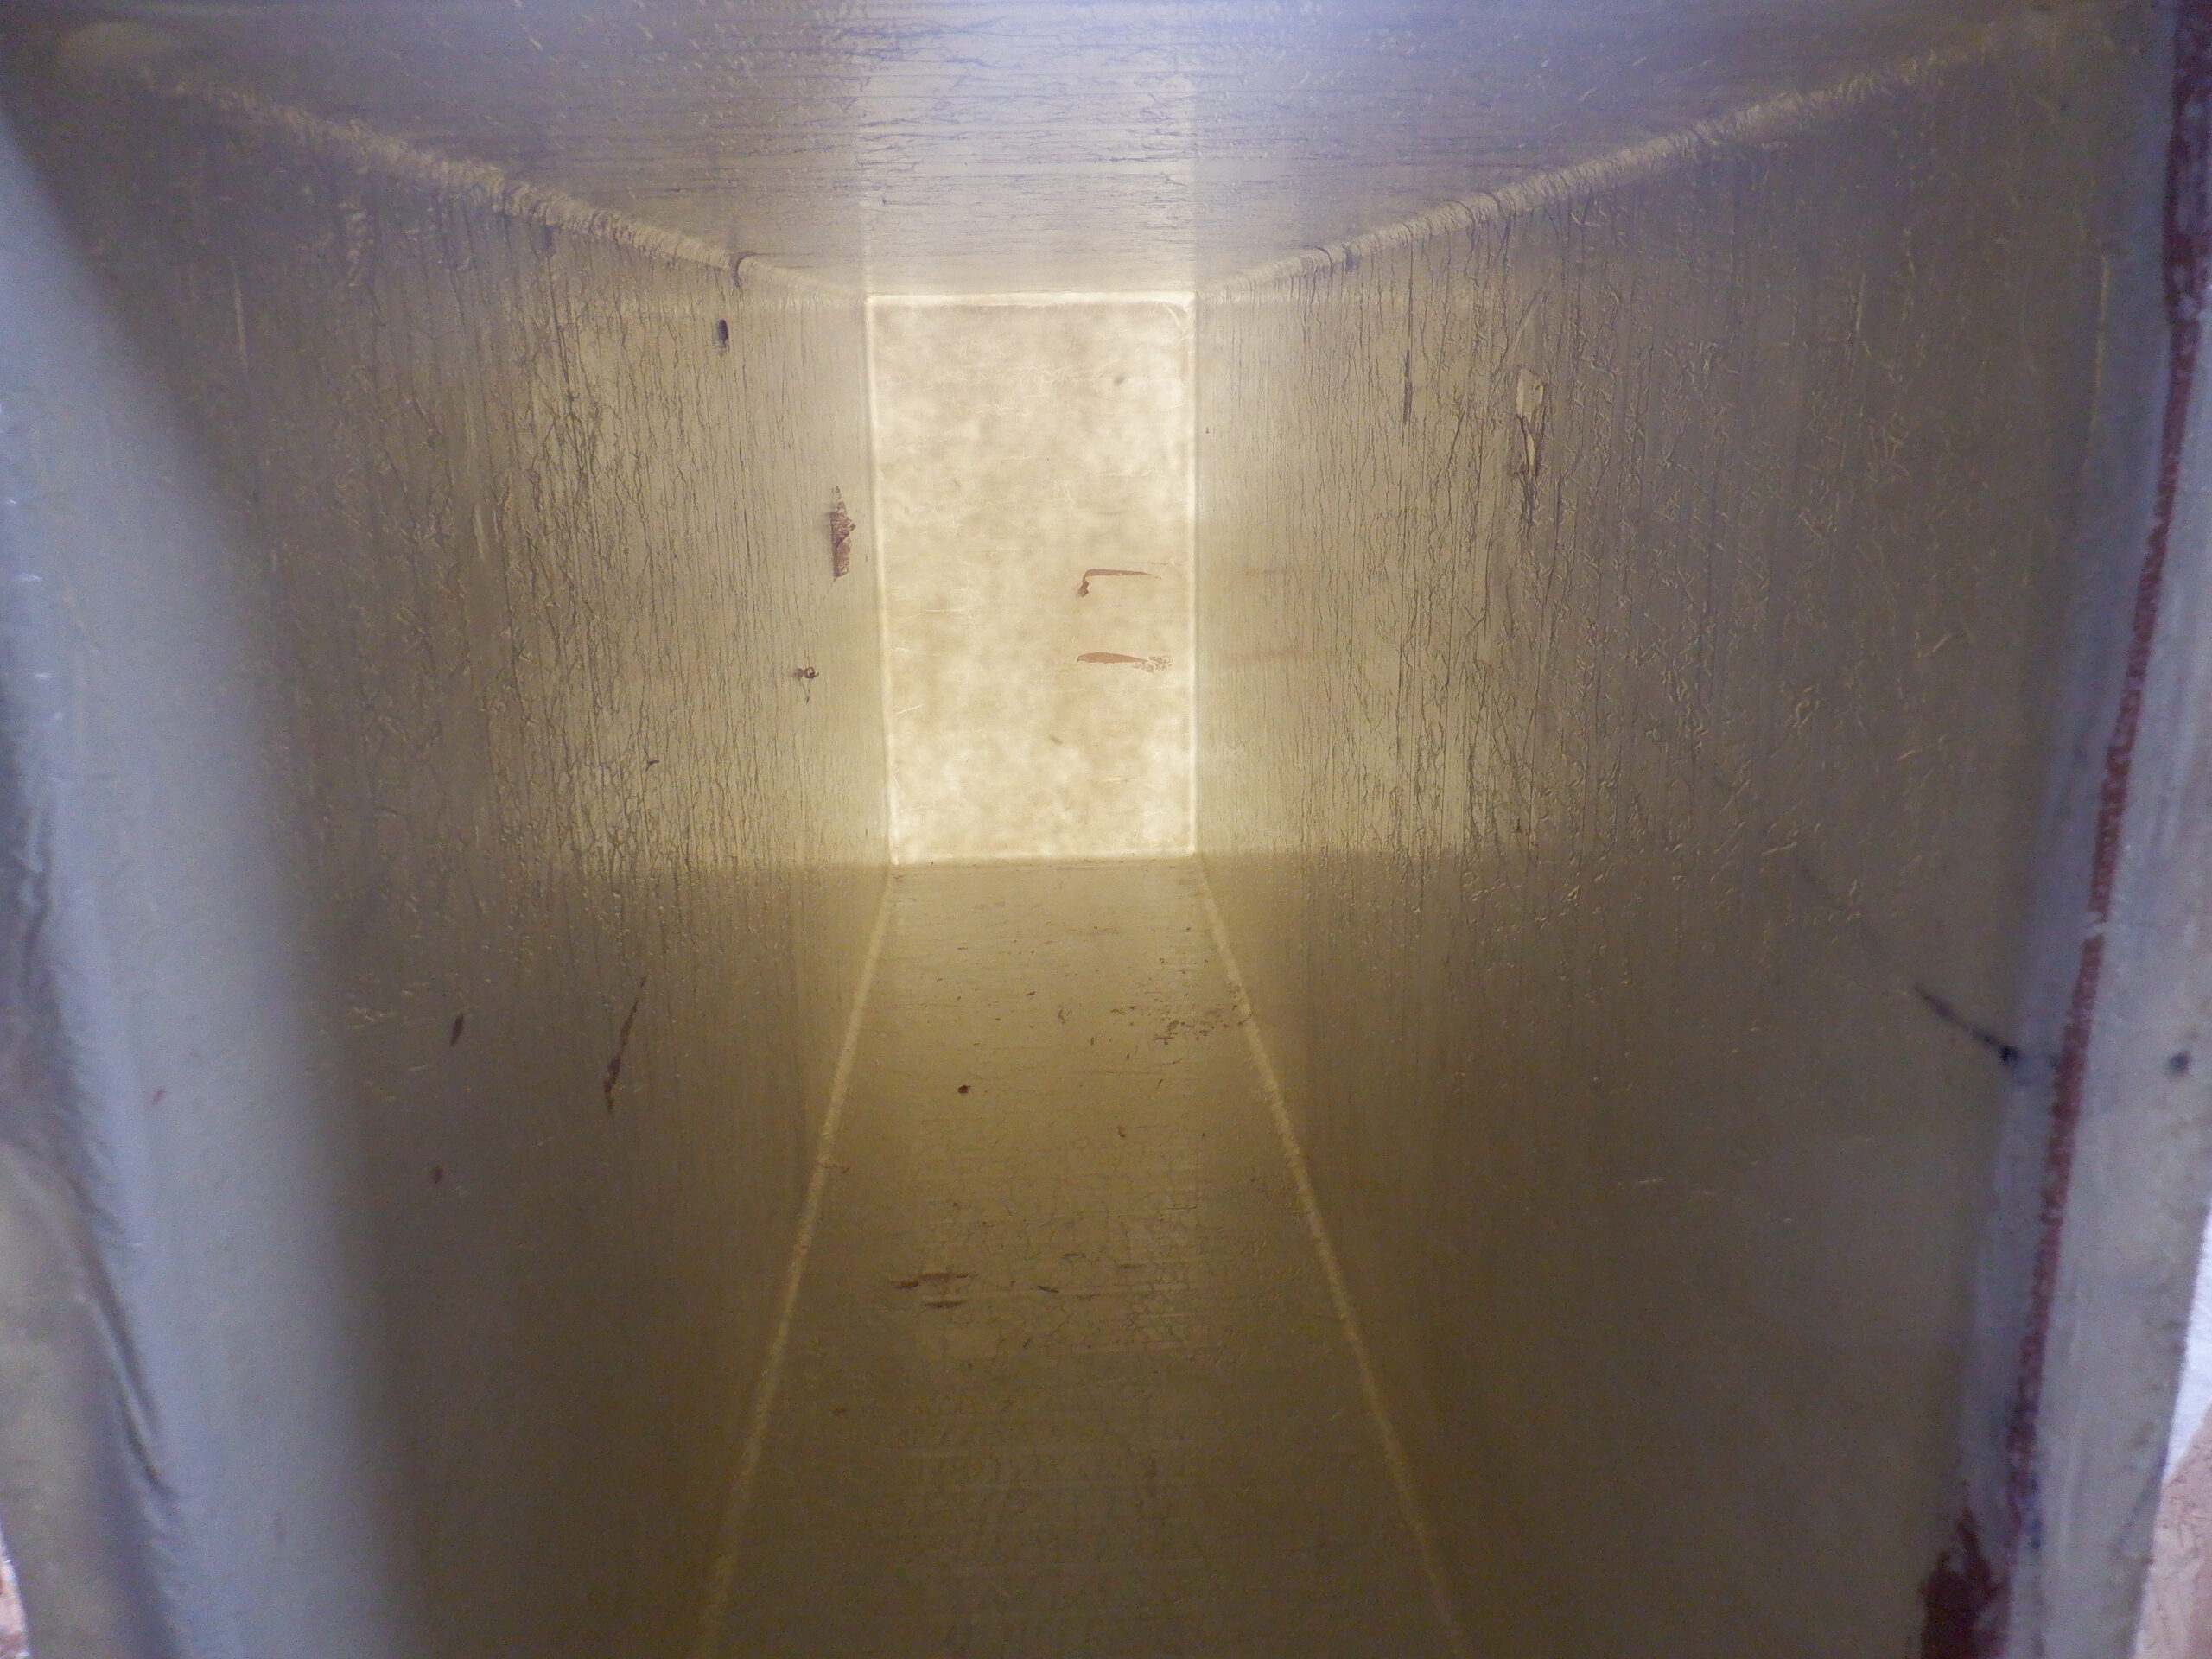
Mould ready for tape
And then, covered the entire mould in our new brown parcel tape, using two complete 66metres rolls!!
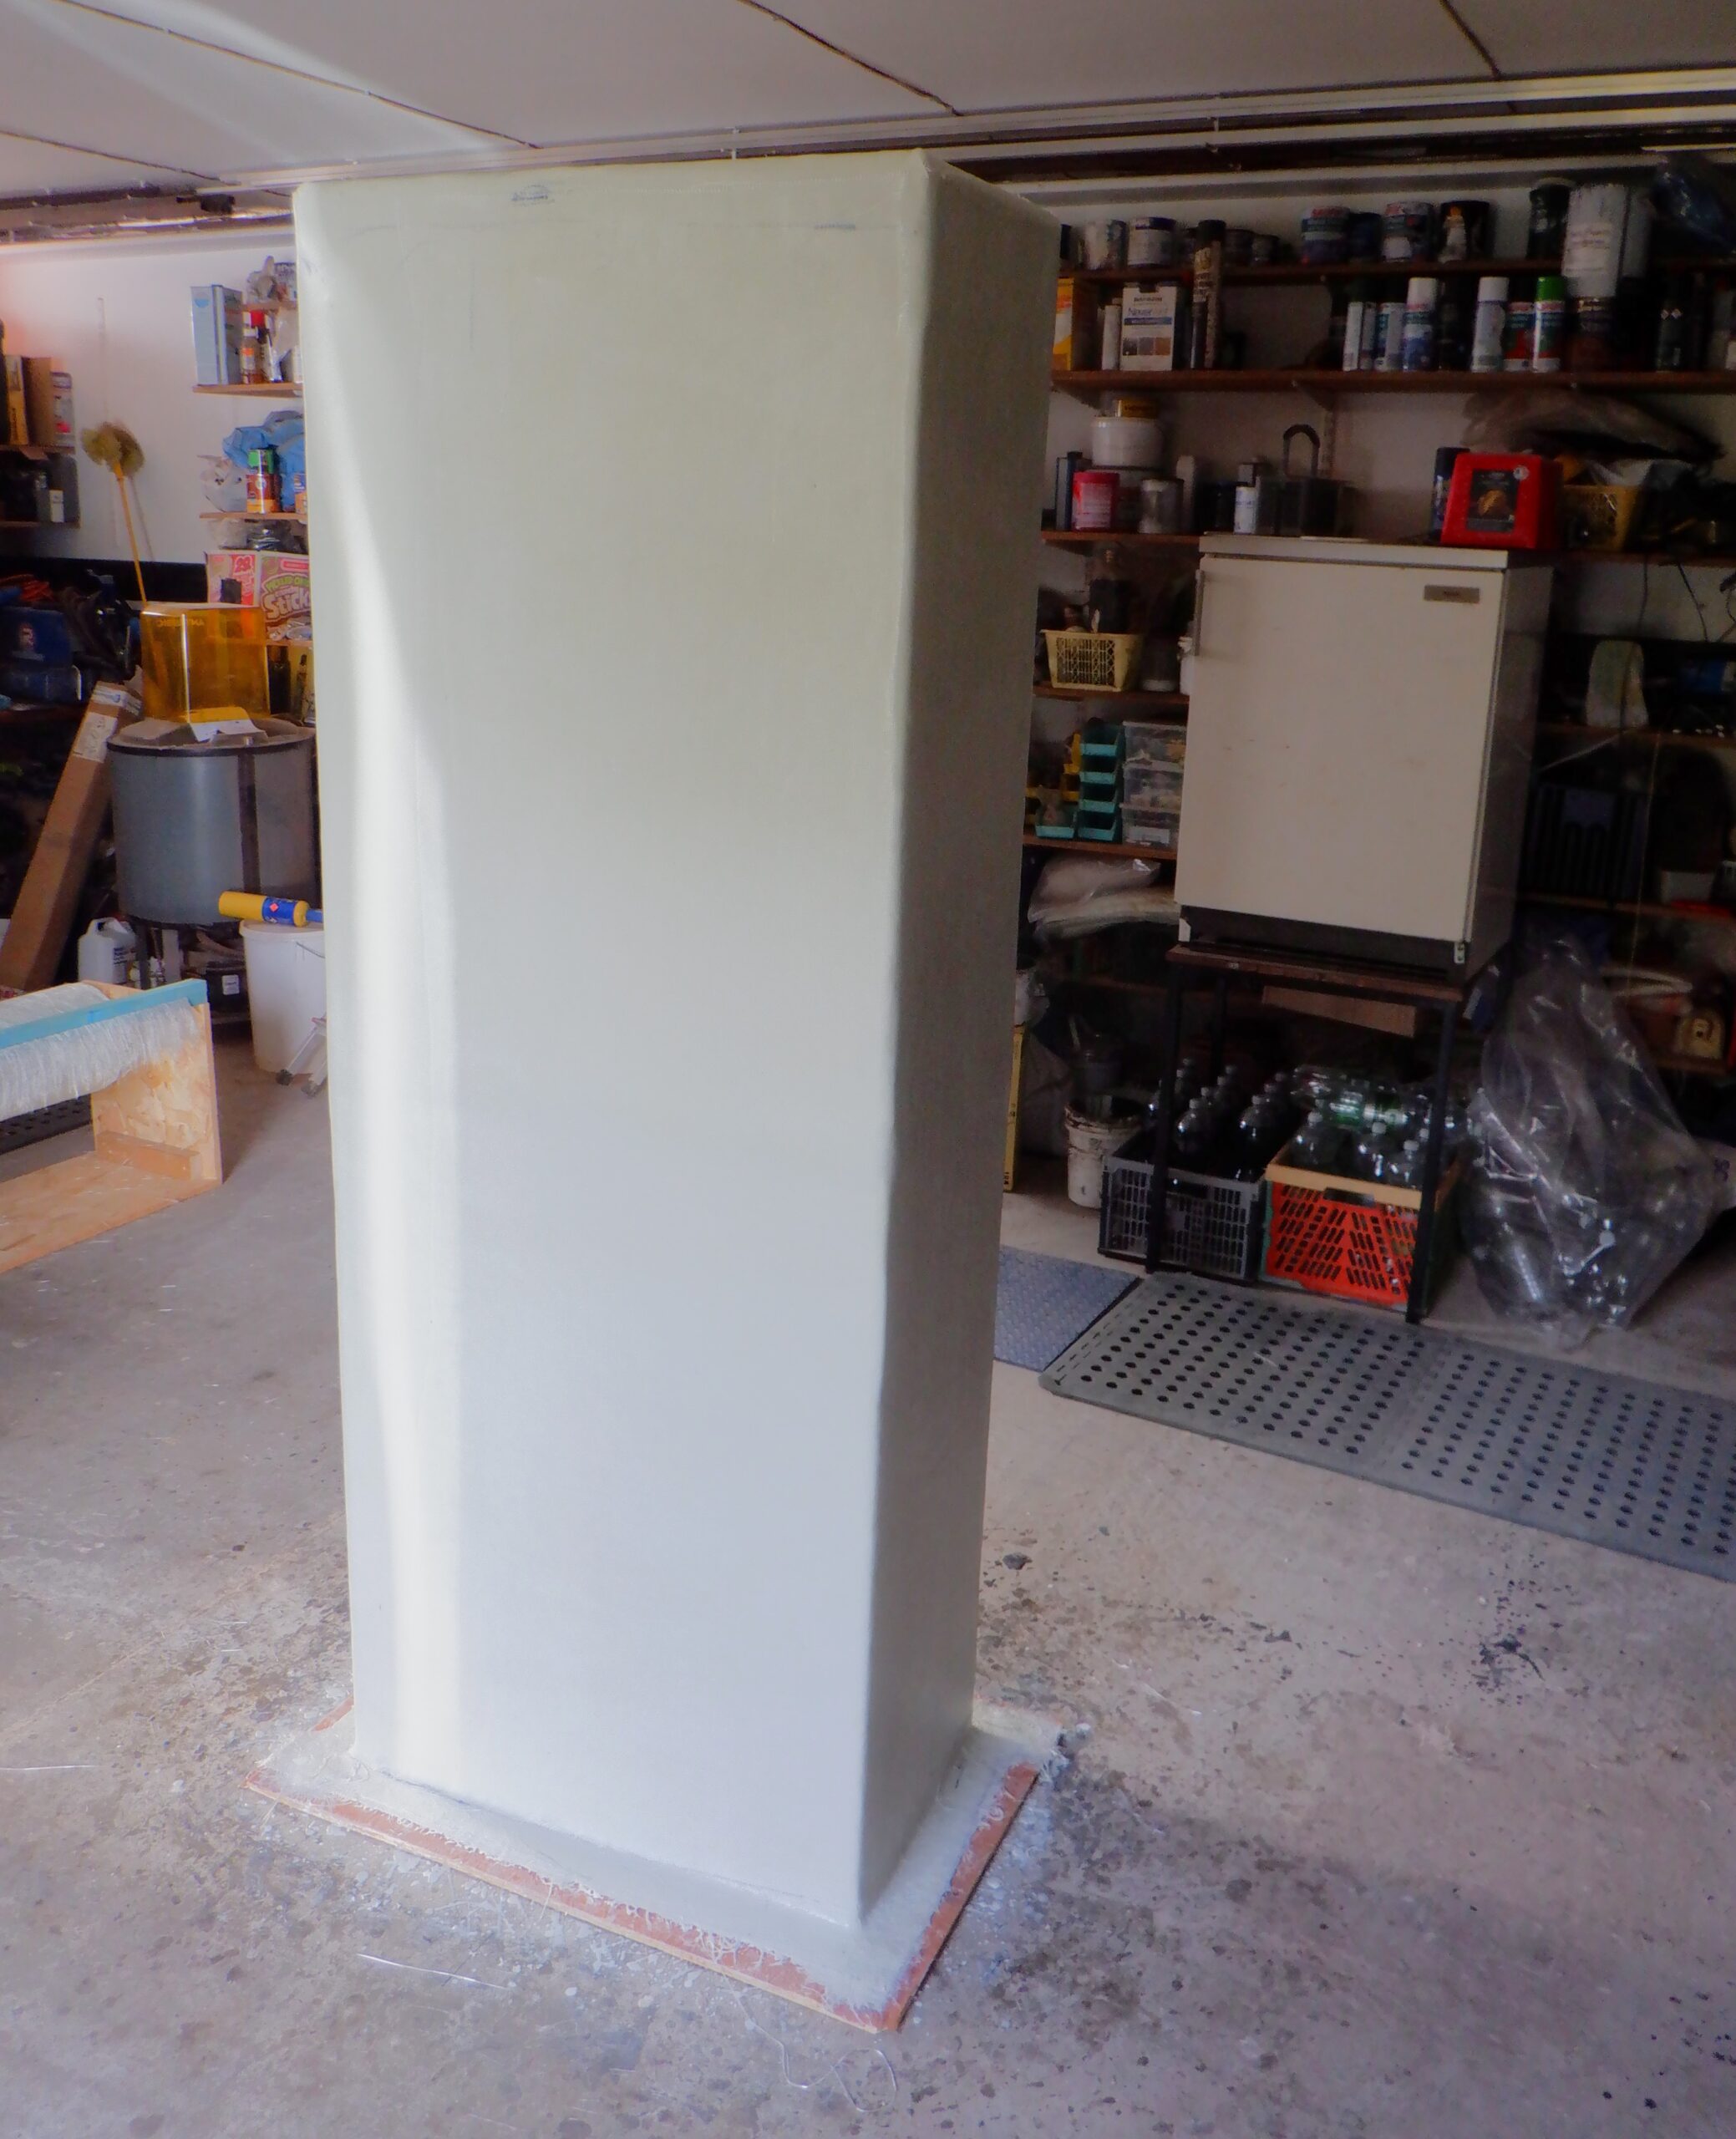
Covered in release tape
Next, we cut all the glass fibre material into 12 pieces of 2.3metres lengths (this is being the circumference of the tank in a horizontal direction, measuring two sides of 700mm and two sides of 400mm, giving a total of 2200mm so we added an extra 100mm to be on the safe side), then we created six rectangular pieces for the base of the tank measuring 500mm wide strips off the roll, enough to cover the 400mm width of the base, but deliberately used the whole roll width of 990mm to cover the 700mm in the other direction and send the excess around the corner to reinforce the bottom 140mm of the side walls so we can install plumbing connectors and not overly stress the material too much with the very stiff plastic 32mm diameter pipes. Next, we tore off 120mm wide strips and then slice it in half down the middle and these narrow strips will go around the flange at the bottom of the mould.
Finally, we cut a length off our woven cloth roll, ending up with two pieces measuring 1900mm long and 1550mm wide (the original cloth width). That isn’t quite enough to wrap around the tank so we then sliced off a further 1900mm piece again, but this time, we sliced the width in half to make two 750mm wide strips, to join with the other piece and make a complete loop. The last couple of pieces is for the base and we sliced a 500mm wide length off the roll and also sliced this one again in half, to make the final two pieces.We had originally put our mould on two planks of timber that had four office chair castor wheels so we could spin the mould around when we are working on it. It worked well when we were wrapping the brown parcel tapes onto the mould, but discovered that just standing up in the Garage, on the concrete floor, we actually didn’t want to keep moving it around, and instead, we would walk ourselves around the mould!! So we could off the wheels and those two planks!!
The next job was to prepare the resin and we are going to use 25kg of the stuff, it comes in a very large bottle! But, we had our tin that had our dark brown resin in, so we poured off the small amount of that left-over resin into a small pot (we will use this resin to attempt to repair our Test Tank). We then tipped the large bottle and filled up the metal tin which holds 5kg, making it much easier to mix in the white colour we want and easier to pour small batches of resin, ready for the hardener catalyst liquid to be added and stirred in. Our white colour, which is titanium oxide powder, needed to be sieve through a old tea stainer, to knock out all the lumps and then have a small amount of resin dropped in the powder, to make a smooth paste. This vastly improves the white colour to be completely mixed into each tin load of resin, by adding several teaspoons of the white resin and thoroughly mixed in.
Now, we can get started, fresh at the start of a new day, even starting an hour early at 9am and keep going until we have completely finished. We put on the first cloth layer by coating the whole mould with the resin and then putting on the first large piece of cloth, repainting it over again. we decided that we would try and turn it inside out so that we can maximise the amount of resin this very first layer should get. But, it proved rather difficult so we didn’t do it again to the second piece of cloth and just thoroughly coated it with lots of resin. We wanted to make sure that we had a decent starting layer of water tight glass fibre saturated in resin, especially on all the corners. We don’t want a repeat of the tiny little leak we had in our Test Tank!!
We then started laying on the 2.3metres length of matting, doing the lower half first, and then putting on the upper half afterwards, and making sure that we put on two coats of resin every time. We repeated this twice more so we had done three layers and half way there, at which point, we consolidated all the layers and resins by using our aluminium textured roller, which is designed to pressurised the individual glass fibre strands and mix the resin completely together, going carefully around each of the corners and edges.
We put on the last three layers of matting and finally, put on the second layer of the woven cloth to finish off.
We were working for nearly 7 hours non-stop !!
Header Tank All made
We left it overnight, to allow it to cure and harden the resin as much as possible, before we tackled the next task of removing the wooden mould from inside the freshly made tank. The first job was to carefully trim the flange so that it is an even amount all the way around the whole tank, by using our wiggle saw and a chunk of CLS timber to act as a spacer guide. Then we carefully lay the tank on its side and prop it up on a couple of wooden planks so the weight wasn’t resting on our new flange after we had removed the first part of the mould. The “lid” came off and we needed to crawl inside to undo all the screws, to release the four sides from each other and make it easier to bend each side inwards and then remove.
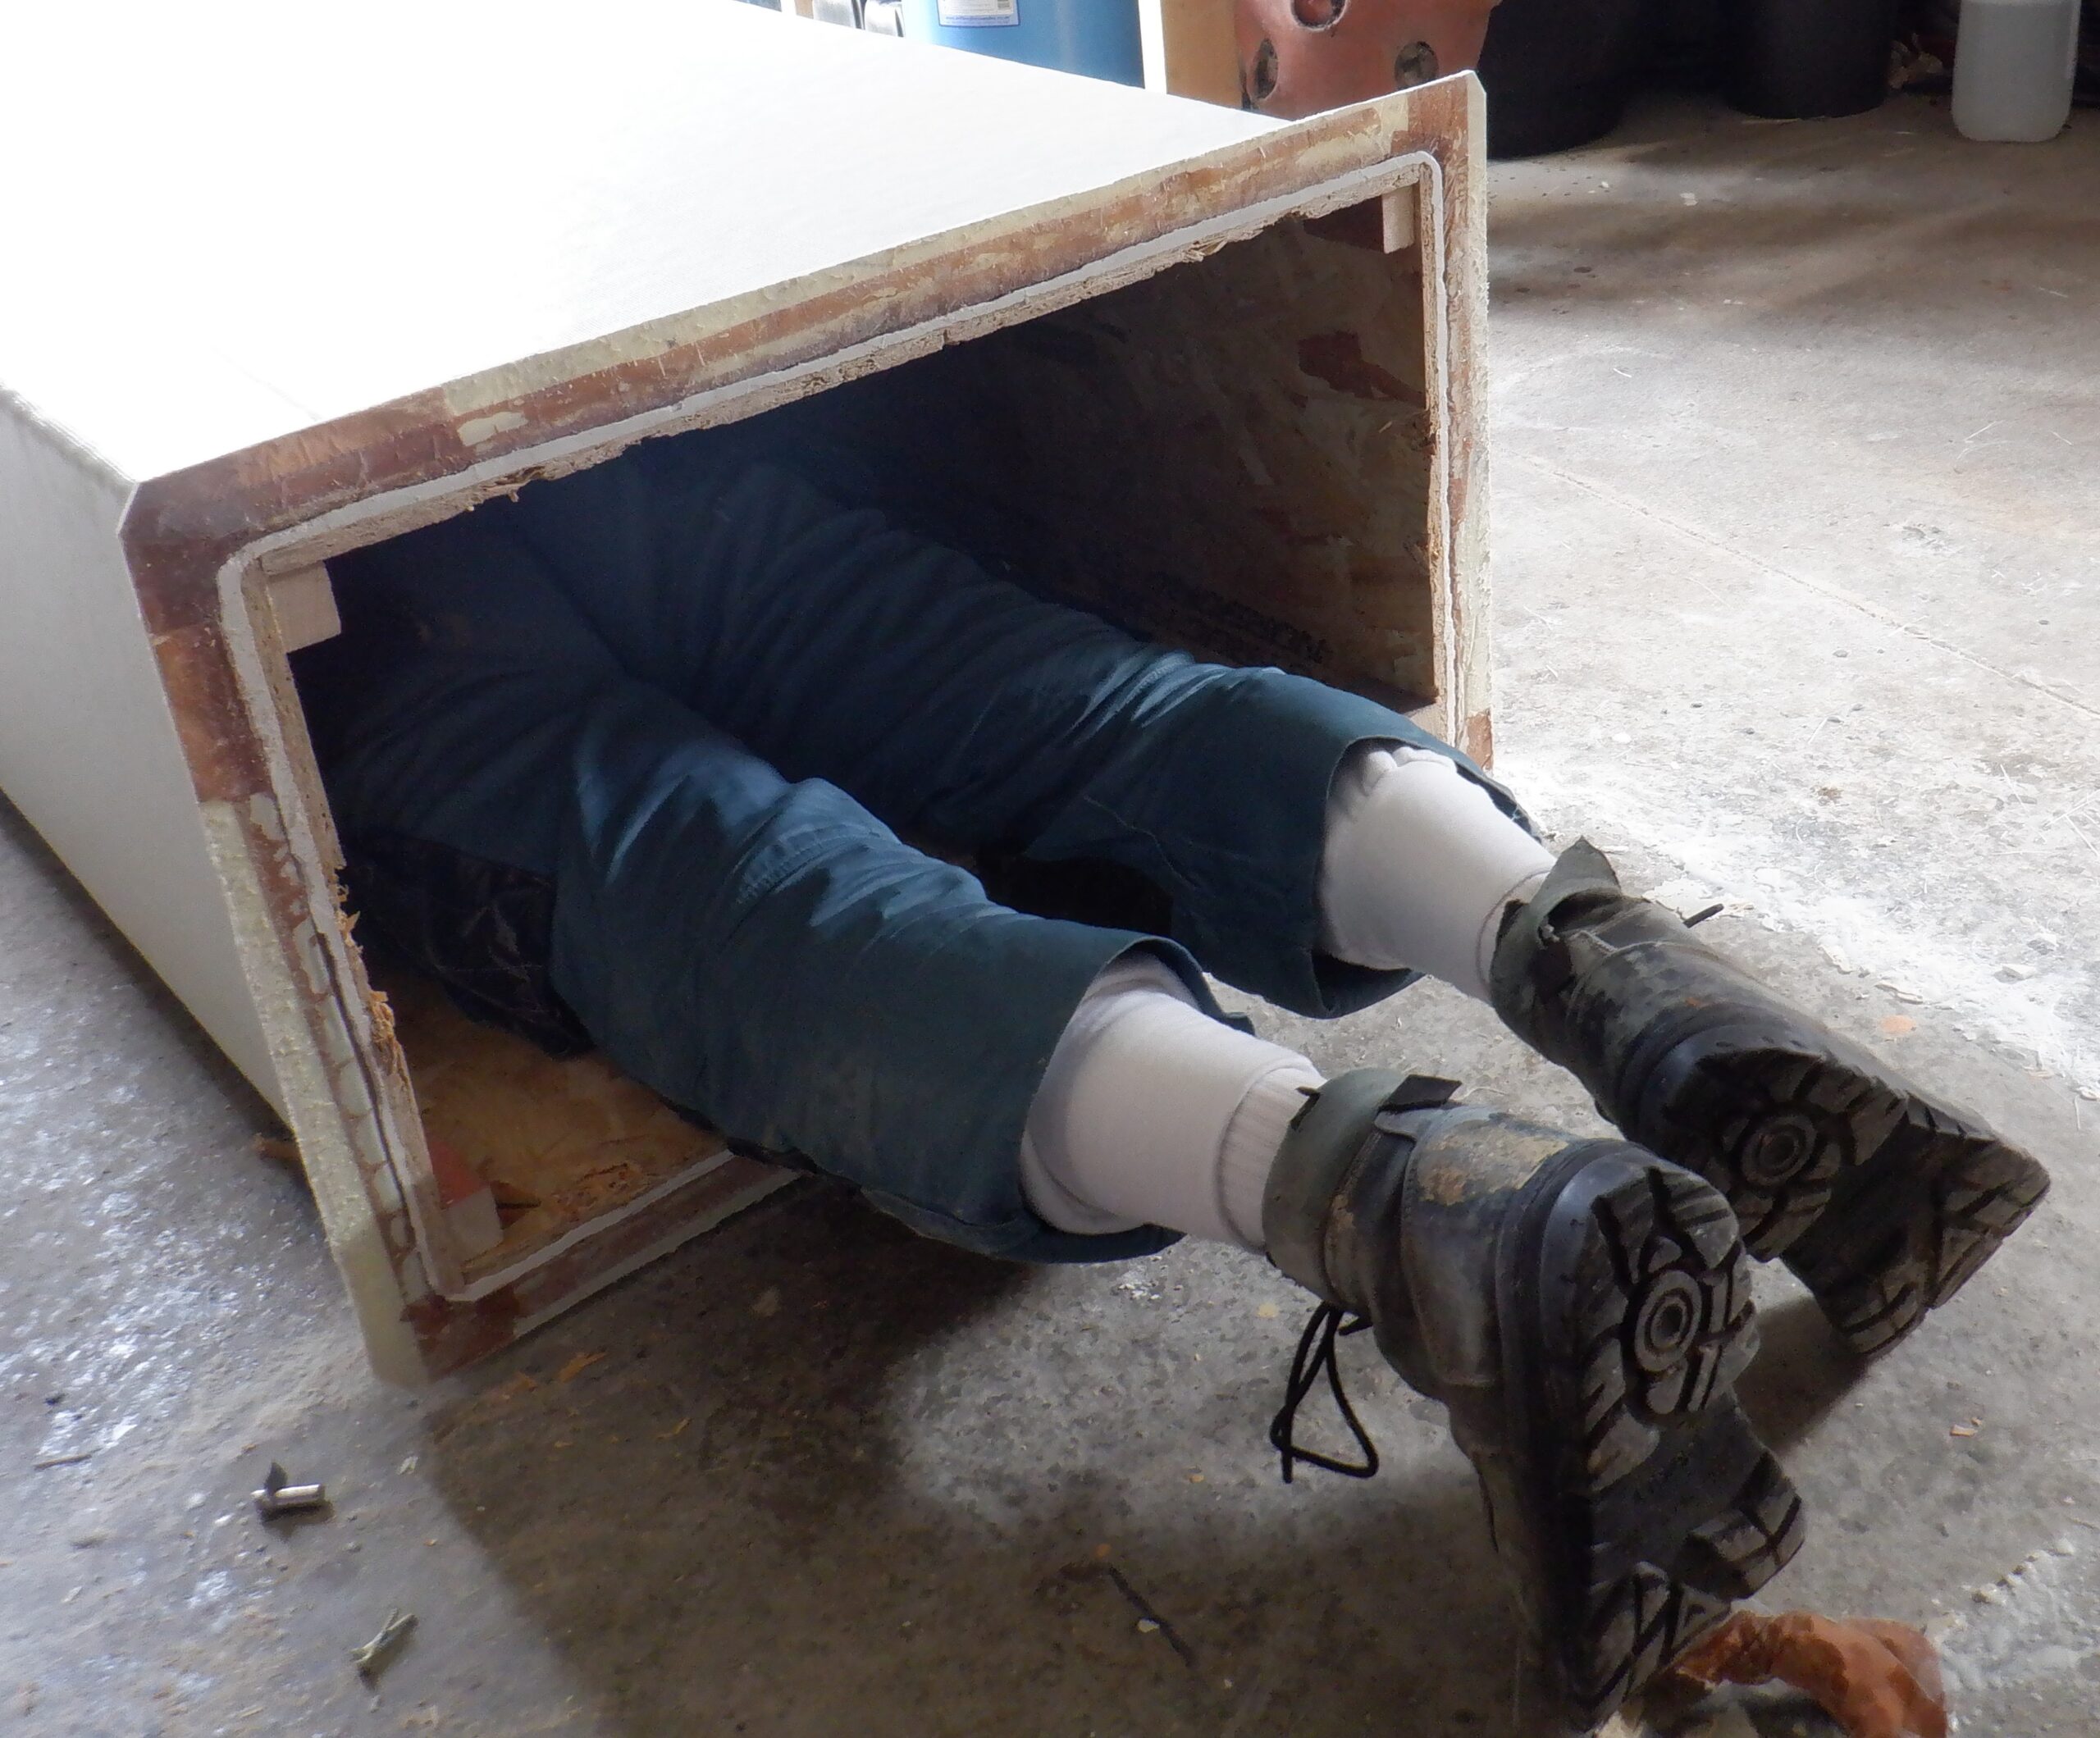
Shaun undoing mould fixings
We managed to get the four long sides out fairly easily but we discovered that the sticky parcel tape has gone extra sticky for some reason. This meant that we had to crawl across this yukky tacky surface to get to the bottom final piece of the mould and dig it out. Mind you, we had to wait five minutes first, to blow away all the fumes of the solvent. We used a fan. This perhaps gives us a clue to why the sticky tape has gone extra sticky because the solvent was able to migrate through the thin plastic film of the parcel tape. Anyway, we managed to dig out the bottom section of the mould and were able to peal the majority of the stick tape off, by starting at the bottom of the tank and pulling it out like a sleeve. We discovered that our tank is translucence and it glowed in the sunshine !!
Tape stuck to the inside
But it came off fairly easyly
The problem with the extra stickiness was extended to the resin finish as well and we needed to leave it open, with fresh air blowing on it, for three or four days over the weekend, before most of the sticky tackiness had disappeared.
The whole tank got a bit of a rub with sandpaper, to take off any sharp edges and glass fibres that didn’t settle down during the last coat of resin. The flange got its four corners rounded and the sharp edge smoothed over as well.
In the meantime, we took the original base that the mould sat on, reapplied more sticky tape but this time using the clear parcel tape instead for a comparison test and made a four layer matting with the same white resin flat across the board. It came off much easier, without leaving behind this sticky stuff so it looks like that the parcel tape is too thin to give the best results. So we have made our lid for this Header Tank, so that we can keep out the dust and dirt. It will be clamped down using wing nuts, on a sandwich of rubber draught excluder strips, to provide that seal.
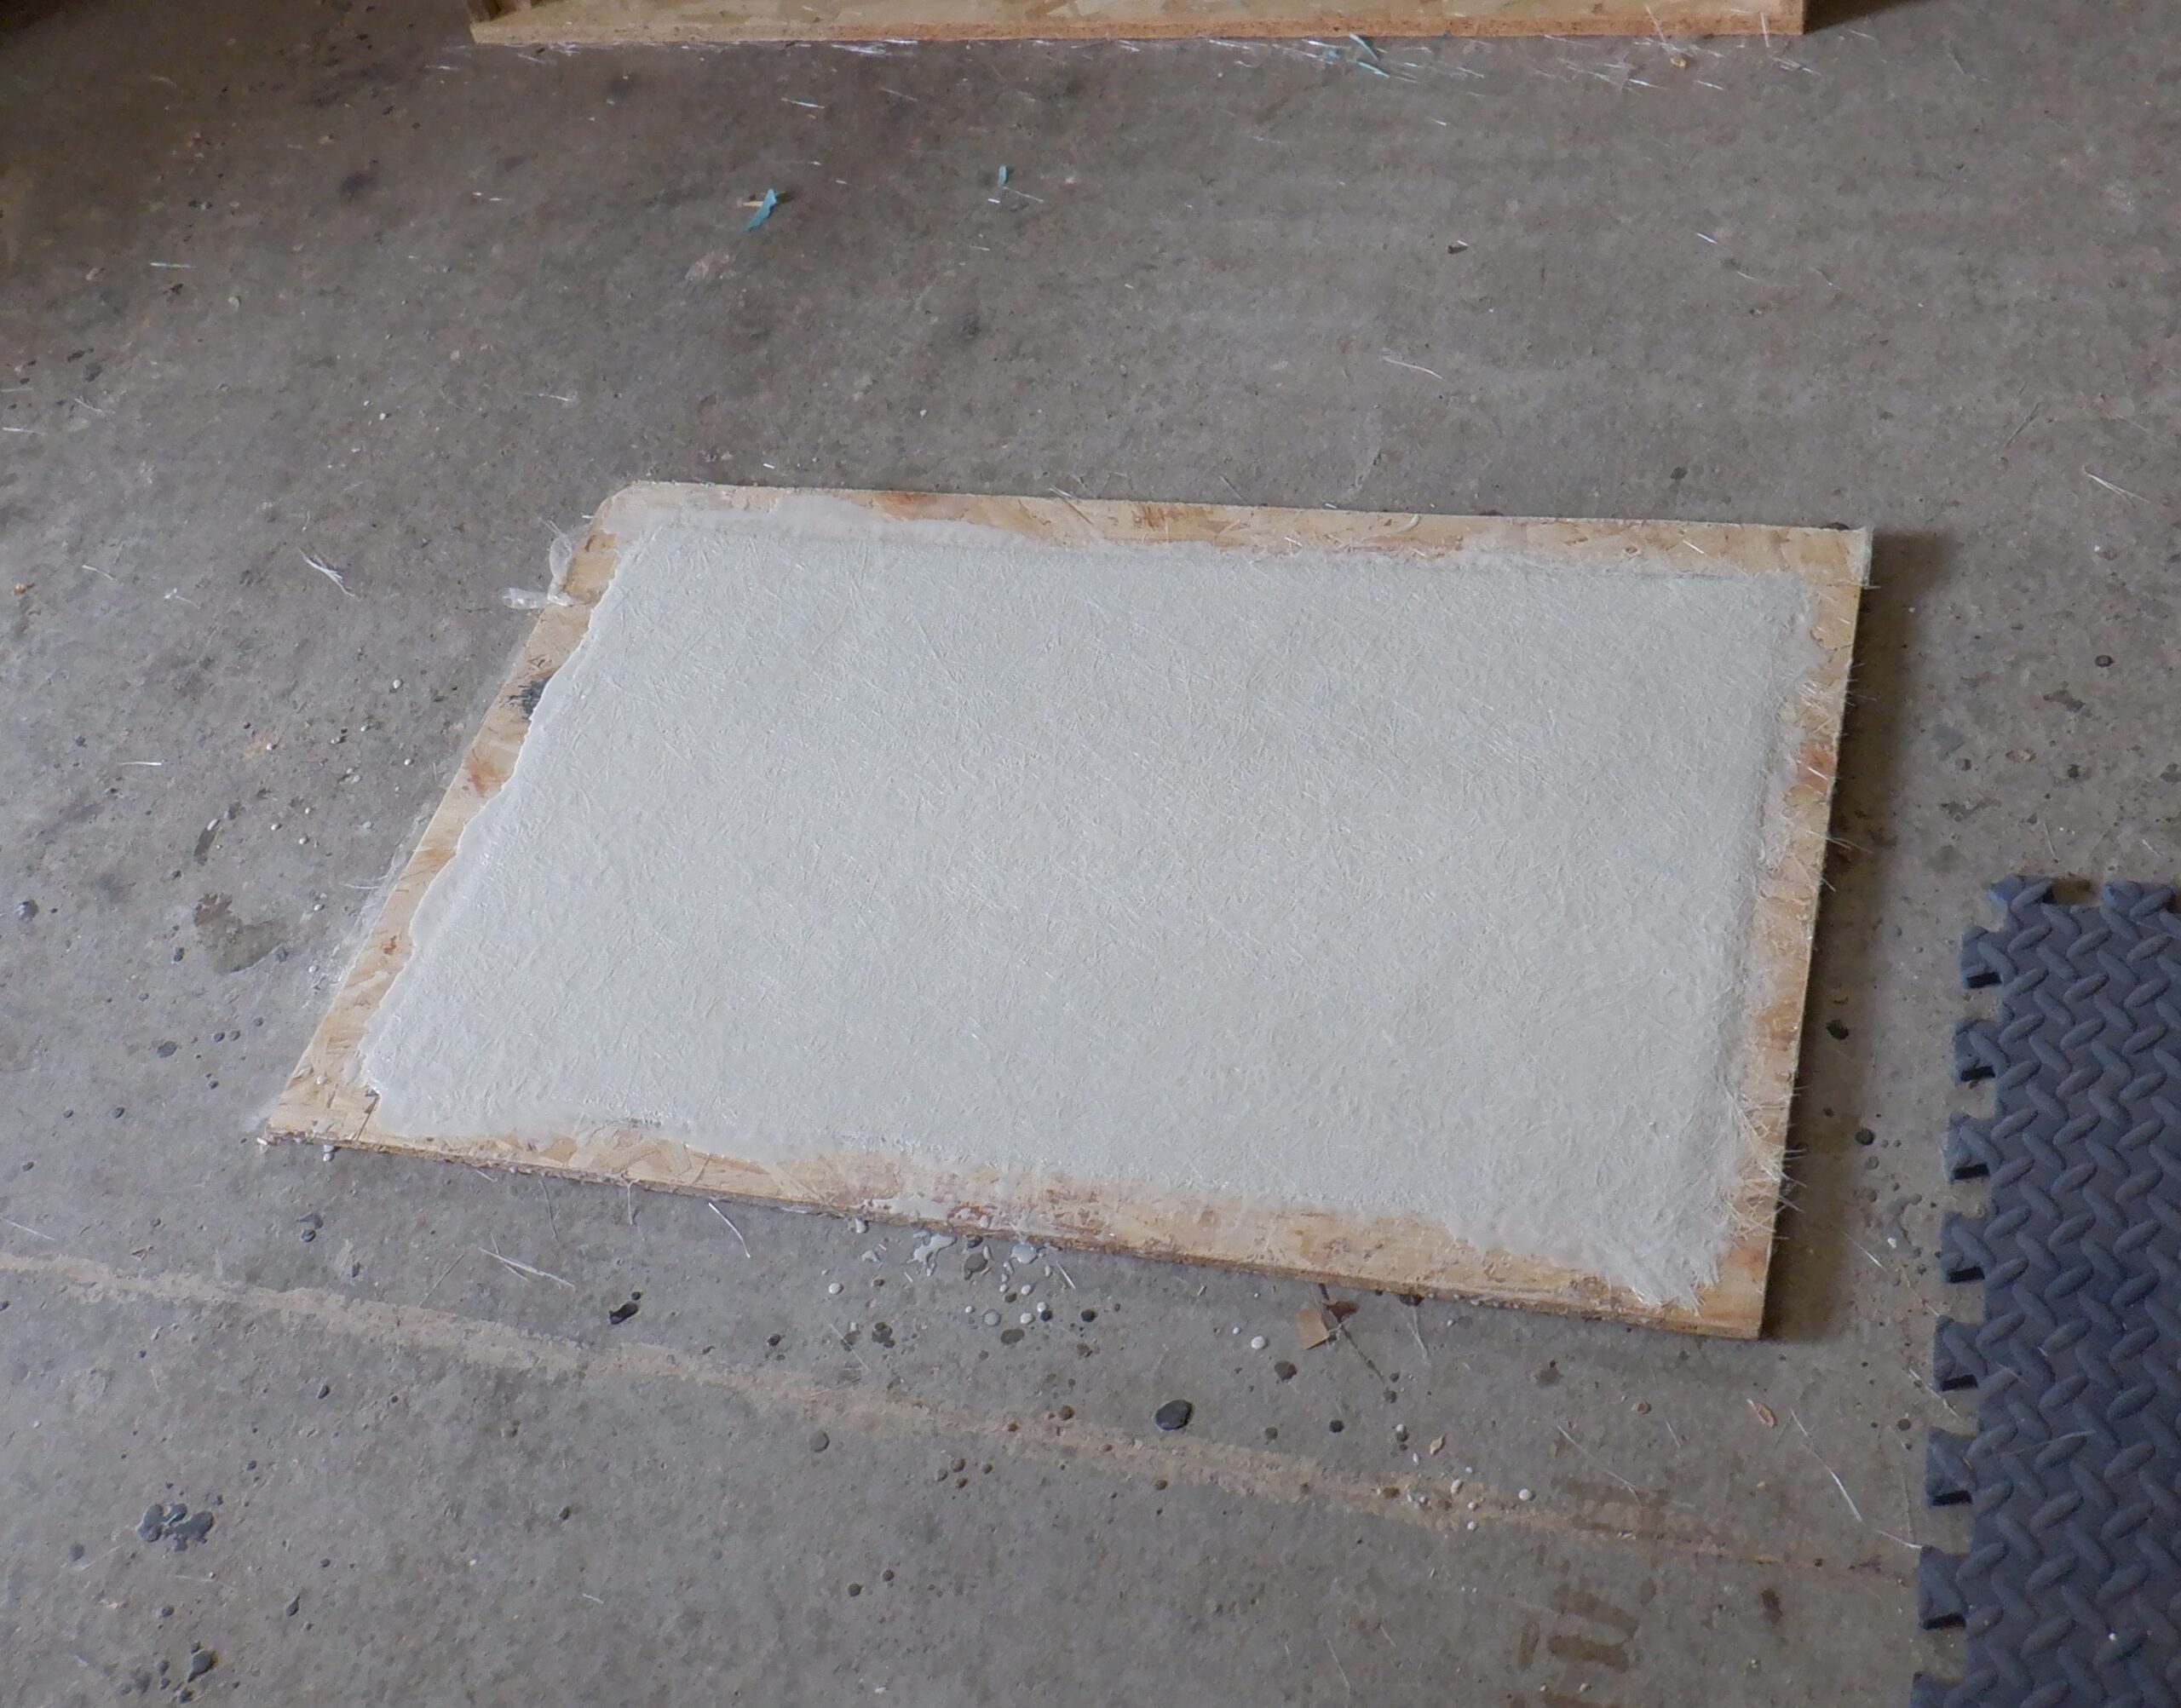
Cold Water tank lid laminated
That concludes the construction of the Header Tank, we are waiting for plumbing bits and pieces to arrive before we can perform a soak test and find out if we got any leaks. This tank will hold a maximum of 500litres and that weighs half a ton !! So we WILL not be tipping it over, out of our garage door to empty it!! We Do Not want a tidal wave gushing across our driveway!! Hence why we have been waiting for our plumbing order to arrive, with a tank connector and a shut-off valve so we can empty it the old fashion way! In fact, we will take the opportunity to try out our water pump motor and see how it performs and how noisy it is as well.
Leave a Reply
You must be logged in to post a comment.