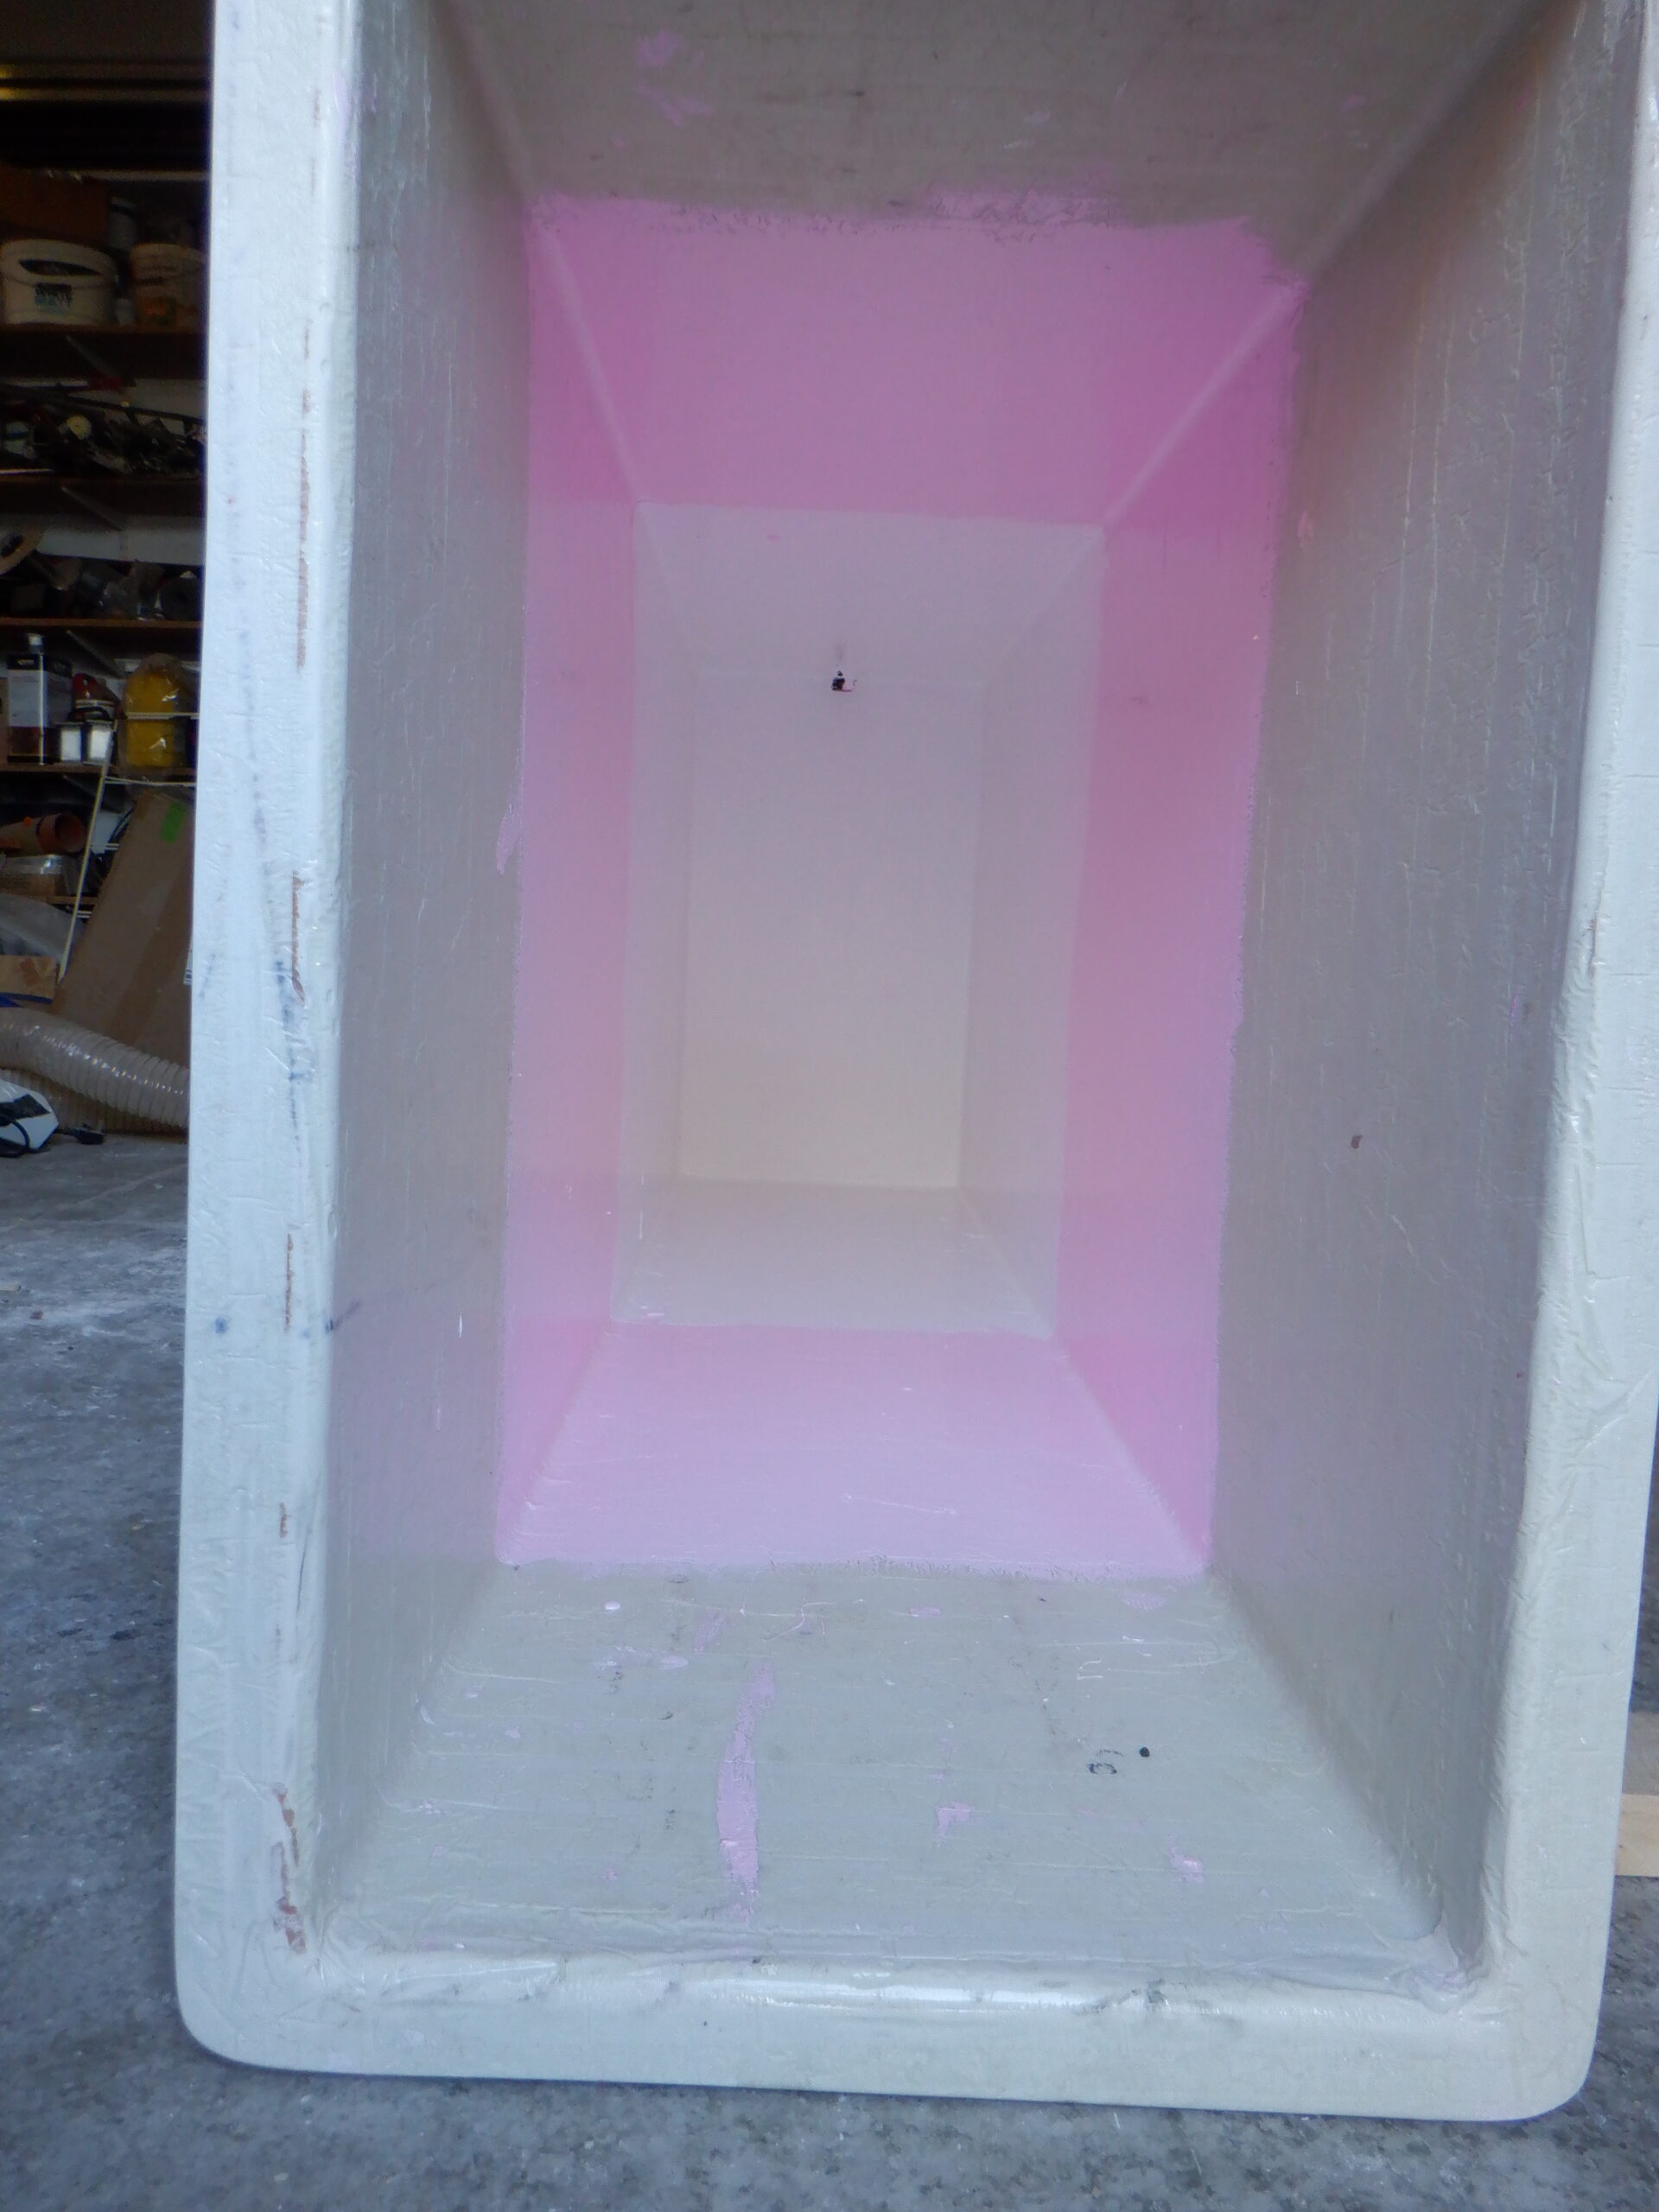
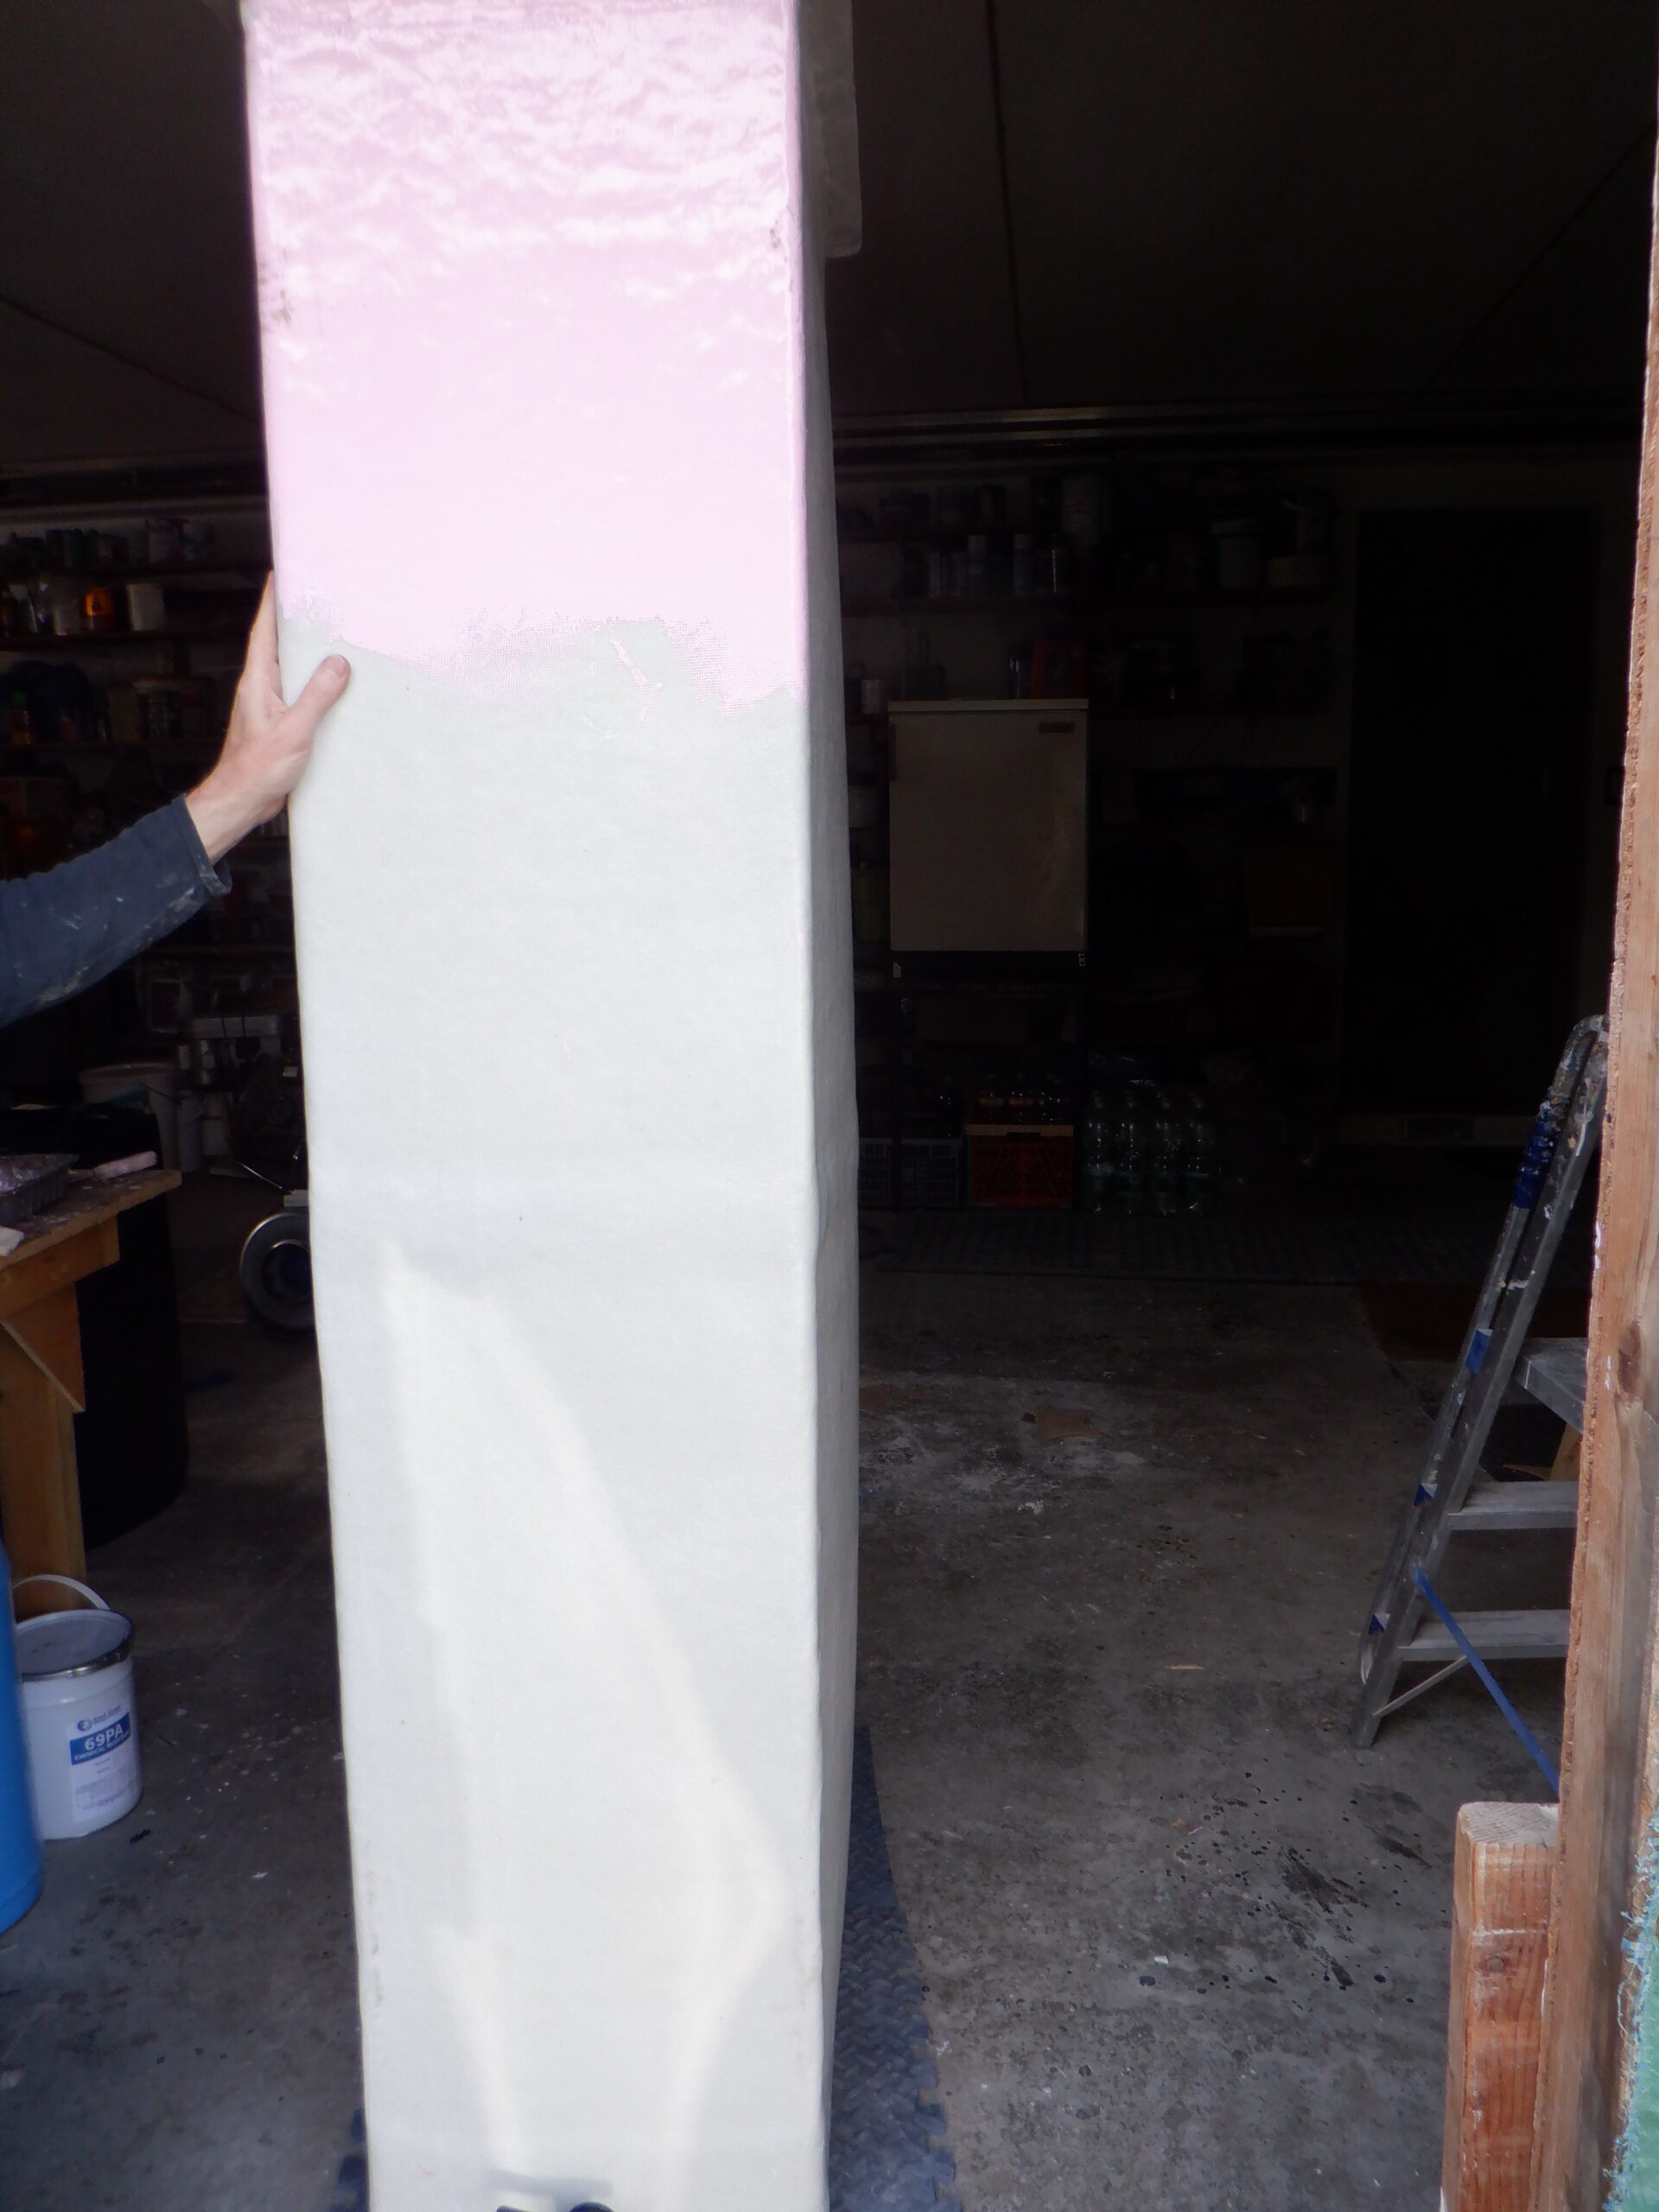
So on the Monday, we positioned the tank on its side and first of all, when all over the inside surfaces with a sandpaper to scratch the surface, to help stick the resin in better, and vacuumed it out too. We realised straight away that we couldn’t possibly coat a layer of Gel coat all over the surface in one go, for several reasons, not at least, it would take too long before the 15minutes working time we had would ran out, but also, we didn’t want to kneel on the tacky surface when we came to apply the Top coat afterwards. So divided the job up into four sections, starting at the bottom. So for the first section, the bottom area which has five surfaces to do, we went around wiping all the surfaces with acetone, to chemically loosen and unlock the old resin, to maximise the chance of this new coat to stick on good and hard. Therefore, the first Gel coat, mixing 1kg of resin and 20ml of hardener, and also adding some magenta dye colouring too. The darker colour makes it so much easier to see where one has painted and also you can see patches where light is shining through because it is too thin.
It is very smelly indeed and we were very glad to be wearing our new activated charcoal breathing masks. We also rigged up one of our 150mm fans to funnel fresh air down into the tank as well.
It was quite tricky to paint all the surfaces, especially the surface above one’s head. It took a bit longer to apply all the 1kg mixture and we had to abandon the last 250grams because it started to go hard. That is the trouble of working in a warmer environment and mixing that amount of hardener (which we had no choice over). So, it dawned on us that it would make better sense to paint the surfaces that are downwards and half way up the two sides first, and then rotate the whole tank over 180degrees and finish painting the other surfaces downwards as well. We also realised that it was a lovely sunny day so we took the tank outside and had it positioned in the sunshine, which helped to double check for those thinner patches too.
We then applied the Top coat on top of the Gel coat, to seal everything in and provide a very smooth finishing surface.
Recoating the Cold Tank
We carried on doing each section at a time, rotating the tank over for each half and by lunch on the following day, got it all done.
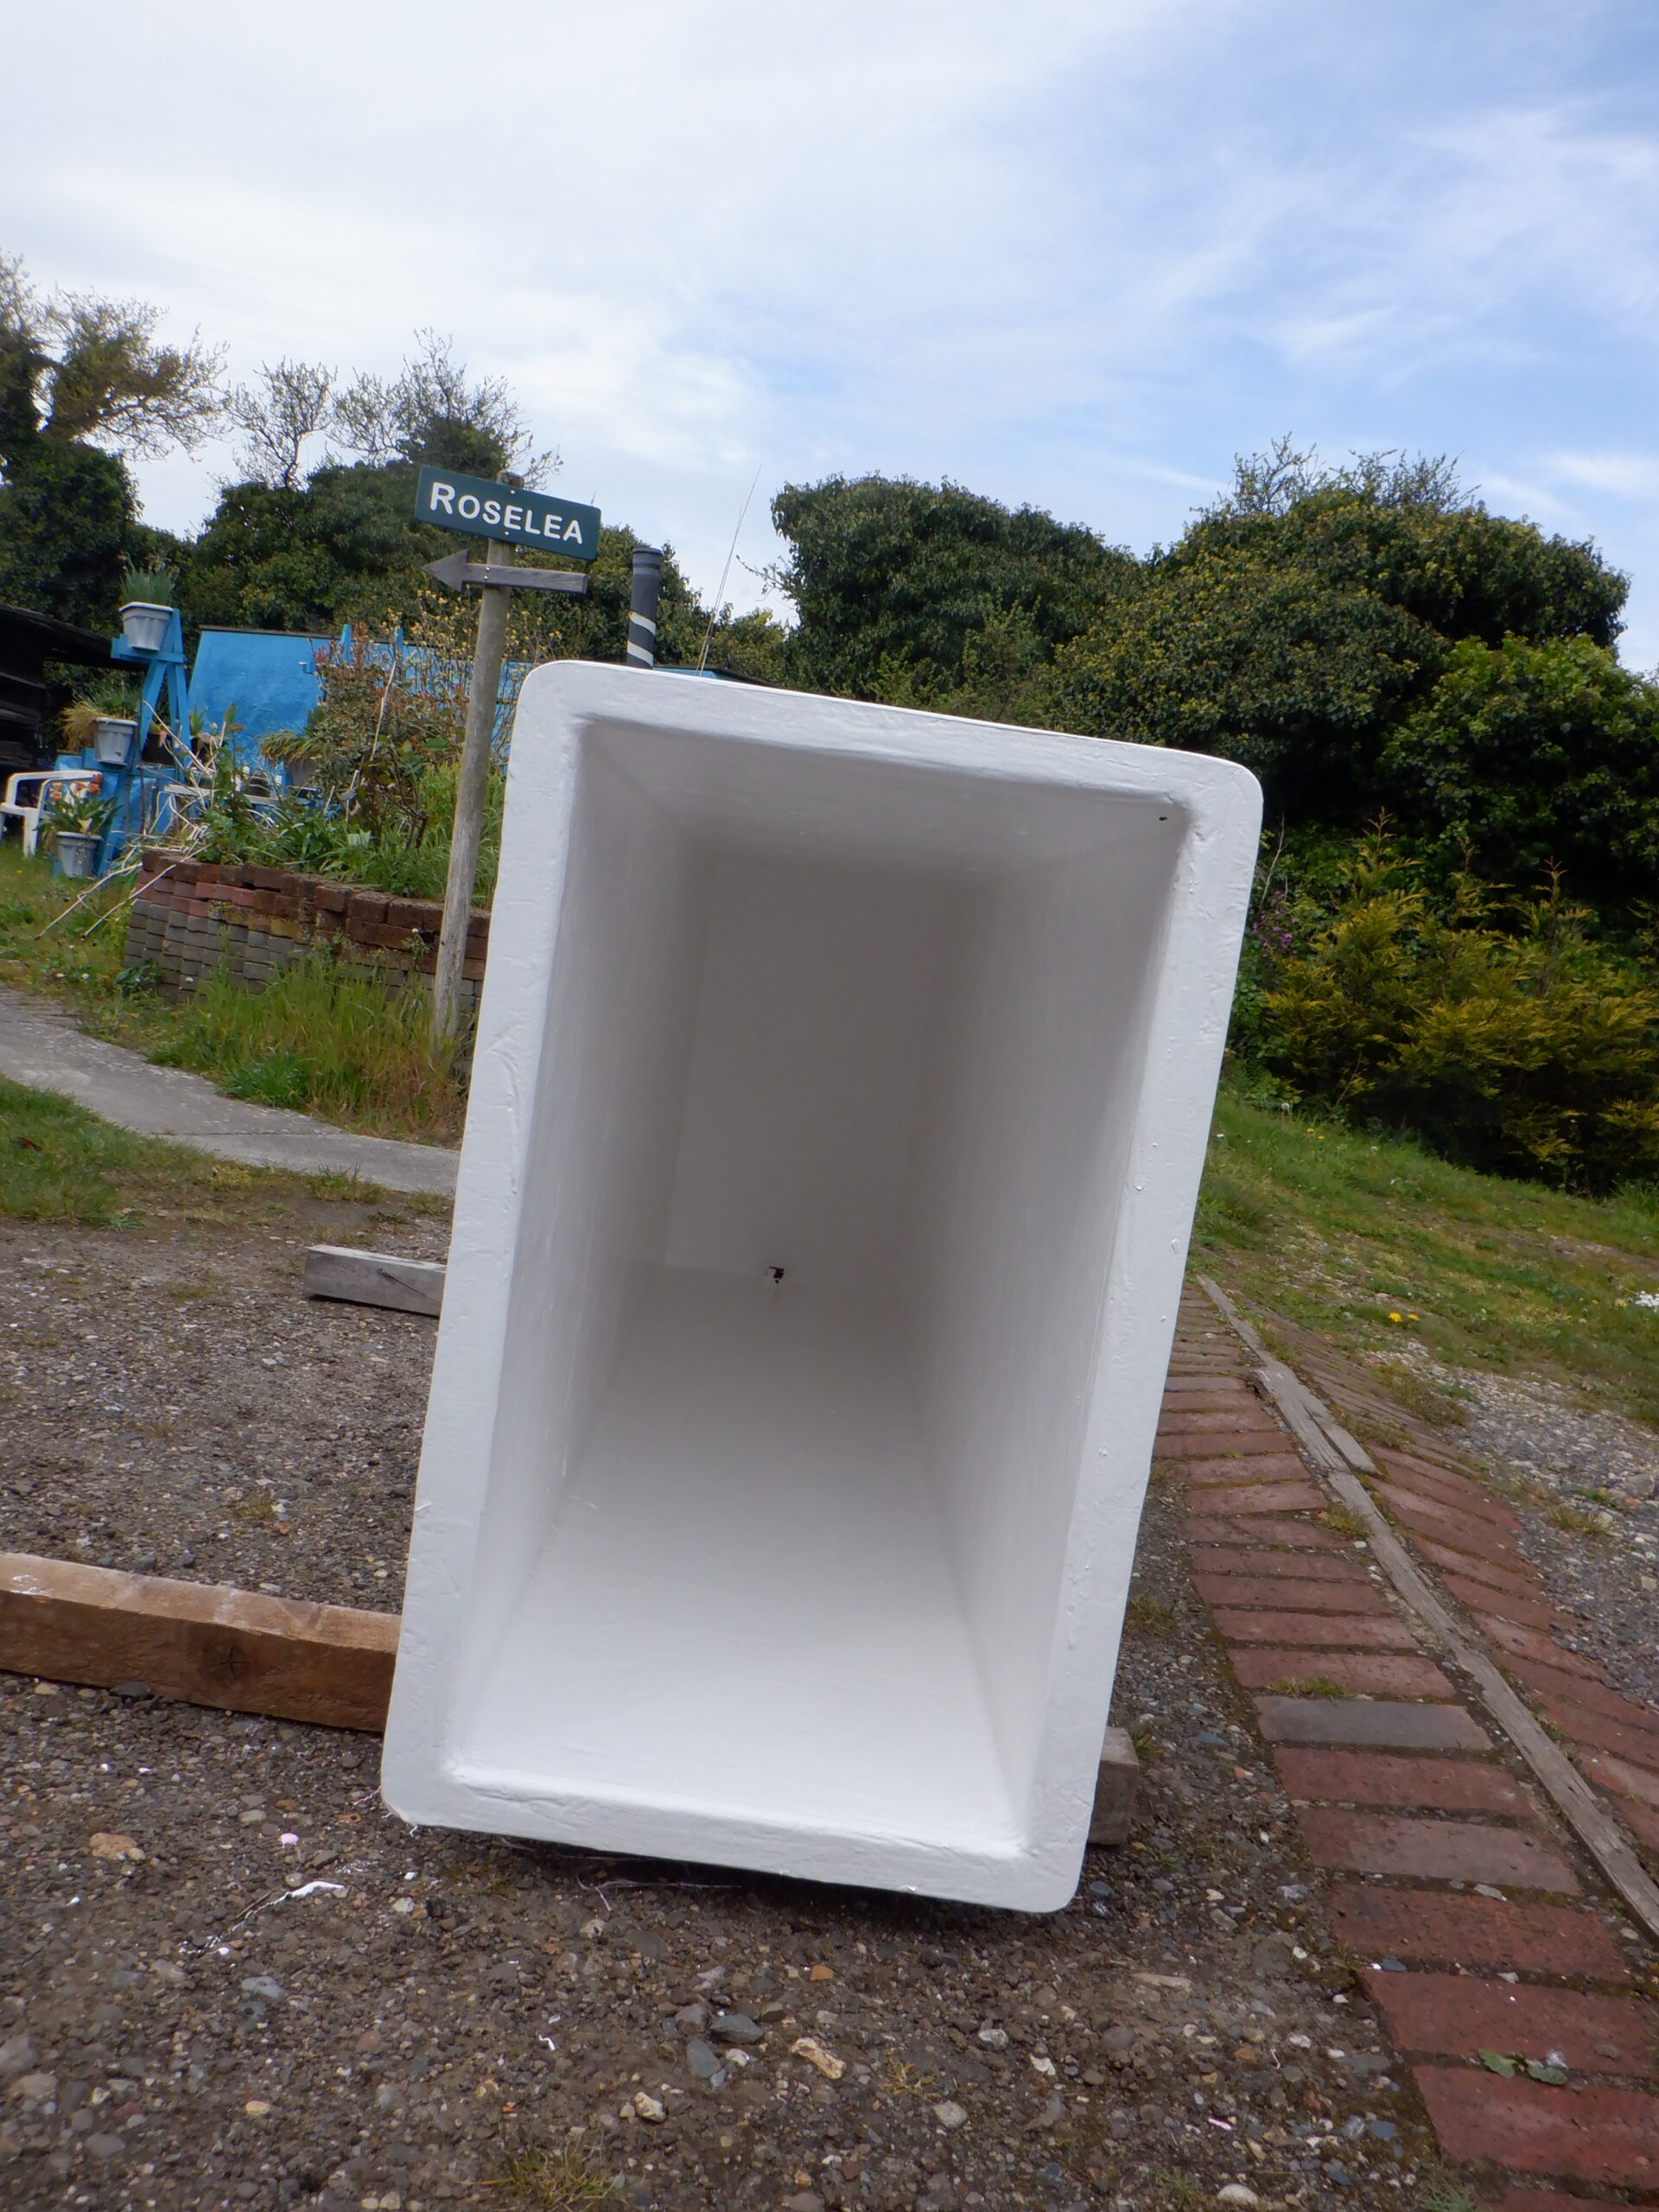
Cold Tank recoated
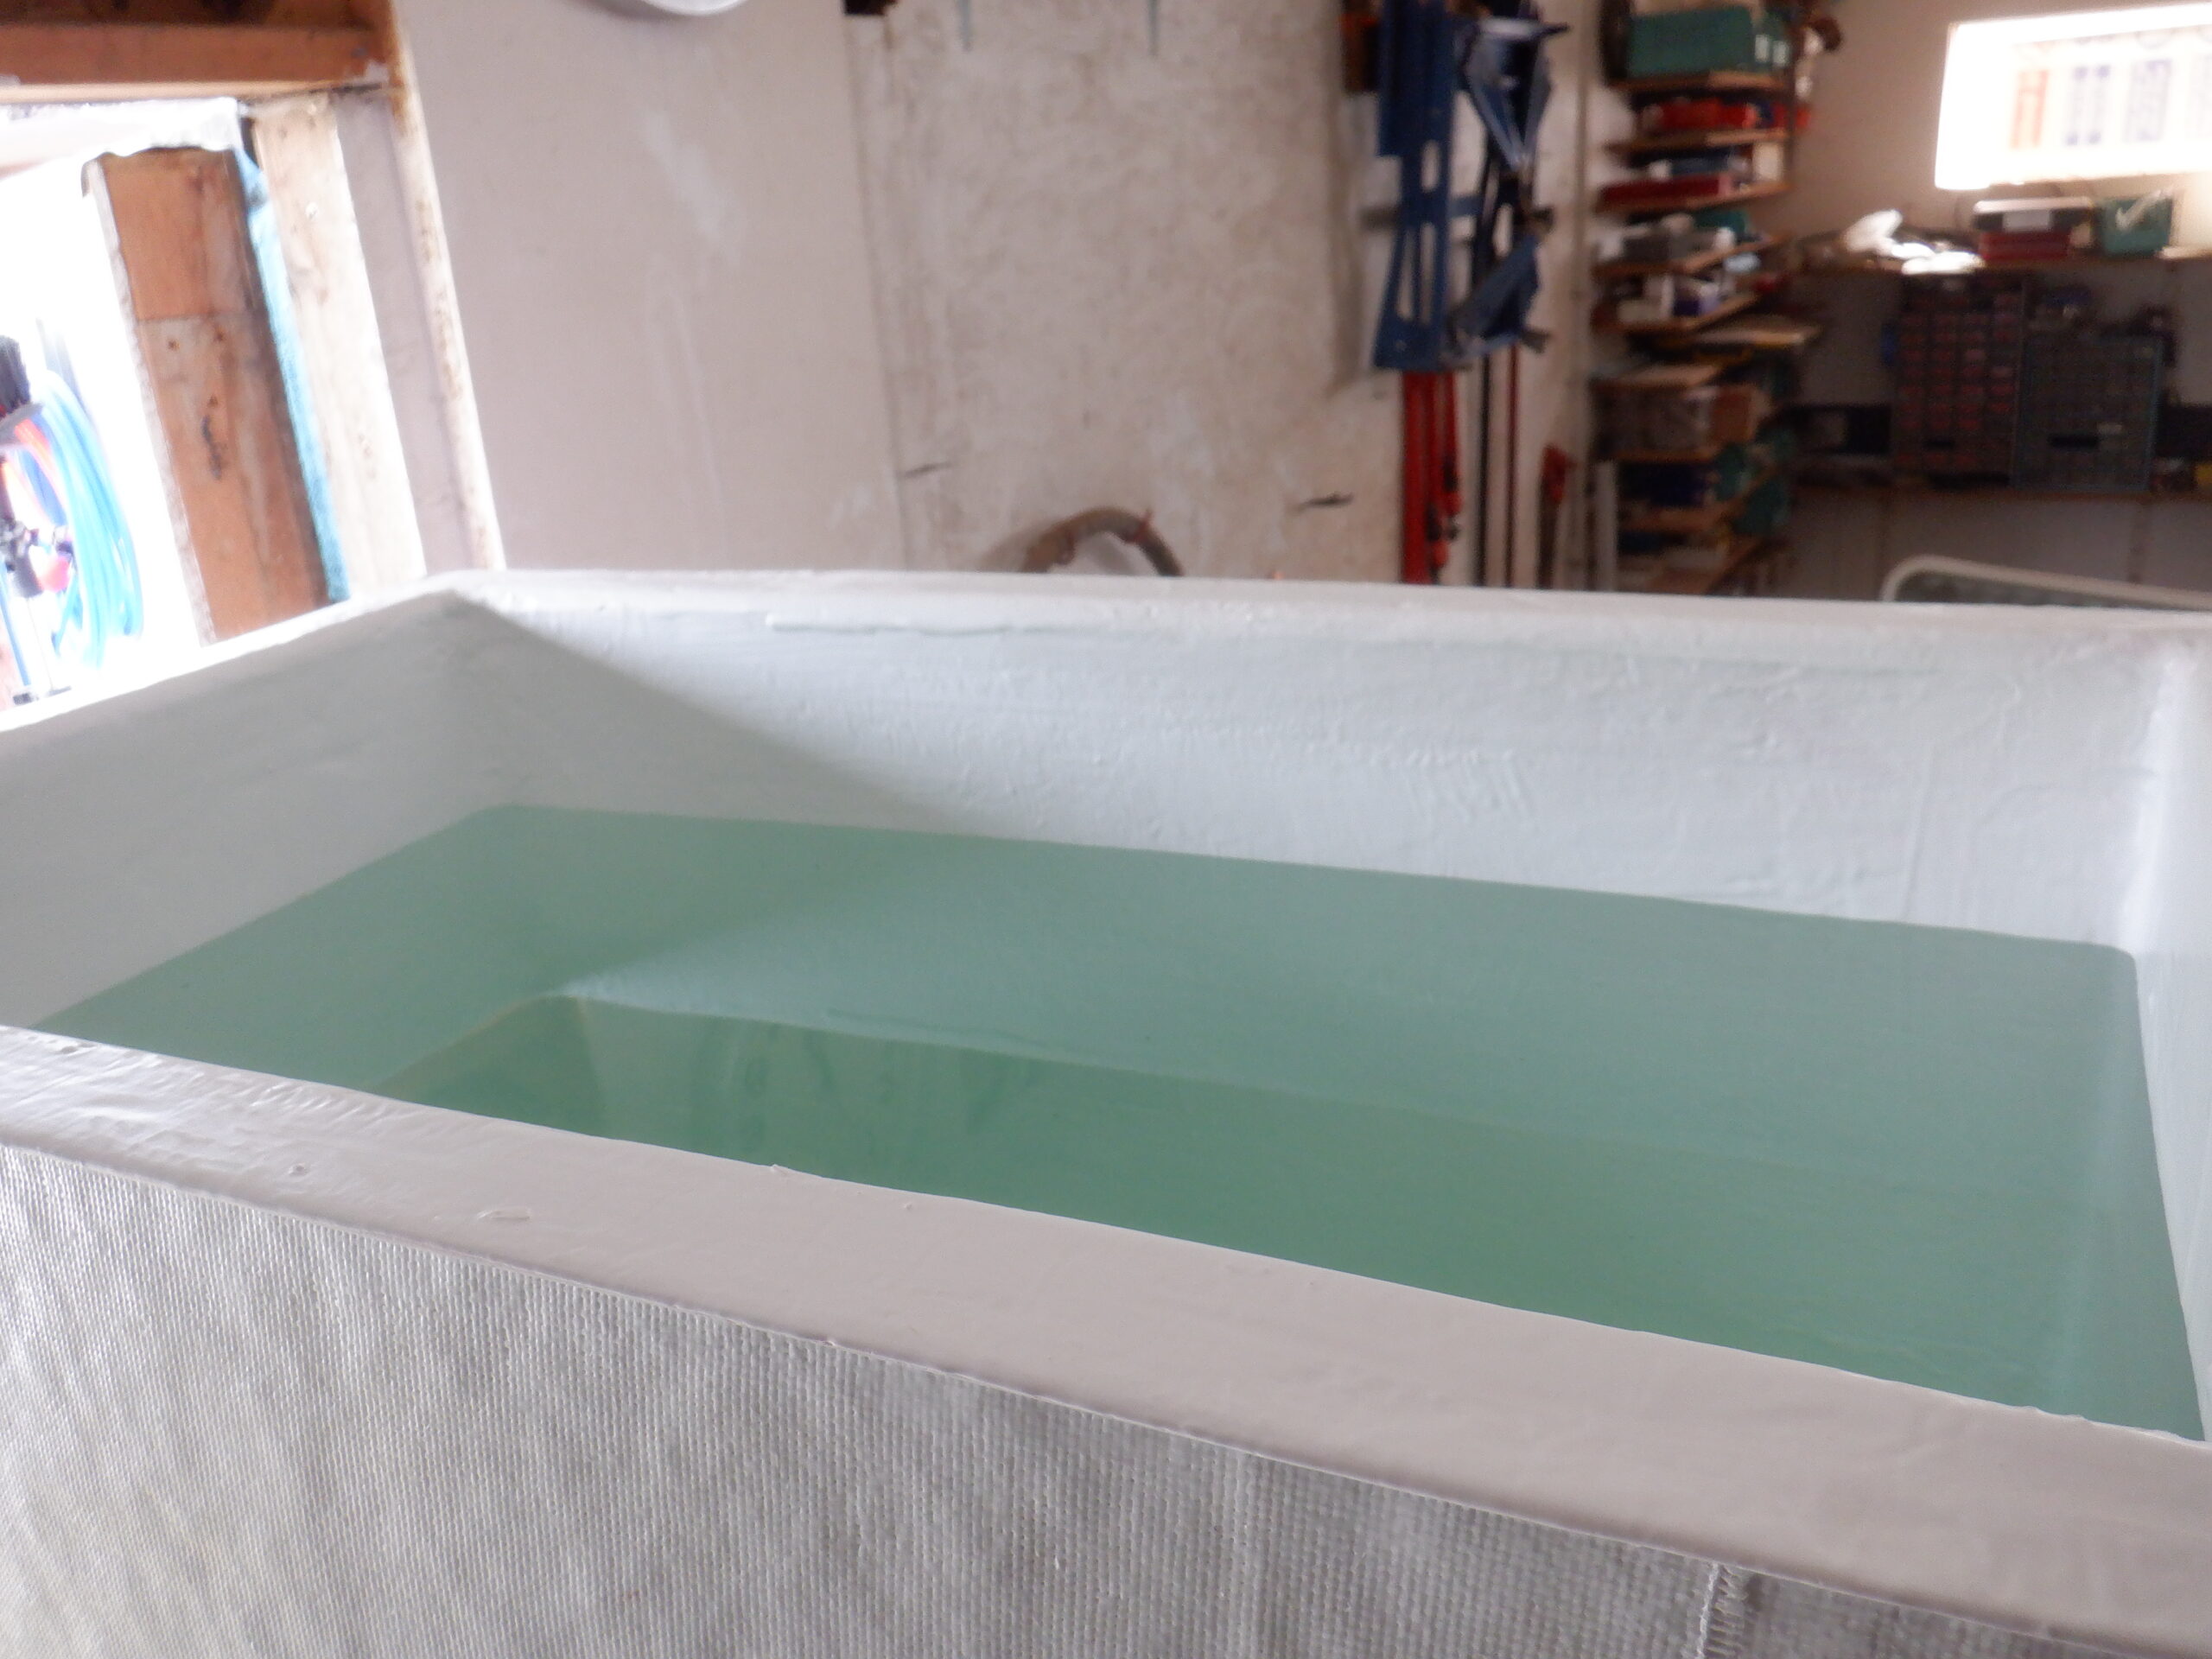
Header tank full of water
and bulging a bit
One thing we discovered was that the two larger sides were bulging quite a bit, due to the heavy volume of water. It is getting up to 500kg of weight! But, it seems to be just fine.
Oh yes, just to let you know ..
No Leaks !
We then needed to empty this tank with its 500litres of water so we inserted a short length of the blue 32mm wide plastic pipe and opened the shut-off valve. The water came gushing out and shot a small stream across our driveway. We thought that it would be a nice chance to try out our new electric pump so we got that connected up, with its electronic controller and created an even larger stream shooting across our driveway!!
It also meant that we were able to empty our tank in about 5minutes, which means that the pump was pushing the water out at about 100litres per minute!! That is very very fast !! Of course, we are not expecting that kind of flow rate when we have a shower, for example, a modest 15 litres per minute would be perfectly adequate for most people, which means that we could have four or five people having showers all at once, without over staining the pump and just about empty our Large Cold Water Header Tank! Hence why we have such a large tank in the first place!
The final task to do on the tank is to install the two plumbing filling connectors at the top of the tank, and an overflow pipe around on the side. We put in a 15mm diameter connector for the mains water supply, the second one with a larger 22mm diameter connector, for the filtered and sterilised rainwater and finally, a 40mm diameter overflow connector which will take any excess water away, without flooding the floor and the bedroom downstairs.
And finally, the last thing to do, was to trim our lid we made a week ago. We trimmed it to the size of the flange and then put in ten small stainless steel bolts and wing-nuts so we can clamp the lid down onto a line of rubber ‘P’ strip that was stuck down all the way around.
That concludes the manufacturing of our Cold Water Header Tank, which now can be moved upstairs and installed into it place.
Leave a Reply
You must be logged in to post a comment.