As reported in the previous blog the wooden crane leg was damaged, we spent the last hour of the daylight to repairing the damage .
About two thirds the way up the leg, is a joint. The accident caused a crack in the smaller 63mm CLS timber that bridges the joint in the larger 89mm CLS timber. We decided to fix it by taking two more pieces of the 63mm CLS timber, about 600mm long each and gluing these on both sides of the back supporting timber and against the front 89mm piece. We used dozens of clamps to squeeze all the surfaces together for the glue to gain plenty of surface area to stick to.
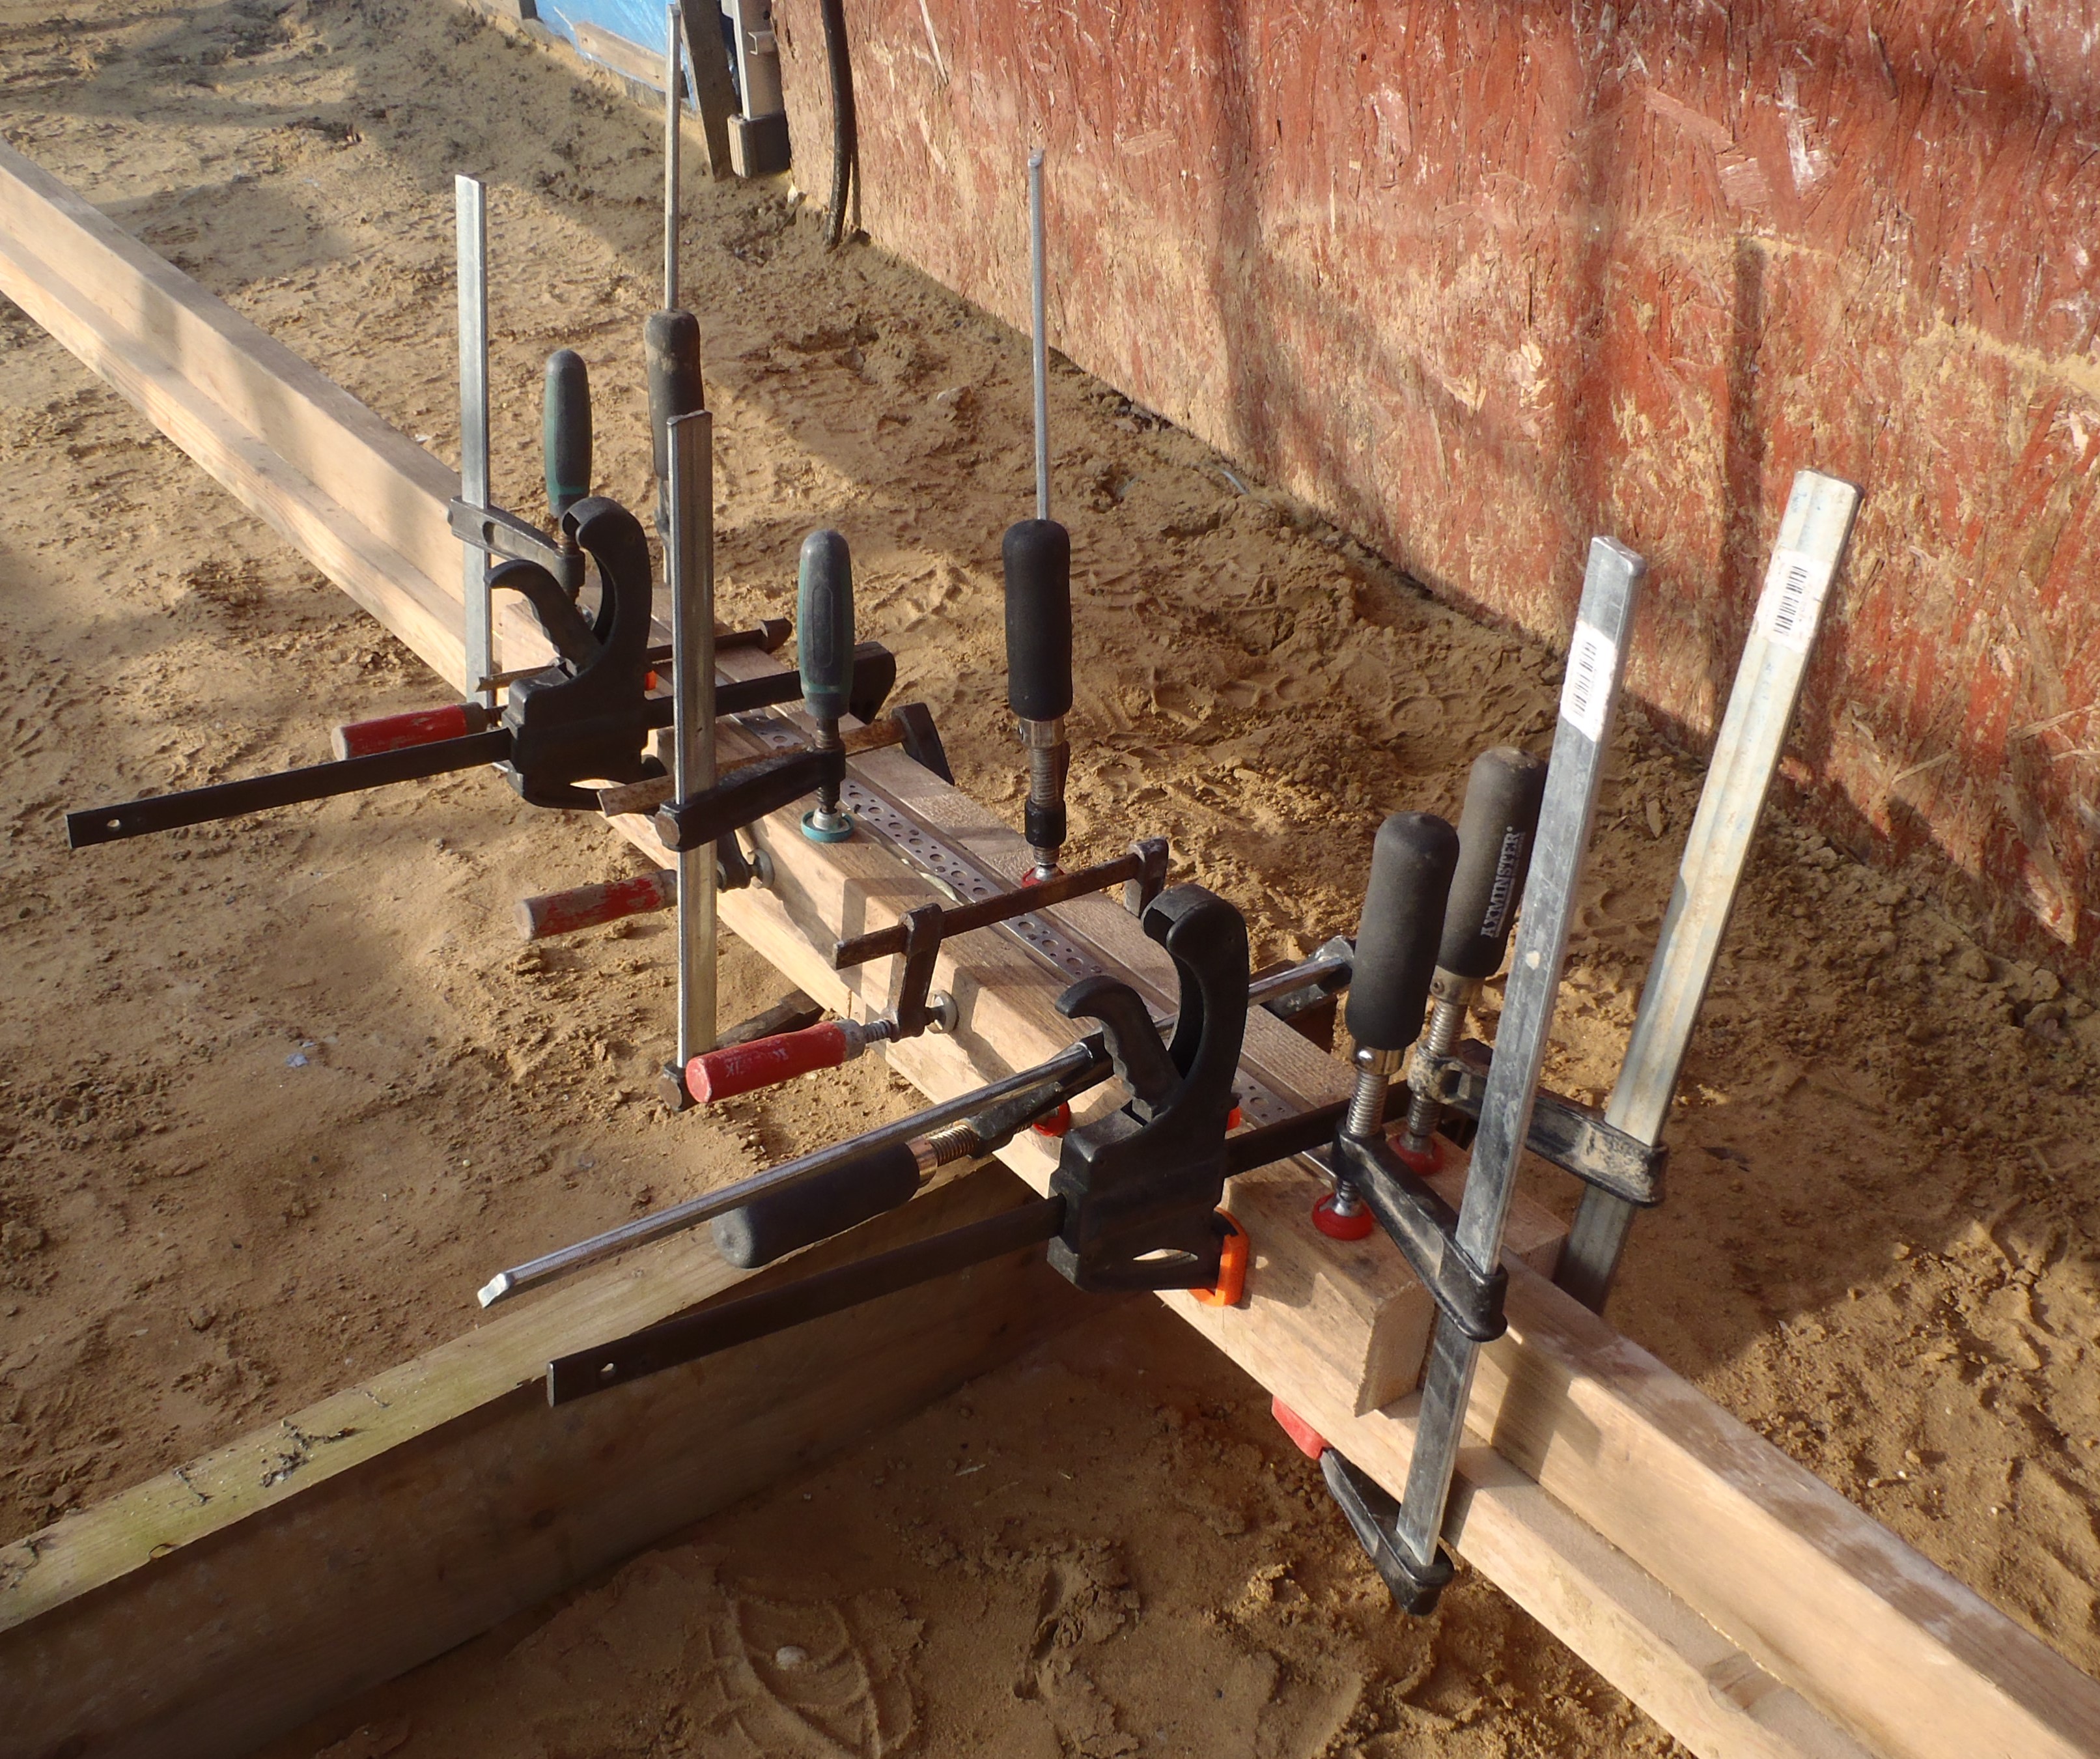
Repairs-on-Crane-Leg
We will leave it to set all day Friday as the low temperatures will slow down the setting time for the glue. We only need for this crane leg to survive five (or perhaps 7) more lifting operations and that is the end of the homemade crane unit! Just annoying that the wind had picked up today and caught us unaware and crashed the leg over!!