Blog

  • Test New All Weather Glue!

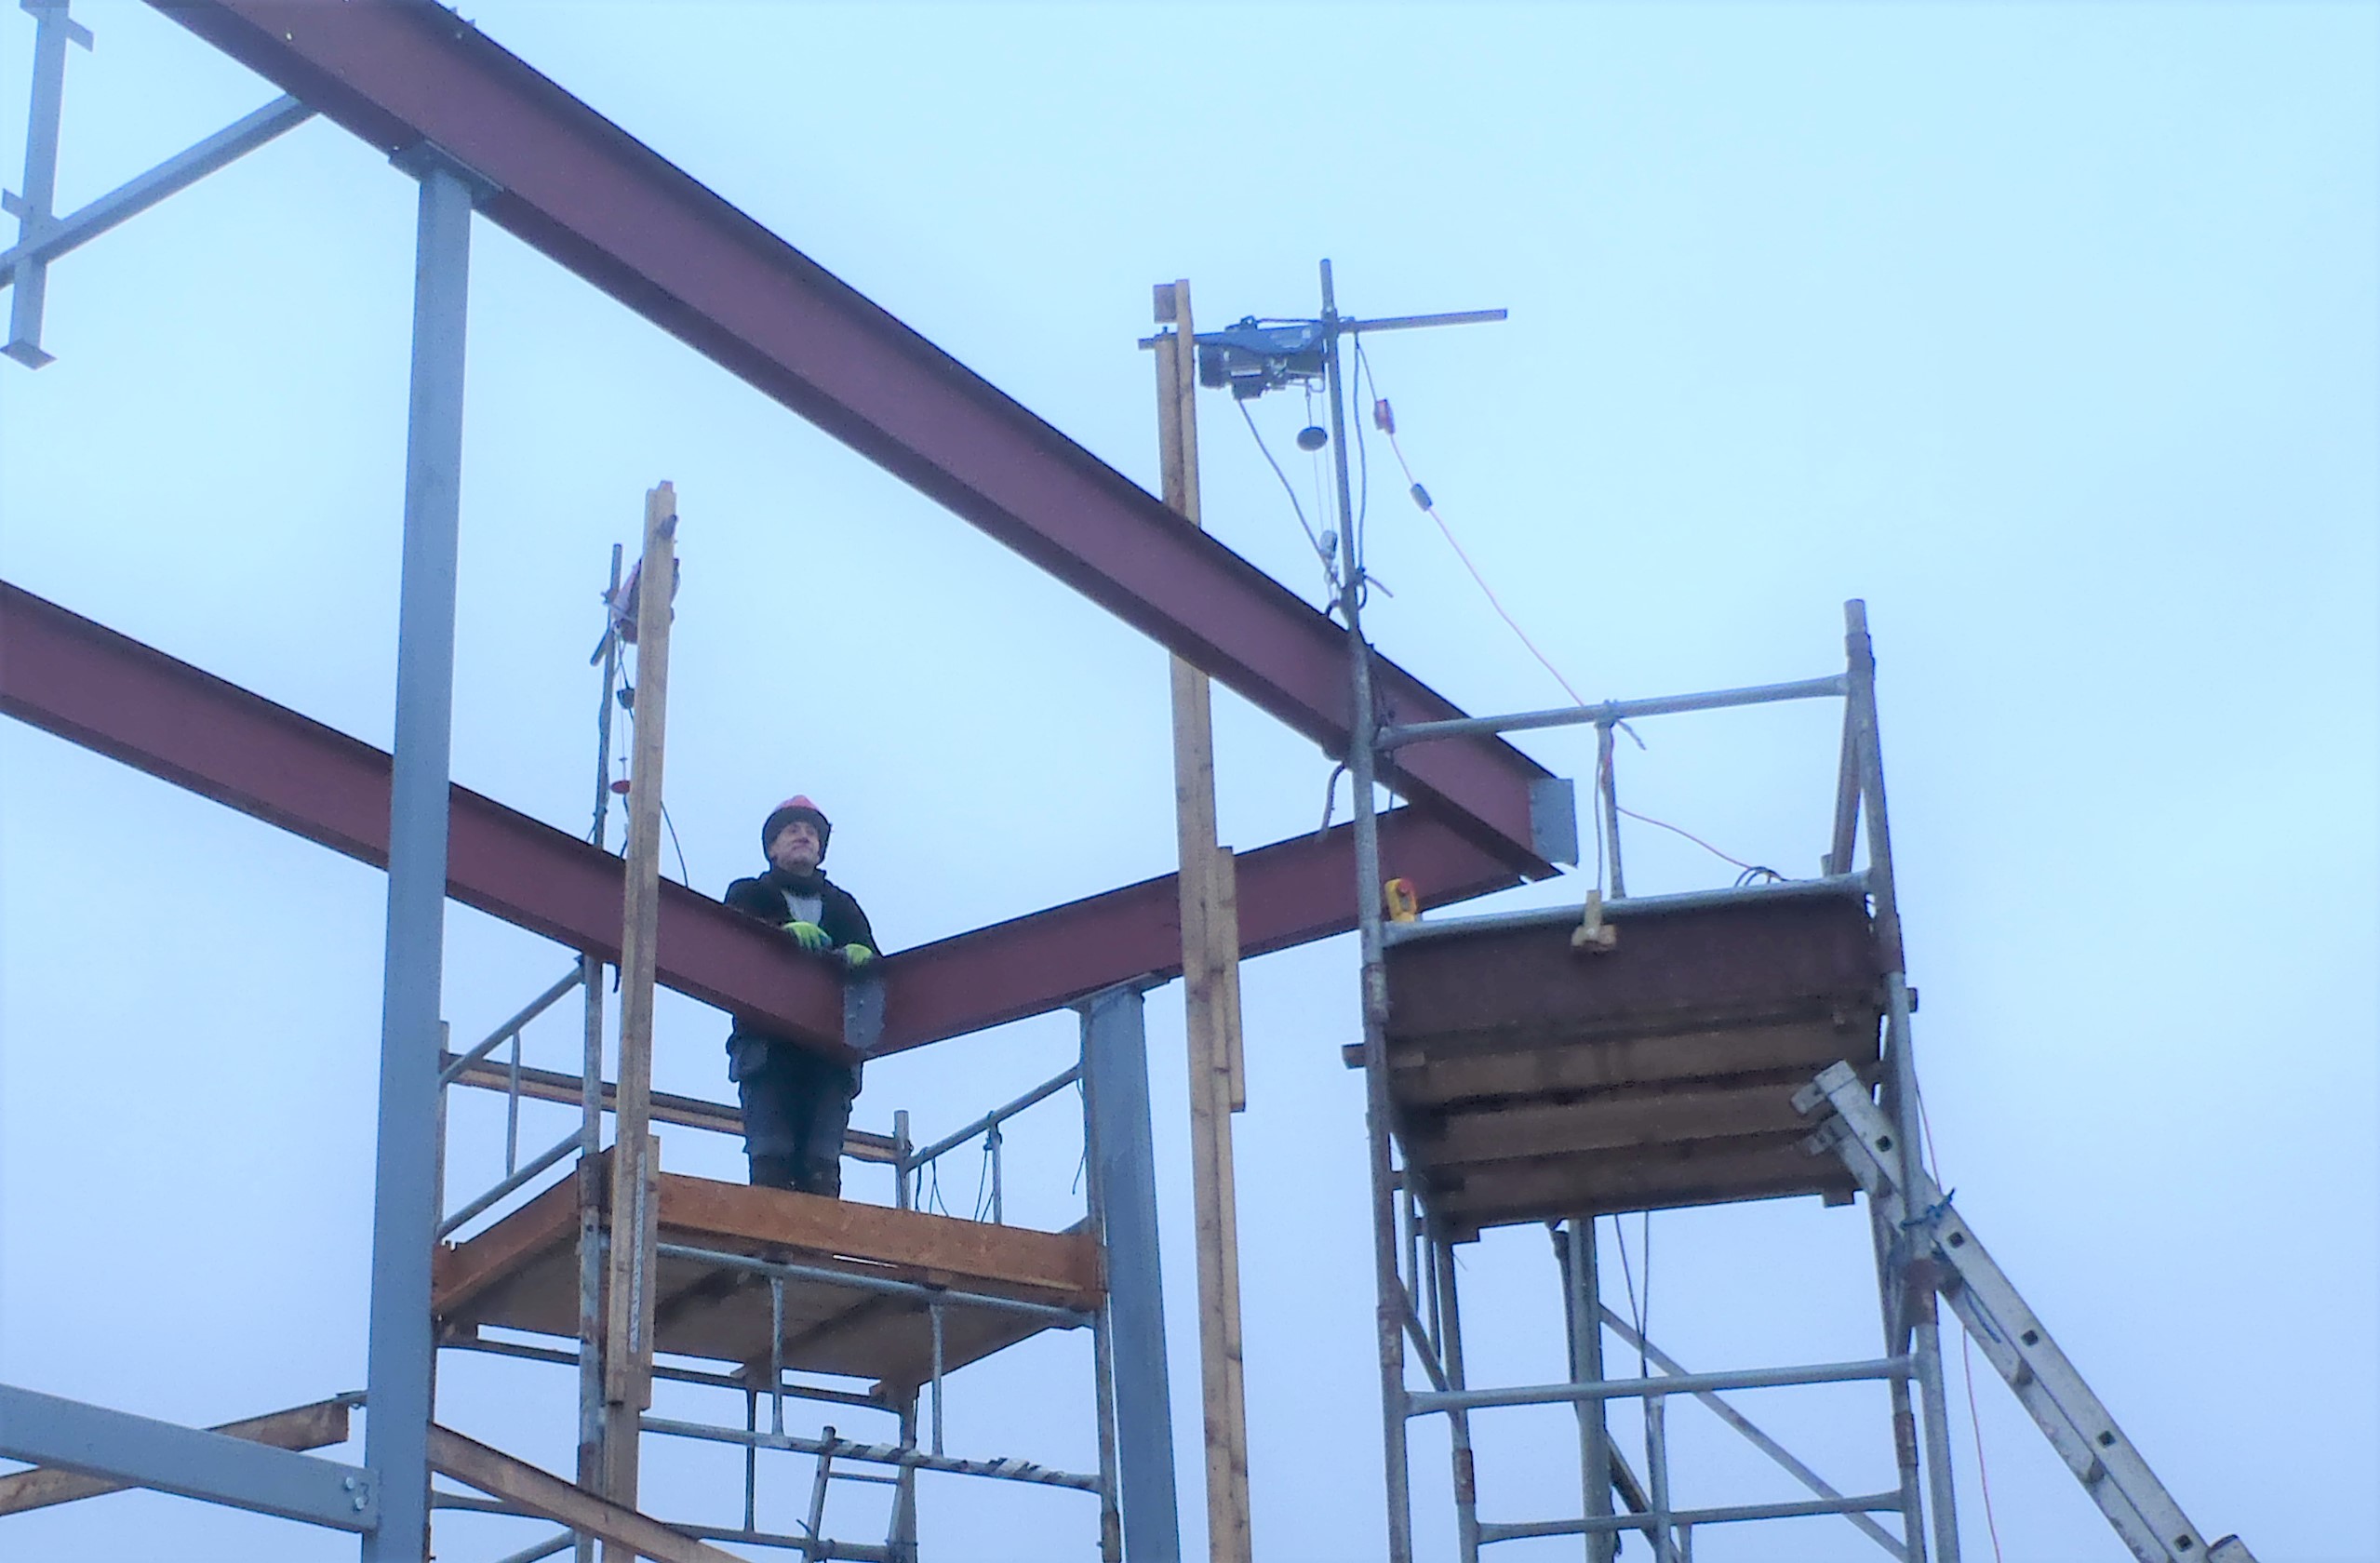
     This morning, after tidying up the workshop, we decided to test our new glue to see how good it is in wet conditions. We can easily envisioned situations where we were having wet weather during or after placement of the wall legs or roof rafters but before we got the cement boards on and our timber is damp from the rain, delaying our progress!

    But the building industry has come up with this fabulous alternative to the other common glues like PVA and polyurethane. It is based on Modified Silane (MS) Polymer glue, invented in Japan in the 1980’s! It is very flexible, very strong, sticks to almost anything, Sunshine proof and works in very damp conditions as it uses moisture for its curing process. For further technical info, visit www.adhesiveandglue.com/modified-silane.html

    sika_Multistick

    sika_Multistick

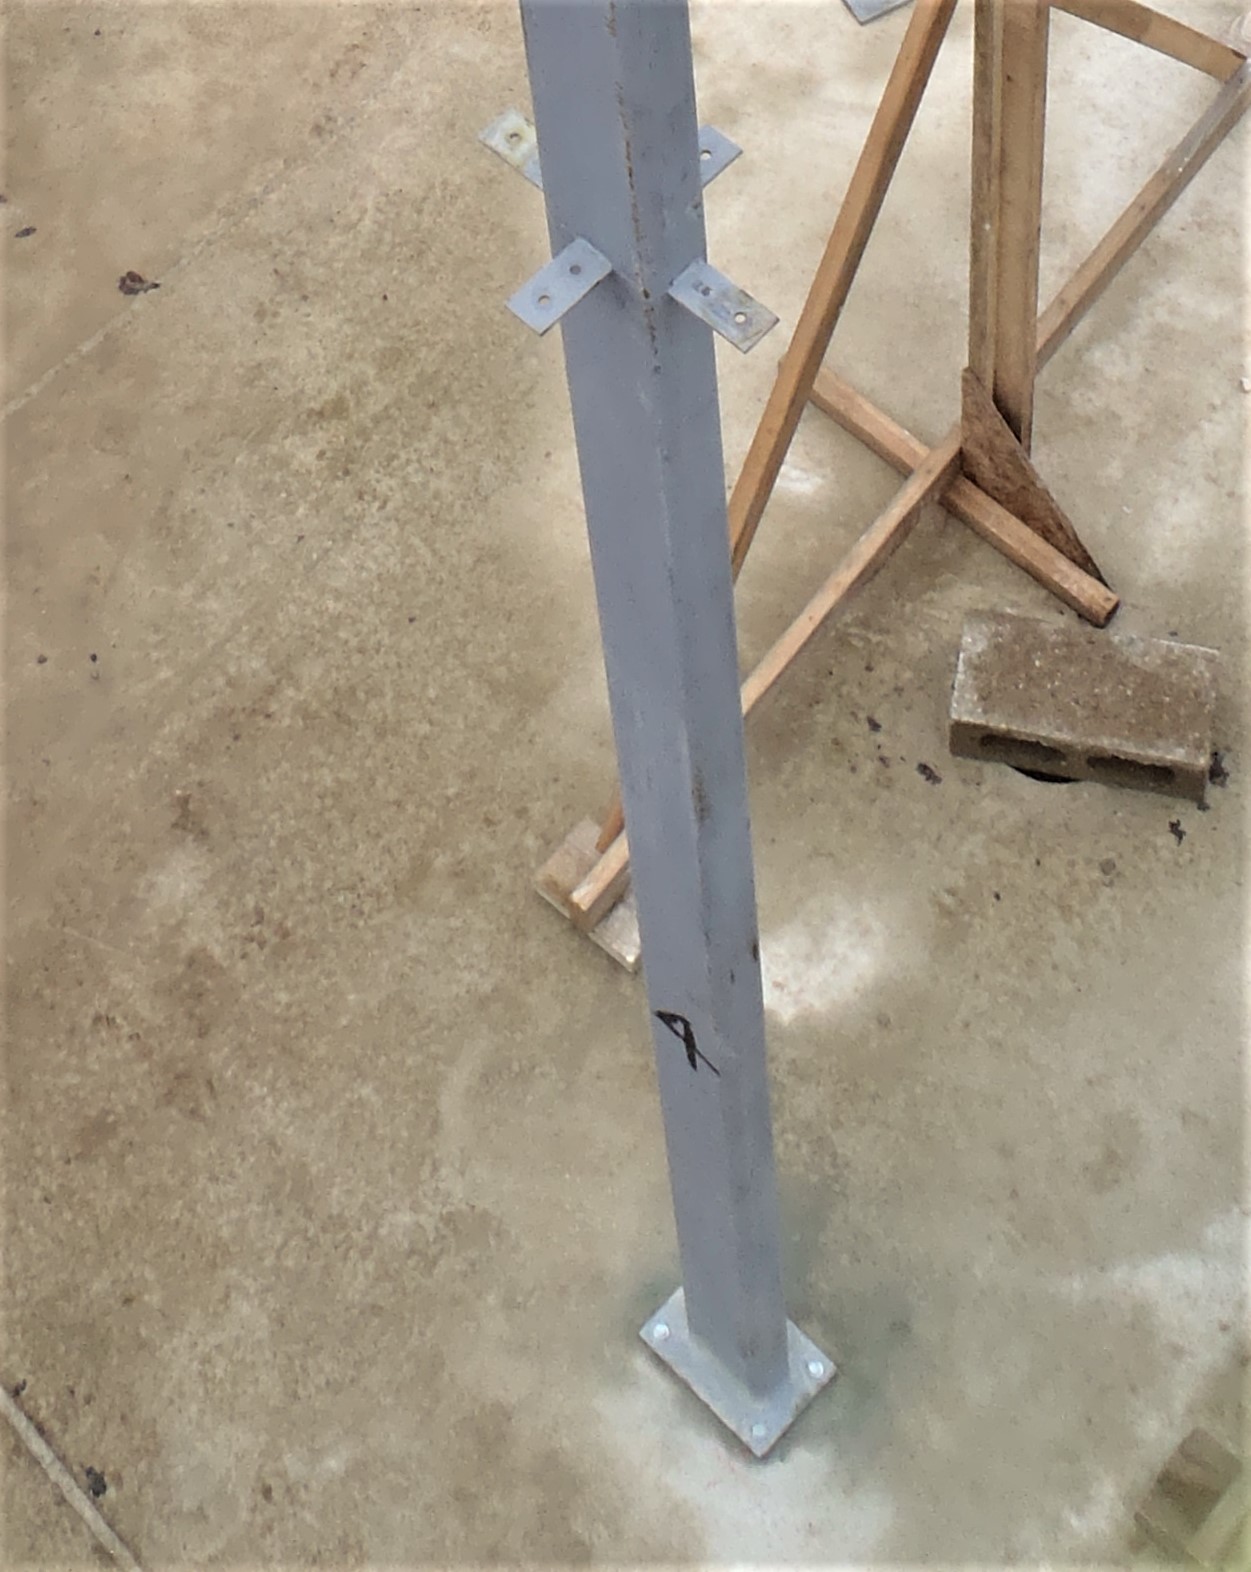
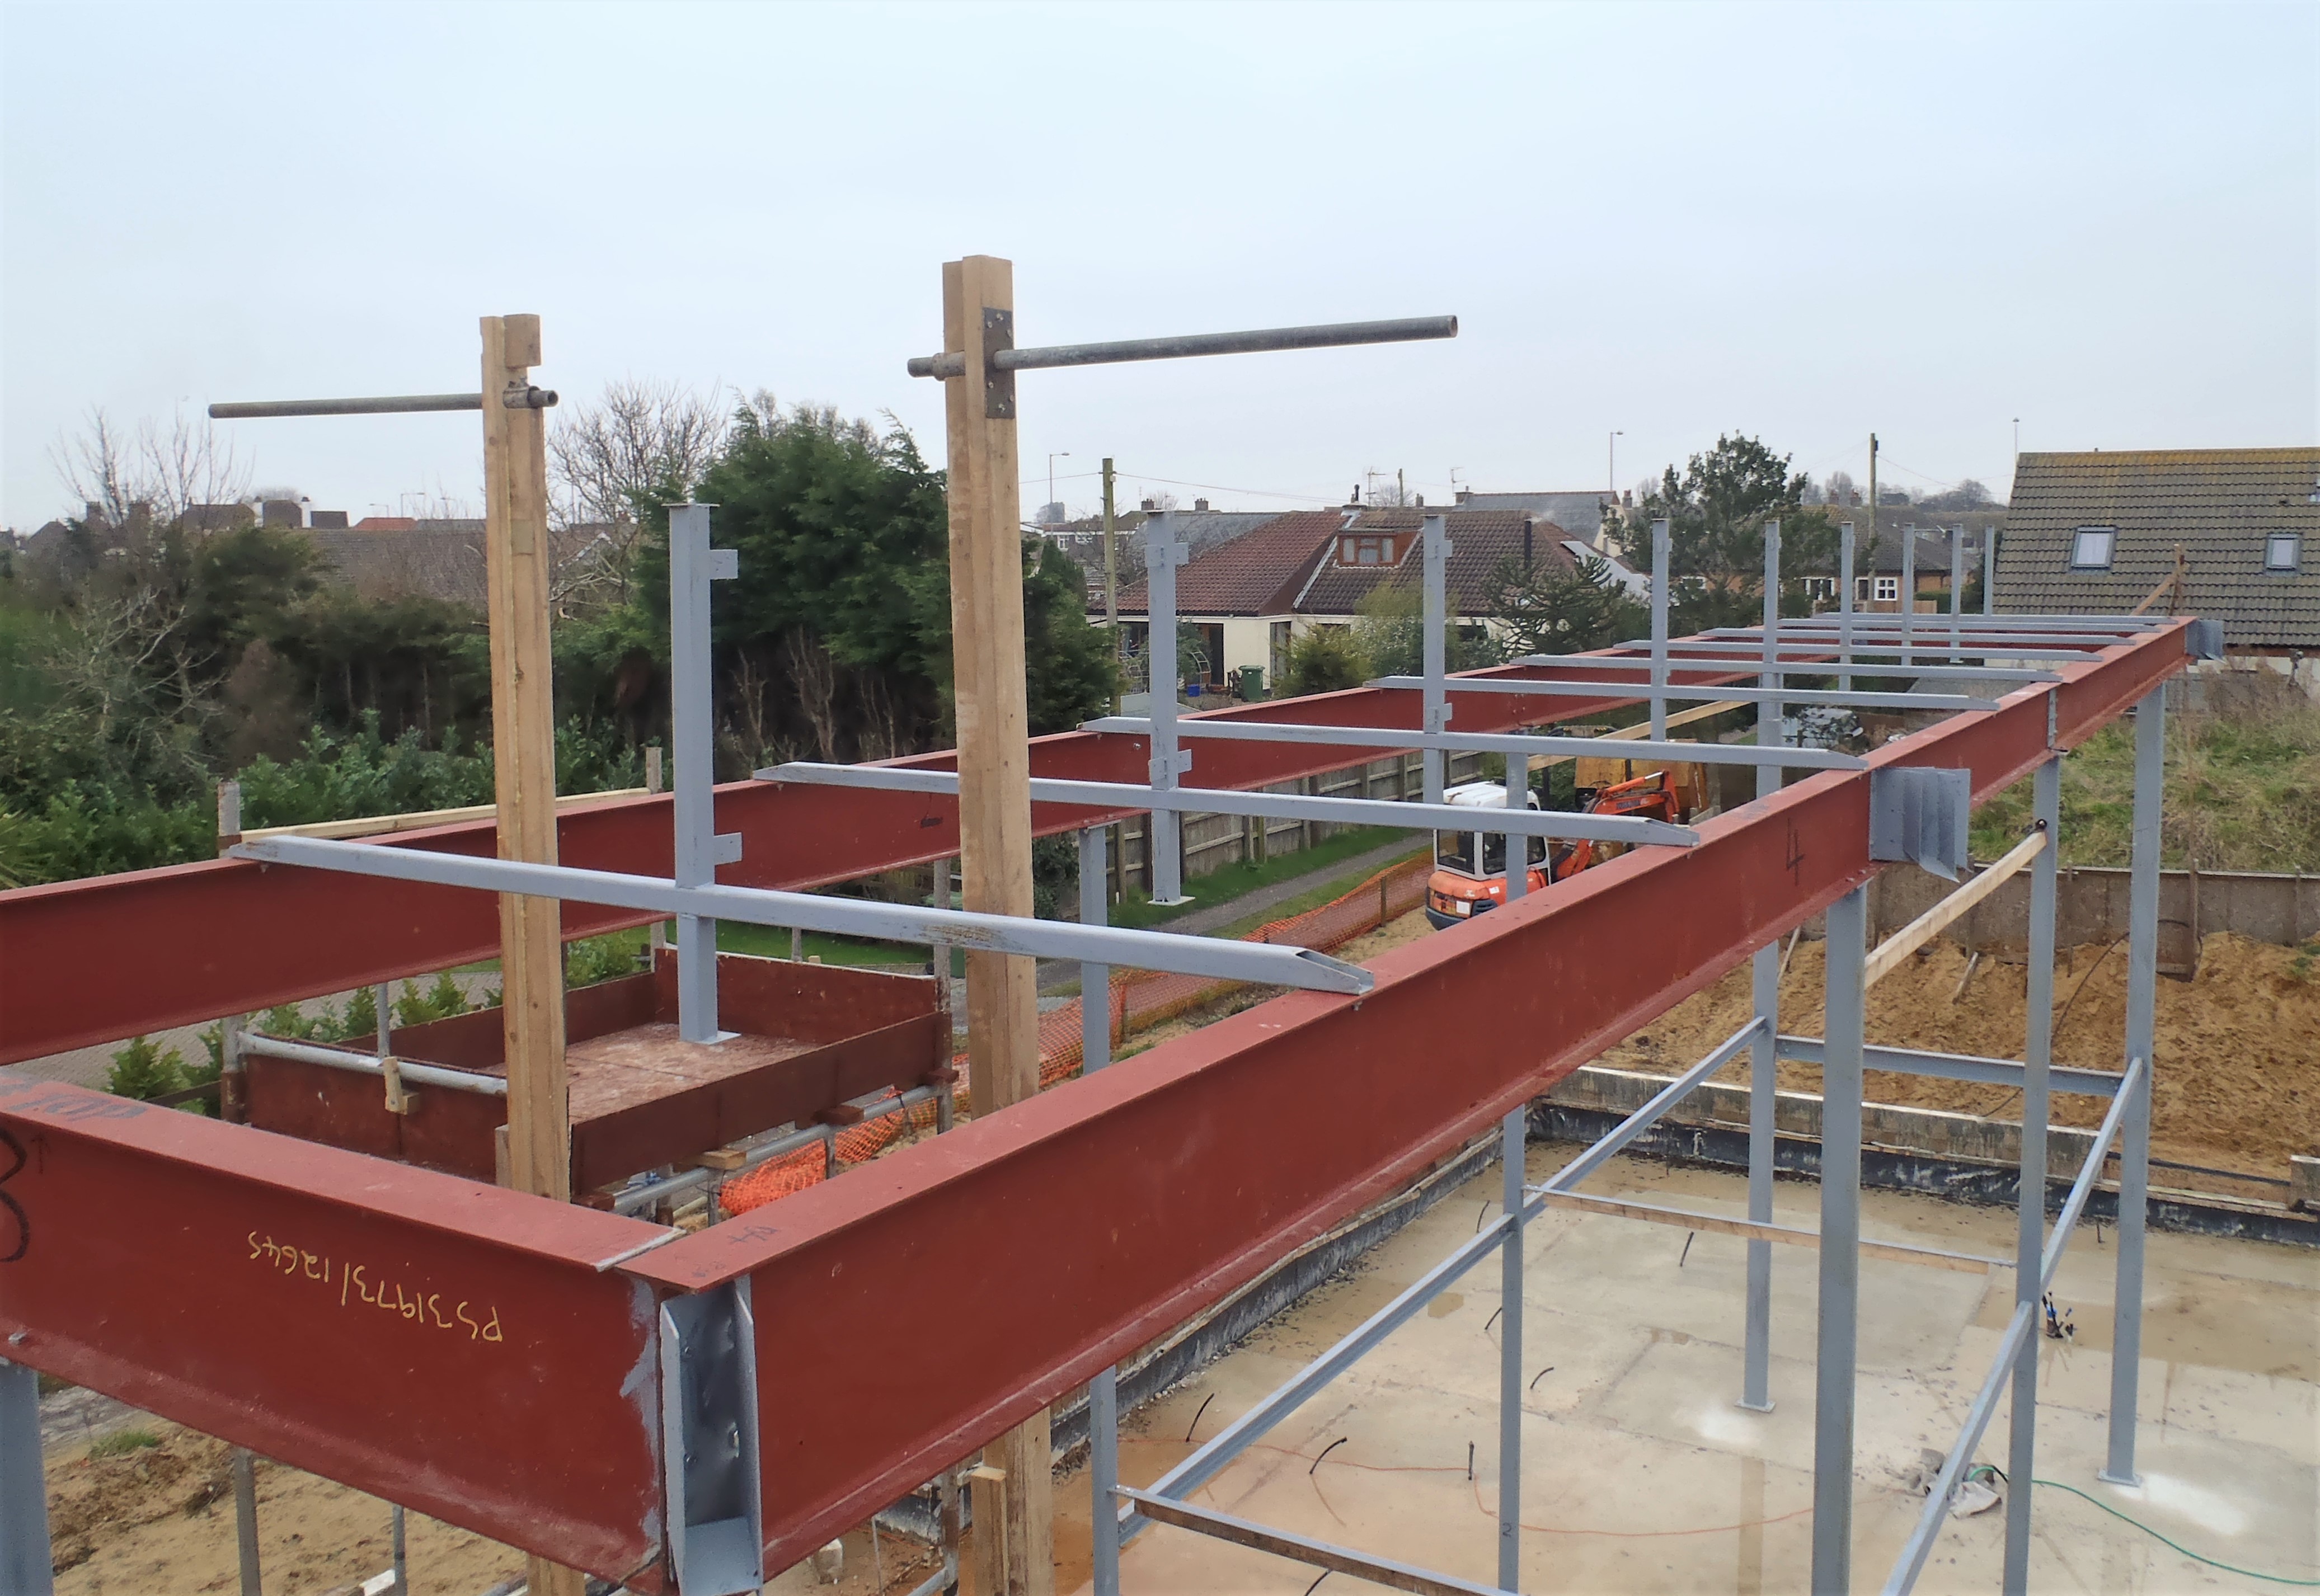
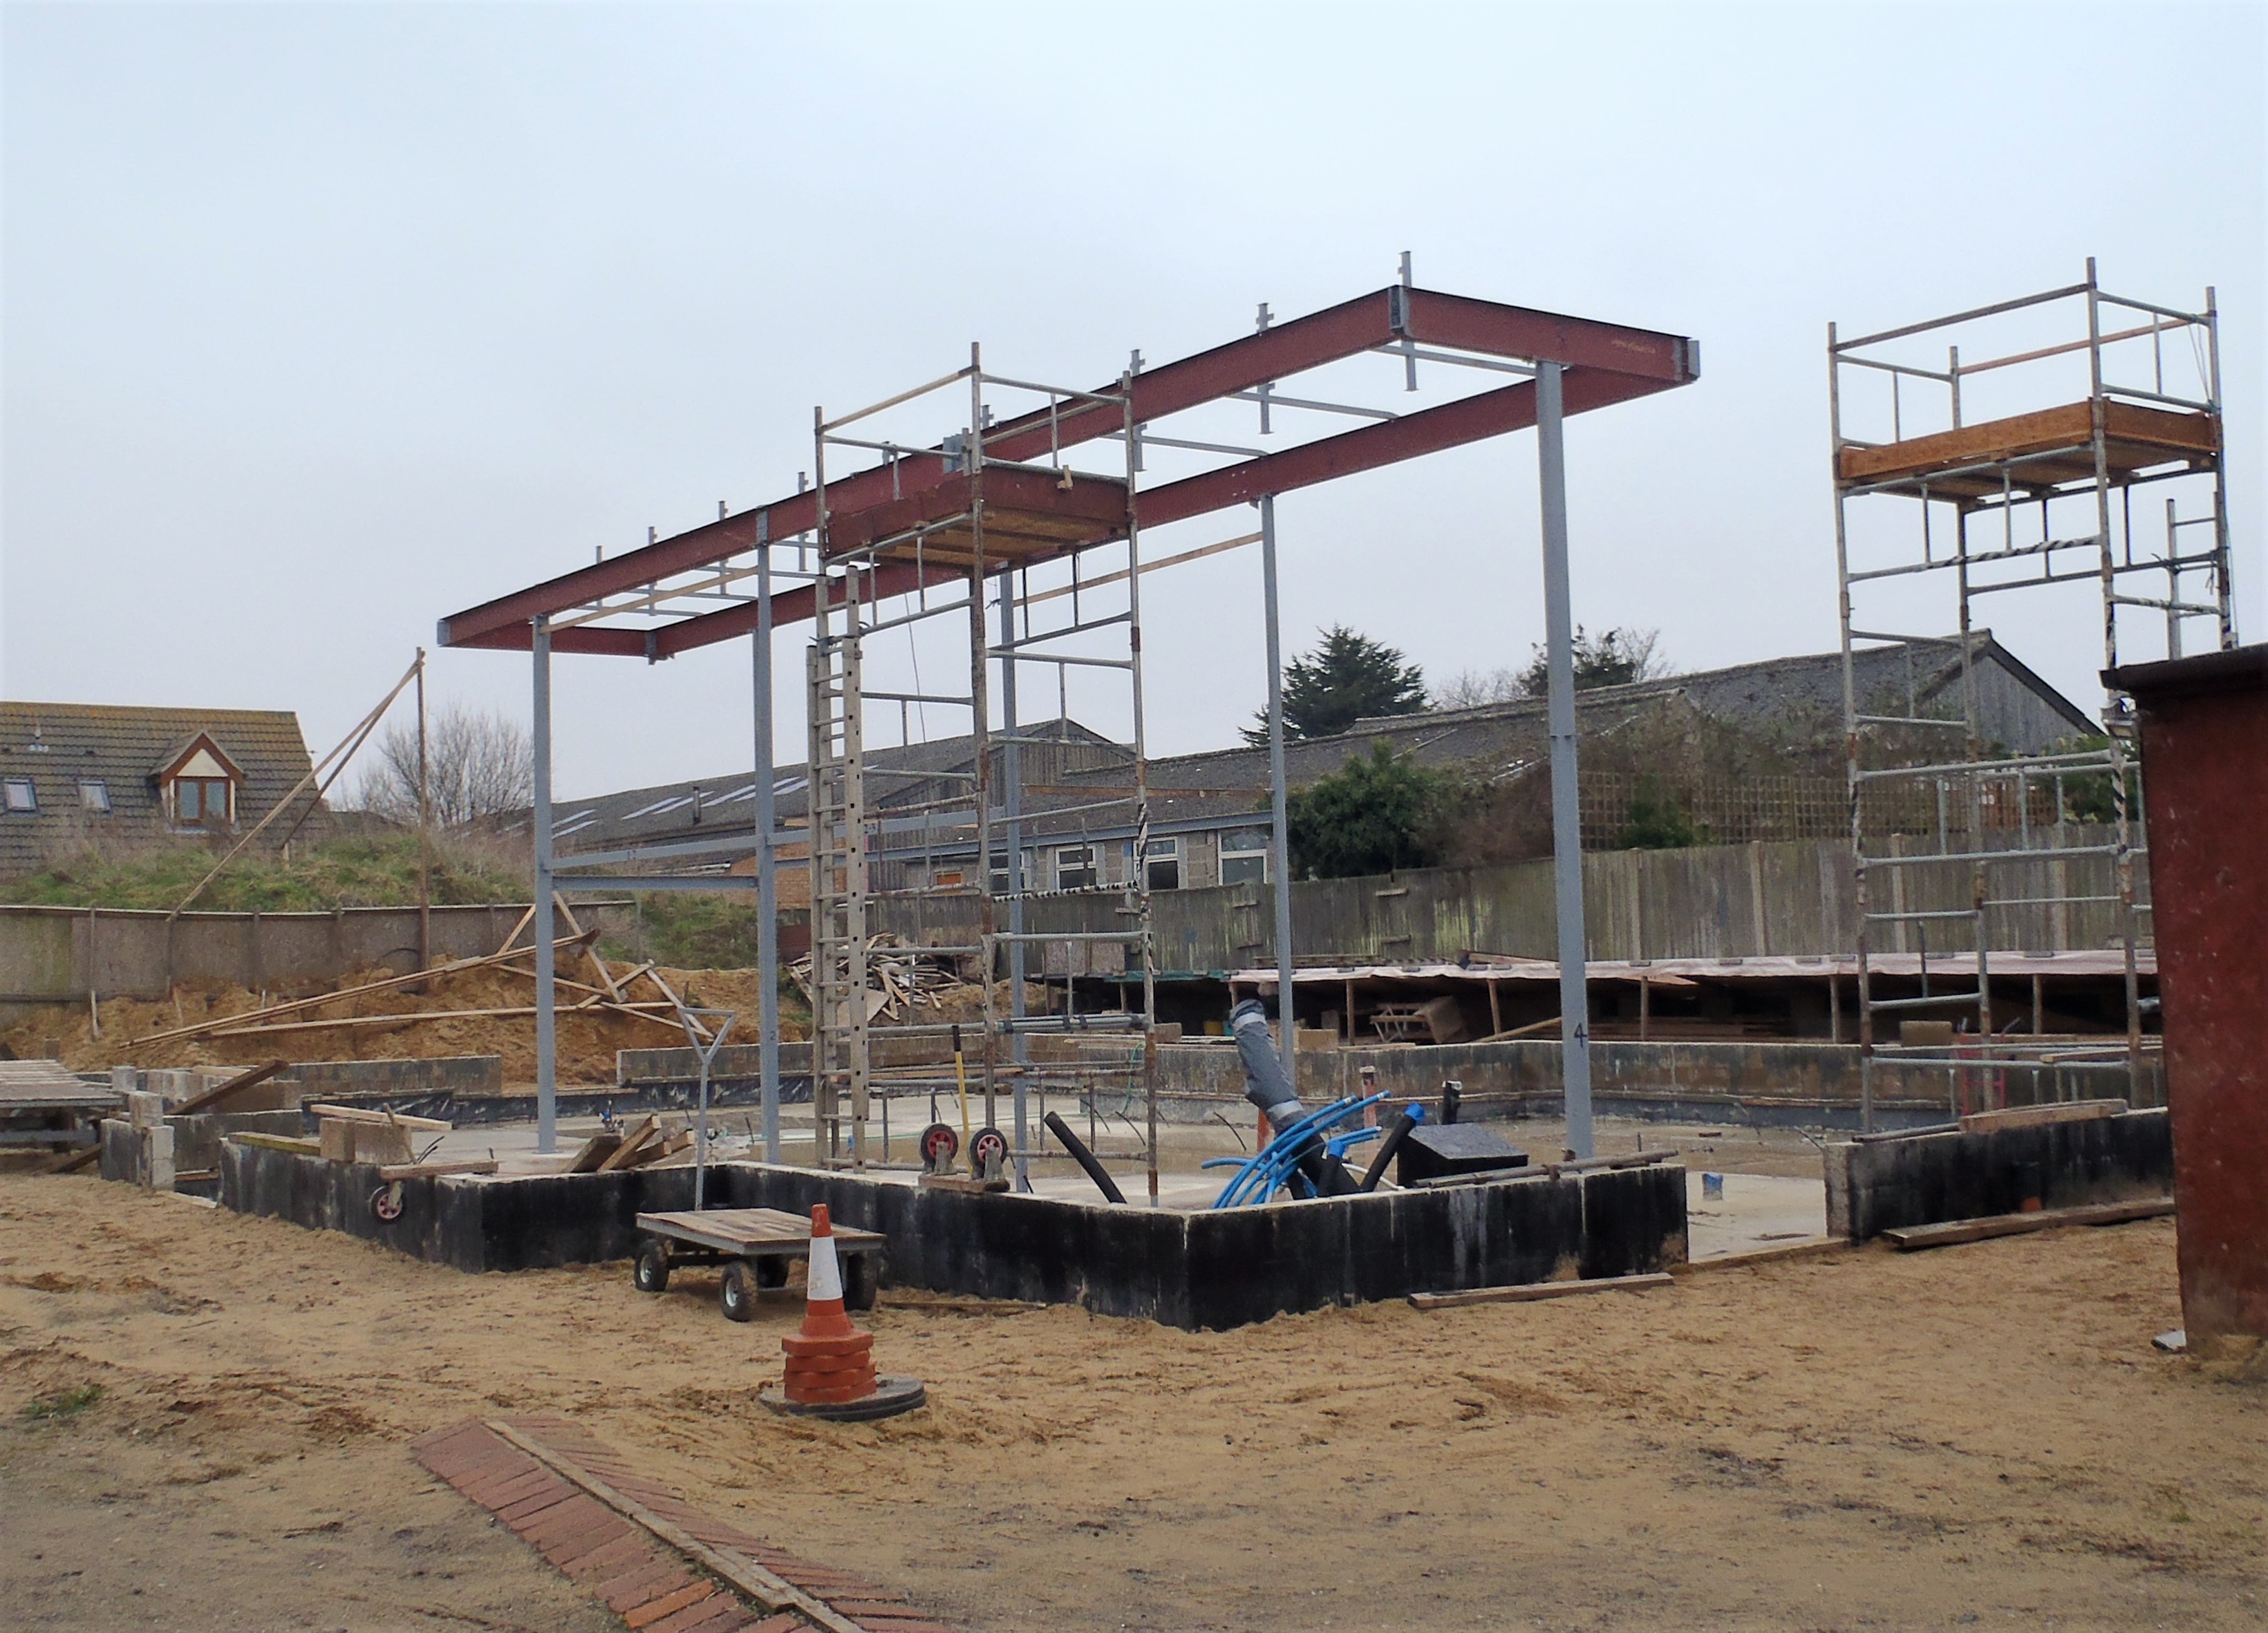
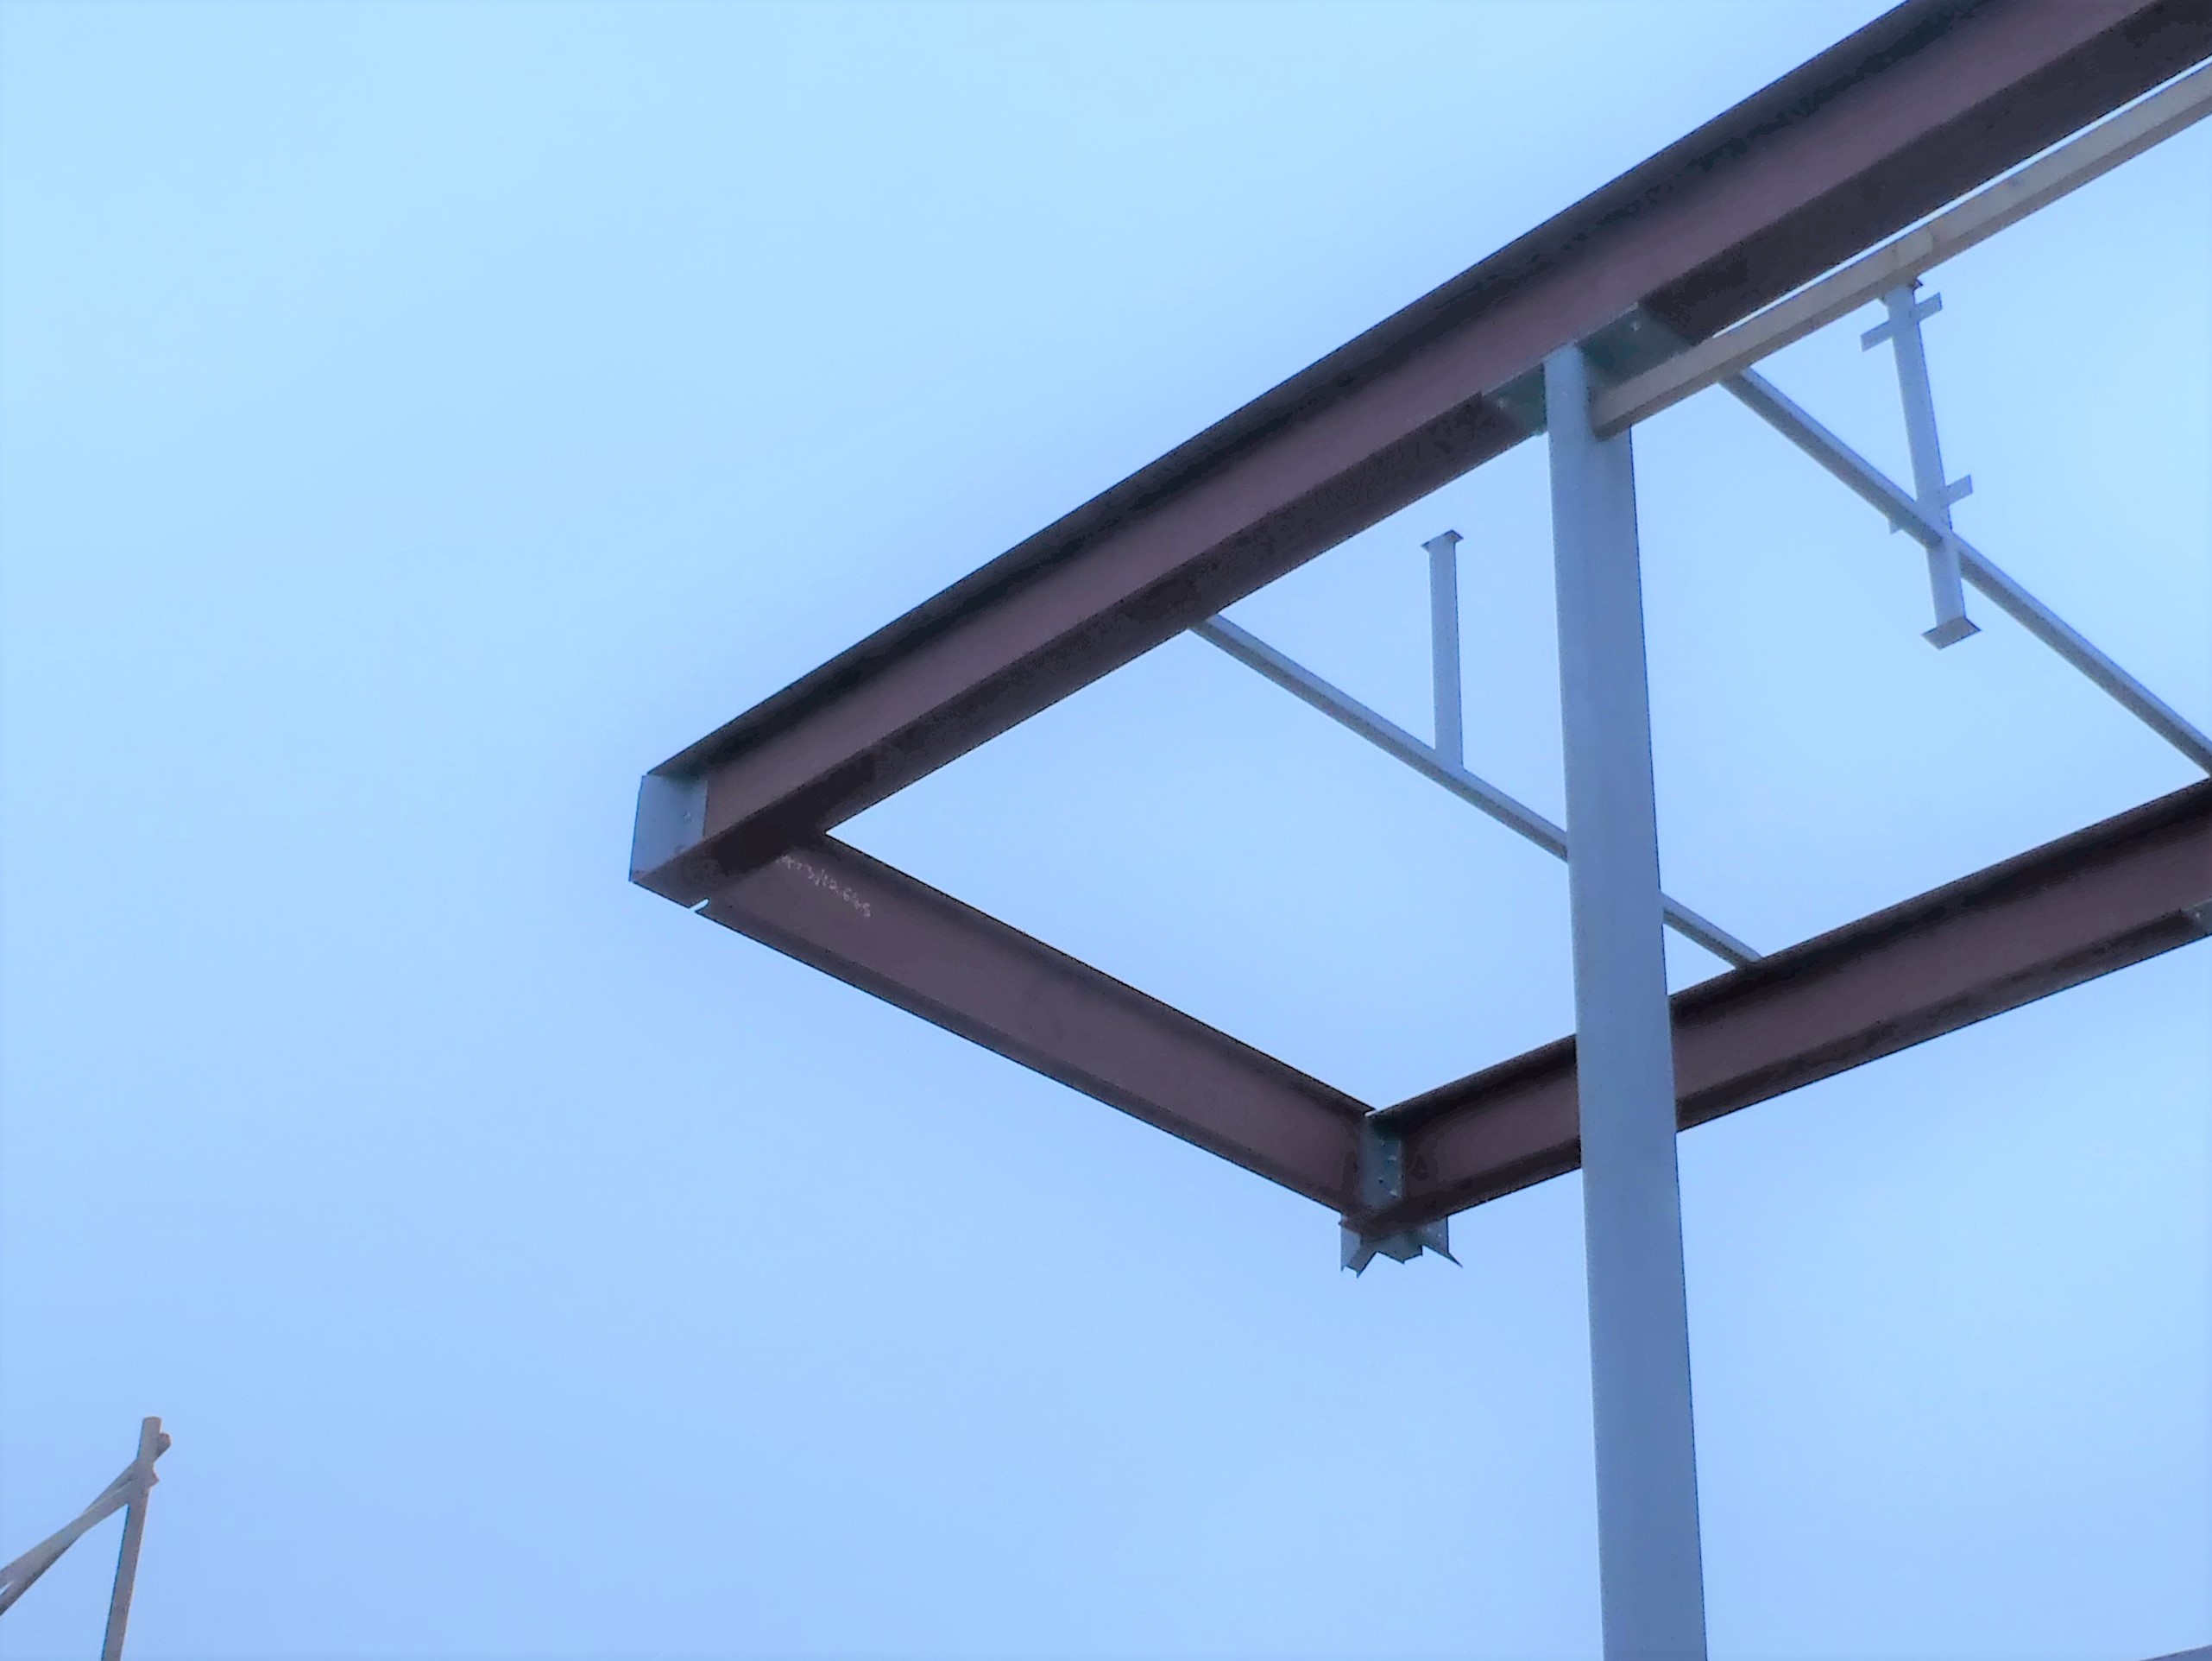
    In our case, we are bonding cement boards to the outer walls and on the roof rafters in one job, then we have planks of timber to be bonded to the steel I beams and finally, the Sky Light frames will have the glazing rubber seals bonded to the wooden support bars.

    So we got two small pieces of CLS timber, one was dunked in water and the other kept dry for comparison. Then, we gathered two sets of the three materials (cement board, painted steel I beam and rubber) we are testing and then squirted a blob of glue and stuck down each test piece, making sure it was spread thinly and pressed firmly together.
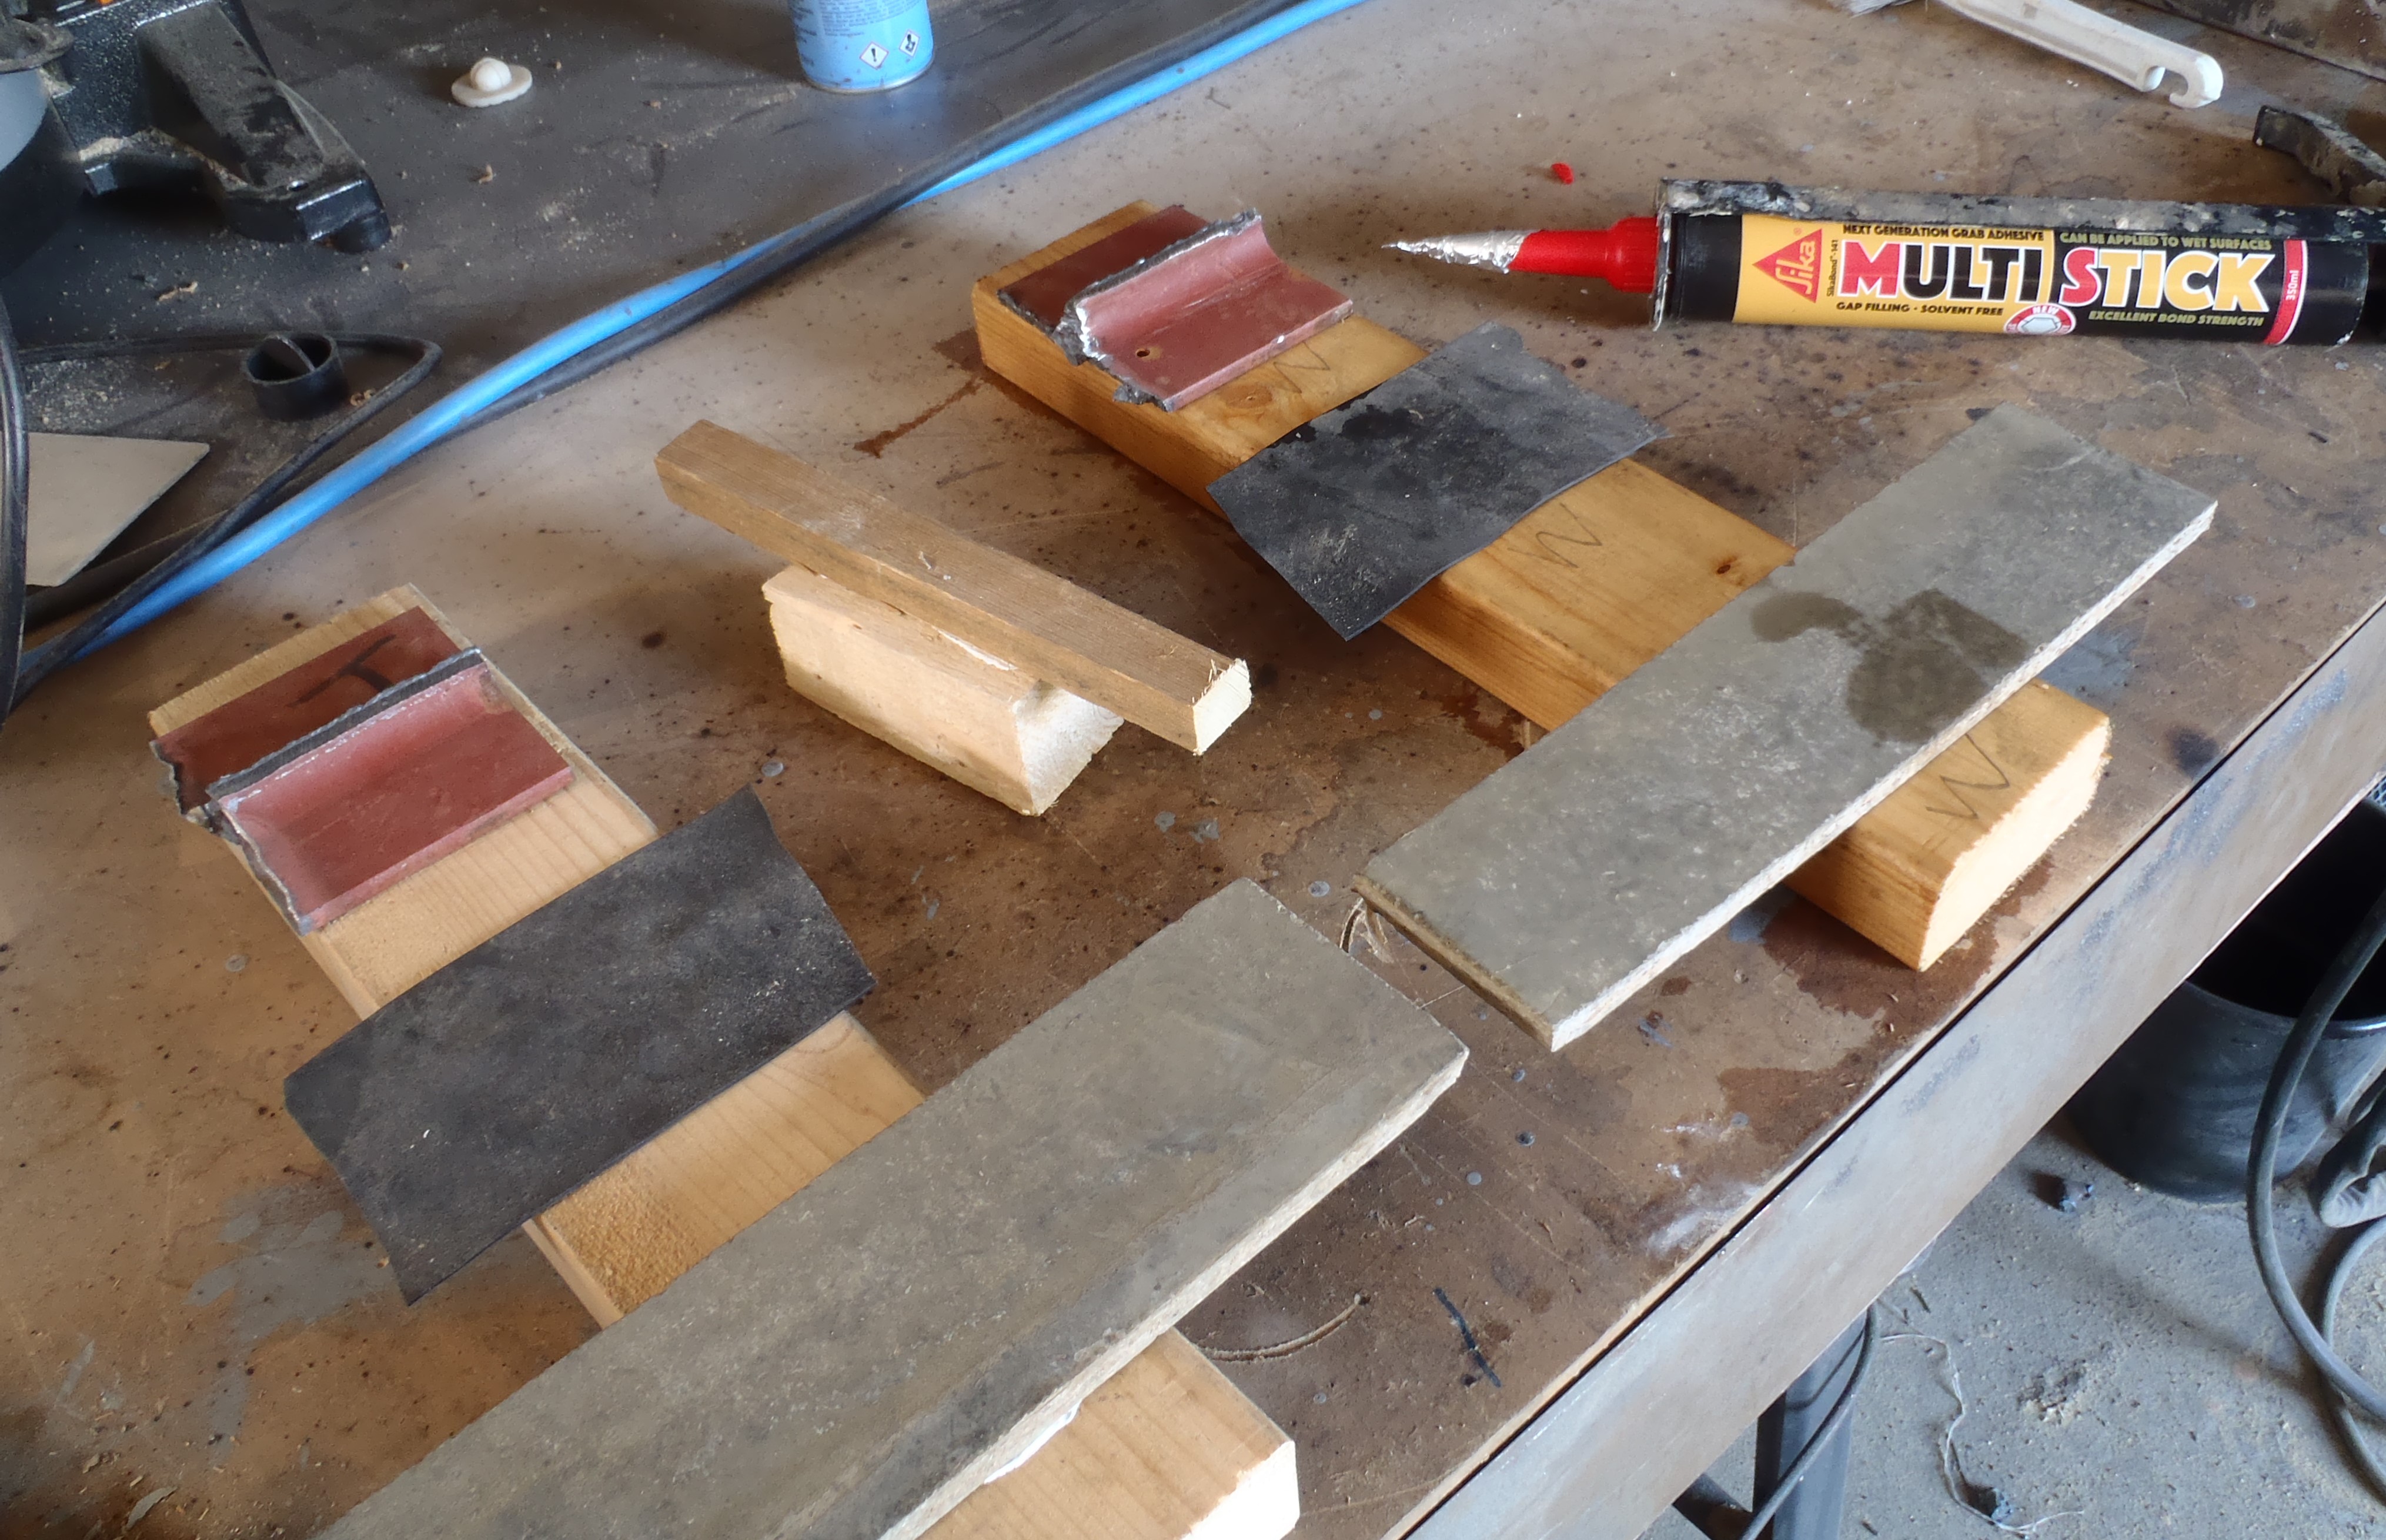
    Glue-testing

    Glue-testing

    Another advantage of these glues, especially the modern ones, is that they are very high grab so as soon as you press the joint together, they will hold firmly. We did notice that this is the case but the materials were able to slide about fairly easily so useful for the final alignment.

    Now we wait for the curing process which will be quite quick but it did warn us that it is an outside inwards curing process which means that the most deepest parts of the bond may take a while longer to finish curing, but still only about 2 to 6 hours.

  • Day 1 & 2 of Sending Quotations All Over the Country!

    Yesterday, we started the process of asking for prices for our material we need.

    The timber quotes have gone off to lots of suppliers, mostly in Norfolk as timber is common. But for the more specialised pieces like the fibre cement boards, we are having to send requests for quotes all over the country.

    One supplier in Kings Lynn was very helpful as they are major timber house builders and a piece of valuable advice we picked up, was to use treated timber for all our outer skin that faces the weather, because insurance firms do not like the idea of untreated timber, even though designs are very careful on this aspect and plenty of fresh air is always allowed to circulate around the timber to keep it dry and free from damp and rot. But insurers are a paranoid bunch!

    It seems that the price different between untreated and treated is about fifteen percent (15%) so this would add, for example, another £500 on a £3000 order of the 89mm CLS timber.

    We don’t need to go any further in the use of treated timber for the inner walls and floors as it is well protected from the weather and besides, we do not wish to live in a closed environment with chemicals impregnated in the walls and floors!!

    Some early numbers coming back are as follows:

    • £17 per sheet for 10mm cement boards
    • £12 per sheet of 12mm plywood
    • £1 per metre for untreated 89mm CLS timber
    • £0.70p per metre for untreated 63mm CLS timber
    • £1.15p for treated 89mm CLS timber
    • £0.83p for treated 63mm CLS timber
    • £5.80p per metre for 200mm wide LVL structural beams

    Today, we have send more requests for prices on glazing bars, I beams, more timber and laminated glass for the Sky Light.

    One surprise we discovered is that the structural LVL beams are made in 12metres (37feet) long single pieces! Wow! That’s one long lorry! We will have to walk each one (there will be 9 of them!) down the Loke and each will weigh about 45kg each but that nothing compared with the Steel pieces we have already staggered around with!! The LVL beams are so long that we will have to halt the traffic so we can swing around to line up to the Loke! We might end up bringing the battery circular saw and a tape measure to slice some of them into smaller pieces. Phew!

  • Days 6,7 & 8 – Analysis of Sky Light is Done and Grand Totals are Added Up

    Yesterday and early this morning, we carried on with the analysis of the Sky Light module and what it needs. We were discussing moisture control and making sure we can avoid condensation forming on the glass. We just wanted to make sure that it will be controlled to the lowest minimal levels so we don’t have to climb up two stories to reach these Sky Light windows too many times! For example, it is the case that naked timber breathe moisture so this can draw humidity from the air (both outside and inside) and eventually put water between the layers of glass. So we are coating the timber in waterproof paint that can survive for 25 years in the sunshine like two part resin.

    Anyway, it is a complex area of the build because of the glass and we worked our way through each of the issues of dealing with the glass and waterproofing against rain and moisture etc.

    The list below is a summary of elements in the Sky Light:

    • 46 pieces (65 metres) of glazing aluminium bars anodised white and 13m of ridge cap.
    • 126 metres of 100mm by 50mm planed timber
    • 50 metres of 150mm by 50mm planed timber
    • 50 metres of 63mm CLS timber
    • 15 sheets (44 square metres) of 12mm plywood
    • 6 sheets (17 square metres) of 10mm cement boards
    • 5 litres of the non-creep structural wood glue

    This concludes the big analytical task of quantifying the timber we need for doing the outer walls, the roof and sky light module. Also, we have some idea of what we need for the internal walls and flooring so we can present a single order to be priced on from various suppliers and get a better bulk discount we hope.

    So below is a summary of the total numbers of the various items we will be ordering:
    (standard lengths is 4.8metres)

    • 600 lengths (1.79 miles) of 25mm by 38mm treated Timber battens
    • 20 lengths of 63mm by 38mm treated CLS Timber
    • 20 lengths of 100mm by 50mm treated Timber
    • 900 lengths (2.68 miles) of 63mm by 38mm CLS Timber
    • 350 lengths (1 mile) of 89mm by 38mm CLS Timber
    • 32 lengths of 100mm by 50mm timber
    • 12 lengths of 150mm by 50mm timber
    • 100 meters of 200mm by 38mm structural laminated veneer lumber (LVL)
    • 70 meters of Oak Planks
    • 180 sheets of 12mm structural plywood
    • 70 sheets of 10mm cement boards
    • 150 sheets of 15mm cement boards
    • 115 sheets of 25mm cement boards
    • 150 sheets of 18mm OSB3 boards
    • 250 bundles of Cedar shingles roof covering
    • Lots Double glazing units of various sizes
    • 125 litres of non-creep cross linked structural wood glue
    • 120 tubes of MS polymer Structural glue
    • and thousands of hot-dipped galvanised ring shank 50mm nails!!

    This would be split into several orders as we don’t have enough room to store everything at once! It will be broken up into as follows:

    • Outer Wall and Roof plus  Sky Light
    • Oak timber for guttering
    • Double glazing Glass for outer wall and Sky Light
    • Cedar tiles for outer wall and roof
    • Inner walls and flooring (both ground and 1st floor)


    Now perhaps you can appreciate why it has taken 7 days so far to build up this order, just the sheer number of different pieces of building materials, and getting the logistics sorted out too! Phew!

  • Day 5 – Analysis of Sky Light and Rafters

    We continued with the task of picking out all the individual pieces of the roof structure, completing the analysis on the structural beams (ridge, hip and valley beams).
    These beams are made of two very strong Laminated Veneer Lumber (LVL) flanges, 100mm high by 39mm thick, ranging in length from a few metres up to 7metres. These flanges are sandwiched by two outside layers of our 12mm structural plywood, and inside the boxing, are lots of noggins made of 89mm by 38mm CLS timber pieces positioned vertically in every place where the ends of each rafter comes down and joins onto these beams and are nailed and glued together. As you can see, these beams are a major load bearing members of the roof to carry the weight of all the rafters and tiles that will be put on the roof.
    The summary of pieces are detailed below:

    • 36 pieces (200 metres) 100mm high made from 19 pieces of LVL 200mm by 39mm beams
    • 35 sheets (105 square metres) of 12mm plywood
    • 11 litres of non-creep cross-linked structural wood glue
    • 150 noggings (38metres) of from the offcuts of the LVL flanges

    Then, the second half of the day was spent on analysing the Sky Light which we have right on top and down the whole length of the roof. As a reminder, it is 2.5metres (8 feet) wide by 18metres (60 feet) long of two lines of slightly pitched glass (10 degrees angle) meeting together at the middle and highest point of our house. This Sky Light is mounted 150mm (6 inches) above the tiles of the roof, being made of a vertical structure sitting on top of the steel I beams and glazing timber bars coming down from the main horizontal wooden ridge beam, which are screwed on top of the steel Cross Spars elements going down the length of the Sky Light.
    The results of this analysis will be revealed tomorrow!

  • Day 4 of Shopping List – Roof Rafters Continues

    Today was spent going into the numbers and double checking the figures and sums for the Outer Wall and then continued with the Roof structure analysis.

    The Roof is by far the most complex aspect of this task, with half a dozen different types of material being used in the construction of each Rafter and Beams (whether it is a ridge, hip or valley) plus the amount of glue (several different kinds of those too!).

    Here is the latest summary so far:

    • 125 lengths (600metres) of 89mm CLS timber
    • 104 lengths (500metres) of 63mm CLS timber
    • 138 sheets (415 square metres) of 12mm plywood
    • 80+ litres of non-creep structual grade wood glue (sticking plywood onto flanges)
    • 40 sheets (116 square metres) of 35mm thick PU foam insulation panels (fill volume inside rafters)
    • 13 cans (350 litres) of Gun Spray PU foam (filling the small gap inside rafters)
    • 51 tubes of MS Polymer Construction Glue (only for sticking the cement boards onto rafters)

    There is another day’s work to finish off the calculations for all the roof members and support blocks and noddings.

  • Day 3 of Shopping List for Timber and Boards

    At this stage of the analysis, the roof rafters are now being quantified. There are over 200 individual pieces, ranging in length from a few hundred millimetres, all the way up and over five thousand millimetres long!

    Each rafter is a box beam, made up of a top flange using a 89mm CLS timber and a bottom flange of a 63mm CLS timber, sandwiched by two layers of 12mm thick high quality plywood boards. The hollow space inside the rafters will be filled up with insulations to avoid any “cold bridging” to stop heat from escaping.

    The current summary of numbers are:

    • 125 lengths (600metres) of 89mm CLS timber
    • 105 lengths (500metres) of 63mm CLS timber
    • 138 sheets (415square metres) of 12mm plywood

    Continuing with the roof structure, are the main ridge beams, hip and valley beams and other structural beams that helps join all the rafters together from the walls and up to the steel framework. So further analysis is being done on these items and will be added to the shopping list.

  • Day 3 – Ground floor Internal Walls and Floors Calculated and Added to Shopping List

    After our outside work was all done and dusted, the analysis of our timber requirement carried on this afternoon and evening, to add more items to our Shopping List.

    Our Procurement Officer (Stephen) worked on the ground floor’s internal walls, rails and the flooring with the following results:

    • 1.8km (just over one mile) of 63mm CLS timber for the structure of the walls
    • 1.2km (three quarters of a mile) of 63mm CLS for the horizontal rails on walls
    • 190m of oak planking for the utility rails
    • 560 m² of 25mm cement boards for the wall linings
    • 1.2km (three quarters of a mile) of 63mm CLS timber to support the flooring
    • 320 m² of 18mm OSB for the flooring itself

    This is another 4.2km (over two and a half miles) of timber to add to our Shopping List!

  • All Done, Finished and Complete!

    With a freezing wind blowing across our building site, we concluded all the work on the Steel Framework today.

    First of all, we dealt with the last remaining leg (Number Four), the heavy duty one that holds up the end of the Steel Box at the garage end. We chumped the bottom of the leg to move it until it was vertical in both direction, some 75mm to 100mm of drift to adjust for. Then we drilled down into the concrete with our SDS drill and drove the last 4 concrete bolts down to secure this final and 7th leg into place!!

    Leg-4-Bolted-down

    Leg-4-Bolted-down

    Then, we climbed the two scaffolding towers to the top and swopped around another Cross Spar that was incorrectly orientated. After that, we moved the tower along to the middle leg position (number Two and Six) on both side and tightened up the 8 bolts we had loosened a couple of days ago during our fiddly operation of getting the end I beam piece into place. While we were here, we then swopped another two Cross Spar around. Finally, we moved down towards the end of the Steel framework near Leg One and Seven, and took down the Cross Spar that was completely in the wrong location and put in its place the correct Cross Spar we had on our tower waiting for this moment. With the last Cross Spar we removed on top, we trundled the two towers back all the way to the beginning and finally mounted this 9th Cross Spar into place and bolted it down tight.

    All-cross-ties-fixed-correctly

    All-cross-ties-fixed-correctly

    This concludes all the work of assembling the whole Steel Framework, Seven Legs, Six I beams pieces, Five U channel Struts mid way down the legs and Two strut between the pairs of legs, plus also Six Rafter Joist Brackets bolted into place (one in each corner for the Hip Ridge beams and Two middle ones where the front and back extension are!).

    It is back to the Shopping List and build up the next order of timber and cement boards!!

    The-finished-frame

    The-finished-frame


  • Day 2 of Building Up Shopping List for Walls and Rafters as well as All the Internal Walls

    Today, with only having one bloke on duty and the other one away at external meetings, the analysis of the design of the house and tallying up all the required timber pieces and cement boards plus plywood sheets carries on.

    The outer wall needs over  a mile of timber plus a load of cement boards and a heap of OSB webbing pieces (about 18 full sheets)

    • 165 X 89mm CLS Timber (standard 4.8metres lengths)
    • 211 X 63mm CLS timber pieces
    • 17 x treated 100mm by 50mm Timber
    • 24 x treated 63mm CLS timber pieces
    • 65 sheets 10 mm thick by 2400 mm by 1200 mm Cement boards
    • 15 sheets 11 mm thick by 2440 mm by 1220 mm OSB boards


    and this is just for the outer wall – grin!

  • The Two I Beam Ends Are On!

    After waiting about 45 minutes for the rain to blow over this morning, we started at 10:45 by hauling up the first of the smaller I Beam at the Great Room end of the steel framework structure. Using the tower and our wooden crane leg, we hoisted up the 2480mm long I Beam up and slotted it into place against the heavy duty angle iron that we had already bolted in place, ready to receive this section. All fitted nicely and all bolted up good and tight.

    Beam-6-in-place

    Beam-6-in-place

    Then, we moved the scaffolding towers down each side and loosened the bolts to the two long I beams (Number Two and Four) to see if we can lift the other end up in order to get clear of the big leg (Number Four) down at the Garage end of the steel structure. We positioned each tower diagonally across the end of the I beam, and moved the crane leg around so that we could use the winch to try and lift the ends of the I beams up, just a little bit so we will have room to slide in the final shorter I beam into place.

    It Worked!

    We got the last of the big I Beams (number Three) up and fitted into place. All is bolted together now, including the metal brackets  to receive the big valley rafters sloping down to the corners of the roof. Phew!

    Beam-3-in-place

    Beam-3-in-place

    It was a complex operation in coordinating all the different elements like adjusting the leg, loosening bolts and other tricks to achieve the end goal of completing the full circle of our Steel Framework! But we made it!

    It was dark by now, but we thought we would put up the final Cross Spars, the last two to do at this end of the structure and we got one up and bolted into place and just about to do the last one when we realised that it was the wrong one for that location! We further discovered that some of our Cross Spars were the wrong way round so we decided that enough was enough and correct that lot on Thursday when we resume work!! Grin!

    Cross-ties (some-are-wrong-way-round)

    Cross-ties (some-are-wrong-way-round)