Blog

  • The Saw Machine Module Has Adjusting Bolts fitted

    The workshop Saw Table now has a screwing adjustable rod to allow the machine modules to be moved back and forth to gain the desired cut distances we want.

    Machine-adjuster

    Machine-adjuster

    Then, a measuring scale is being designed and printed to be fitted into place so the fence can be positioned and the “Tool” module can be adjusted to precise positioning.

    Measuring-Scale

    Measuring-Scale


  • Cement Boards Arrives

    This afternoon, the cement boards, 70 sheets of 10mm thick by 2400mm x 1200mm, arrived and unloaded onto another prepared patch of ground.

    Cement-Boards

    Cement-Boards

    In fact, we counted 73 sheets! It seems that the manufacturer provides sacrificial boards on the bottom and top of the pallet. We had one and a half pallets so that meant 3 extra sheets. That’s Nice!

  • Remaining Plywood and PolyStyrene Foam Boards Arrives

    This morning, we suddenly heard a “beep” “beep” while we were still indoors and discovered that the next delivery load of building material was arriving! Quick! Put on Shoes! Rush Out!

    We had the polystyrene foam boards, the 120mm thick ones, all 20 sheets of them come, bundled into 4 packs of 5 sheets with cling film wrapped around the each pack. Then, the driver tried to unload a complete pallet of 12mm structural plywood boards and we said “Stop!” “We wanted only 30 more sheets, not a whole pallet of 75!” “Oops!” said the driver and he put it back on his lorry and drove away back to his yard.

    He returned a little while later with just 30 sheets and plonked them down on our large trolley. We then pushed them around to our Wendy house storage where we keep our supply of 18mm thick OSB boards and loaded the 30 sheets in there for now, fully protected from the rain.

    Insulation-for-Inside-Rafters

    Insulation-for-Inside-Rafters

    The polystyrene foam boards seems to have some sort of additional black beads mixed in with the regular white beads as you can see from the picture. There is something on the web saying that these black carbon beads are there to improve the compression strength of the foam. Very Pretty anyway!!

  • Finished Mortaring and Bedding down the Footplate

    We have done the job of mortaring and setting the Footplate into the right height position, now all the way around the external wall.

    The-last-wall-topped

    The-last-wall-topped

    We mixed up two more loads of mortar, one in the morning and the 2nd one in the afternoon. When we had finished the walls we had some mortar left so we filled in one of our drainage sump holes (it ended up above water most of the time).

    Sump-filled

    Sump-filled


    The laser level guide was doing a marvellous job, Sitting proud on its platform in the middle of the floor.

    Laser-Level-on-stand

    Laser-Level-on-stand

    We push the mortar cement mix under the plank, and then bash the wood down to squash out the excess mortar.

    Squeezing-mortar-under-wood

    Squeezing-mortar-under-wood

    Now we wait for the next delivery of building materials to arrive, mainly the two pallets of the long CLS timber as we need those pieces, the 89mm wide one for putting on two more layers on the external wall on top of the wood planks we have just been bedding down, and the 63mm wide CLS pieces to form the footplate for the inner wall position.

  • Started Mortaring Timber Footplate to Precise Height and Level

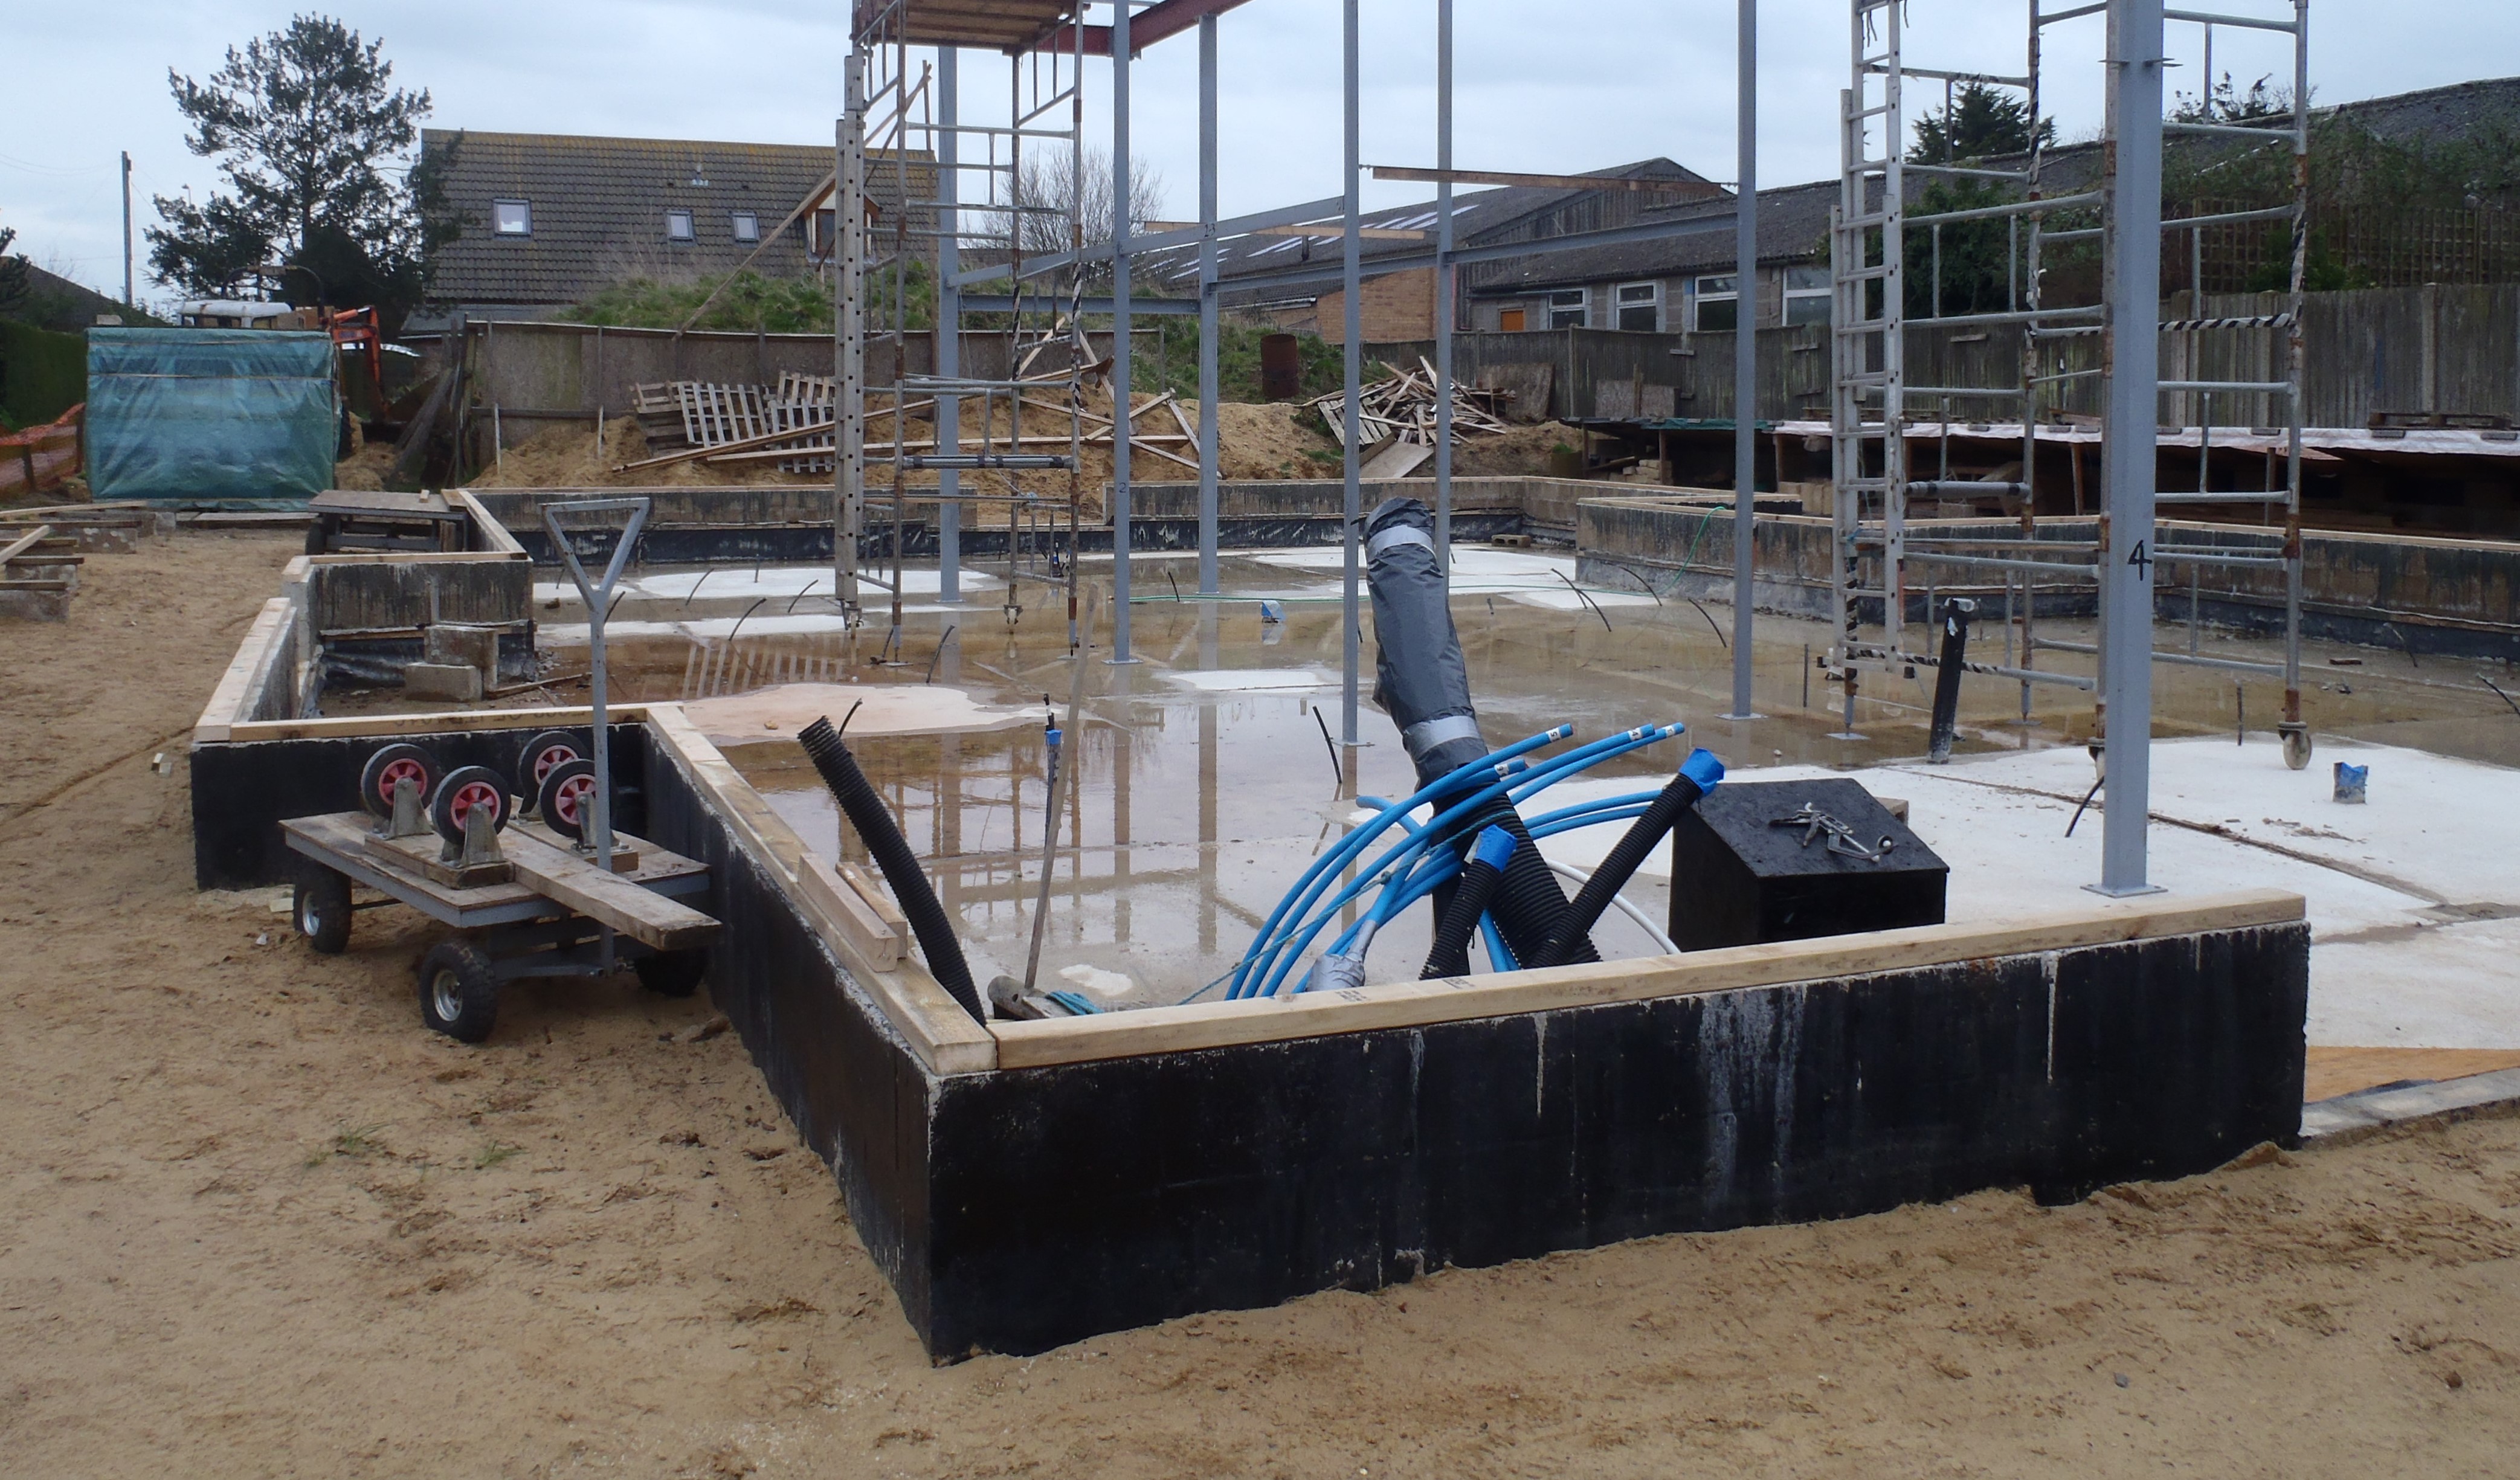
    Today, we started the process of bedding down the timber Footplates on the external wall so it is set at a precise height and level above the floor.

    It took us all morning to prepare the equipment (cement mixer etc.), laser level gadget, tidying up air hoses, sieving 3 builders buckets of soft sand (we are using our own sand we have bug out of our ground!), finding old bags of cement and getting the water out ready for the mixing of the mortar.

    We decided that we needed to lift the timber planks up by 10mm to accommodate the variations in the height of the block wall, most of it will be that thick but some will only have 3mm or 4mm of mortar to fill under the plank but in some areas, it will be as much as 15mm thick.

    Started-mortaring-outside-foot-plate

    Started-mortaring-outside-foot-plate

    After lunch, we mixed up a load of mortar using a 10 litre metal bucket for the cement powder, and the aforementioned 3 builders buckets (making virtually 40 litres) which is our 4:1 ratio mix we wanted. We included a dollop of the emulsifier which adds tiny air bubbles to the mixture to make the mortar easier to work with.

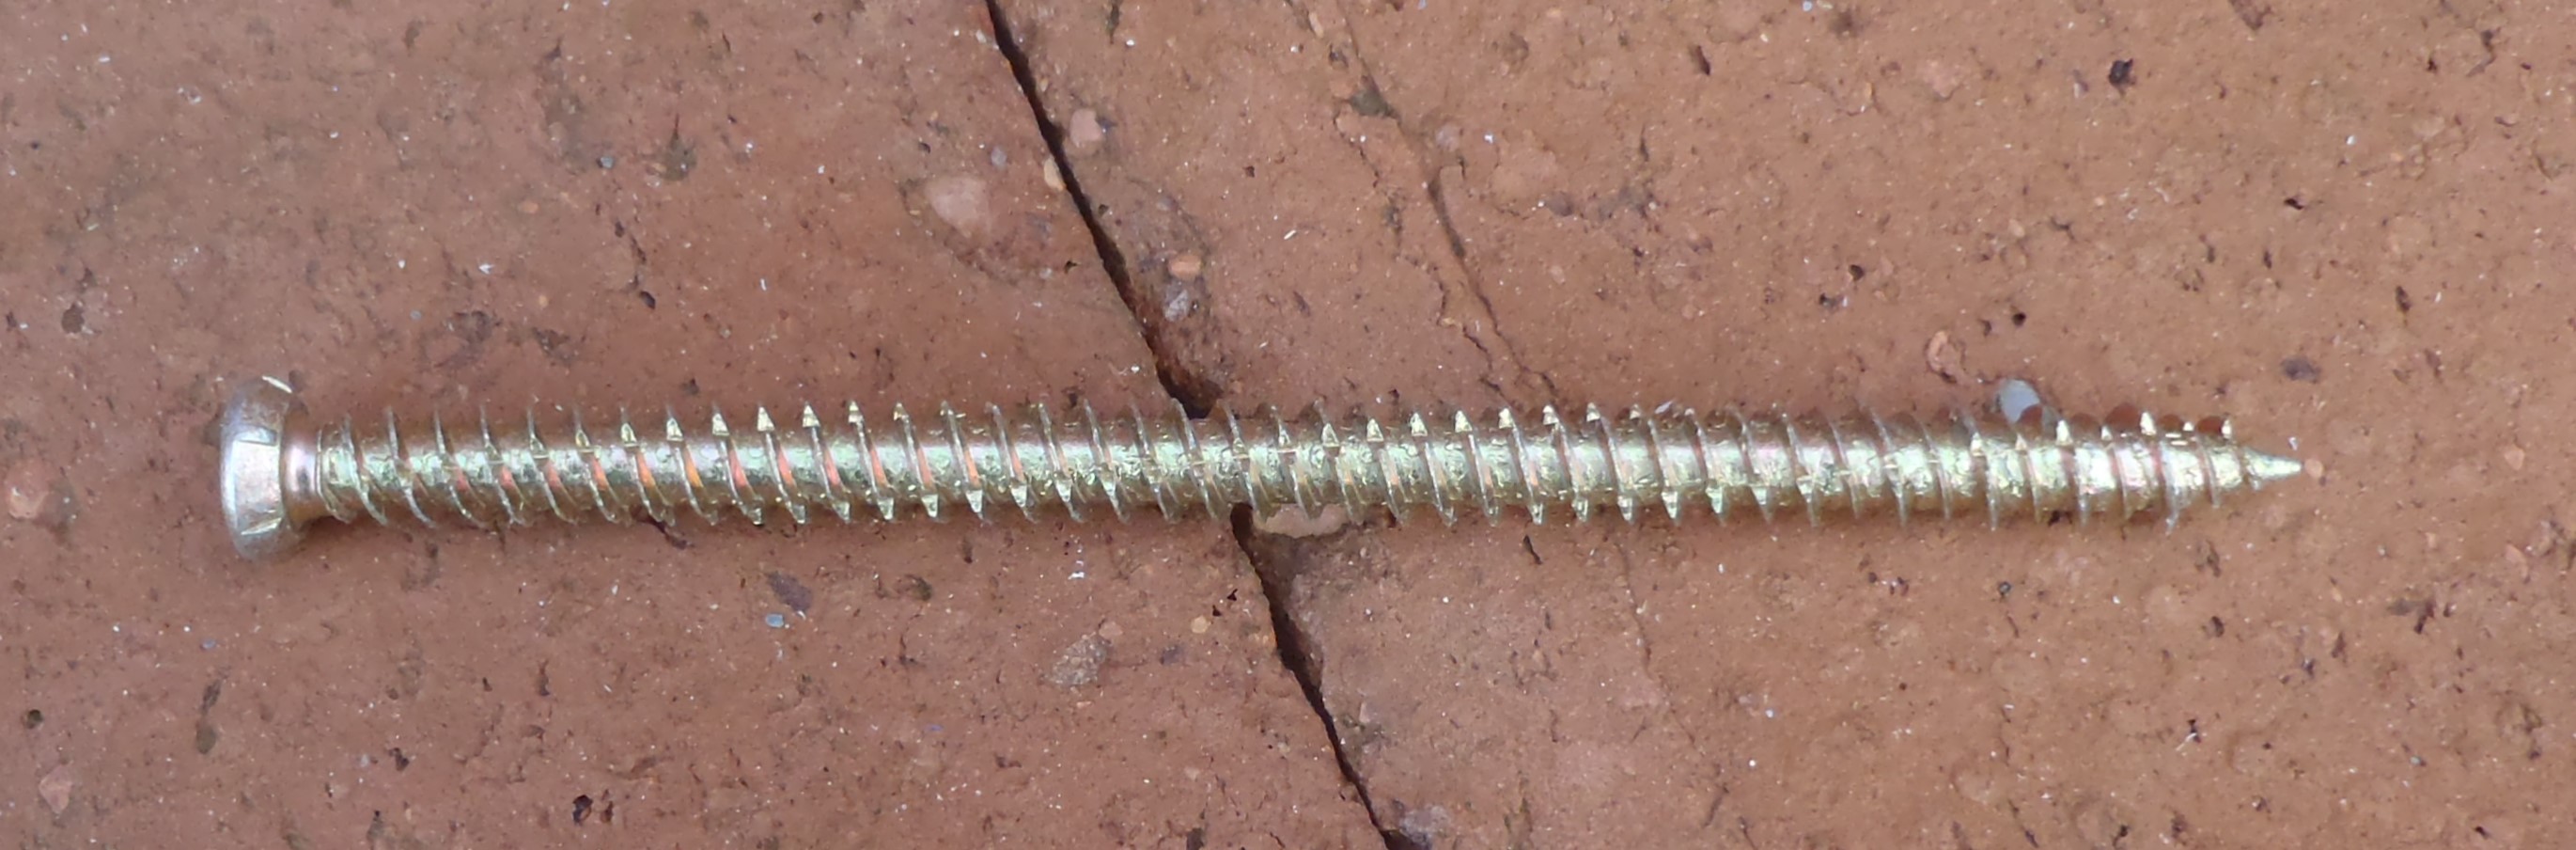
    Then, we undid the concrete screws a bit so we could lift up the timber high enough so we can shove in the mortar underneath the plank. At this point, we wanted to double check the measurement and height and using the laser detector on our little stubby foot pillar, we had some difficulties in making sense of the numbers coming off the measuring pole and the laser. It was saying that we needed even more gap under the footplate. After double and triple checking the laser, moving the laser from the adjustable platform in the middle of the house concrete floor, back to the reference shelf on the garage and back again. it turned out that we needed to make use of a steel rule with millimetre markings to accurately measure the laser level. The old sighting pole we have been using doesn’t have any millimetre markings on it only 5mm wide blocks of colour, alternating between white and black. It was a bit of a guess work to get to the millimetre level of accuracy. The steel rule sorted out that confusion and we got sense back with our numbers! Phew!
    But it took us an hour of doing this process to solve it! Oh Well, at least, we know what to do next time now!

    Measuring-staff

    Measuring-staff

    (picture of the sighting pole with the white and black block markings)

    We then got going with the repetitive task of handful of mortar, pushing it under the footplate, and then coming along afterwards, to bash down with a club hammer so it pushes out excess mortar and set the height and level to within 1mm of accuracy. The excess mortar was scraped away and used to fill under the next timber plank. And So On!

    We probably did about half the distance (total of 77 metres) around the external wall, in about 2½ hours with the load of mortar we made. Tomorrow, we will do another load in the morning and then finish off in the afternoon.

  • Footplate Holes Blasted Clean!

    This morning, we went around air blasting the 89 holes we drilled yesterday to clear out the rubbish. We undid all the concrete screws and lifted off the timber plank and using the compressed air and the long thin probe, we blasted the bits and pieces out. Then we replaced the plank and redid the screws again.

    The impact driver was successful half the time to drive the whole screw down, and when it couldn’t, we used a manual ratchet to finish winding the screws down onto the wood. The heads are countersunk so it formed a smooth finish.

    But we did have some trouble with one or two holes where the screws wouldn’t go down pass a certain point and we believe that there was a larger harder granite stone which the concrete screw wasn’t able to bite its way through.

    Tomorrow, we will go and buy a slightly larger masonry SDS bit, a 6.5mm diameter, and drill these holes again to reduce the amount of work these concrete screws need to do.

    The next job is to mix a load of 4:1 sand cement mortar and push it under all the planks and set the top surface of the timber to exactly a fixed height all the way around.

  • Drilling Holes in Exterior wall footplate!!

    Today, we went around drilling holes in the footplate we  cut yesterday. We were delayed in starting as we had to do a quick indoor job for our manager as she wanted something else done first!!

    We used our portable drill press with the mains powered drill as it the only tool that can be clamped into place. Then we screwed some pieces of small batten to make a template to fit over the 100mm wide timber, so thus automatically aligning our hole to be centred all the time. It was a simple job of pressing down at each spot and hey presto – one vertical hole! We had another template which fitted into the fresh hole and the strip of wood would just be the correct length to position the drill press ready for the next hole.

    These pilot hole (6mm) were then used to guide the heavy duty SDS masonry drill and bore into the concrete wall. the SDS bit was 150mm long and the concrete screw were 120mm so we just drilled to the maximum depth of the SDS bit to provide clearance for the rubbish to drop in.

    We used small pieces of the 10mm thick cement boards to line up the timber to the outer edge to make sure we will end up with a flushed joint between the cement panels and the concrete blocks.

    After the masonry drilling, we then widened the hole in the timber to 8mm to allow the concrete screws (see photo below for an image of these screw) to slide through the timber without being caught by the thread. The impact driver was used to drive the concrete screws down.

    Concrete-Screw

    Concrete-Screw

    After lunch, we had a slight accident where the new (only a couple of weeks old) mobile drill press fell off the wall and crashed down on the concrete floor and smashed the clamping mechanism around the electric drill!! Eek!
    It was made of metal but it was cast and hence rather brittle! Damn!
    We spent half an hour or so trying to mend it with super glue but it wouldn’t join together tight enough. We got out the epoxy glue and set it back together but of course we couldn’t use the drill press any more as the glue needed 12 hours to set hard! So we quickly adapted the bottom part of the template and filled the gap with another piece of batten and drilled a hole in the middle so we could carry on working with this useful template!

    Then, we noticed that one of the long planks had a slight bow in it so we clamped it to bend it straight. But only after we had discovered that the reason we could not drive home the concrete screws fully, was the hole was full of masonry rubbish! So it was time to bring out another piece of equipment, namely the compressed air and the long air blasting probe to shift the heavy masonry dust out of the holes!!

    But we decided that would be a separate job tomorrow as there were too many different steps already in the operation with mains power cables going across and that would have meant another item to cope with! Phew!

    Anyway, we finished all the drilling right around the whole perimeter of the wall and we done 89 holes in the end.

    First-layer-of-timber-screwed-down-on-walls

    First-layer-of-timber-screwed-down-on-walls


    Tomorrow morning, we will go around with just the air blaster and battery powered masonry drill to clean out the 89 holes and allowed the concrete screws to go down fully with our impact driver without needing the hand held ratchet tool.

  • Cut and Positioned the Timber Footplate on Wall

    Finally, we finished off the day by cutting the treated 100mm by 50mm planks to fit on top of the wall, all the way around the Building.

    We started at the back door (nearest the Garage) and went anti-clockwise around. We remembered to leave a 10mm gap between the timber and the outer edge to enable the cement boards to fit and form a flush surface. We had 15 lengths of 4.8metres planks out ready and we used all of it with only about 3metres left over!

    First-layer-of-timber-on-walls-1

    First-layer-of-timber-on-walls-1

    First-layer-of-timber-on-walls-2

    First-layer-of-timber-on-walls-2


    We only generated two small pieces of offcuts (less than 500mm) so that was good too.

    The next job is to drill pilot holes in all of it (a 6mm drill) and then using this pilot hole to guide the masonry drill to make holes into the concrete, ready for the concrete screws (120mm long and about 7.5mm wide with a clearance of 6mm).

    Concrete-Screw

    Concrete-Screw

  • Measuring Height of Exterior Wall

    We spent the afternoon after we had finished doing a “door” for our rain covering house over the stack of plywood, doing a survey of the exterior wall. We wanted to realise to what extent the height of the wall varies from place to place. We needed to calculate the mortar thickness to bed the footplate on to and achieve a good consistency of height of the base line of timber. This is important as everything will grow upwards from that base layer!
    The results of the survey was rather gratifying as most of it was measuring at 595mm below our reference laser level (always sitting at 11metres or 1metre above ground) so this works out that our external wall is 405mm above ground, if you are following the calculations!

    The worse point was 599mm and 588mm in two different spots and one or two 589mm and 590mm elsewhere but really it was very good at holding to 595mm almost all the way around!

    Wow!

    This means we will only need a small amount of mortar to sit the timber (the treated 100mm by 50mm planks) on to and bolt it down.

  • First Delivery Arrives – 300 Sheets of Plywood

     Today, we had our first delivery of the huge order of building materials we got coming, namely the 300 sheets of the 12mm plywood. It should have been 330 sheets but the builders merchants seems to have mixed up their numbers somewhere!

    4-Pallets-of-Plywood-Delivered

    4-Pallets-of-Plywood-Delivered

    We also got our 20 planks of the 100mm x 50mm treated timber come as well plus 2 bags of cement, so we can get on with the first job of bolting down a line of wooden footplates on top of the concrete block wall, all the way around the perimeter of our house. This first layer of timber will be seated on mortar and the height adjusted so that the height will be exactly the same everywhere.

    But we need to cover up our two stacks of plywood first, making a miniature house framework for one of our stacks, and covered up with a sheet of tarpaulin.

    Pallet-of-Ply-with-Frame-and-Tarpaulin

    Pallet-of-Ply-with-Frame-and-Tarpaulin

    The framework was constructed using our old stock of 63mm CLS timber pieces, cut and nailed together to provide a 8feet high by 5 feet wide structure and will have a separate “door” flap to allow us to grab some plywood when we need it etc.

    The second stacks was wrapped up directly on the two pallets as these ones won’t be required until we have the roof rafters constructed and nailed into place later on.

    Pallet-of-Ply-wrapped-in-Tarpaulin

    Pallet-of-Ply-wrapped-in-Tarpaulin

    It was a chilly day with a stiff breeze but at least the sun was bright and strong!!