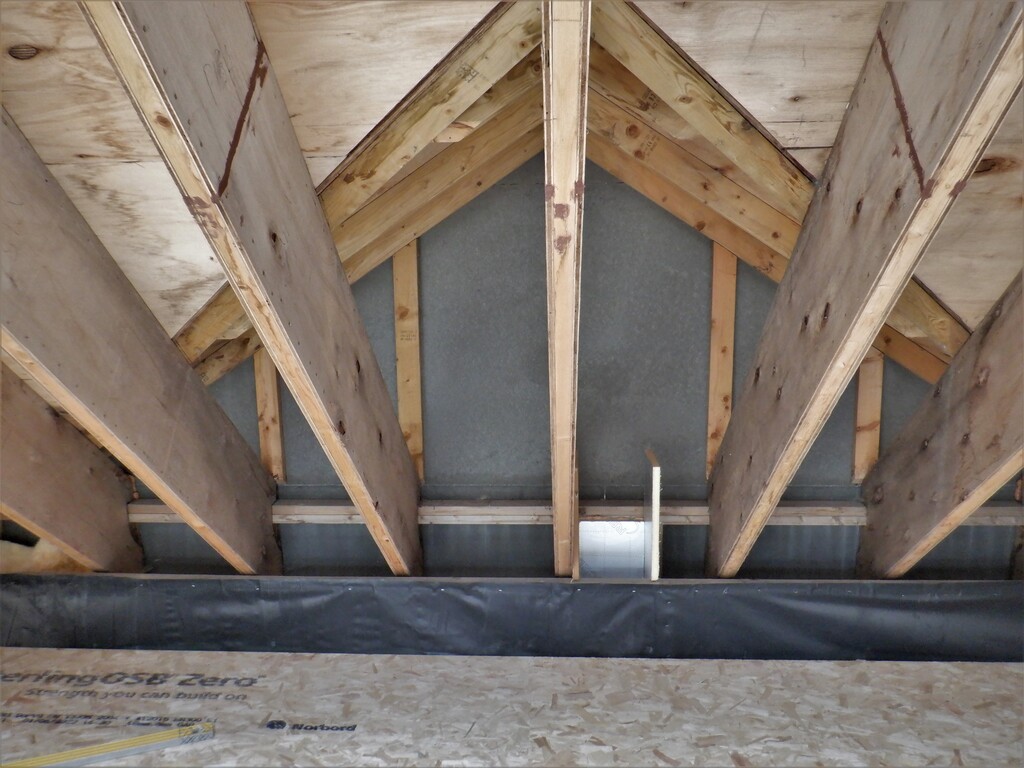
We spent this week building and constructing the rest of the ventilation ducting that connect the Conservatory to our Air Con system. We had built the lower half that went across the Great Room, underneath the flooring and then up inside the wall structure between the window and the door facing the Conservatory. See Conservatory Air Duct Built Inside Wall for more details on the work we did two years ago.
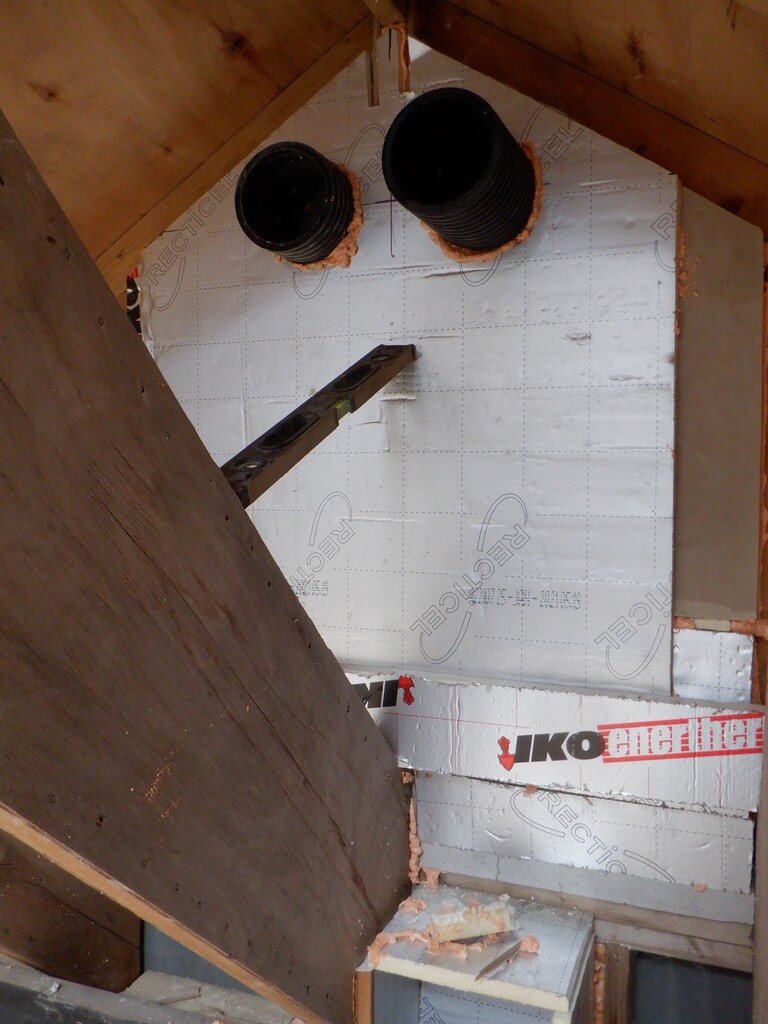
The internal gable wall that separates the Conservatory from the Great Room goes up 14feet up (about 4¼ metres) above the ground floor and now that we got our temporary platform built, we could gain access at last. The first job was to put a layer of 100mm thick PU foam boards all across the back of the cement boards and followed by a layer of smooth aluminium coated 25mm thick PU sheets. This forms the back surface of the air ducting we are going to make. We then drilled a small 5mm hole on either side of the central vertical post, keeping well clear of it so we can then cut a large 180mm (about 7inches) hole on both sides. This hole then had a short length of some left-over twin-walled plastic pipe inserted into it. Everything was glued into place and left overnight to set.
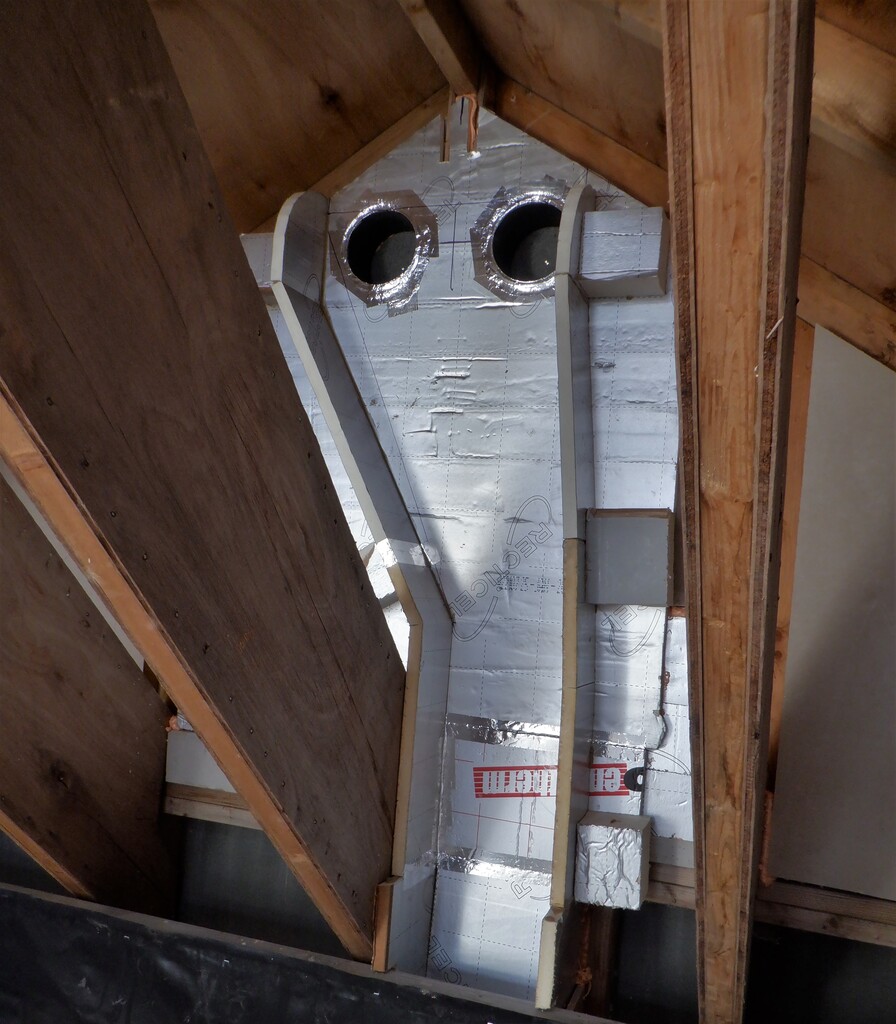
Then, the next job was to build up the two left and right vertical sides of the air ducting, using more of our 25mm smooth aluminium coated foam board, connecting from the existing ducting coming up from below, and widening it out so both holes can be encapsulated within the ducting. We shaped the final part at the top of the two sides so that we can bend the lid around a quarter circle to help guide the air flow more smoothly when it is sucking the air out of the Conservatory.
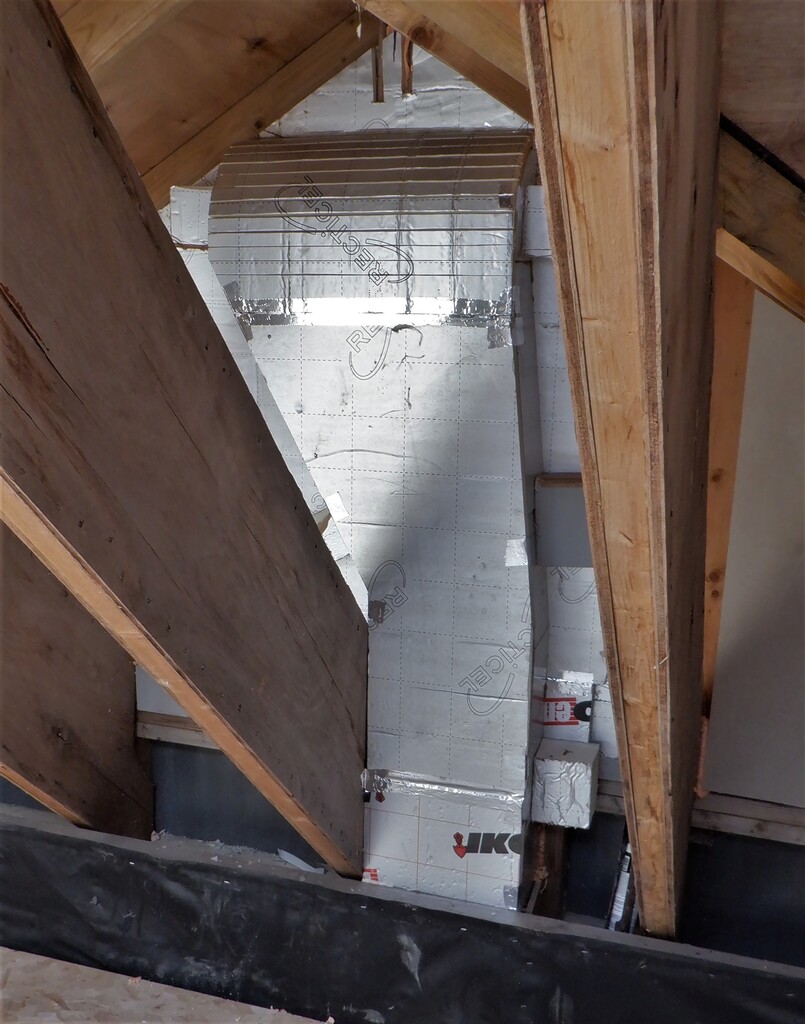
Then, the final fourth side was created, the lid in front. As previously mentioned, the lid had the foam sliced at regular lines across the sheet and this allowed the board to ‘bend’ around the curve. The whole thing was then glued into place and aluminium metal tape stuck over all the joints, to make sure that we are air tight and where possible, the joints are nice and smooth so that the air won’t catch any sharp edges.
Eventually, we will cut out the large holes through the cement boards when we have built the Conservatory and put on a couple of neat unintrusive air grills that will allow the passage of lots of air with minimal noise.
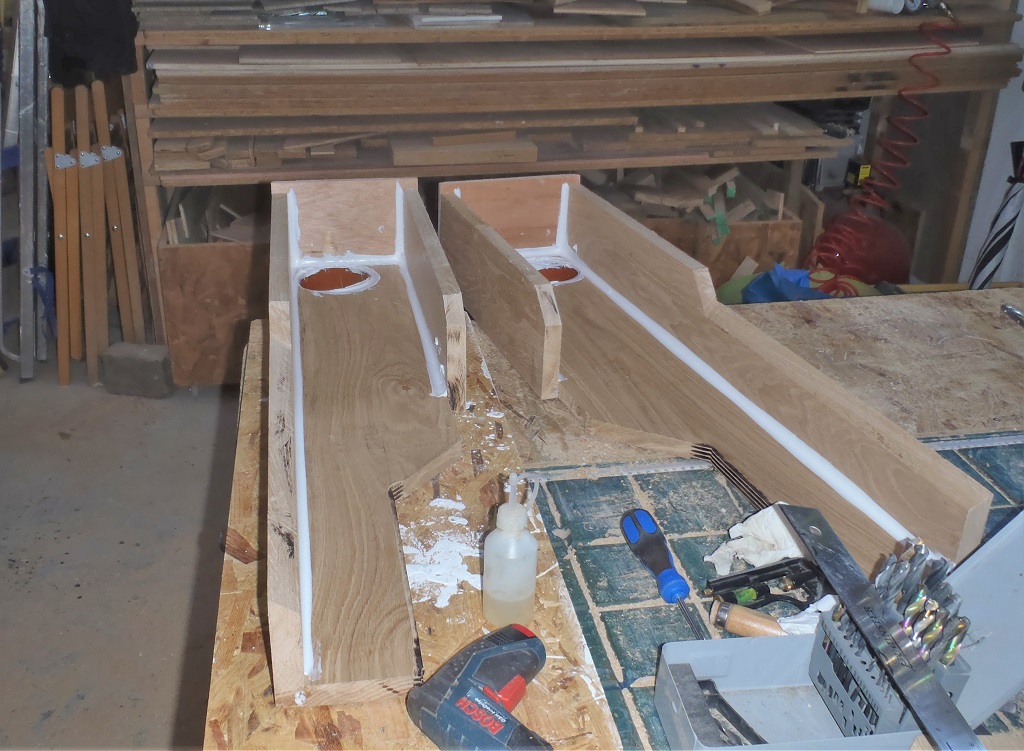
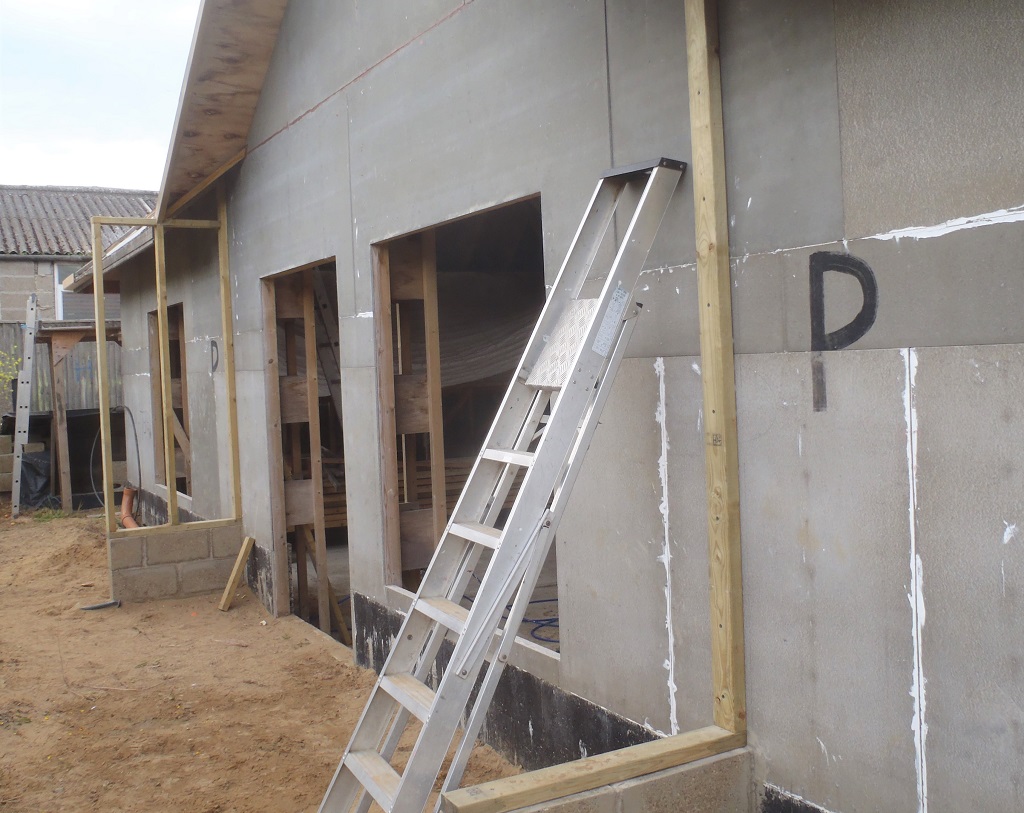
Just the duct from below
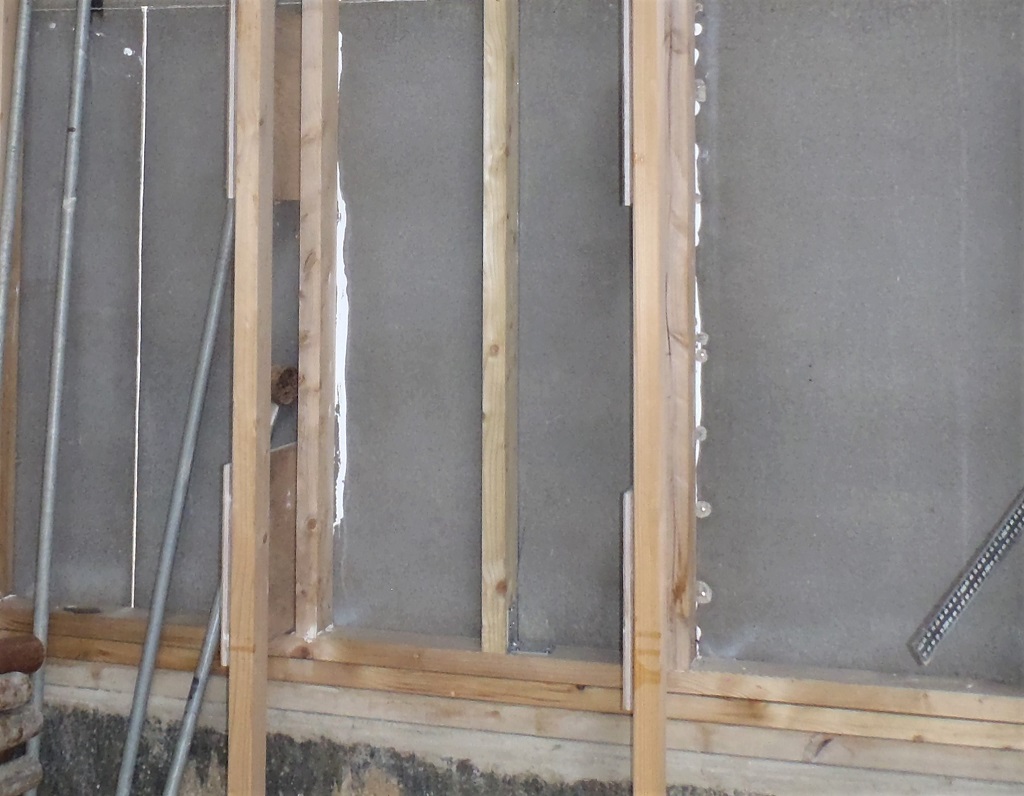
The internal gable wall that separates the Conservatory from the Great Room goes up 14feet up (about 4¼ metres) above the ground floor and now that we got our temporary platform built, we could gain access at last. The first job was to put a layer of 100mm thick PU foam boards all across the back of the cement boards and followed by a layer of smooth aluminium coated 25mm thick PU sheets. This forms the back surface of the air ducting we are going to make. We then drilled a small 5mm hole on either side of the central vertical post, keeping well clear of it so we can then cut a large 180mm (about 7inches) hole on both sides. This hole then had a short length of some left-over twin-walled plastic pipe inserted into it. Everything was glued into place and left overnight to set.
Insulate wall and insert two inlet ducts
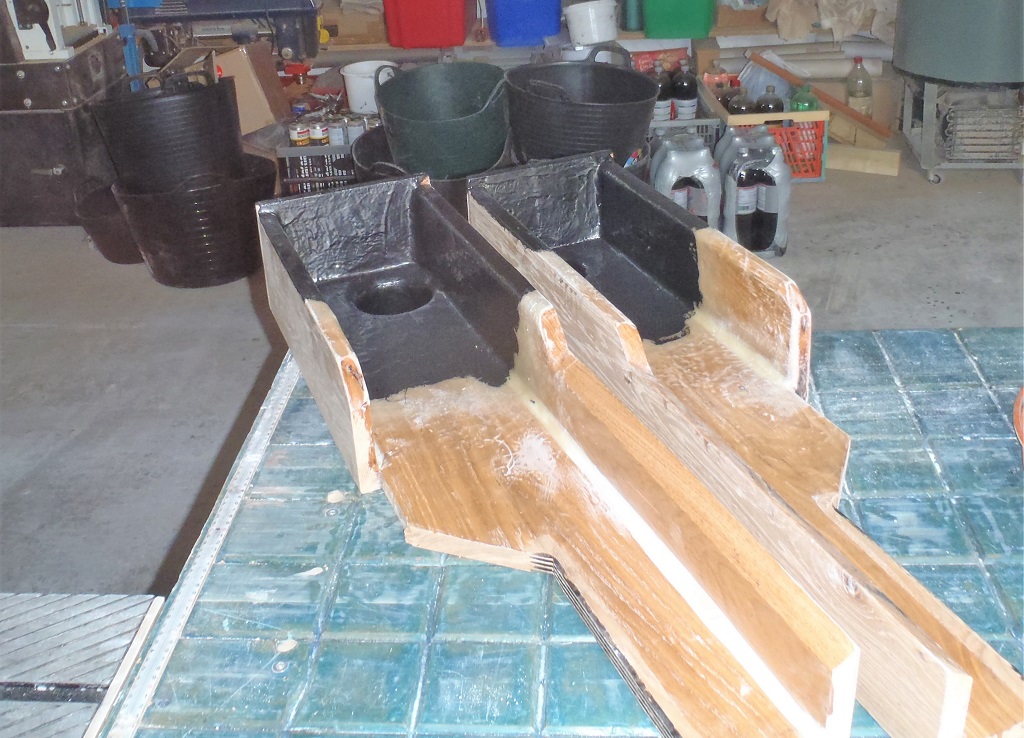
Then, the next job was to build up the two left and right vertical sides of the air ducting, using more of our 25mm smooth aluminium coated foam board, connecting from the existing ducting coming up from below, and widening it out so both holes can be encapsulated within the ducting. We shaped the final part at the top of the two sides so that we can bend the lid around a quarter circle to help guide the air flow more smoothly when it is sucking the air out of the Conservatory.
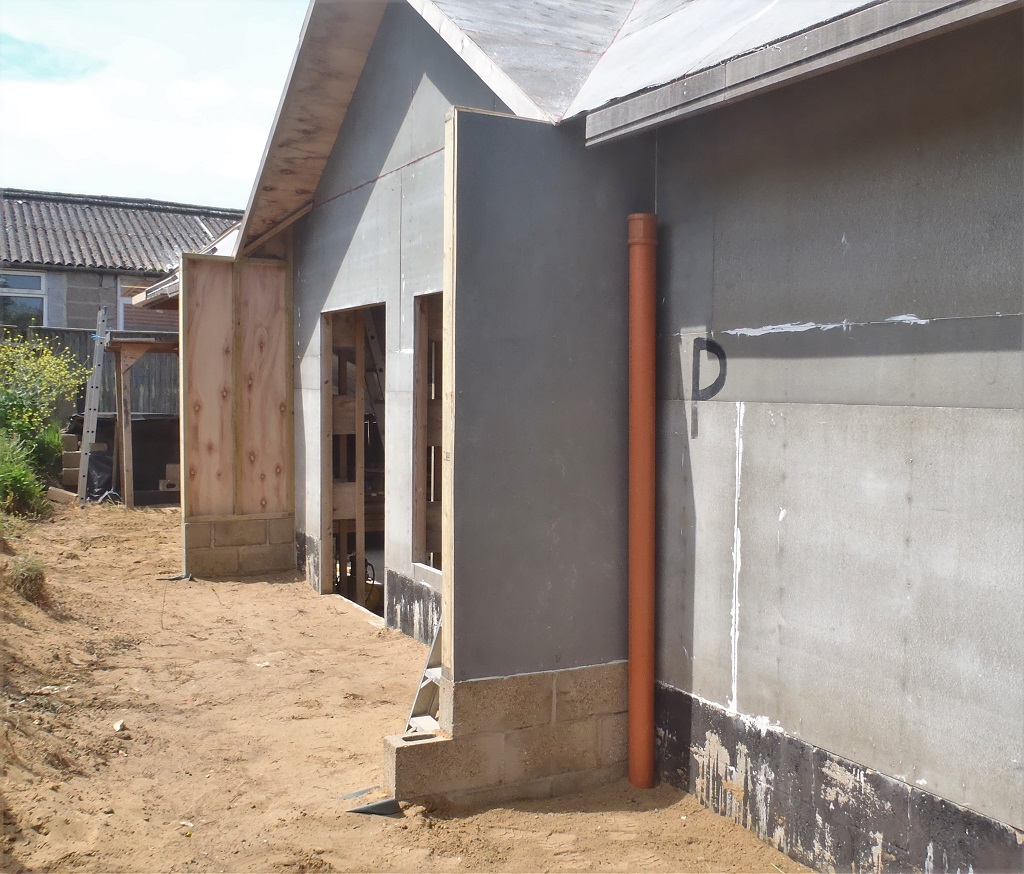
Ducts trimmed & Side walls built
Then, the final fourth side was created, the lid in front. As previously mentioned, the lid had the foam sliced at regular lines across the sheet and this allowed the board to ‘bend’ around the curve. The whole thing was then glued into place and aluminium metal tape stuck over all the joints, to make sure that we are air tight and where possible, the joints are nice and smooth so that the air won’t catch any sharp edges.
Duct covered
Eventually, we will cut out the large holes through the cement boards when we have built the Conservatory and put on a couple of neat unintrusive air grills that will allow the passage of lots of air with minimal noise.
We want to be able to keep the Conservatory cool and comfortable, even during very hot sunny days, hence we have done this very large capacity ducting, equivalent to four 100mm diameter pipes.