Today, we finished off chopping and slicing points on about a hundred pegs, carried over from yesterday. They are short 500 mm long pieces using spare 63mm by 38mm timbers from our stock pile.
The-pile-of-about-100-pegs
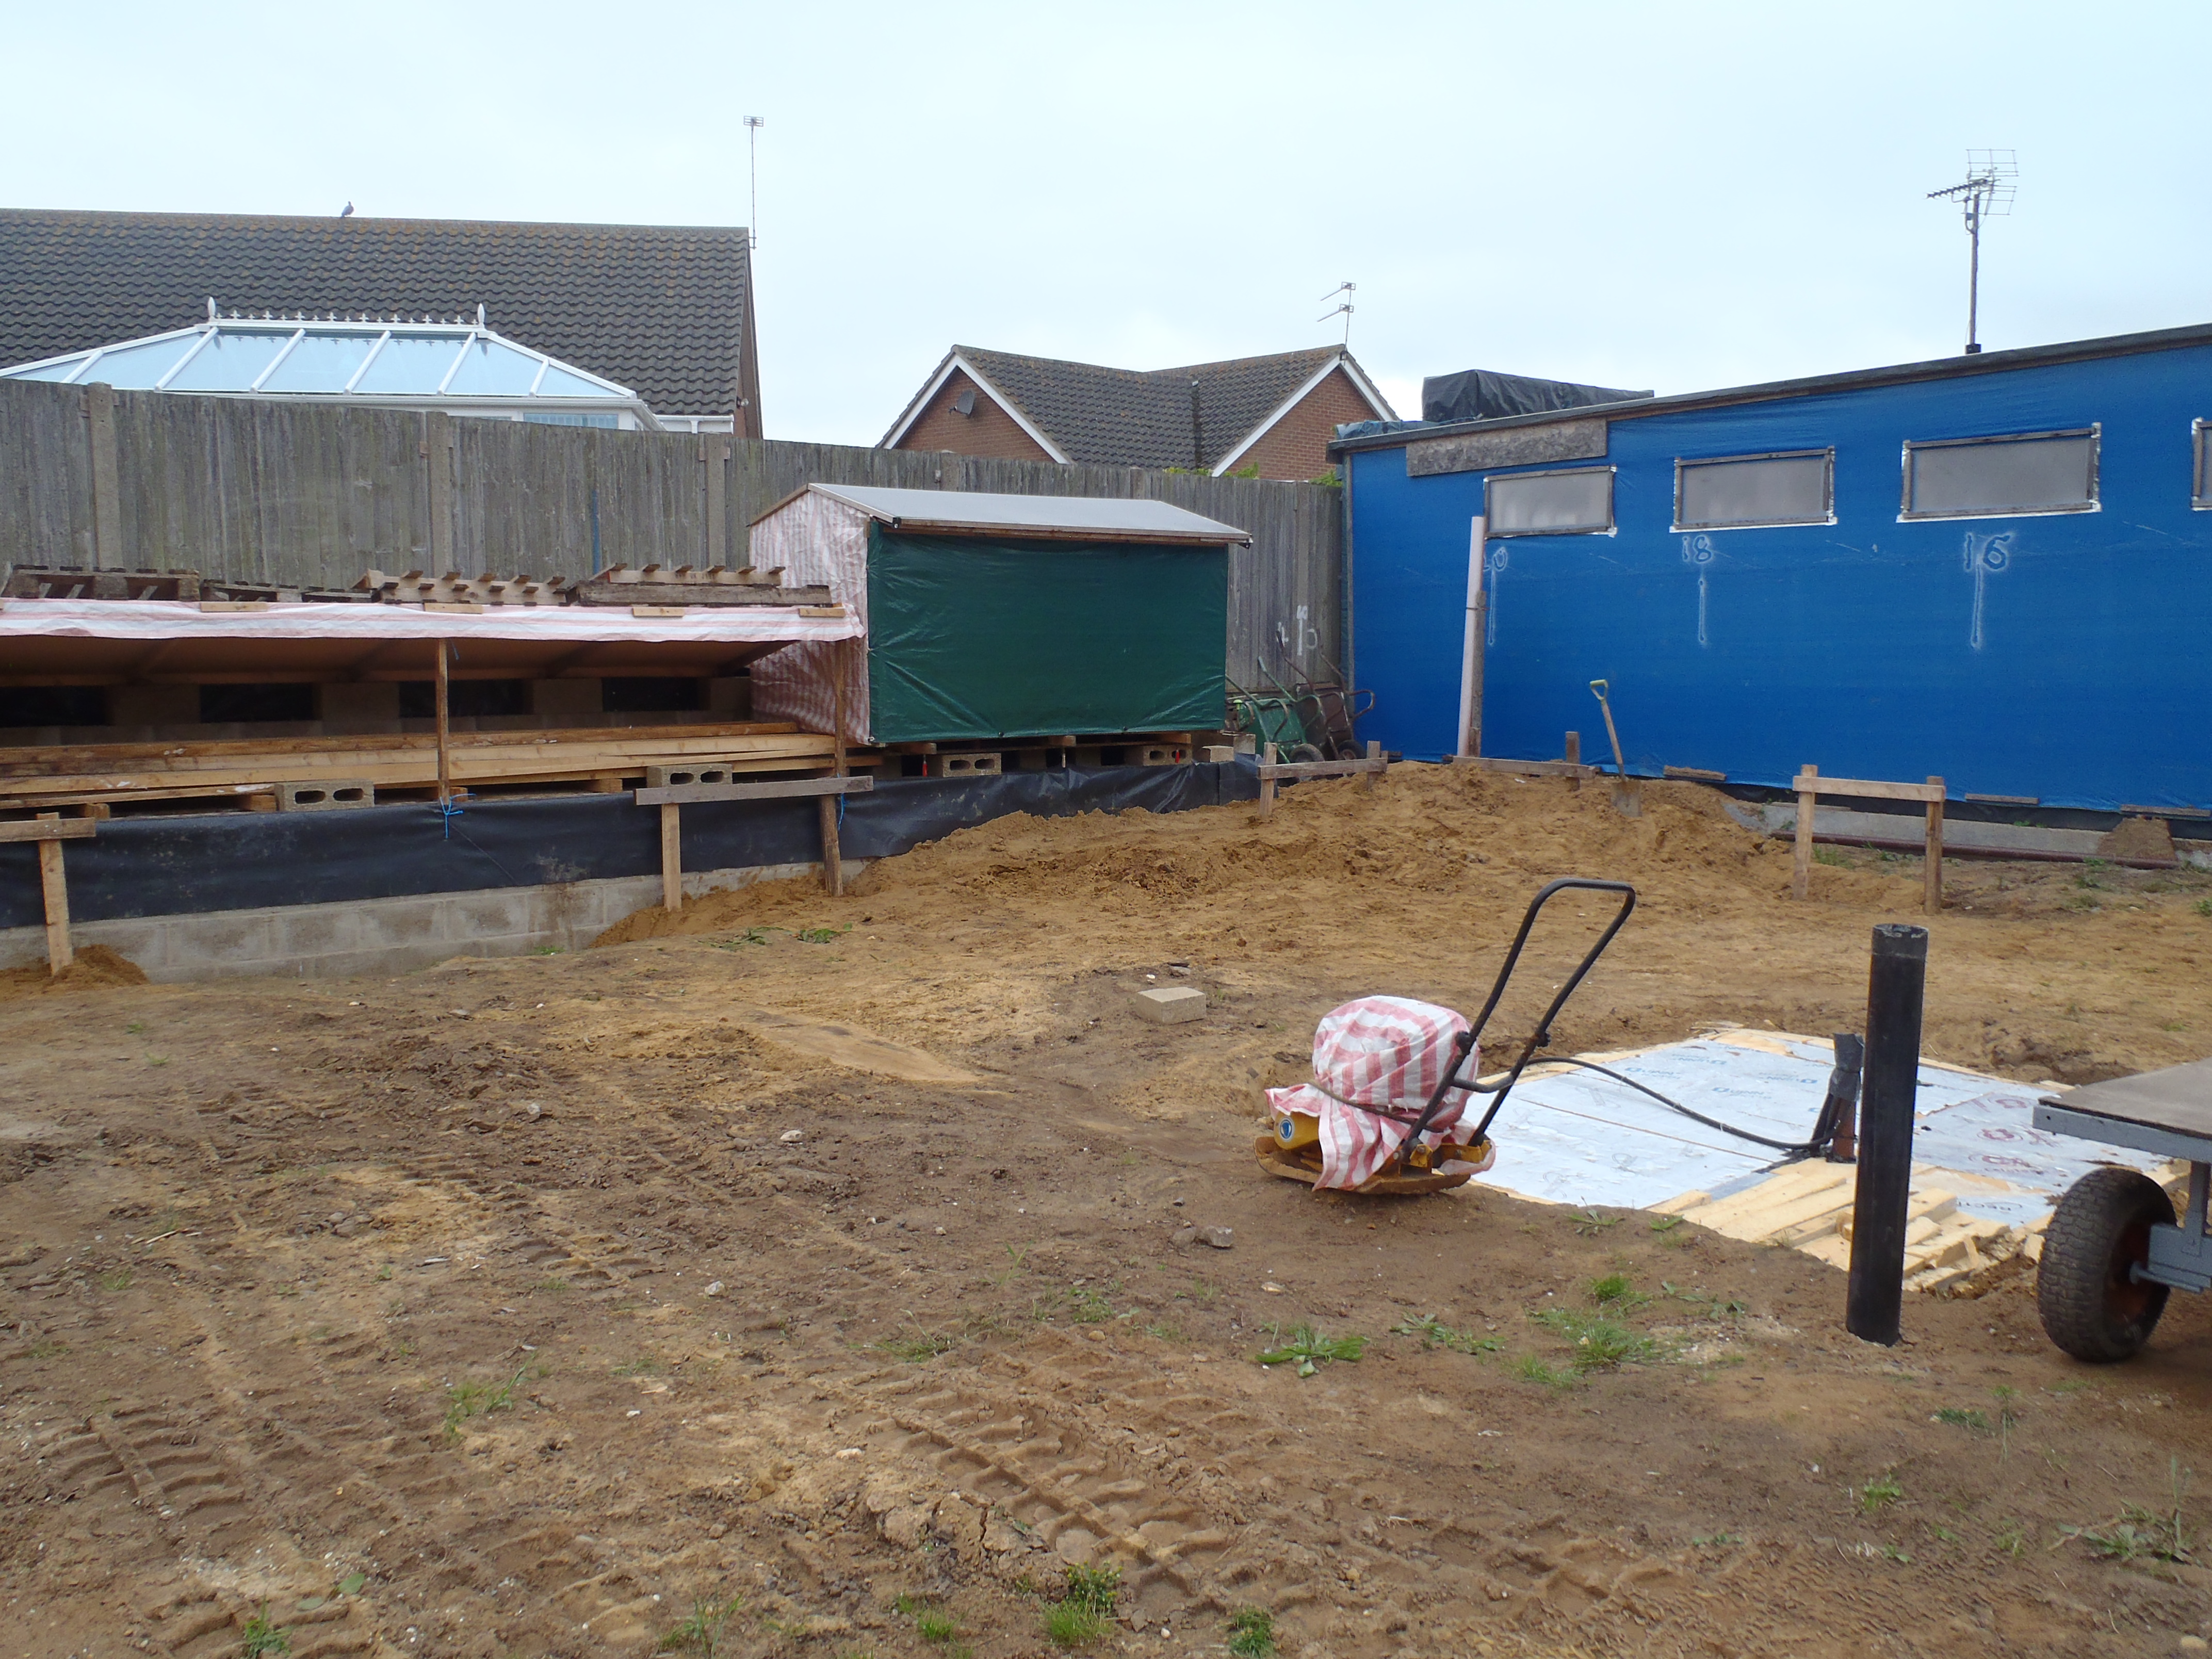
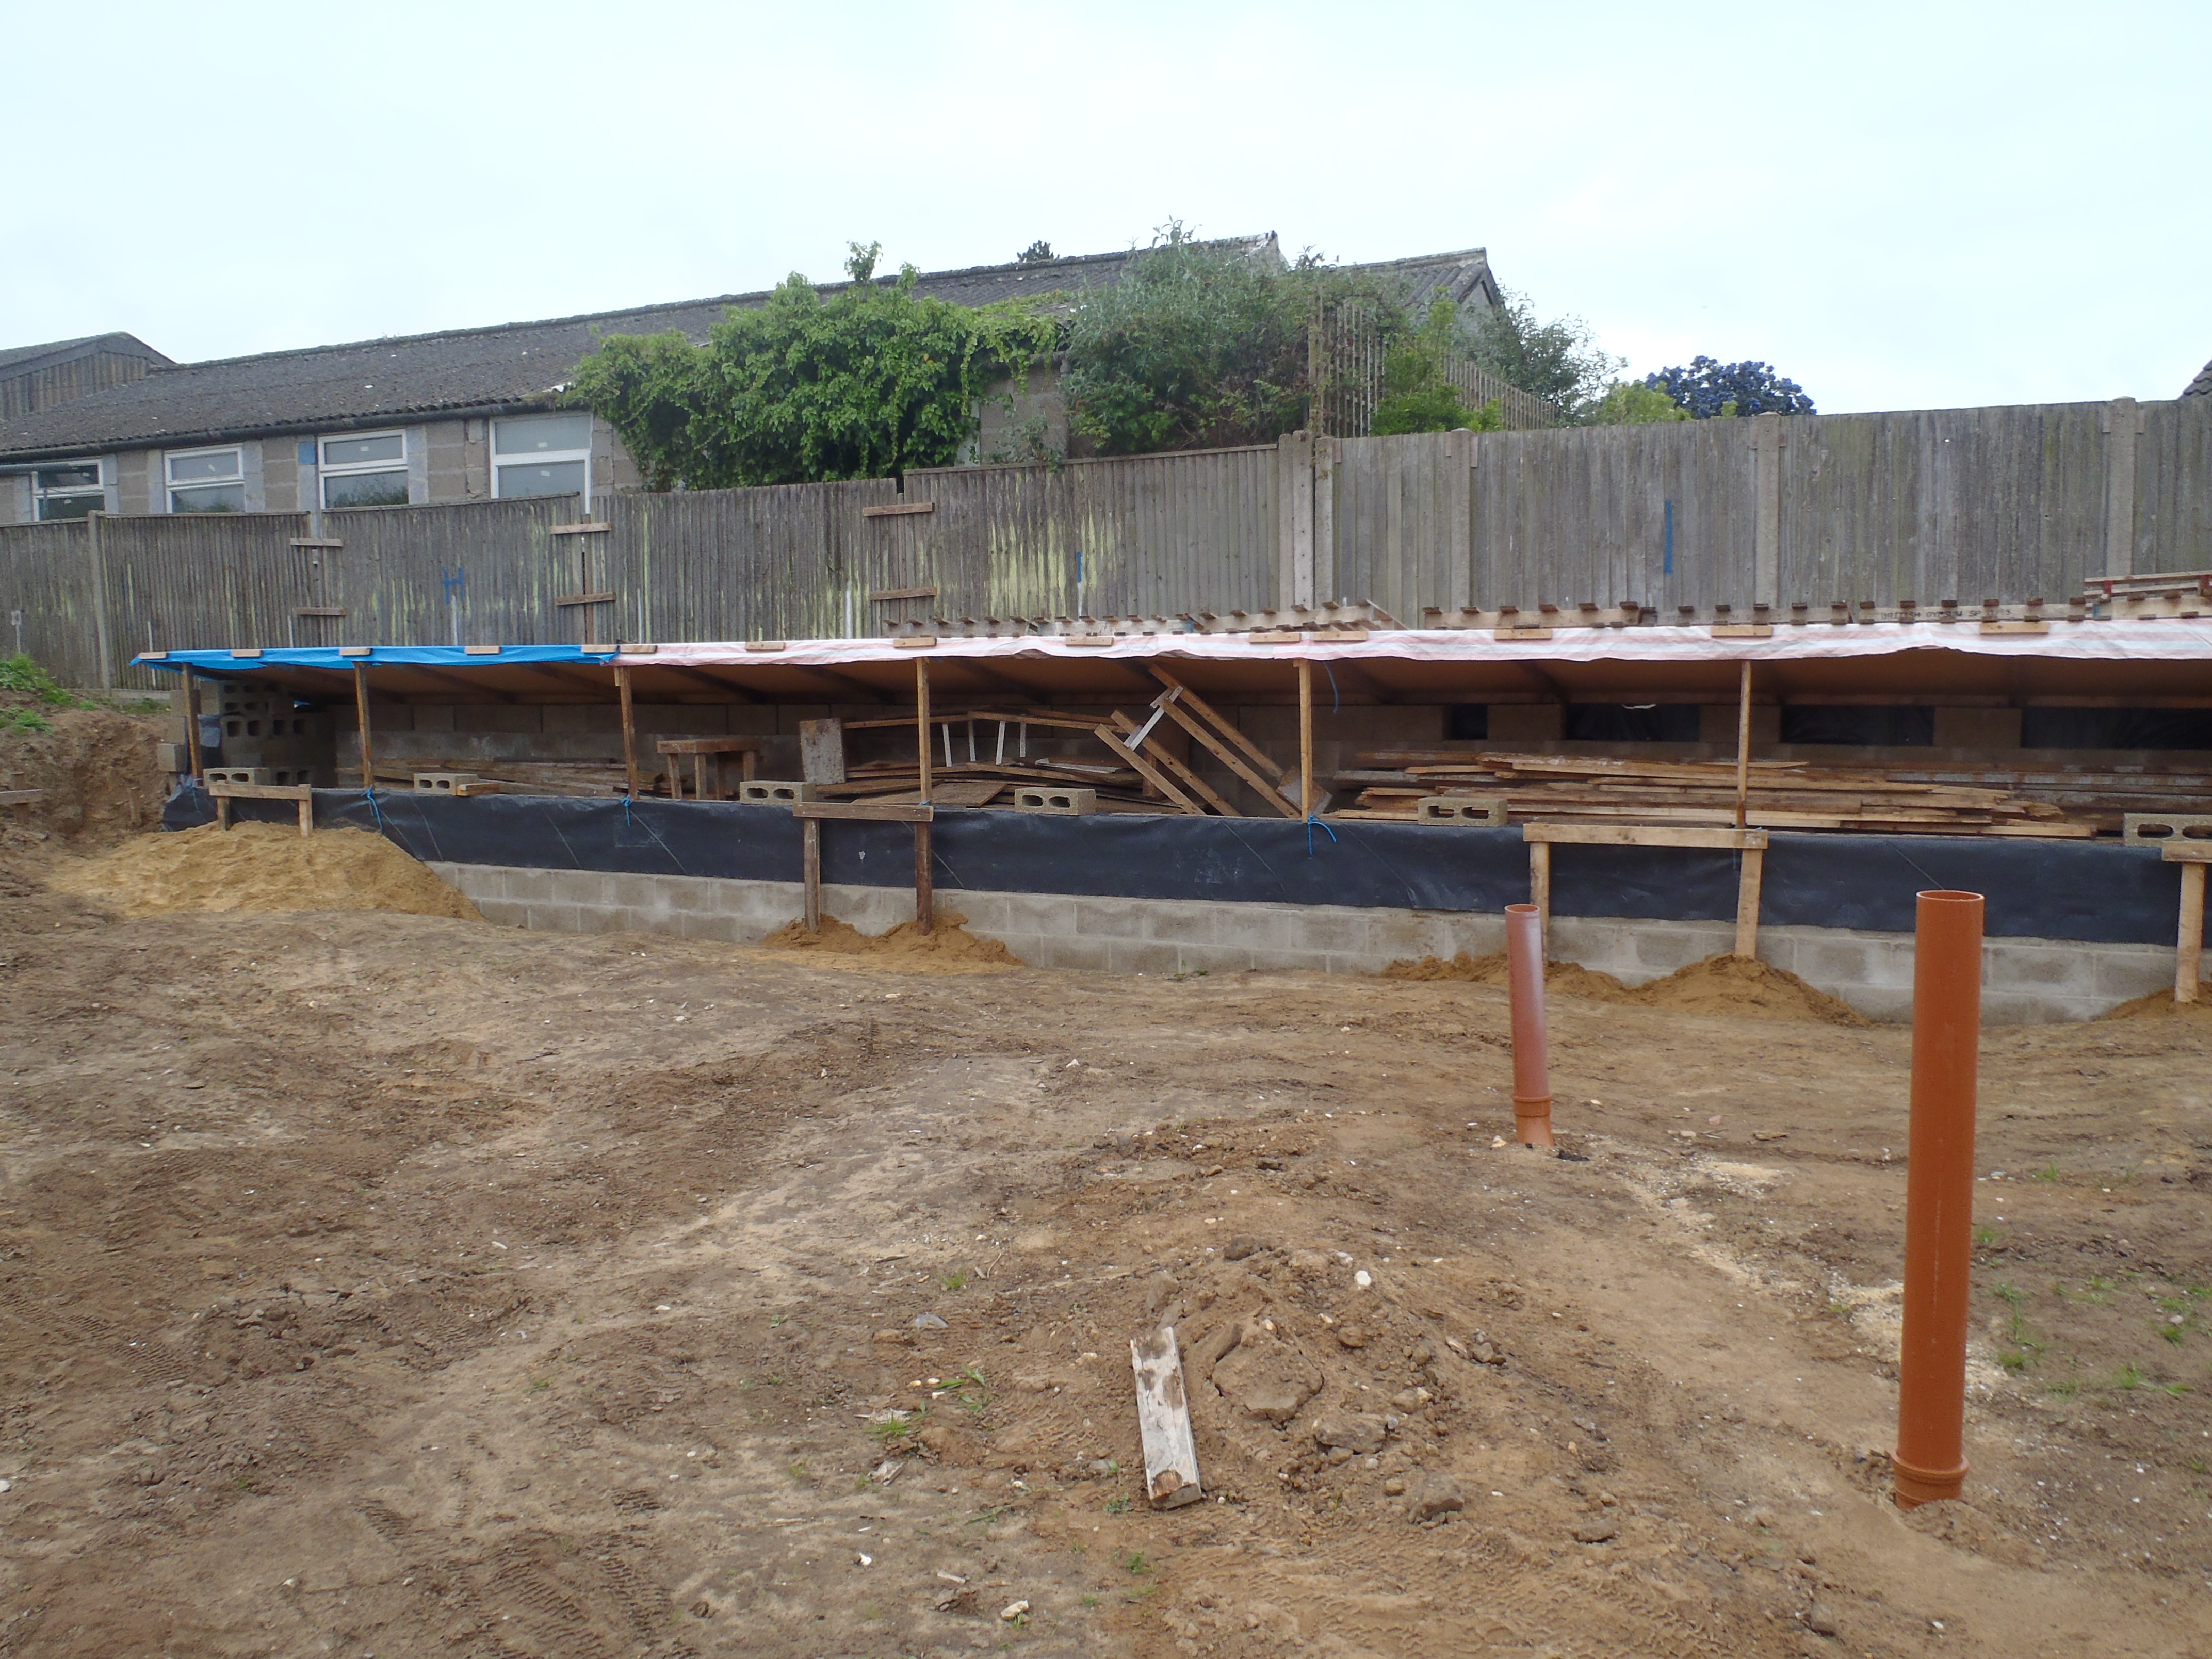
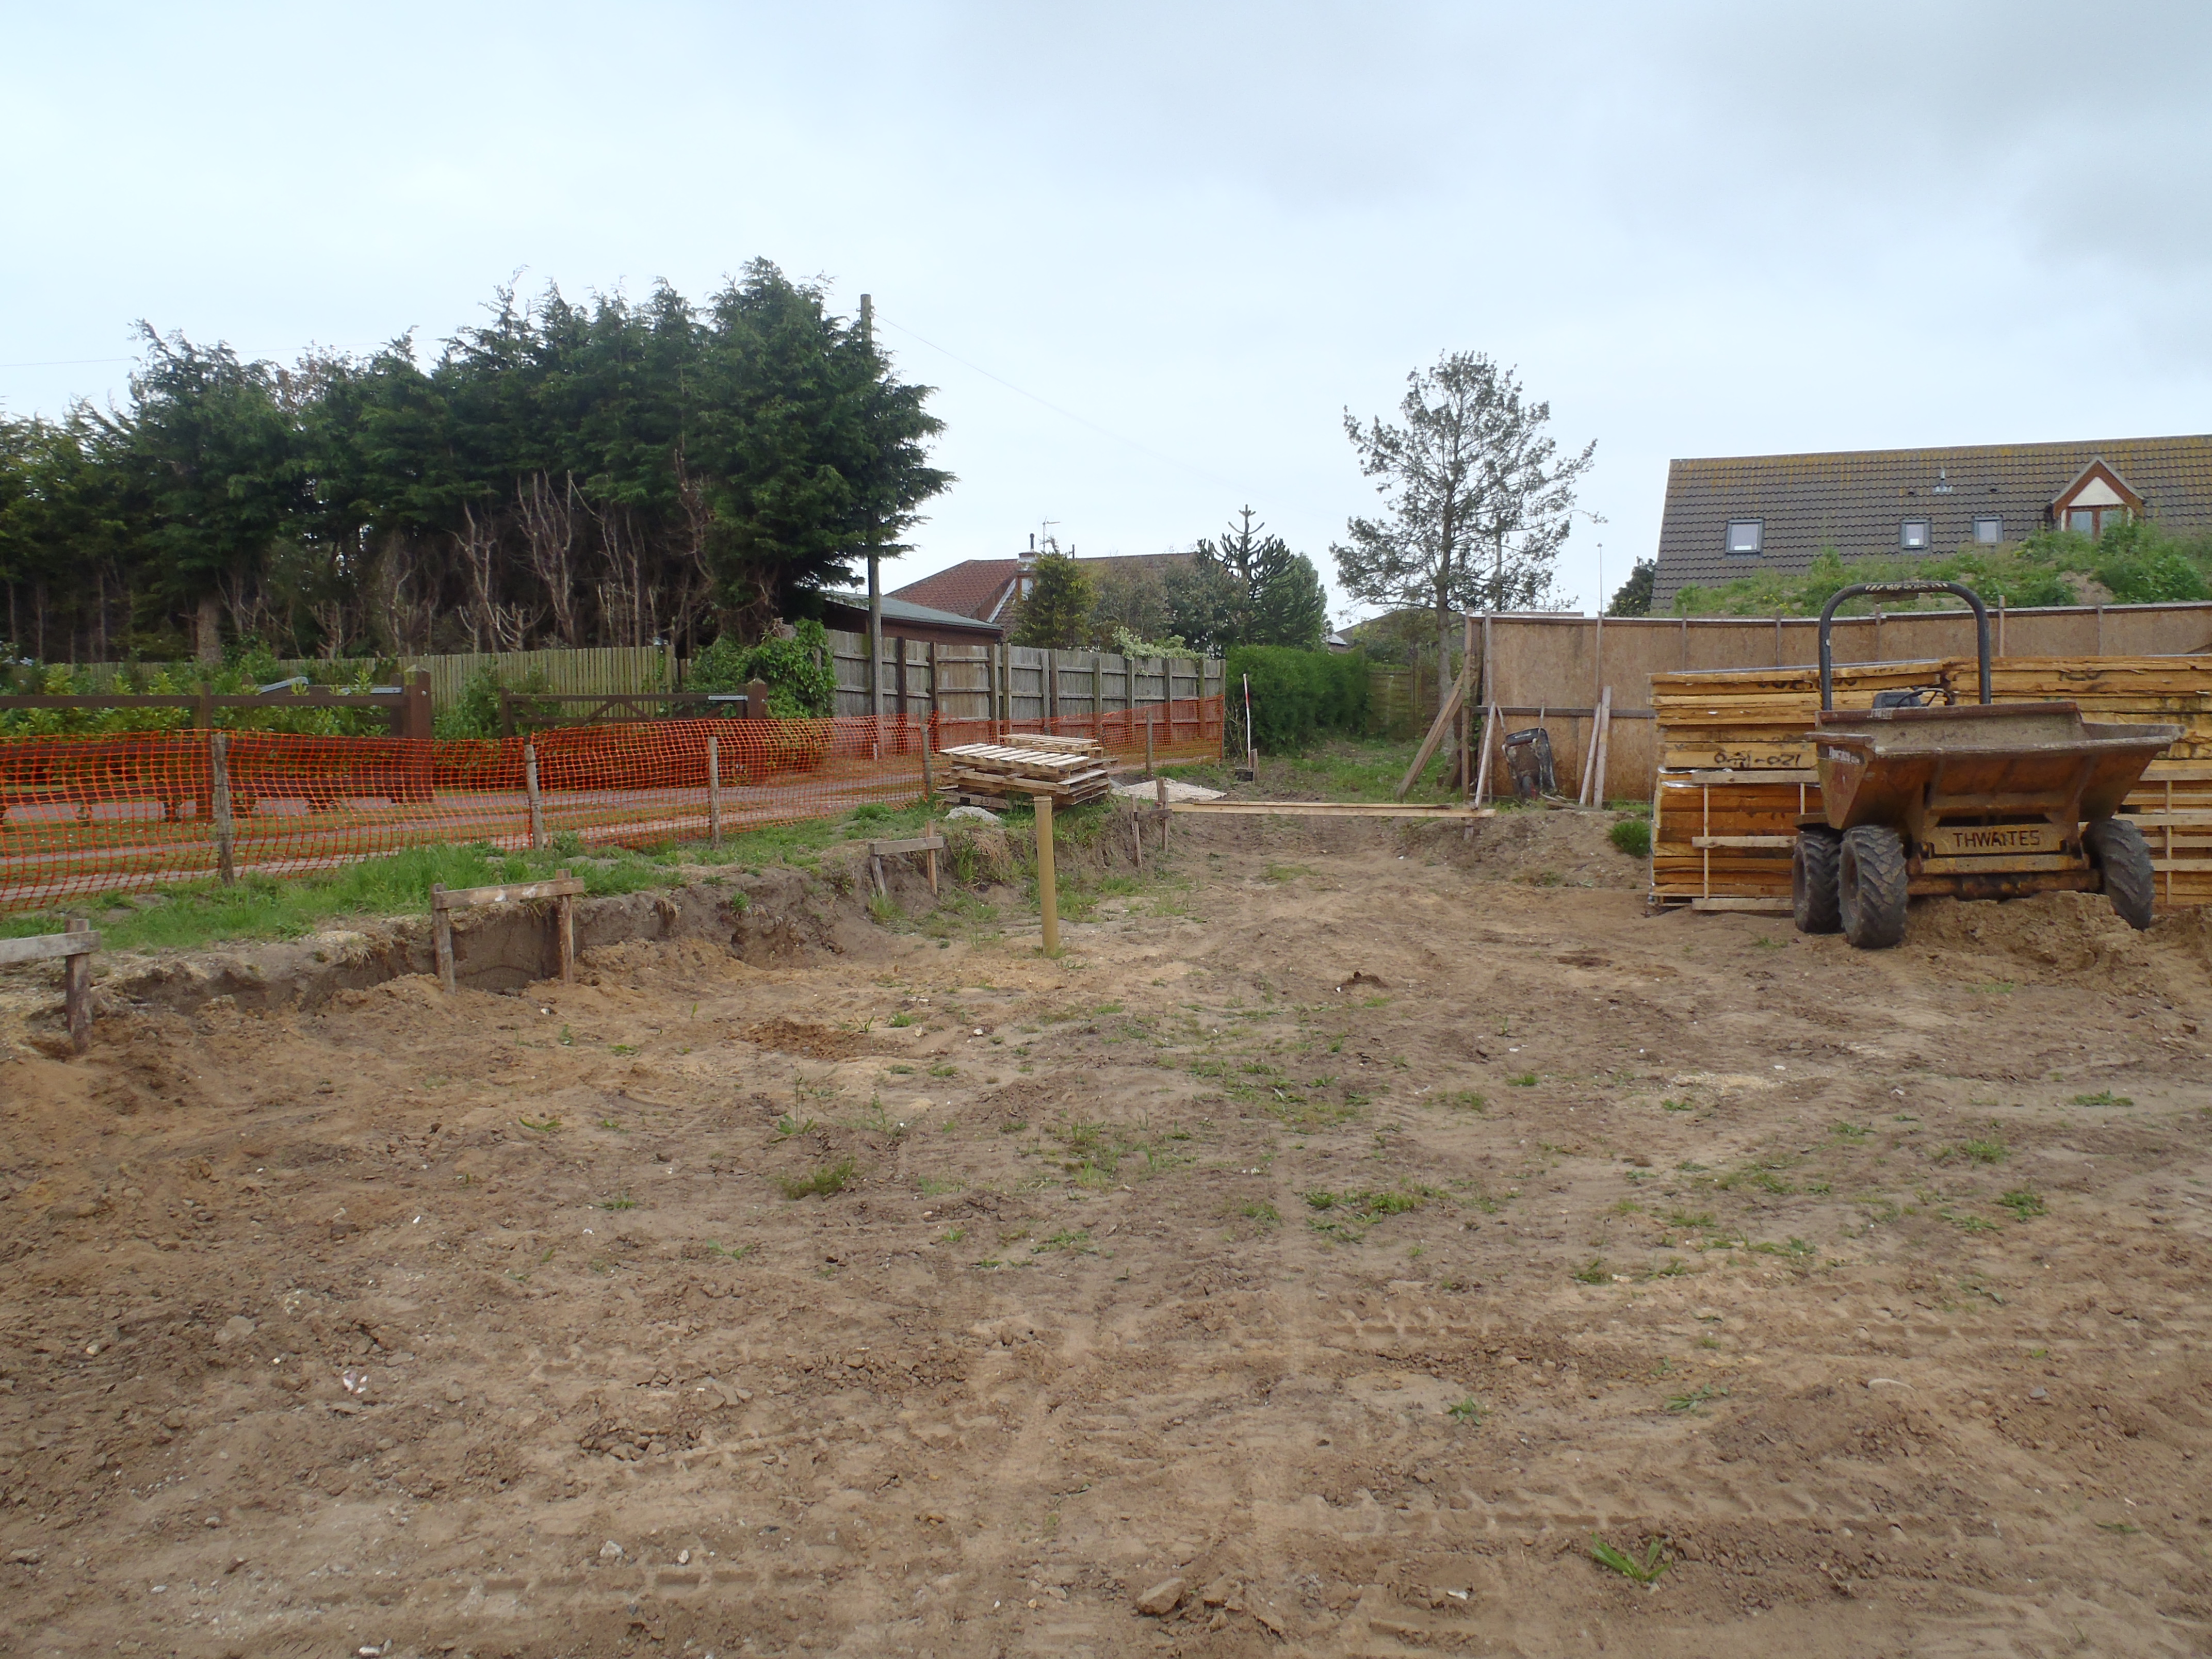
Then, we inserted two more batter boards which defined all the foundation square pads to support the metal legs for the roof light complex.
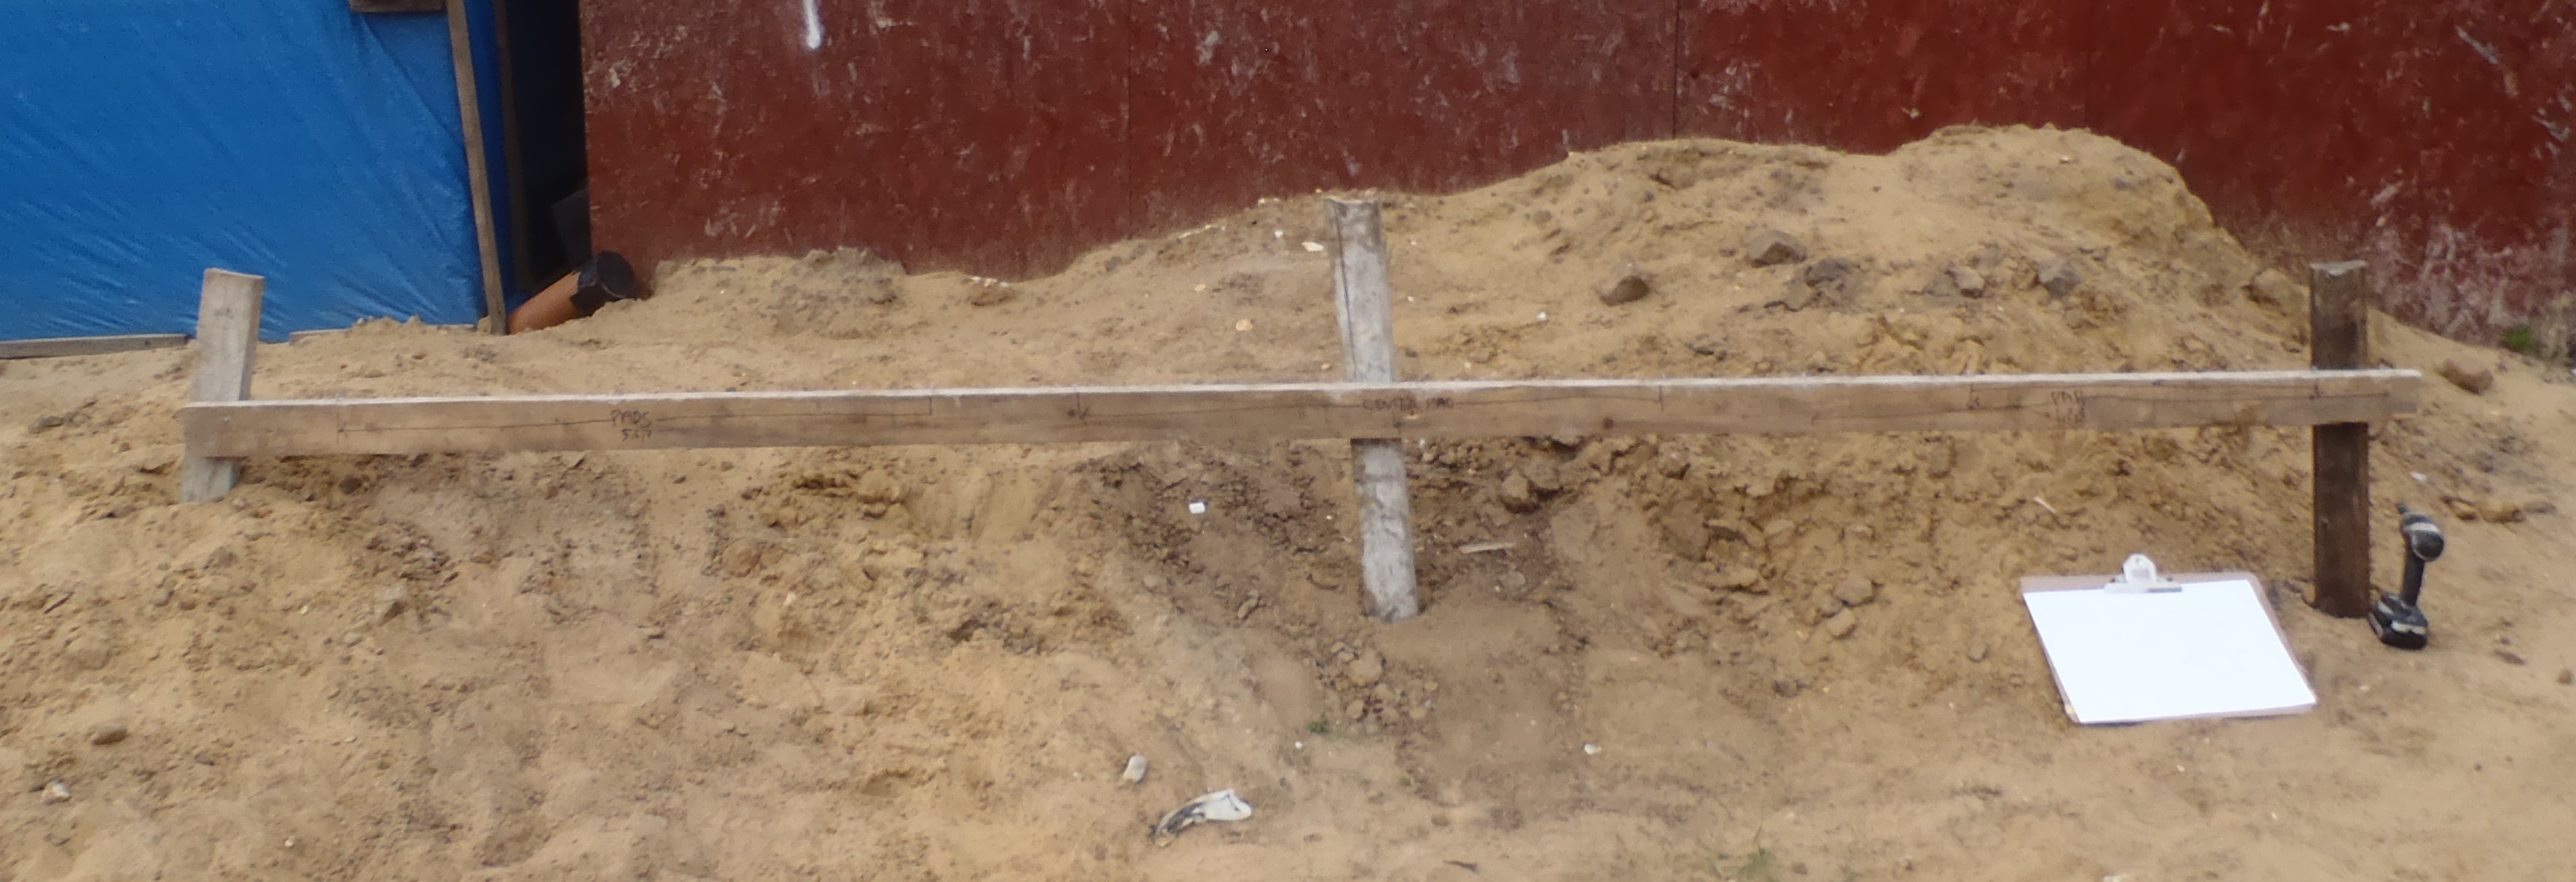
One-of-the-Batter-boards-for-Pads
These were on the Left and Right sides of the house.
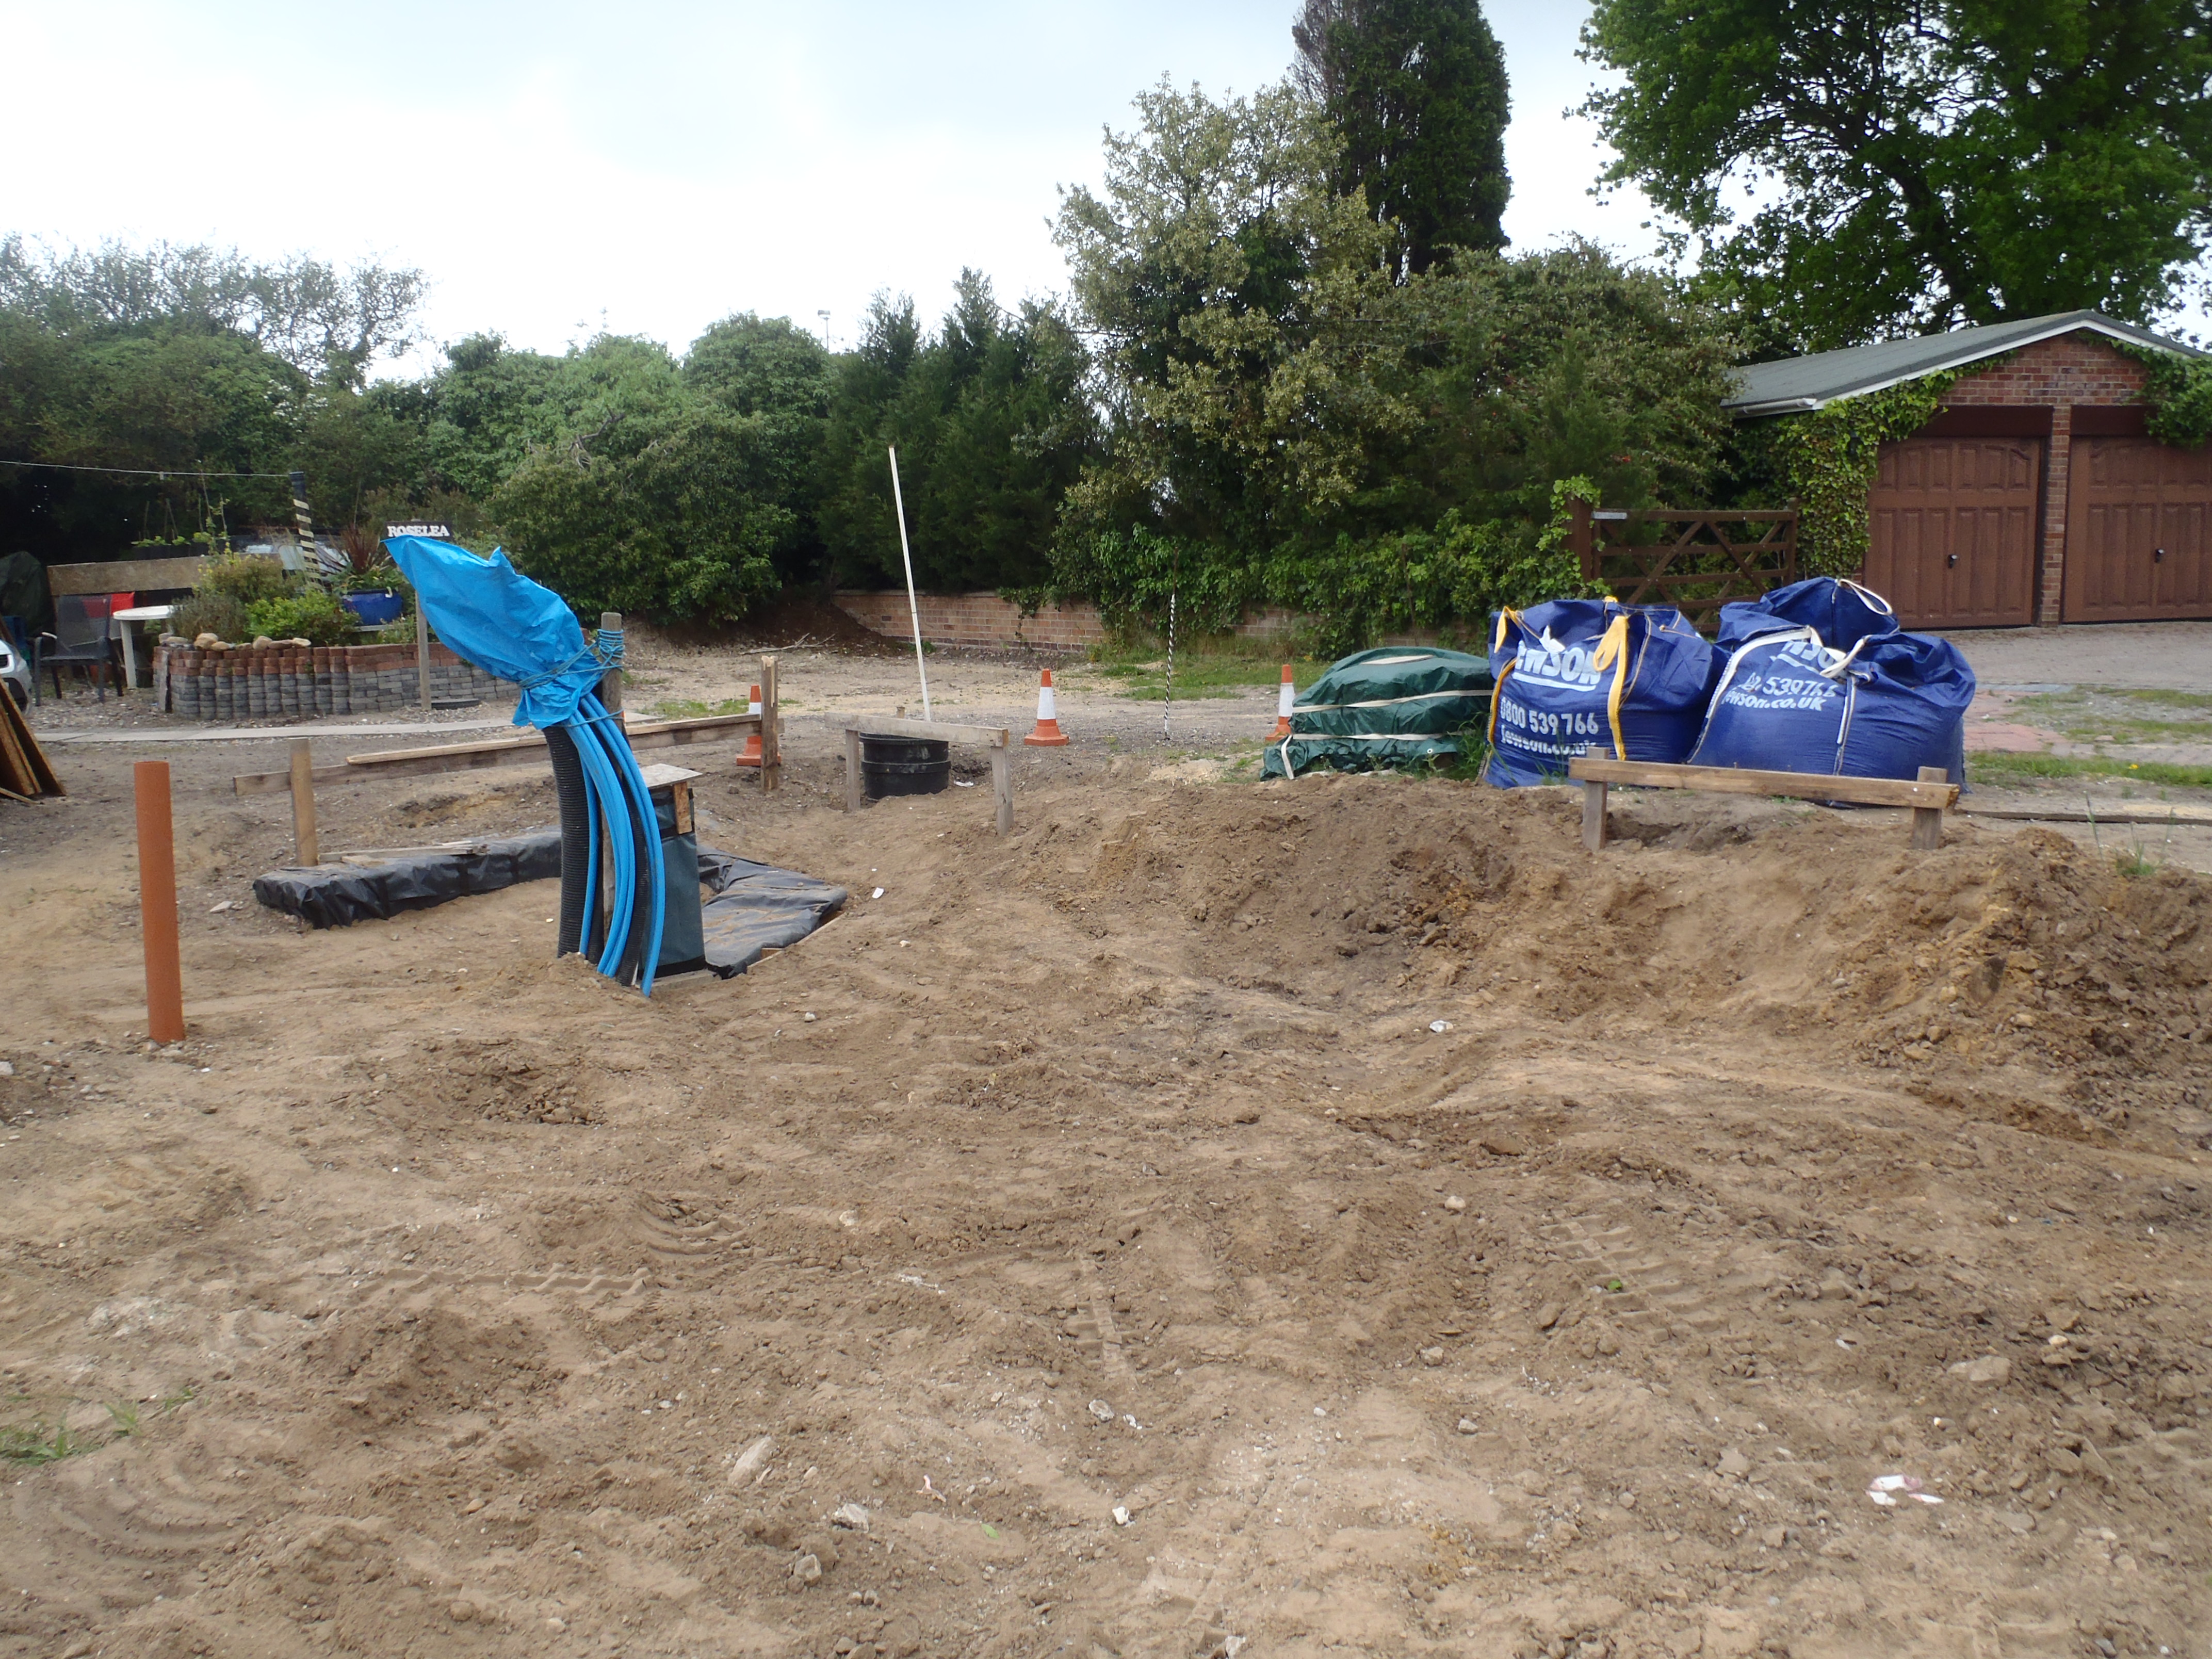
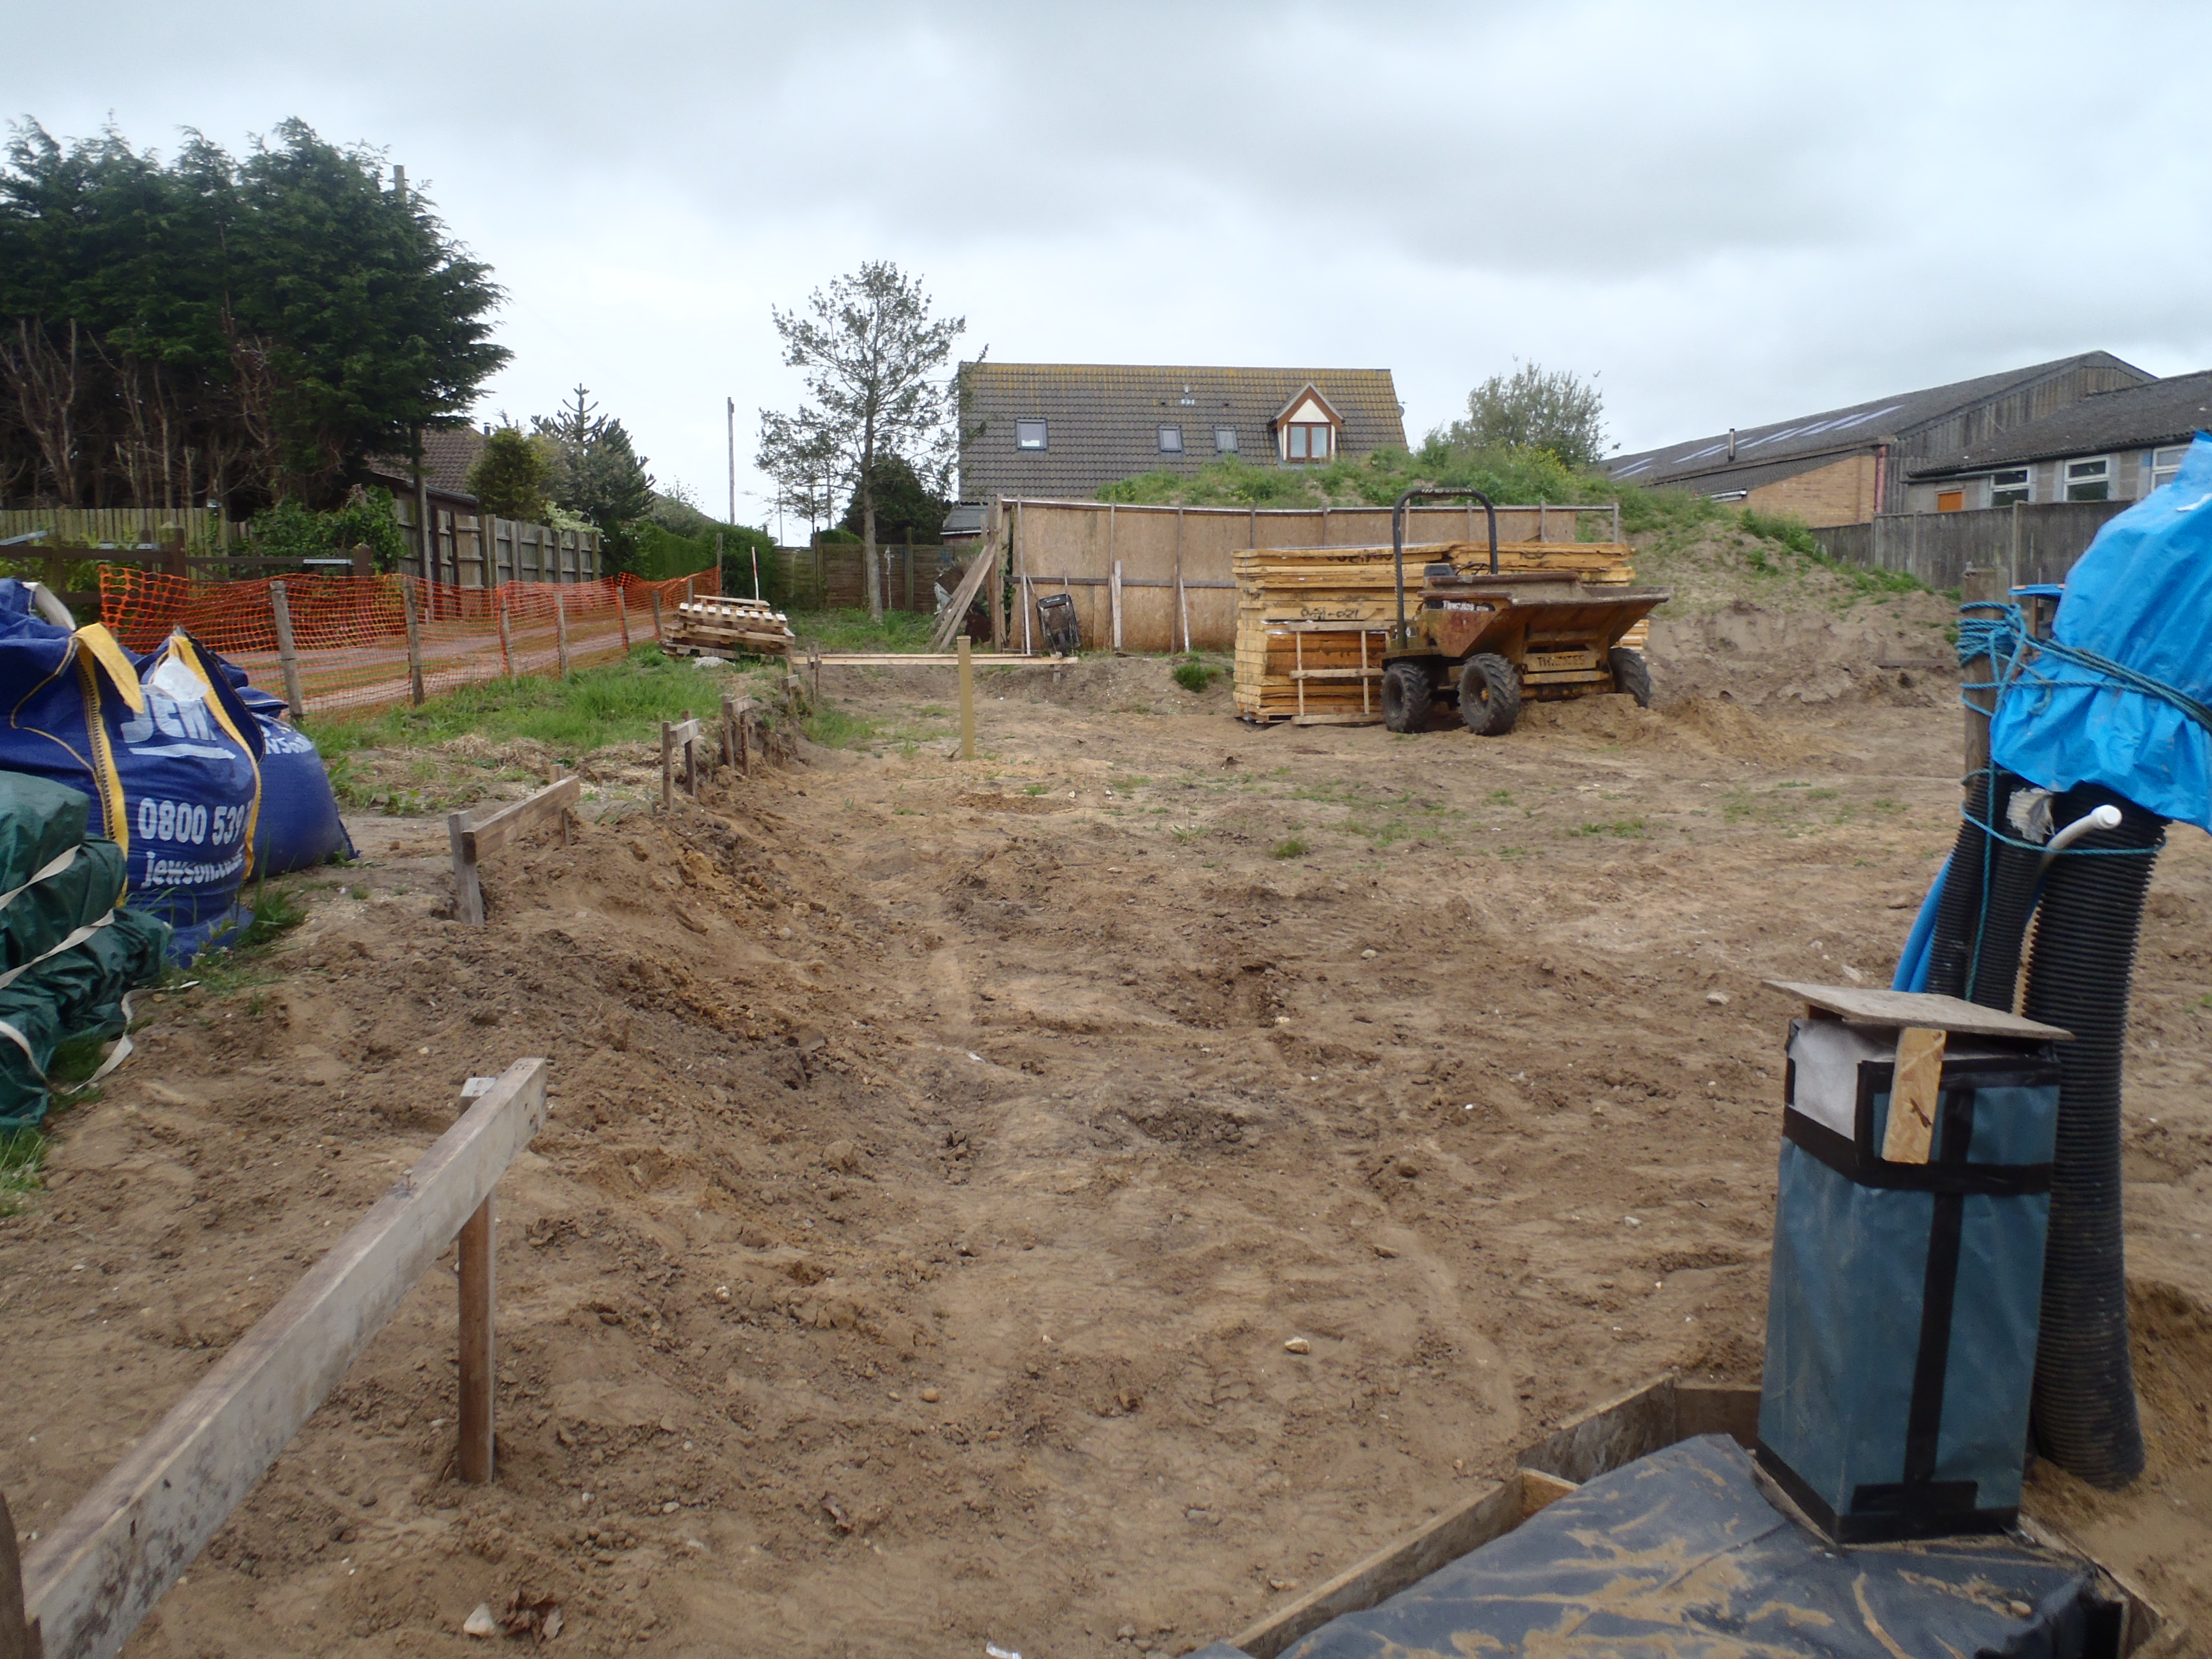
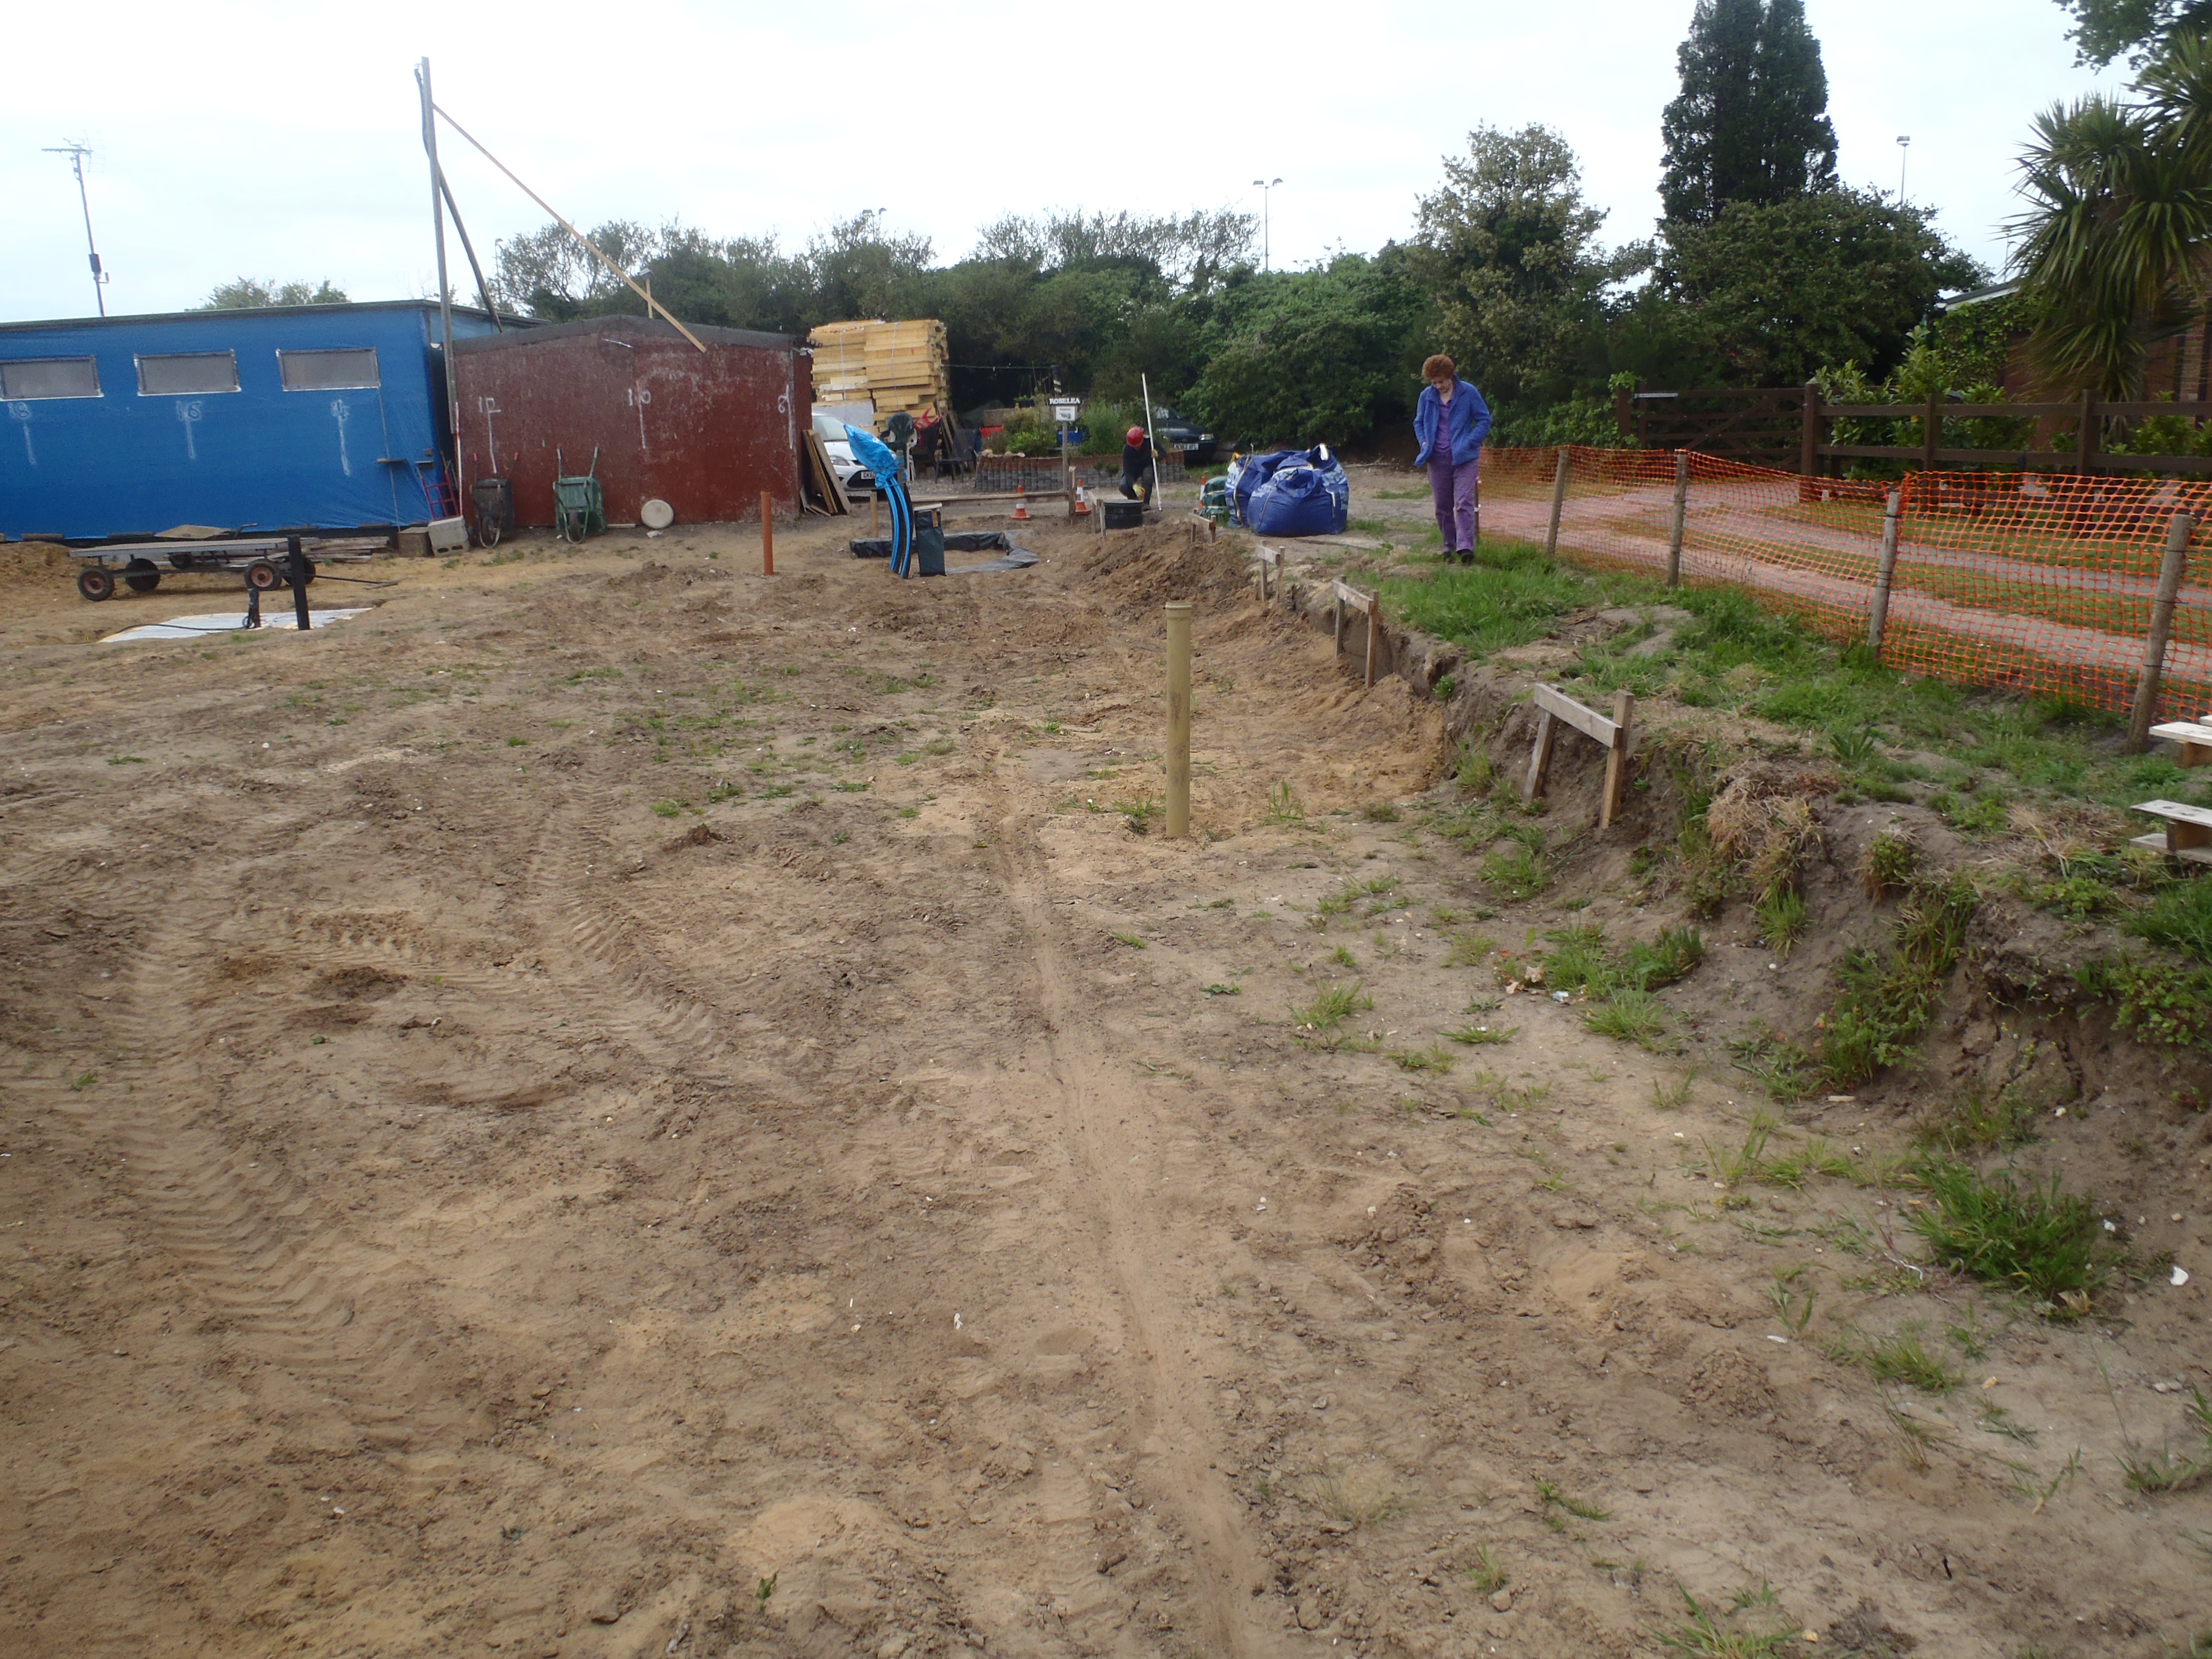
Then, we went around all the batter boards screwing in all the anchors needed to allow string to be hooked on and strung from front to back, or side to side, to form the layout of the foundation trenches themselves.
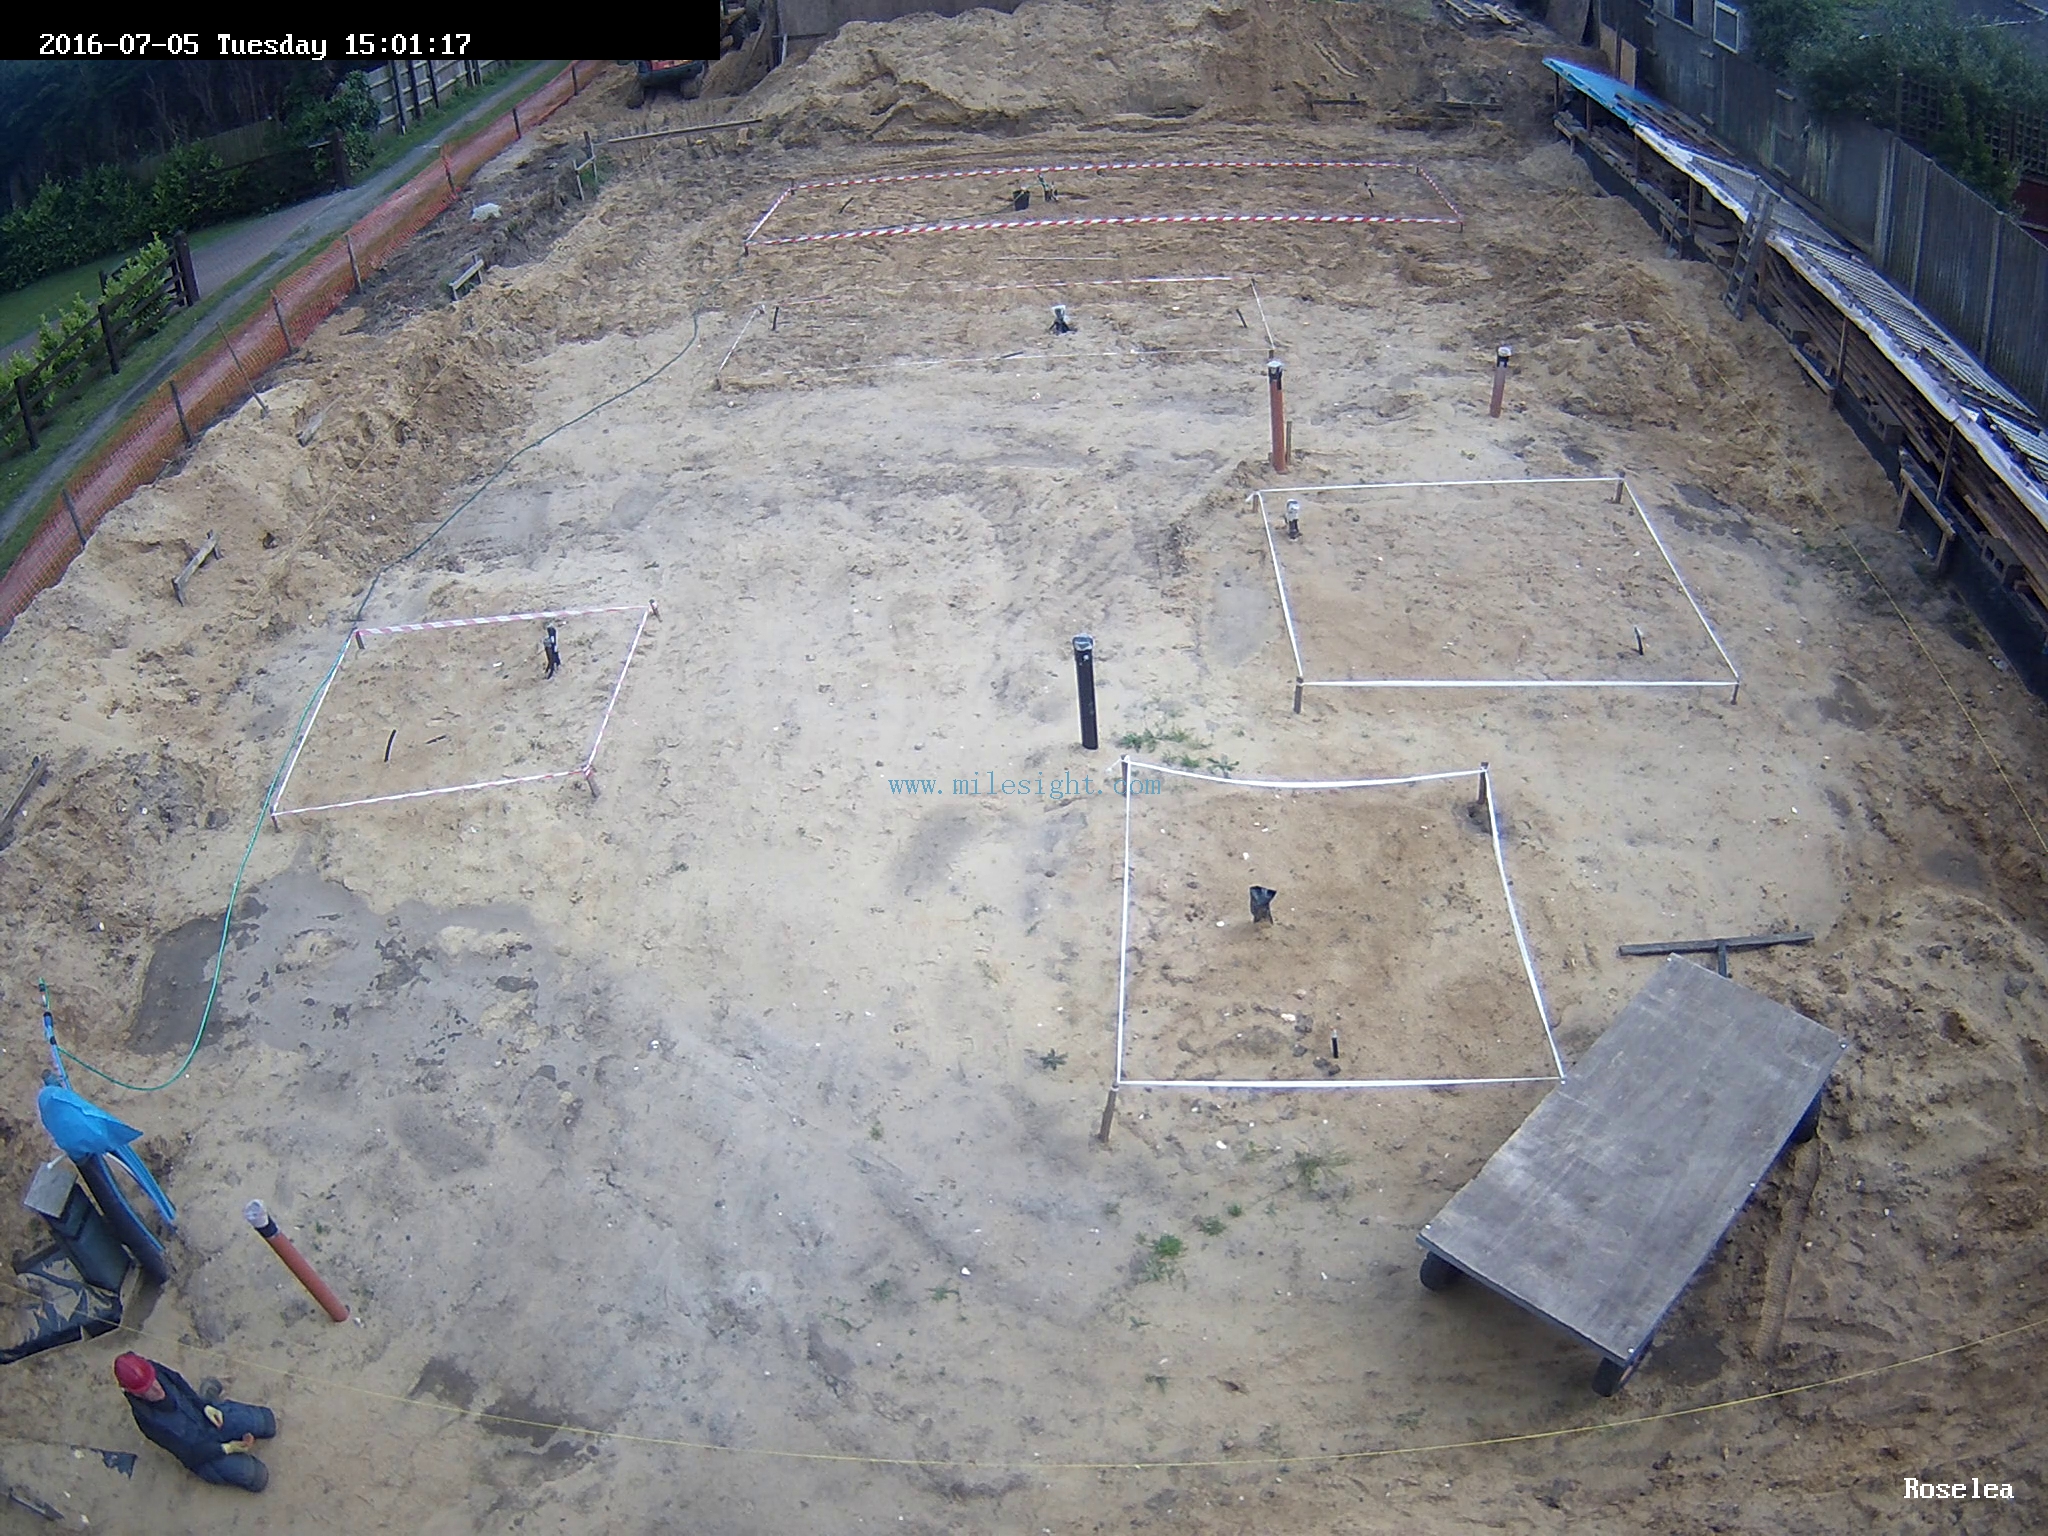
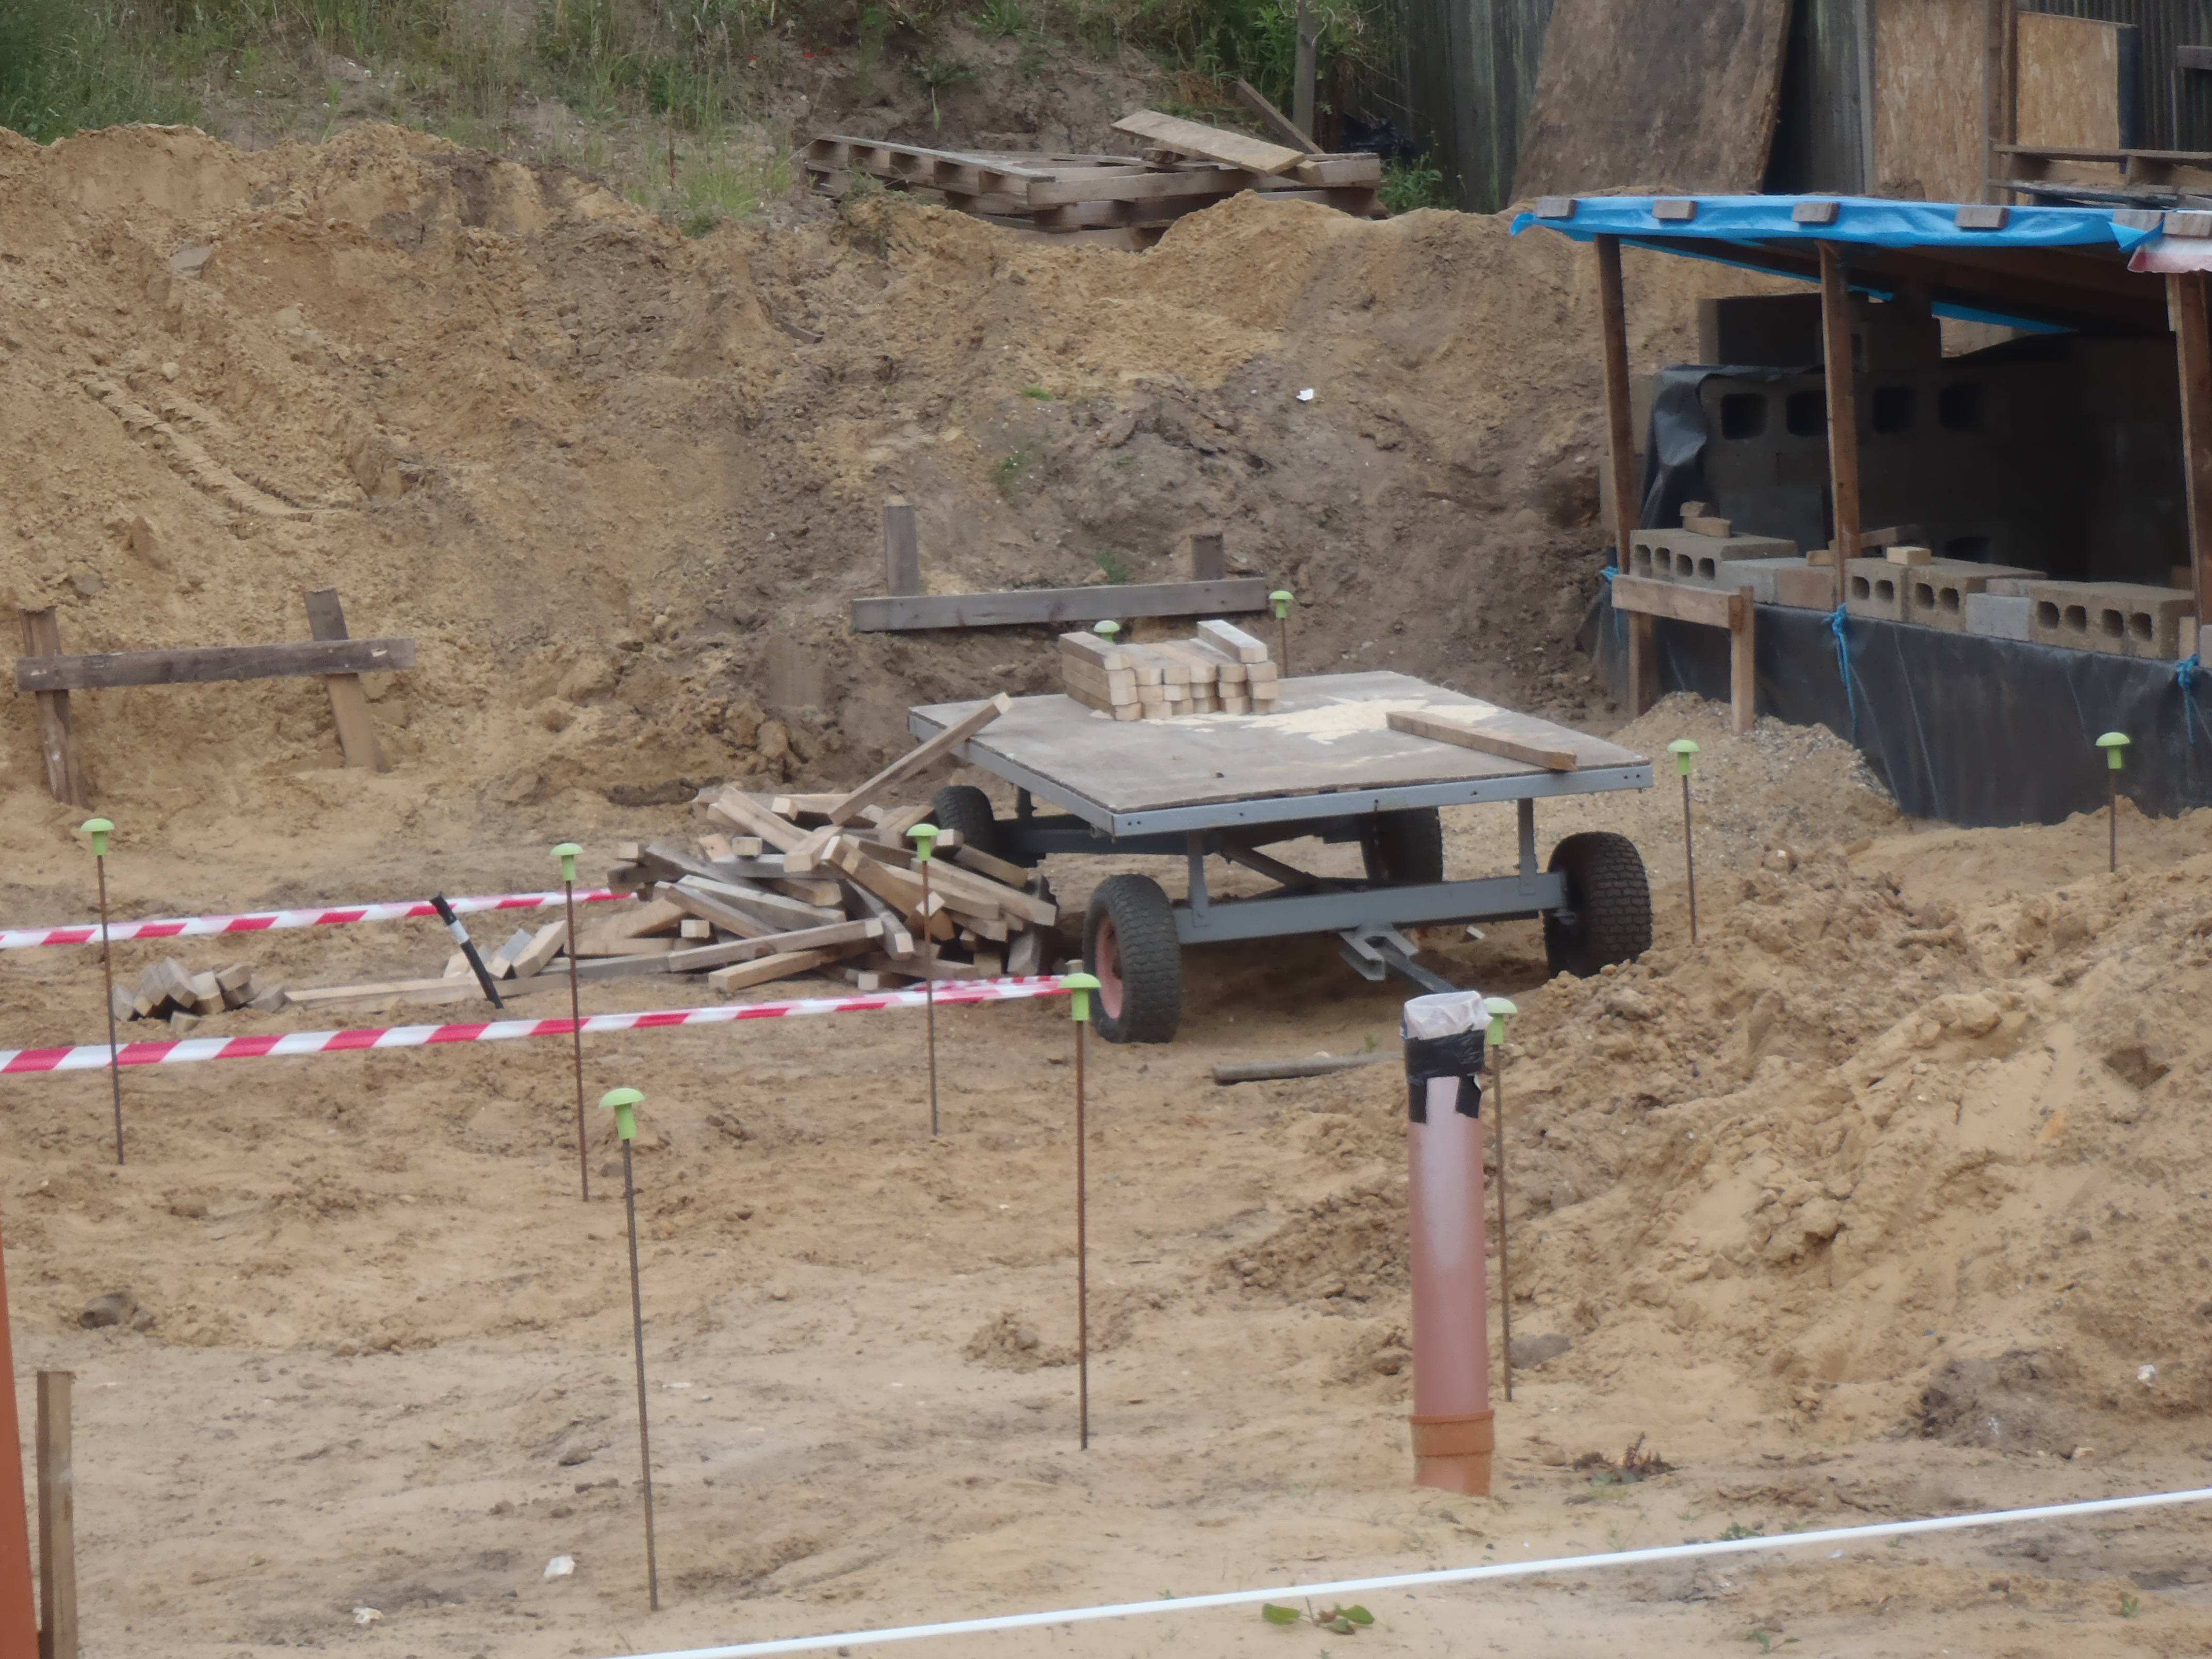
We actually started doing this on the back portion of the house footprint, using four set of strings to define the back two foundation lines and moved a pair of string from each of the front to back batter boards, which then overlapped the other 4 strings and we drove in steel rod at the appropriate intersection. These steel rods, with their protective green caps on, will be used to guide us when we start laying in the shuttering, starting tomorrow.

The-pins-marking-Back-wall-foundations
We will use our old stock of 89mm CLS timber to form the shuttering for the back section of the house (we will have 2 of them stacked upon each other to form a 178mm high sides), but for the front to back foundation trenches, the shuttering will be 300mm high OSB boards to provide “channels” to make it easier to push the “free flowing” concrete ready mix down towards the back section.
Here’s a timelapse of today