Our new week started with us making a second saw guide template for doing “right-handed” Bevel slices.
Next we serviced the Bevel Slicing Machine and made sure that all the nuts and bolts are tight and locked against vibrations by using thread lock glue (similar to superglue) and also mounted a handy wooden block on the base to aid in keeping better pressure on the sled platform and also against the guide rail too.
We then proceeded to do A2 and A3 at the sharper angle of 52.5degrees (this set of rafters are joining to the PA diagonal beam) and the first one, the A2, went through quite well. We had problems where the saw blade started curving outwards but it seems to be ok. But for A3, it did show this problem again but not so much. We think perhaps, that it is doing a lot of work and the original motor and gearbox specs were only for smaller diameter blades and we may be overstressing it. we will try and slow down the speed and perhaps do short spurts of cut and draw back and approach back in again in a series of small movements. We tidied the end with the Planer.
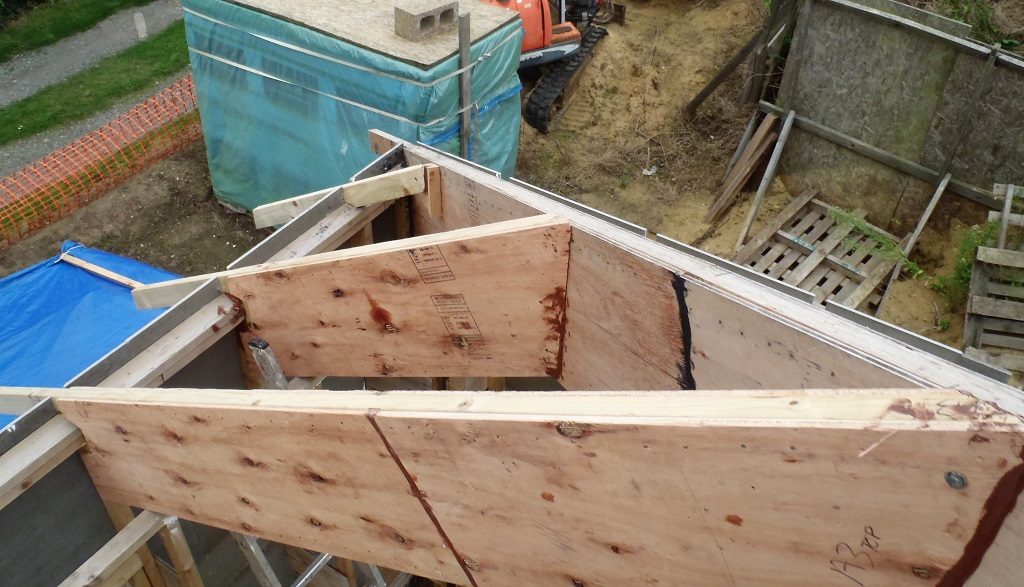
Then we took these finished rafters outside including A1 (which is just a single CLS timber without any webbing) and got them up and installed. We remembered that these rafters needed to be 10mm sticking proud up above the edge of the PA diagonal beam.
These three rafters fitted quite well but we did decide to switch over to 6mm coach screws instead of nails as the screws had the extra advantage of pulling the sloping joints in nice and tight and the glue was squeezed out.
Tomorrow, we will do the other two rafters, A4 and A5, to finish off the “A” Wall / Roof section and then move on to do the “E” and “I” Wall / Roof sections.
