This week, we created a machine to slice up our pile of random insulation sheets (which can be up to 150 mm thick) and started putting them into the walls surrounding the Entertainment Room. We needed to do this job now as we require access to the “I” section of the wall in Bedroom 3 so a new window hole can be created and this is being blocked by the stack of insulation.
So our slicing machine is constructed using a full 8foot by 4foot sheet of 12mm plywood, framing the edges and putting it on legs and then mounting a sabre saw into a wooden bracket and screwing it to the under side of the table. The table had a square section measuring 300mm cut out so we could gain access to the saw clamp to change blades. We also put together a boom arm over the blade and mounted a pair of ball races that grips the saw blade to stop it flexing sideways.
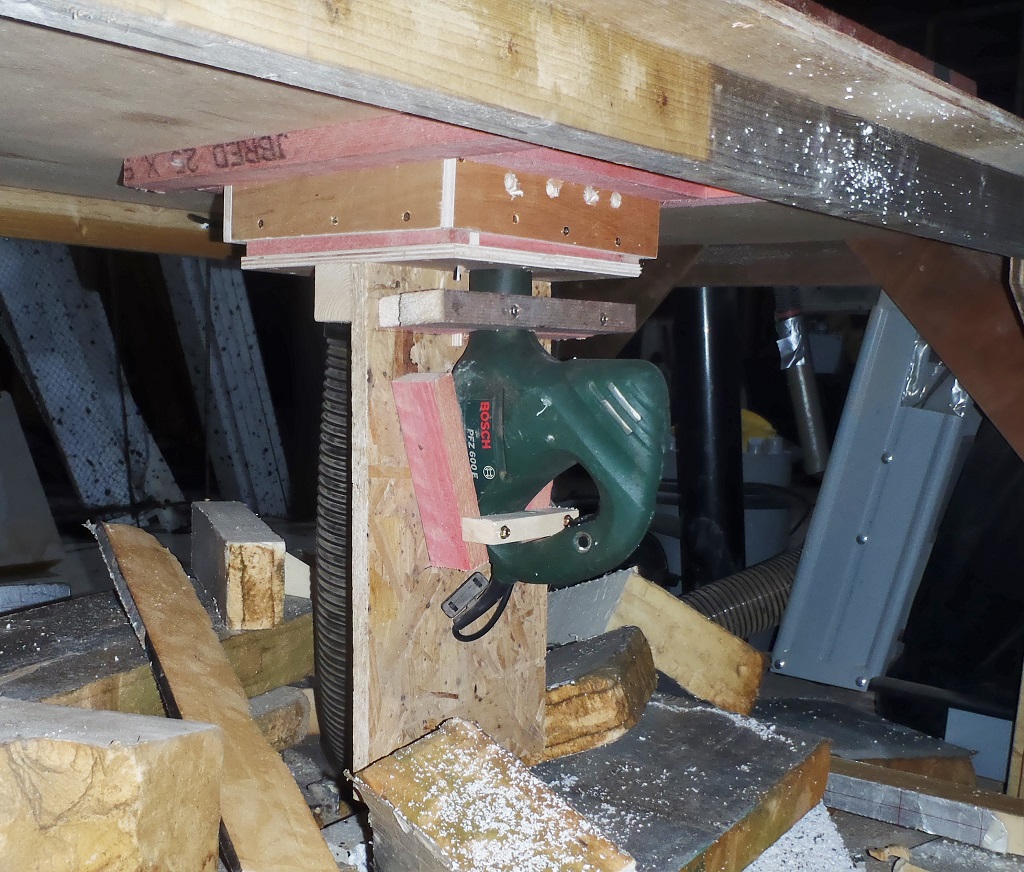
Sabre-saw-in-Insulation-Saw-Table

Insulation-Saw-table-Blade-and-guide
We also made provision to have our large format vacuum machine to suck away the crumbs and dust of the insulation material as we push it through the slicing machine.
Finally, we got a mobile adjustable fence with two clamps so we can set up a regularised width to guide the foam sheets through the machine.
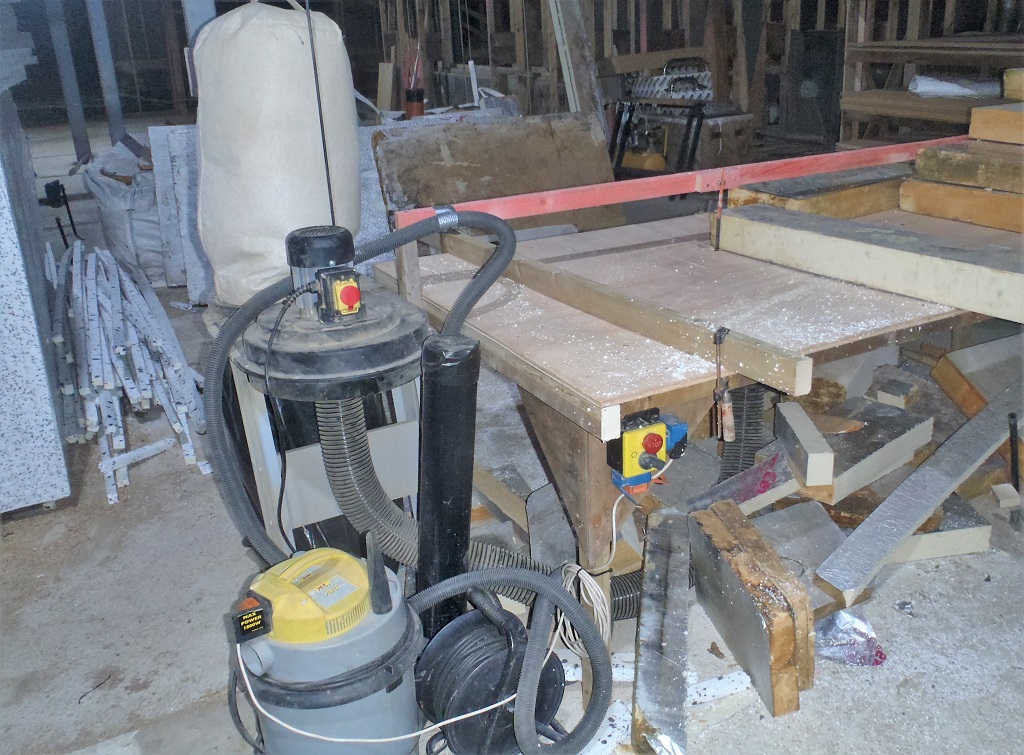
Insulation-Saw-table-and-extraction
Then, first job was to slice some of the sheets from the random heap of thicknesses, widths and lengths to produce a regular 940mm size. This measure is the distance from the concrete floor and to the height of the concrete wall and its three lines of timber. This means that when the first section is filled in, then the upper section can be loaded with another set of regularly sized insulation boards.
So this is what we did and now the Entertainment Room has the lower section along the “d” and “c” of the wall all filled in, apart from the window section.
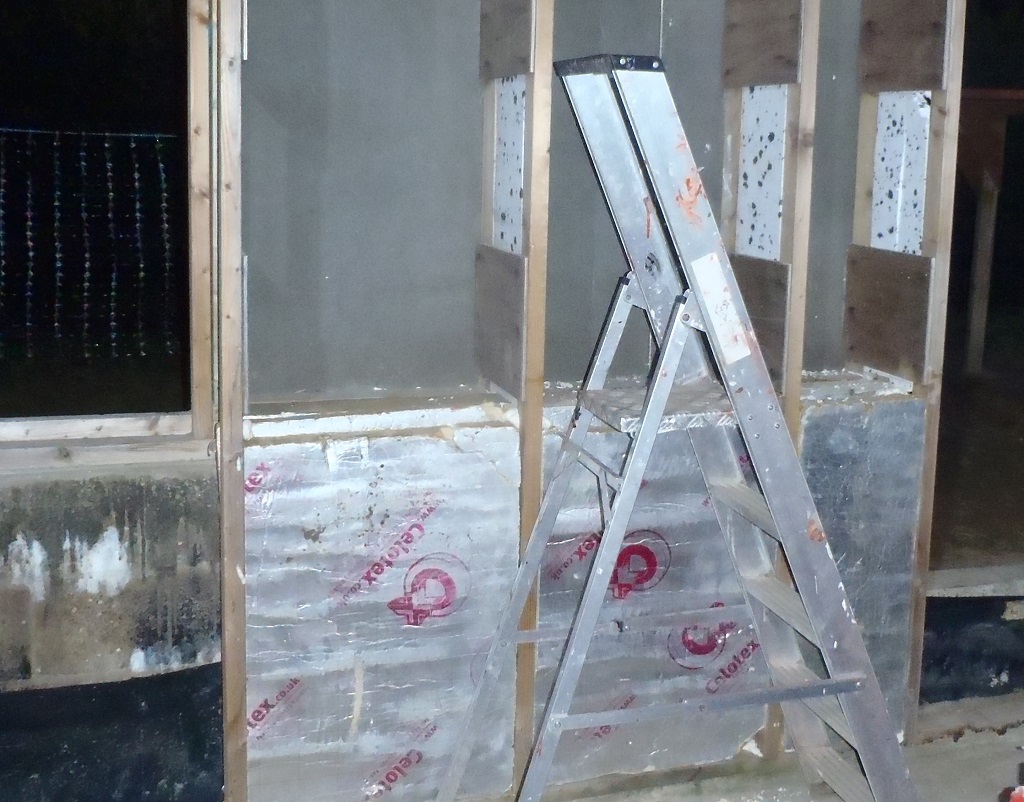
Insulation-at-base-of-wall
Then we realised that we could use up the left-over pieces of the polystyrene foam sheets (they came from when we were making the rafters) and we could use them to fill in the gap within the leg themselves, as they were already 38mm thick and this is exactly what we need here to block a potential cold bridge through the legs.
So all the pieces went through the slicing machine at 220mm wide and ready to be inserted when we need to.
Finally, we started the task of filling in the upper section of the walls and we decided that because of the random nature of the foam boards we got second hand, we would slice the pieces into a regular width and then stack them on top of each other and build it up layer by layer, with lots of PU spray foam to make sure that we don’t get any cold bridging. So we started right in the corner (the “C” – “D” corner) and sliced a set of 620mm wide pieces. We had found enough for two layers of 120mm thick boards and finished off the third layer using 100mm thick boards.
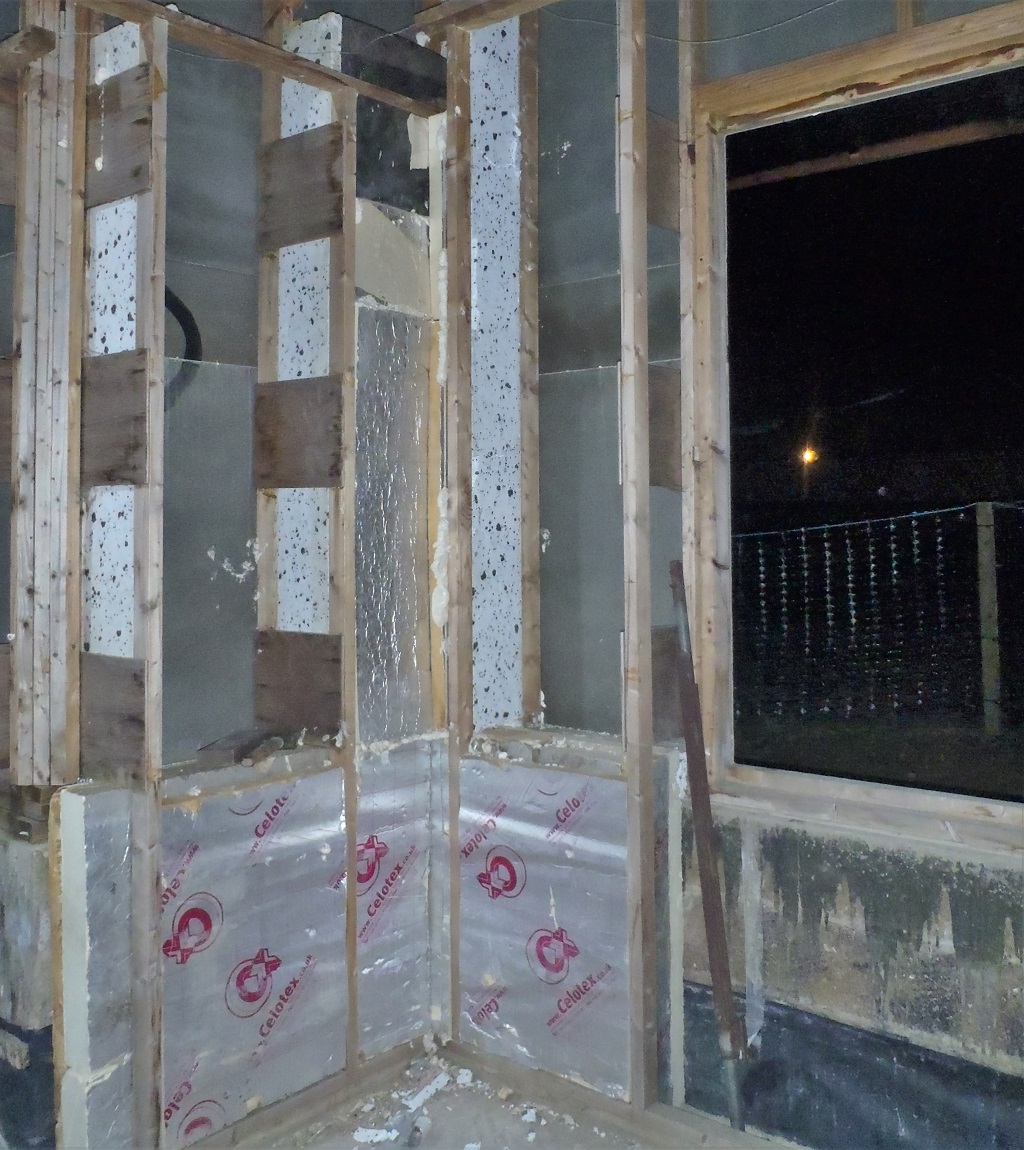
Insulation-in-CD-corner
It was rather fiddly but we are learning and some of the pieces were quite tight so next time, we will make it a little looser and use more spray PU foam to seal all the edges and joints. This would mean using a lot more spray foam but it is a small extra cost against the total cost of the insulation and it would help us move quicker in doing this job too.
Next week, we resume filling the walls in around the Entertainment Room, the reason we are doing this area first is because we will be building the soundproofing concrete walls as one of the first jobs to do inside the house when we have finished all the exterior cladding and have installed the windows and we would lose access to get the insulation in!!
Leave a Reply
You must be logged in to post a comment.