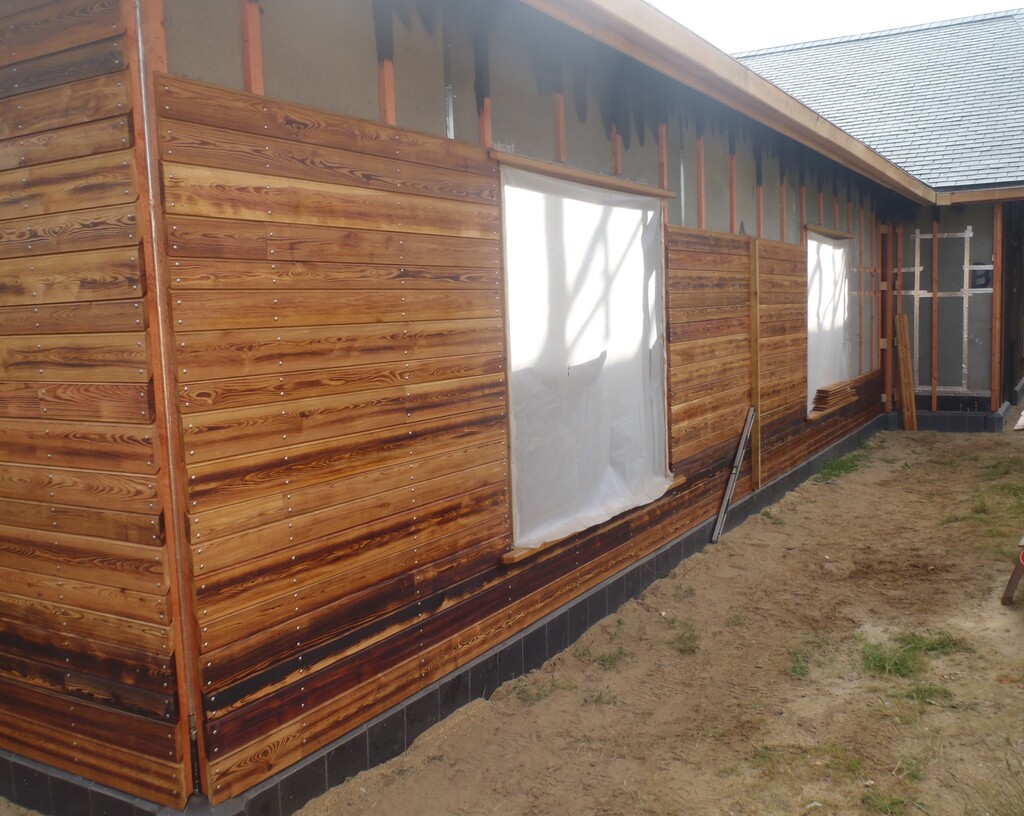
We resumed work on putting up more Larch cladding planks on to the wall sections “P2” and “A”, coming around the Great Room and along the front of the house.

Cladding-EOD-Tuesday
It is just a repeat of the standard placement of each Larch piece, according to the scorch burn level and the randomised widths, and getting them cut and sometimes connected together with a lap joint.
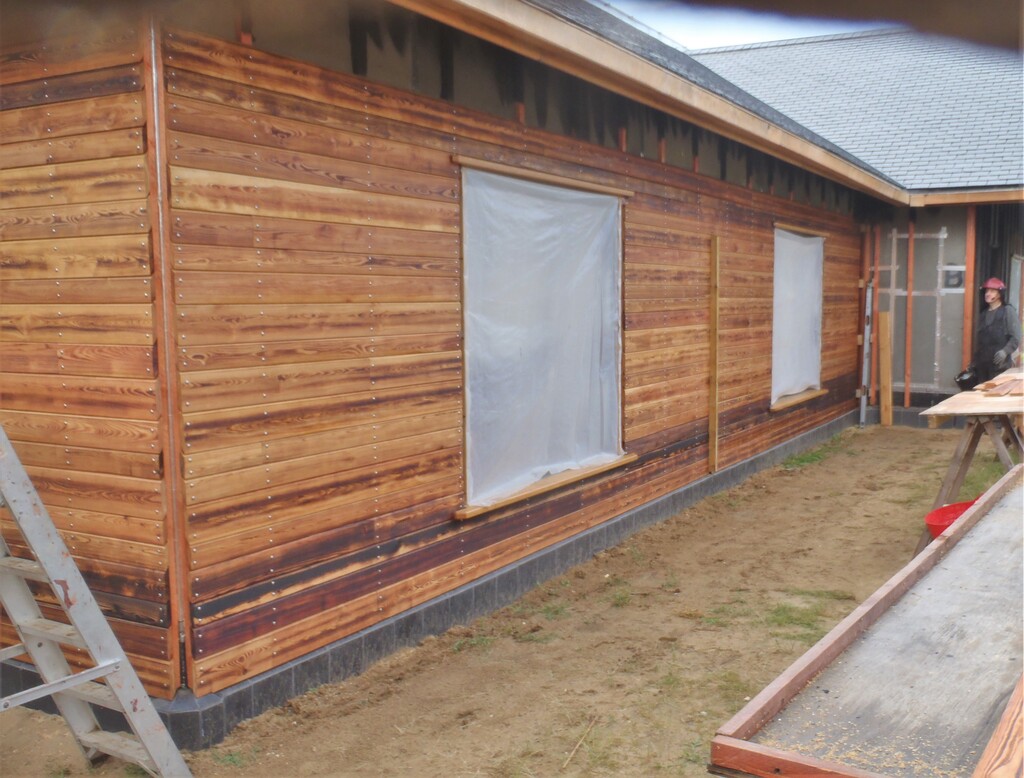
The middle of the “A” section has a fence support post so it was a case of making sure the randomised planks came to the same pattern at the top for the final two rows. We only had to manually swop over two planks in the spreadsheet and we were also lucky that the combined height arrived almost exactly to the height of the fence break, thus avoiding having to reorder the list!
Cladding-EOD-Wednesday
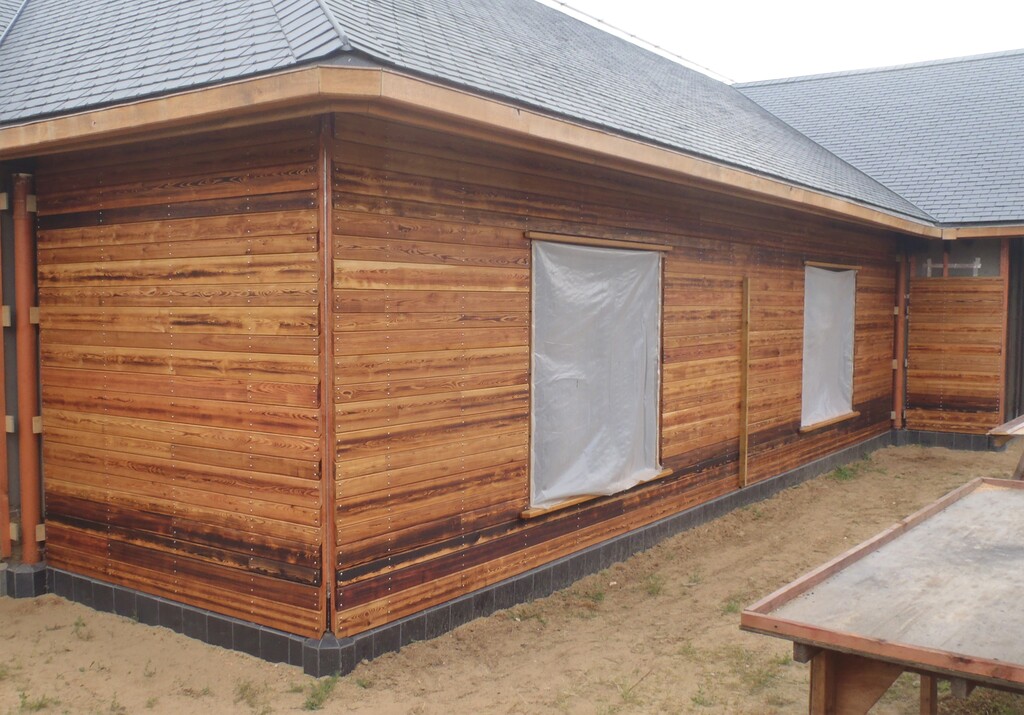
On Thursday, we did discover something that was concerning us and it happened during a heavy rain fall (we had 6mm of rain in 10 minutes flat!!) and we watched the rainwater fly off the roof and missing our gutters. This was in the valleys of the roof and the sheer amount of water that had collected was enough to make it shoot down the valley and the angle meant that it shot over the edge of our gutters. We had noticed to how wet these corners were after a rain shower and we thought that we might have had a leak or something. But now we know what has happened and we can now build a solution which is to construct a barrier of some form, to catch the flying stream of water and deflect it downwards into the gutters instead. That is good!
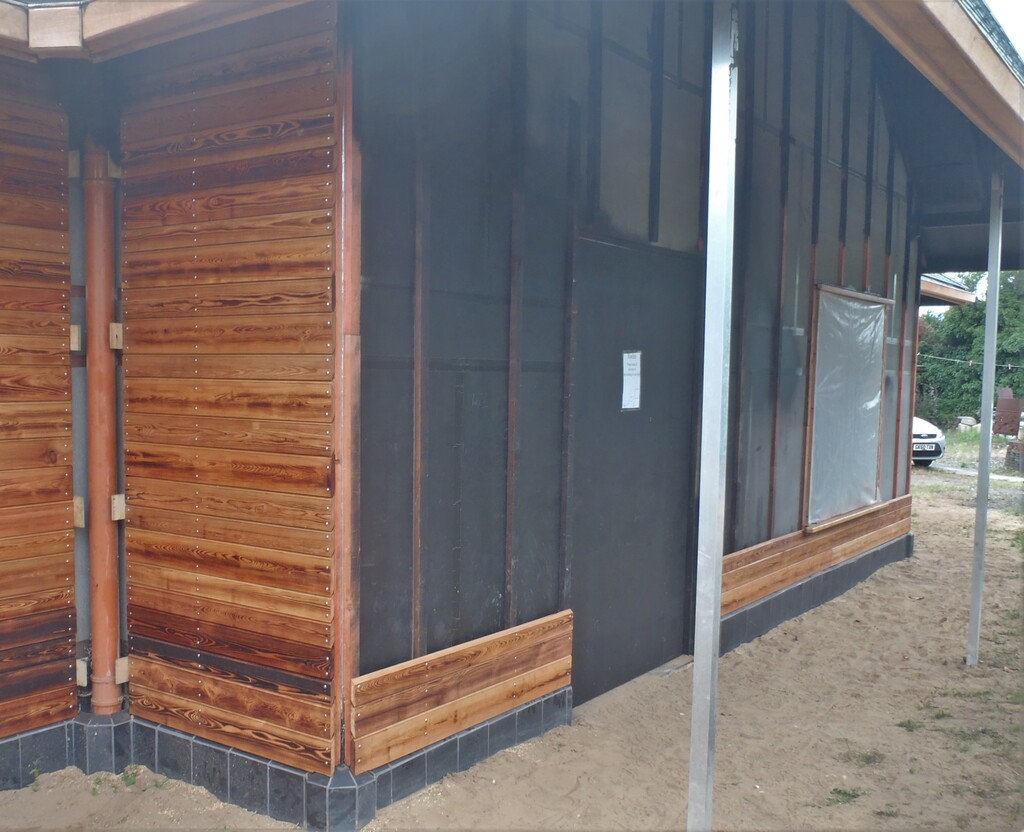
By the end of the week, we have completed the “A” and the “B” sections and have moved onto the more complicated “C” Front Door Porch section that goes up four and half metres, up in the apex of the roof that hangs over the Front Door and Entertainment room.
Cladding-EOD-Thursday
Cladding-EOD-Friday
We needed to make sure that the first row of the Larch timber, a large width with a scorch level of 1, was positioned at the exact level so when we have reached the top of the doorway and the window, they all aligned up together and smoothly allows the next full row to blend in seamlessly. We used our laser level gadget that produces a sweeping red line, right on the horizontal level, to provide the necessary synchronising factor to achieve this goal.
Cladding-EOD-Saturday
We will continue next week, while dodging the short sharp showers and hopefully we will get the rest of the front of the house clad. Then we can turn to our Fire Proofed Treated timber, clean the iron marks off and dip them into the weather protection oil and then proceed installing the other half onto the walls along the side and back.
Leave a Reply
You must be logged in to post a comment.