For the start of our new week, for the start of the work inside the house, we got on in sorting out the area where the Entertainment Room is situated. There is going to be a concrete shell to provide some level of sound proofing so the rest of the house is not disturbed by crazy noises, loud bangs and awful discordant sounds from musical instruments etc.!
But we have to make some adjustments to the framework around the window first, to make room for the 100mm wide concrete blocks that will go up on either side of the window to form a barrier to keep the noise in. We moved a pair of inner (63mm CLS) legs sideways 150mm and glued together three layers of the 63mm CLS timber horizontally going over the window that forms the lintel to hold up the first floor. Also, we sliced away some pieces of the insulation to make room for these concrete blocks too.
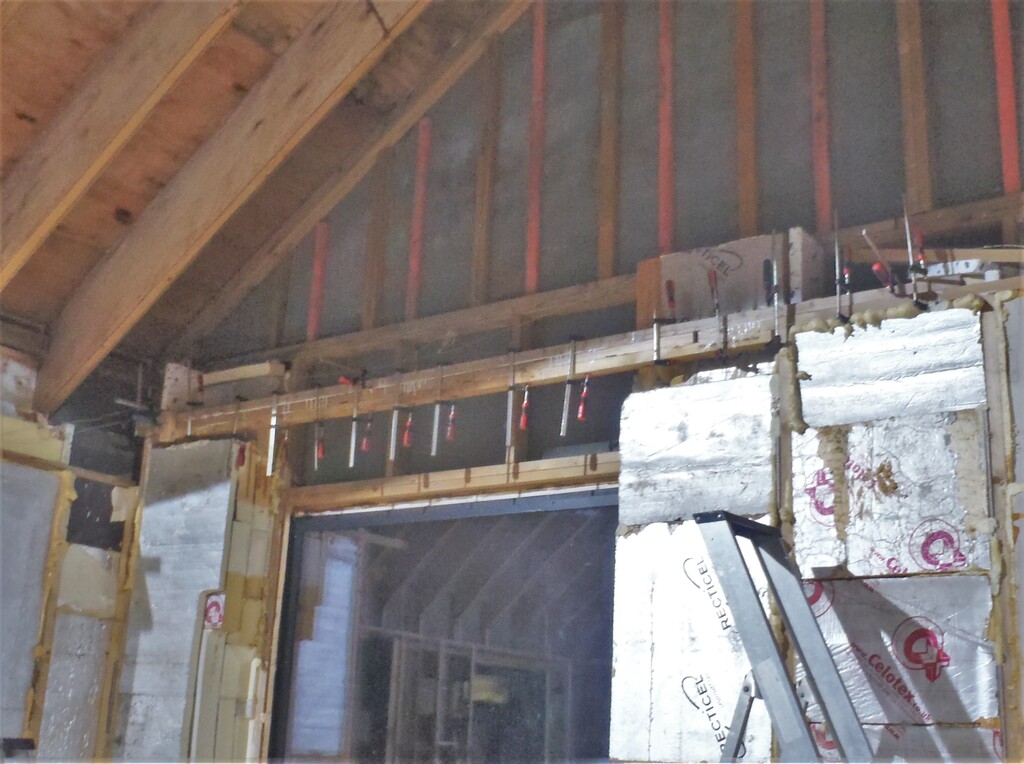
Gluing-lintel-reinforcements
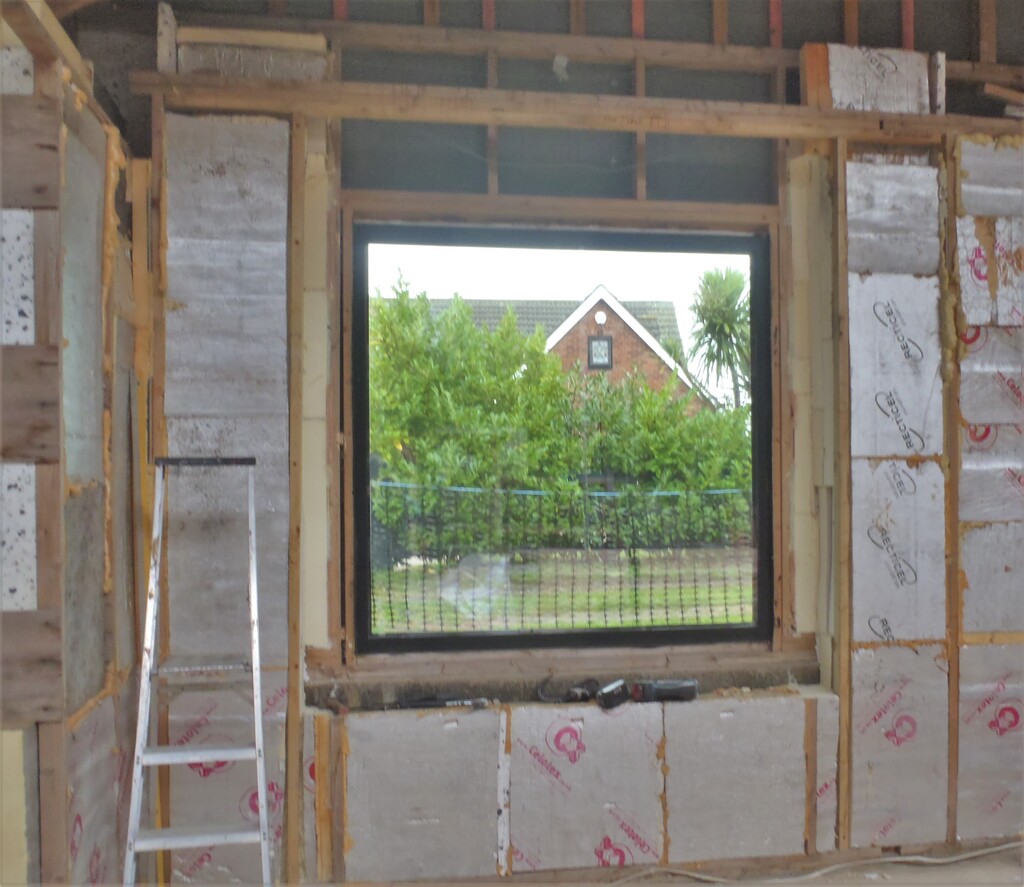
C-Window-ready-for-Entertainment-walls
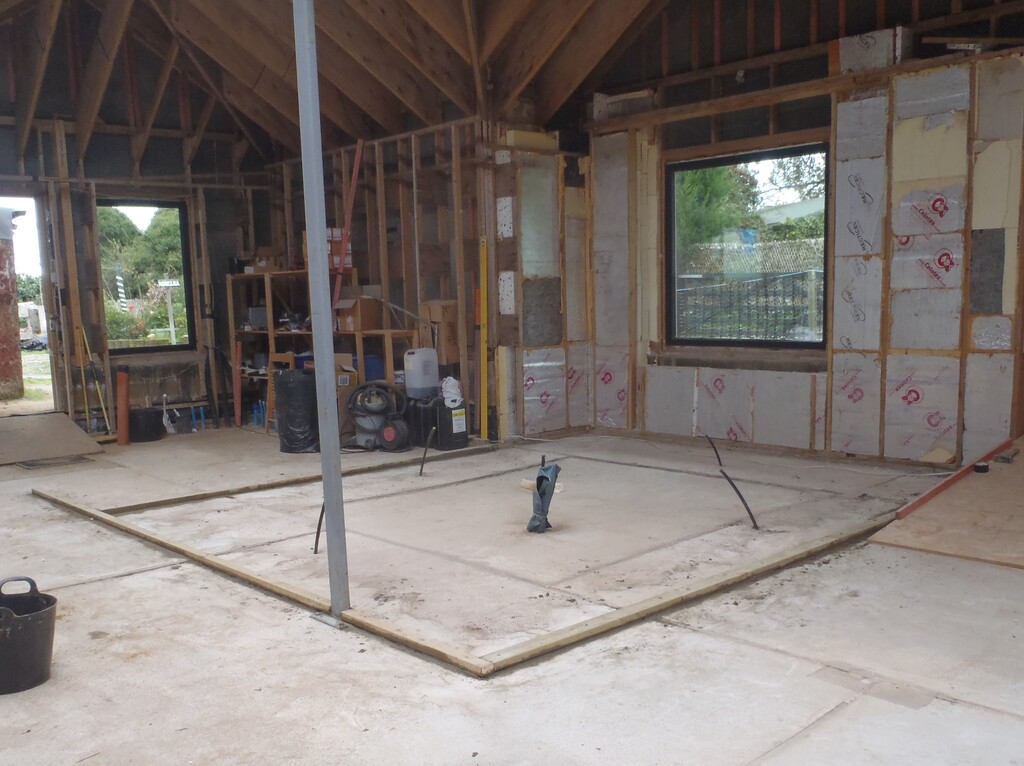
Next, we decided that we needed a larger tool to help mark out the layout of the stud walls (see Created Large Right Angle Framing Tool ) and using this piece of equipment, we marked out the outline of the wooden stud wall that surround the concrete shell.
At this point, we put out our laser level gadget and proceeded to measure the relative height differences around the perimeter of the room, to judge where the highest and lowest points were. We had set of numbers ranging from 108 to 122mm which means a different of 14mm between the highest spot and the lowest spot.
Then, we measured and cut up a series of 89mm and 63mm CLS planks to form the bottom layer of the stud walls where we drilled clearance holes through and then using our SDS mains powered machine, drilled the required holes into the concrete, ready for the self-tapping concrete screw bolts.
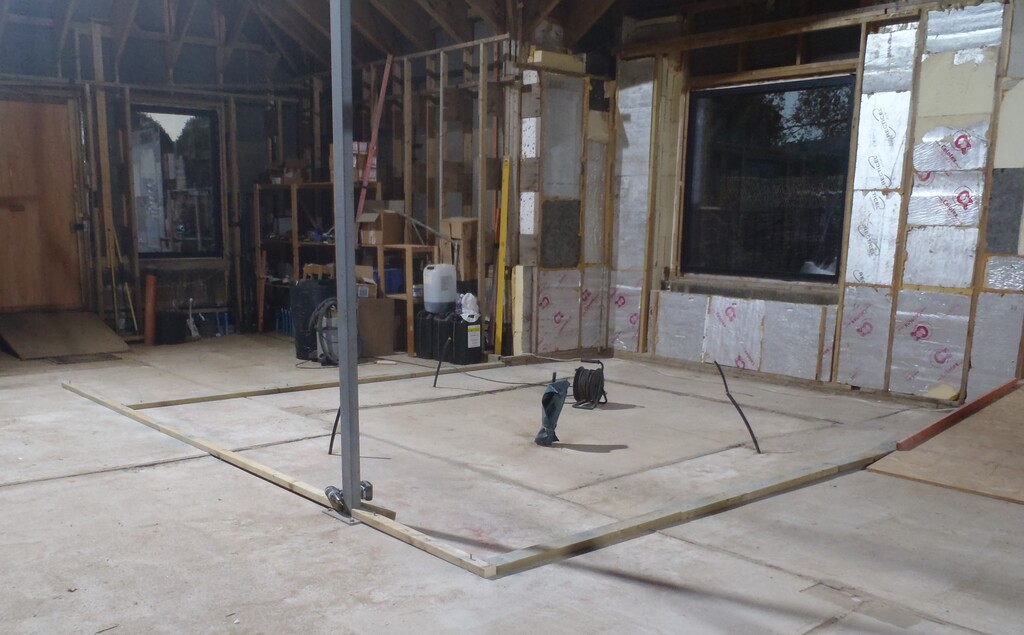
All-fixing-holes-drilled
Next, we blasted all the holes with compressed air to clear the drilling rubbish out, collected up a trug full of soft sand (from our own sand pit, using a medium holed sieve to avoid larger stones) and got a bag of cement we had lying around that hadn’t gone hard yet. We started with four scoops of sand and put in two scoops of cement, a couple of finger pinches of fine plastic fibre and got it nice and moist. But we discovered that there was too much fibre in it, it was clumping together!
So, following the earlier survey results, we decided to put in 2mm of mortar at the highest spot, just enough to wet the surface and sit the plank down. We put in enough underneath and then thumped the wood down along the length and using our laser level machine again, settled the whole plank flat. This spot is then the reference point to get all the other pieces of timber footplate all at the same flat level. This was duly done and left it to set hard overnight.
In the morning, we came along to scrape any excess mortar away, to tidy up the surfaces on the timber and on the concrete alongside where the concrete blocks will be placed. The next task was to slice up more planks to form the second layer, making sure to overlap all our joints to reinforce the total strength of the footplate. We proceeded to drizzle PVA glue over the wood and screwed the two layers together.
Double-wall-plates-fixed
We had finished by early afternoon and we spent the rest of the day looking at making another piece of equipment to help us produce regular and precise lengths of timber, for legs, posts and top plates that will form the internal walls of the house.
Leave a Reply
You must be logged in to post a comment.