For this new week, we started the task of building the concrete shell that will sound proof our Entertainment Room. The first task was to make a template to help us align the rows of blocks so we put together a piece of plywood with a straight CLS timber to stiffen the board and stop it from curling. Then marked out two lines set apart by 225mm which is the height of a block plus a layer of mortar. Then we marked along the lower line with marks spaced at 450mm (the length of a block plus a mortar).
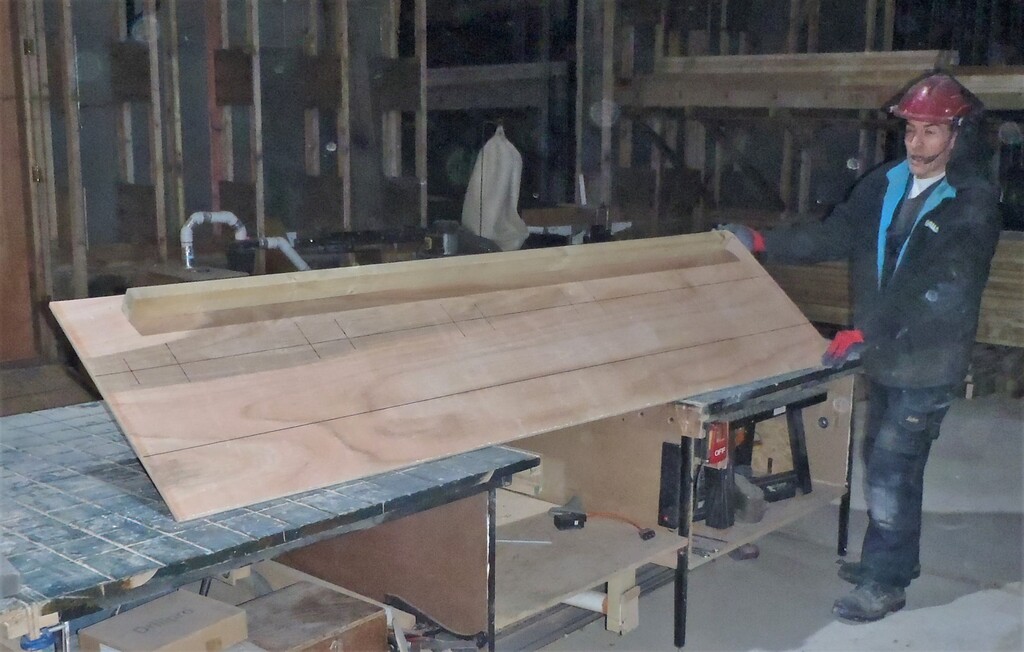
Block-alignment-and-spacing-Template
Then, in the mid-afternoon of Monday, our Concrete Blocks Arrives. We had ten pallets to unload!
So on Tuesday, we could start laying out the first layer of blocks around the room, making adjustments, and then tackle the job of slicing concrete blocks to the required size. For this we created another jig, see Jig to Slice Concrete Block to help us.
On Wednesday, our Ten Concrete Beams Arrive very early, but we had other tasks to do in the morning and the afternoon was spent dealing with the beams.
So we didn’t actually start putting our blocks into mortar until Thursday and it was a very long day. We got all the equipment out, the cement mixer, wheelbarrows, the plasticiser, water hose and measuring jug. We got our first load of mortar done and didn’t finish that load until well past 2pm. We had a quick lunch and resumed at 3pm. The second load got us all the way around the circuit of the room plus half the second layer, and we finished 7:15pm! We had put down sixty blocks, each weighing 19kg each!
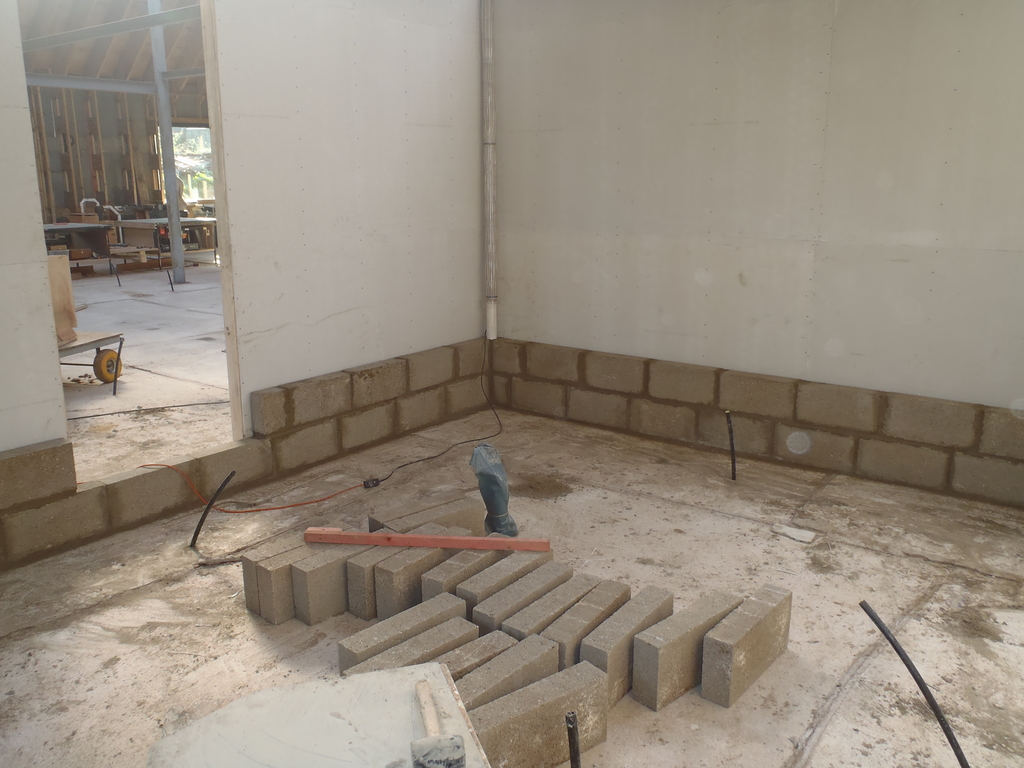
First-days-block-laid-1
First-days-block-laid-2
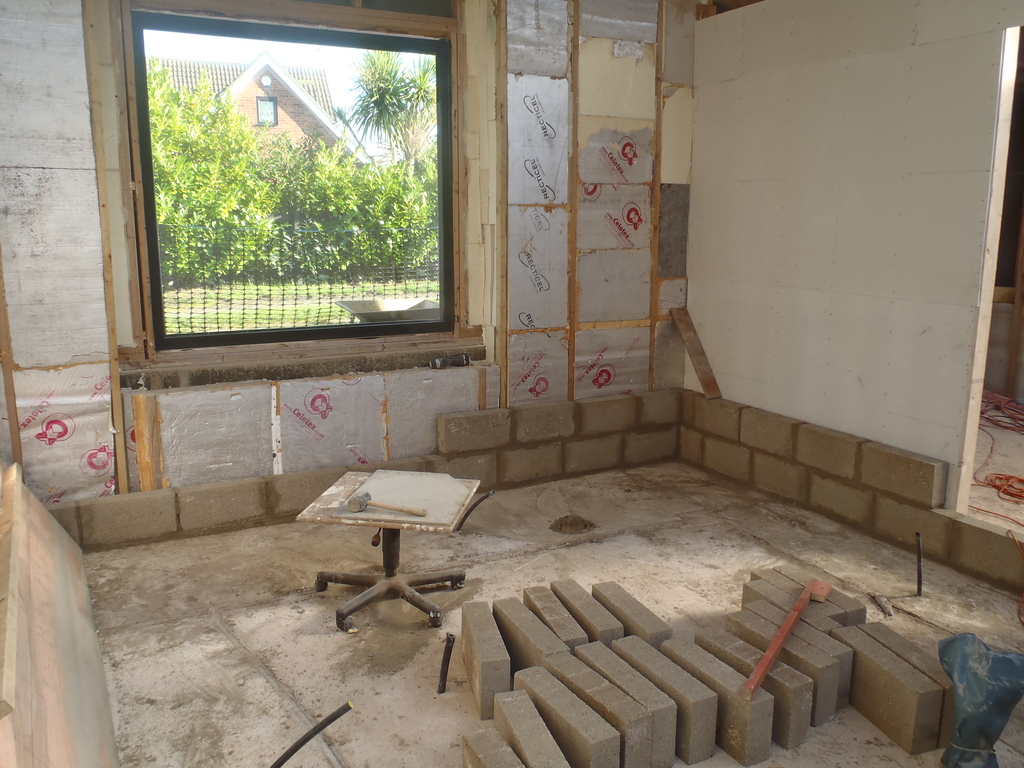
The next day, we got the second row done, including stopping and starting either side of the door entrance (we created a quick wooden guide to ensure that we had a 50mm clearance to the door frame, so we can insert a vertical plank of timber to create the inner framework). We got all the third layer done too and got further around on the fourth layer, but this time deliberately avoiding the window area as that needed special attention.
The final day, Saturday, we tackled the job of putting an extension of our concrete shell out towards the window. We found a heavy duty angle iron in our supply, a left-over length from when we were building the steel framework up in the skylight. We sliced off two length of 2050mm each, de-rusted them thoroughly, and then drilled five clearance holes. Both were painted with a rust protective zinc paint and then the first one (with the holes) was placed onto the concrete outer wall underneath the window.
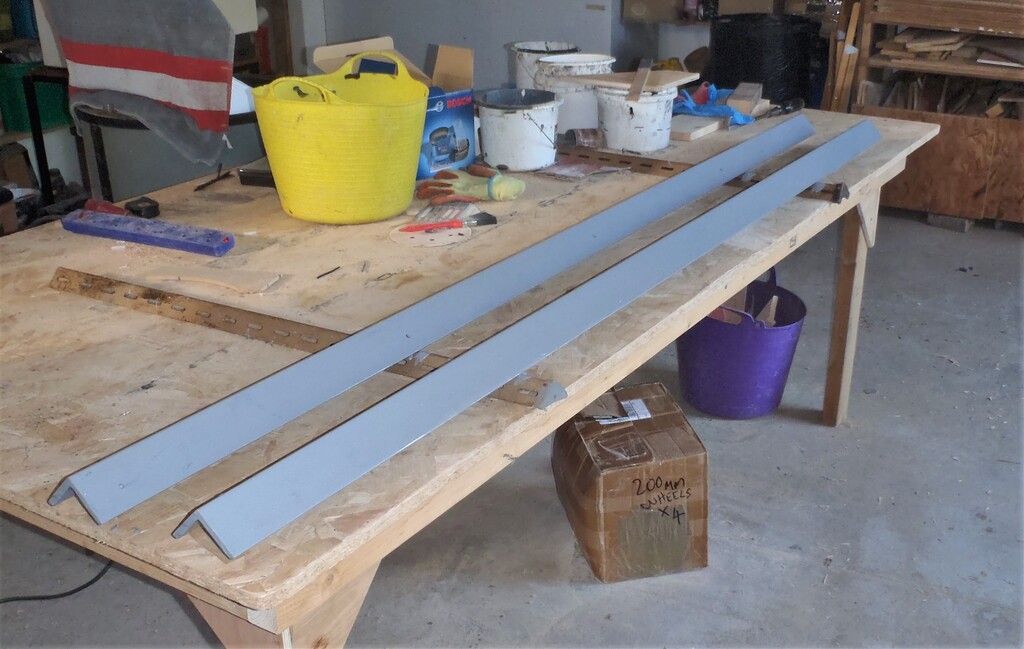
Wall-support-steel-angles
Five holes were duly drilled and five concrete screws were driven in. we also put in a good amount of PU glue to stick the metal bar to the concrete wall to provide extra security and load bearing capabilities.
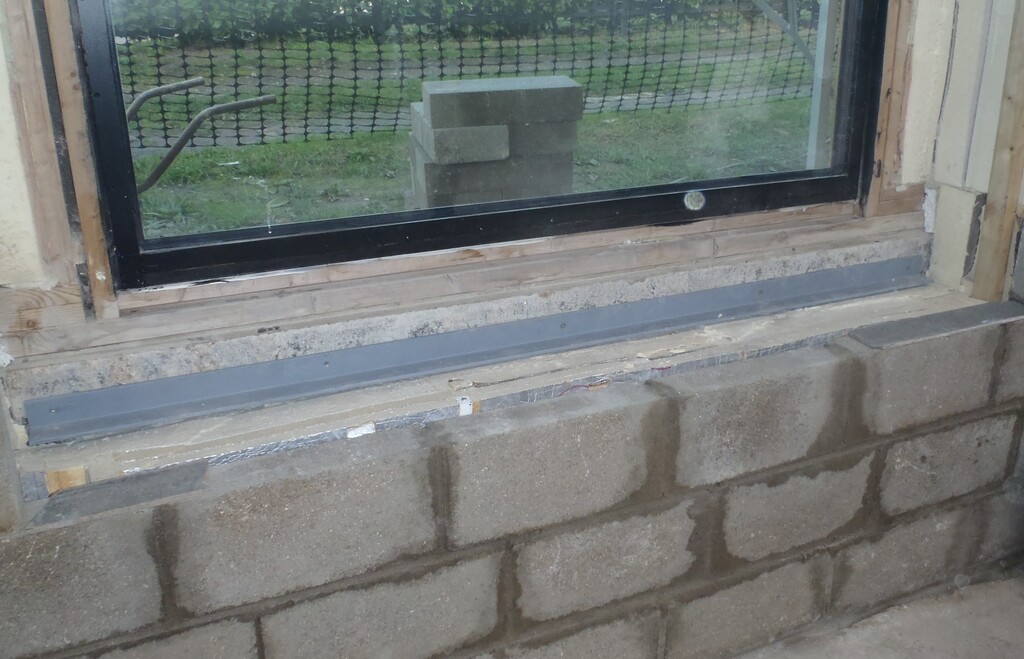
Bottom-wall-support-attached
Then we got two more concrete blocks and sliced them with a sticking out bit at the back. These blocks are the start of the vertical sides of the window alcove and they rest on the metal support and have a little sticking out bit at the back to reach the wooden framework of the window. we left a small gap and that will be filled up with expanding foam later on. Then we sliced up two paving slabs to create a shelf across underneath the window. These paving slabs are very, very hard and the diamond cutting blade had to work very hard, even just to slice 10mm deep into the 50mm thick slabs! We eventually sliced both sides and hit the slab with a club hammer to break it apart. We needed pieces 345mm wide and width in total of 1845mm wide. We made three pieces from our 600mm by 900mm slabs.
Finally, we were ready to stick all the pieces into place, so mixed up a small portion of mortar and using some left-over Stixall glue (on the metal bar and between the paving slab pieces), we got it all assembled, including finishing off the fourth layer around the window.
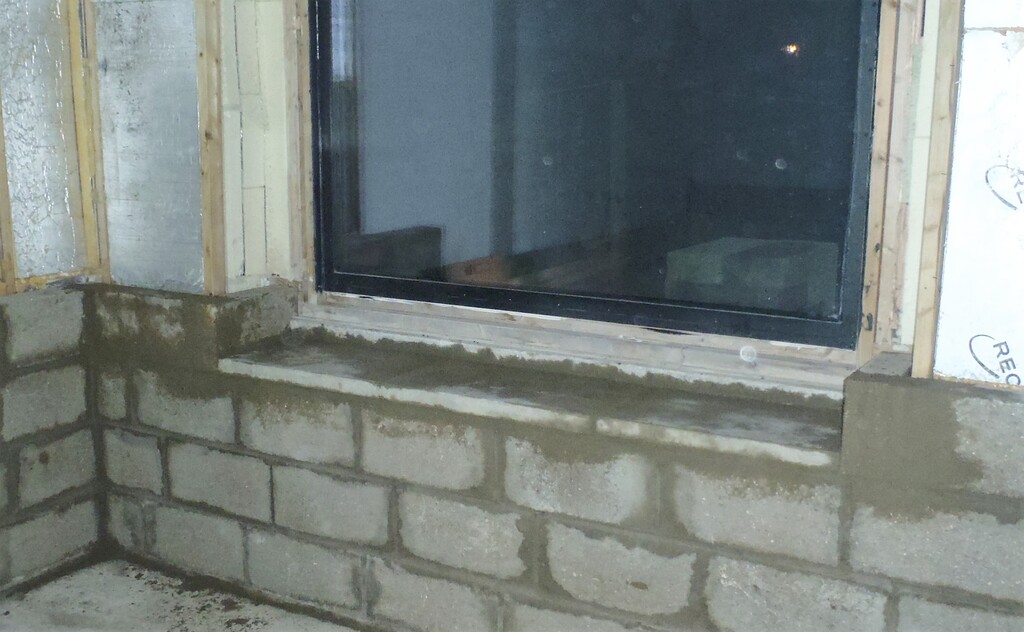
Bottom-of-window-enclosed-in-concrete
We can on Monday to continue putting up the next eight rows in reasonable ease (apart from the growing height), until we reach the top when the next complicated bit needs special treatment, the ceiling!!
Leave a Reply
You must be logged in to post a comment.