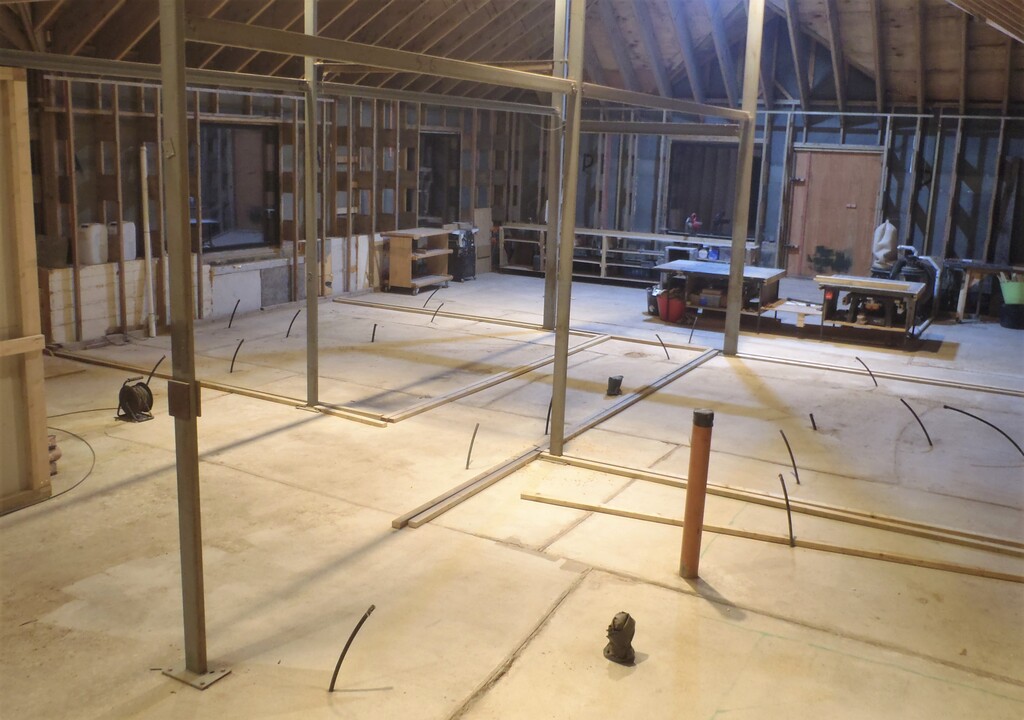
After doing other tasks and chores for most of this week, we started on Friday afternoon, the task of mapping out the shapes of the Kitchen and Bedroom 1, with the Great Room alongside them and the laying out of the double layer wooden footplates that will anchor the walls. These footplates will be bolted and mortared down to the concrete floor slab, but first, we printed out from the computer, a set of plans with dimensions and proceeded to literally draw coloured lines on the said concrete slab. We used a string pulled very tight to generate a straight line and mark the floor with spirit pens. We positioned each wall according to the plans and made adjustments to take into account the metal support legs for the Skylight and Roof. The metal legs were not quite in the positions that the plans dictated, but only a few centimetres out. Also, we decided that we would move the Kitchen and Bedroom 1 walls nearest to the Great Room further inwards, so we could avoid having the metal legs intruding inside our Utility Channel that runs around the whole room, with electrical cables etc.
The next job was to do a survey and measure the height of the concrete floor at regular points along each of these walls marked out on the floor and find the highest and lowest points. We used our laser level machine and found out that our recorded numbers ranged from 143mm (the highest point) to 163mm (lowest point) which meant that our concrete slab rises and falls by 20mm across the floor. This would have meant that our mortar line would have to be 25mm thick to accommodate these variations, but we realised that only one wall had the “worse” highest points so we hit on the idea to plane down the thickness of the CLS plank by 8mm for just that wall section alone. This meant that we reduced the amount of mortar to a maximum of 17mm thick in some locations and the thinnest places would be just 5mm. This was much more reasonable. We proceeded to plane down two CLS planks, 3.6metres long from 38mm thick to 30mm thick and placed by the Bedroom 1 and Great Room wall section.
For the rest of the walls, we pulled out a further ten planks of treated timber, the 63mm by 38mm CLS pieces and sliced them to fit to the drawn lines. They all had 6mm pilot holes drilled, ready for the concrete bolts but first, to help drill the holes into the concrete slab.
The final task of the day, and week, was to trim and slice the wood to fit around the bottoms of the metal legs, taking into account the metal pads and bolt heads etc.
First-set-of-footplates-ready
Upon the new week, we will drill and mortar these planks into place, put on the second layer of wood and then start mapping out the next room, Bedroom 2, Bathroom etc.
Leave a Reply
You must be logged in to post a comment.