Whilst tidying up the house of the insulation foam rubbish, a new set of shelves was created to provide more room for tools and parts to be on hand for this phase of working inside the house. We moved the Ikea shelves over to beside the new wall between Bedroom 3 and added an extension upwards plus also we sliced up two more 500mm wide OSB 6foot strips and used several 63mm CLS pieces to act as shelf supports, so we sub-divided the larger gaps to provide more capacity.
New-tool-storage
The smaller Ikea shelf system was also extended upwards and moved into the corner beside the electrical consumer units and sockets and this became our electronics stack.
The new shelf system is 8feet from left to right, 8 feet tall and 400mm deep, made using four whole sheet of 18mm think OSB boards. We sliced three of them into 9 400mm 8foot strips and the fourth sheet had eight 100mm wide strips to form the legs (four on each side of the shelf) with the final 400mm strip to go right to the top of the larger Ikea set of shelves where the overhanging piece was anchored to the wall with an angle bracket.
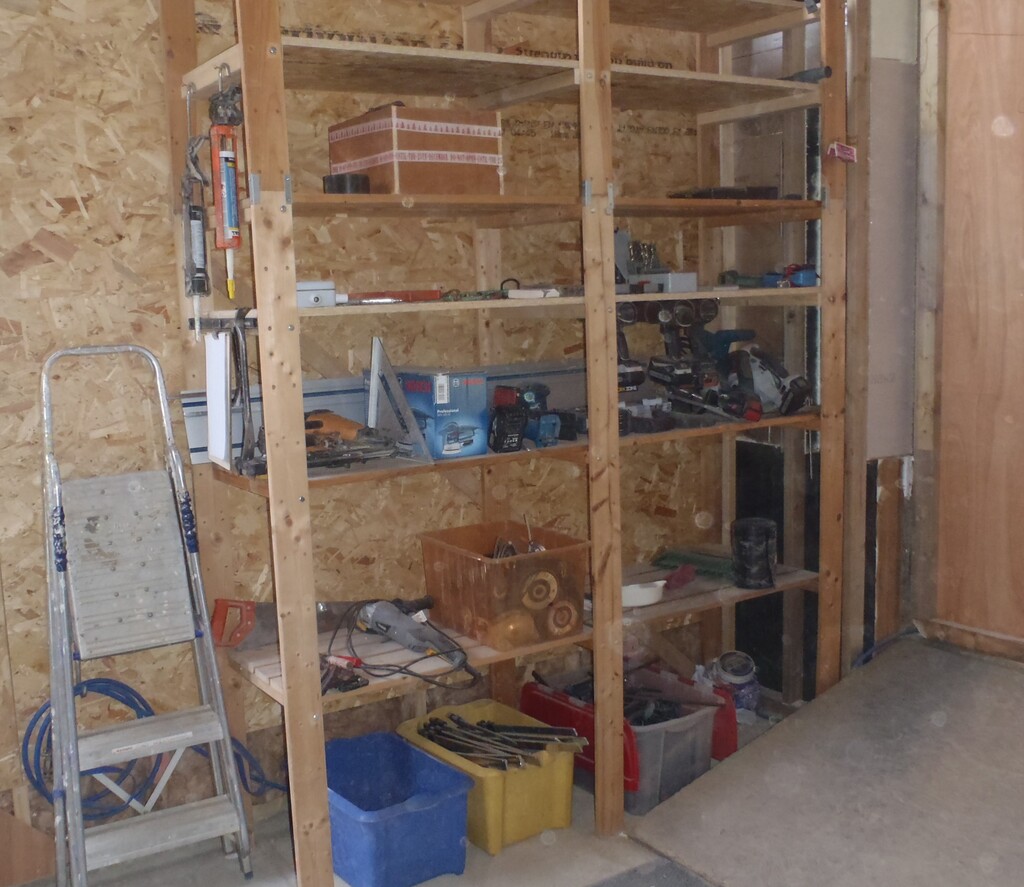
The new shelves were screwed together with just screws into the edge of each 18mm OSB strip (we recognise that much of the materials and ironmongery parts are relatively lightweight (apart from the huge collection of screws where we did use several more angle brackets to reinforce the shelf!). We decided that we would fix the position of the shelves and looked at our shelves in the garage to see what sort of sizes and gaps we would need and settled on 300mm for the gap at the bottom on the floor, followed by 400mm, 500mm, then four 150mm shelves and finally a 300mm gap to the final top shelf.
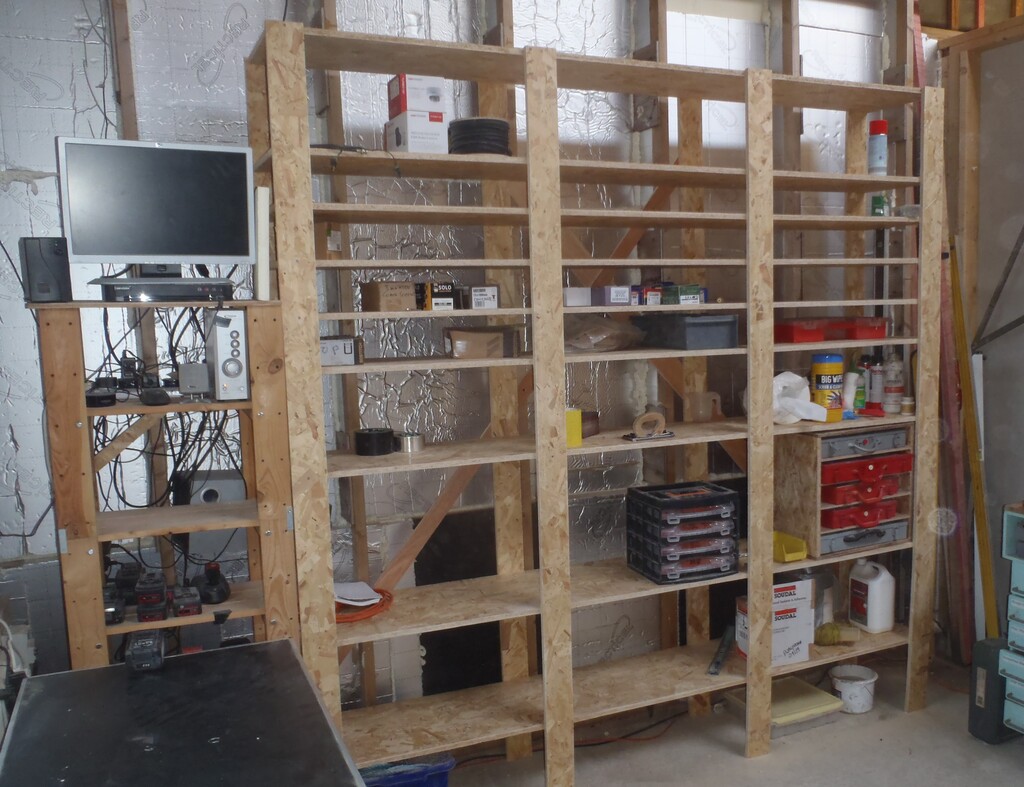
New-parts-storage
We dragged it into the corner (weighing about 75kg at least!) and shoved it up against the E wall, and slid it along to meet the electronic shelves.
We can now see what we got and keep things tidy!
Leave a Reply
You must be logged in to post a comment.