We have resumed our task of building up the Ground Floor’s walls, at least, the structural framework structure using our 63mm CLS timber planks and over the last eight days we got quite a long way forward. But one of the first jobs was to redo the vertical timber pieces that were glued to five of our steel legs, we discovered that we didn’t do a very good job in the first place, or rather we hadn’t realised that the primer paint was not very well stuck down as the metal wasn’t very clean when it got painted years ago. So we easily ripped off the timber pieces and then used the angle grinder with a metal scrubbing disc to polish the metal to a nice shiny finish. We also cleaned the timber planks as well using a clean but similar sanding disc and finally applied a fresh coat of PU glue and reattached the timber back to the steel legs.
The next task was to look at the four wet rooms, the bathroom and the three en-suites, because we wanted to put across the entrance ways, a proper and robust lintel to support the first floor joist without having to need any supporting posts underneath. This feature would then allow us to have the option of having complete glass walls and door for our en-suite or indeed other designs we may come across. We had four left-over pieces of rectangular tubing from our steel legs which hold up the Skylight which proved to just be long enough to bridge over the entrances. These steel legs are 100mm by 50mm with 5mm thick walls so they turned out to be very useful to serve as very strong lintels. We only had to slice very small bits off two of them to make them fit for the Bathroom and bedroom 3’s en-suite. Next, to sort out the pile of 145mm by 45mm timber planks and decide on which ones we can used. We decided that we needed one of these wide planks to help with the lintel and combined with the steel element, will help secure the joists in place and properly transfer the load of the first floor sideways to the posts. These posts are made up of another piece of the 145mm wide timber, coupled with narrower 95mm by 45mm plank we had left over and was sitting in our swimming lane storage yard. So each composite lintel was made from gluing together the steel element with the 145mm wide wooden piece.
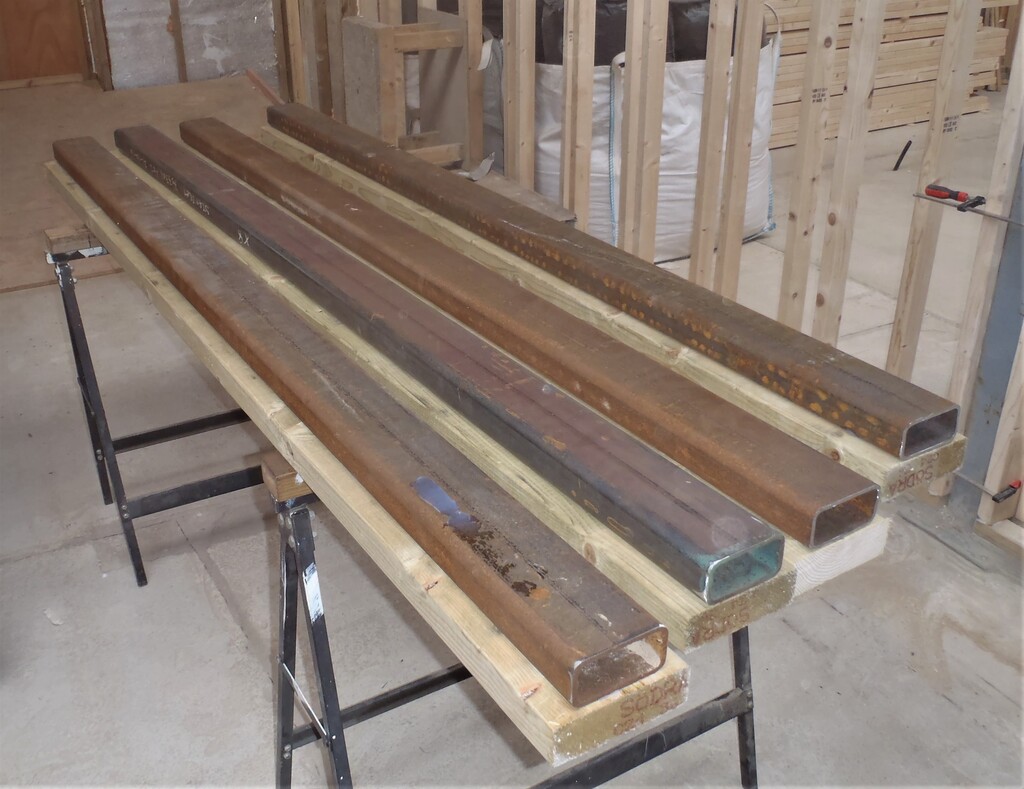
Sliding-door-lintels-started
And then we glued the two wooden pieces, the 145mm and the 95mm planks together to form the integrated post, including a notch cut out to receive the steel part of the lintel. We left that to dry and cure. So in the meantime, we spent a few hours bringing in the first load of CLS timber planks that we have lying outside that was delivered a few weeks ago. We moved about 150 planks.
The following day saw the new lintels and their posts get fitted and fixed into place, making sure that each one was straight and vertical.

End-of-an-En-Suite-lintel
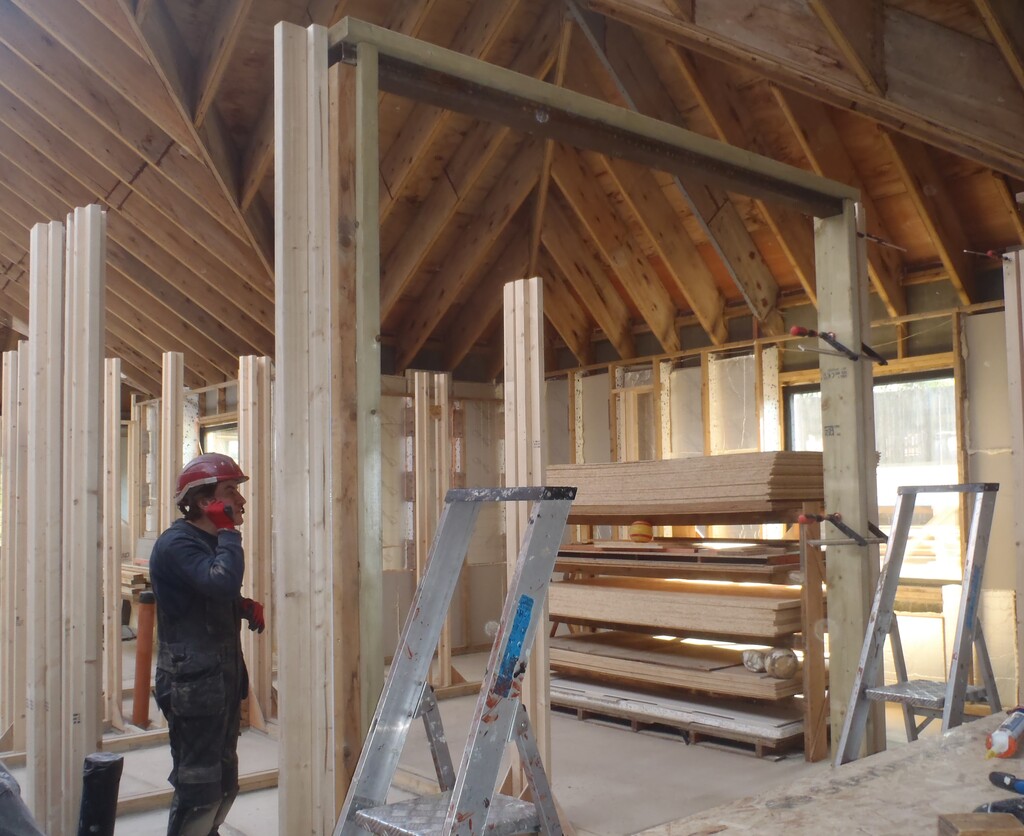
Steel-lintel-for-Daphnes-En-Suite
After that, we could carry on in building the stud walls from all the footplates we had put down a month or so ago. We started over in Bedroom 3, making sure that the load bearing elements had studs spaced apart by 400mm and the perpendicular walls had 600mm spaced legs. We went around all the smaller rooms, the the Bathroom, en-suite 3, the Tech and Knickknack cupboards plus one wall (the long wall) of Bedroom 2 and then the corridors including doing two doorways. Finally, we put on the two layers of the top plates, overlapping in each direction to help bind all the section of walls together.
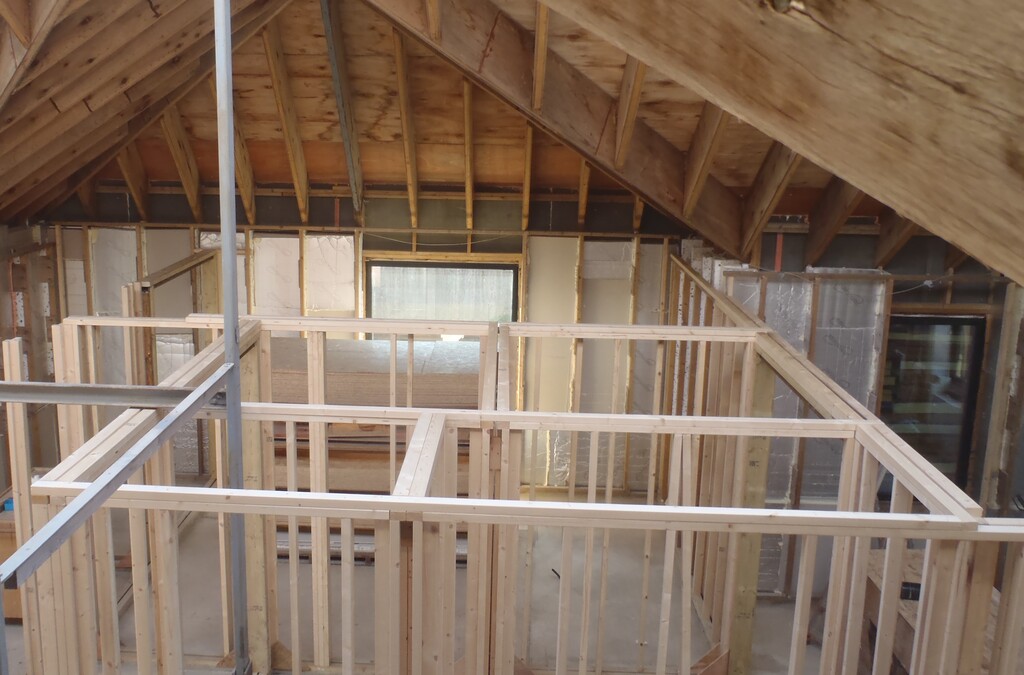
First-few-rooms-are-Framed
One of the tasks we wanted to do since we were getting on much quicker than we imagined in building these walls, is to find and buy the I-beam joists we would need for building the first floor so we spent one of the mornings measuring all the lengths of various rooms, to make sure that what is actually the real world measurements, matches the technical drawings, before we send off the final shopping list of these composite wooden I-beams. We need 61 in total, about 460metres in all, ranging from 5metres to double that size of nearly 11metres. It was quite good and matched within 20 to 30mm to the drawing but we had always intended to round up the measurements before sending the list off to four local suppliers and one manufacturer. But only two suppliers have replied with quotes in the ball park figure of £2,800+VAT in total, about £6 per metre. This price includes the wastage from cutting the beams from stock lengths and we realised that we could make use of these waste pieces, by slicing them up into shorter lengths and turn into our noggings to strengthen the sideways anchorage of our very long and tall joist hence utilising all the wastage that we would had paid for anyway.
Then, spread over the afternoon of Friday and the next morning, we finished moving in the rest of the CLS 63mm planks to our indoor storage area. This makes a total of 600 planks we moved this week.
Added with our existing pile, we now have 772 planks to be used for building the ground floor walls including the horizontal structs, the floor support framework, the first floor walls and ceiling. We hope we got enough!
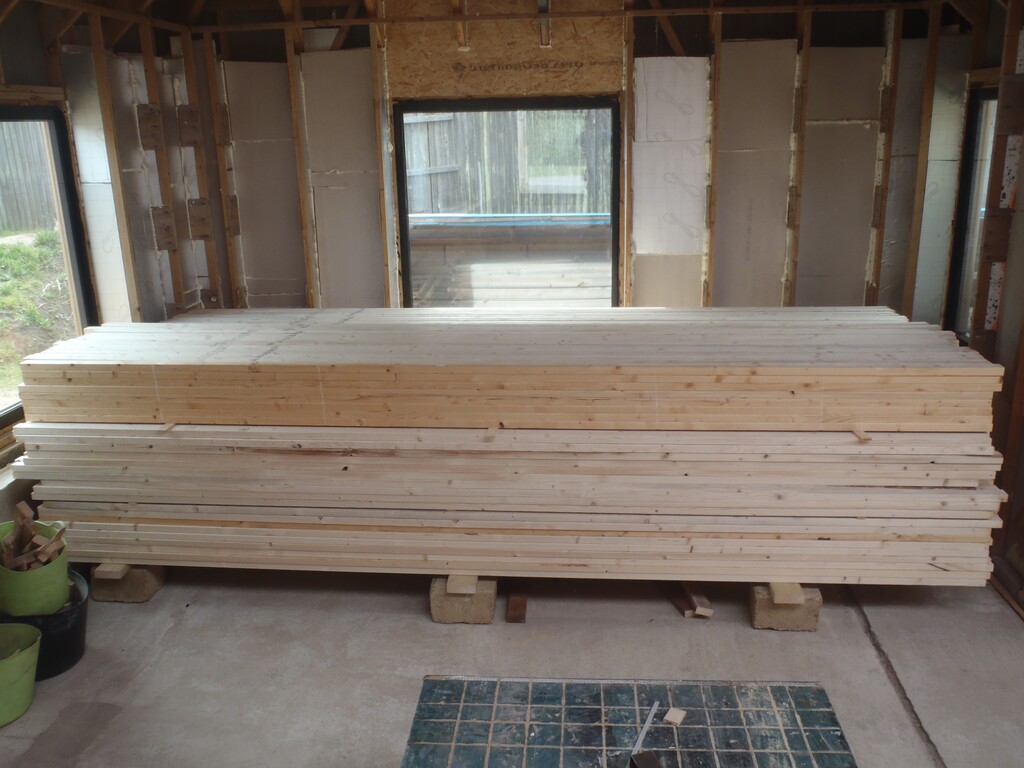
CLS-All-moved-in
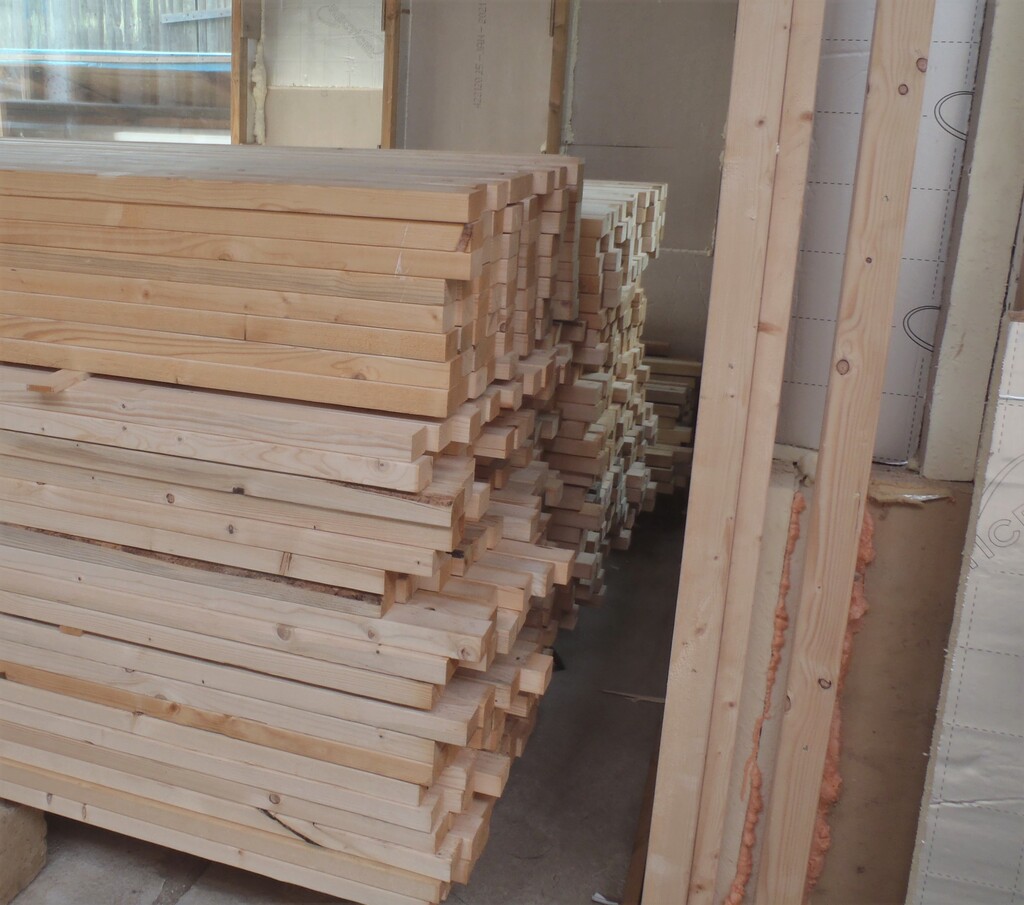
More-than-750-pieces-of-CLS
For the rest of Saturday, we marked out roughly where all the wall stud posts will go, including making provision for the three hanging toilets, the various doorways like the sliding doors for the cloakroom. There is a total of 86 of these posts to do, to finish off the ground floor walls, of which 25 have their ends dipped into timber preservative to ensure long term survival in these various wet rooms.
For the hanging toilets, we designed our own I-beams structure, a pair of CLS timber with four pieces of plywood glued and screwed across to make a ladder like combined element. This will help stiffen up the point where the toilets will be mounted and keep everything nice and stable. So between Bedroom 2 and 3 pair of en-suites, we positioned the three of these I-beam elements so each en-suite can have their toilet and connect into the same pipework.
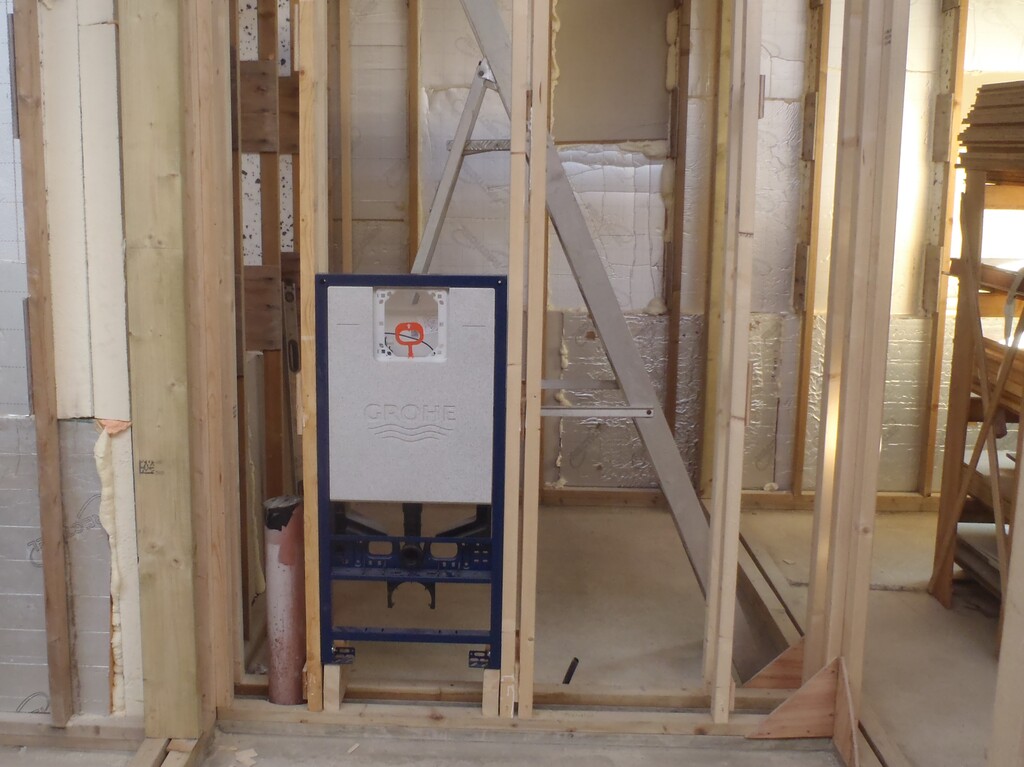
First-toilet-wall-framed
They are positioned so that we meet the minimal legal requirement of at least 500mm spacing on each side of the toilet including the bowl itself.
Next week, we can do the cloakroom in a similar manner and also do the same thing for Bedroom 3?s en-suite too. Then we will carry on putting up the rest of the stud posts.
Leave a Reply
You must be logged in to post a comment.