We carried on from last week in installing the joists for the First Floor. We glued and nailed the section over Bedroom 1 and then moved on to tackle the section over the Kitchen and the Hall in between these two rooms. Before we did the Hallway, we cut a chunk off the LVL solid timber piece, some 1770mm long that bridged over the Hallway to support the wide flange I-Beams coming from the Gallery. These were held up using rated joists hangers, fixed into place using hardened thick nails.
Then the last bit of work to do in this section, was to install extra noggins half way down the joists to help stabilise and stiffen up the wiggly I-Beams.
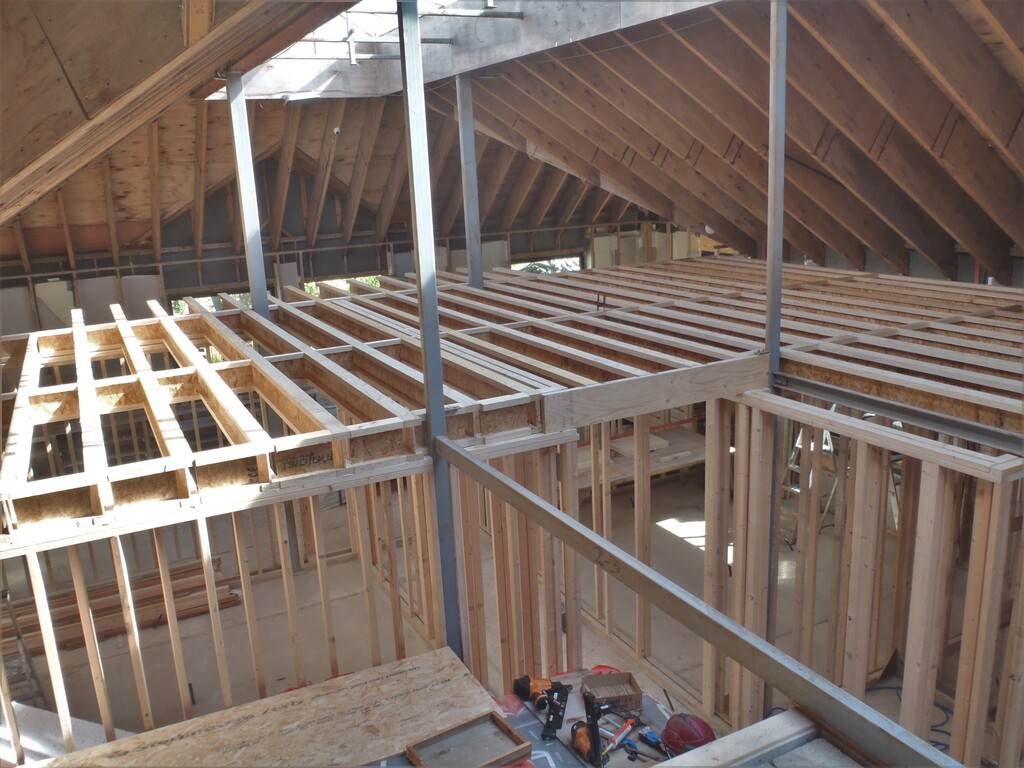
1st-Third-of-joists-installed
All this just took only another two and a half days and we decided to have a change of order. Instead of carrying on installing more joists, we opened up our pack of 18mm thick chipboard floorboards that have tongue and grooves machined on all four edges to make joining together the floorboards very easy and form very strong overlapping floor. We loaded up on our trolley 40 sheets, each measuring 240mm long by 600mm wide and weighing about 12kg each. We estimated that we would need forty sheets to build the flooring for this first section and the Gallery and we trundled the lots around to the Conservatory entrance in our Great Room and moved the pile into the house. The first job was to snap a chalk line 500mm from the edge of the First Floor looking over the Great Room so our first line of the chipboard sheets would overhang and we can slice off the tongue at the later date to have a clean cut edge. This first line also included the two metal posts that supports the Skylight so we had to cut a small piece out of the board, the cut being centred on two neighbouring joists and then cut out the shape and size of the metal leg itself (160mm by 80mm). Then we doubled checked the alignment of the completed line before we glued and screwed down these four and a bit sheets. Then over the next day and a half, we got all the rest of the boards glued and nailed down, remembering to keep any cut-offs piece bigger than two joists to ensure that any floorboard is fully supported on at least two joists.
We stopped half a row short of the staircase so we could carry on installing more joists and have the floorboards coverage continue with all the tongue and grooves still locking the boards together when we resume that task.
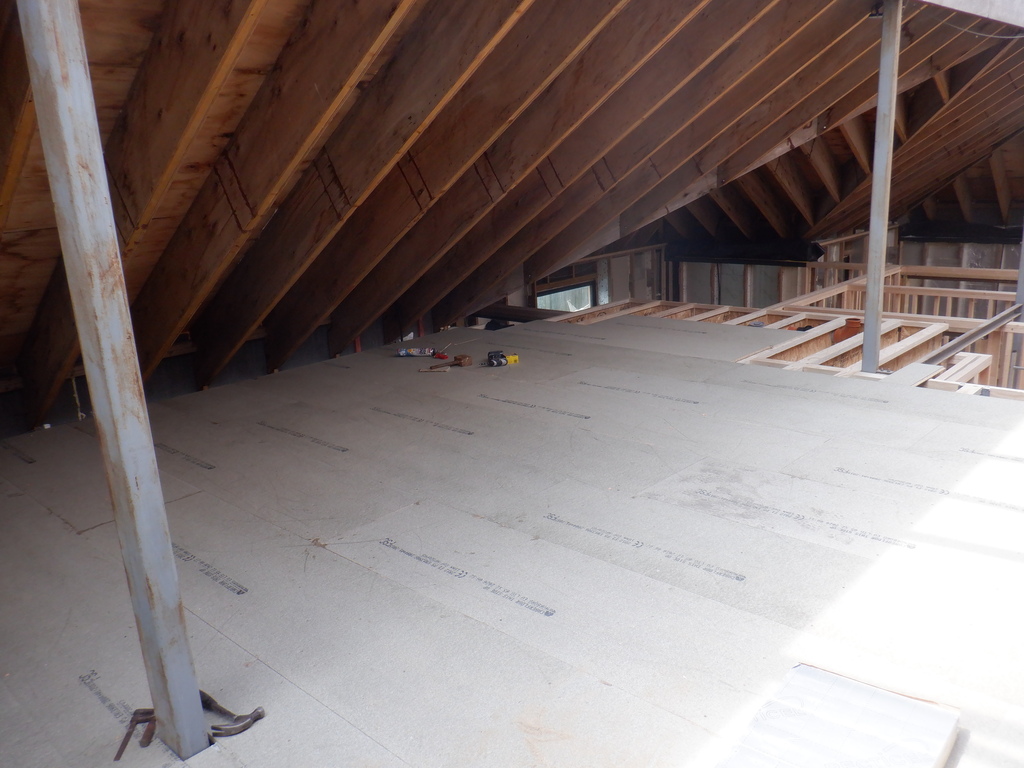
1st-Third-of-the-floor-laid-1
1st-Third-of-the-floor-laid-2

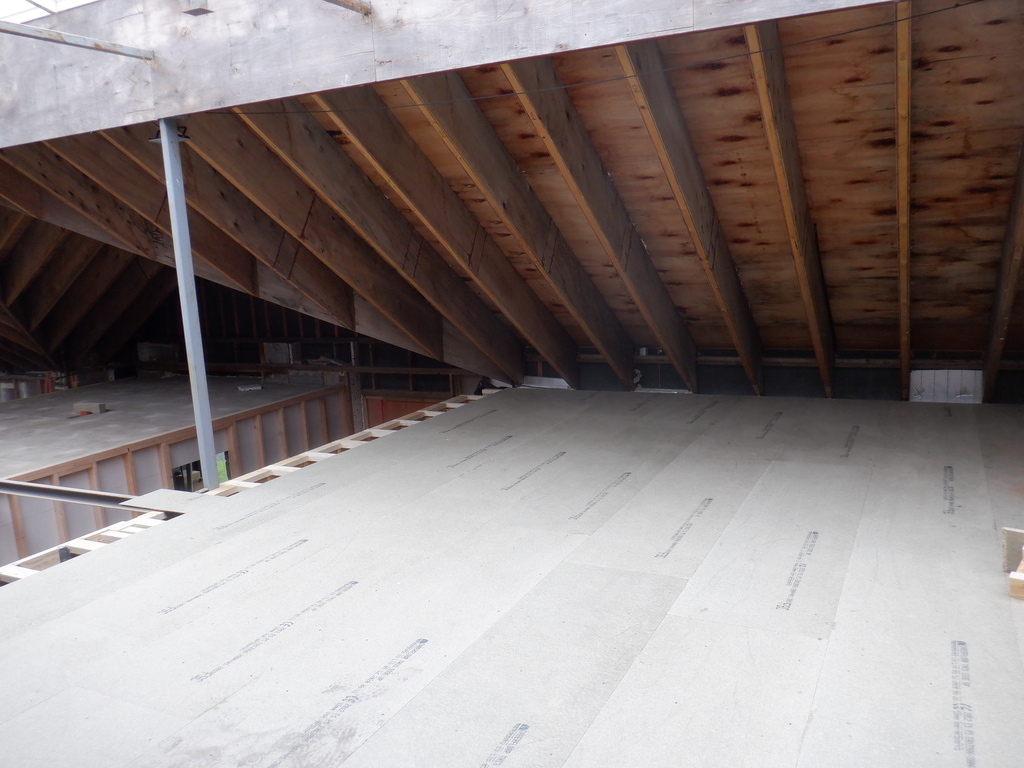
1st-Third-of-the-floor-laid-3
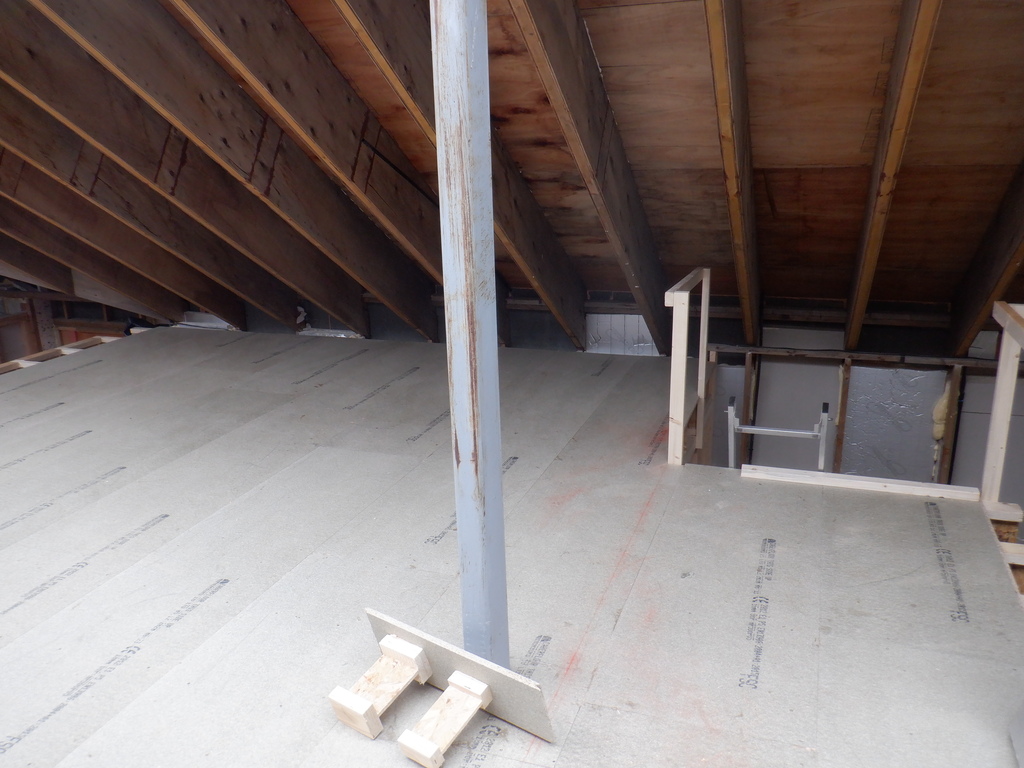
1st-Third-of-the-floor-laid-4
To finish off the week’s work, we put up six more joists (almost 7metres long) going over Bedroom 2 and its en-suite which were also glued and nailed into place. We got as far as slicing five out of a further nine more joists measuring 9metres long and they are laying up on the first floor waiting for next week.