We carried on with the task of cutting and hauling up a whole series of Joists to form our First Floor structure. We had started at the back of the house over Bedroom 3 and its en-suite and worked across the building towards the middle, stopping at the metal Skylight legs. Here we had our very longest joists to put up next, nearly 11metres long, stretching from over the Cloakroom, a hallway, two cupboards and across Bedroom 3 to arrive at the external wall.
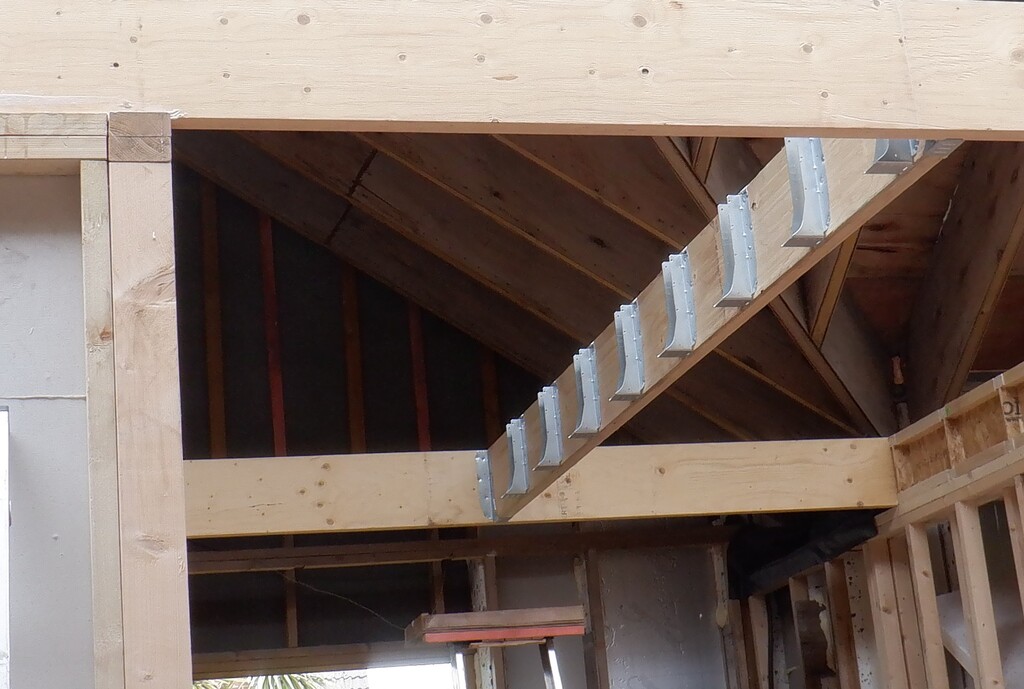
Then, the next task was to replace the C channel metal bar that went between leg 2 and leg 3 of the Skylight, and replaced it with a full sized LVL (it is like plywood but with no twisting of the layers) plank measuring 240mm high and 45mm thick and about 3.7m long. This was bolted back onto the metal legs with 12mm thick high tensile steel bolts and spiked connecting washers to help spread the load bearing forces.

LVL-bolted-to-leg-bracket
This beam forms the top end of the staircase and we wanted to make it much easier to mount the various structural elements that makes up the framework around the staircase itself. It has a matching LVL plank running parallel but at the other end of the stair hole, just short of the main wall running along the front of the building that forms the kitchen and great room external walls.
Then a final piece of LVL plank was fitted between these other LVL pieces and this had eight joist metal brackets nailed at the 400mm spacing as per normal to allow the continuation of the joists going across the Entertainment Room and Utility Room.
Stair-trimmer-joist-brackets
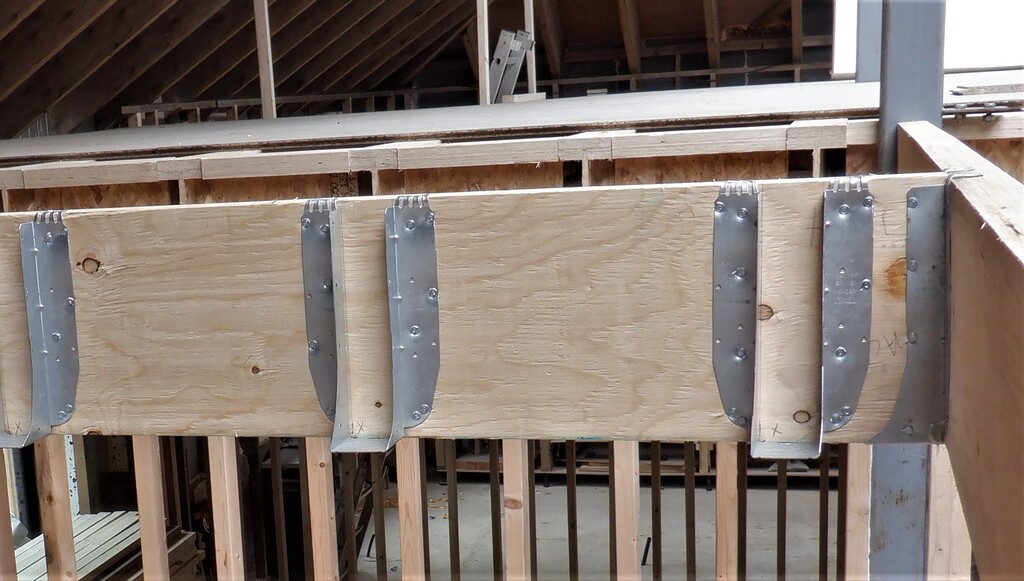
Joist-brackets-nailed-to-LVLs
After that, we carried on with the joists but starting from over the Front door this time and working forward to the metal legs of the skylight which was relatively easy and quick to do.
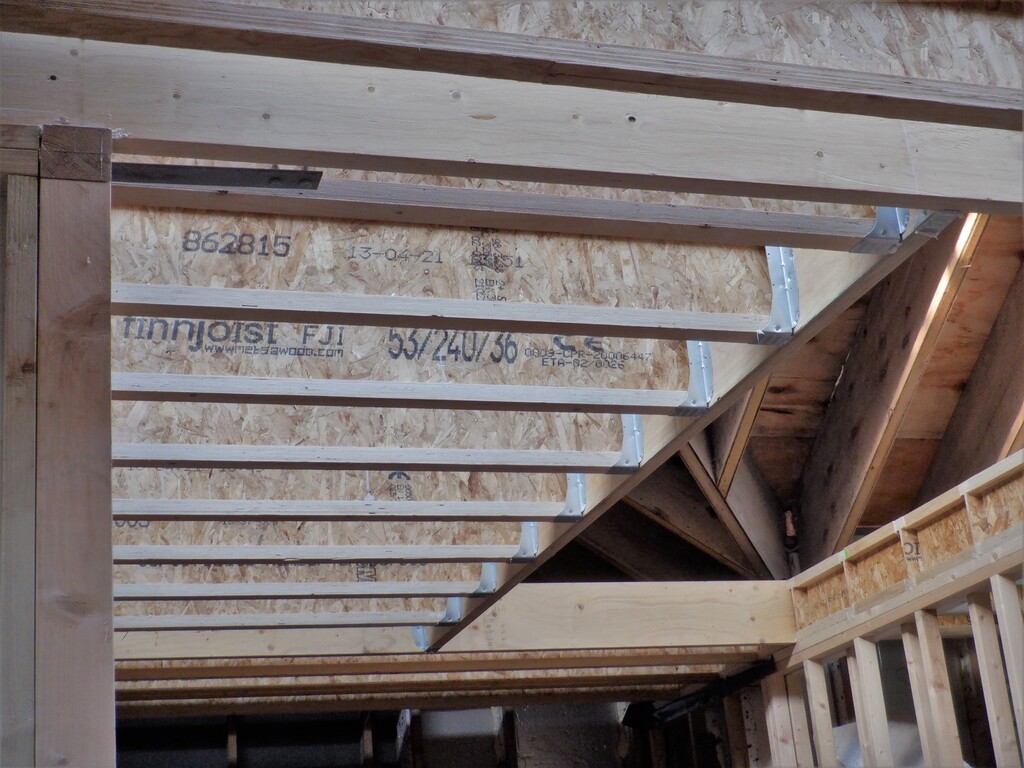
Stair-trimmer-with-joists-installed
This leaves just four more lines of joists to complete, in two sections, going down the hall way past the Entertainment Room towards the Utility and Bedroom 3 rooms and over to the outer wall. A final piece of LVL plank was cut and positioned stretching from the left side of the Tech cupboard to the Entertainment Room to help support the long unsupported span going along this hallway. This LVL plank had four more pairs of joist brackets put on both sides and we did the shorter pieces first, some 3.2 metres and got them installed with the usual glue and nails. We then cut the final four longer pieces, some 7.53metres long and instead of installing them into place, we hauled them up to the first floor and left them out of the way.

Joists-over-the-hall
This meant that we could finally finish off building the last few walls and doorways near the Utility Room. We had deliberately left this undone in May because we knew the task of bringing in these long Joists, would need the angles while approaching in from the side door and get pieces ranging from six metres up to eleven metres in, up and landed on the First Floor area and moved around the house as appropriate.
It will feel quite strange to having to leave the Utility Room through a proper doorway now.
We didn’t quite have enough time to properly glue and nail down the last four joists but they are in place now so we can safely say “We have Done all the Joists and All Fitted!!”
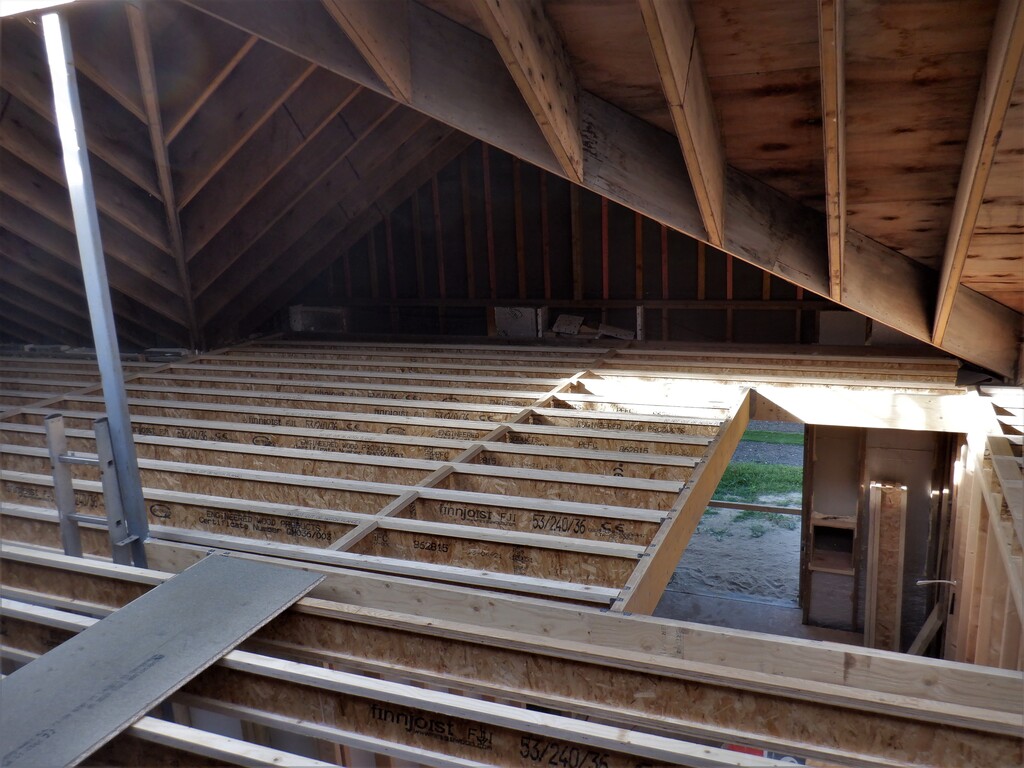
All-joists-installed-1
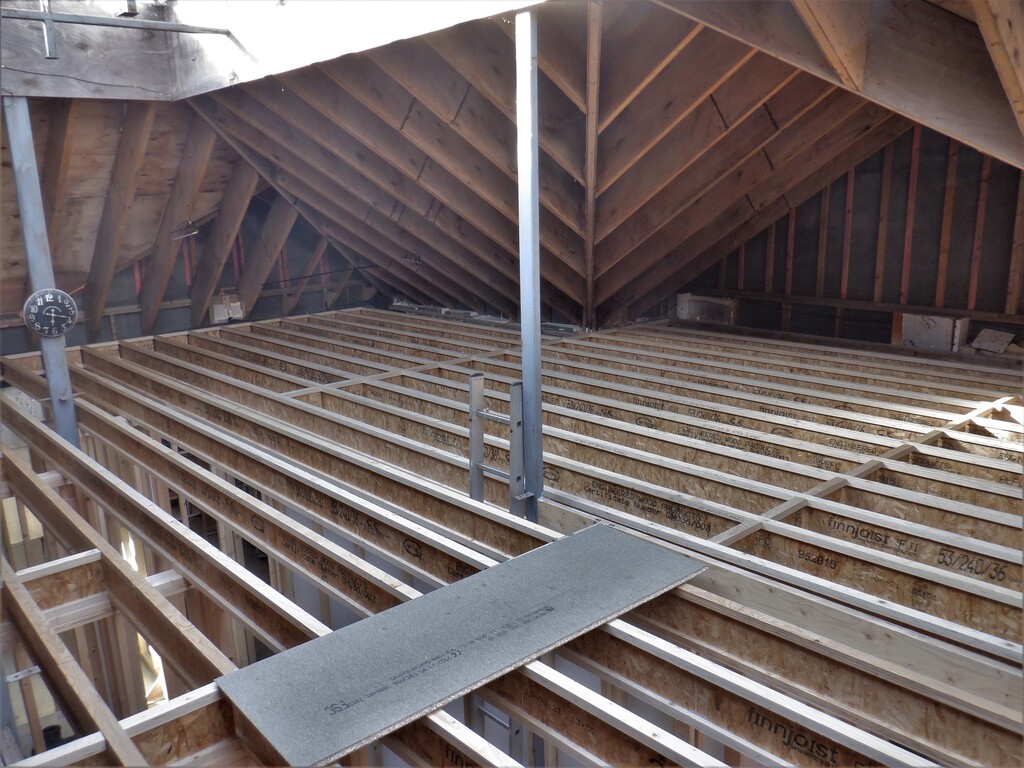
All-joists-installed-2

All-joists-installed-3
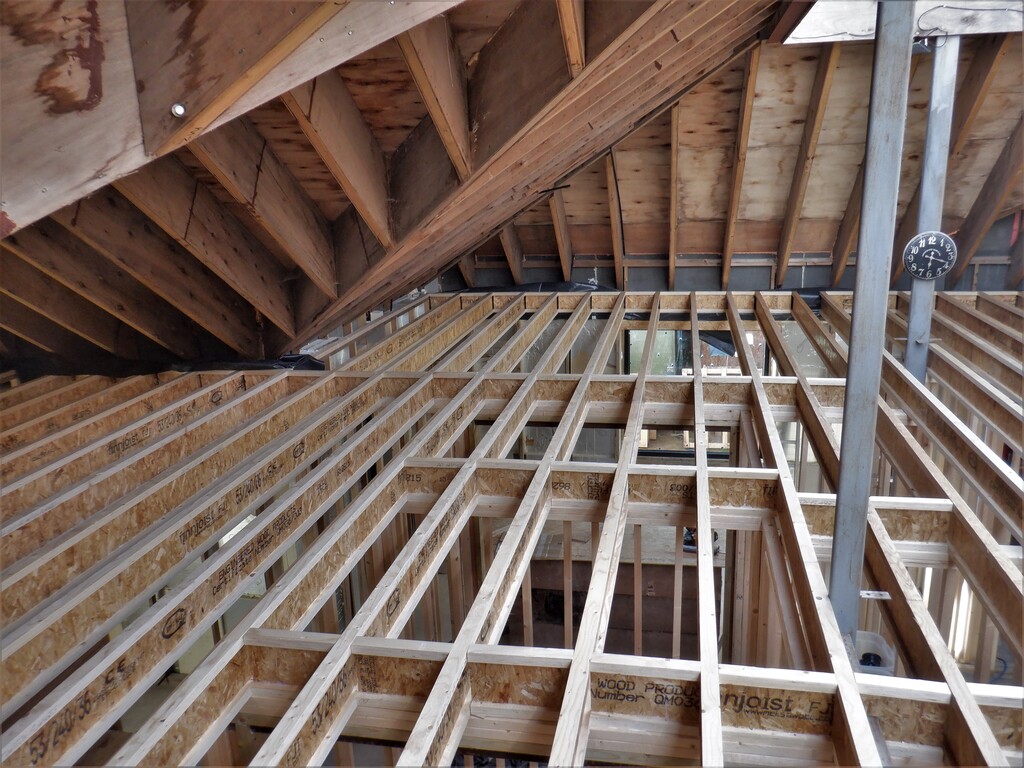
All-joists-installed-4
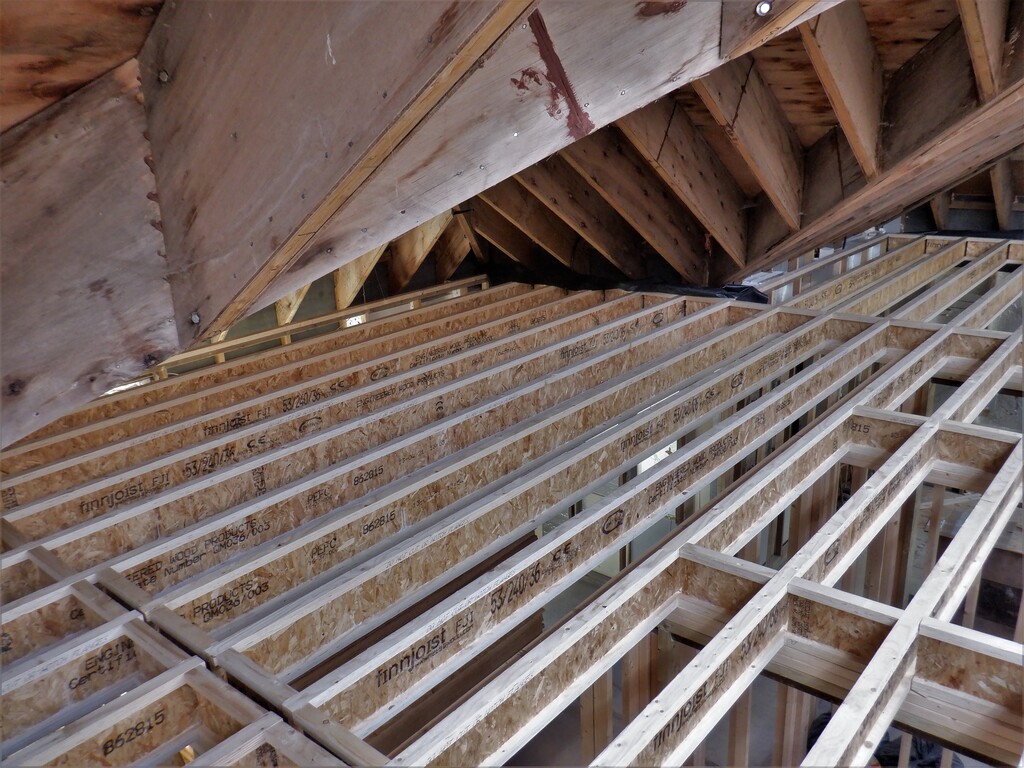
All-joists-installed-5
But this is still not the end, we have to put in dozens of noggings in the middle of longer spans on all the I-Beams to help stiffen them against twisting and then put down some 120 sheets of floorboard, Phew!