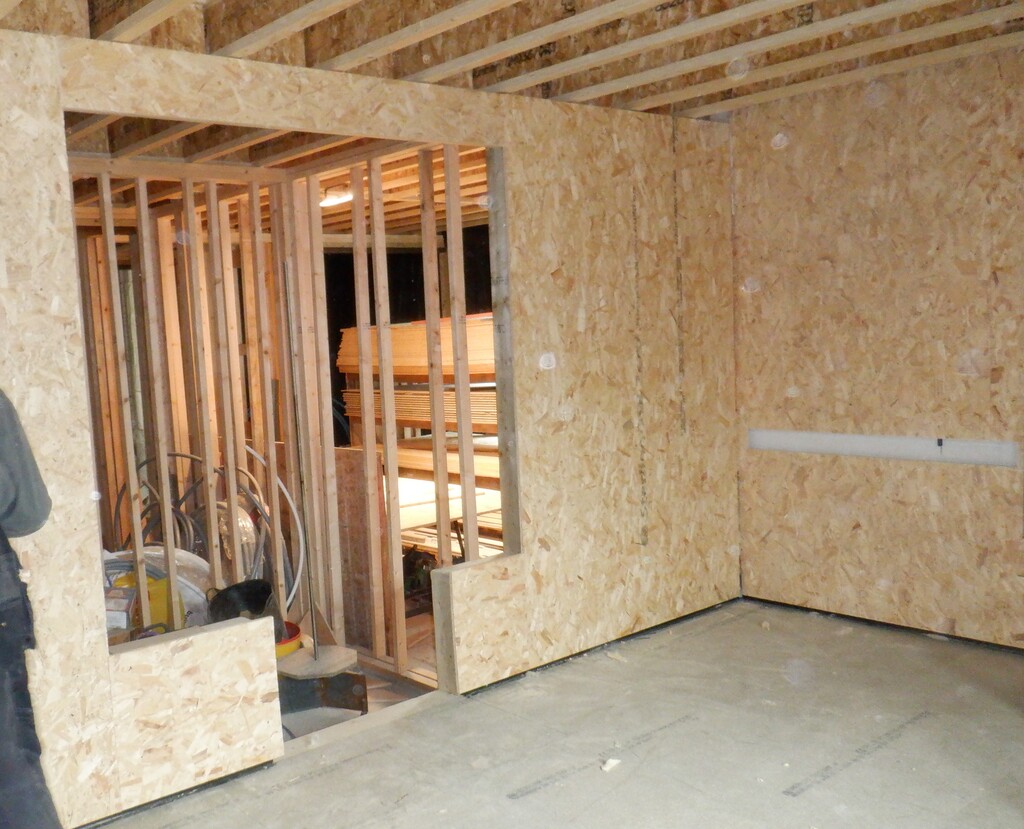
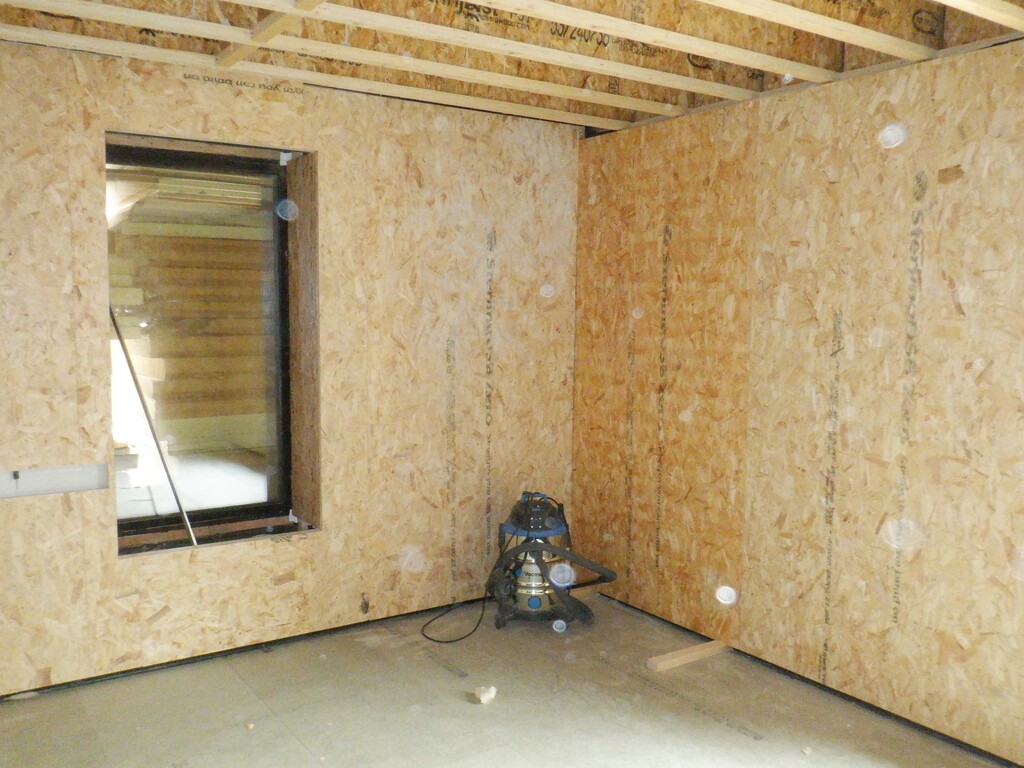
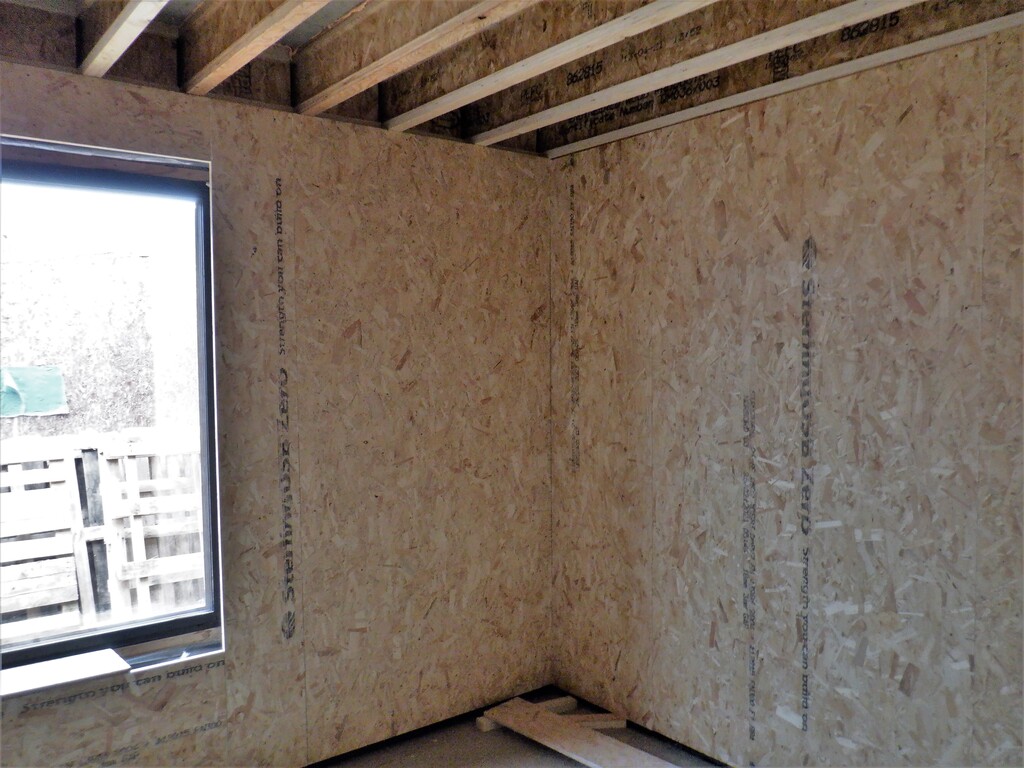
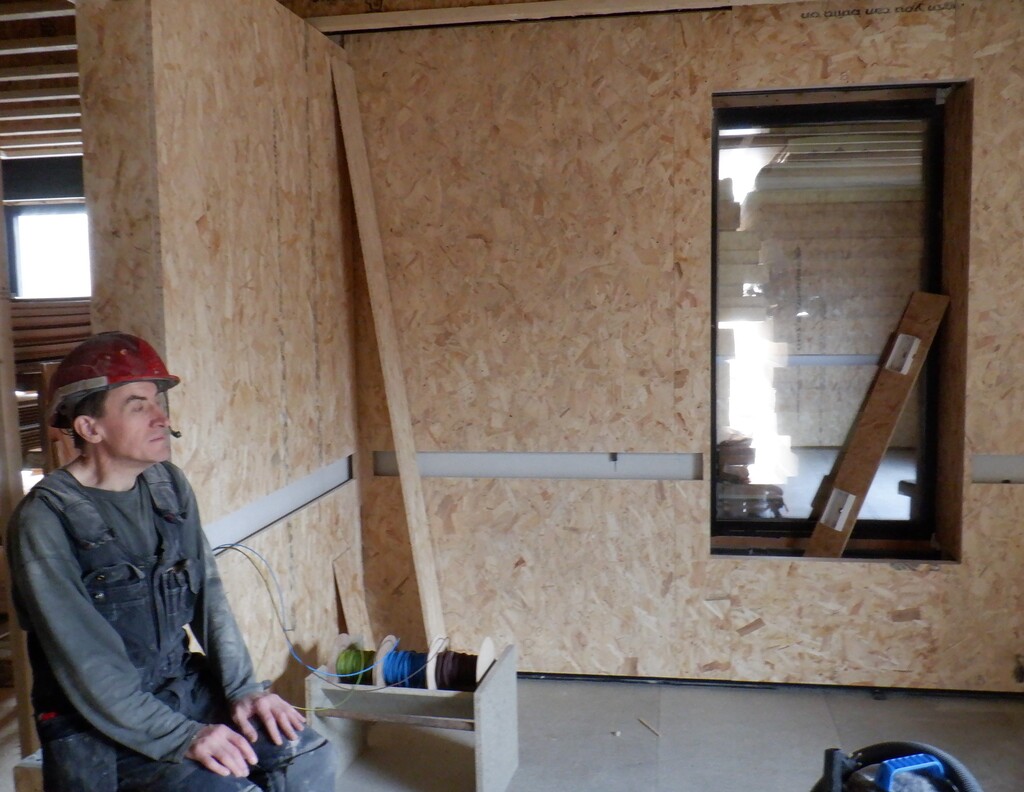
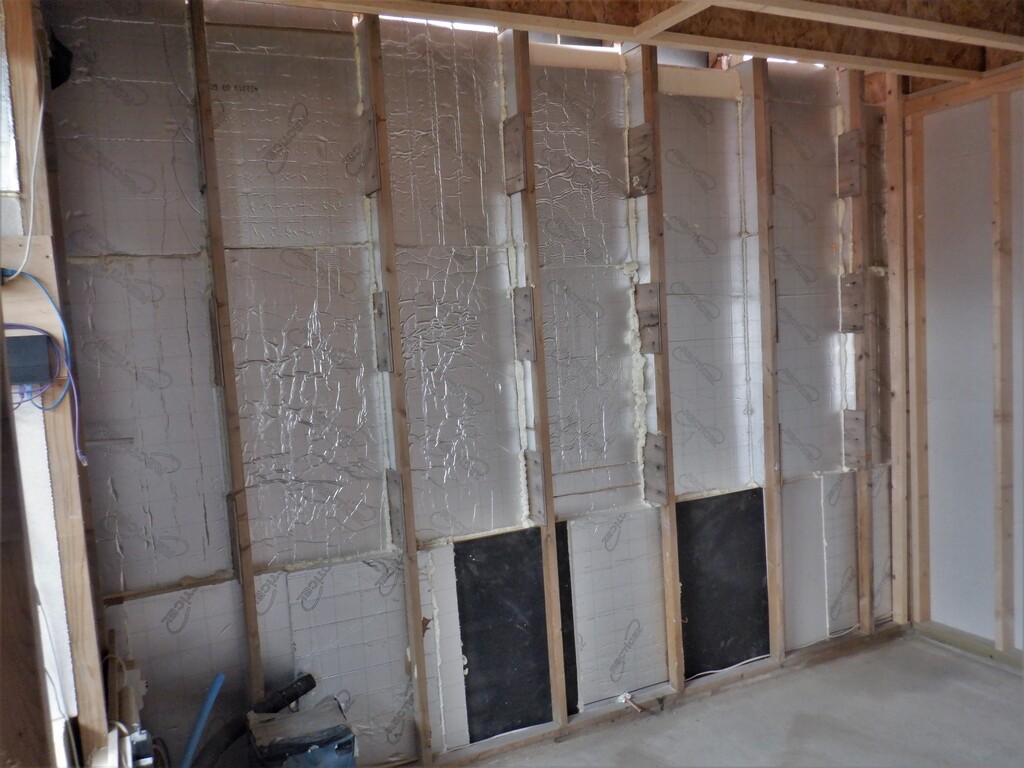
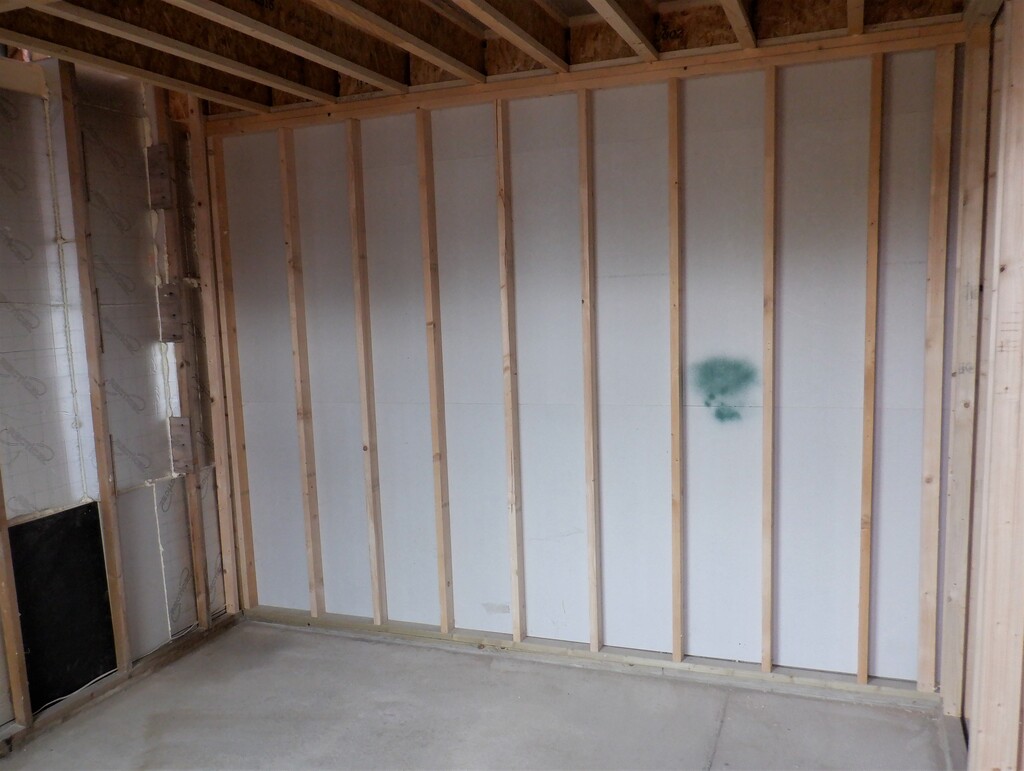
We resumed the work on Bedroom 3 with the Wall Boards. We switched over to the tongue and groove method of joining two boards together and it seems to be working quite well. It is a simpler process of getting the two board to join as there are no loose biscuits to keep an eye on, just solid a tongue and getting it to slide into the groove is the only little troublesome aspect but nothing much really to worry about. The whole room is now covered with the 18mm thick OSB sheets.
Walls-covered-in-OSB-1
Walls-covered-in-OSB-2
Walls-covered-in-OSB-3
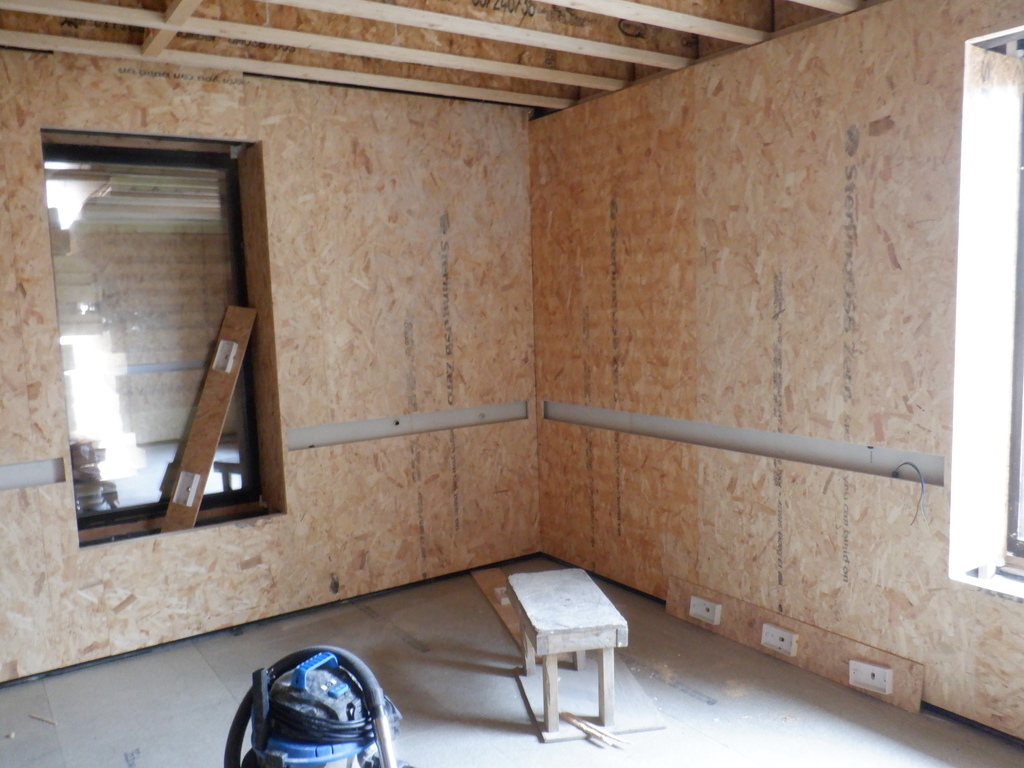
The window holes were trimmed to remove the excess sticking out edges of the OSB boards and then using our track saw, we went around cutting the Utility Channel slot too. The green laser line generator gave us the 800mm and 900mm off the floor surface which is where we have our Utility Channel positioned and we did the standard spacing (being 38mm) to stop each channel to avoid crowding the corners and windows plus doors.
Utility-channels-cut-1
Utility-channels-cut-2
Utility-channels-cut-3
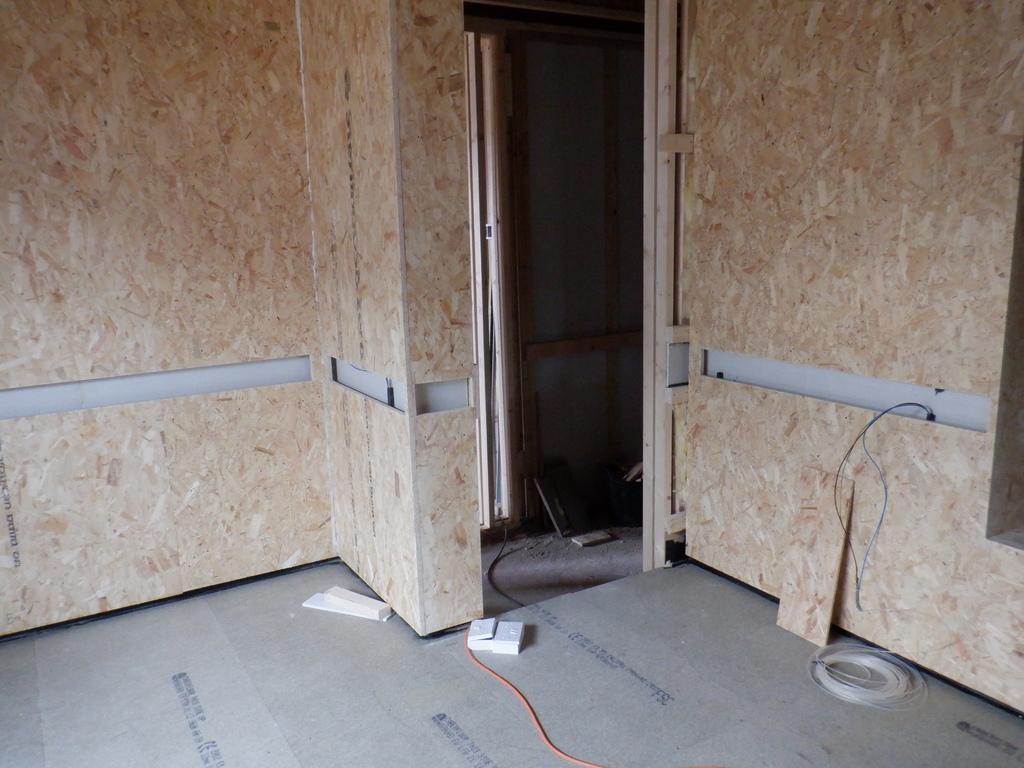
We also put on smaller side pieces of OSB boards around the en-suite entrance so that the glass wool is all covered up but also ready to build the finishing surfaces that will support the glass wall and glass door.
En-suite-dorrway-lined
We then installed a dozen electrical double sockets around the room as this room will become our new work area for the duration of the house build.
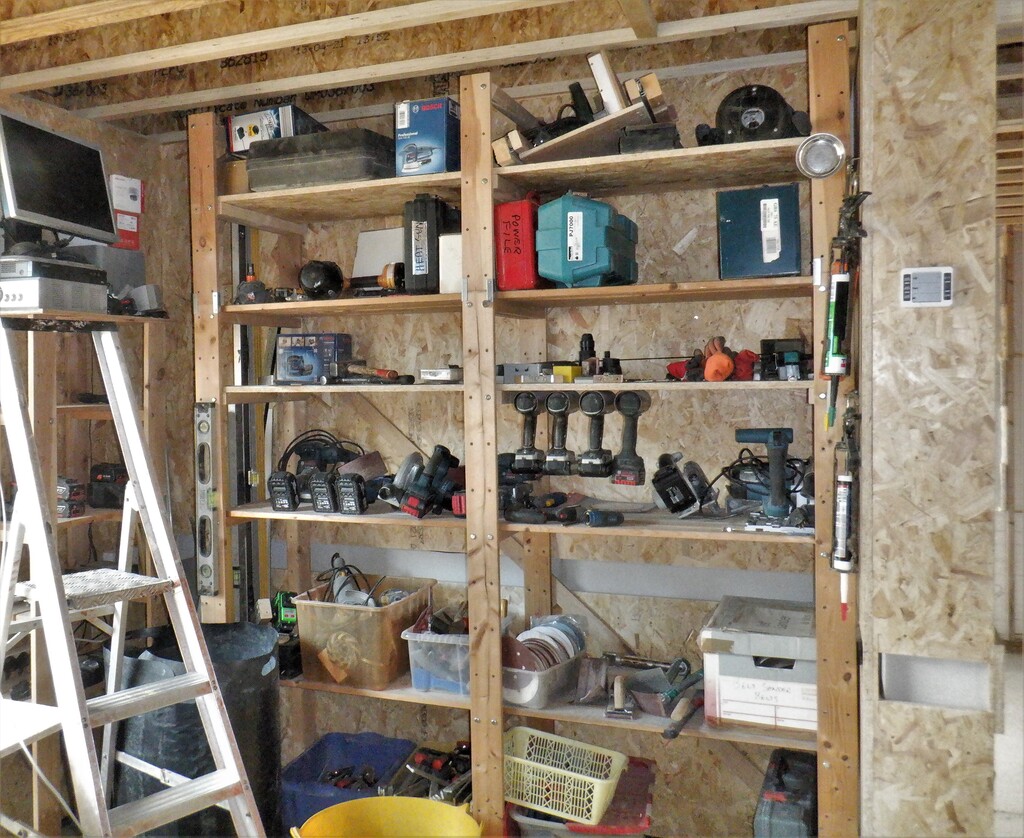
The last two days were spent moving the entire load of tools and supplies including two sets of shelves, a stack of drawers and several tables from the Utility Room to Bedroom 3
Everything-moved-from-Utility-1
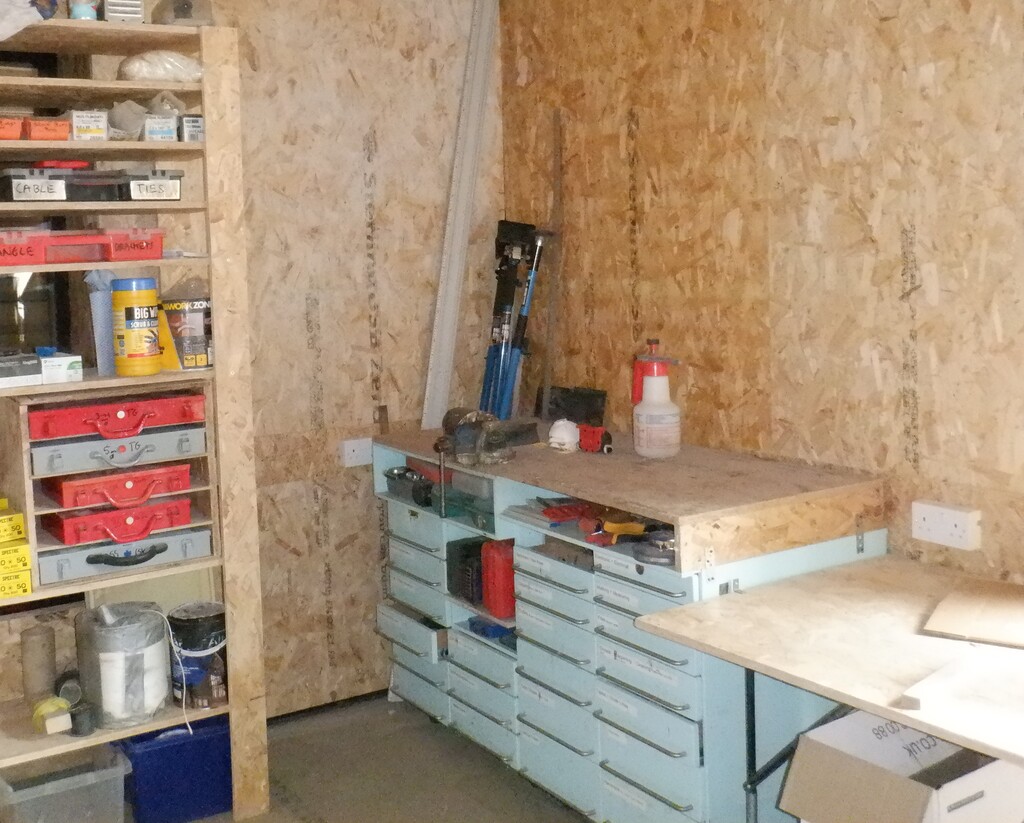
Everything-moved-from-Utility-2
Everything-moved-from-Utility-3
Then a good clean up of old rubbish, saw dust and other chunks lying about.
Utility-emptied-1
Utility-emptied-2
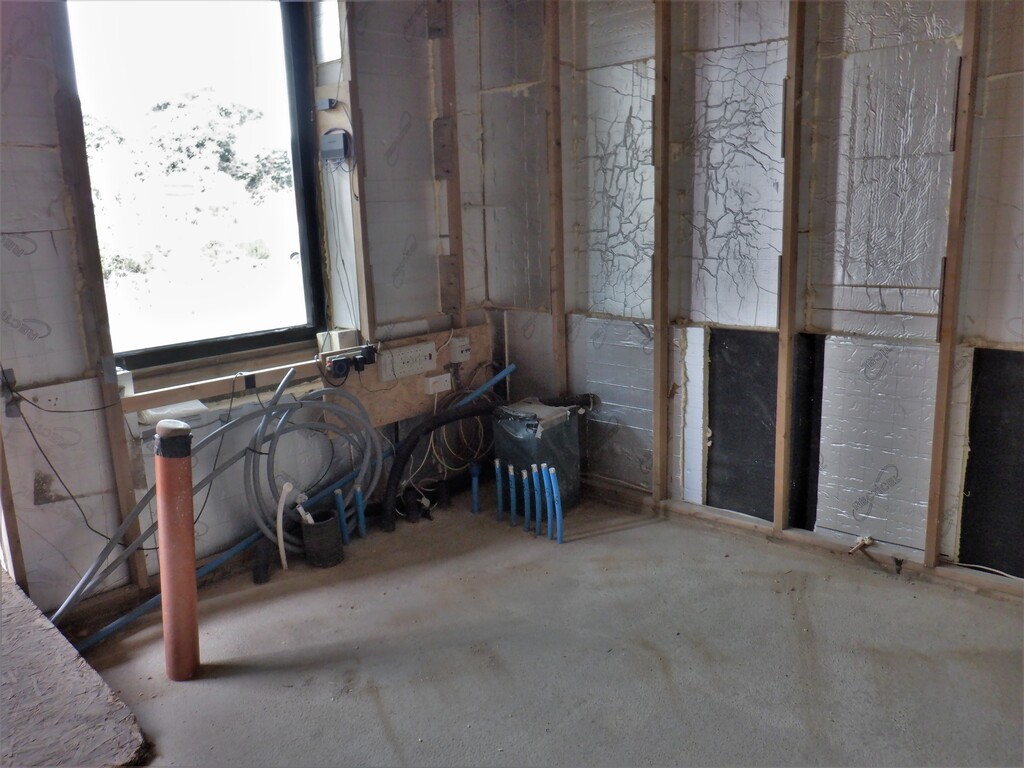
Utility-emptied-3
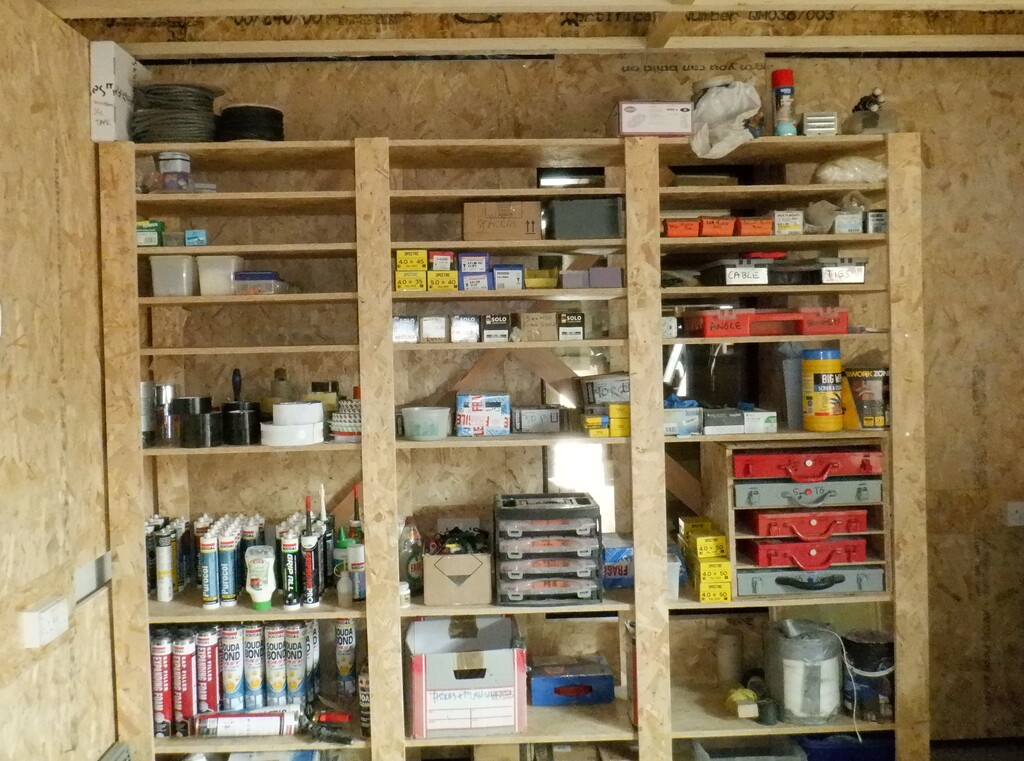
We put up five more quick shelves in our Knick-Knack cupboard so we could spread out and organise all our plumbing bits and pieces, to be ready to hand when we build the various water and waste pipework. We also brought from downstairs our little work table we had set up for making the plastic air diffuser and put this operation in with the rest of the tools and work tables in Bedroom 3.
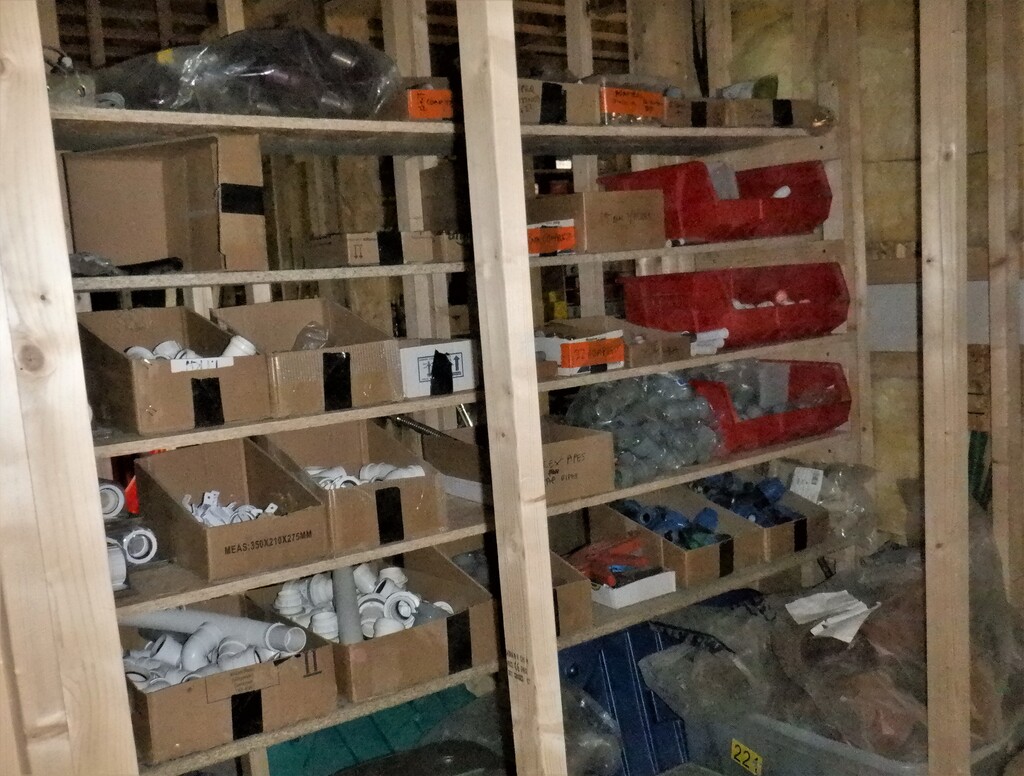
Plumbing-supplies-sorted-1
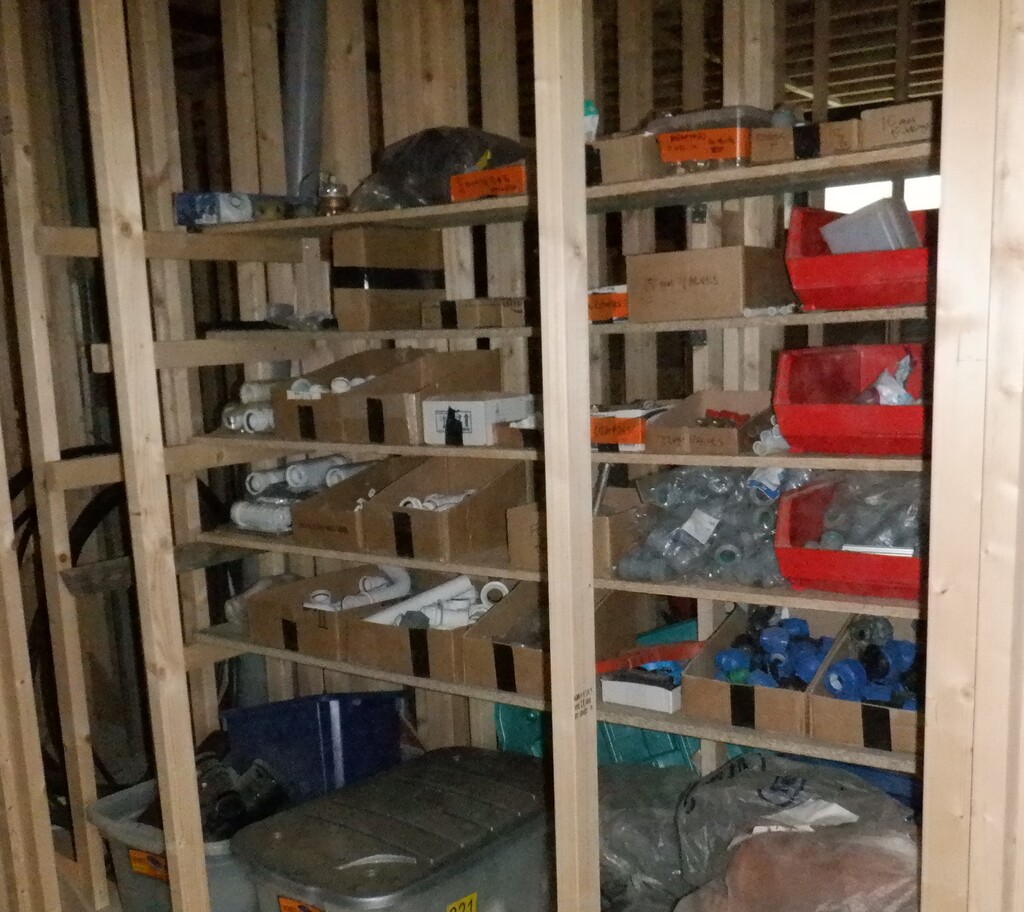
Plumbing-supplies-sorted-2
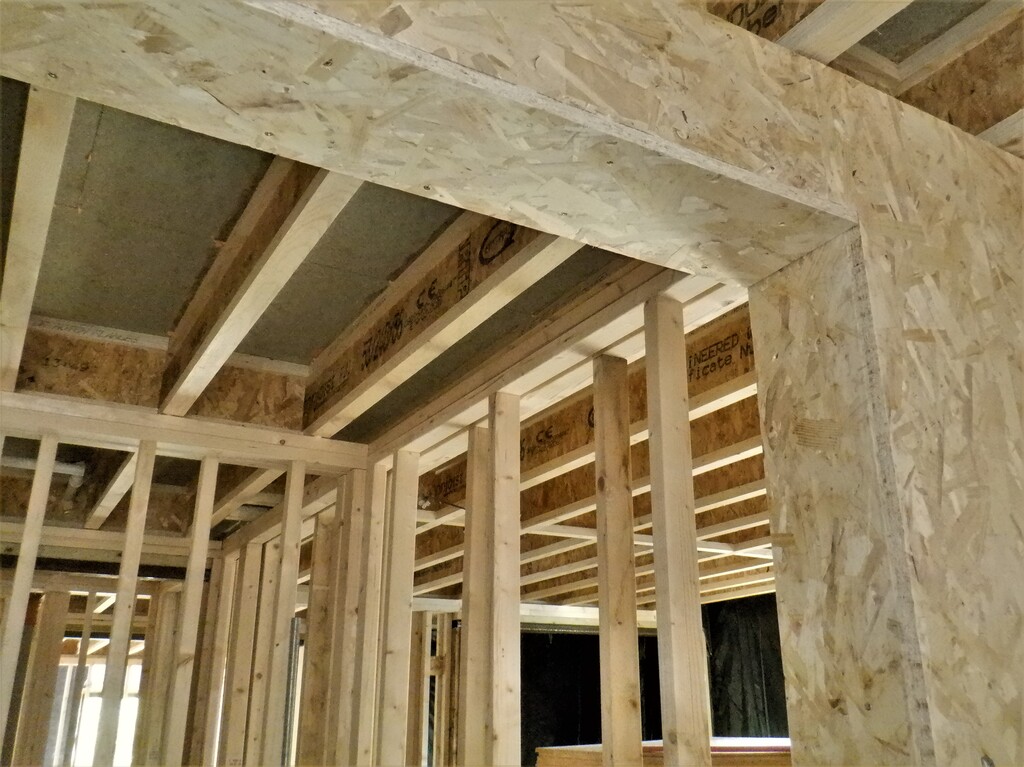
We also had a general sweep-up of the hallway and this means we can start work on finishing the walls in the Utility room, start building the floor support framework and start mapping and designing the placement of the various pieces of equipment that will drive the environment for our house like air, water and electricity.
Leave a Reply
You must be logged in to post a comment.