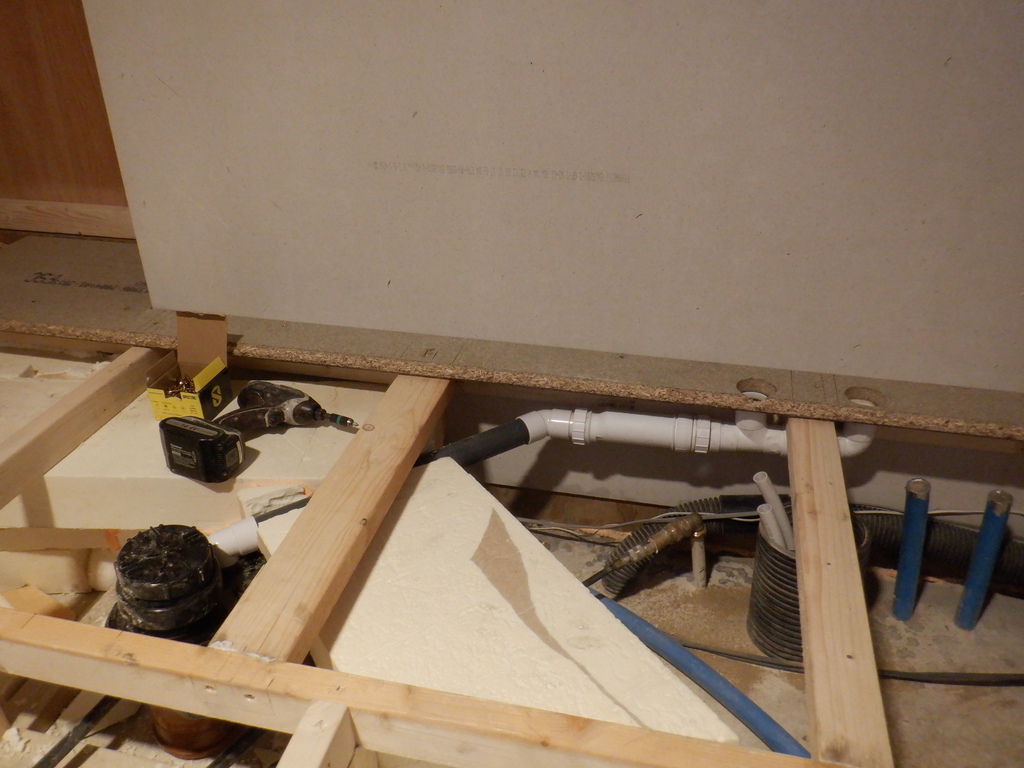
The week started with the autumn’s annual task of the Sun Shield Taken Down and Thrown Away which occupied Monday morning. Then, it was a case of continuing on with sorting out the water pipes stretching across the Utility Room and finish putting three layers of insulation boards around the hot water pipes themselves, making sure they sweep under the worktop area for the sink and washing machine to have supplies of hot and cold water, before turning away and heading towards the Equipment Cupboard.
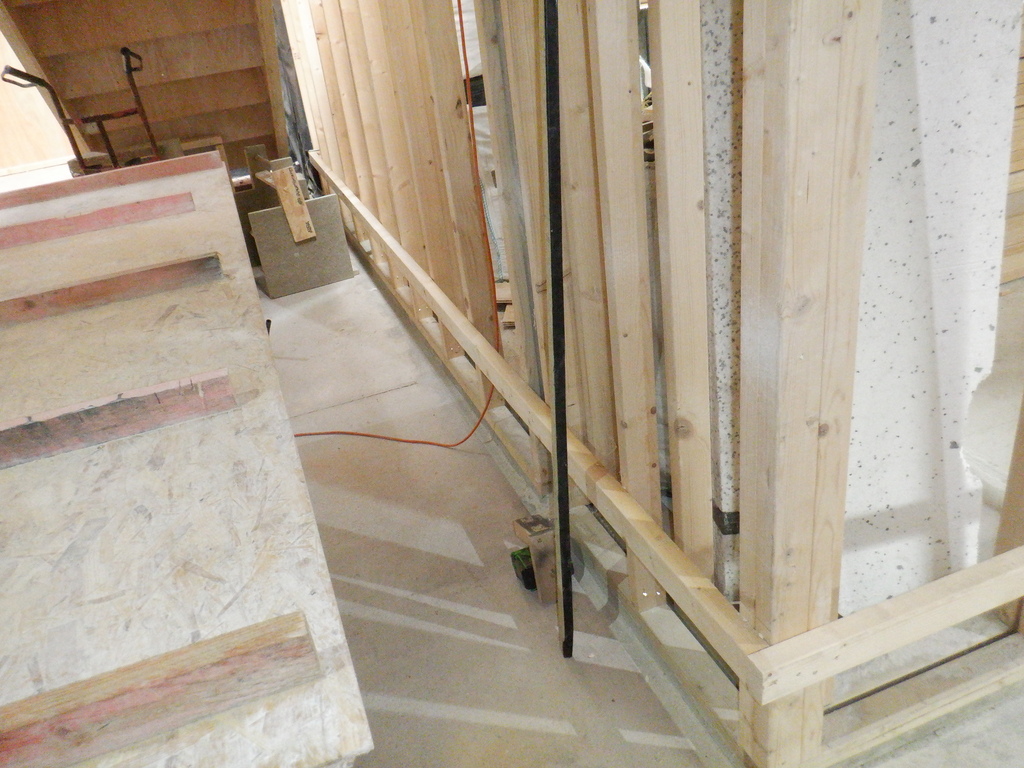
We put in two more CLS support noggings to provide support for the floorboards but also to support the vertical plywood sections of the carcass that will form the stack of drawers and two cupboards under the worktop.
Cupboard-side-supports
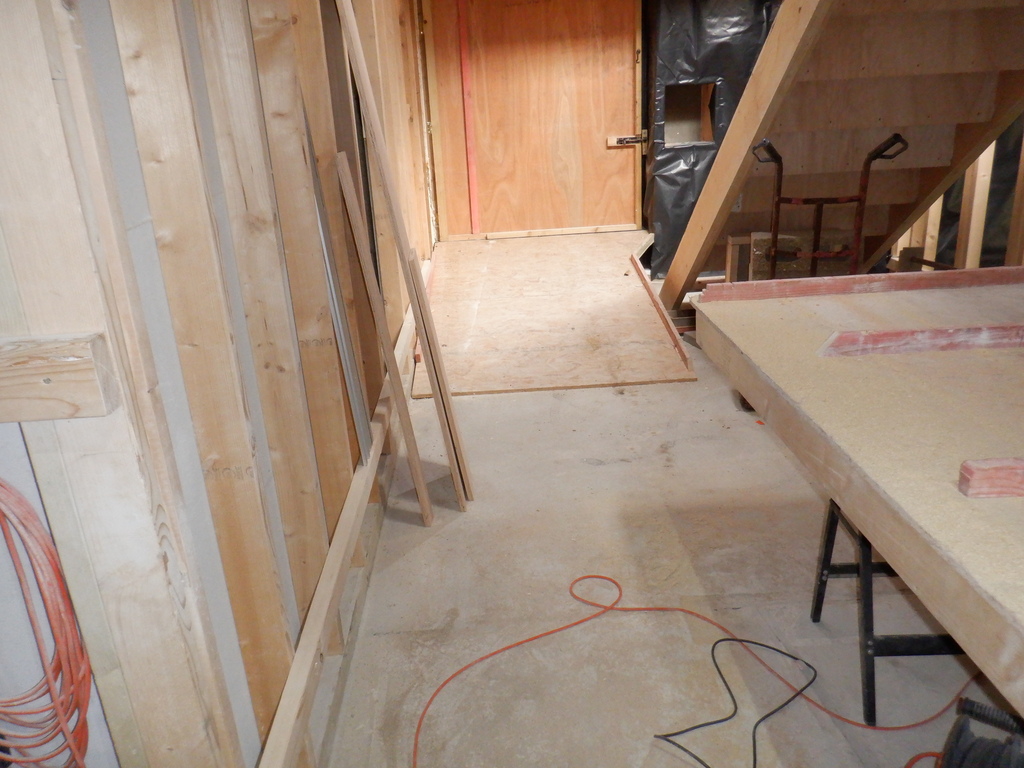
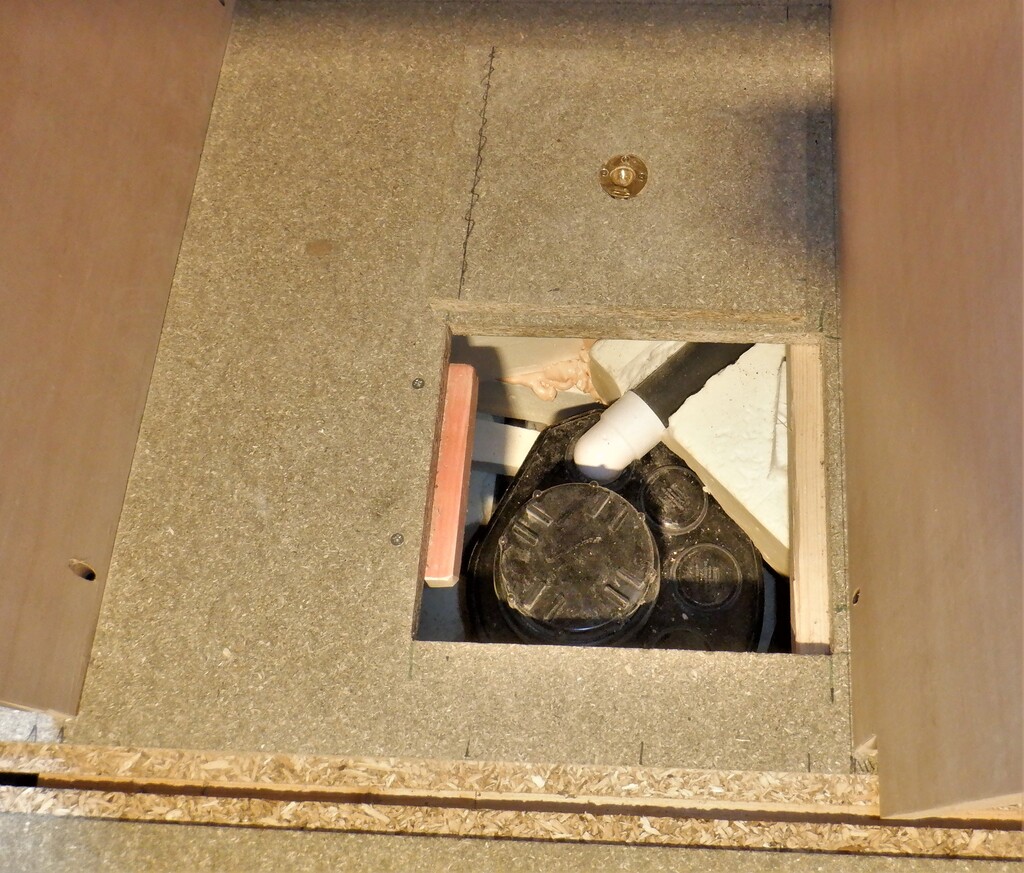
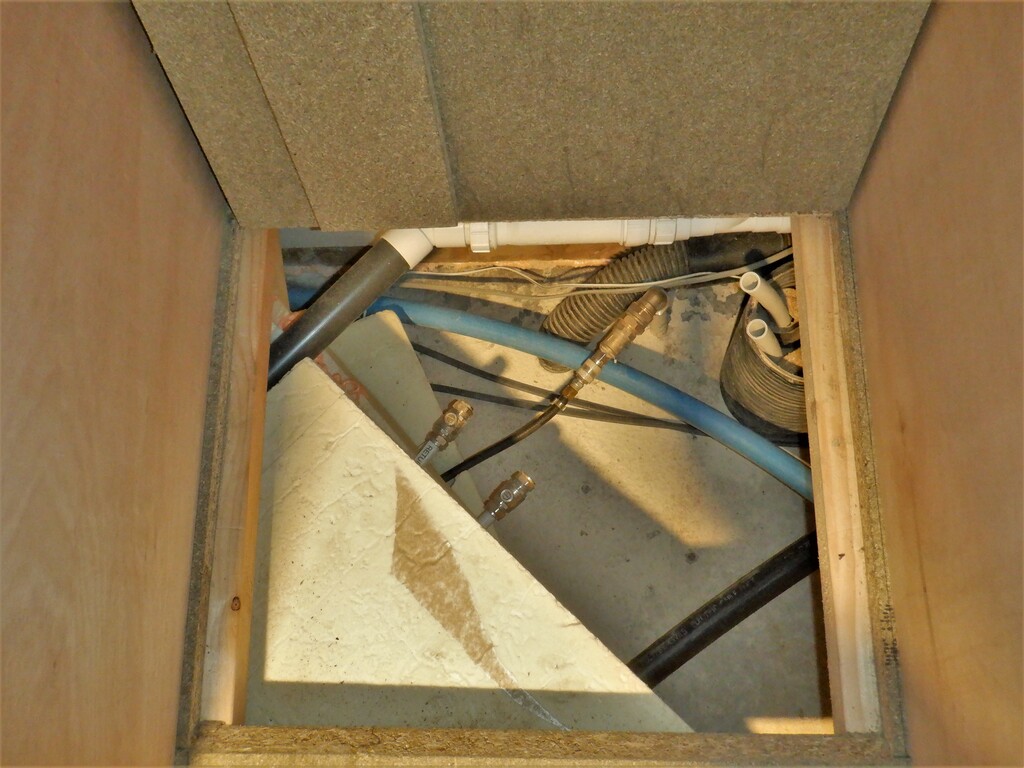
Then we put down one and half strips of the flooring grade chipboard 22mm thick floorboards but only screwed it down just in case we needed to dismantle this and gain access to that area again, but it will be an unlikely event as all the plumbing and conduits bits and pieces are all done and fully accessible via the three new “trap” doors we also created in the floorboards. They are for the main sewage waste pipe that is under the stack of drawers, then the middle one under the sink section which is also the biggest one and the third trap door at the back in the left most section where the washing machine will live eventually, this access panel will provide the ability to work with the remaining conduits and pipes coming up from the concrete.

Laid-floor-under-cupboards-and-cut-hatches
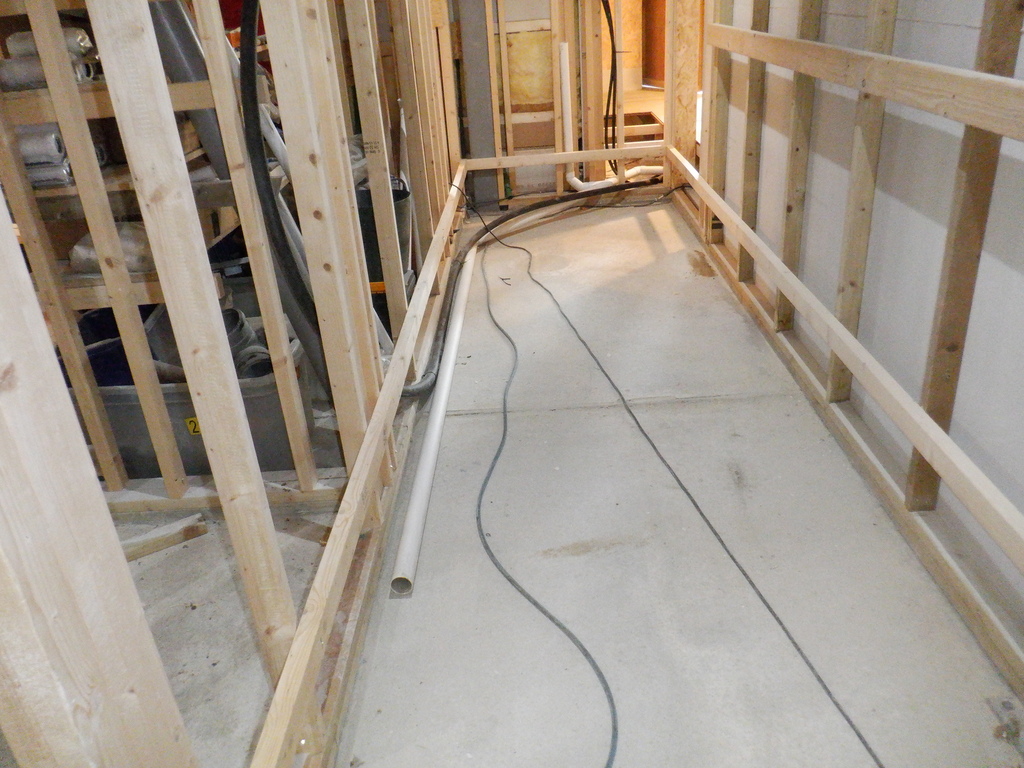
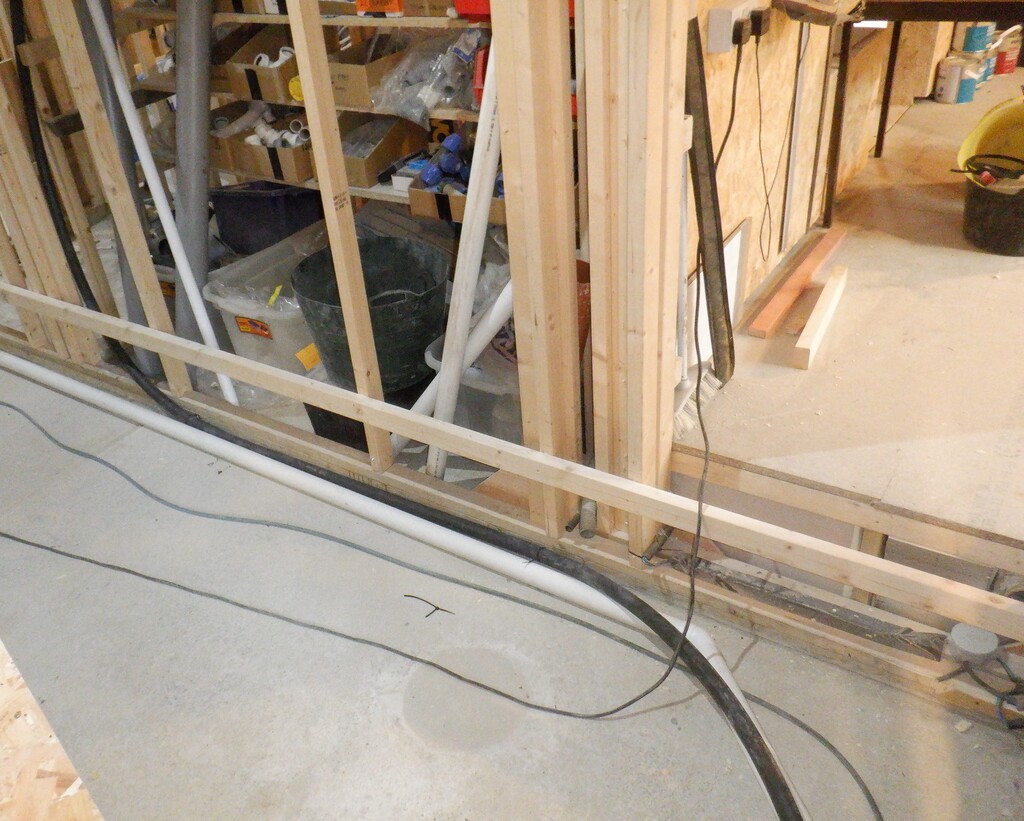
We put down a loose set of more floorboards to make it easier to walk in and across the room to the hallway and beyond, they are loose so we can quickly move them out of the way to install the next set of pipes or conduits plus the main air duct that will come soon.
The next step we decided to do is to mount a complete ring of floorboard support rails along on all the walls in all our four Hallways.
Hall-Floor-Support-Rails-1
Hall-Floor-Support-Rails-2
Hall-Floor-Support-Rails-3
Hall-Floor-Support-Rails-4
Hall-Floor-Support-Rails-5
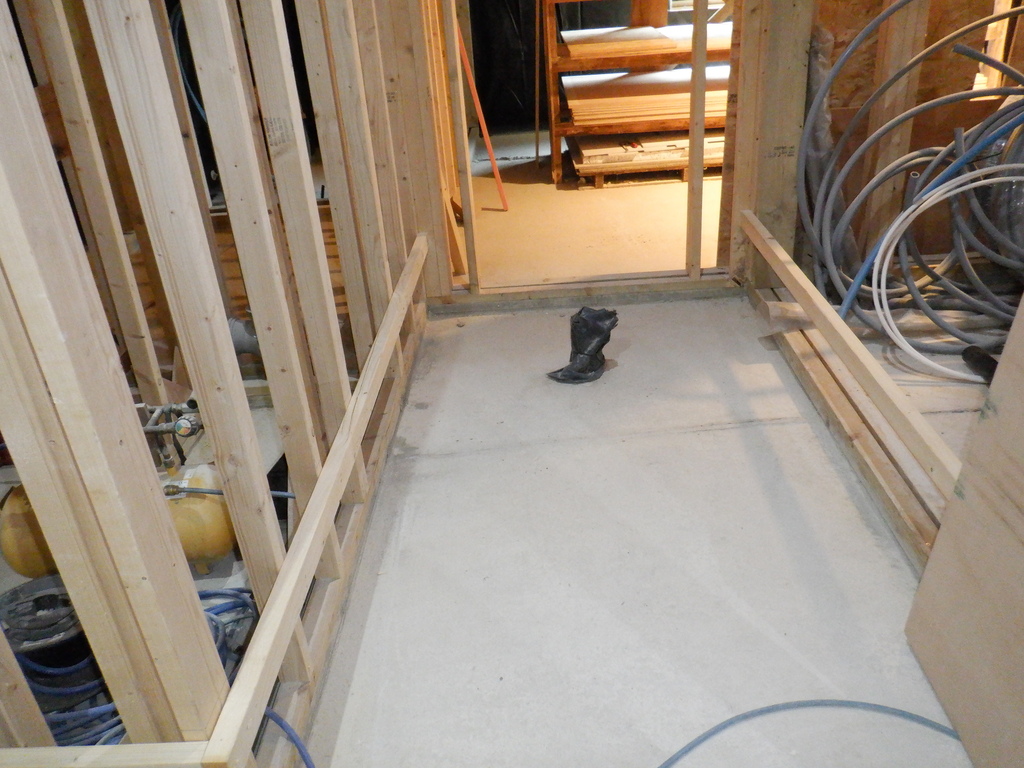
This will provide the basic level and framework for the rest of the grid of support joists and posts to be installed next week, but first, before we can do that, we needed to make sure we have laid down any rigid pipework and conduits before all this fixed structure is in place. So we installed an electricity conduit, a 40mm wide plastic that we had left-over from when we were installing conduits from the Loke. This conduit will hold the 90Amps mains 230V AC lines to the Tech Cupboard where we will have the main consumer unit that will serve the rest of the house. The second rigid pipe we installed is the connection to our Central Vacuum System, a 50mm smooth pipework which will be solvent welded together and create a network to allow you to perform cleaning jobs across the house without carrying around a noisy machine, just a length of flexible hose that will connect to a nearest vacuum point. The 50mm pipe we installed was one going across the Utility room from the Hall to a T-junction and a side branch going off to one of the conduits coming up through the concrete that connects to the Garage.

Vacuum-pipe-and-Electric-duct-1
Vacuum-pipe-and-Electric-duct-2
Friday morning we were sorting out more plumbing bits and pieces to order We had Friday afternoon off which made a change.
On the last day we then got down to creating the carcass for cupboard units under the window and created a temporary worktop now so we can have access to some water in a sink, the first time we will have such provision in our new house. We always wanted to have worktops that are deeper than the standard 600mm so we have gone for a depth of 775mm which will allow us to fit in a washing machine inside the cupboard, including fitting a plinth that is inset a bit along the floor level. The carcass is made of four vertical plywood pieces, using 18mm thick top quality plywood that we used to make our staircase from, to form 725mm wide and 870mm high pieces. We cut out a notch measuring 100mm high and 40mm deep at the bottom front edge to provide that recessed area for our toes to fit in and the plinth to cover up the internal parts of the cupboards.
Then we put in five pocket screw points on each vertical piece, two along the bottom edge to fix into the floor, one half way up the back edge to fix to the wall and finally, two more upwards to fix the worktop down. The carcass is now assembled so we have a 600mm space for the washing machine that will live nearest to the Equipment Cupboard, then another 600mm wide cupboard that is the position for the sink and all the associated bits and pieces that goes with sinks and the third section nearest to the outside door which is 500mm wide and will be a stack of drawers of various sizes, height wise but all being 600mm or even 700mm deep, to provide plenty of storage space.
Utiltiy-cupboard-1-hatch
Utiltiy-cupboard-2-hatch

Utiltiy-cupboard-3-hatch
The last thing we did was to slice out of a sheet of 18mm OSB material, a single piece that will become our temporary worktop, measuring 775mm deep and 1810mm long. We added two narrow strips that will go along the back and right side of the worktop to provide one of those upstand protective features, to stop one losing items off the back and into the window area plus also keep the water from spilling over the back edge onto the wall or into the window area again.
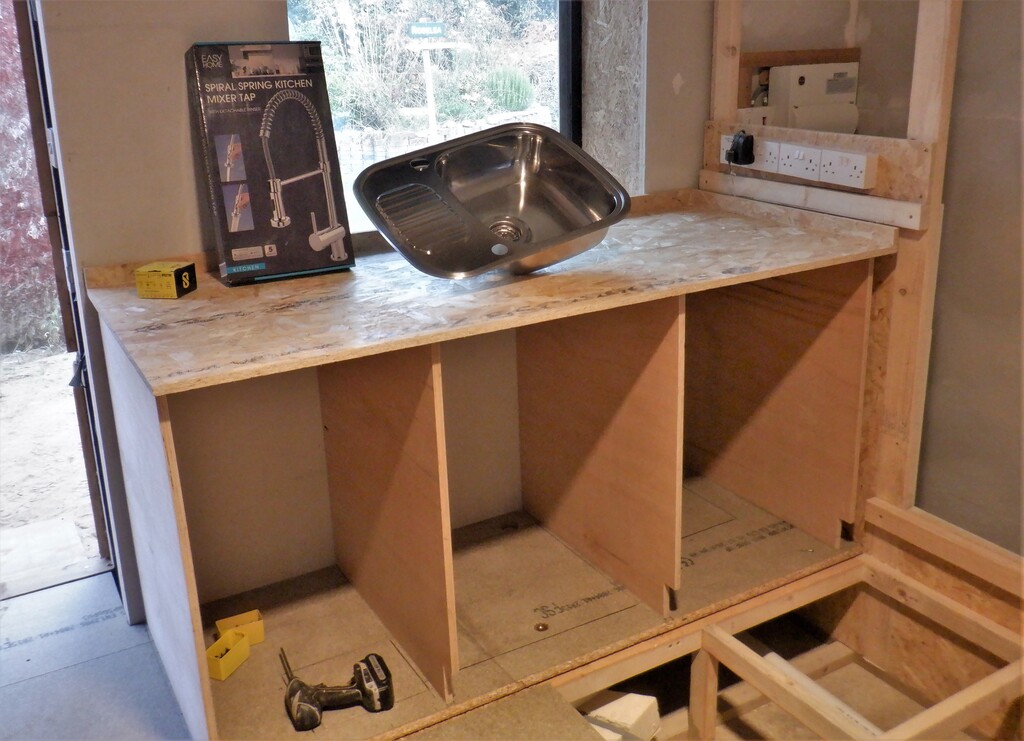
Utility-cupboard-bases-and-temp-worktop
Next week, we will cut the sink hole into the worktop, and then paint the whole thing to colour it up and water proof the surface too. Then we can install a tap and have running water at last in our house!!