After we reordered more glass wool insulation, we were finally able to resume the construction of Bedroom Two, doing the underlining basic panelling that will form the foundation for our walls. We finished loading in the last bits pieces of glass wool and then started working on each OSB board, to get them ready to be glued and screwed up onto the wall framework. Before we continued with this task, we took careful measurements of our control box
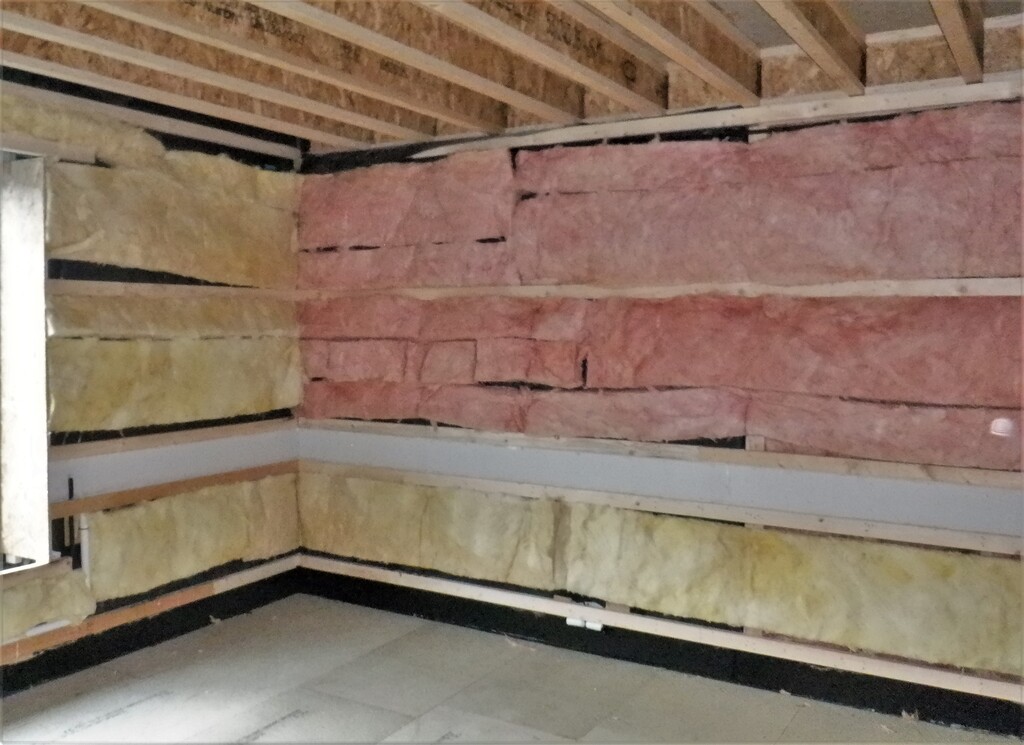
Final-insulation-in-wall
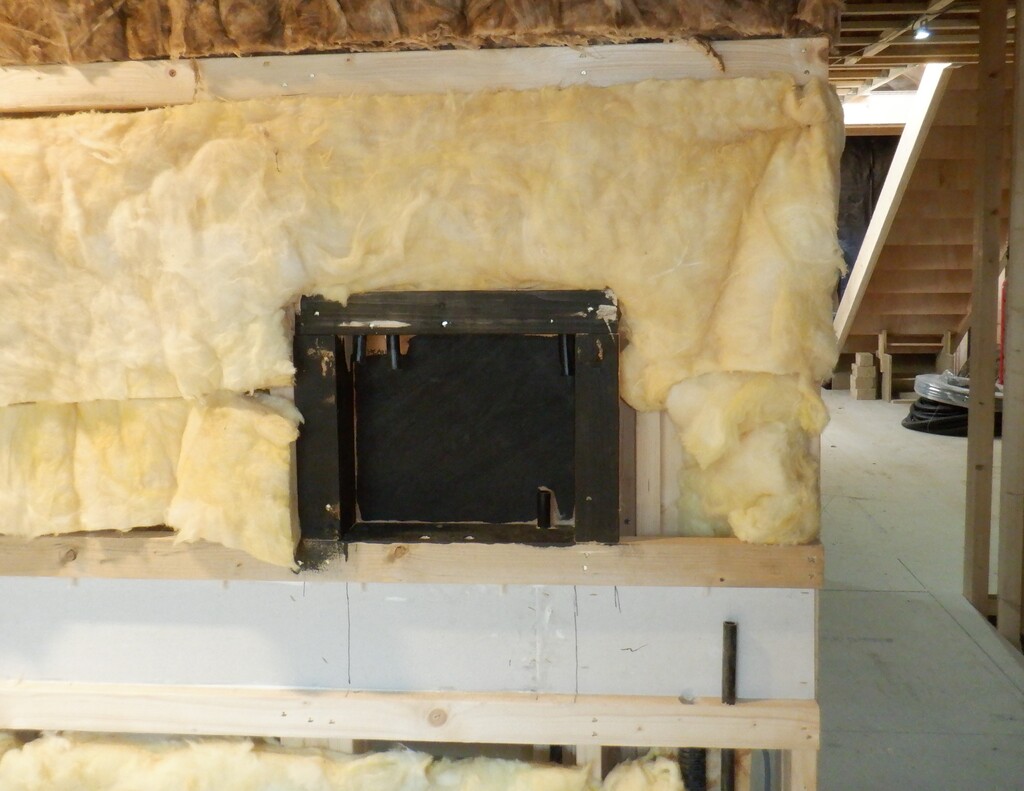
Bedroom-2-Control-panlel-location
And what will be the access panel above the ensuite sliding doorway (so we can service the pneumatic cylinders and valves that will move the two leaf doors).
Each OSB sheet had to be cut down by 70mm because all of them are lifted clear of the floorboard (by 38mm height) to allow the fresh air to enter into the room, and also our rooms are only 2415mm high which is just under the 8foot measure. Then, each OSB board then had a groove on one edge and a tongue on the opposite edge, cut using our router machine and a single prepared cutter bit that produces two tongues or two grooves. This allows us to join consecutive boards together on the wall and provides a smooth transition from sheet to sheet. While doing the cutting the router cutter sheared off! We had to pause whilst waiting for a stronger bit to come.

Sheared-off-router-cutter-1

Sheared-off-router-cutter-2
We went around the room anti-clockwise direction, going pass the window and then the ensuite doorway and finally back on the fourth wall with the room’s entrance way.
The last job was to trim off the excess sheet materials in and around the window and ensuite doorway, using our other router that has a straight cutter bit with a ball-bearing wheel to guide along the internal surface. This method gives us a very neat cut edge that surrounds the window hole and the doorway both.
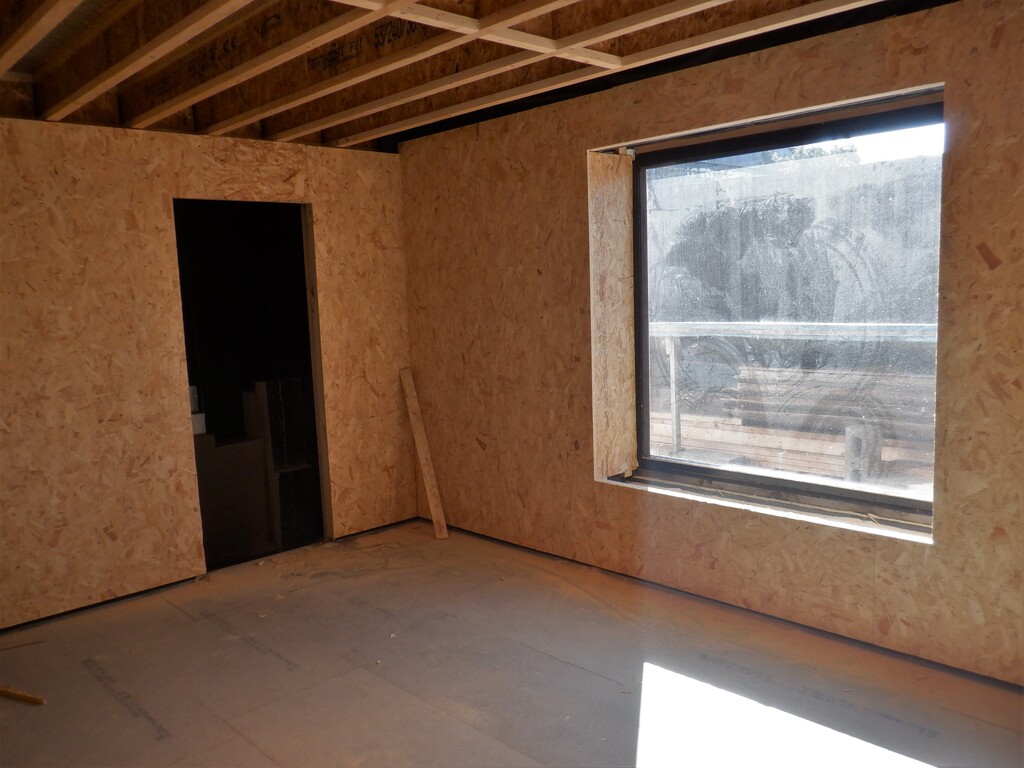
Bedroom-2-all-walls-boarded-with-OSB-1

Bedroom-2-all-walls-boarded-with-OSB-2
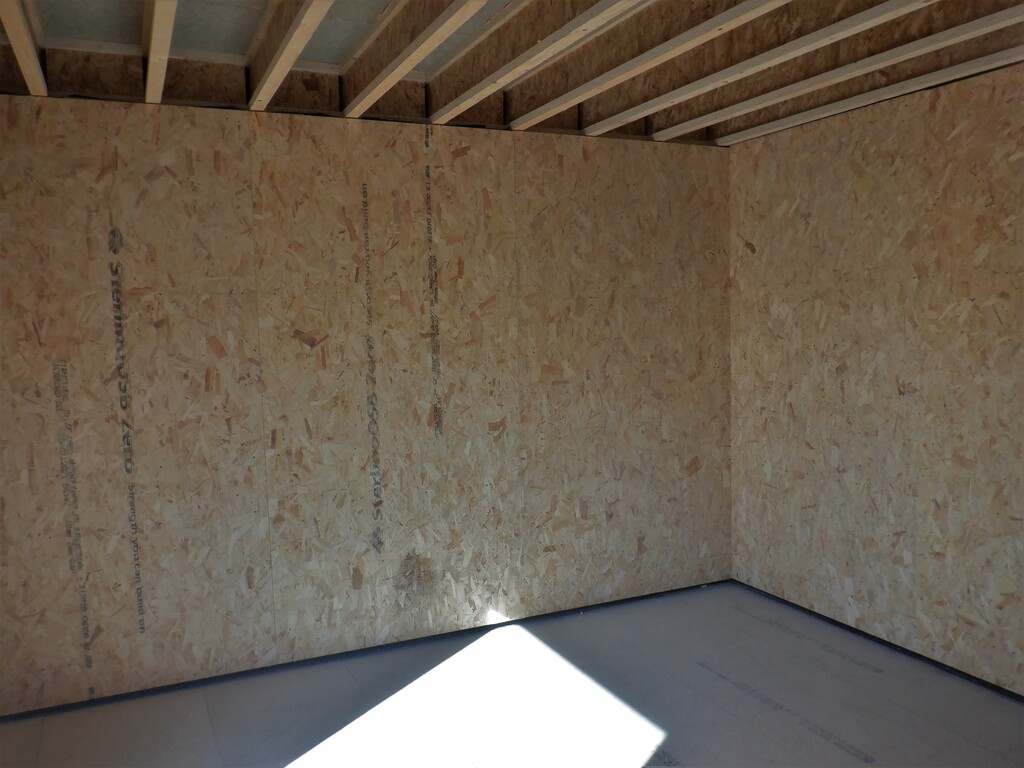
Bedroom-2-all-walls-boarded-with-OSB-3
We decided that was all we are going to do in Bedroom Two, as we are not using it for DIY work so we will leave the job of cutting out the Utility Channel for later. But we will use this room as a storage depot for our remaining sheet materials that is currently located outside on our yard and the tarpaulin are not in very good conditions anymore.
Leave a Reply
You must be logged in to post a comment.