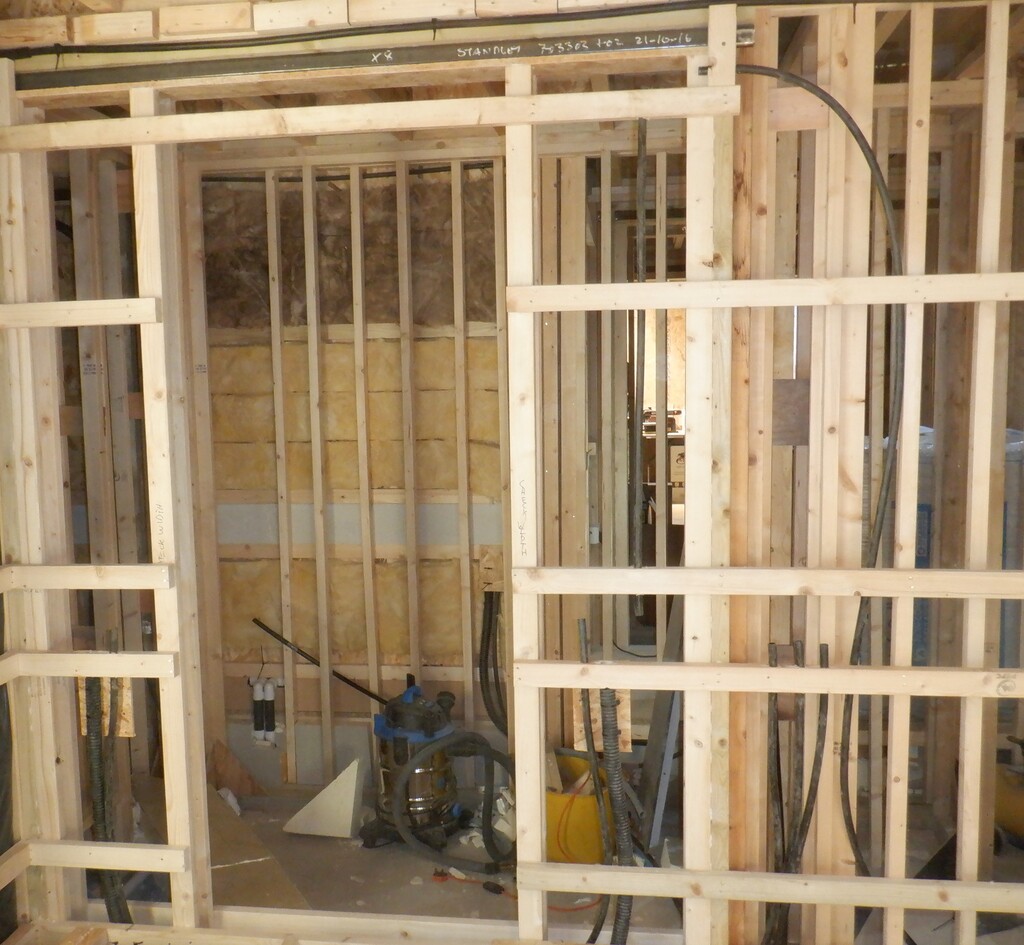
These last few weeks have seen the construction of the basic shell of the next bedroom to be completed. Bedroom One now has a solid wall and the flooring fully installed, following the same design similar to the other two bedrooms. But one of the first task to do, was to finally complete the fixing the vapour barrier layer up on to the “M” wall, including a layer of glass wool to provide fire protection and more thermal insulation too. This was a job hanging over from last year where we couldn’t finish this job as we needed access but was blocked for a few months. We got an electrical mains socket poking through the wall plus also underground water pipe and a couple of electrical connections too.
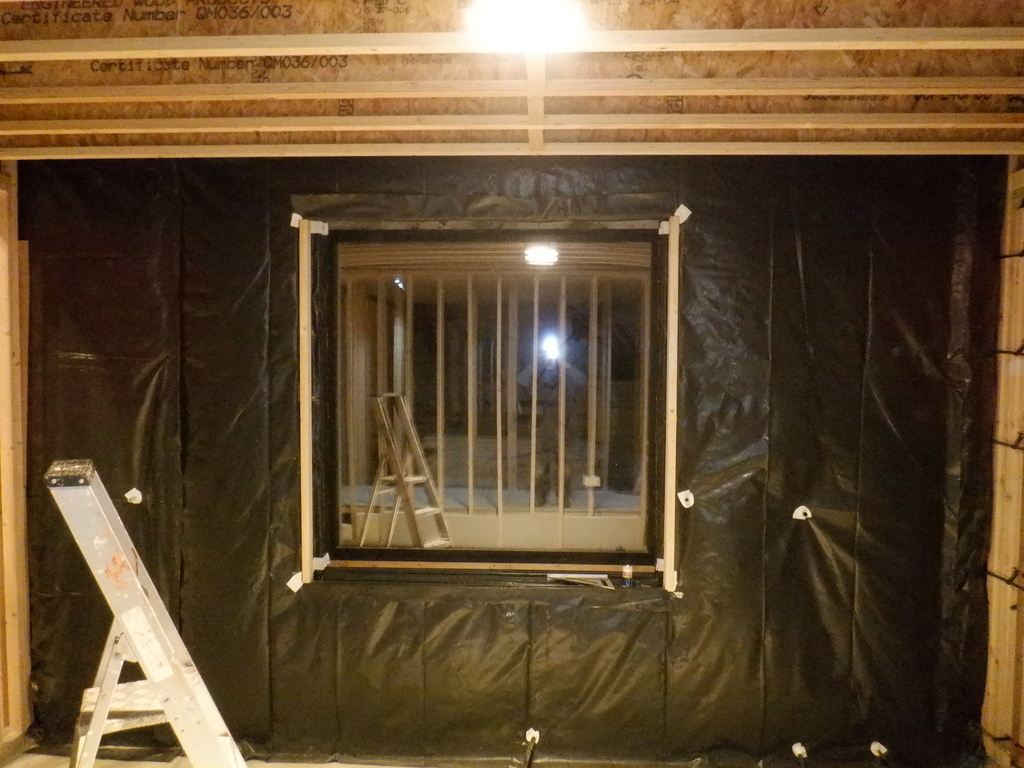
M-Wall-Vapour-Barrier-complete
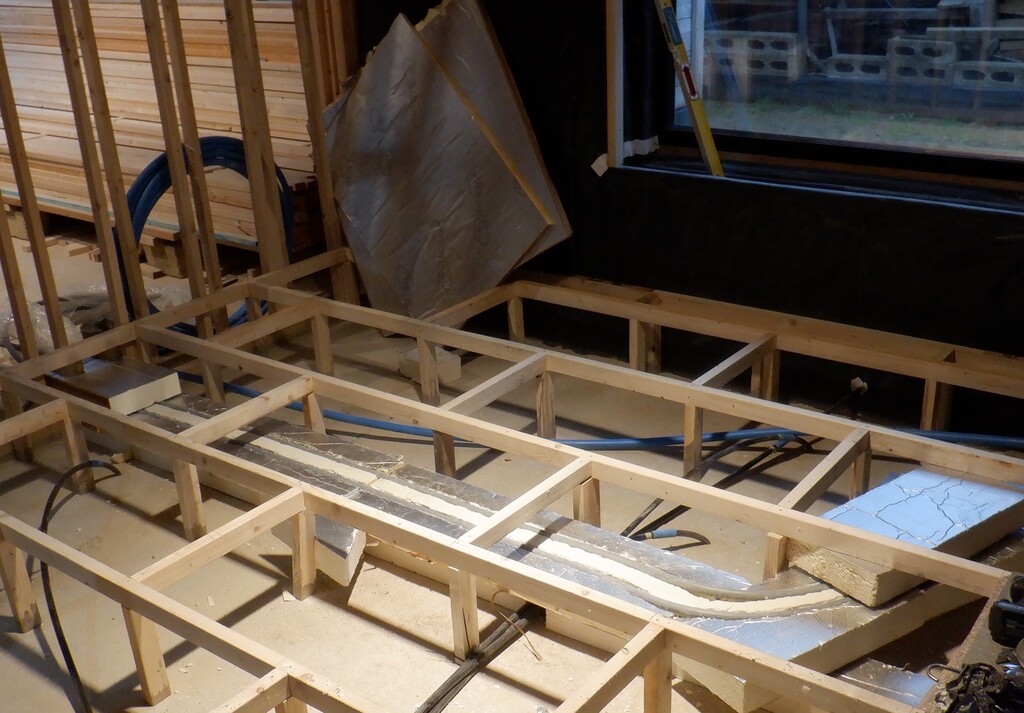
We built the floor support framework, then after that, we had to make sure that we had all our conduits laid in inside the floor space, like for example, the hot water circulating pipes that is encapsulated in 100mm thick PU foam for maximum heat retention. This is going right across the entire bedroom and pops out into the Great Room, ready to swing around supply heat to the Great room and finally terminates into the Kitchen. This was the continuation of the pipes coming from Bedroom Two, bending and wiggling through both en-suites.
Heating-pipes-in-Ensuite-12
Heating-pipes-crossing-Bedroom-1
Pipes-waiting-to-continue
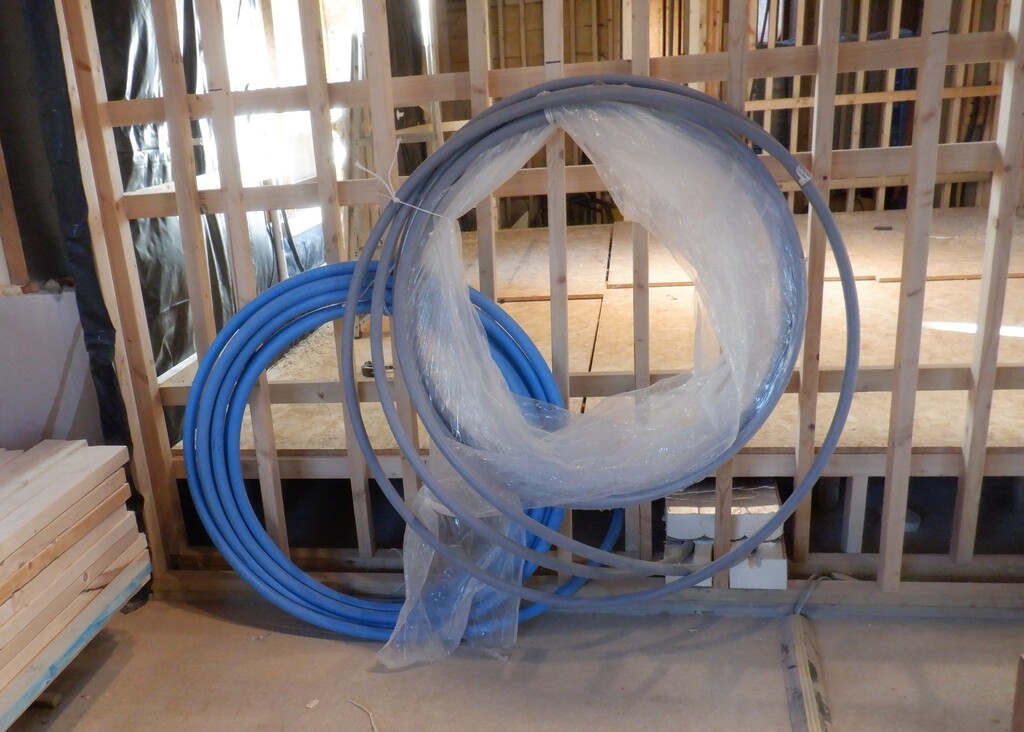
Also, and especially, we had to install a 100mm air conduit going from the hall, cutting across the corner of the bedroom and going up the Great room wall to the First Floor. This is important because this is the air supply to bring fresh warm air to the back half of the upstairs room.
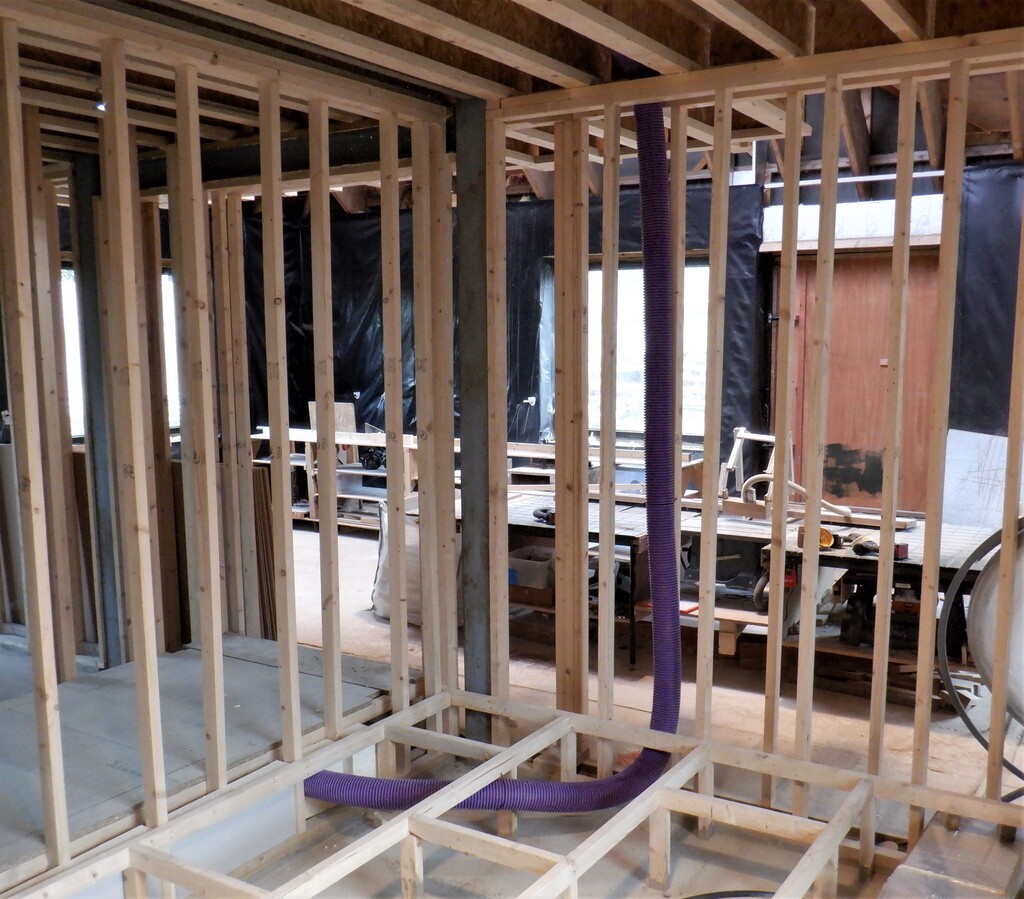
HVAC-pipe-for-upstairs-room
Other hidden conduits are the temperature sensors that monitors the condition of the buried Energy Module that stretches across the whole house (right from the Kitchen, the Hallway and Bedroom One) and these conduits all goes to the Hallway, under the liftable hatch for servicing etc.
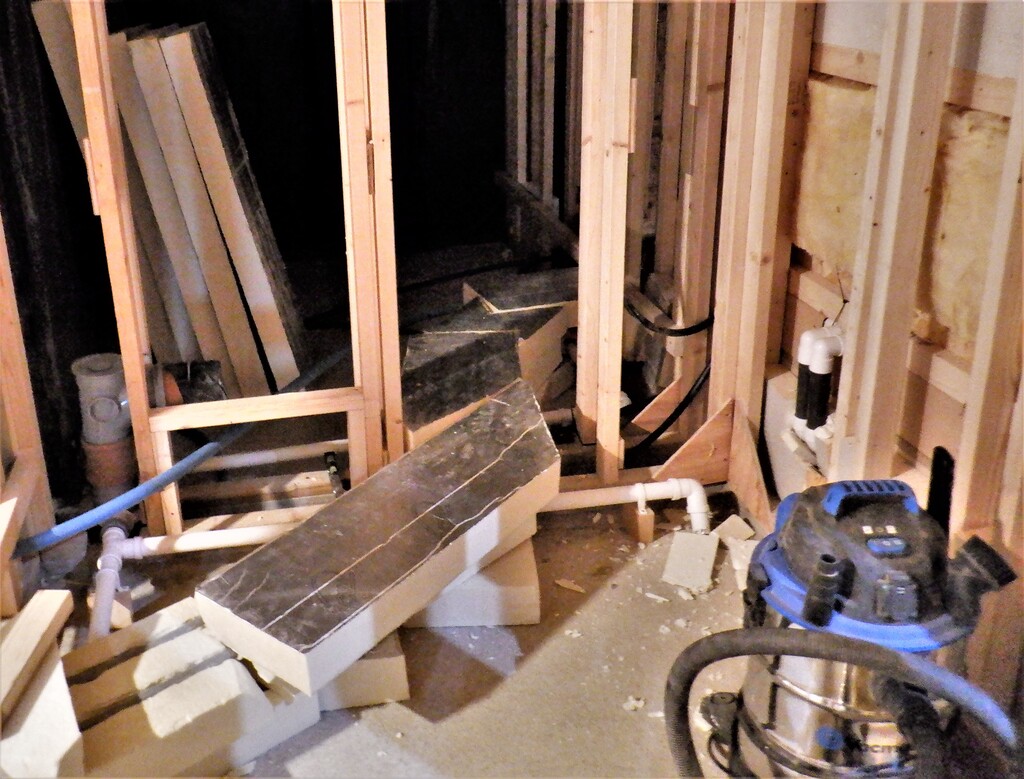
The other under floor component is the plumbing chamber that sits just outside the ensuite doorway and this will contains the various water radiators and heat exchangers to serve the basin and shower units inside the ensuite, plus also other water connections like the outside tap for gardening and a watering system up under the Eves for any potential hanging flower baskets etc.
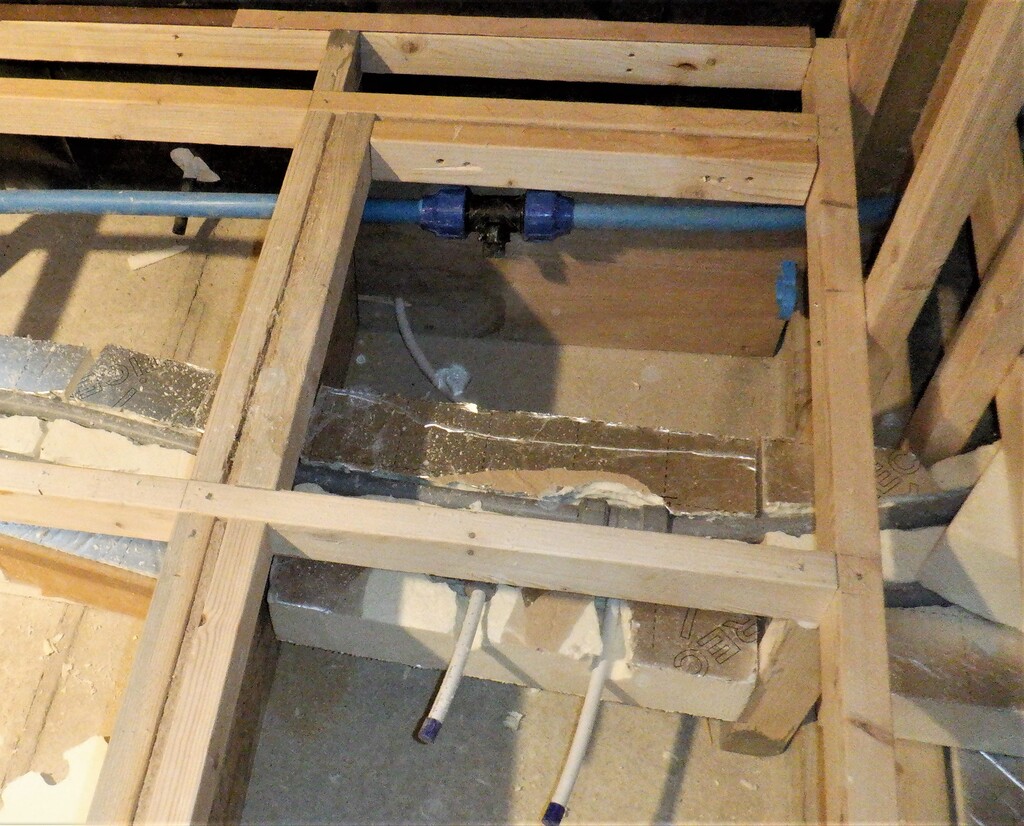
Ensuite-1-Plumbing-space
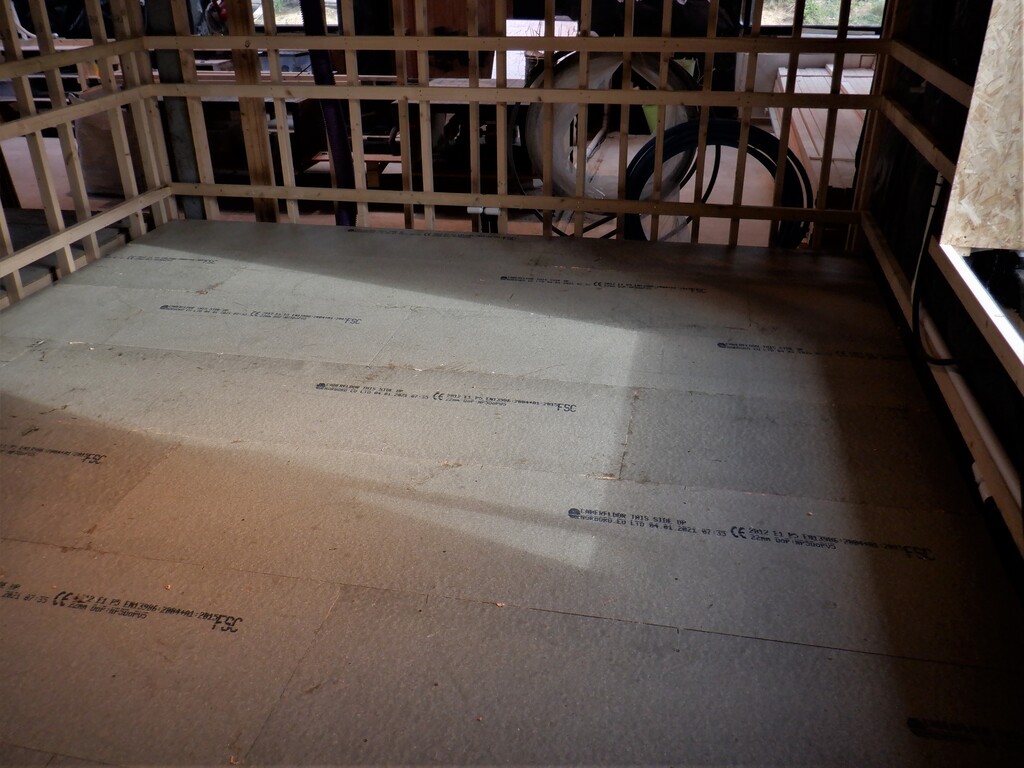
Next, the entire volume under the floorboard was filled in using 200mm thick glass wool insulation, folded at the pre-split point on the roll so that each piece is standing on its edge which should be much stronger and longer lasting than laying it out flat which may collapse under its own weight.
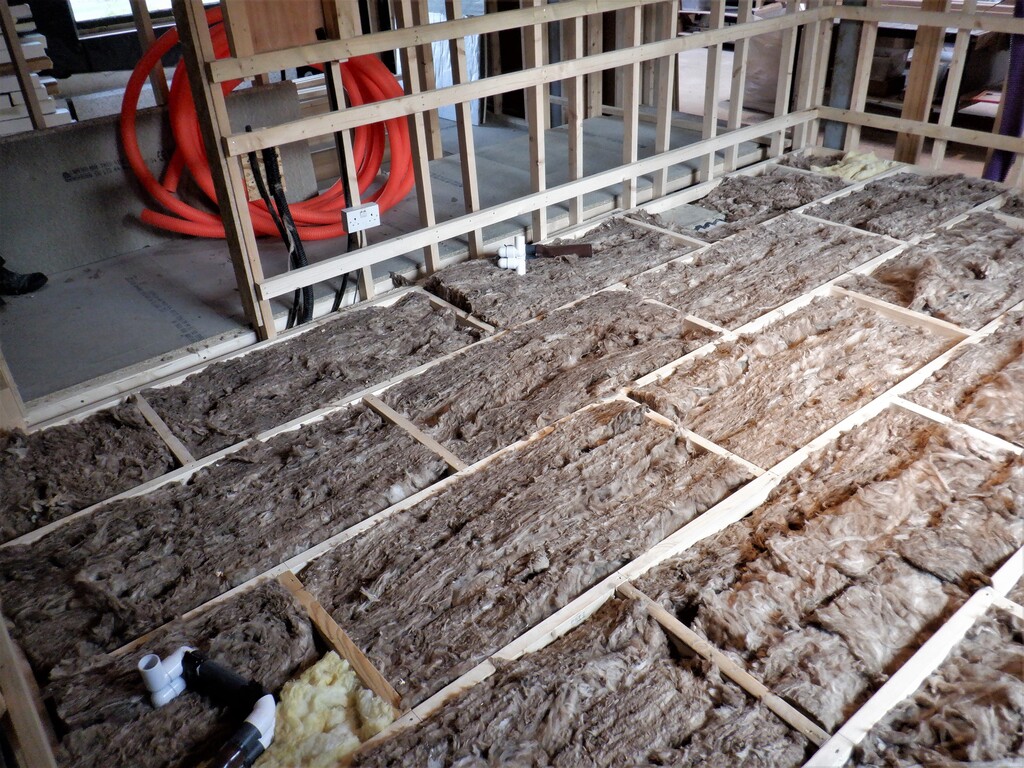
Bedroom-1-floor-insulated
The horizontal rails were then installed and the Control Box built that will serve the room’s electrical requirements etc. plus also laying in extra conduits to serve the ensuite with mains electricity for the vanity unit plus toilet itself. Also the sliding door system has compressed air and more electricity cabling that will control the mechanism.
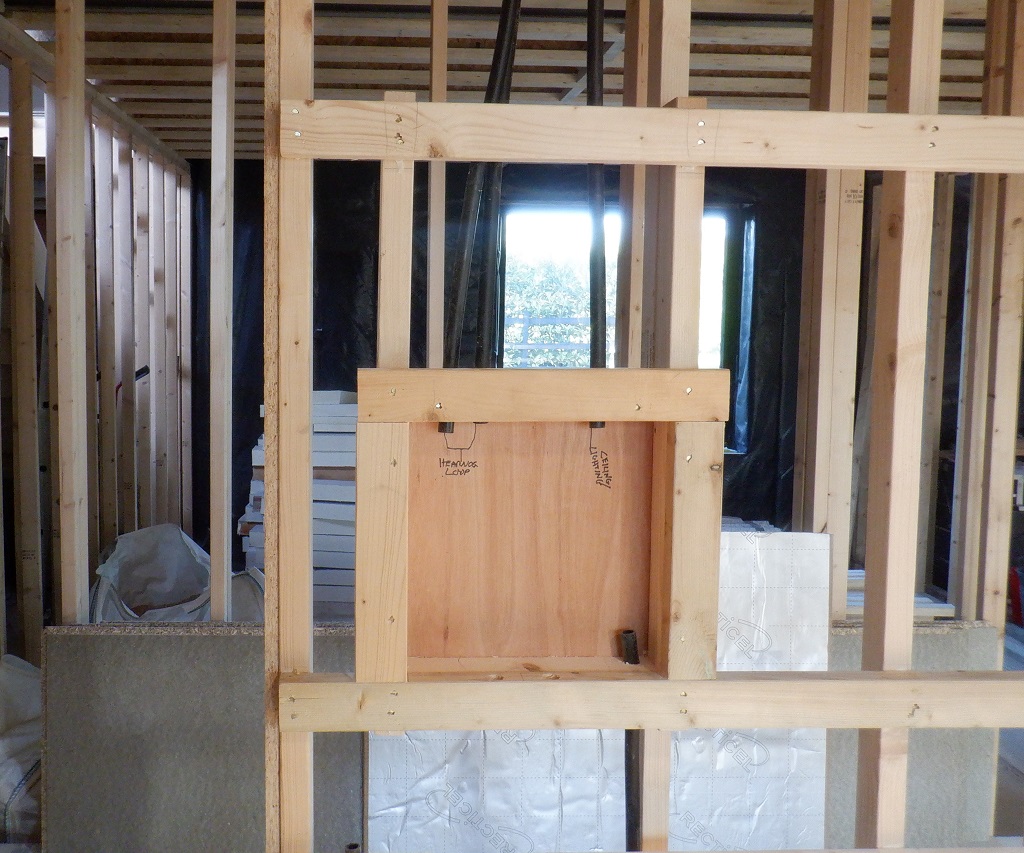
Bedroom-1-Control-box
Ducts-around-Ensuite-1
Once all that was done, we then laid down a full covering of 22mm thick chipboard floorboards, all glued and screwed down to the framework. This then allowed us to insert our MDF 150mm high boards that forms the Air Channel around the bottom of the wall, which got sealed and then painted black. The Utility Channel was also similarly lined but using 10mm Fermacell “plasterboard” material instead, with was also glued in.
Bedroom-1-Floor-boards-done
Another yukky job was to fill in the volume inside the walls with more glass wool, two layers, one was vertical in the middle of the walls and then a horizontal layer going across between the wooden rails. This provides a double feature of providing better sound dampening properties but also better fire prevention and give us more time to handle emergency outbreak of fire.

Bedroom-1-Walls-insulated-1
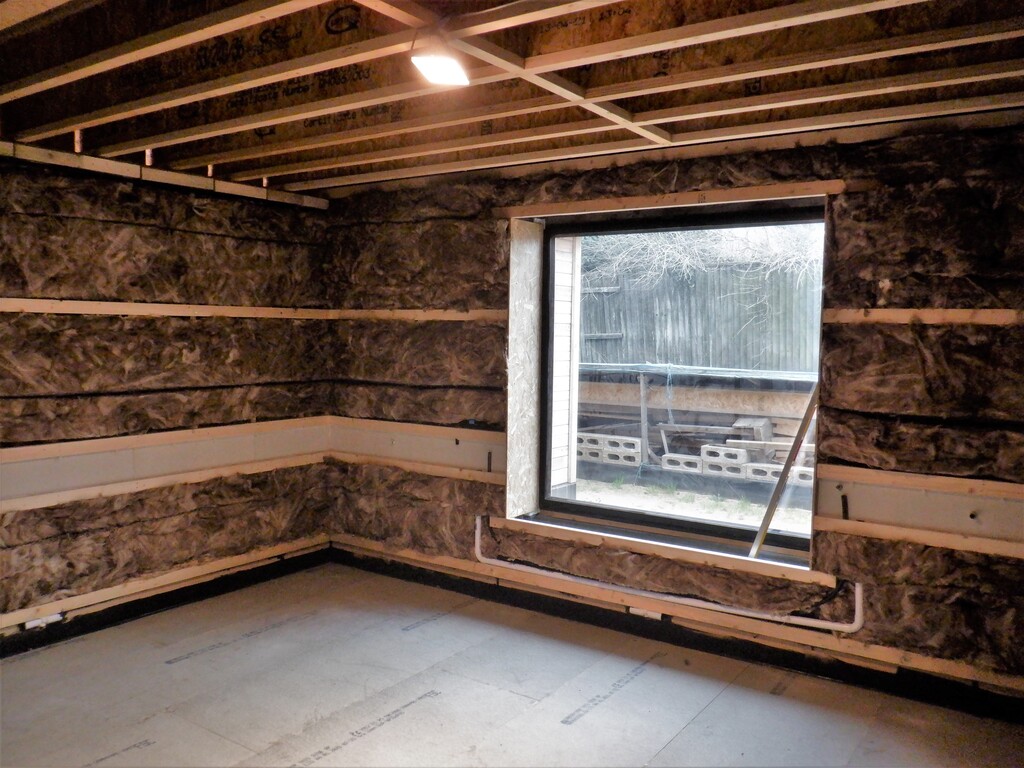
Bedroom-1-Walls-insulated-2
This led to the final job of installing the basic underlying solid layer of OSB 18mm boards, all tongue and grooved together, all glued and screwed tightly onto the wall’s framework. The edges were trimmed around the window and the two doors.
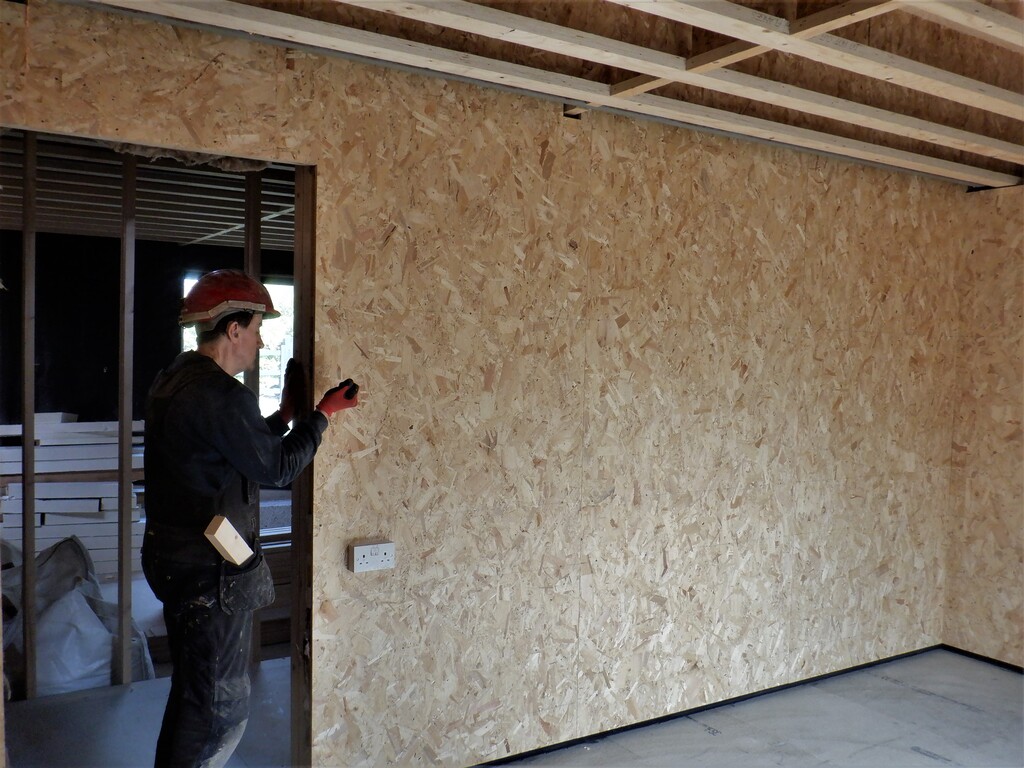
Bedroom-1-Walls-boarded-1
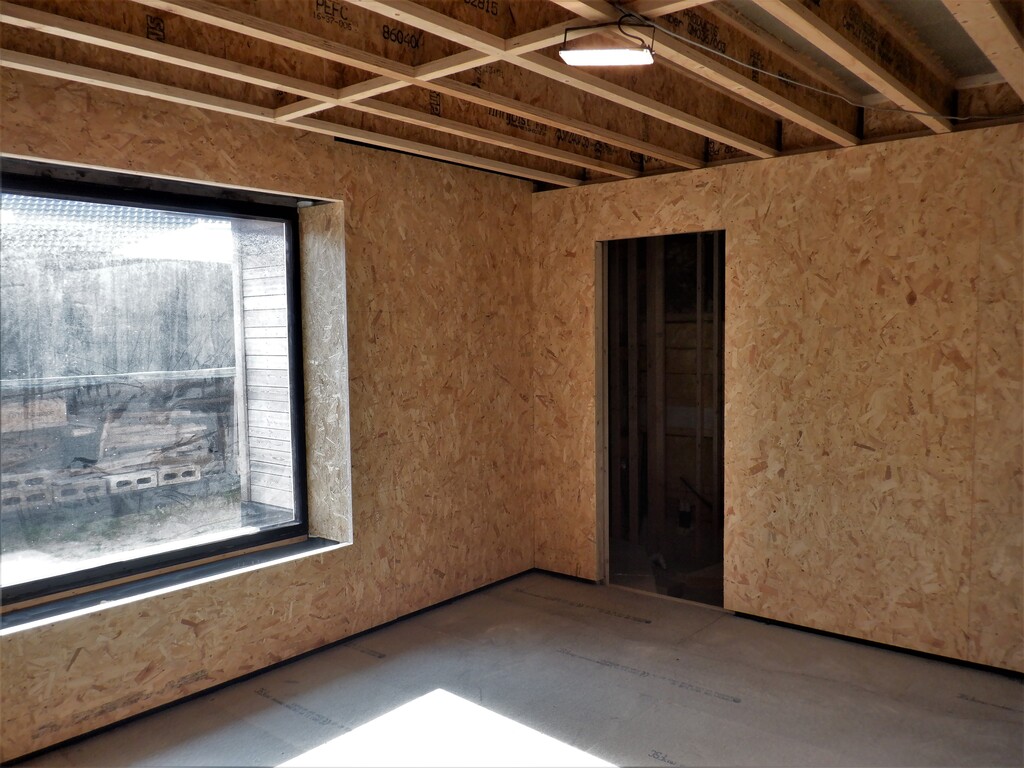
Bedroom-1-Walls-boarded-2
We now have this bedroom completed and we can move on to the next room, the Kitchen, after Easter.
Leave a Reply
You must be logged in to post a comment.