We started the new week by tackling the next phase of installing our green solar capture schemes, this time, the third string of panels, basically almost square shaped ones, measuring 1200mm by 900mm, small enough to fit up inside our eleven Skylight windows. Each of these windows which we had originally designed 10 years ago, measures 1040mm wide by 1200mm high. We had always intended to have solar electric cells put in these windows. We had originally inteneded to make our own solar panel from individual cells, but we realised that we could buy fully constructed panels for a reasonable price not much more than the raw parts, plus also we would not have to run the risk of not being able to make long lasting and reliable finished modules either.
The first job was to measure all eleven windows and most of them were 1040mm wide, but one or two were slightly bigger and one or two were even a little bit smaller (measuring 1034mm wide). Then, we thoroughly washed the glass (actually polycarbonate plastic) with warm soapy water with a floor mop! We also washed down the framework too so it is ready for the glue to stick down the CLS timber we are going to apply.
We then cut twenty-two lengths of 63mm, measuring 1195mm long CLS timber, with a 15degree angled ends and drilled two clearance holes through the wider direction in each piece. We applied a line of glue and proceeded to screw each piece using 100mm 6mm thick screws. This CLS timber will provide the anchorage for holding the actual solar panel themselves in place.
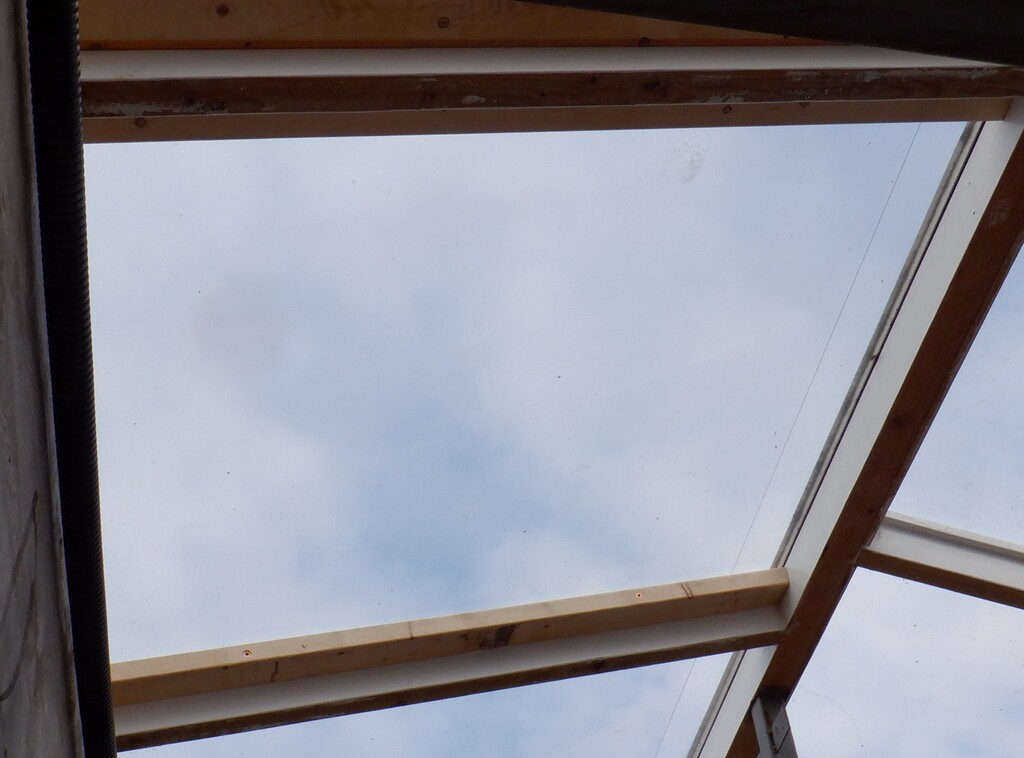
Skylight-solar-panel-frame
The CLS timber will almost fill up the gap and block the sunshine from getting through to the insulation boards that will sit behind each solar panel, leaving a small gap that we will allow the air to circulate in and around the panel to keep it cool and ensure that we evaporate any condensation of water that may form on the glass. Each of the eleven window with its solar panel, will have fresh air piped in from our main air conditioning system so we can provide some cooling energy to the panel themselves, especially during the hot Summers, which will improve the efficiency of the silicon wafers converting the solar energy into electricity.
We then put small pieces of double sticky foam on all four corners of each solar panel modules, sticking 100mm long pieces onto the metal frame and this will provide a reasonable air gap between the panel and the glass surface, and also we drilled three holes through the metal framework on both sides of each panel sideways, so we can screw the panel in place, using our mushroom headed stainless screws, up in the Skylight window and press up against the plastic surface. We even stuck on two small pads of 6mm MDF material so we ensure another air gap at the top of the panel, again to allow the air to circulate etc.
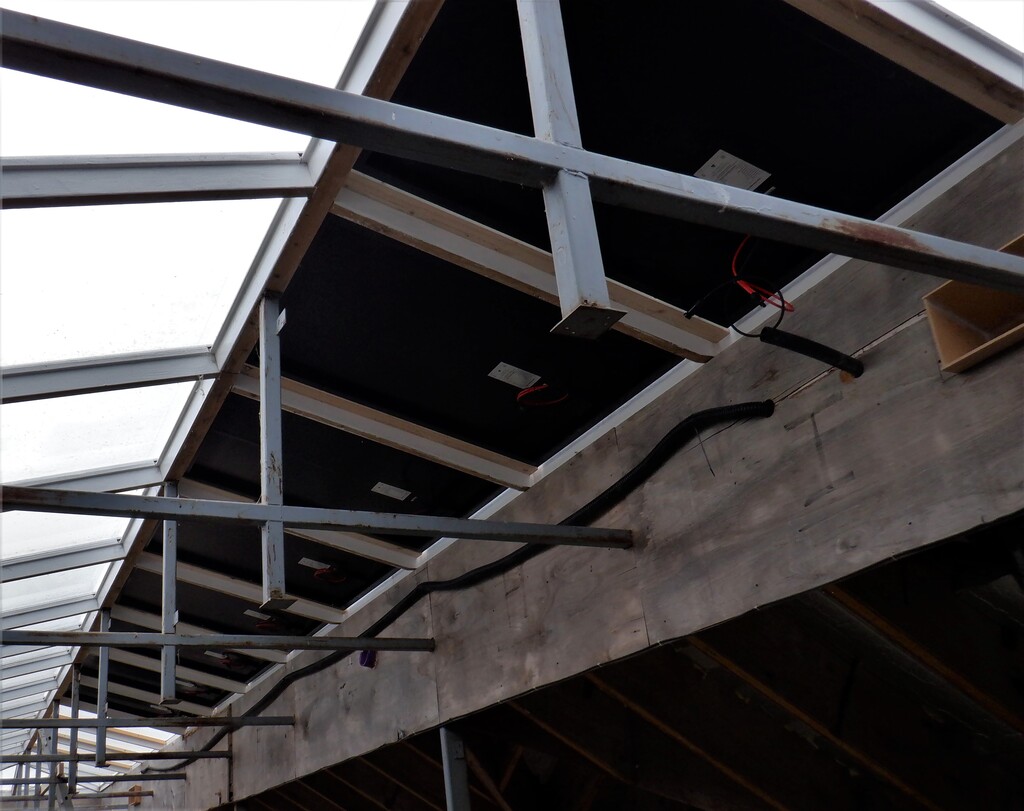
Most-skylight-panel-fitted
Next task was to plumb in a conduit from inside our Tech Cupboard, up into the ceiling, through the floorboard, up the steel leg and terminate right up inside the Skylight near the top.
This will provide the path for our five pairs of 2.5mm square millimetre copper wires, coming from the eleven Solar Panels, grouped into five sets. We decided that we will have a sequence of one panel on a pair of wires, then followed by a group of four panels joined together in series and connected to another pair of wires. After that one, is another single panel on a third pair of wires, followed again by another group of four panels on the fourth pair of wires and finally the last single panel on a fifth pair of wires. All the wires were fed up from inside the Tech Cupboard and went off to each of these set of panels.
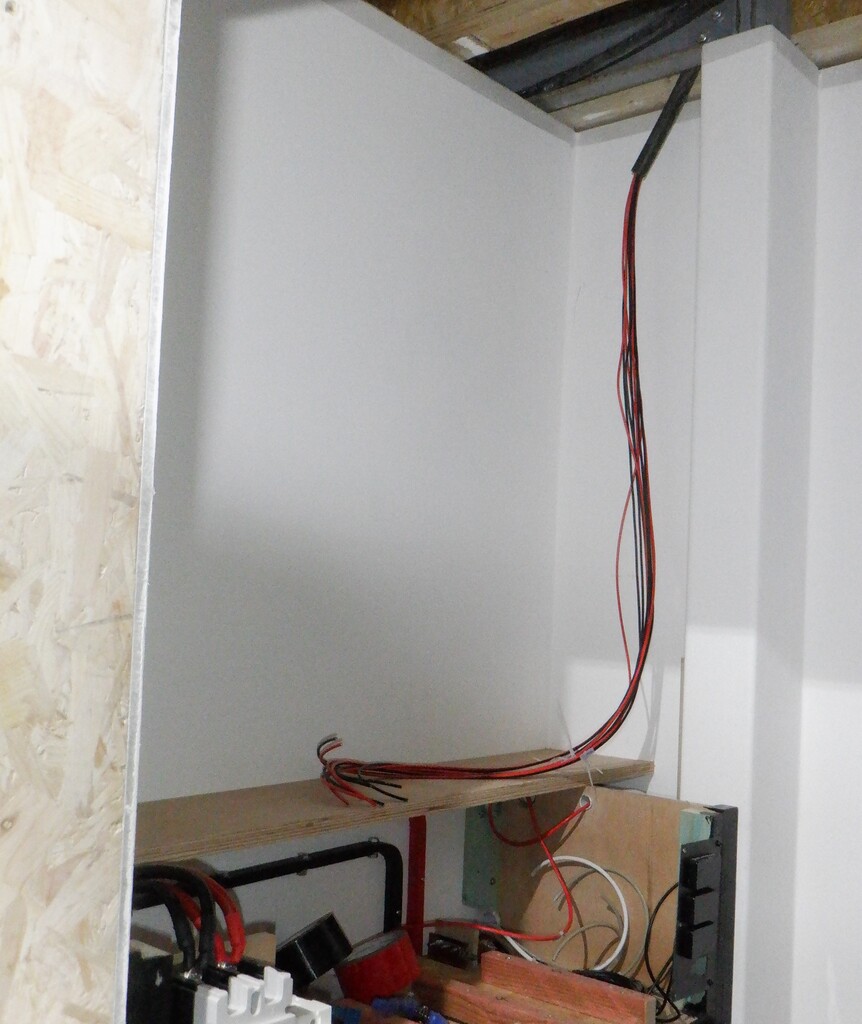
Skylight-solar-cables-in-Tech-cupboard
We did it that way so we could configure different combinations of connecting the panels together, to provide the maximum conversion of solar to different target battery voltages. We are wanting to charge our 12Volt battery but also want to charge our 50Volt packs too. in fact, for the time being, we would like to take all the output of all eleven solar panels if it is possible and convert all the energy into our 50Volt packs and maximise the benefit of avoiding having to pay these ridiculous grid electricity prices.
Now we needed to make a front panel to mount the solar charging equipment, the switches and the fuses too. We found a piece of plywood left-over piece from when we were doing the staircase, a lovely quality of 18mm plywood, measuring 345mm wide. We sliced off a length of 1070mm long so it can fit right across the Tech Cupboard, mounted in a vertical direction and facing outwards, and sitting on top of the Battery Cabinet. This front panel will have a distribution fuse box starting on the left end, to provide low-voltage (both 50V and 12V) fused protection for various pieces of equipment in our Tech Cupboard like network hubs and fileservers etc. Then are the two solar charger modules next on the front panels and finally another distribution box that will have two isolation switches and more fused connections coming from the solar panels themselves. We drilled a load of access holes to allow the various wires through to join into these modules. We also sliced two rectangular narrow slots behind the two solar chargers, to allow fresh air to blow on the cooling fins that runs top to bottom on the back of the units.
We also took the lid of the Battery Cabinet, which we hadn’t processed yet, and cut that down to size to fit in between the walls and the steel leg. We decided that we needed to also slice the whole lid in half, down the length so that we had a more permanent section at the back and still have the front half removable for any future adjustments or modifications inside the Battery Cabinet itself. Our new front panel will sit on the back shelf piece some 50mm inwards and is screwed upwards to join the two pieces together.
Then, we painted all three pieces in our black paint to match the rest of the Cabinet.
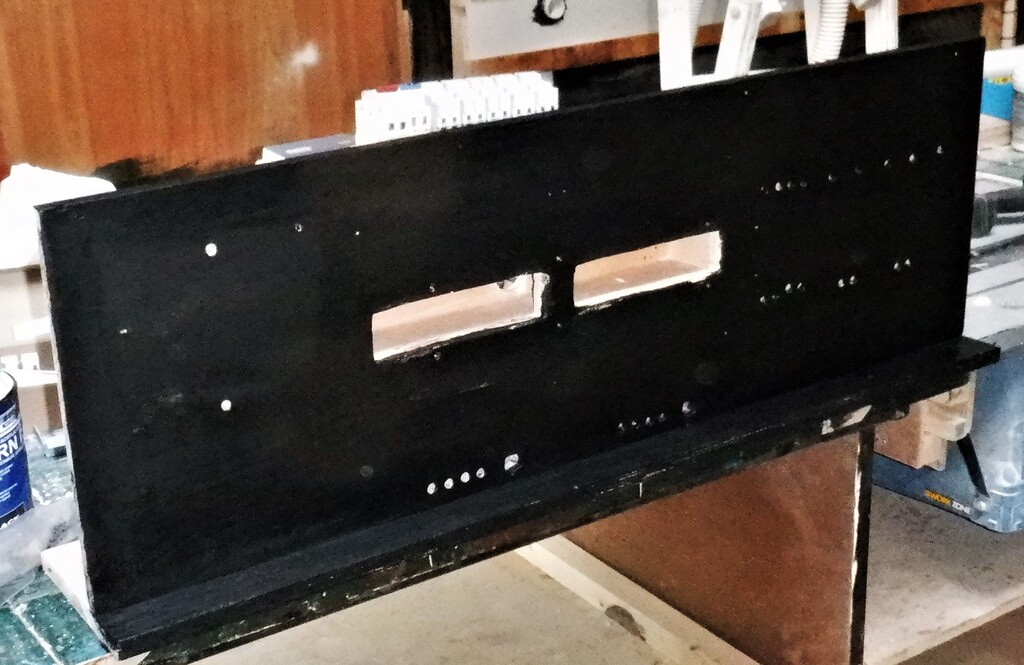
Solar-Equipment-panel
While the paint dries, we got on in making covers to put over the new Solar Panels up in our Skylight so that we both keep the dust out, but also, to provide a sealed chamber so we can pump in fresh cool air at the bottom of the window and suck the warmer waste air out at the top. These covers are made using 6mm MDF sheets, cut down to just fit inside the Skylight rafters, the height being 1210mm long and the width being set to 1030mm as a minimum so it can fit in all the skylight windows. Two 50mm air holes were drilled into the left bottom corner and then diagonally at the top right corner and also we drilled two 20mm holes in the lower middle point to allow the electric cables to come through from the Solar Panel. We found that it is a tight squeeze to get these covers in place so we decided to slice every board in half and it was so much easier to tackle the problem of installing these covers. Each had three screws put in on each edge. Finally, we covered up the holes with aluminium tape and also sealed the bottom and top edges with a line of spray foam so we keep the dust away from the solar panels.

Skylight-solar-cover-panels-fitted
Finally, we wired up all the equipment that now have been mounted to our freshly painted front panel, connecting the five individual groups of the solar panels into the switch bank and then wired in the isolation switches from the solar chargers themselves. We then installed this front panel on top of the Battery Cabinet and screwed it into place and connected it to the 50Volt bus bar, plus also all the cables coming down from the Skylight were connected into the top side of the bank of switches. We now have a working third string of solar panels!

Solar-Eqipment-fitted
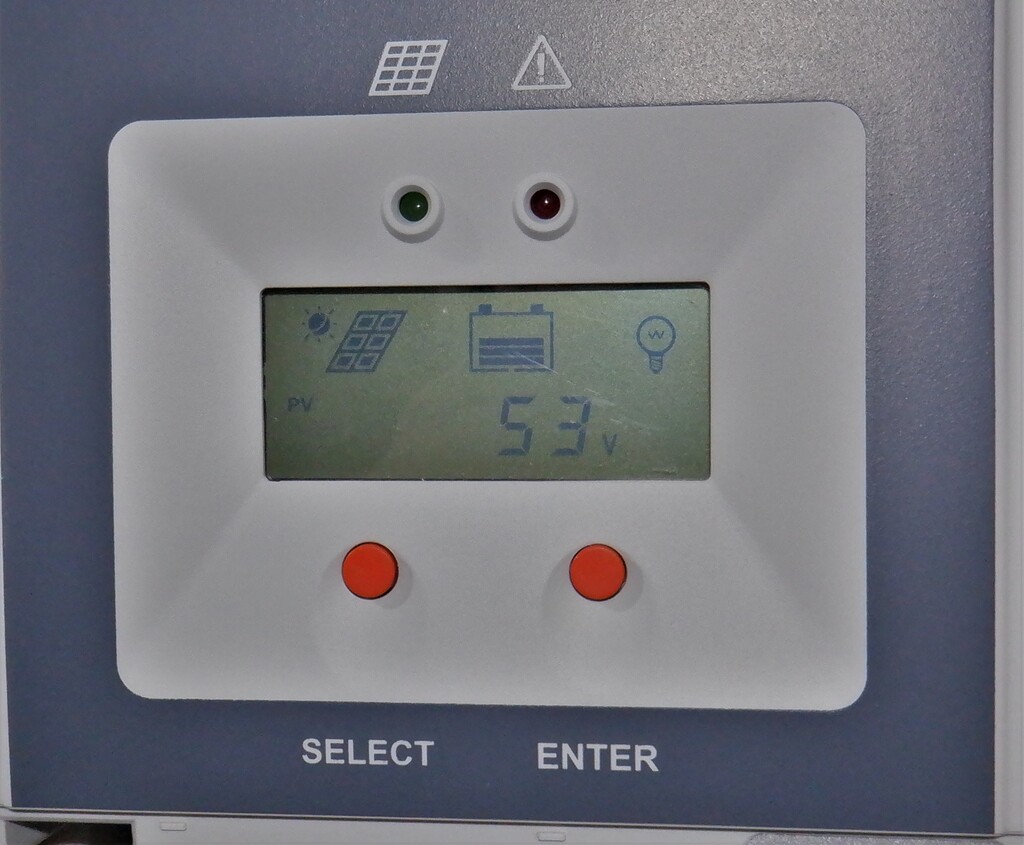
Skylight-solar-charger-working
Today, we collected 4kWh worth of energy but we do need to go outside and climb up onto the roof, to clean the Skylight windows as they have several years of accumulated grime. We will do a test of cleaning half the windows and then flip between the two halves and find out how much difference it might make to our Solar power collected.
That pretty much concludes everything to do with our Solar, the electrical version for now, we got a thermal one to tackle sometime in the future. We will now get on with installing extra insulation into our temporary living quarters, to help reduce our electricity burden!