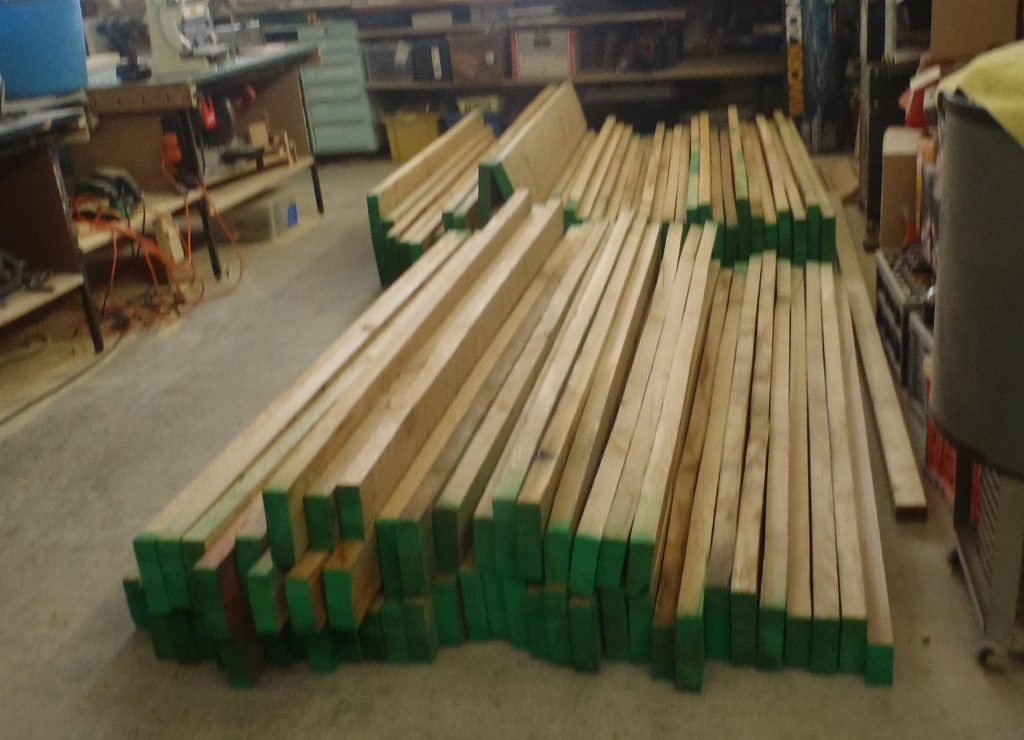
Today, the all the timber pieces were sorted, measured and recorded in a new spreadsheet. We now have a realistic list of timber pieces with known minimum widths and we can now more accurately sort and set aside the planks we will need for other part of the house construction.
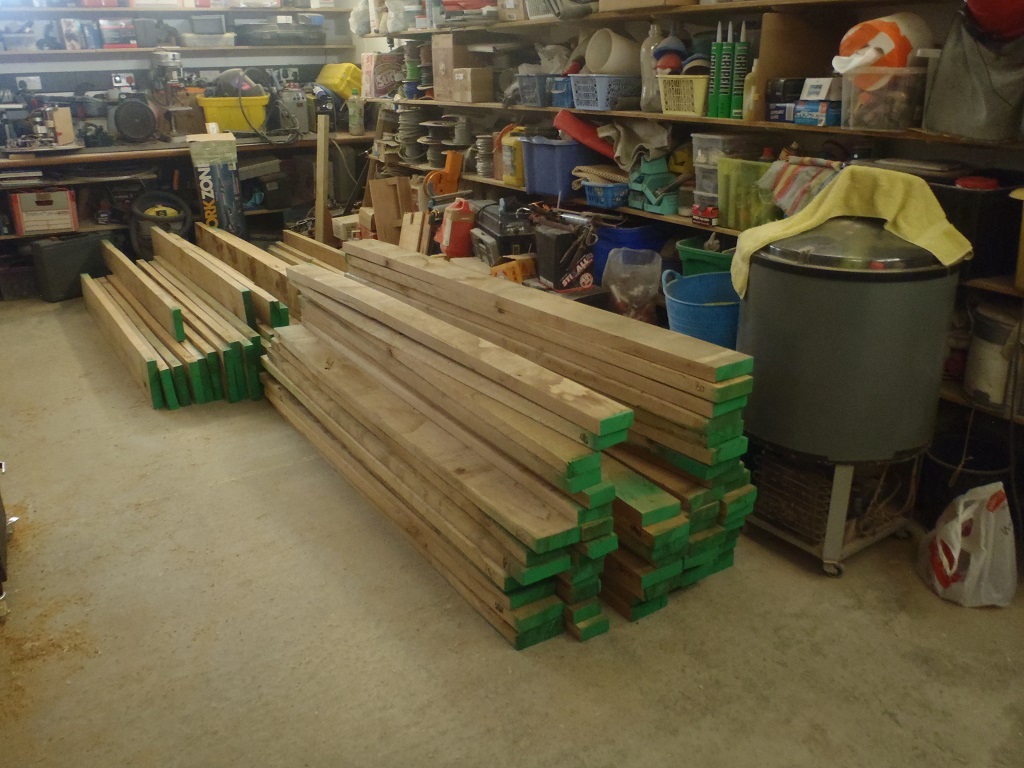
Sorted-oak-ready-for-slicing-to-size
The saw bench is now set up ready for the task of slicing down all the timber so we get a complete collection of pieces that has both edges that are parallel to each other, cut to almost the desired width (the final adjustments will be done on either the planer or other cutting tools, depending on the target requirements).
We got out our old fence guide (from a previous work table [you know we never throw things away!]) and passed that through our planer machine and we now have a straight flat guide (accurate to 0.2mm maximum deviations down the whole 8feet length). We wanted to use this guide instead of our other fence because we found that one single fence without any joins or transitions will give us an uninterrupted consistent movement of our work pieces going through the circular saw.
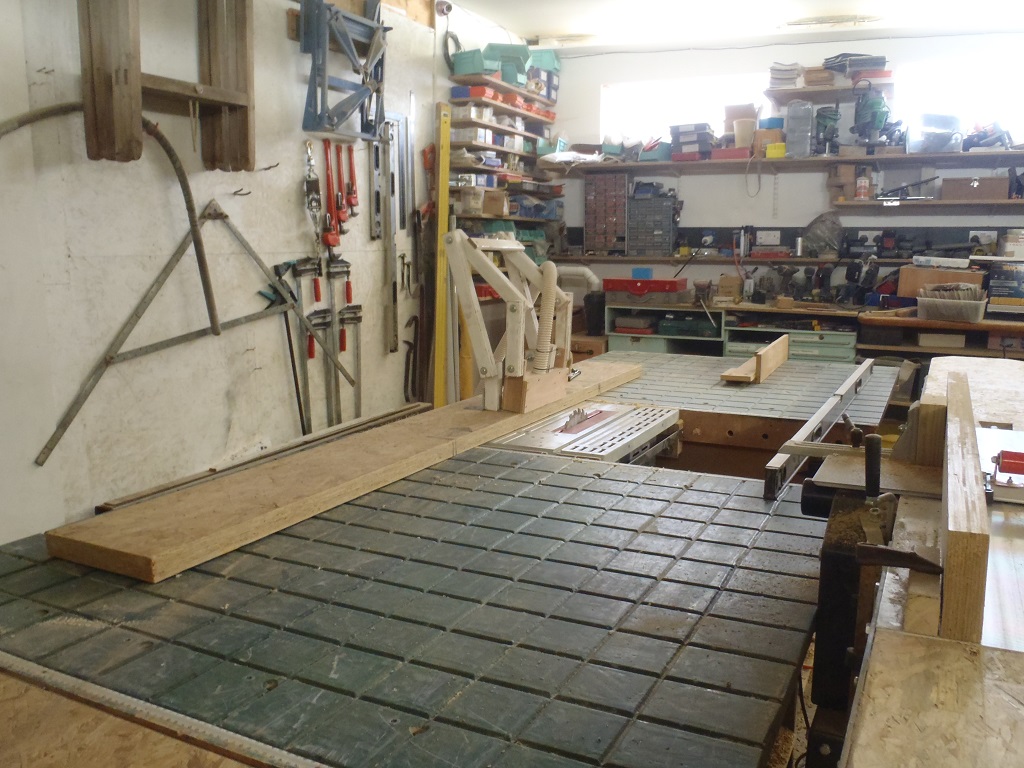
Table-saw-with-new-Fence
Tomorrow, we will begin the next stage of processing the Oak Timber, and then glue together some of the pieces to make wider version to make up the required numbers we will need (some 40 planks for the fascia) all being at least 155mm wide.
It is taking the time but again, we are setting up the “factory” so we can get repeatable and consistent results each time and give us satisfaction and a nice looking house!!