Category: The Loke

The private roadway to Beccles Road

  • Second Piece of Damage Caused by Storm Eunice, Our Wooden Fencing

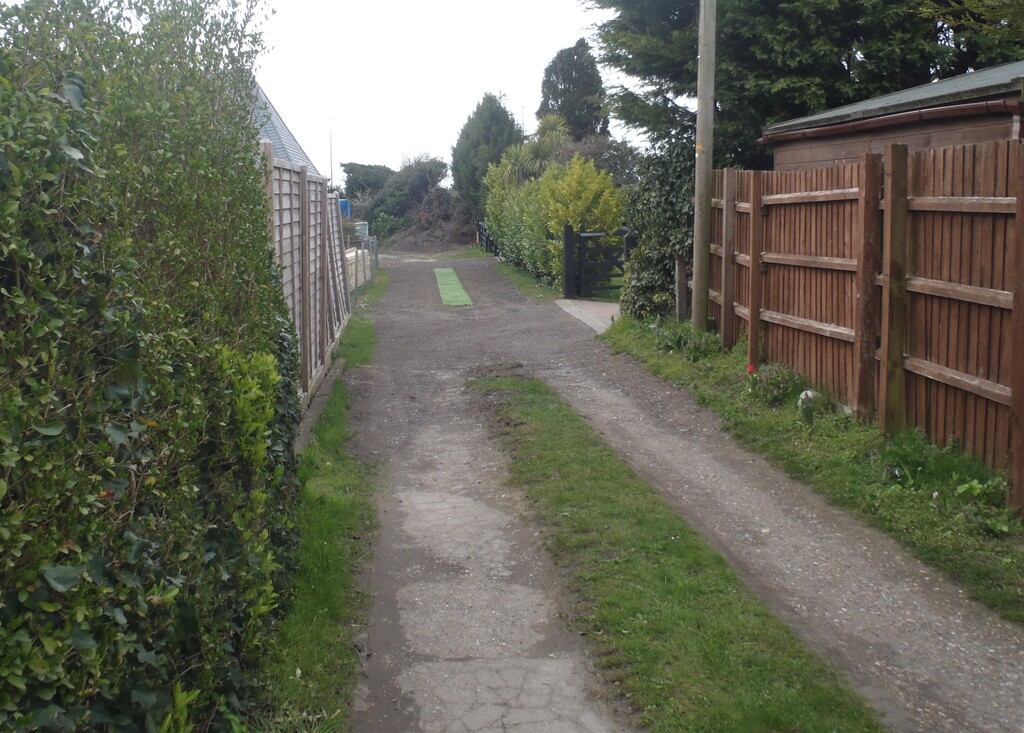
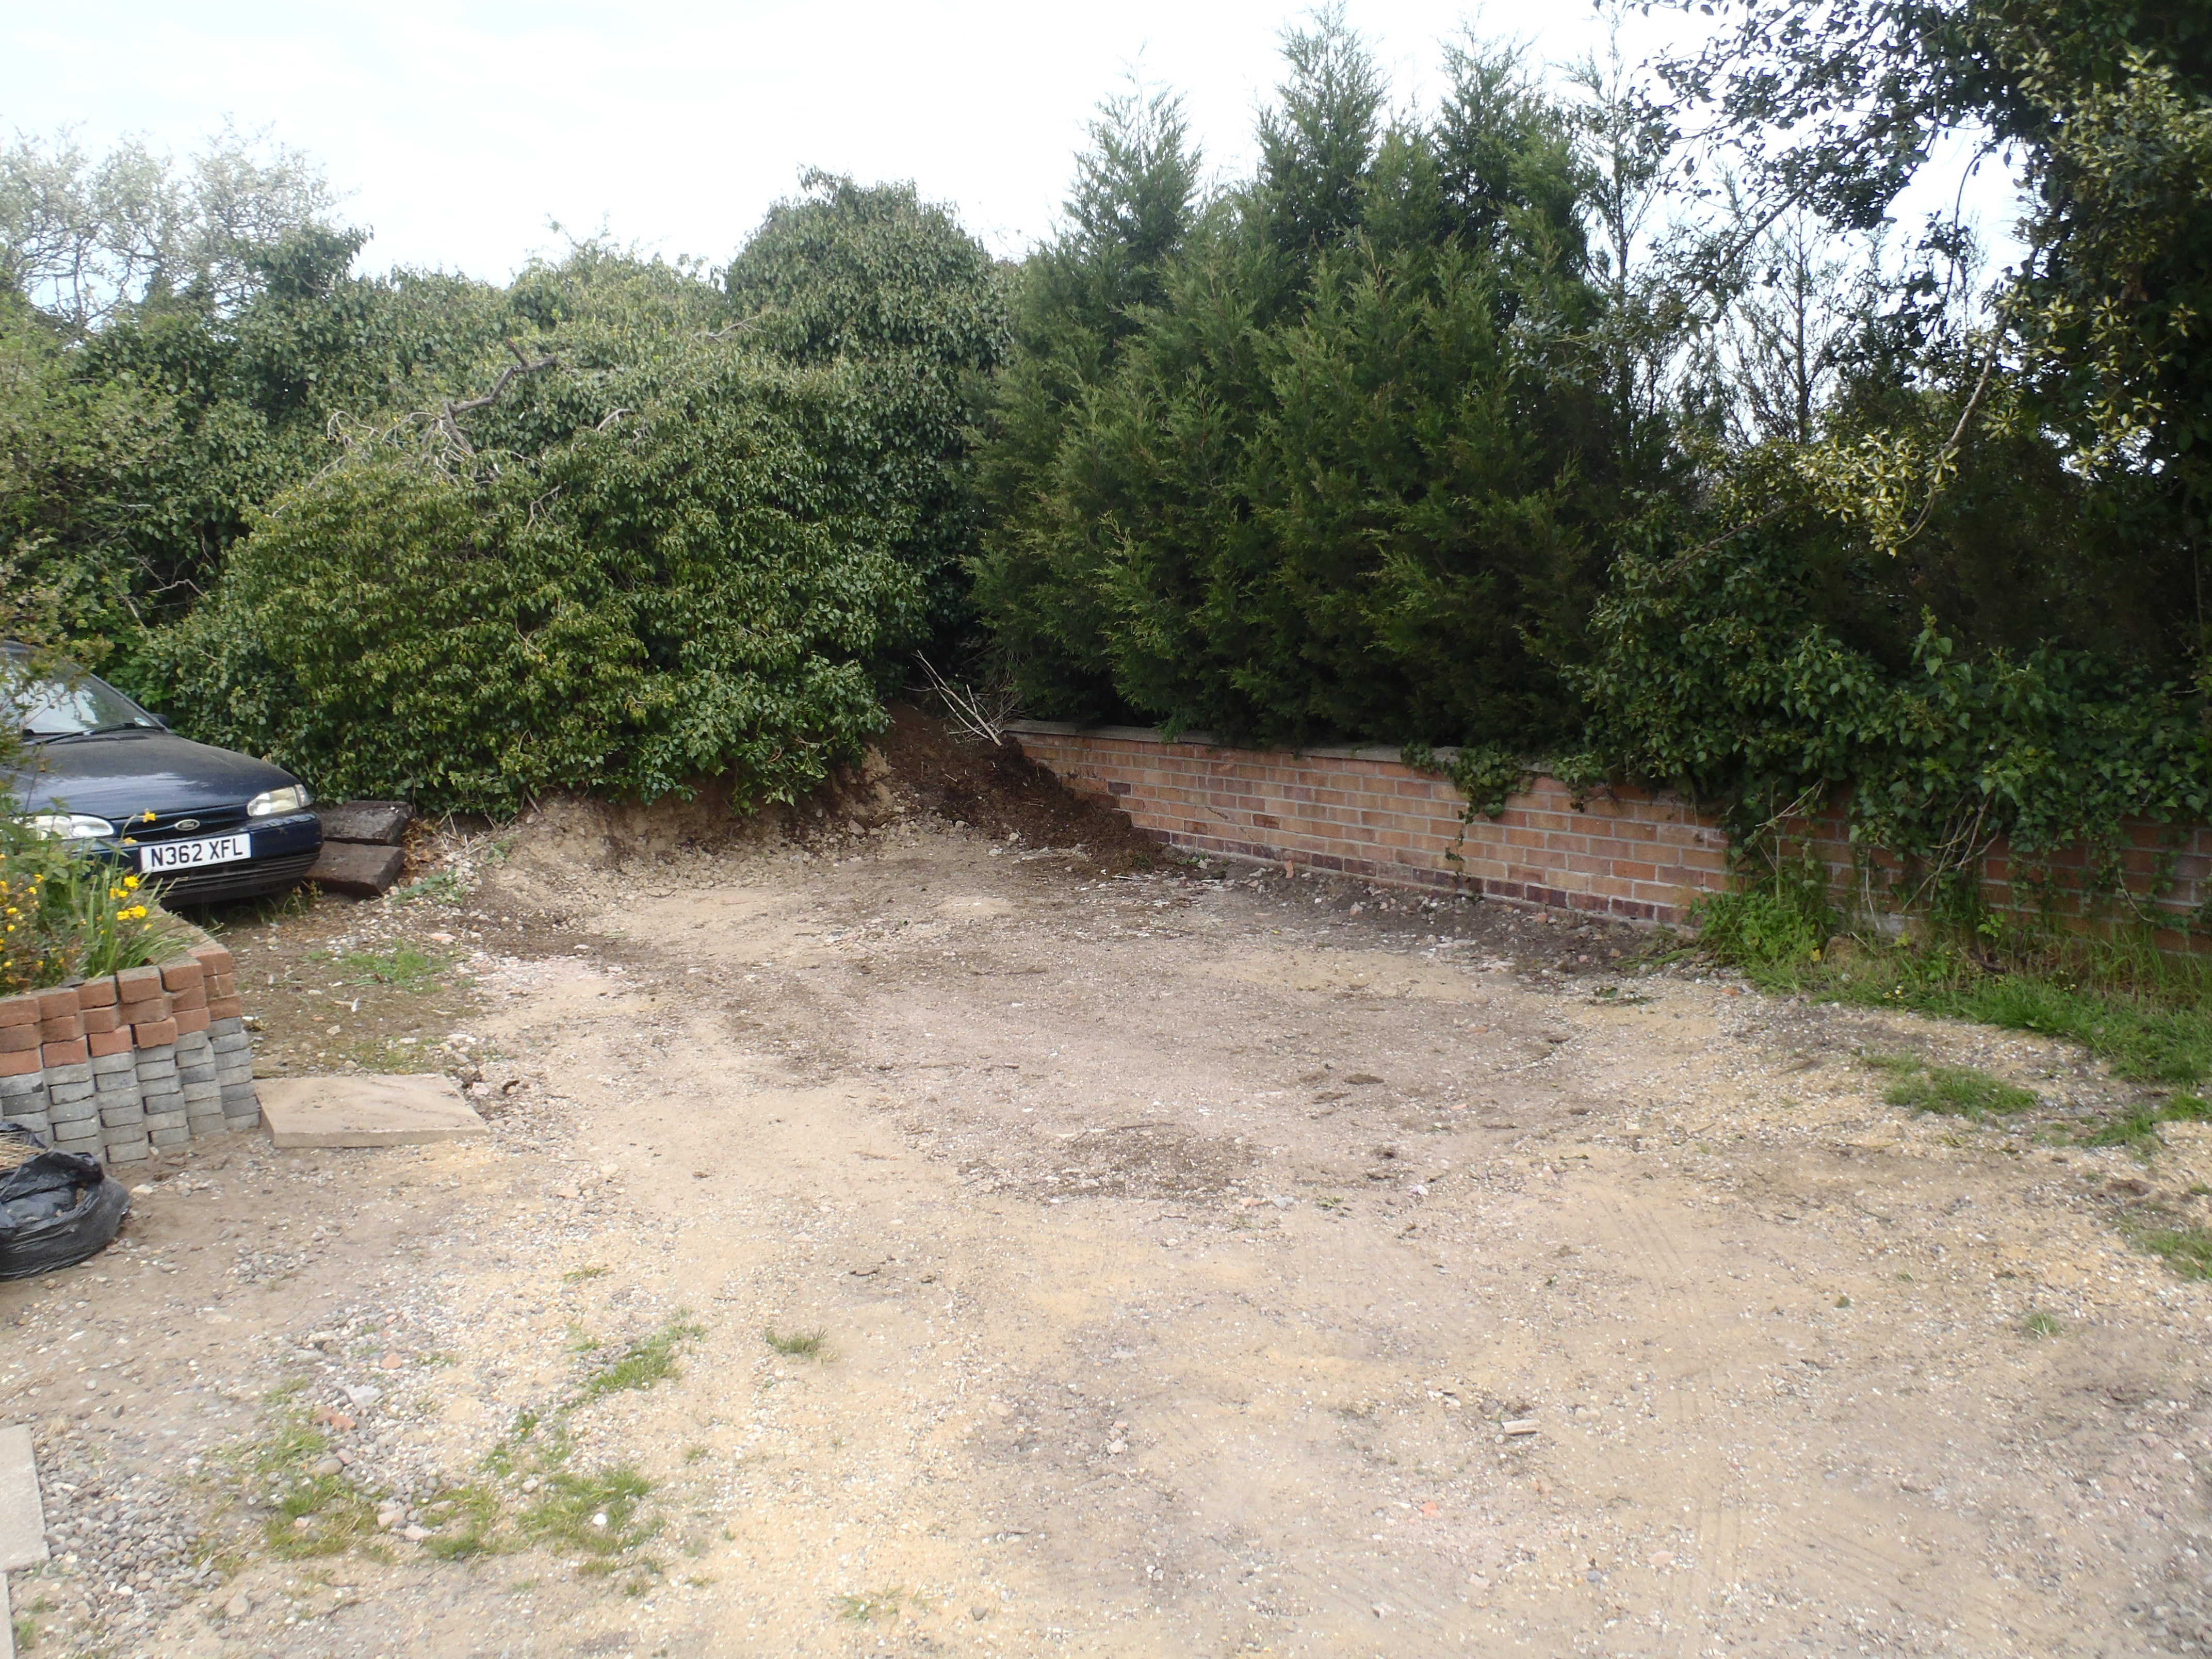
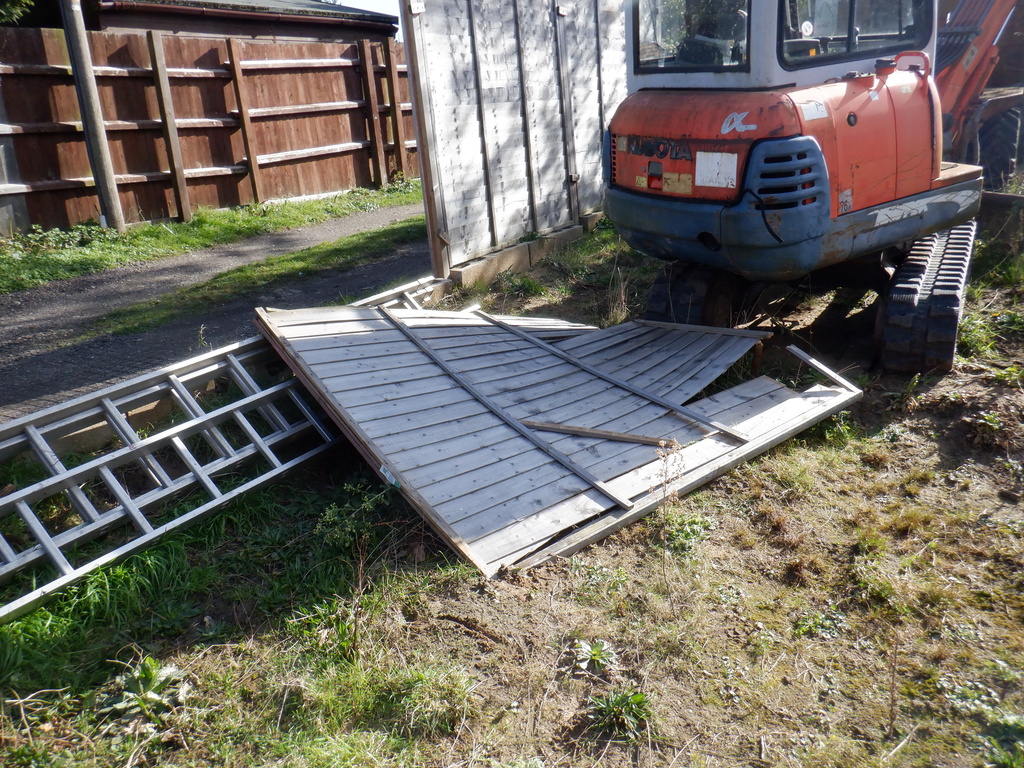
    We spent the last couple of days, a few hours on each day, repairing the fence bordering our Loke, that was damaged by Storm Eunice back on the 18th February 2022. She had snapped one of the metal post holders in half, leaving the spike buried in the ground, while the socket part with its wooden post still in it, and also still attached to the wooden panels, was flung across the garden and part the way out on to the Loke too. It had broken several pieces of the framework making up a panel plus literally snapping a corner out of another panel.

    Second Piece of Damage Caused by Storm Eunice, Our Wooden Fencing

    Storm-damage-to-fence-1

    Second Piece of Damage Caused by Storm Eunice, Our Wooden Fencing

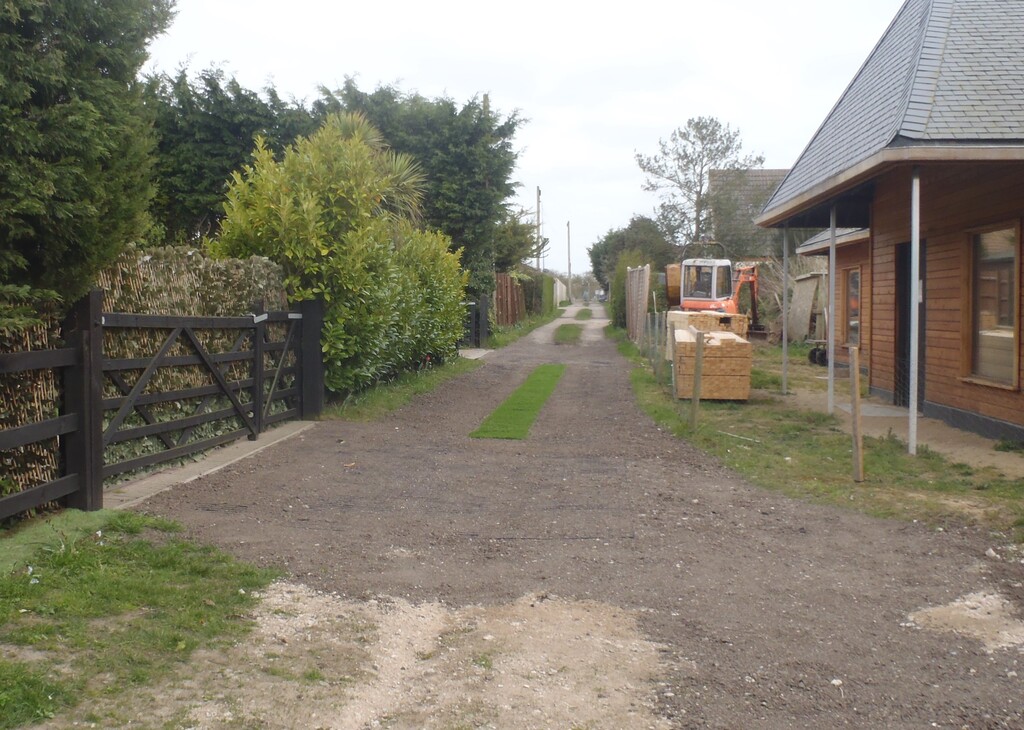
    Storm-damage-to-fence-2

    Second Piece of Damage Caused by Storm Eunice, Our Wooden Fencing

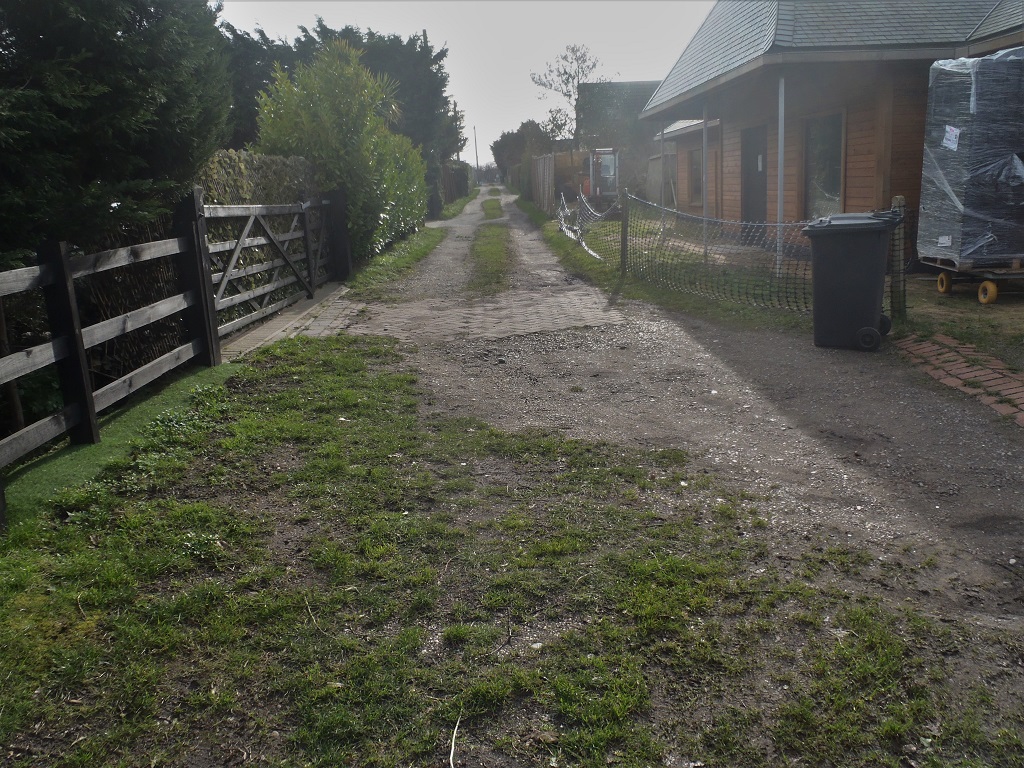
    Storm-damage-to-fence-3


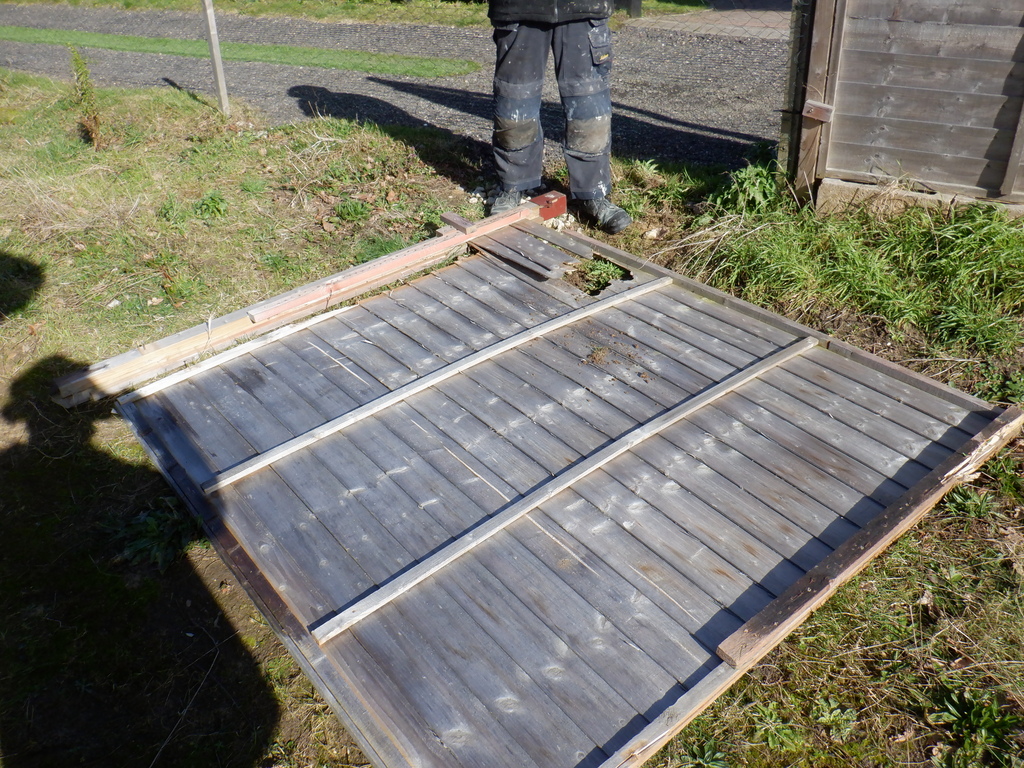
    After detangling the wooden panels from the fence post, unscrewing smashed support ties and other bits and pieces to get the panels separated, we were then took each one in turn into the house to repair and reinforce them back into some assemblance of normality. We actually repaired three in total, even though only two of the panels were lying on the ground, we found the first panel had some broken structs so that got done too.
    Next, was to remove the metal socket off the wooden post (it was clamped on so just a case of loosening a couple of captive bolts) and then digging out the buried spike, bringing both pieces indoors and cleaning them up using grinding discs and wire wheels to get the protective paint off so it was ready for welding back together. We found some iron strips of band and used them to reinforce the whole thing, with lots of weld points everywhere. After that we painted it green, using a metal paint to help prevent major rusting and left it to harden overnight.
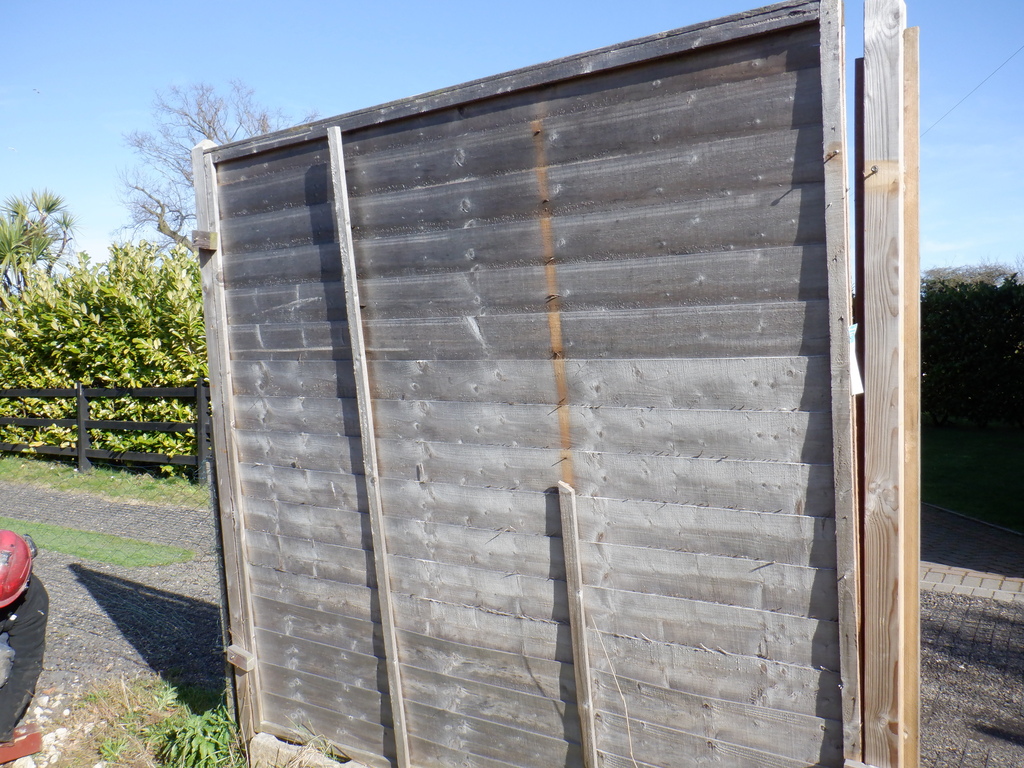
    On the following afternoon, we proceeded to rebuild the fence, driving the repaired metal support holder back into the ground and then slid the wooden panels back into place. We had to relevel a couple of the concrete blocks under the middle panel but everything went back pretty neatly. We screwed all the wooden panels securely on to the post again to save them from slipping out in windy conditions.

    That concludes the repairs caused by storm Eunice and hopefully we won’t suffer another incident any time soon!!

  • Wall and Sign Repaired

    This morning and yesterday were spent on repairing the broken wall and repainting the street sign for our Loke after the delivery lorry with our I-Beams had misjudged things and knocked into the curved brick wall at the entrance of our Loke on the main road.
    Yesterday, we managed to pick up the pieces and glue them back together again using our adhesive PU foam that was specialised to glue building materials. Many bricks were still mortared together in large sections and we carefully put the jigsaw puzzle back in the correct order without having to remove any of the old mortar. The bricks were the ones where it had two large round holes instead of a frog and we slid and wiggled each layer back and stick on the top row back down.

    Wall and Sign Repaired

    Rebuilt-wall


    The old metal street sign had also got disturbed and was in terrible state so we decided to bring that home to give it a complete revamp with fresh metal paint.

    Wall and Sign Repaired

    Old-loke-sign

    We removed the old green vinyl coating, scrubbed and got the aluminium clean and shiny again. This then had a half a dozen thin coats of a green hammer effect metal spray paint and left to dry and cure overnight.
    The new letters, “Smiths Loke” was re-created on the computer, using the British Highways standard font face and adjusted to fit along a metre length of the sign and 150mm high with a white border. The paper print out was stuck to the freshly painted metal with that special spray glue that allows the removal and refixing. Then the border and each letter was very carefully cut by following the lines using a sharp scalpel to leave “holes” where the letters were, ready for several coats of a white metal spray paint.

    Wall and Sign Repaired

    Repainted-sign


    Once this was dry, after lunch today, we took up the new sign and positioning it very slightly higher because the old holes had many missing mortar where the plugs were. Drilling new holes and using mushroom headed stainless steel screws, the new sign was affixed back on the repaired wall.
    Wall and Sign Repaired

    Wall-all-refurbished


    We probably will take down the twin street sign on the opposite side of the Loke and do the same thing again. This sign is starting to peel and it is done at a different time and by a different hand with poor quality letter placement so it would be good to get this sign repaired too and both become a matched pair.

    Wall and Sign Repaired

    Old-loke-sign-Left

  • Artificial Grass Stitched Down Middle Of Loke

    Over the last couple of days, the two rolls of artificial grass we bought, which are left-over pieces from the supplier at half the normal prices. They were 4metre long rolls and about 1metre wide, the plastic grass itself are 30mm long strands in a very dense weave.

    Artificial Grass Stitched Down Middle Of Loke

    Artificail-grass-closeup


    We chopped 640mm pieces off each of the rolls which allowed us to get twelve in total, which meant that we could cover just over 12metres strip down the middle of the Loke, between our neighbour’s entrance ways.
    Artificial Grass Stitched Down Middle Of Loke

    Grass-center-of-the-loke-1

    Artificial Grass Stitched Down Middle Of Loke

    Grass-center-of-the-loke-2


    The method we decided on, to hold down the material, was to dig out the recycled asphalt material out of the grid cells that runs either side of the 500mm centre strip. Then, each grass section was draped so that the 666mm direction covered across the 500mm width and the ends dropped down into the empty cells. Of course, we had to snip the material at every cell boundary to let it in and then used a cable ties to lock down the flapping pieces to the plastic grid modules themselves and finally, the asphalt granules were pushed back in on top of the excess material to provide more clamping force. Another line of cable ties was used to join the grass sections together, which was repeated as we moved along the Loke.
    This is an experiment and we will see how well this style of creating a “green” splash of colour for our Loke will survive over the short and medium terms, before we decide how to continue upgrading and resurfacing the rest of the Loke later.
    Loke-before-resurfacing-Mar-2021-1

    Loke-before-resurfacing-Mar-2021-1

  • Replaced Loke’s Fence with New Green Chicken Wire Mesh

    This afternoon, after we had the final delivery of CLS timber, we proceeded to put up the new replacement temporary fencing along the Loke, in front of the house. We are fed up of using the cheap recycled plastic fencing (it keeps splitting and it very brittle, this one only lasted 3 years but we had already replaced a section a year or so ago and it was very unsightly for the last six months anyway). So we decided to use steel wire mesh and in keeping with its short term need for this type of fencing, we bought chicken mesh wire, coated in green PVC plastic, rather than the more expensive and traditional wire chain-linked type. The hexagon pattern is quite large, at 50mm but it should do the job and keep things looking much neater and nicer too.

    Replaced Loke's Fence with New Green Chicken Wire Mesh

    New-Wire-loke-fence


    We had to rearrange and insert more frequent posts to help support the wobbly thinner material of this chicken mesh but hopefully, it will do the job for the next couple of years or five!

  • Experimental Resurfacing Of Loke Project All Finished

    This week, our neighbour finished off laying out the new surface in our Loke, all filled in with the asphalt recycled material. More compacting was required and the heavier petrol driven compactor was employed to help drive the material further into the cells of the grid modules and now, it is much tighter and more solid.

    Experimental Resurfacing Of Loke Project All Finished

    End-of-the-loke-grids-March-2021

    Experimental Resurfacing Of Loke Project All Finished

    Loke-resurfaced-March-2021-1

    Experimental Resurfacing Of Loke Project All Finished

    Loke-resurfaced-March-2021-2


    We had a bit of left-over from the last order, so the excess was spread further down and around our own entrance way, raising it up a little bit but we still got a channel down the middle to help guide any rain water to the bottom and kept away from our two houses.
    The section completed was about twenty-five metres long and it costs about £1200 So to complete the rest of the 136metre Loke would be in the range of £6500
    We are also exploring the possibility of putting down artificial grass along the middle strip, to give it a slash of bright colour, plus also maybe using pale coloured sand or small stones to compact into the surface too.

  • The Loke Scraped, Hardcore Laid and First section of Grid Completed with Crushed Recycled Asphalt

    On several days over the previous couple of weeks, our Loke has been scraped down the middle to remove 2.5metres wide strip of old surface and grass plus dirt. That was taken away by a bloke with a grabber in his 15ton lorry.
    We then buried a pipe under the middle of the loke to act as a conduit for any future needs.

    The Loke Scraped, Hardcore Laid and First section of Grid Completed with Crushed Recycled Asphalt

    Loke-scraped-clean

    The Loke Scraped, Hardcore Laid and First section of Grid Completed with Crushed Recycled Asphalt

    Conduit-placed


    Then twelve tons of crushed concrete arrived and distributed into the 25 metre strip, levelled and crushed down using our mini-digger.
    This week, we had a delivery of the recycled crushed asphalt material, just 4 tons to start off with. Then, ourselves with our neighbour, did another scraping using a wide CLS timber with pieces of plywood screwed to it to form the careful shape we want to finish off, guided by a taut string and smooth out the rectangular in front of the neighbour’s first gateway. The special shape is with the two parallel tracks to have a slight angle to them so any rainwater will be encouraged to flow into the centre channel and then flow down the Loke without spilling into anyone’s garden.
    The Loke Scraped, Hardcore Laid and First section of Grid Completed with Crushed Recycled Asphalt

    Loke-after-hardcore-and-first-grids


    Then a grid of twelve by five modules was clipped together and positioned 500mm away from the gate posts. The small gap was filled in with additional line of these plastic 40mm high grid modules, but with their width trimmed down to fit. The whole area was then loaded up with the crushed asphalt and then raked all over, with plenty of thumping using our lighter-weighted electric compacter to vibrate the material to settle down into each little cells (each measuring just about 70mm square and seven of these cells on a side to form the overall 500mm grid modules).
    The Loke Scraped, Hardcore Laid and First section of Grid Completed with Crushed Recycled Asphalt

    First-set-of-grid-placed-and-filled


    We will go back in a few days time to put down more “fines” to top up any cells that has settled more than others. The next task is to form the two tracks coming down the Loke, connected to this initial finished area and this will take us to the second rectangular section in front of the 2nd gateway. We will have to order more recycled asphalt material, probably another 4 tons.

  • Driveway GeoGrid Plastic Modules Arrives for resurfacing the Loke

    Today, the first pallet of these plastic grid modules that helps retains the gravel and other crushed stony material has arrived. We ordered one pallet which has 260 individual modules.

    Driveway GeoGrid Plastic Modules Arrives for resurfacing the Loke

    Pallet-of-260-grids


    Each module measures 500mm by 500mm and its 40mm high.
    Driveway GeoGrid Plastic Modules Arrives for resurfacing the Loke

    A-pair-of-grids


    They have lugs on two sides and key slots on the other two sides so each one can be interlocked together to form a rigid strong grid that is then filled with all sorts of different material. We are planning to use recycled crushed asphalt tarmac recycled road material to create a darker finish. We have a design of two metre wide tracks, separated by half a metre.
    Driveway GeoGrid Plastic Modules Arrives for resurfacing the Loke

    Grid-connecting-lugs

    Driveway GeoGrid Plastic Modules Arrives for resurfacing the Loke

    LokeGrids


    Then at each entrances, we expand out and interlock more of these plastic modules to form a larger sturdy surface so our vehicles can turn in without scrubbing up the material and forming ruts and potholes.
    we are working with our neighbour and sharing the tasks, we will do the initial removal using our mini-digger to scrape and remove the old grass and dirt plus the two old cinder and bricks tracks. Then the neighbour would take over to lay down the crushed asphalt material, compacting it in sections and shaping it so any rain water would collect towards the centre of the Loke and run down hill to the soakaway module that we will have made later on.

  • The End of the Loke is now Clear of rubble and Gravel!

    As part of our commitment, with our neighbours, to keep the Loke neat and
    tidy, we scooped up the remaining hardcore and ballast gravel and sharp sand
    mixture and moved them off the end of the Loke and down into our building
    area. We scraped and levelled the surface and compacted it all over to make
    it nice and neat.

    End-of-loke-cleared

    End-of-loke-cleared

    We can at last get our old car out again!!