We had a slightly delayed start today’s work because we had rain overnight of about 3mm and we wanted to make sure the wood planks already out there will be as dry as possible before we use our glue. The wood glue is normal everyday stuff and it doesn’t work very well in damp conditions. So we started 11:30am instead of our usual time of 10am.
So starting in the corner of the Utility Room, we went around clockwise, laying down the second and final layer of the Footplate, this layer having the slots already cut in the timber.
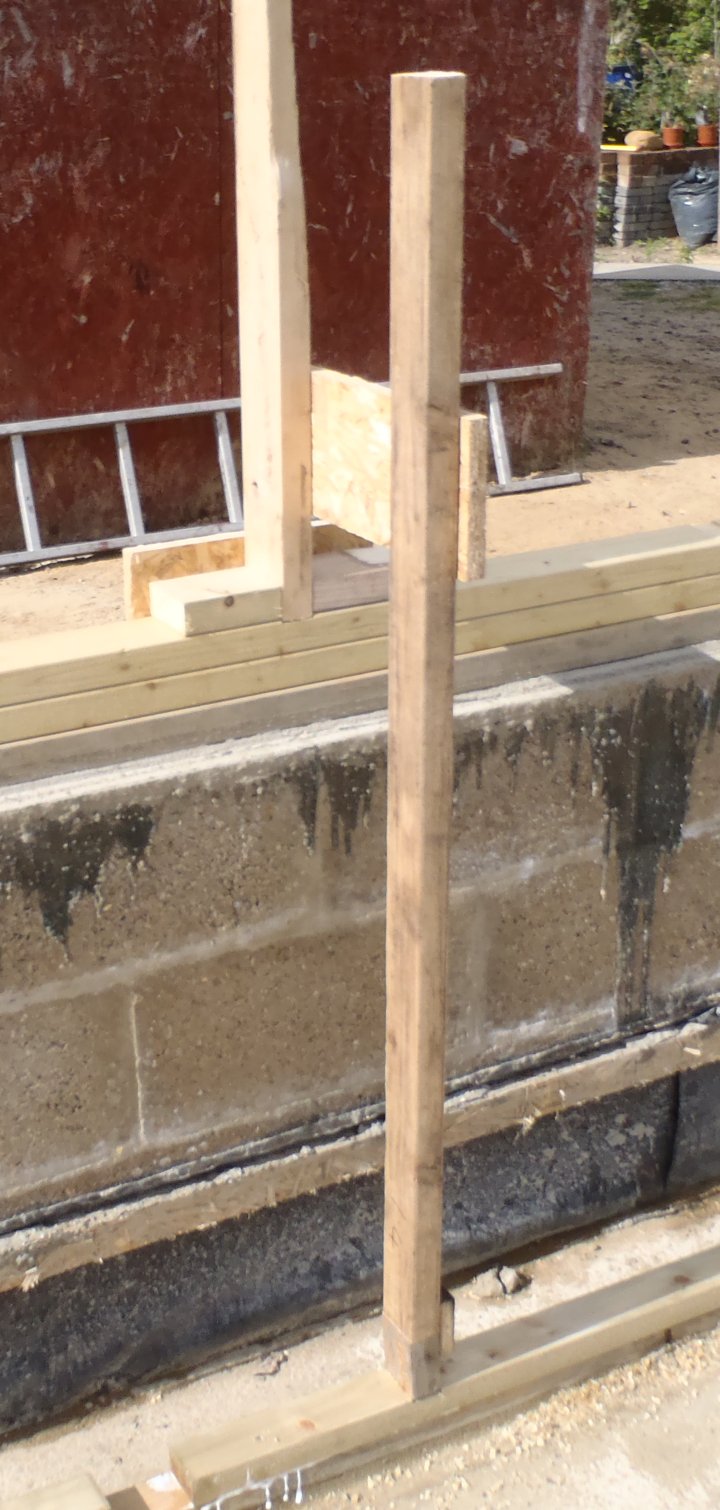
Alignment-gadget
We used our Alignment Tool as shown in the picture above, to lock into a slot on the outer Footplate, and the new piece we were putting down then was lined up to make sure all the slots are in sync. We glued and nailed this strip down and repeated this process all the way around.
No problems to report and we used 16 lengths out of the 24 lengths we had slots cut into yesterday. the other 8 (plus another 8) will be used for providing the Top-plate to position and lock the tops of the legs when we got all the legs built and set into place.
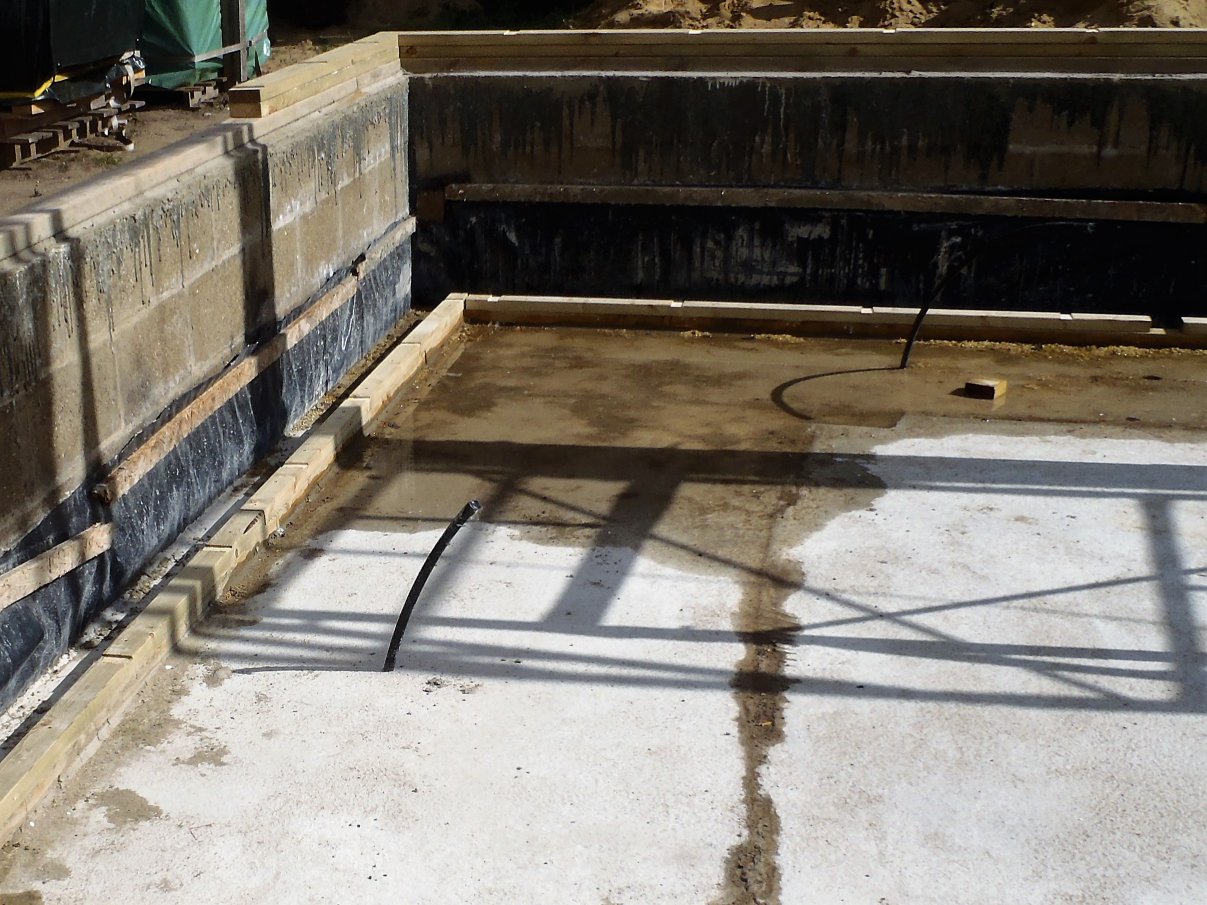
Second-layer-of-inner-footplate-installed
The final task of this particular stage of building the outside walls, is to laser measure the inner footplate, or at least, measure the distance from the lower level to the upper level so we can cut correct sizes of the 63mm CLS timber for the inner legs and only have to make minor final adjustment on the spot to ensure that the wall will be as vertical and solid as possible.