Author: Shaun

  • Platform for Scaffolding Tower

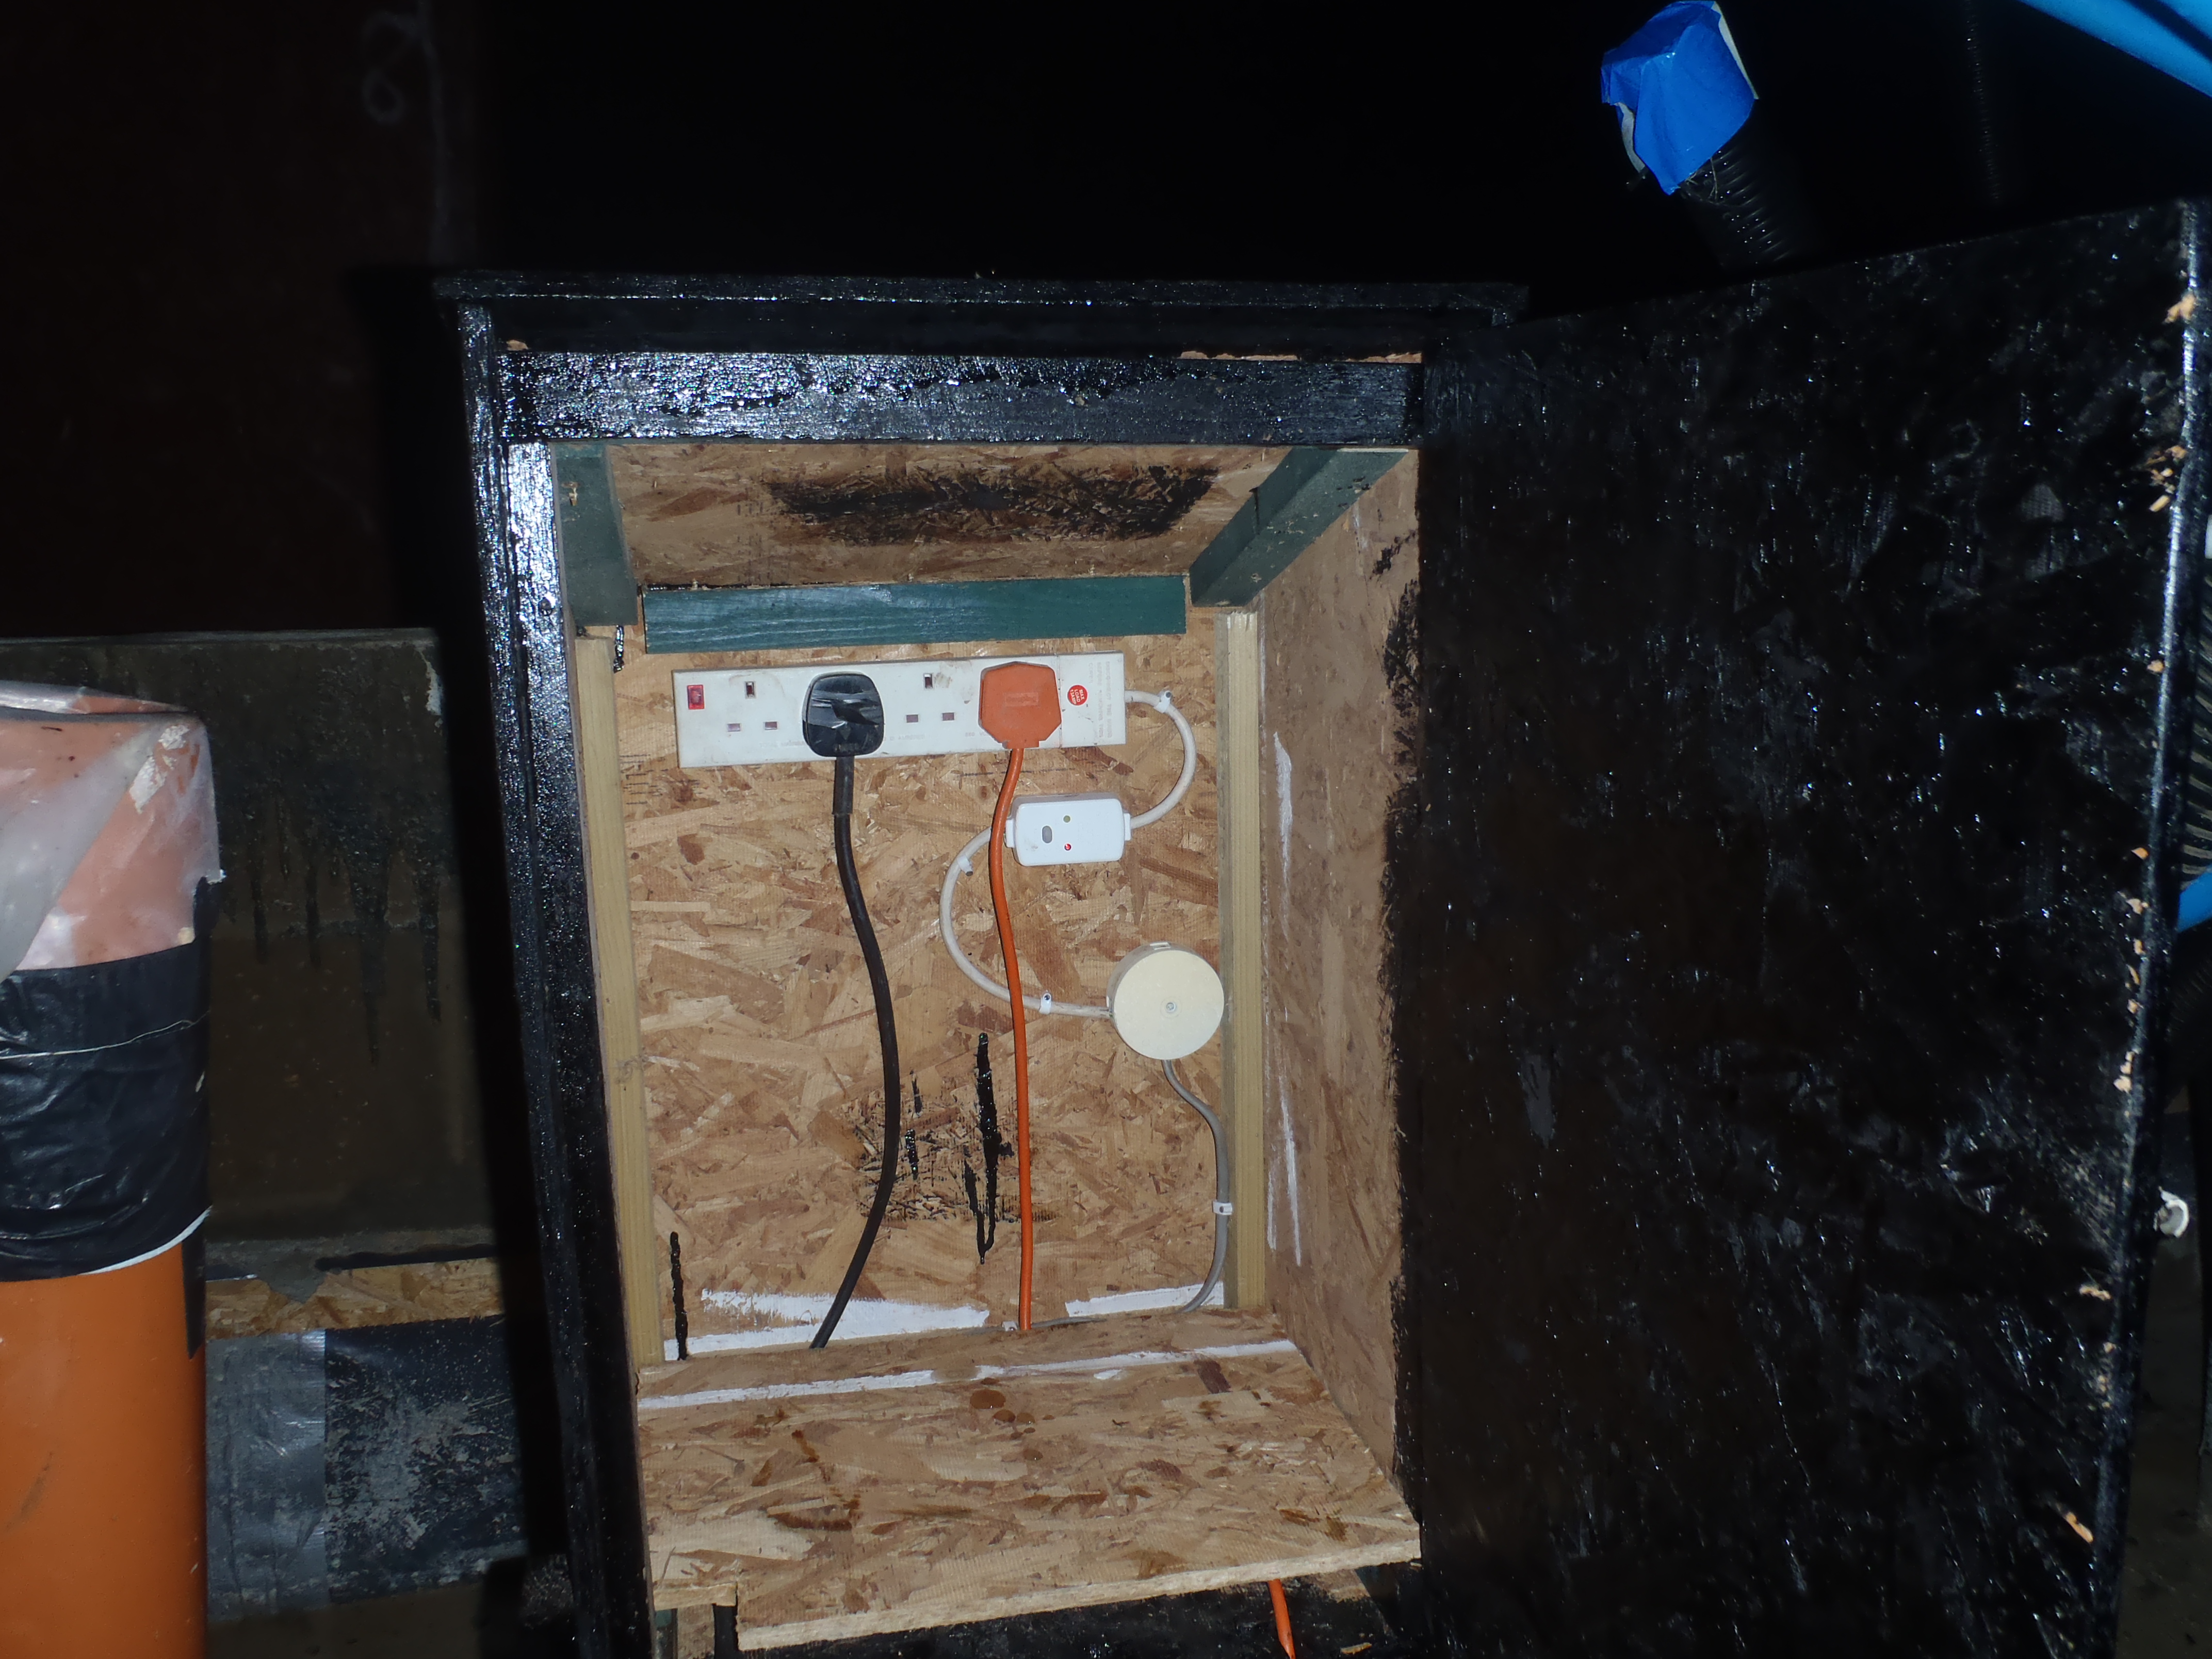
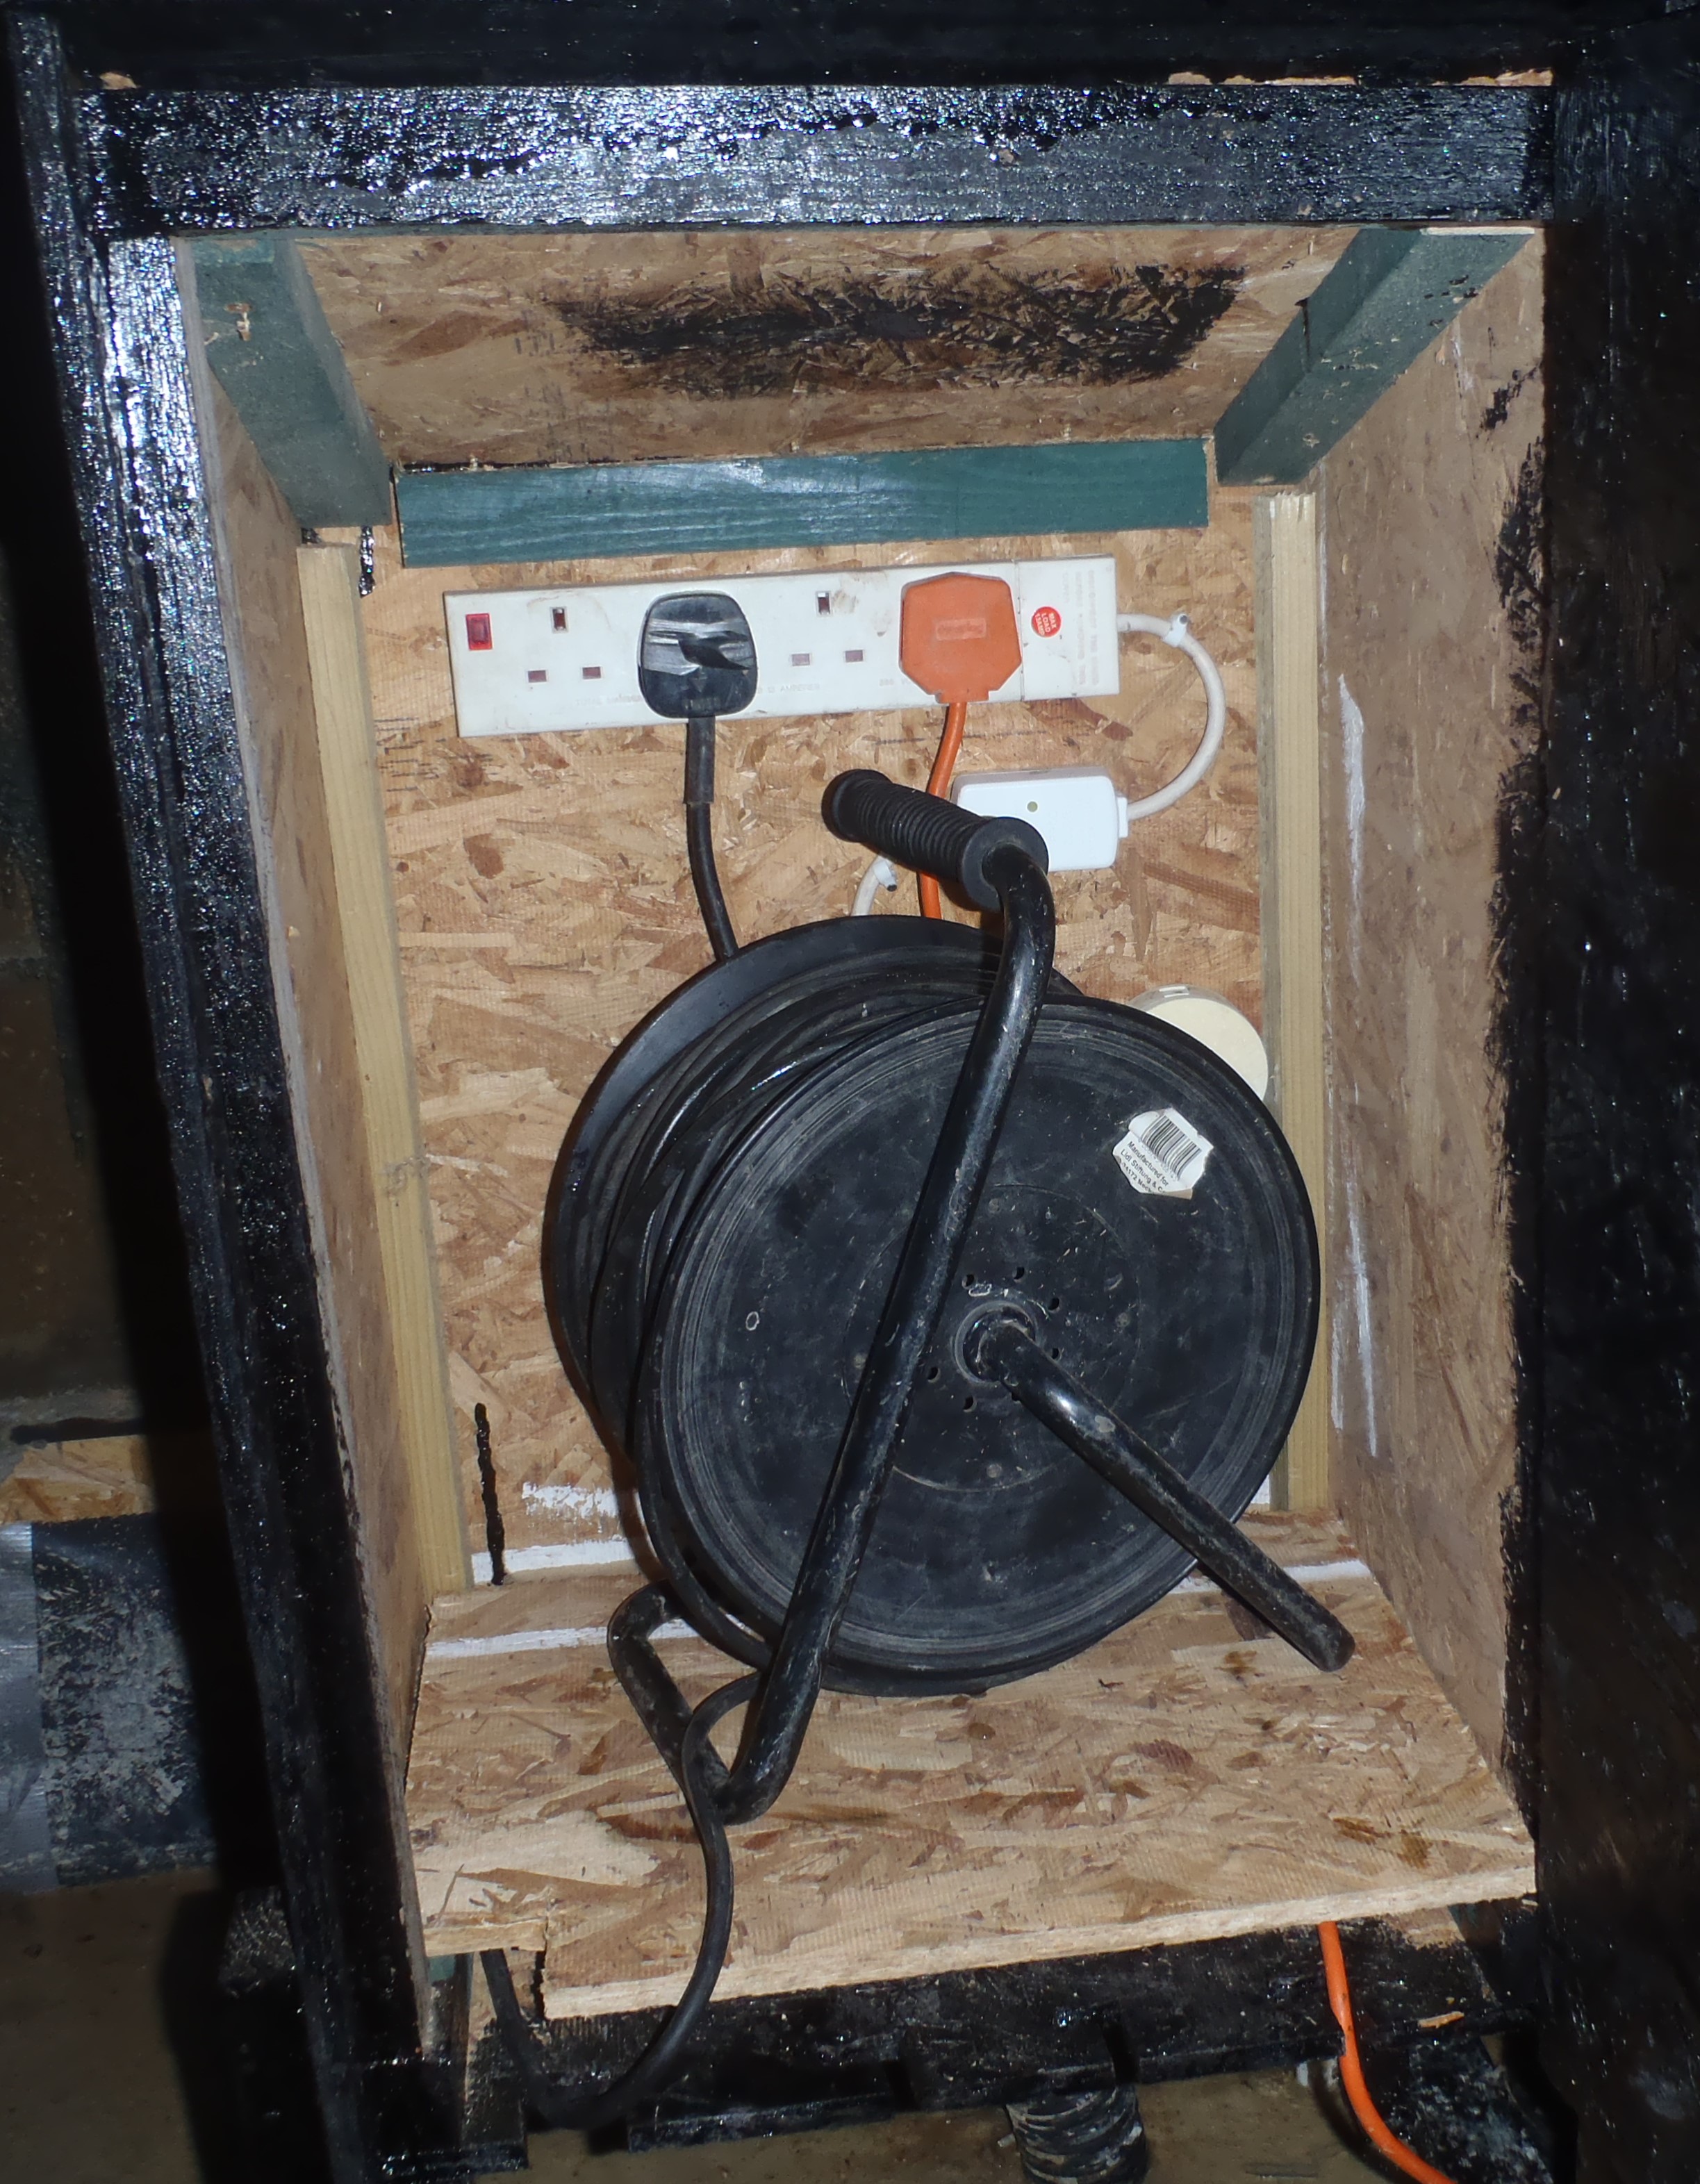
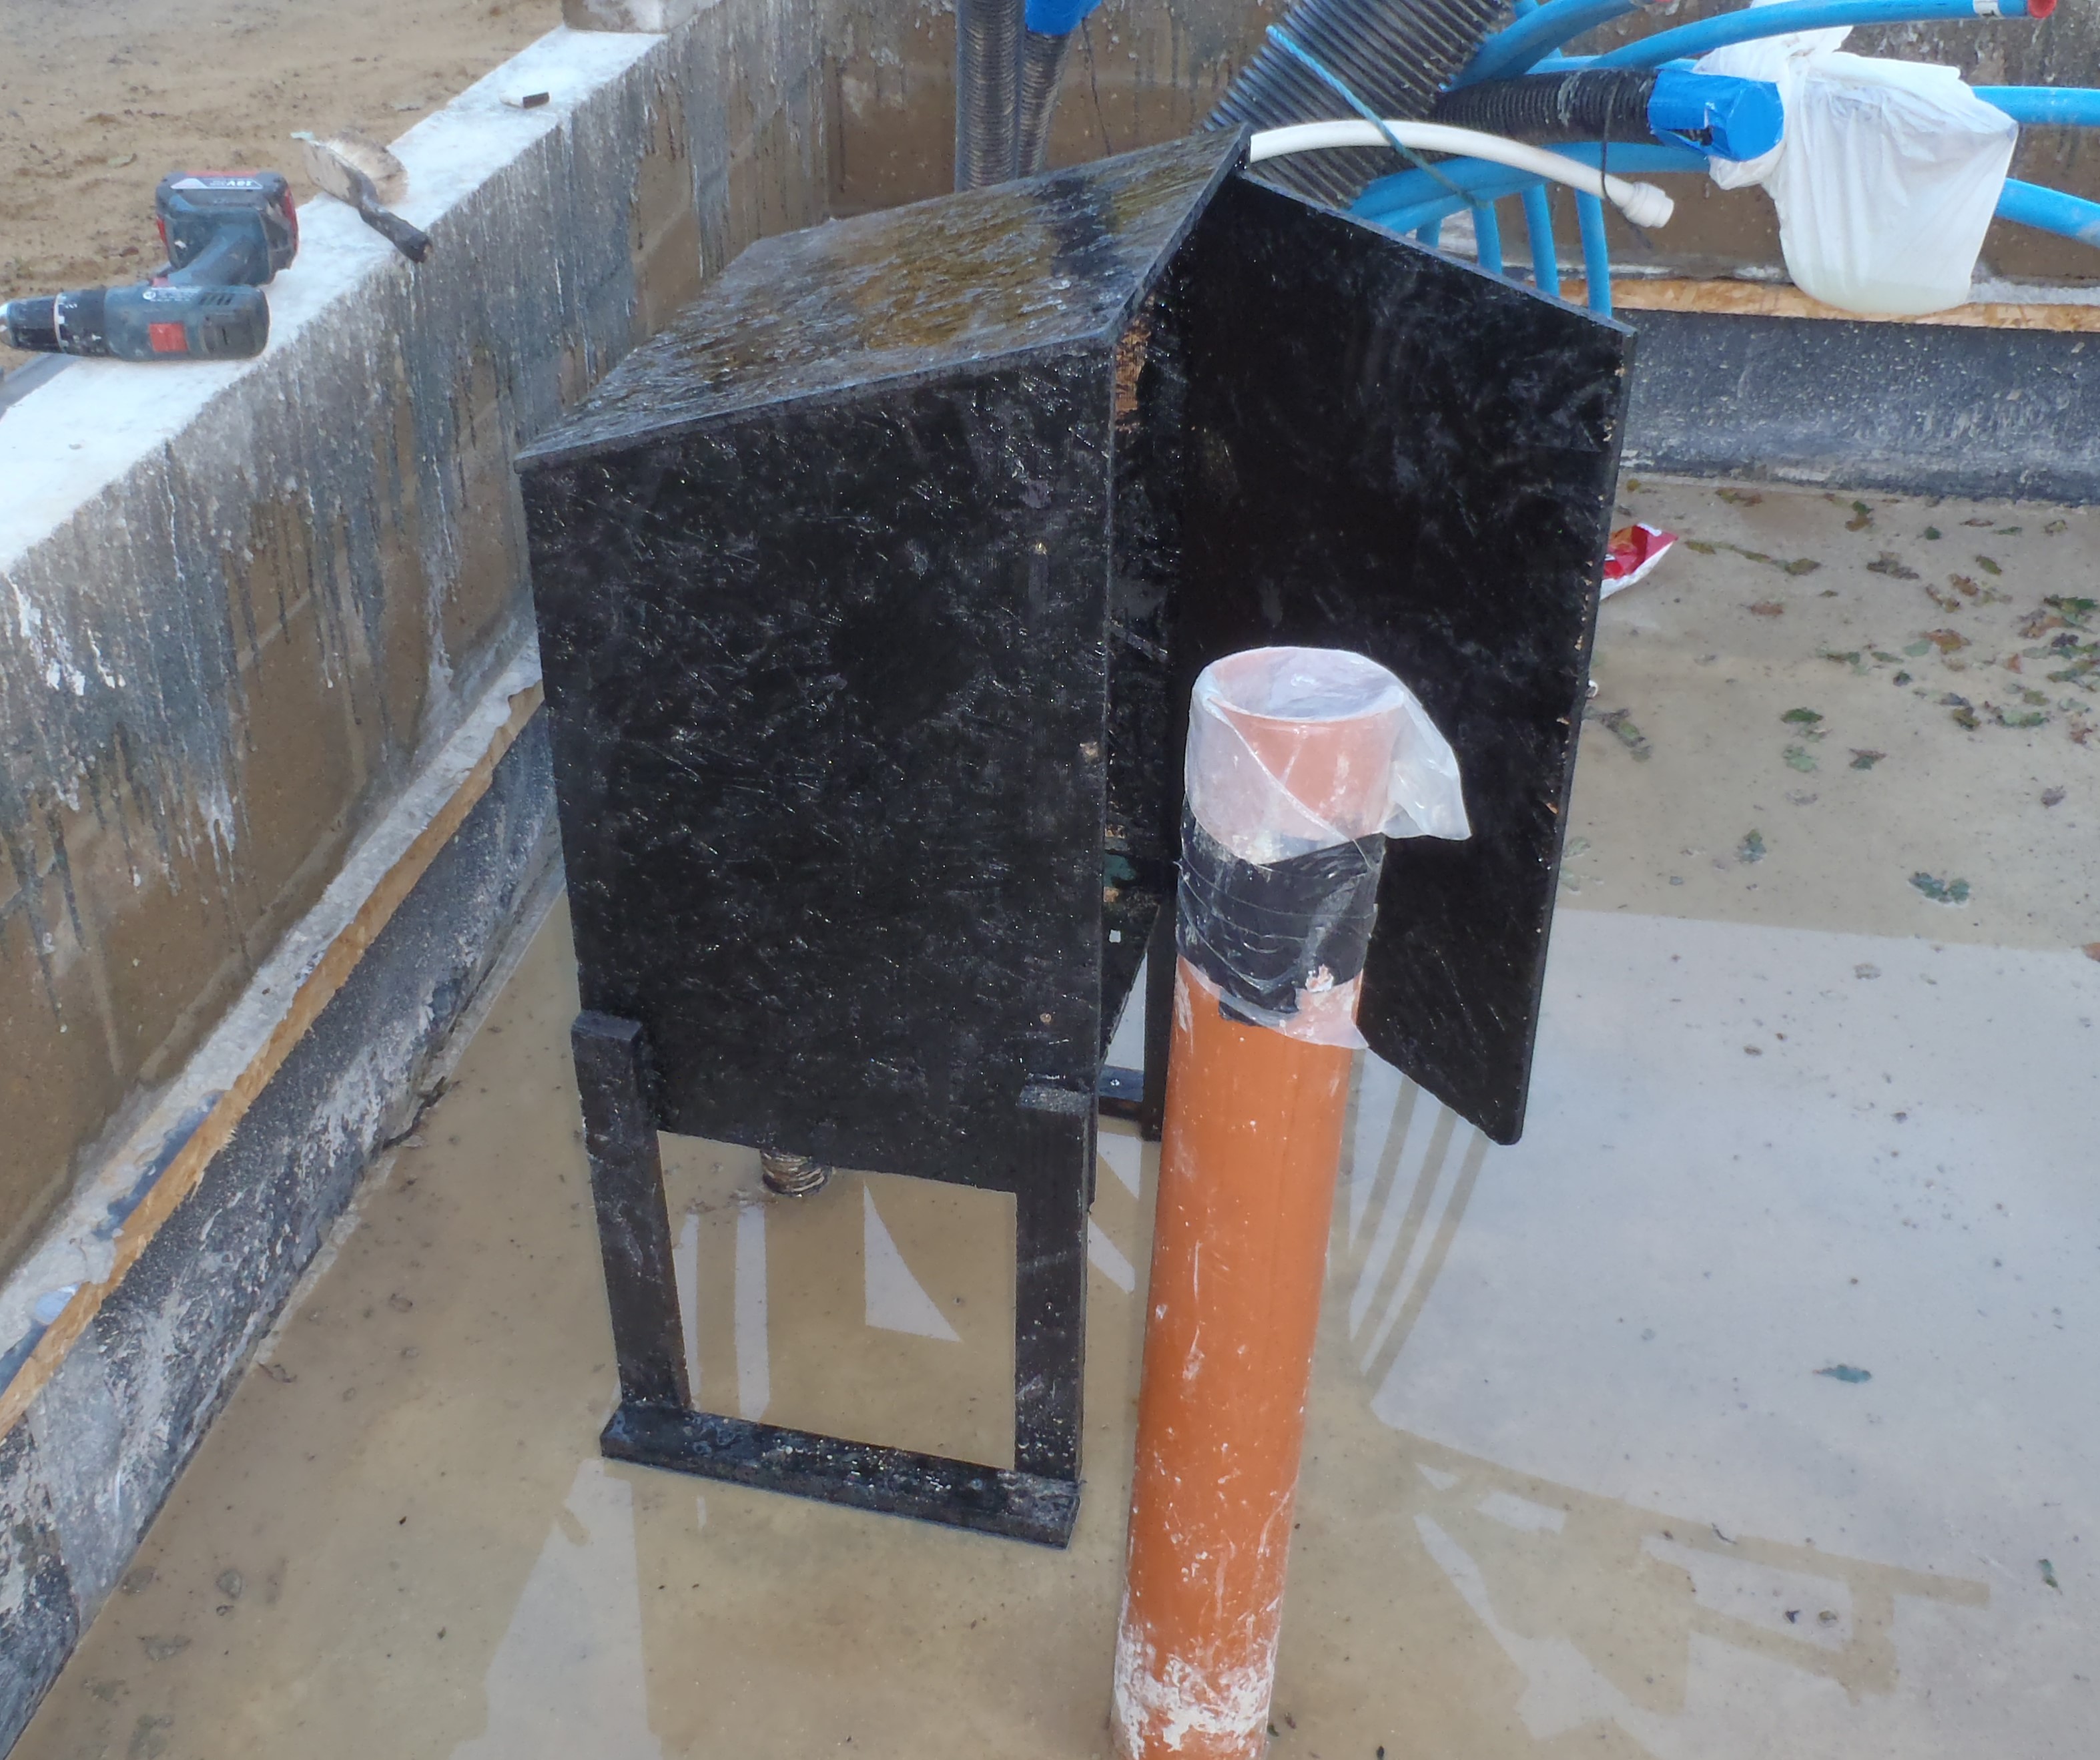
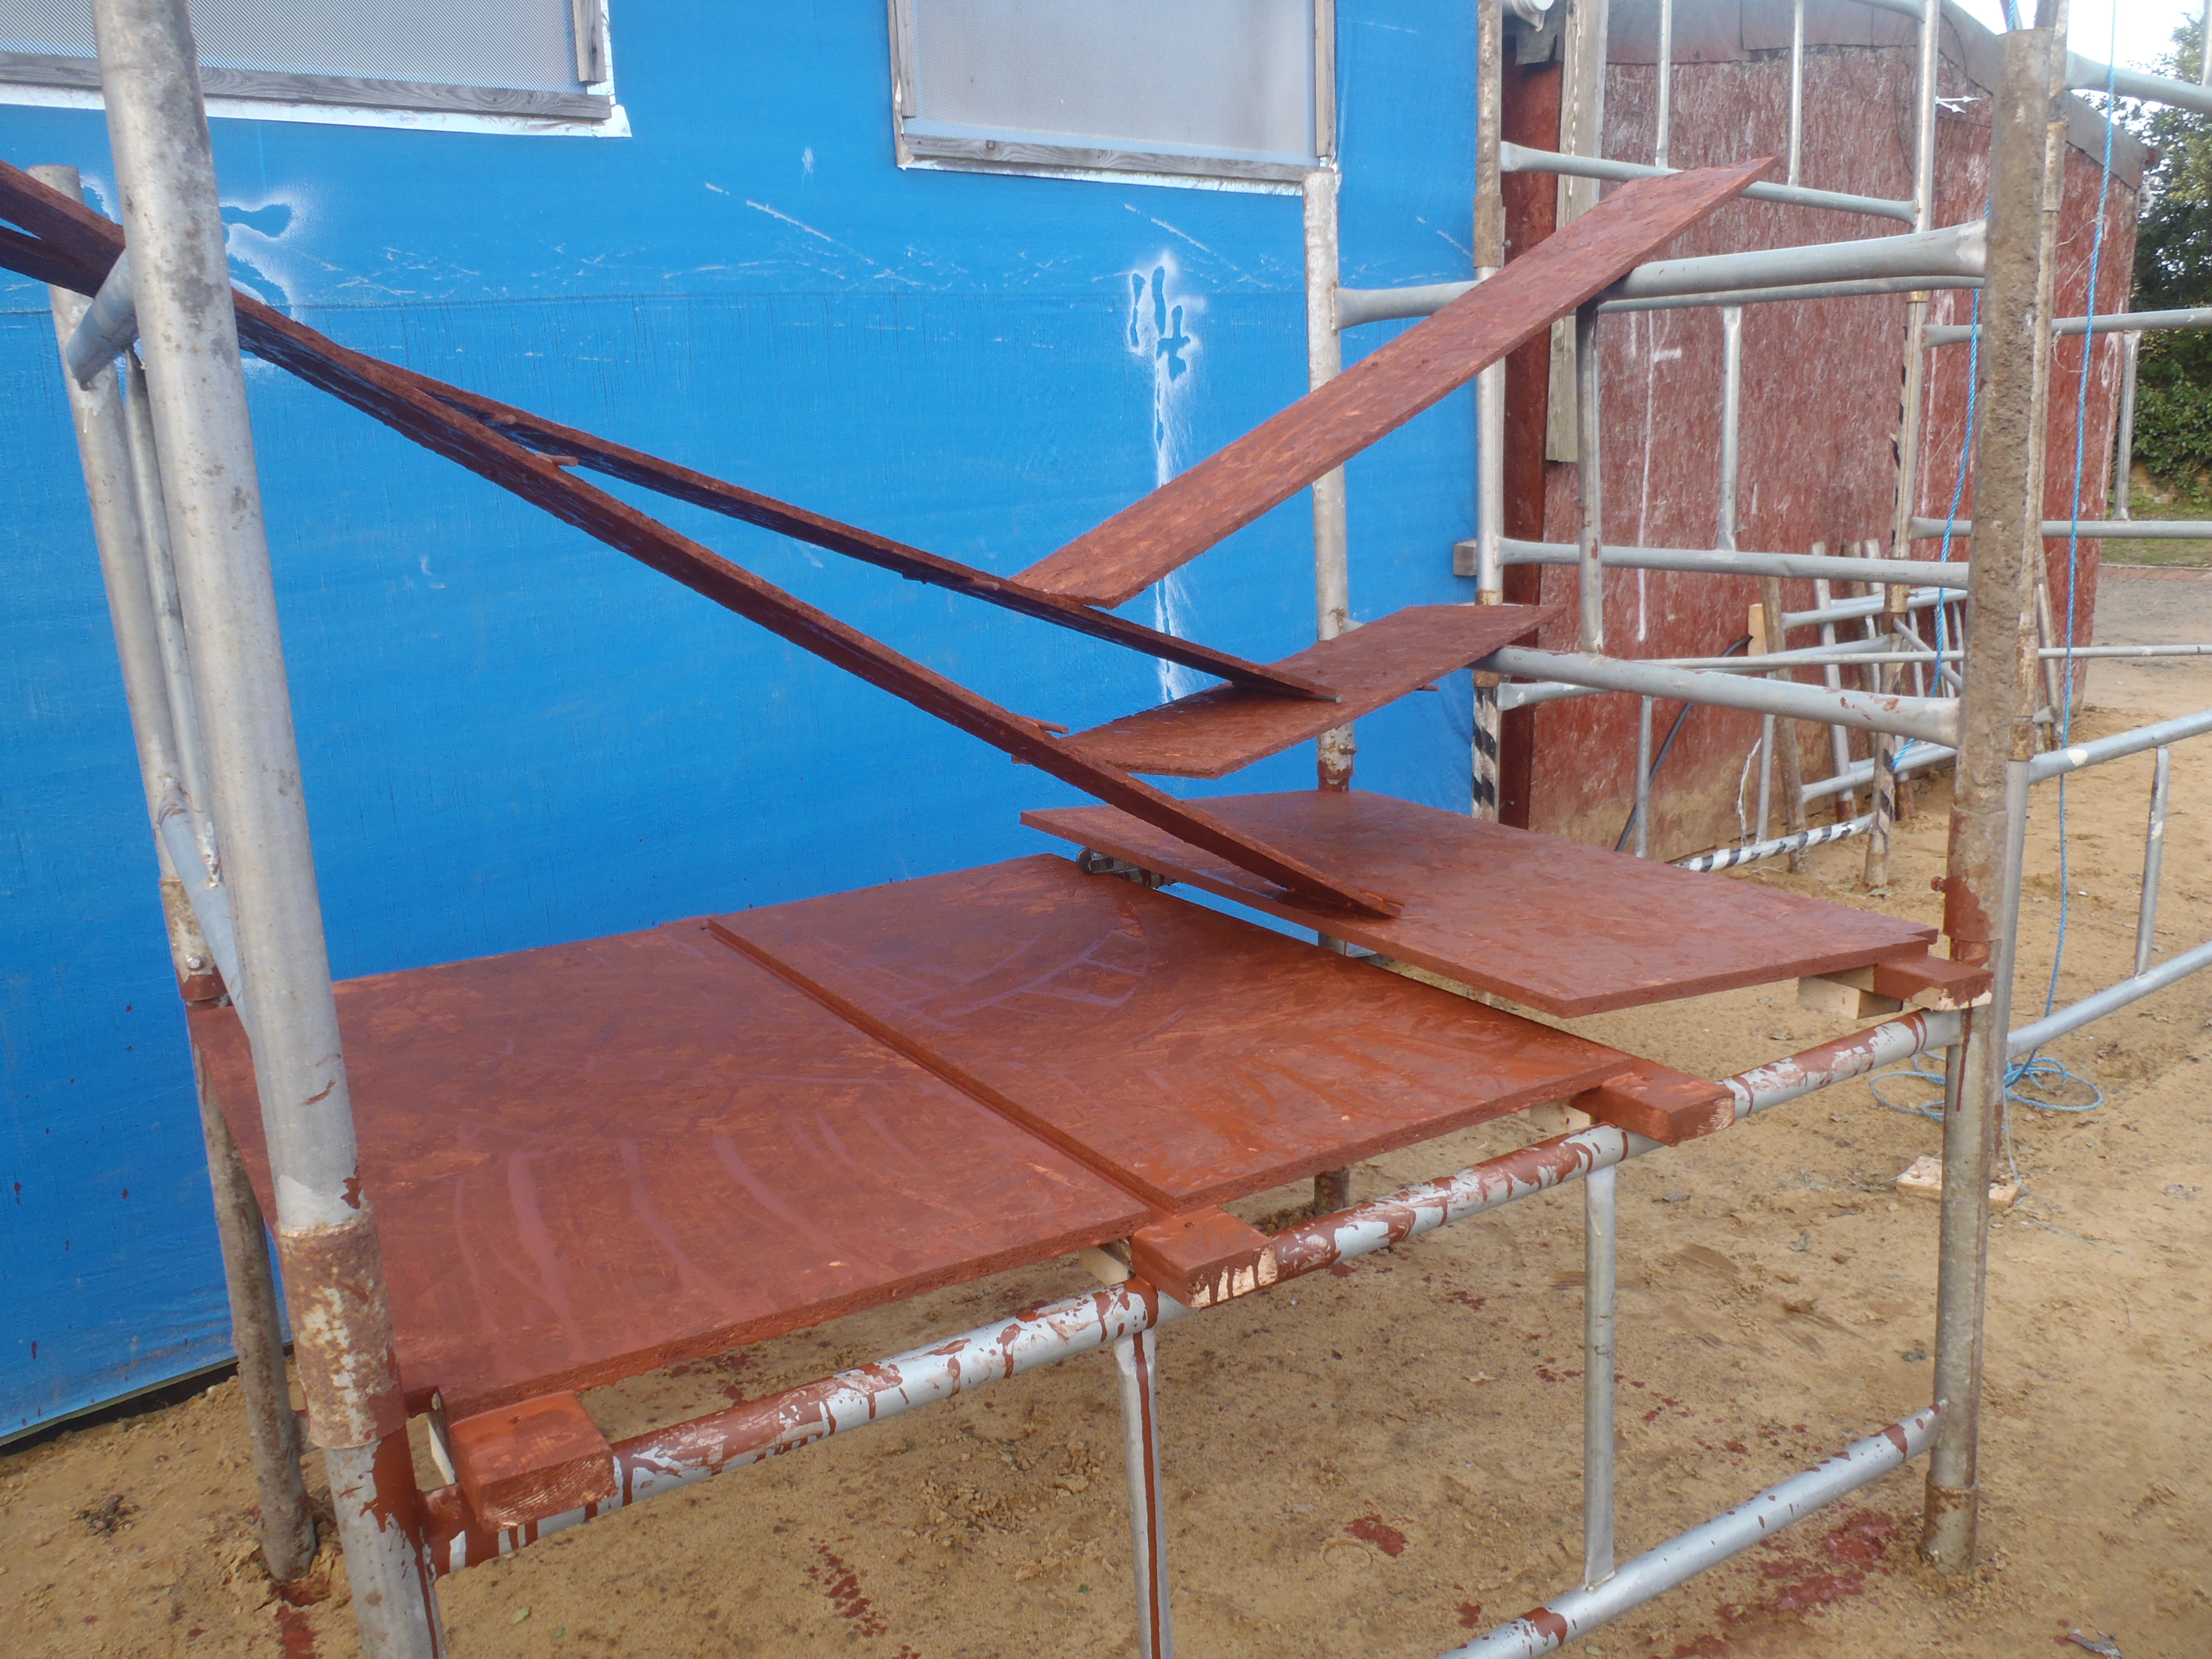
    Yesterday, We constructed the 1st platform for our scaffolding tower units, using 18mm OSB boards, made into 3 sections to straddle across the top of the scaffold sides, using 89mm CLS timber as the main structural supports. Also, kick boards were made to hook into around the edges of the platform to prevent both accidental “missteps” while working on the platform but also to prevent losing equipment and trugs that may get bumped into and fall off the top of the tower!

    Scaffold-platform

    Scaffold-platform

    Today was the final job of painting the pieces with the waxy solution that will help keep the platform weather resistant and keep its structural integrity longer while being exposed to the weather and sunshine.

  • Work Continues on Steel Preparations

     This afternoon, more holes were drilled into the I beams, this time, the webbing received dozens of 5mm holes for wood screws to hold more timber in place.

    The I beams need turning over and these long chunky steel objects, especially the bigger ones, are very heavy indeed and we couldn’t do it without a handy tool that effectively acts as an extended lever!

    Tomorrow, we will work in the workshop as the weather forecast is for heavy rain all day!!

  • Electric Box Wired Up

    This morning, we wired up a 4 way socket strip inside the Electric Box with a RCD unit inline, but only after we had to change the supply mains cable from the Garage to another one!

    Temporary-Electric-Finished

    Temporary-Electric-Finished

    We discovered that during a preparative testing phase before connecting up the electricity proper, there was a “leak” between  the Live wire and the Earth wire!! Oops! This must mean that there was some damage in the insulation of the wires inside the cable somewhere so we had to pull through another cable, a recycled smaller 1.5mm2 twin and earth cable.

    This time, we checked out the quality of the cable BEFORE we threaded it through and now everything is working just fine!!

    We now have outside the convenience of a rain proof cabinet with 4 sockets inside and a reel of 50metres of electric cable ready for whatever we are doing.

    Temporary-Electric-With-reel

    Temporary-Electric-With-reel


  • Day 7 of Steel Roof Framework Preparations

     The task continues to prepare all the steel pieces ready for assembly. Today, the big I beams sitting outside, got dozens and dozens of small 5mm holes put into the top flat flange. This will provide the ability to use ordinary wood screws to hold in place the timber planks that will act as an anchorage for nailing the rafters up.

    Small-holes-in-top-flange-of-beams-1

    Small-holes-in-top-flange-of-beams-1

    Small-holes-in-top-flange-of-beams-2

    Small-holes-in-top-flange-of-beams-2


  • Electricity Box Installed

     The wooden box was painted with the bitumen rubber solution yesterday to provide a good rainwater protection, and today, it was installed outside beside the huddle of conduits in where our Utility Room would be.

    Temporary-Electricicty-box-Installed-1

    Temporary-Electricicty-box-Installed-1

    Temporary-Electricicty-box-Installed-2

    Temporary-Electricicty-box-Installed-2


    It was screwed down into the concrete using standard wall plugs and 4 screws, and the mains electric conduit cut down and fitted to the underside of the cabinet so we can pull through an electric cable from the Garage, which we duly did this afternoon.  The distance from the Garage to inside the box is approximately 10 metres, as measured by the length of the string we pulled out which was connected to the 2.5mm2 twin and earth cable.

    Tomorrow, two double sockets will be screwed up inside the box and wired up using the cable now ready, and a standard  13Amp plug fitted on the beginning end of the same cable inside the Garage and plugged into an ordinary socket. We are already storing the electric reel in the box and closed the door!!

  • Temporary Electrical Box Constructed

    This afternoon, we constructed a wooden box to provide electrical sockets and a place to store a reel of cable, all inside a rain proof cabinet.

    This cabinet will be located beside the group of conduits and pipes sticking out of the concrete inside what will be the utility room, and we will stick the 50mm conduit from the Garage up through the bottom of the box and thread through a 2.5mm2 twin and earth electric cable and connect up 2 double sockets inside the cabinet.

    Temporary-Electricicty-box-for-house-2

    Temporary-Electricicty-box-for-house-2

    Temporary-Electricicty-box-for-house-1

    Temporary-Electricicty-box-for-house-1


    Using recycled 11mm OSB boards, we made a box measuring 420mm wide, 350mm deep and 600mm high, with a door and a sloping roof on top.

    Tomorrow, we will paint the whole thing with bitumen rubber paint to make it rain proof and not rot. We couldn’t paint it today because when we brought in the container of bitumen from the outside storage shed, it was so thick and treacle like from the cold temperature, we abandoned the attempt! We put on the fan heater in the workshop overnight to warm it up so we can apply two coats of the paint twice in the same day.

    This will make is so much easier to attach electrical items like floodlights, the automatic rain water extraction pump and anything else we need mains electrical power whilst working on the house.

  • Automatic Pump to Extract Rainwater from House

    This morning, whilst it rained, we made an automatic pump to extract and remove the rainwater from inside our house footprint. The concrete  is open to the sky so we are collecting all the rainwater that falls down upon us!

    The pump is located in the sump up next to the Great Room as it is better situated for reaching more puddles of rain water than the other sump.

    We had a false start with the first try of running the pump, we were not getting any flow of water out of the end of the hose pipe. We had to take apart the pump completely to get to the centrifugal disc unit and discovered a mass of fibre material blocking the middle portion of the disc, where the water should have been allowed to enter but couldn’t!! We cleaned it up and reassembled the pump back together and reinstalled it back into the sump and now it is working.

    The flow rate coming out of the hose pipe is about 10litres per minute or 600 litres per hour so it shouldn’t take too long to remove much of the water whenever it rains, as every 1mm of rain that falls, we would be collecting about 260litres of water.

  • Day 6 of Drilling Holes and Preparation Work for Roof Framework

     This afternoon, the task of drilling all the bigger holes (13mm in diameter) continued and was finished today, using the hired “mag drill” machine with its core drill bit.

    Drilling-both-the-top-plate-of-the-leg-and-the-beam

    Drilling-both-the-top-plate-of-the-leg-and-the-beam

    The core drill bit is actually a circular line of teeth, set in two rows, one slightly lower than the other. Also there is a central spring loaded spike up the middle of the core which is used to exactly position the drill!

    Plus also, it is where the oil/water mixture comes down and lubricates and cools the cutting action – very clever design!

    But this is not the end of the drilling operations as we still have plenty more holes to do, with lots of 5mm ones to fix the wood parts into place, ready for the nailing the rafters etc. when the roof is constructed.

  • Electrical Conduit buried and Cable Threaded

    Yesterday and this morning, we buried a conduit around the building site, from the garage at the bottom of the camera pole, all the way to the top of the garden at the wooden barrier at Mount Sod. A 1mm2 twin and earth cable was threaded through using a string, which  was first pulled through using a vacuum cleaner. It was hard work pulling the cable through as the conduit was 50metres long and also only 20mm in size, and the string was straining with the effort of dragging the cable through!

    This cable is to power the second floodlight at the top end of the site so, together with the first floodlight (at the Garage end), will light up the whole building site during the early dark afternoons as we like working until at least 6pm most days.

    We are going to use LED cool white lamps, each being 300Watts in power rating and each producing over 21,000 lumens of brightness, giving us a total of 42,000 lumens over the whole building site.

    300w-LED-Floodlight

    300w-LED-Floodlight

    This is equivalent to about 6 standard 500Watt incandescent flood lamps, but instead of 3000watts of power, we are only using 600watts!! That is the fantastic nature of LEDs and it will only get better in the years to come!

  • Day 5 of Preparation Work on Steel Beams

     Finishing in the dark this evening, we had drilled dozens of 13mm holes in the I beam pieces standing outside on timber planks!


    We had to turn over the Steel I-Beams and the bigger pieces were very heavy indeed, but we copied a tool we saw in action by the delivery driver when the steel arrived last week, a lever to help with the moving of these massive pieces of steel!

    We finished under the floodlights to drill through both the 10mm plate and the I beam at the same time so that all the 4 holes will line up just right when the final assembly is performed!