Stephen repaired the mini trolley on Thursday afternoon and this Morning. The rear wheels were completely broken and the axles bent badly. The front wheels which had been already reinforced (after being bent while moving a load of concrete blocks – 13 of fat ones!) survived but the axles were bent as well.
The bent axles were cut off and replaced, then the new metal was painted. The broken edges of the plywood top were trimmed off.
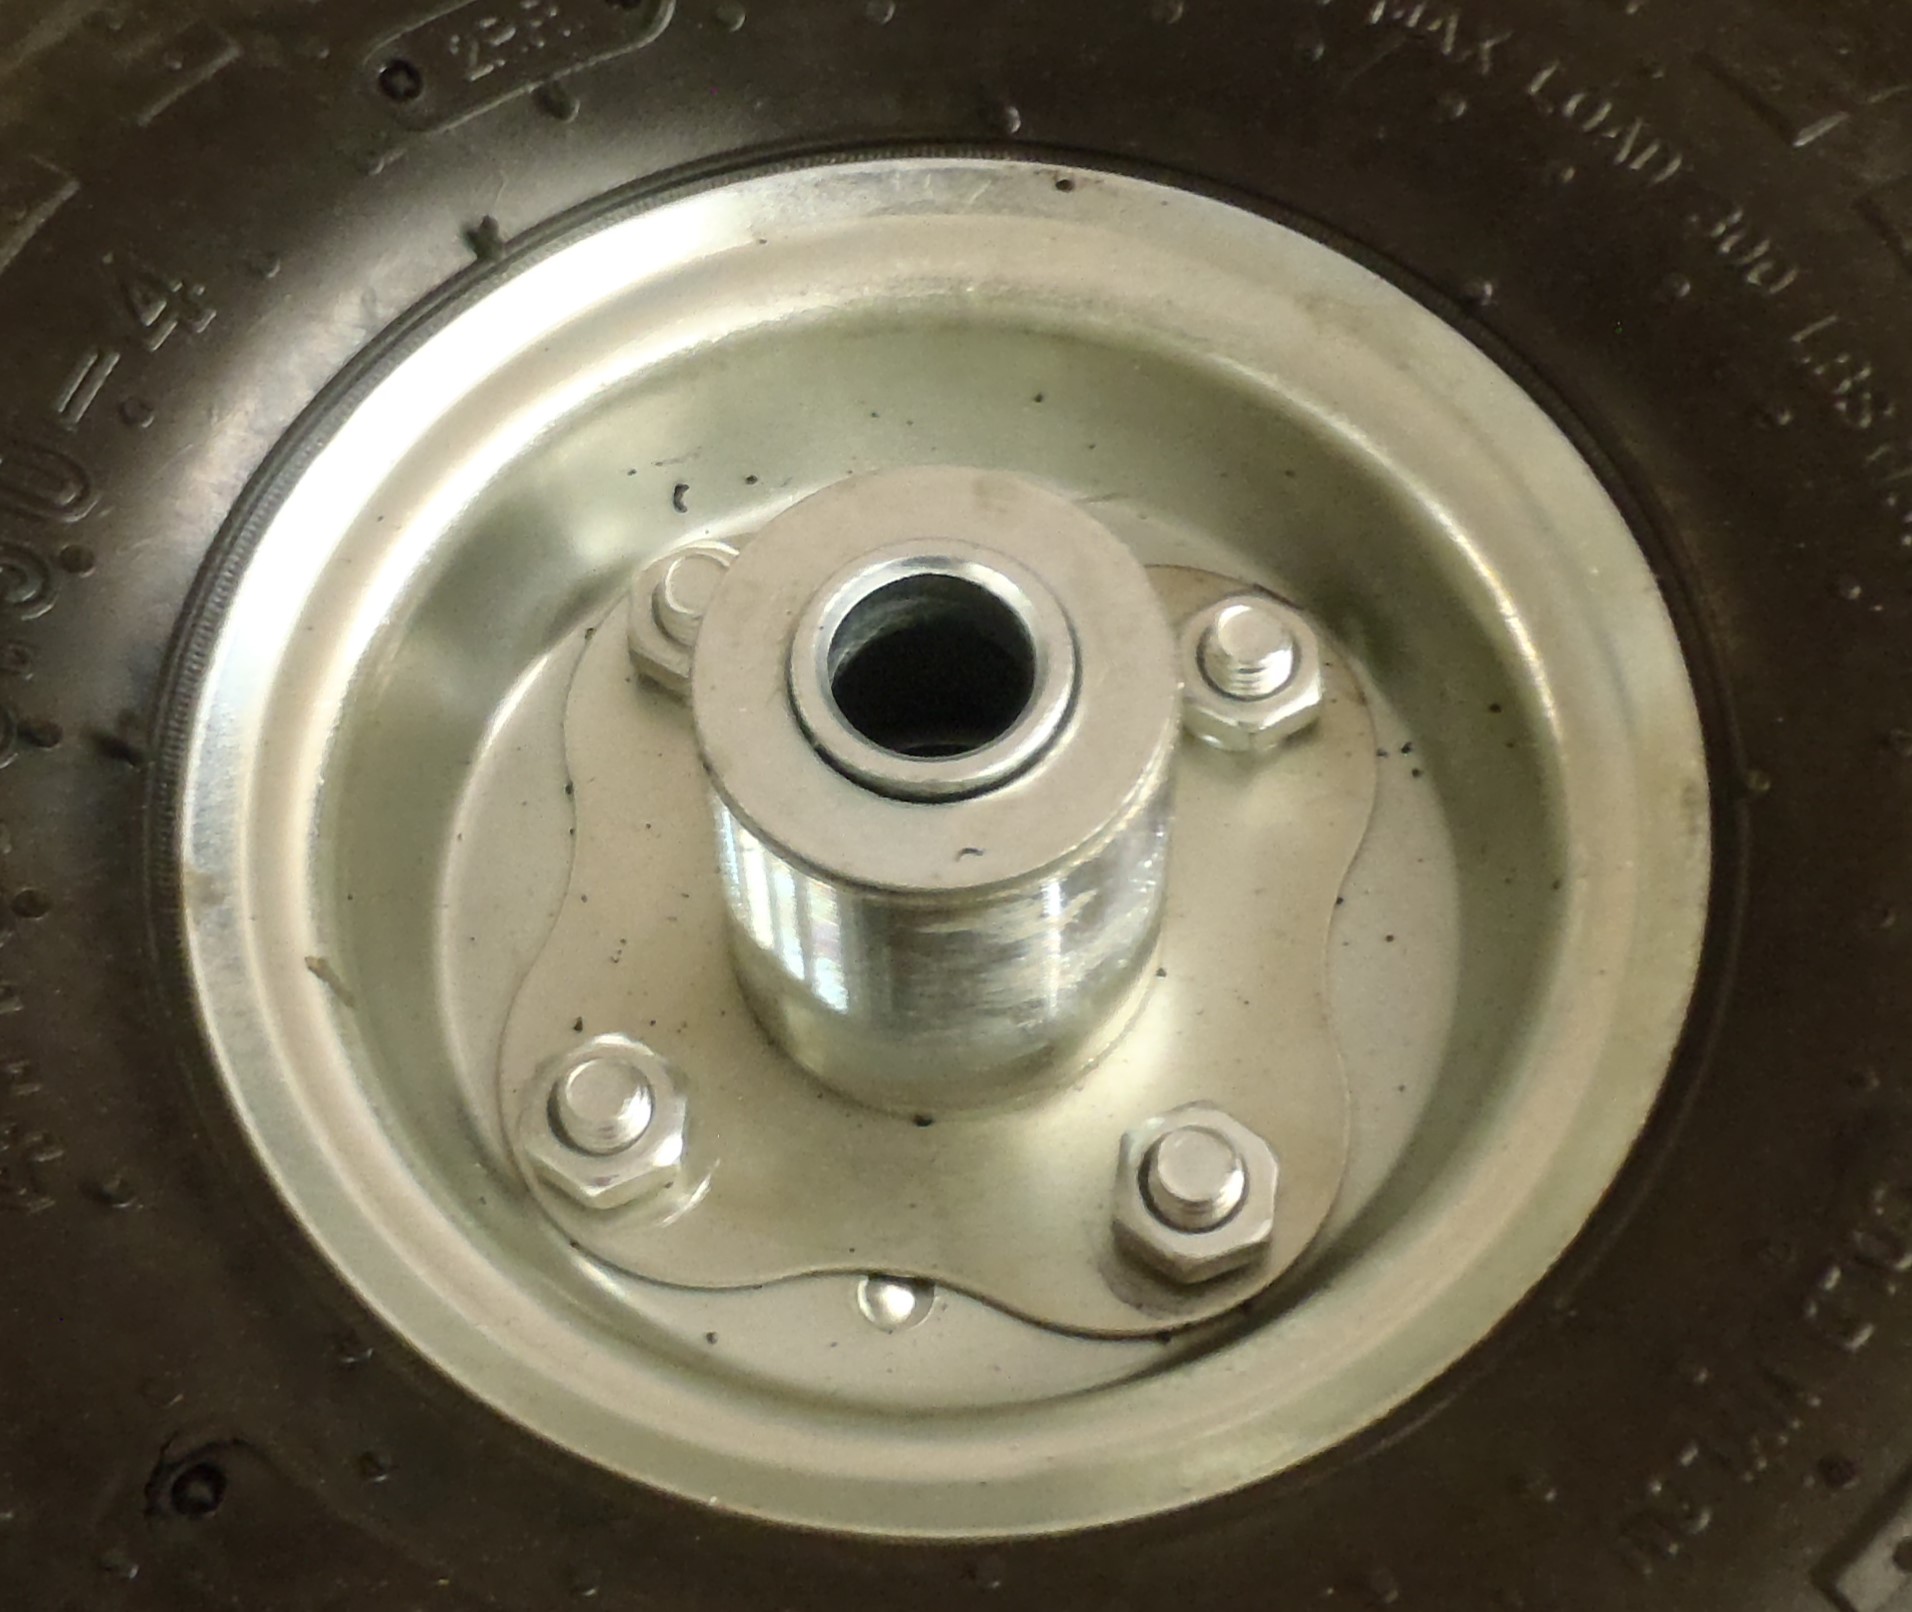
We bought two new wheels (which were re-enforced by welding 4 struts from the central hub to the disc and rim, see pictures) for the rear wheels.
Then everything was re-assembled and the trolley was good as new!

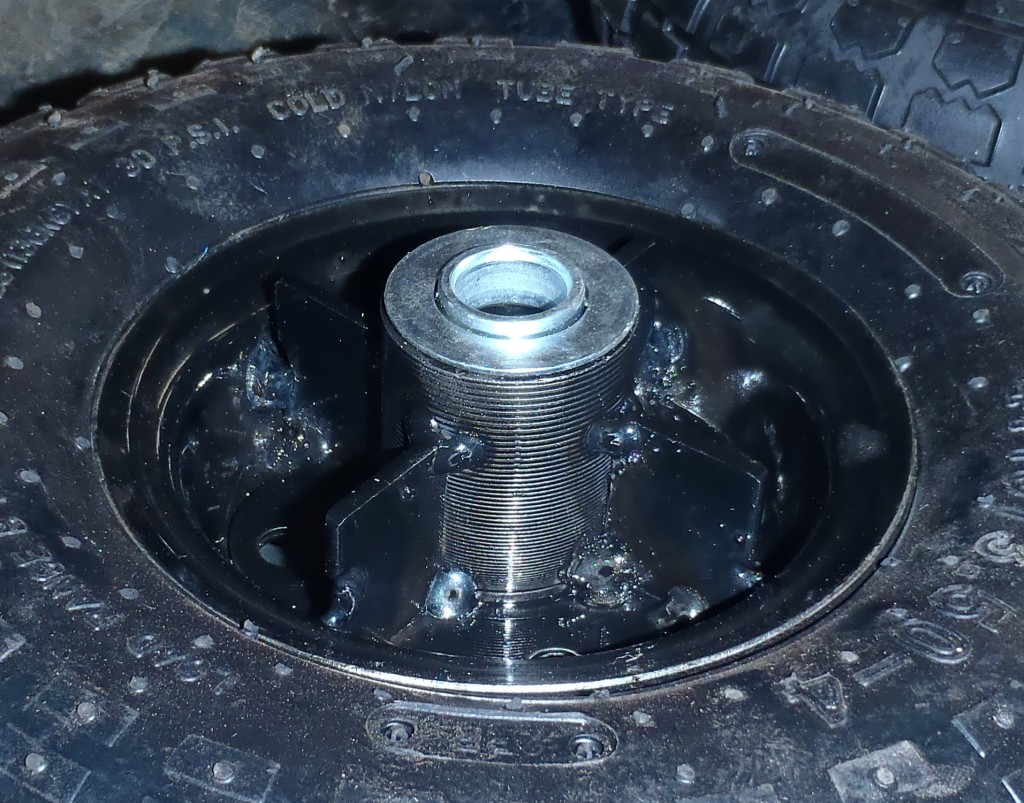
Small-Trolley-Wheel-Before
Small-Trolley-Wheel-After