Here are 6 daily timelapse videos of the construction of the new shed.
BT Openreach came and moved the phone line today, from the old house to the garage. The old line was overhead and the new line is underground. Engineer cut off the old overhead line at the top of the pole and connected to a new cable which was pulled through the duct using the string we sucked through ealier (at the second attemp, the string broke on the first try and had to be sucked through again). New master socket fitted under the counter in the kitchen.
All three of us are now eating and sleeping in the new place. Sometime I thought it would never happen! There is still quite a lot of stuff still to move but the essentials are in place and the rest can follow soon.
The staples we are using to hold the Fermacell up are heavy duty wide crown staples. The crown in just under half an inch (11.1mm) and the wire is 1.5mm square. They are available in many lengths from 25mm to 50mm. We will also be using these staples in Stainless steel for attaching the Cedar cladding and shingles.
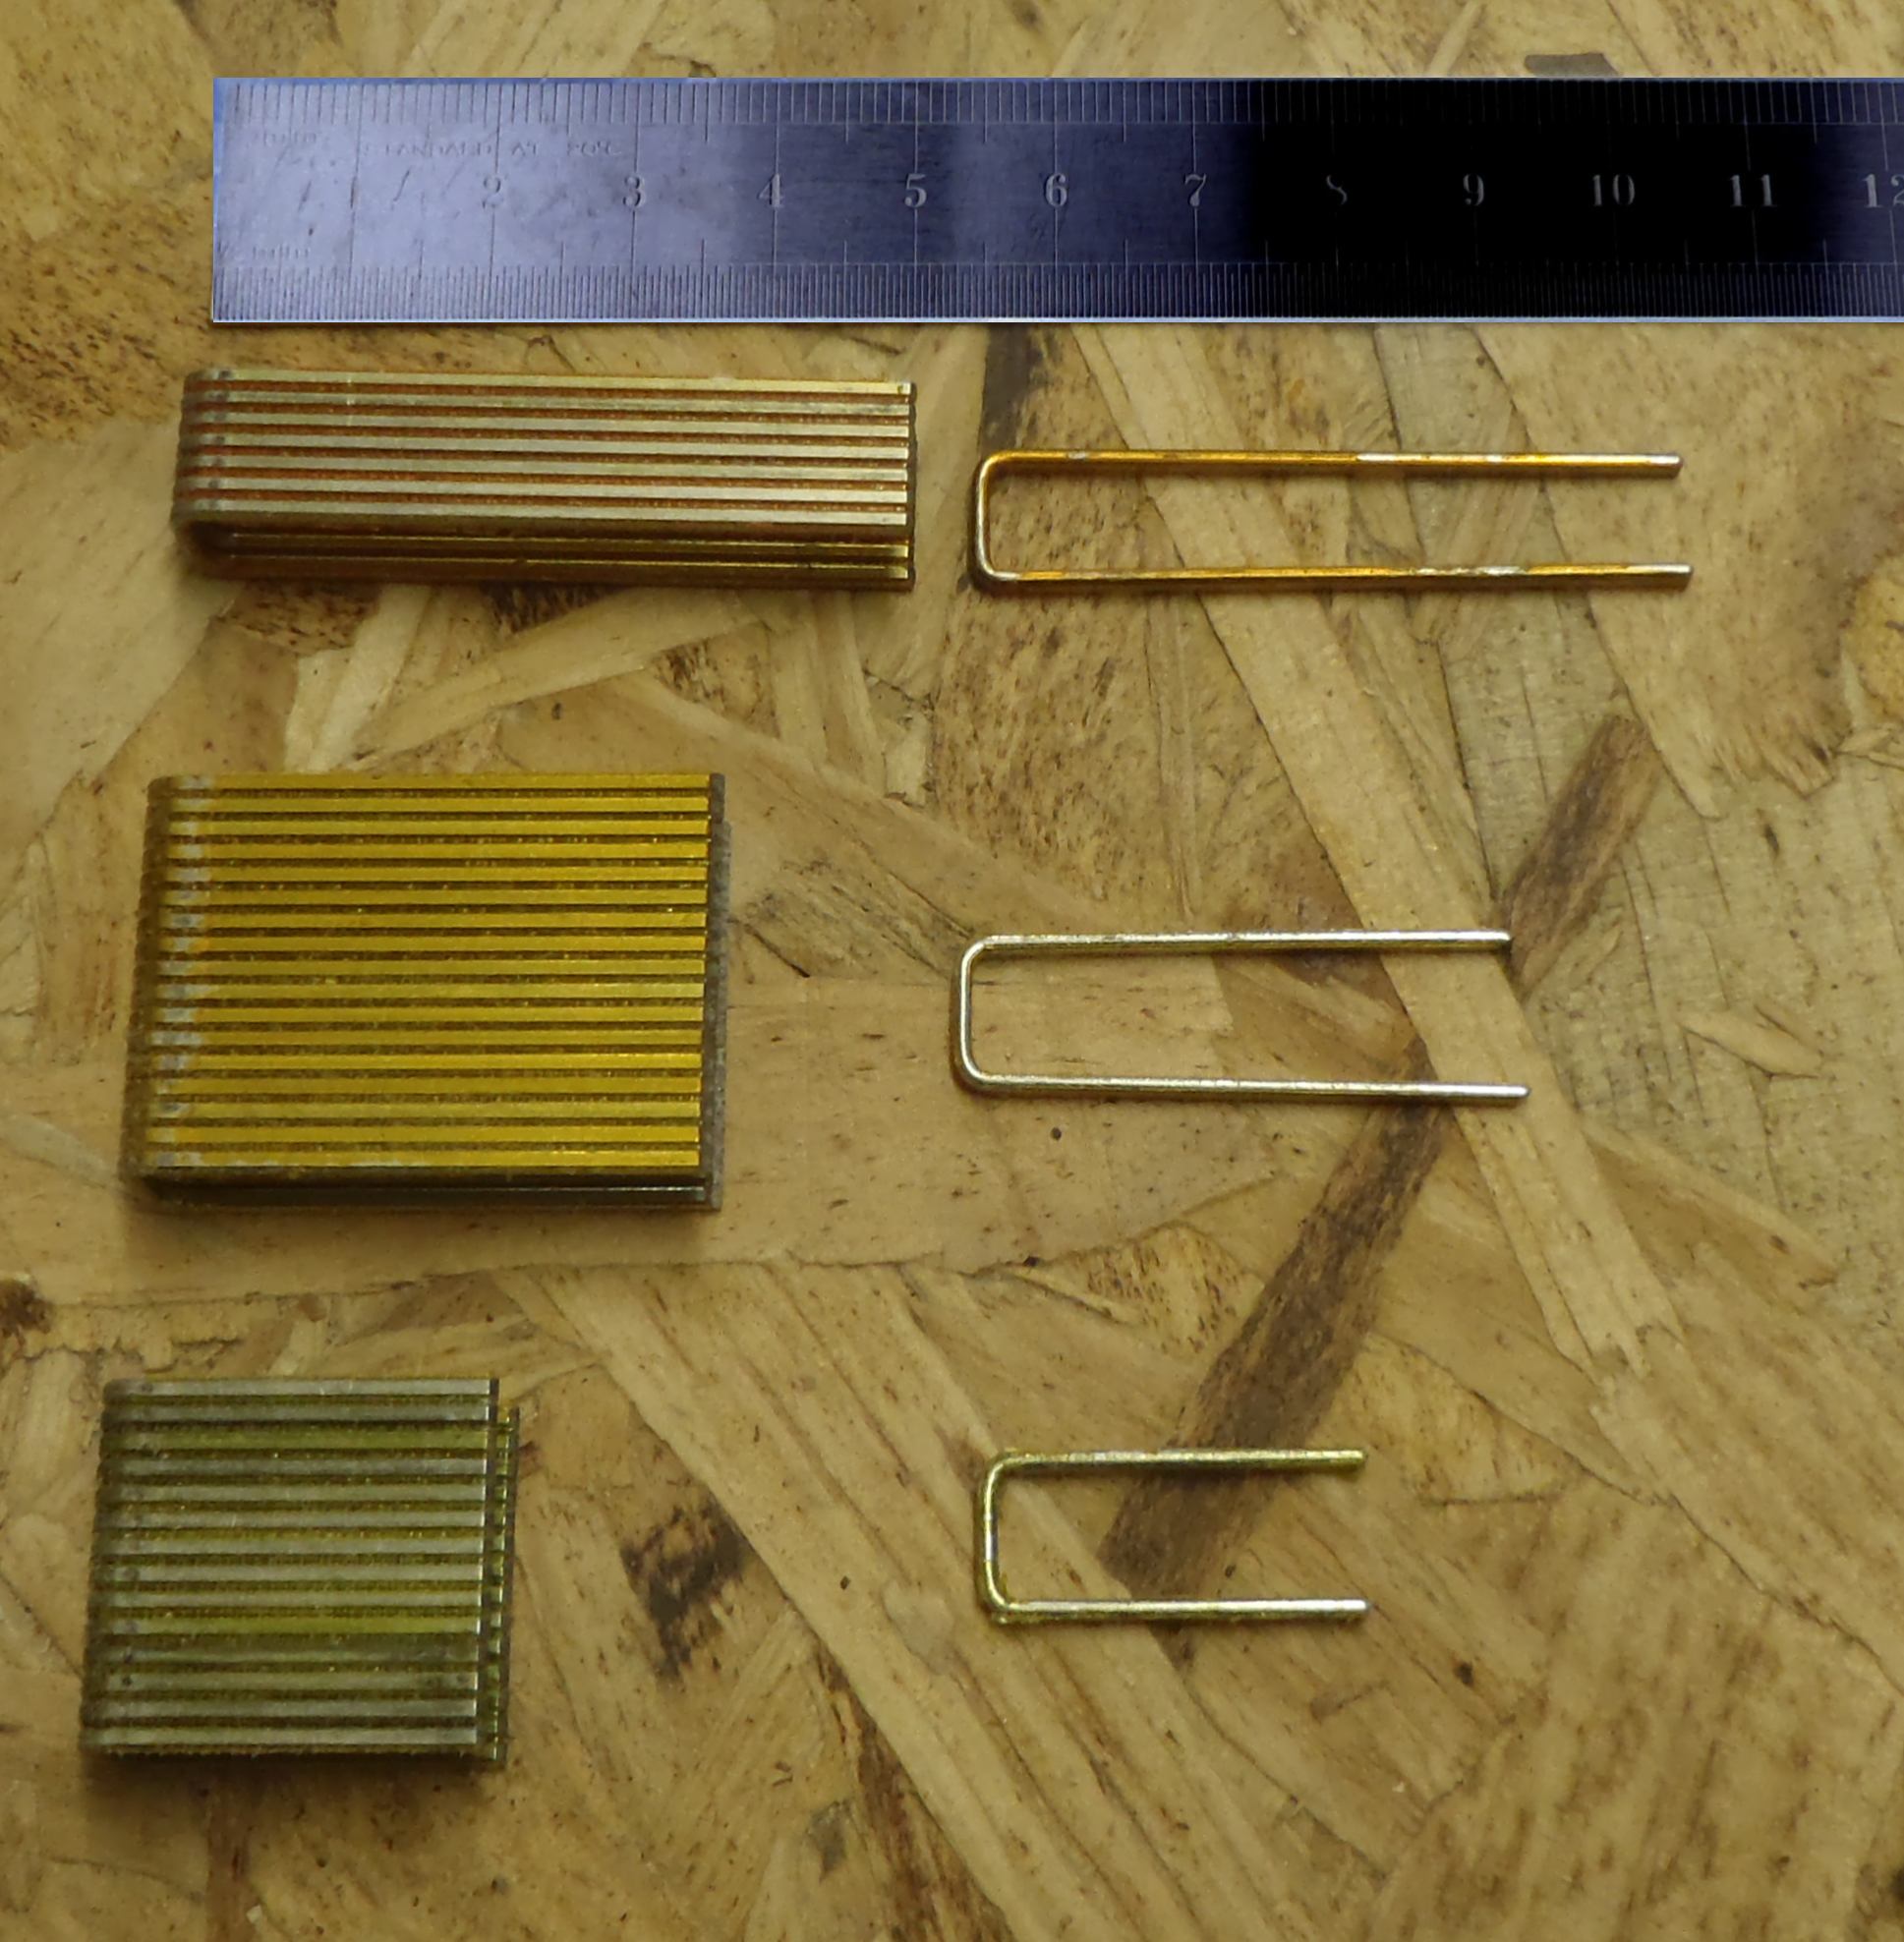
Framing Staples
We have bought a special lifting machine designed to raise sheets of material upto ceilings. The supporting arms can tilt in most directions allowing the board to be fitted to sloping ceilings.
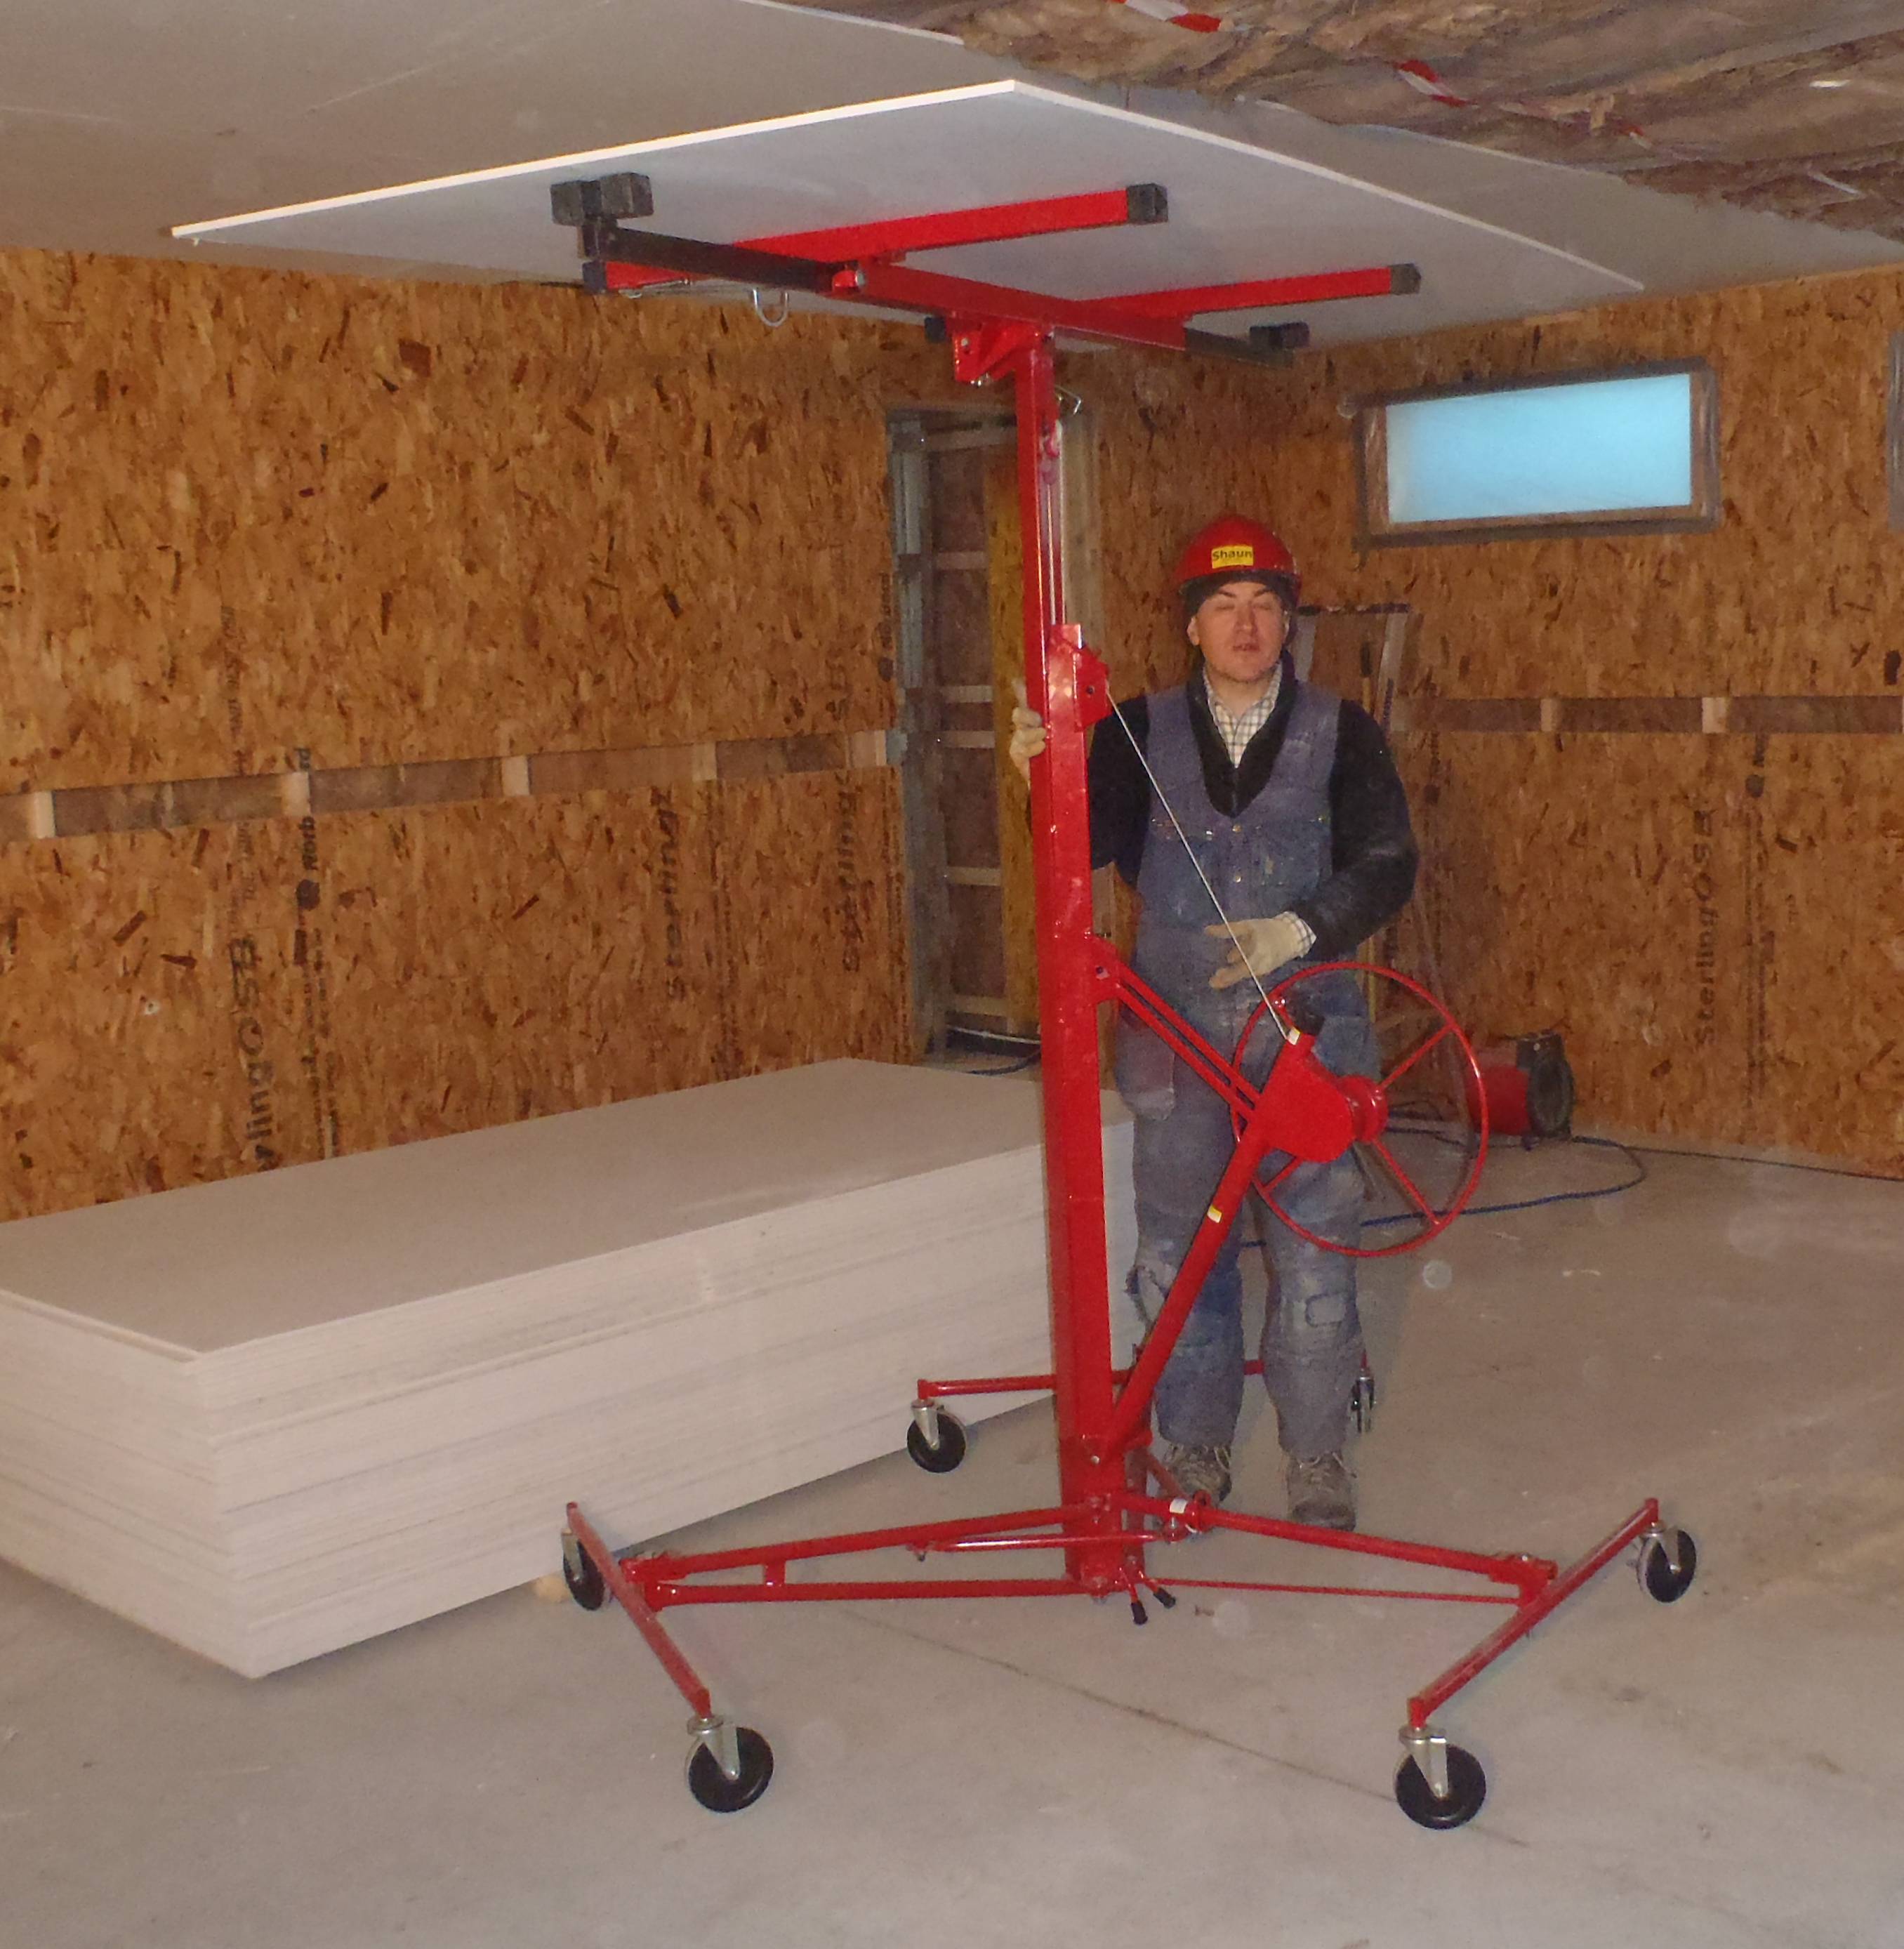
Board Lifter
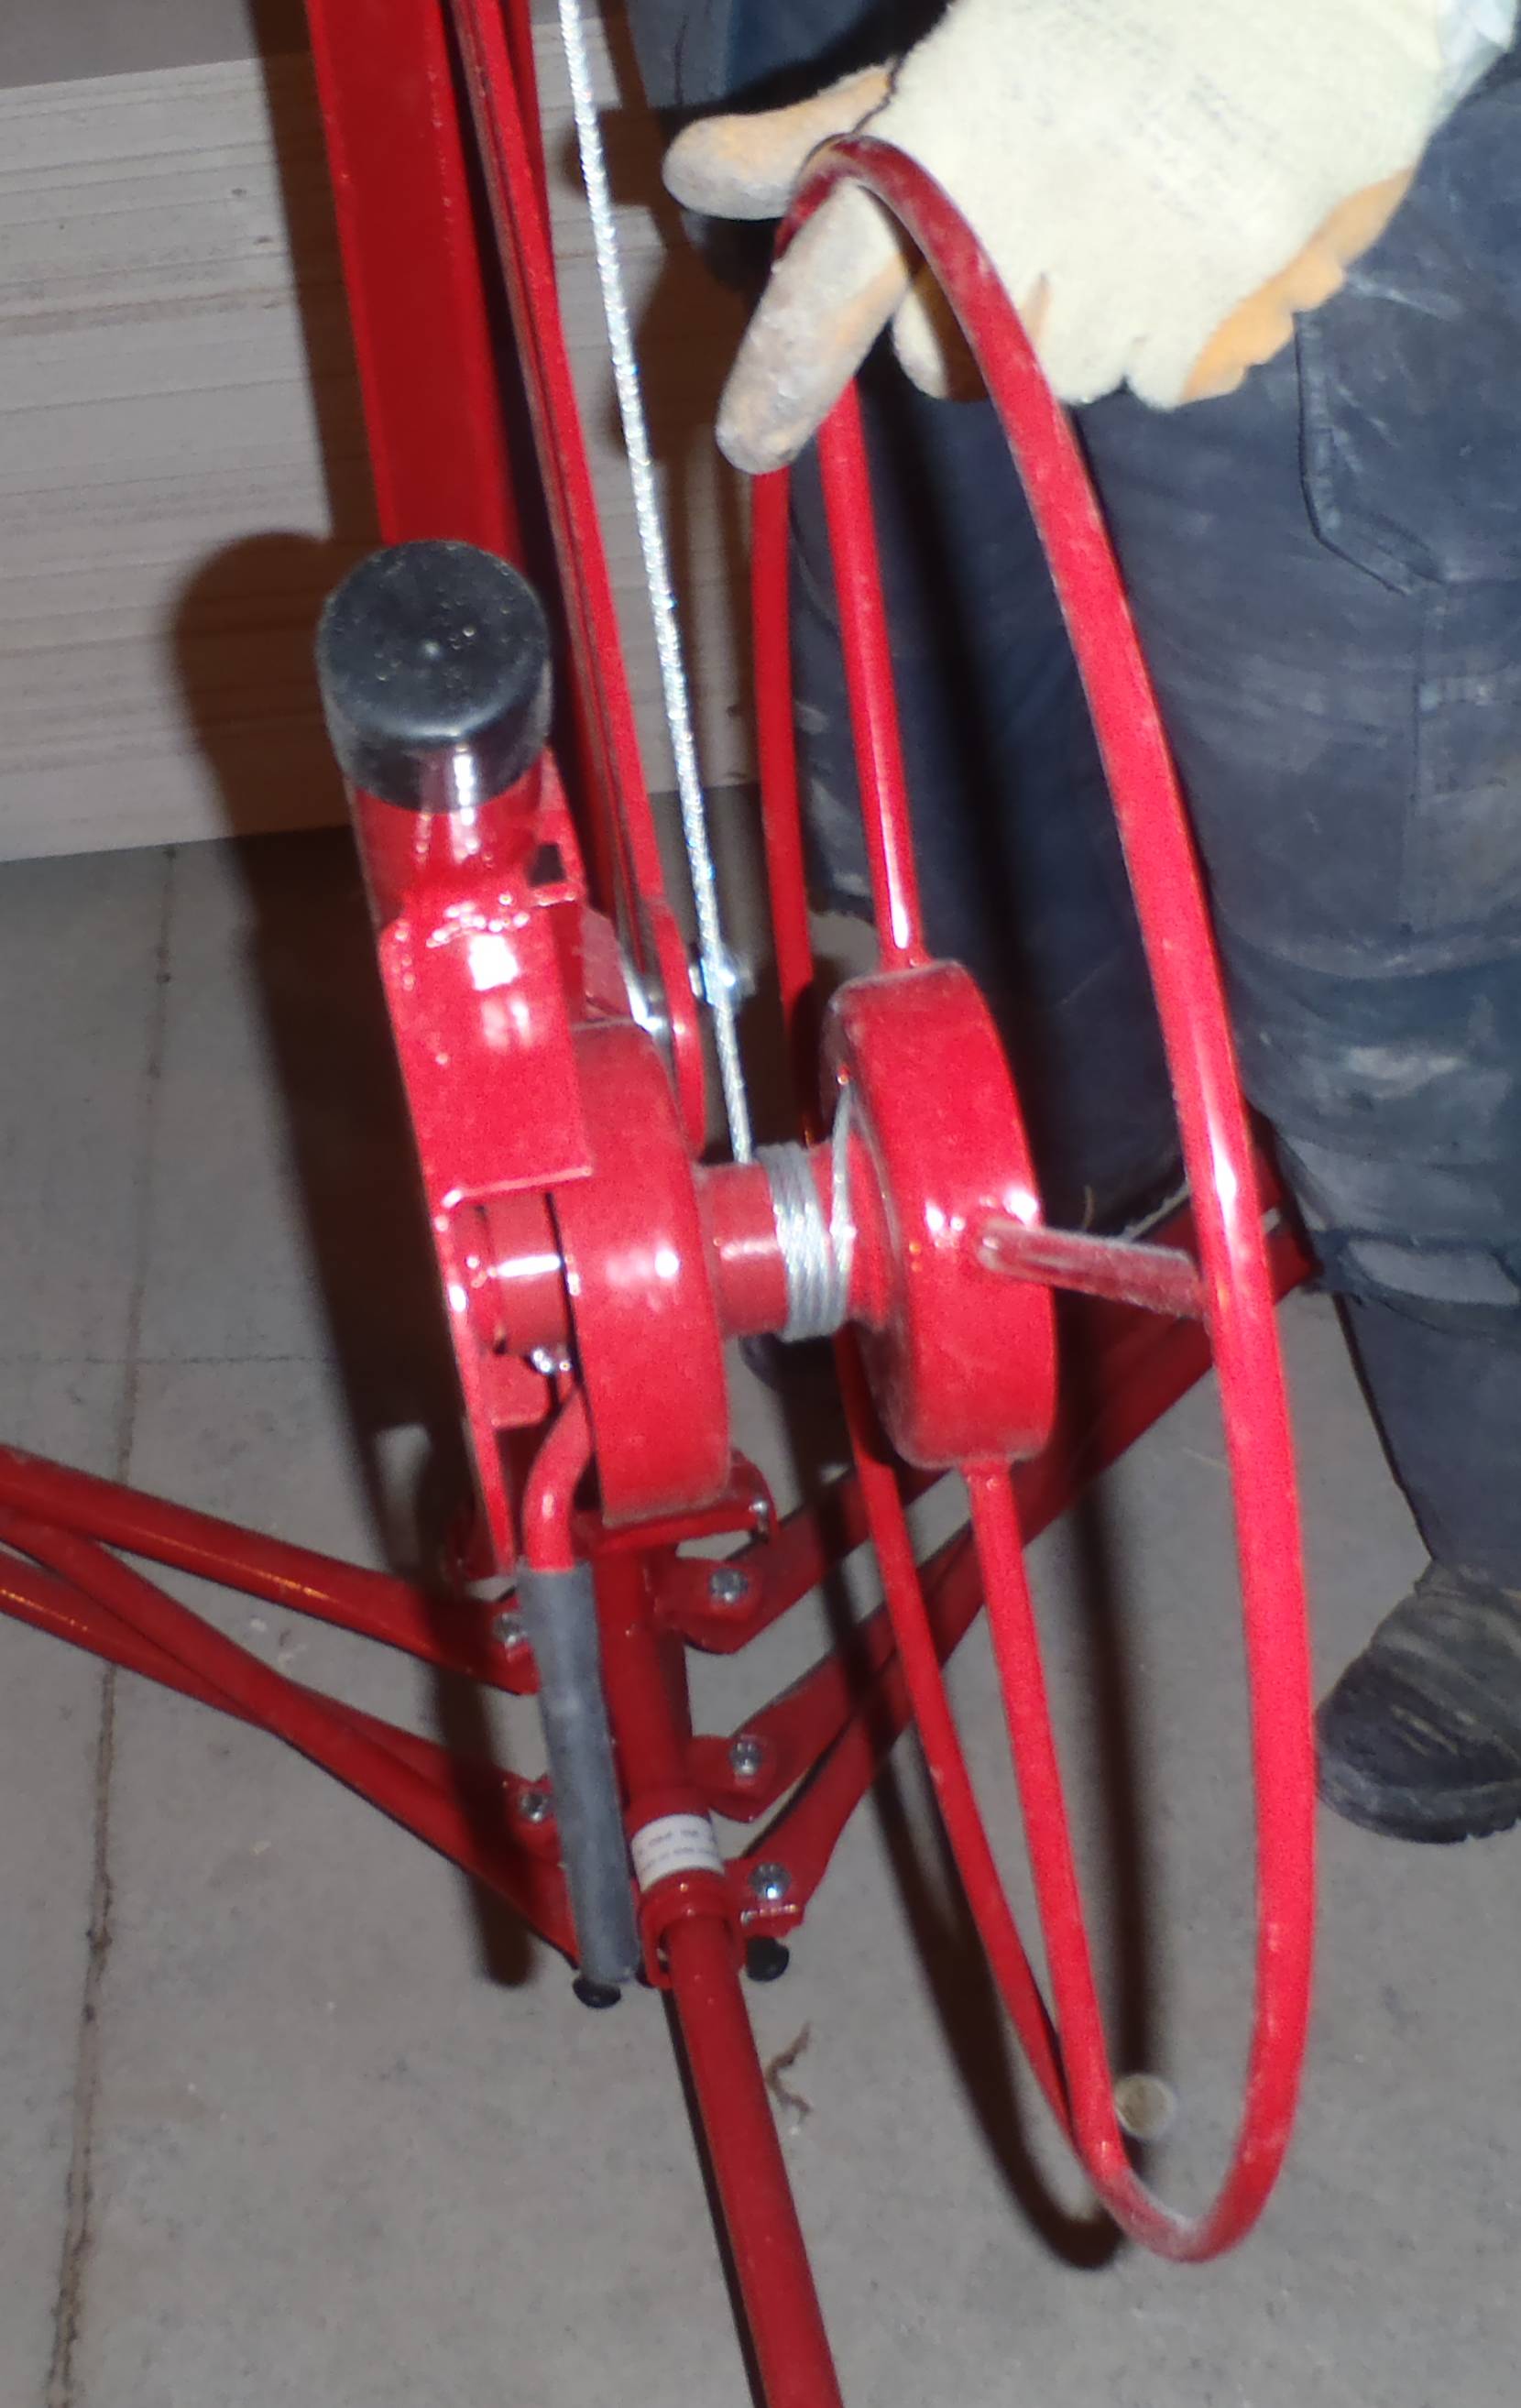
The central column is telescopic and is raised and lowered by winding and releasing a cable round a drum. This cable passes through pulleys until it pulls the column up.
Board Lifter
We framed out the WC for the garage which will have just a loo and basin in it. Spent some time getting it square all round! Then we finished off the wall battens.
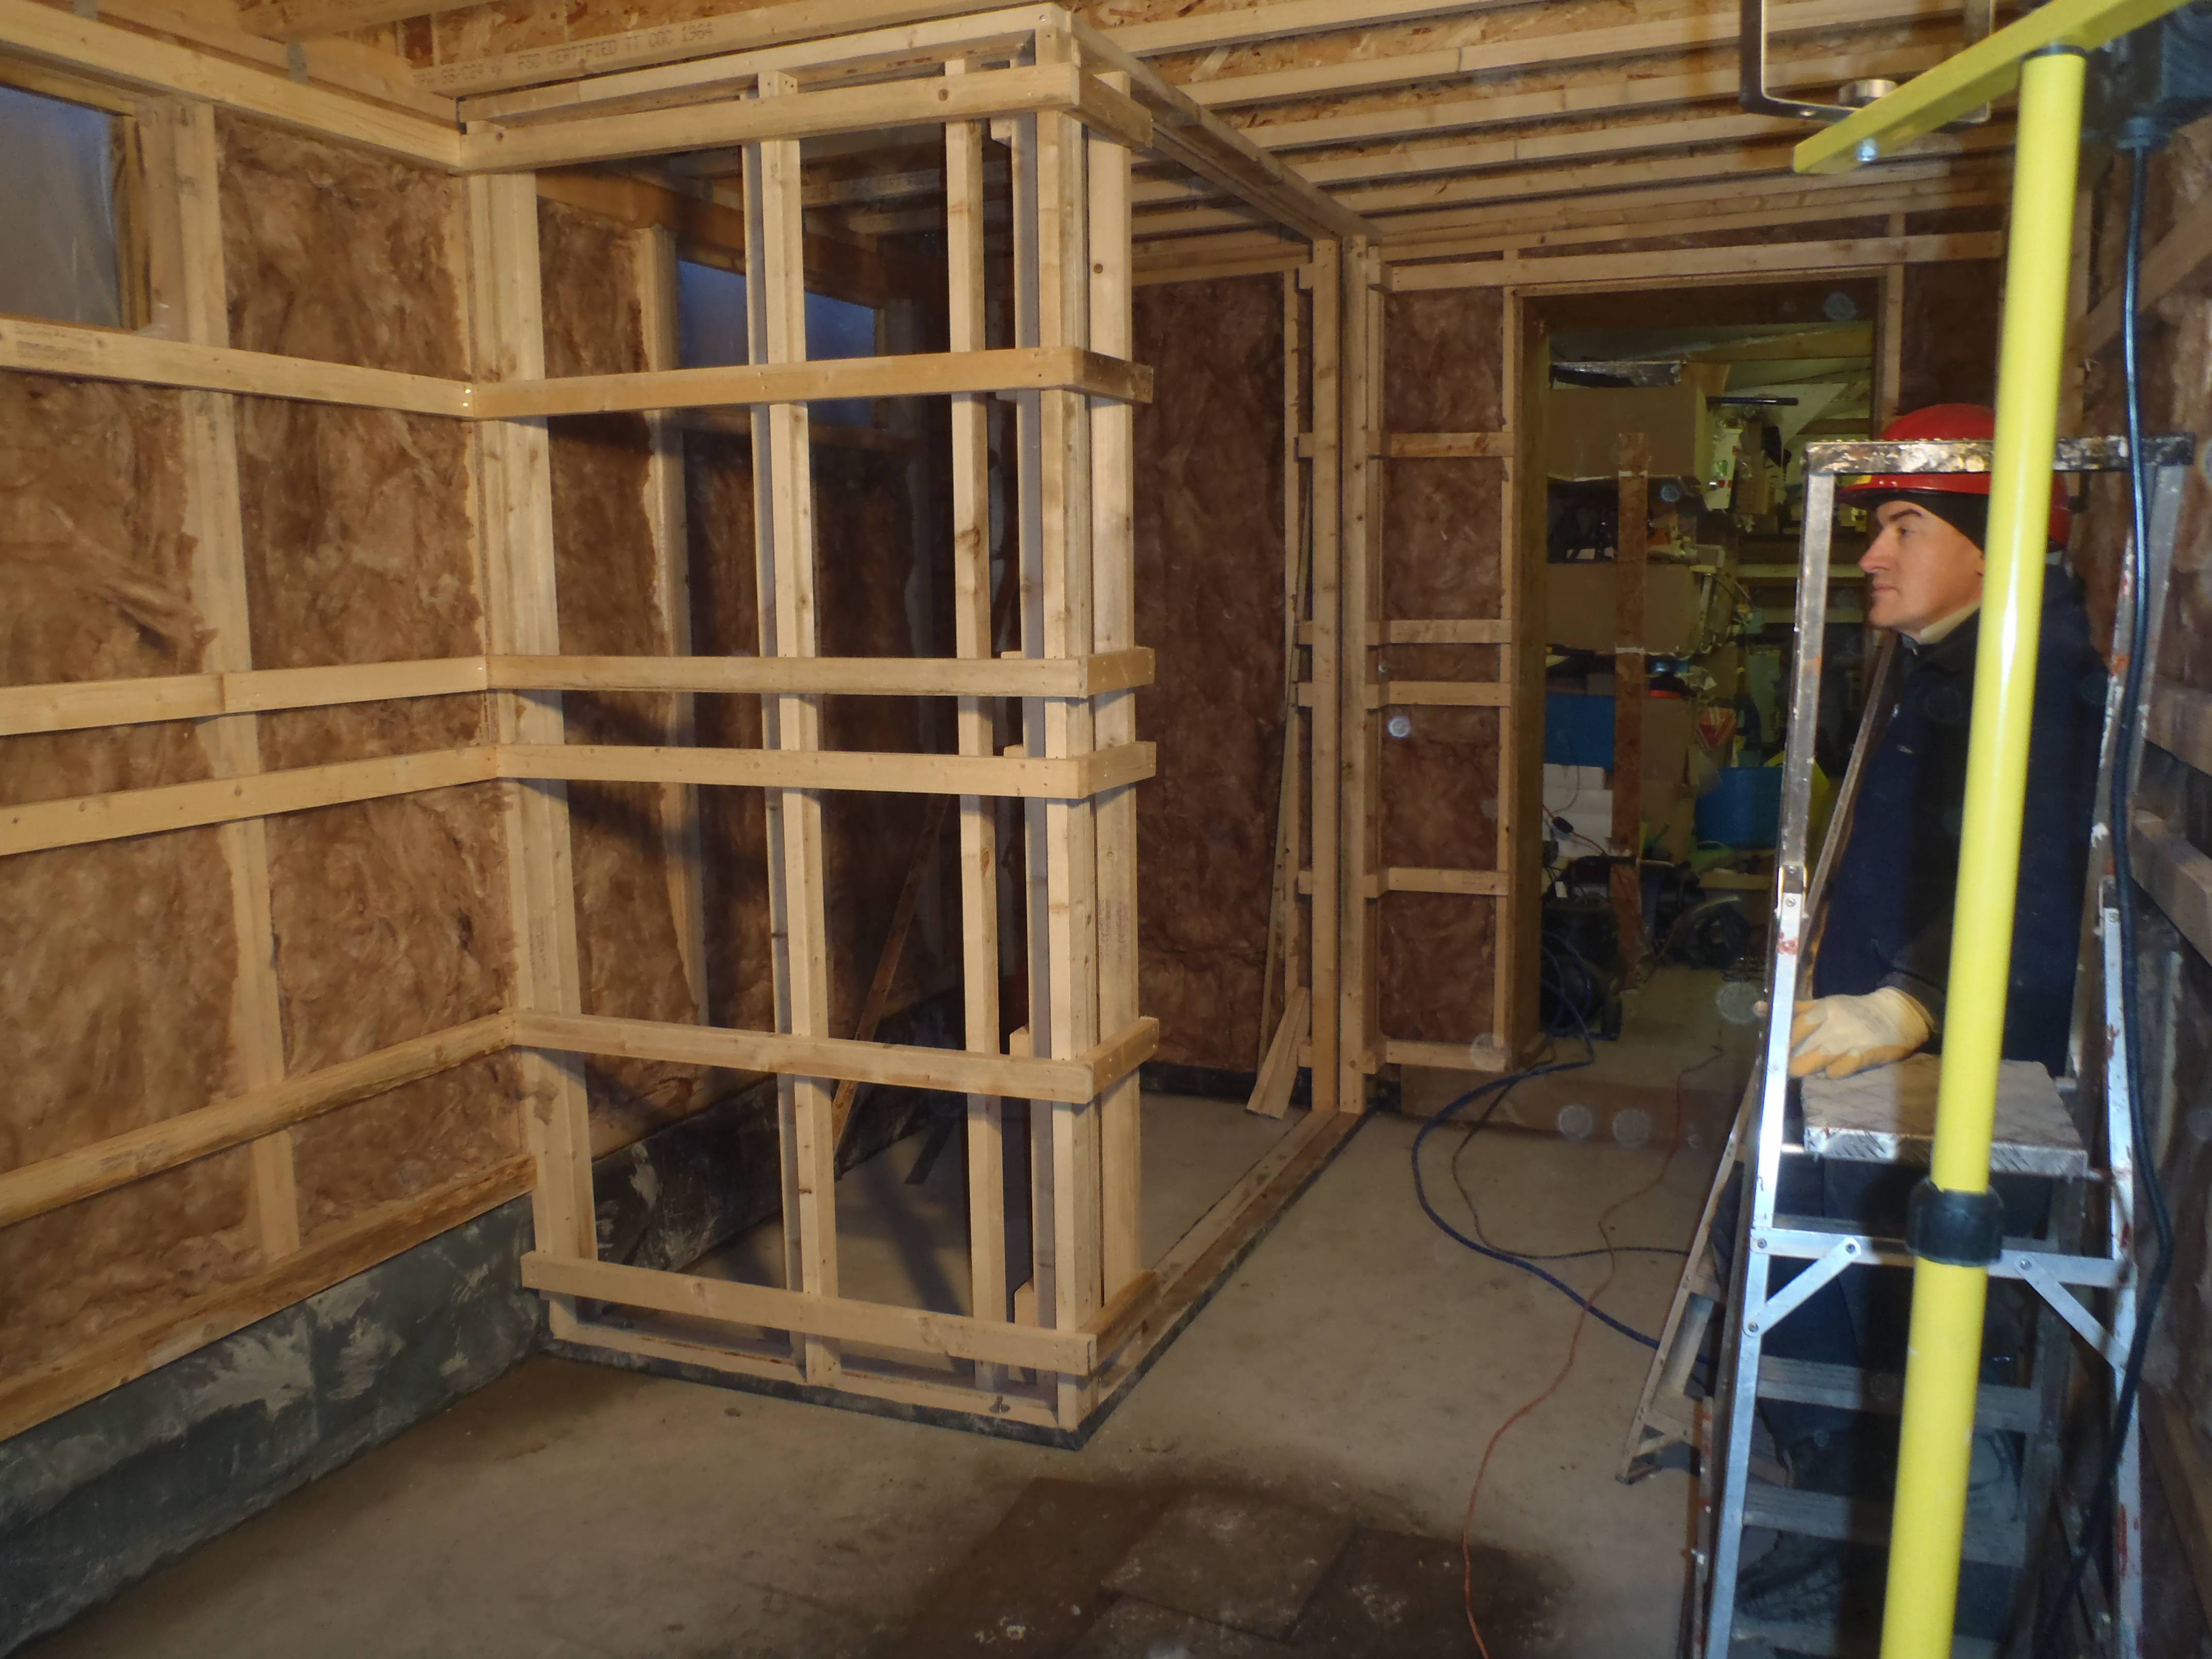
WC Framing

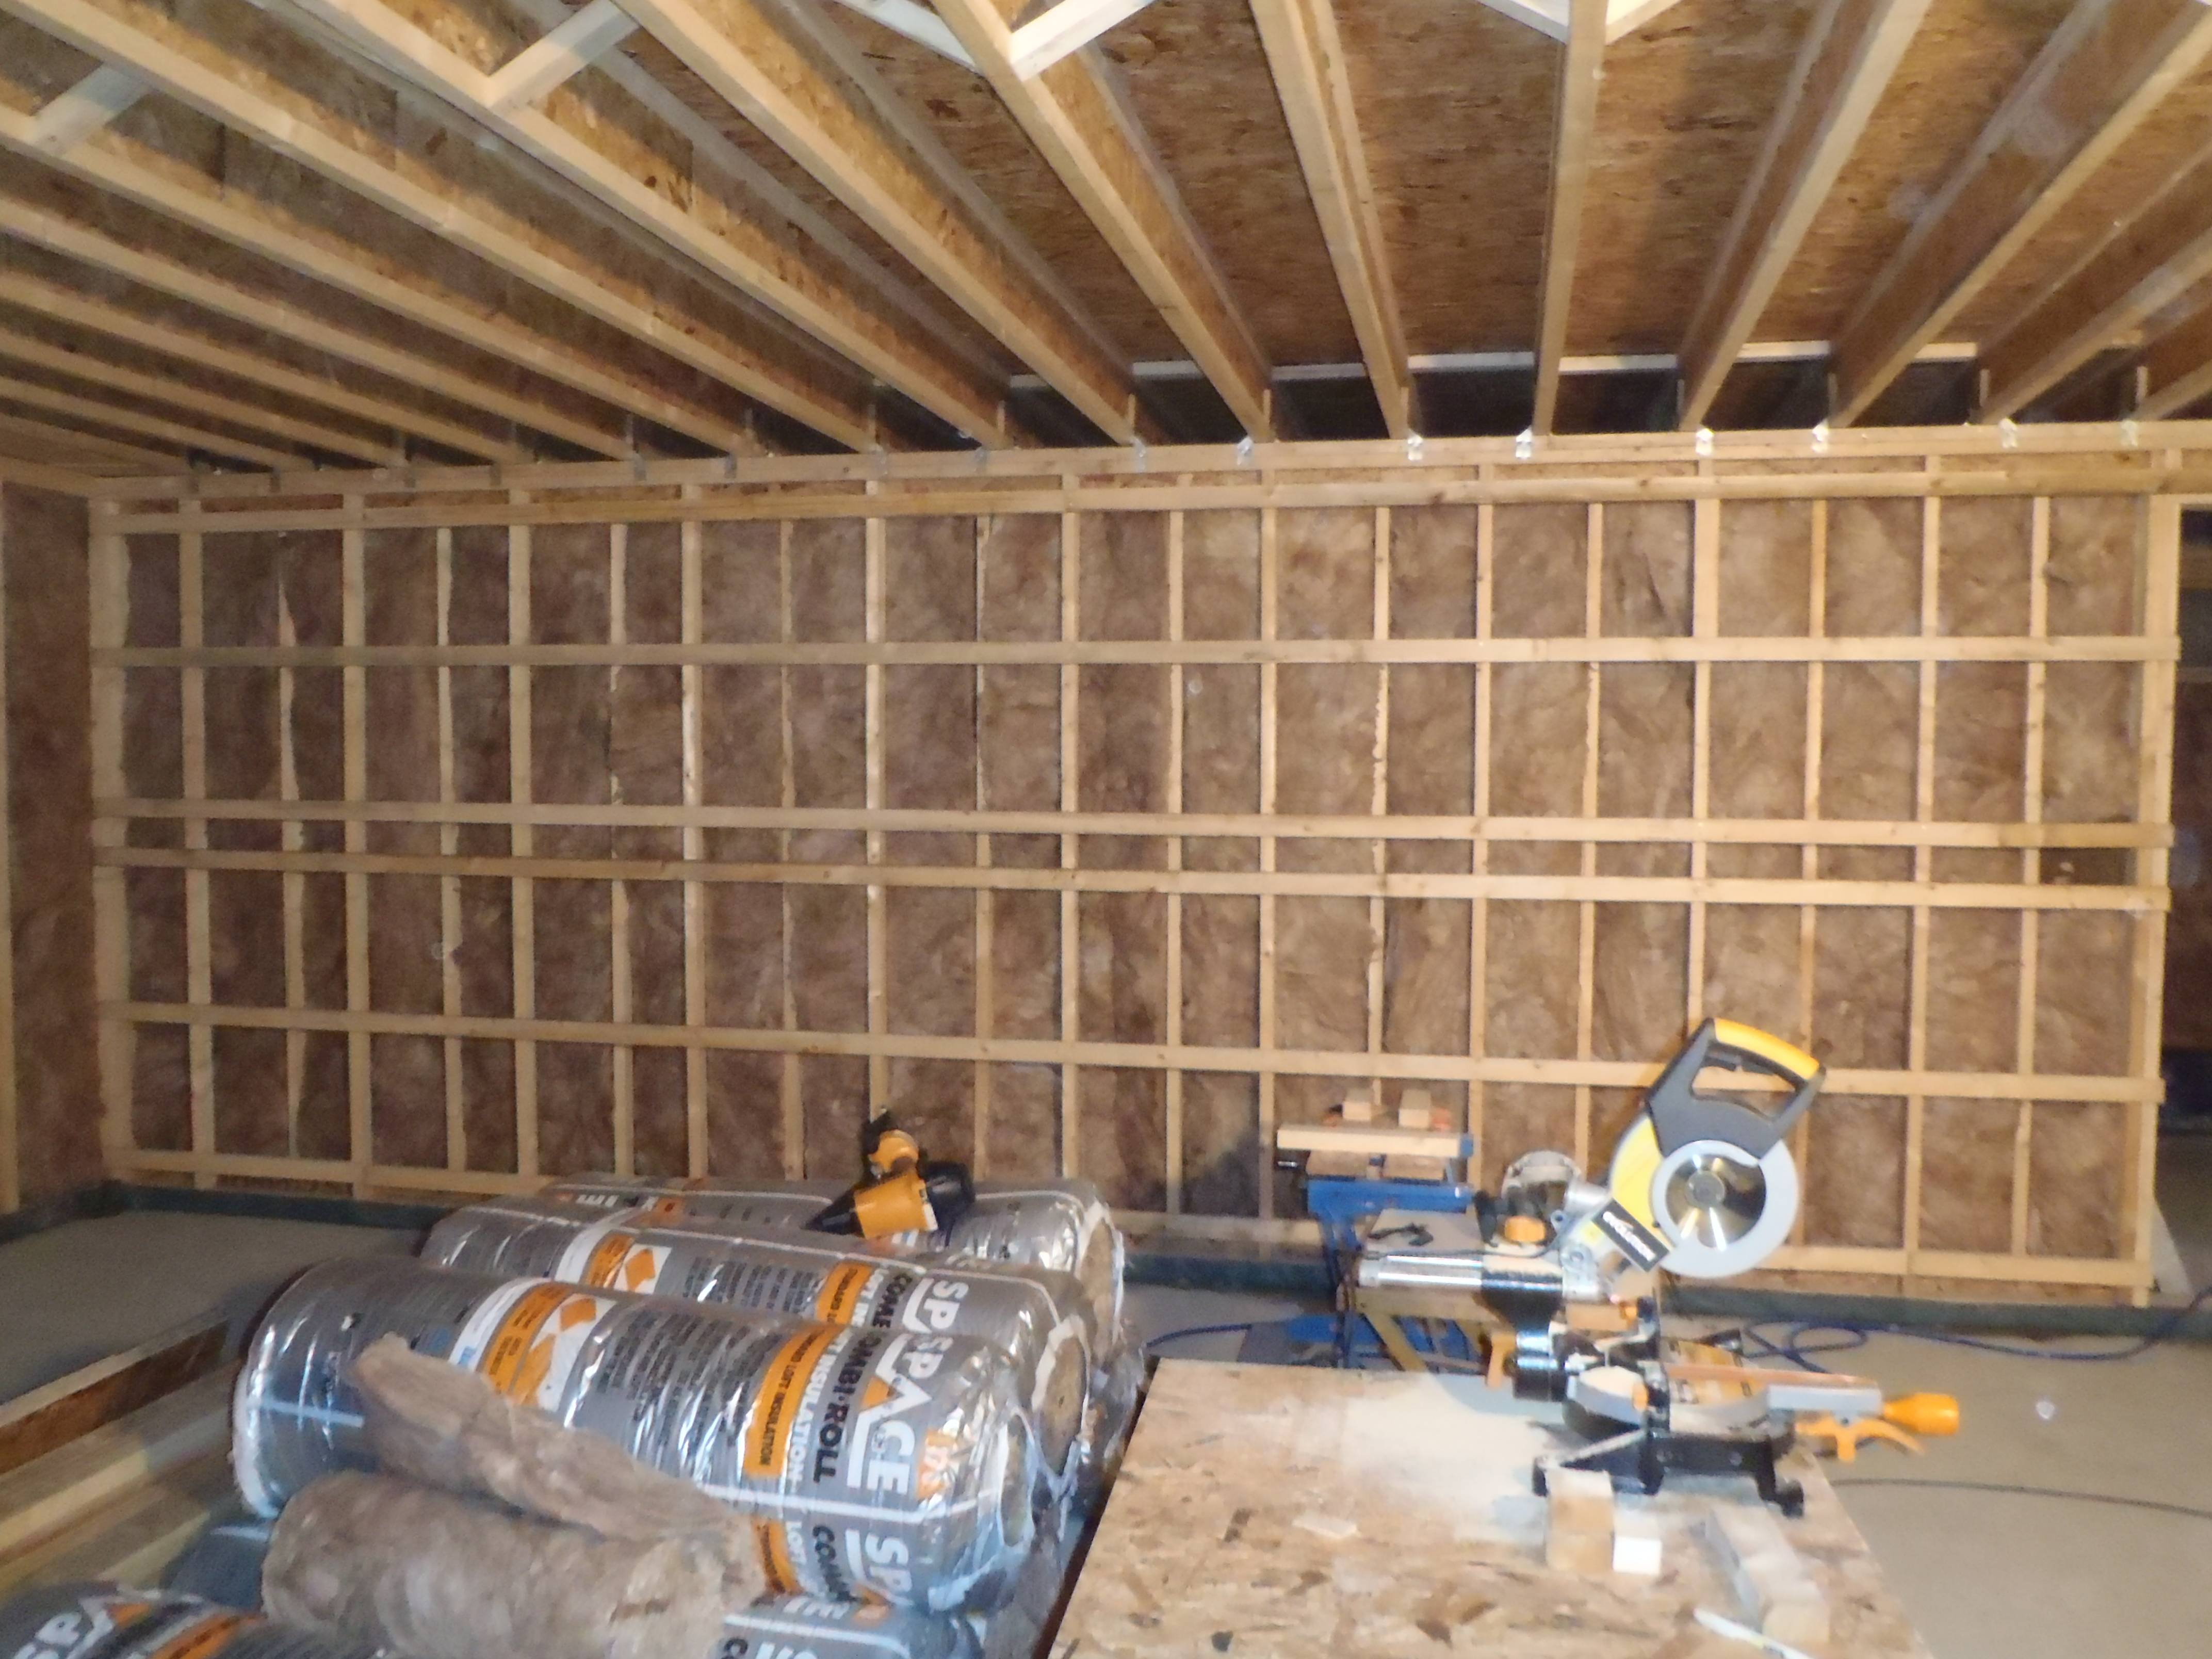
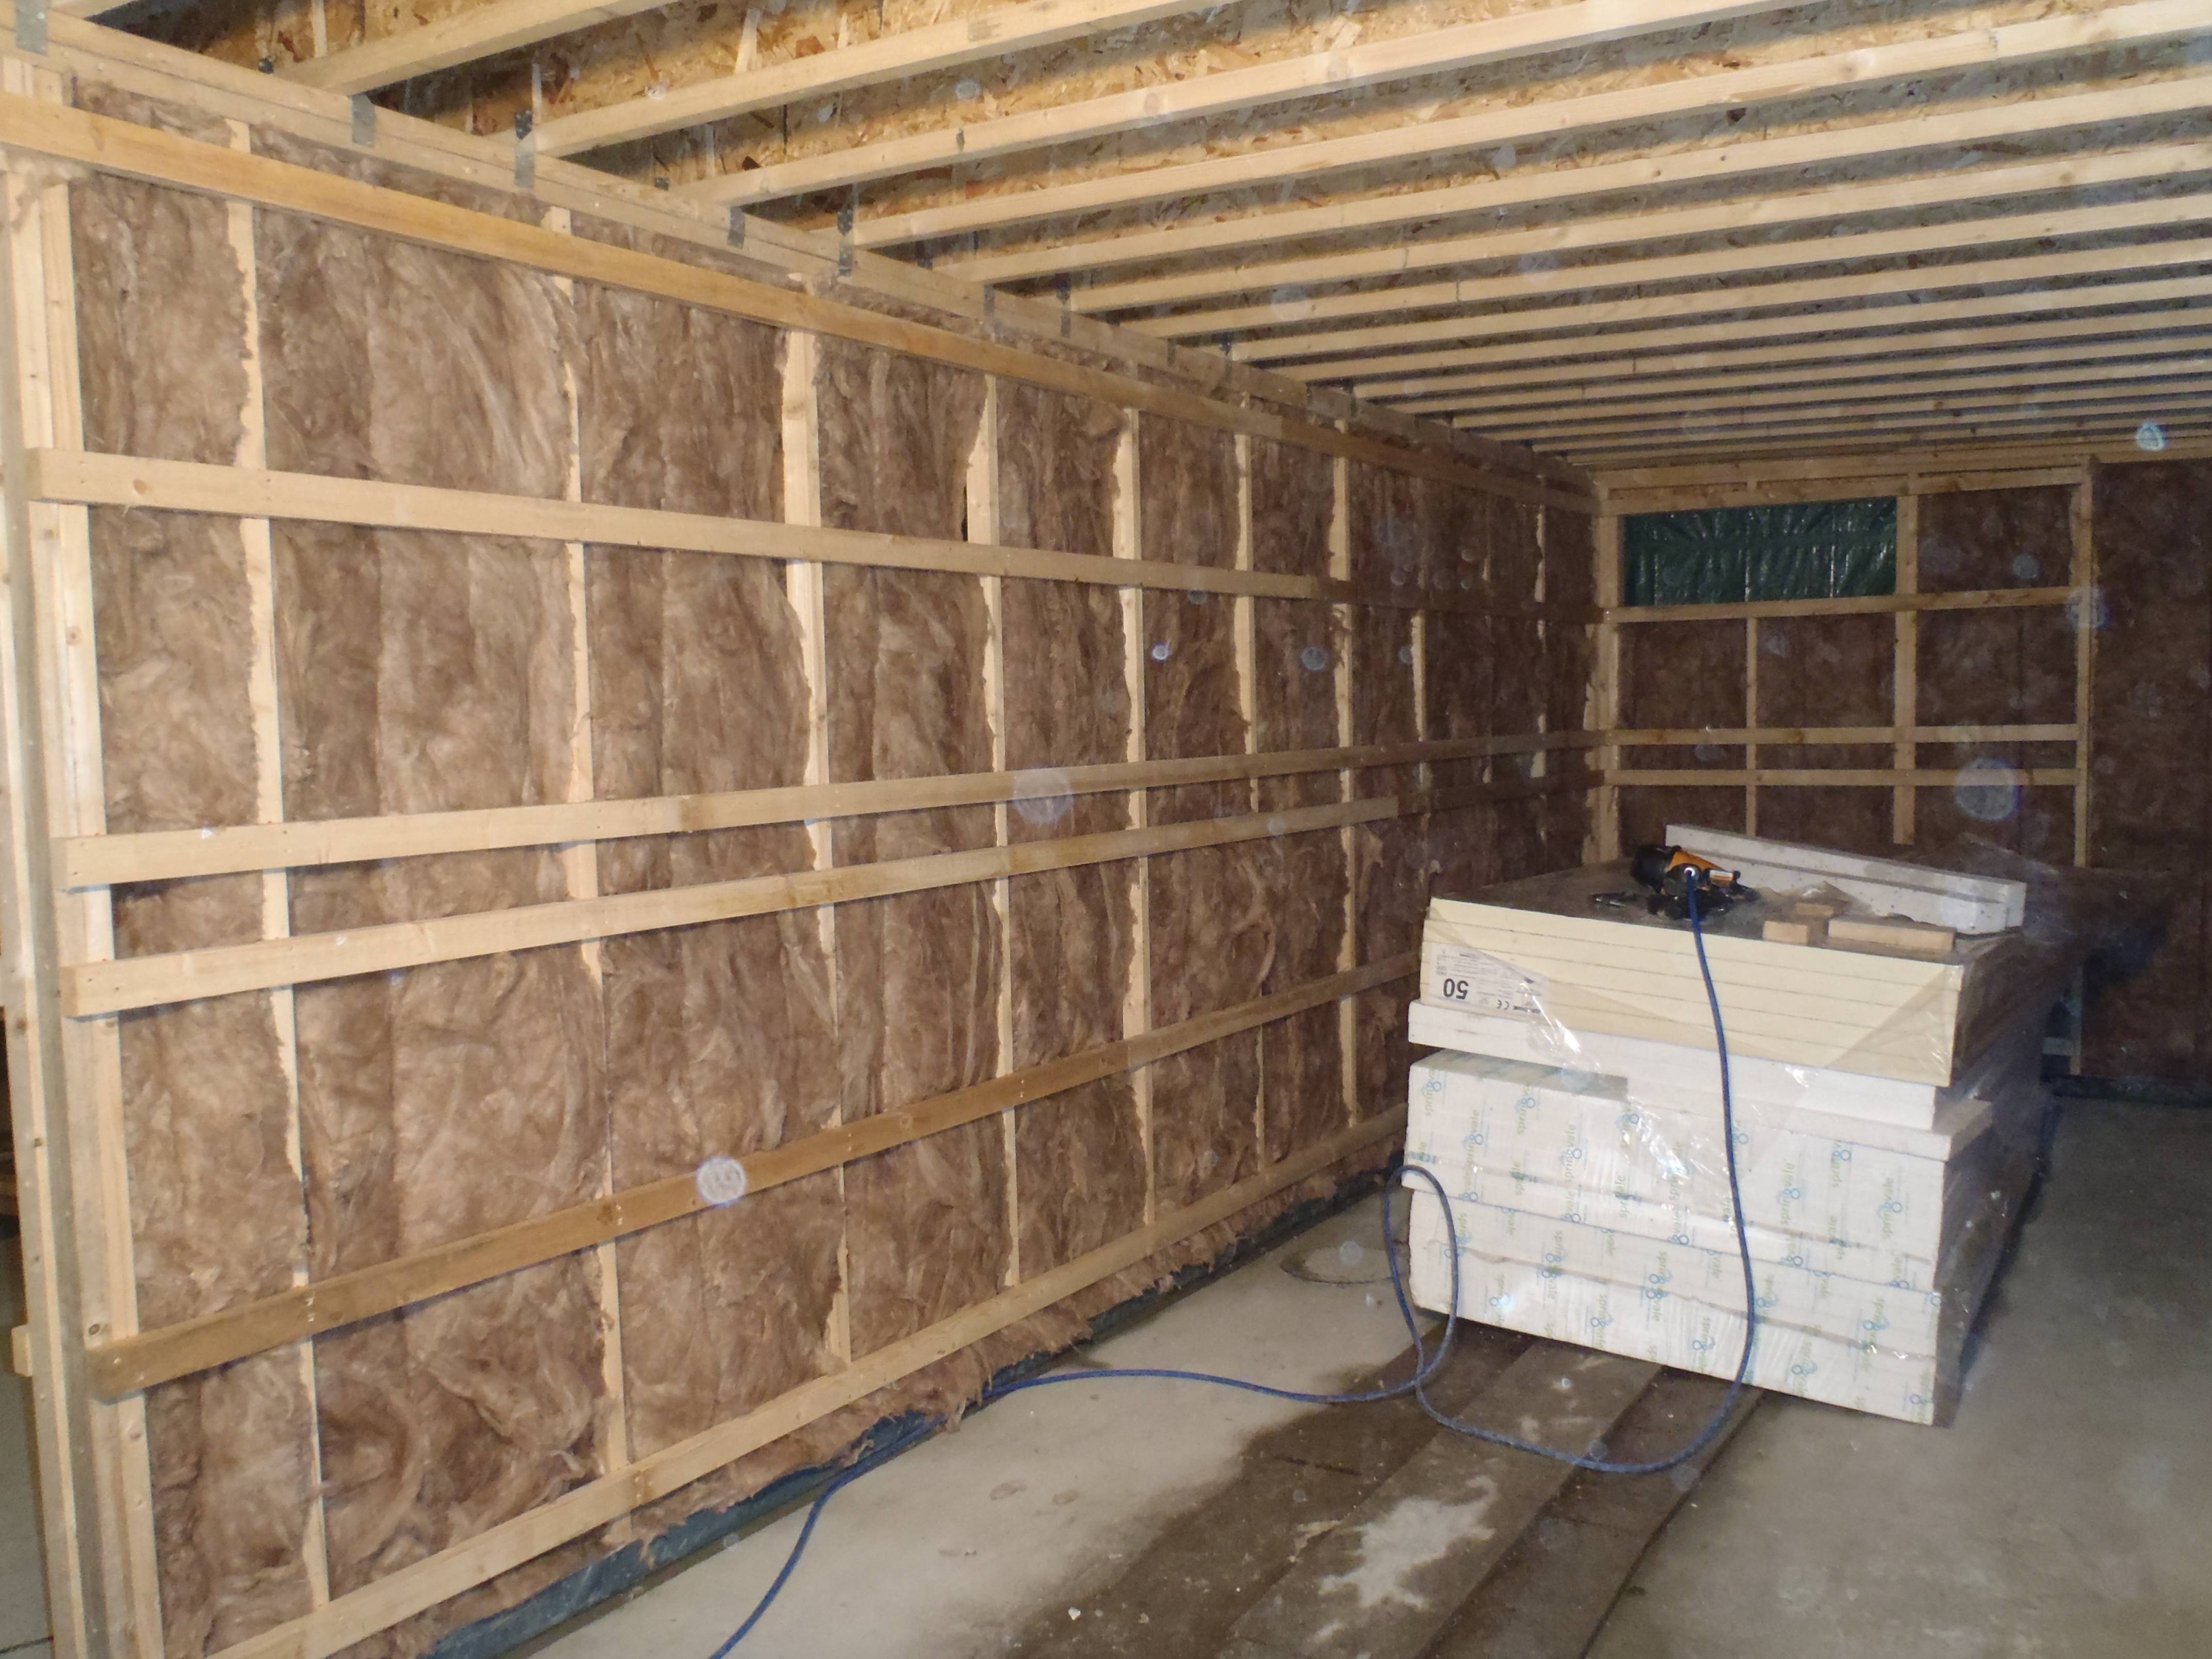
We have fixed up the 38mm x 63mm battens on most of the walls, these are to provide a services area behind the wall surfaces. The gap between the close together battens will be the ‘utility rail’ where sockets and switches will go.
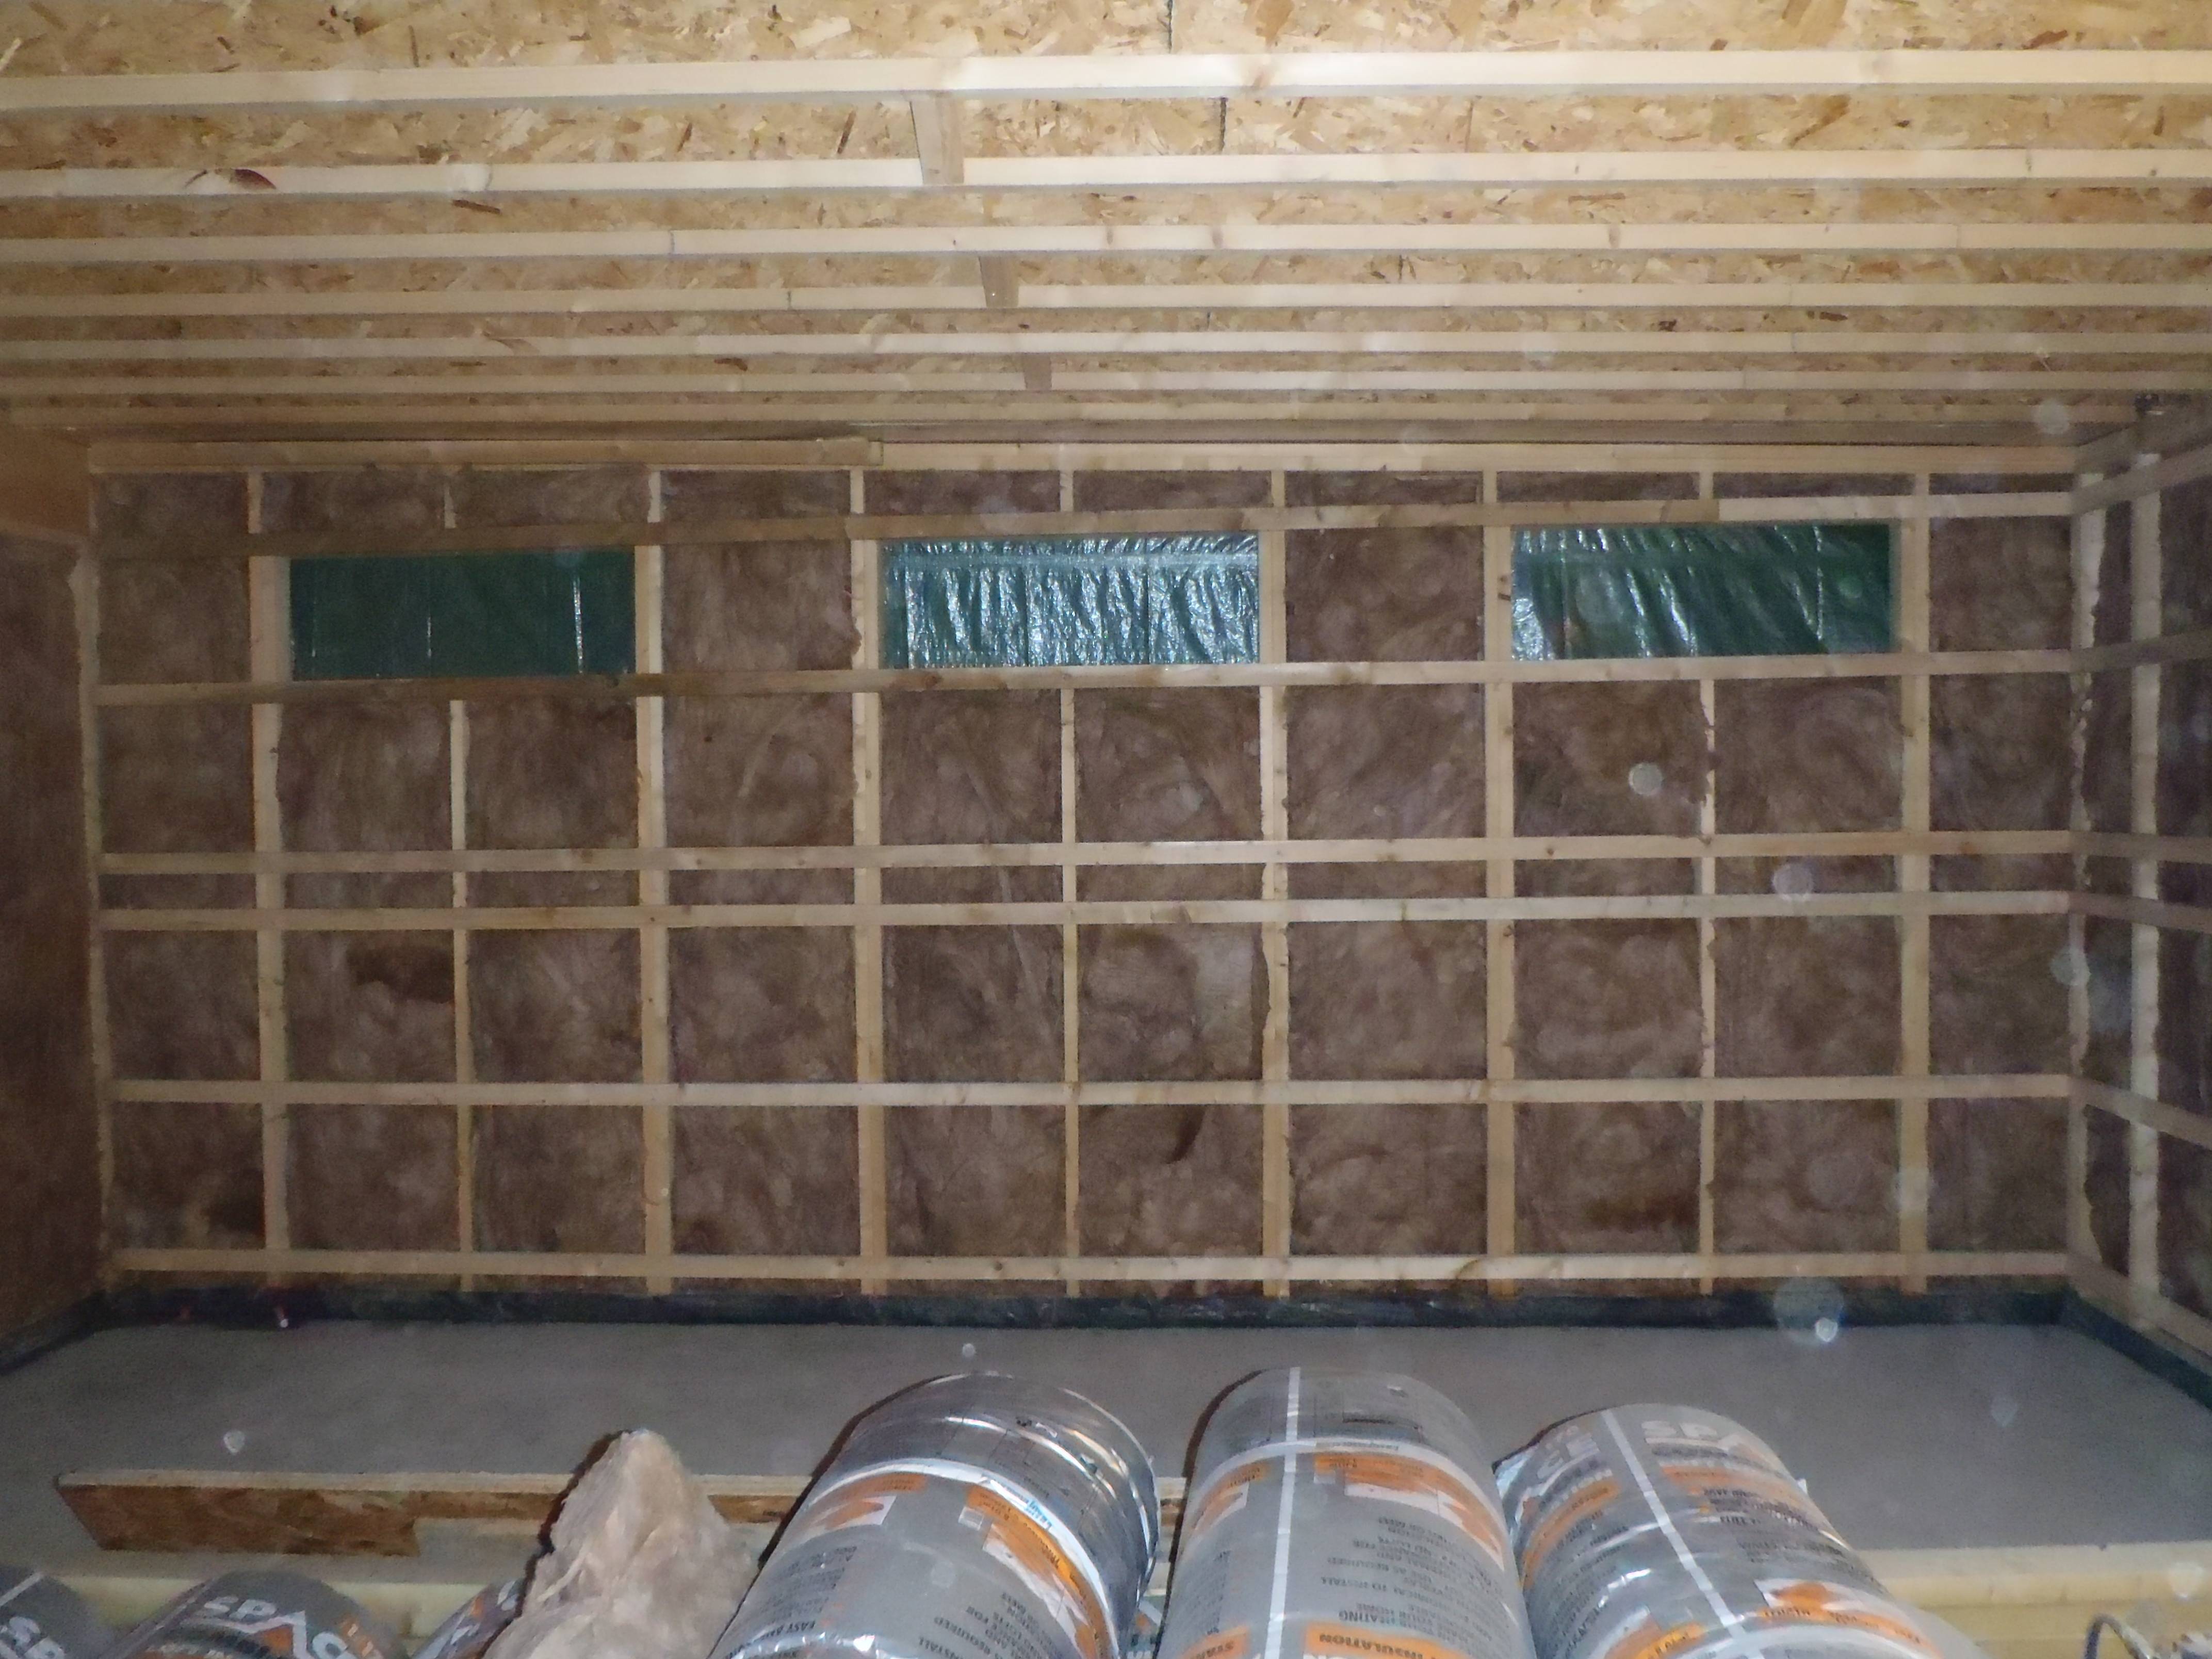
Horizontal rails fitted
Horizontal rails fitted

Horizontal rails fitted
Horizontal rails fitted
Finished off the last row of boards after the rain stopped this morning… We thought we would get all the nailing done but the rain returned! So we recovered the roof with the tarpaulin until another day (may be Saturday -looking at the forecast).
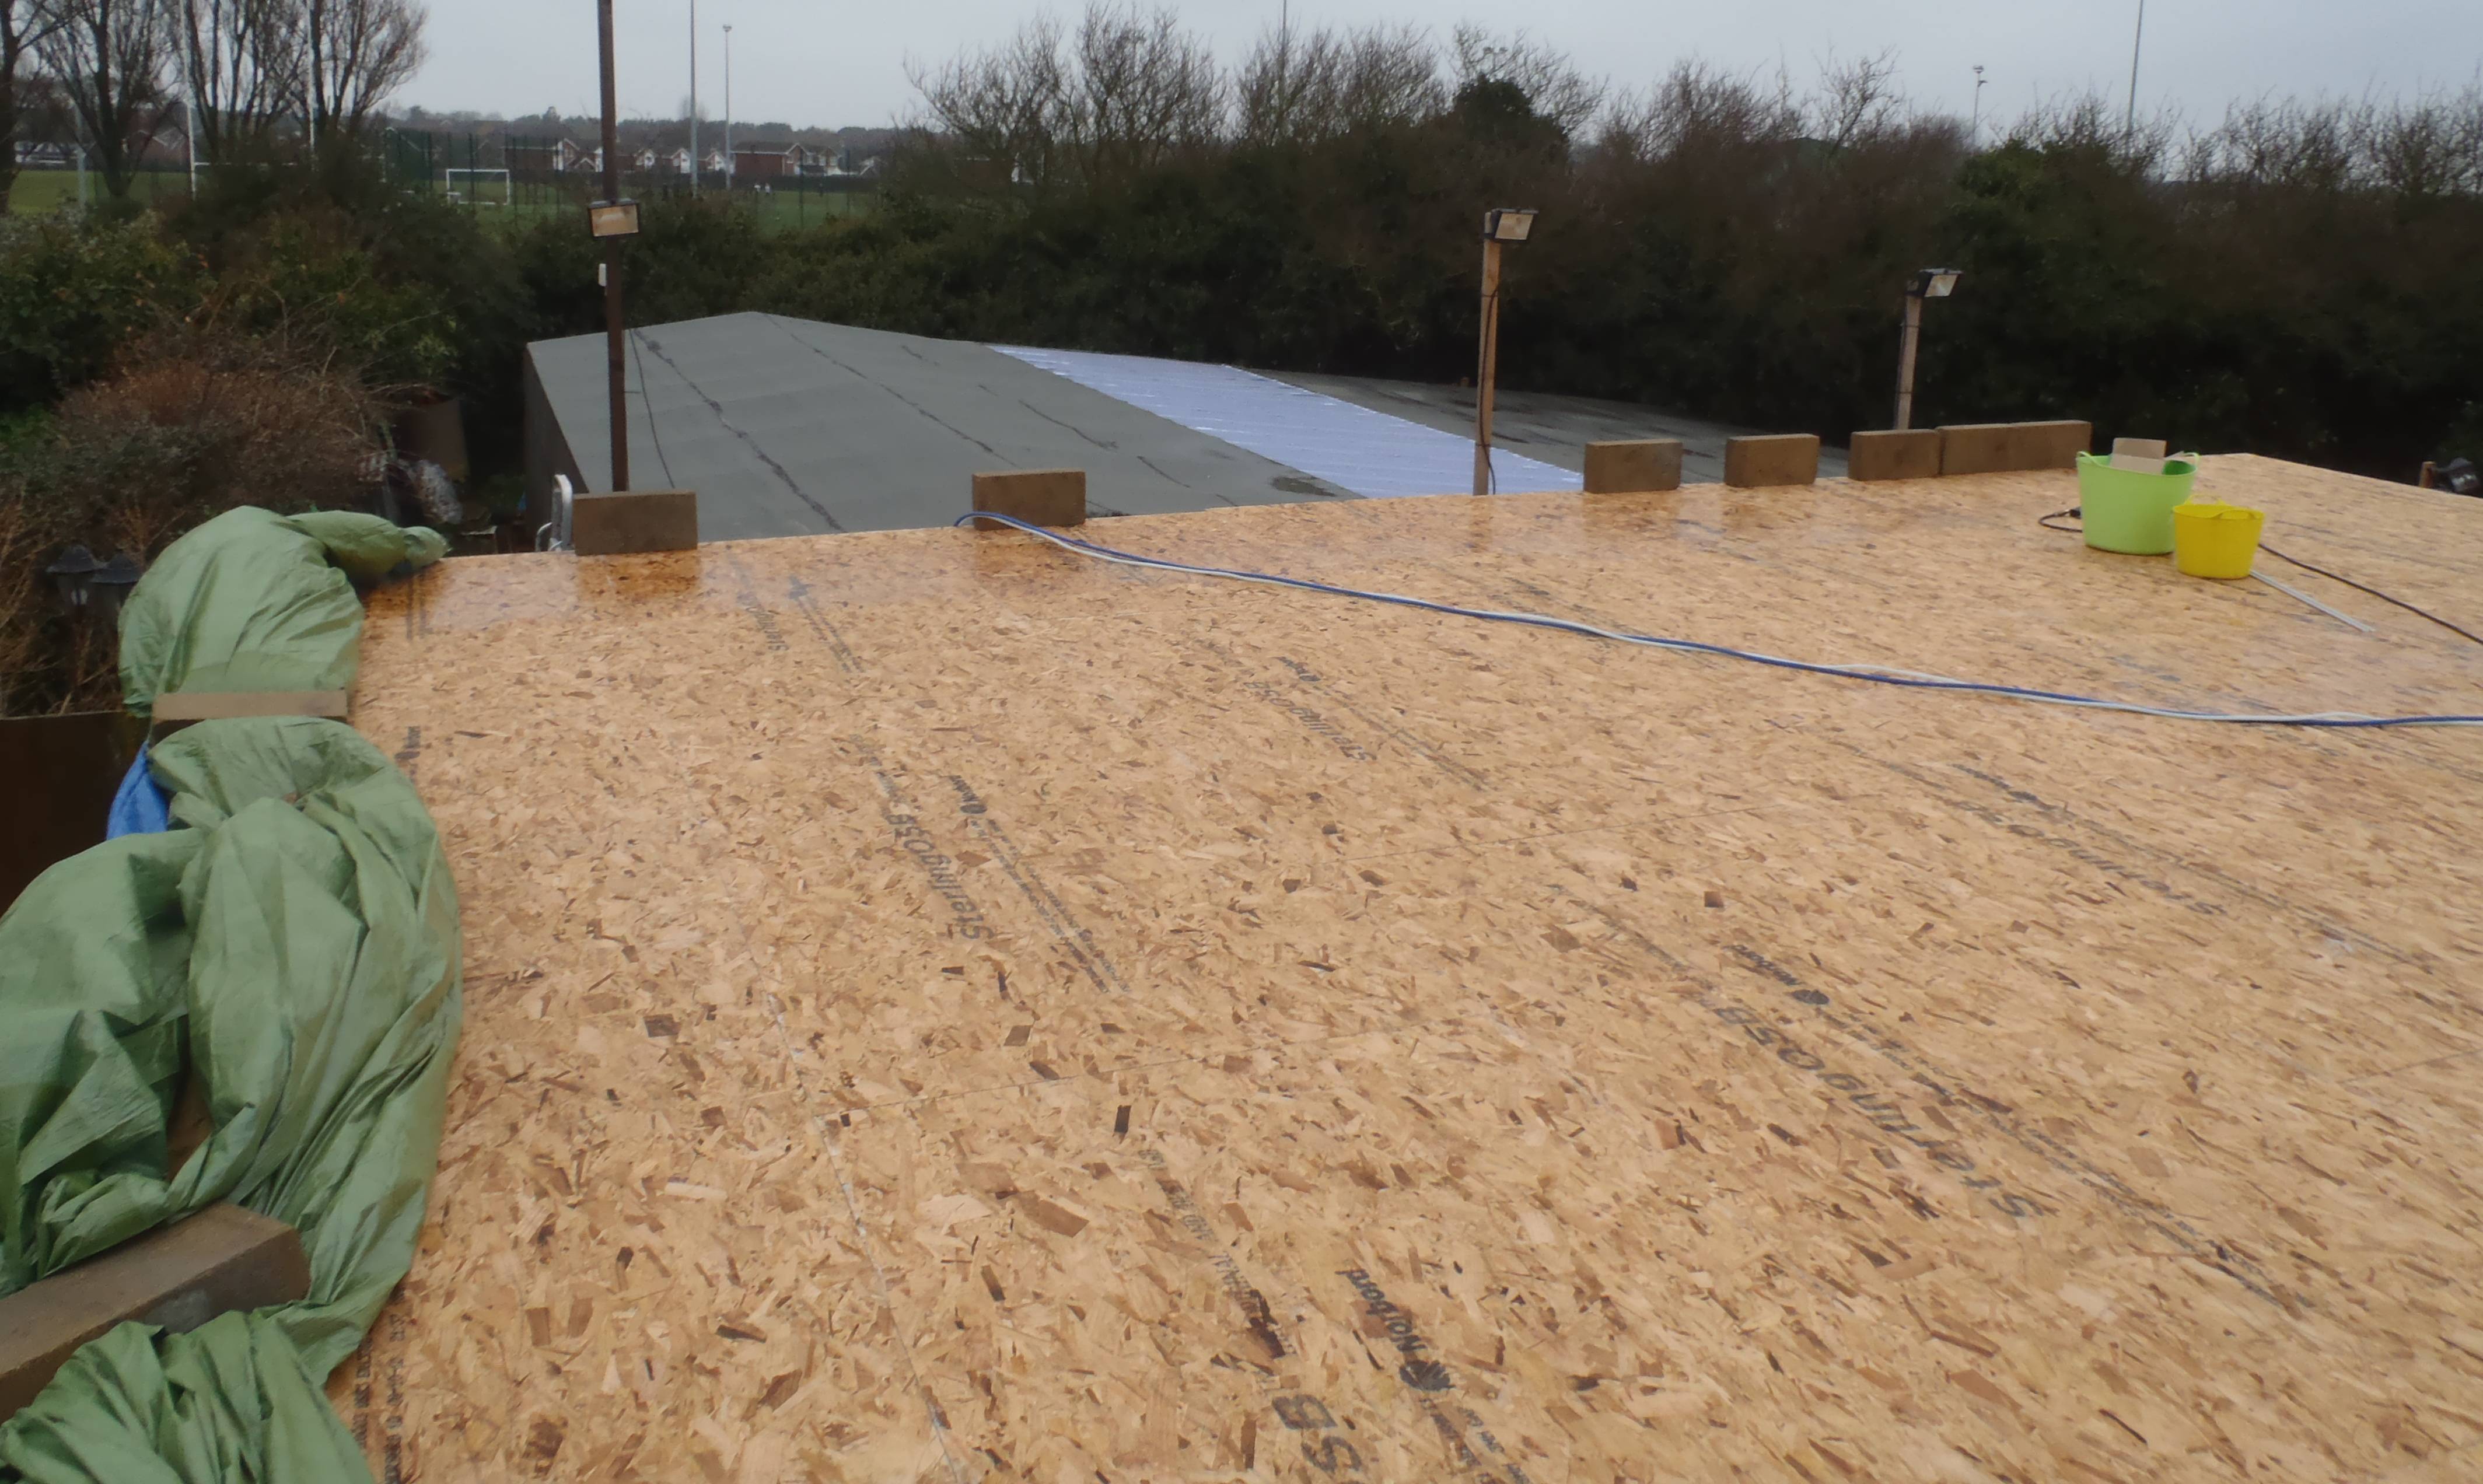
Roof boards all on

Roof boards all on
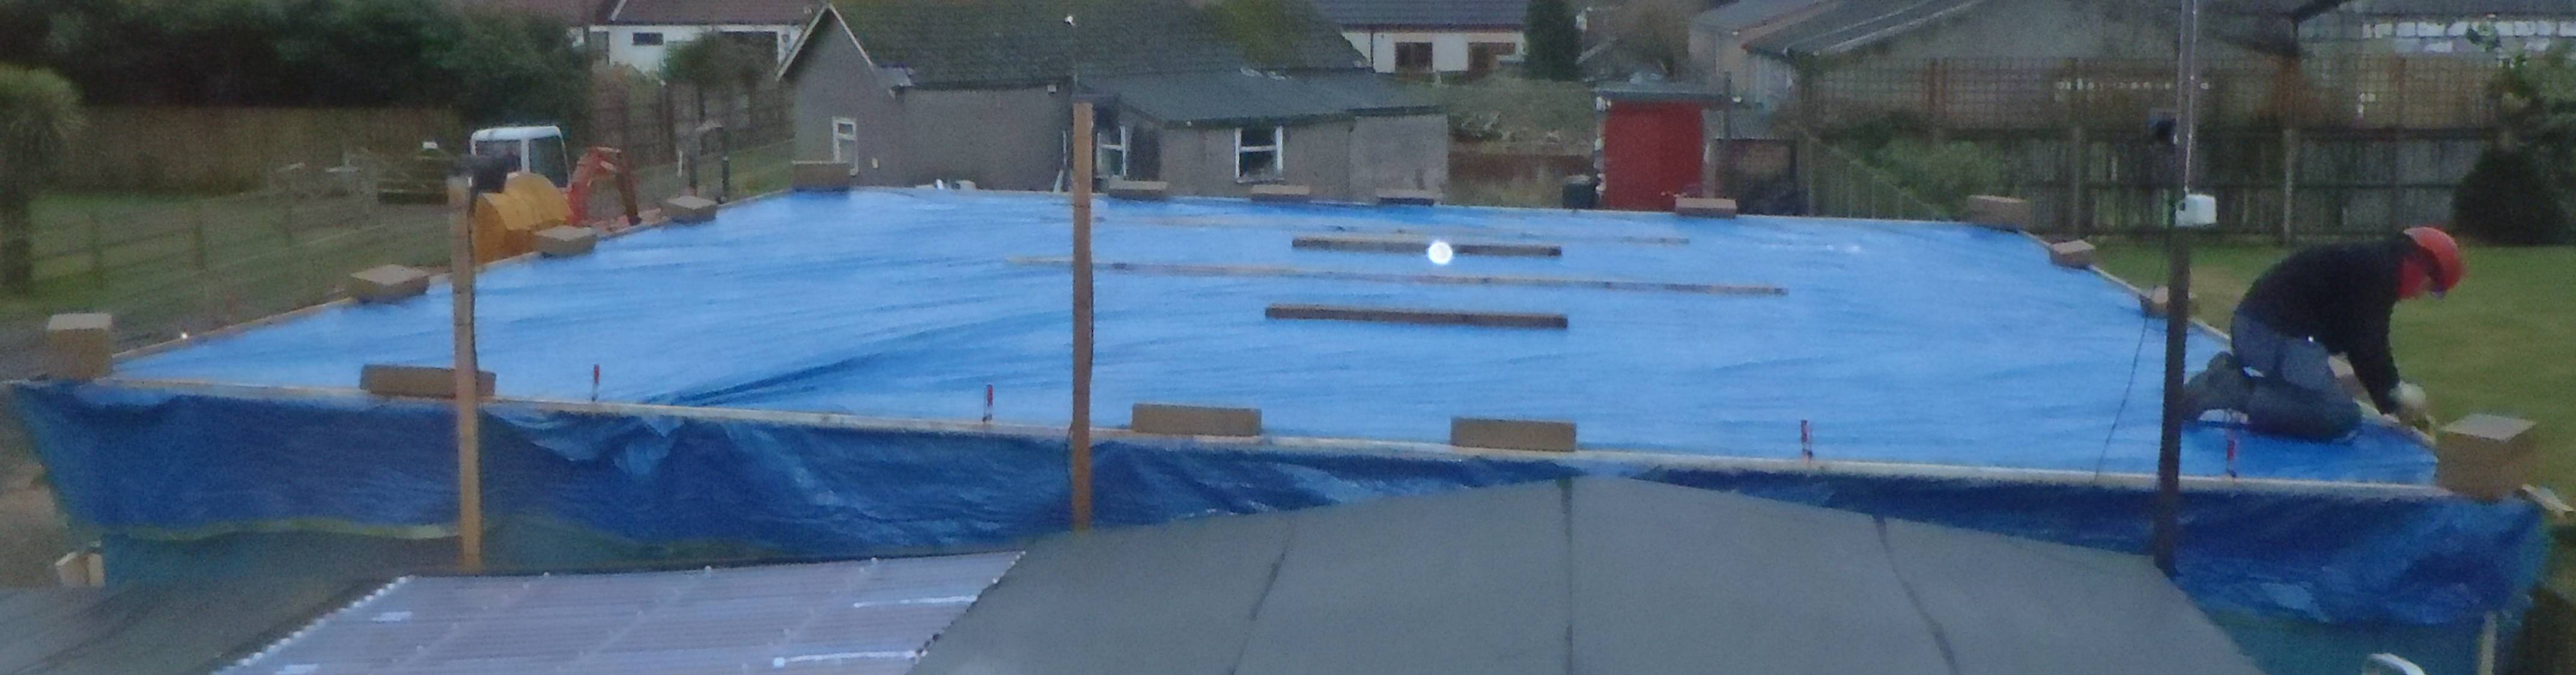
Tarpaulin day 3
Yahoo! the first wall of the building project is completed!
We started the day by using the mini-digger to lift the wall to the just above horizontal, this reduces the friction allowing the wall to be pulled by one person each side. The wall was soon moved next to its sole plate on the mass wall.
Before we lifted the wall upright we tied the ends to both the mass wall and the front of the garage to reduce the chance of the bottom of the wall sliding to far forwards or backwards. The mini digger the raised the wall with a careful combination of lifting the arm and driving forwards. When the wall was upright we left the arm holding the wall up while we fixed it in place. We then removed the ramps.

The wall was not quite lined up properly in either plane so we had to lever it into alignment with the front of the sole plate, then use a sledge hammer to shift the wall about 10mm to the left. A few concrete bolts were inserted to hold the bottom of the wall. We braced the wall with diagonal struts from the wall to timbers inserted into the earth tubes (our Dad suggested this). Finally all of the concrete bolts were inserted.

With the ramps ready it was time to start moving the wall into position to be lifted upright. We have bought a few sets of double pulley blocks and lots of rope! We fixed one block to the bottom of the wall at each side and the another block to the mass wall to each side. Once the rope was threaded through the pulleys we started to pull… and got nowhere! There was too much friction between the wall and the concrete. So we propped the all up again and slid four lengths of smooth timber under the wall in line with the ramps. Having lowered the wall we tried again … success the wall moves!
It still was not easy but we continued until the wall was nearly to the top of the ramps. Then we decided to stop for the day as it was now too dark for the web-cam to record time-lapse images.

