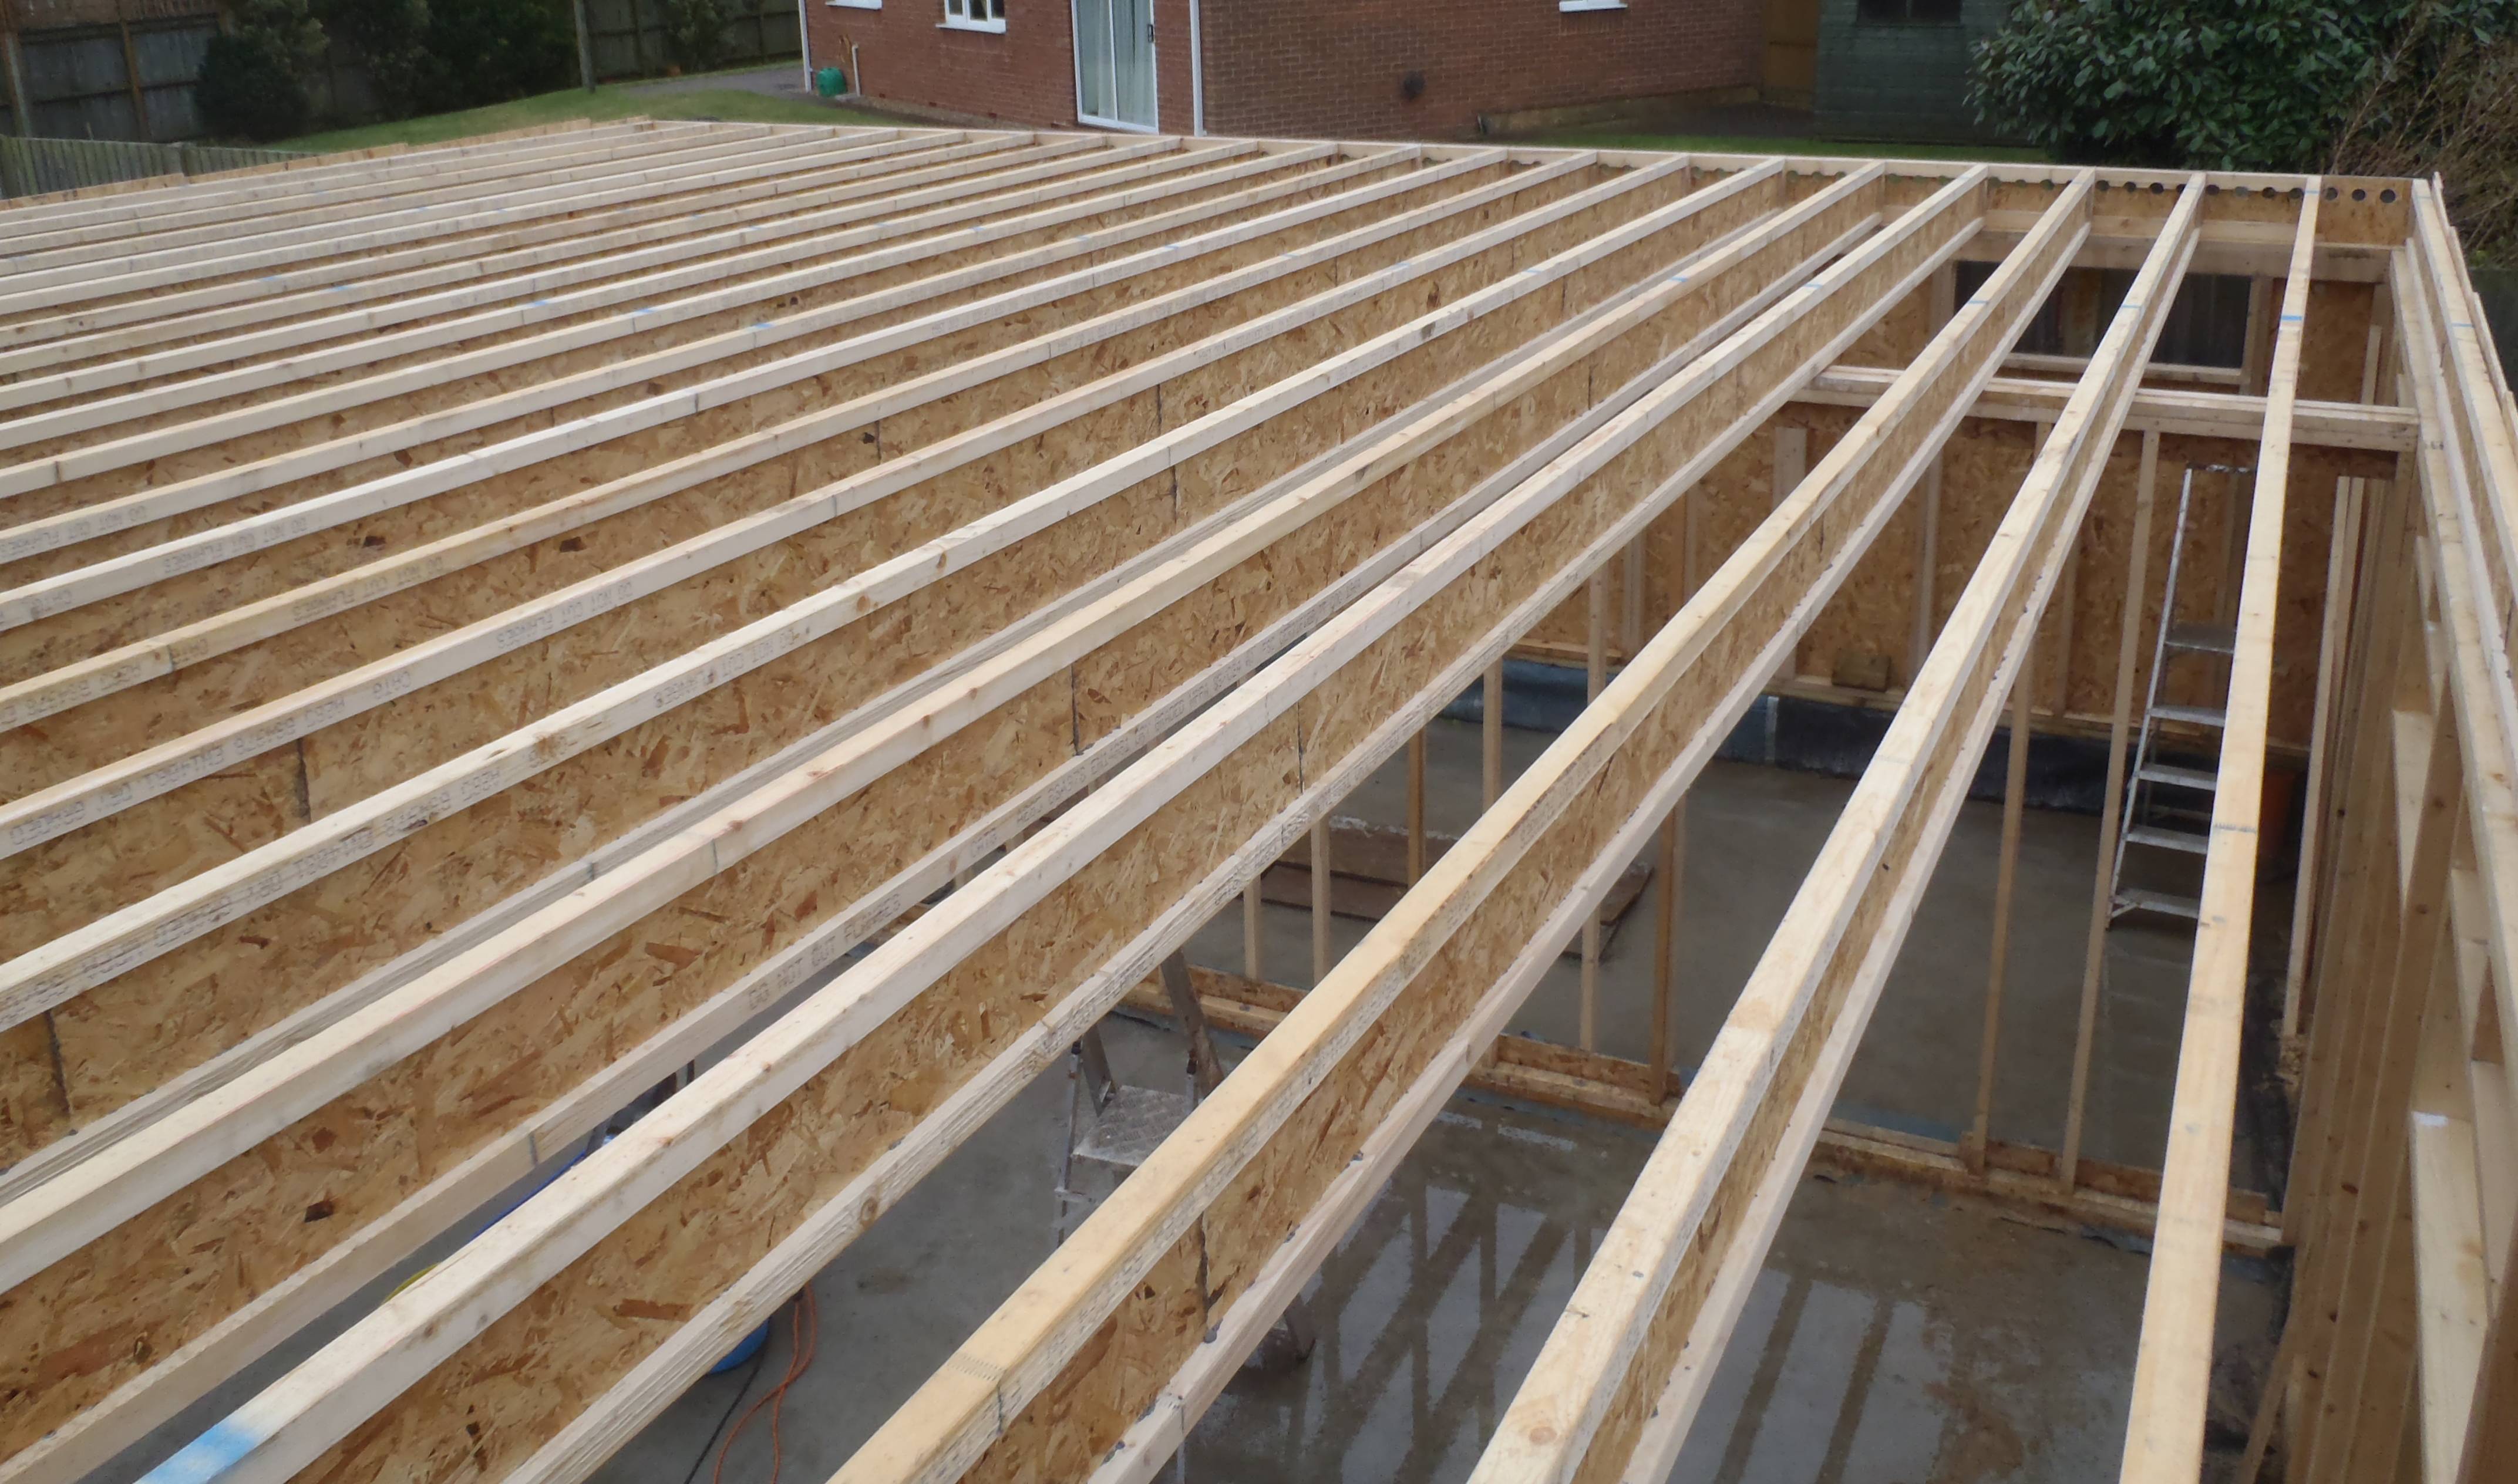
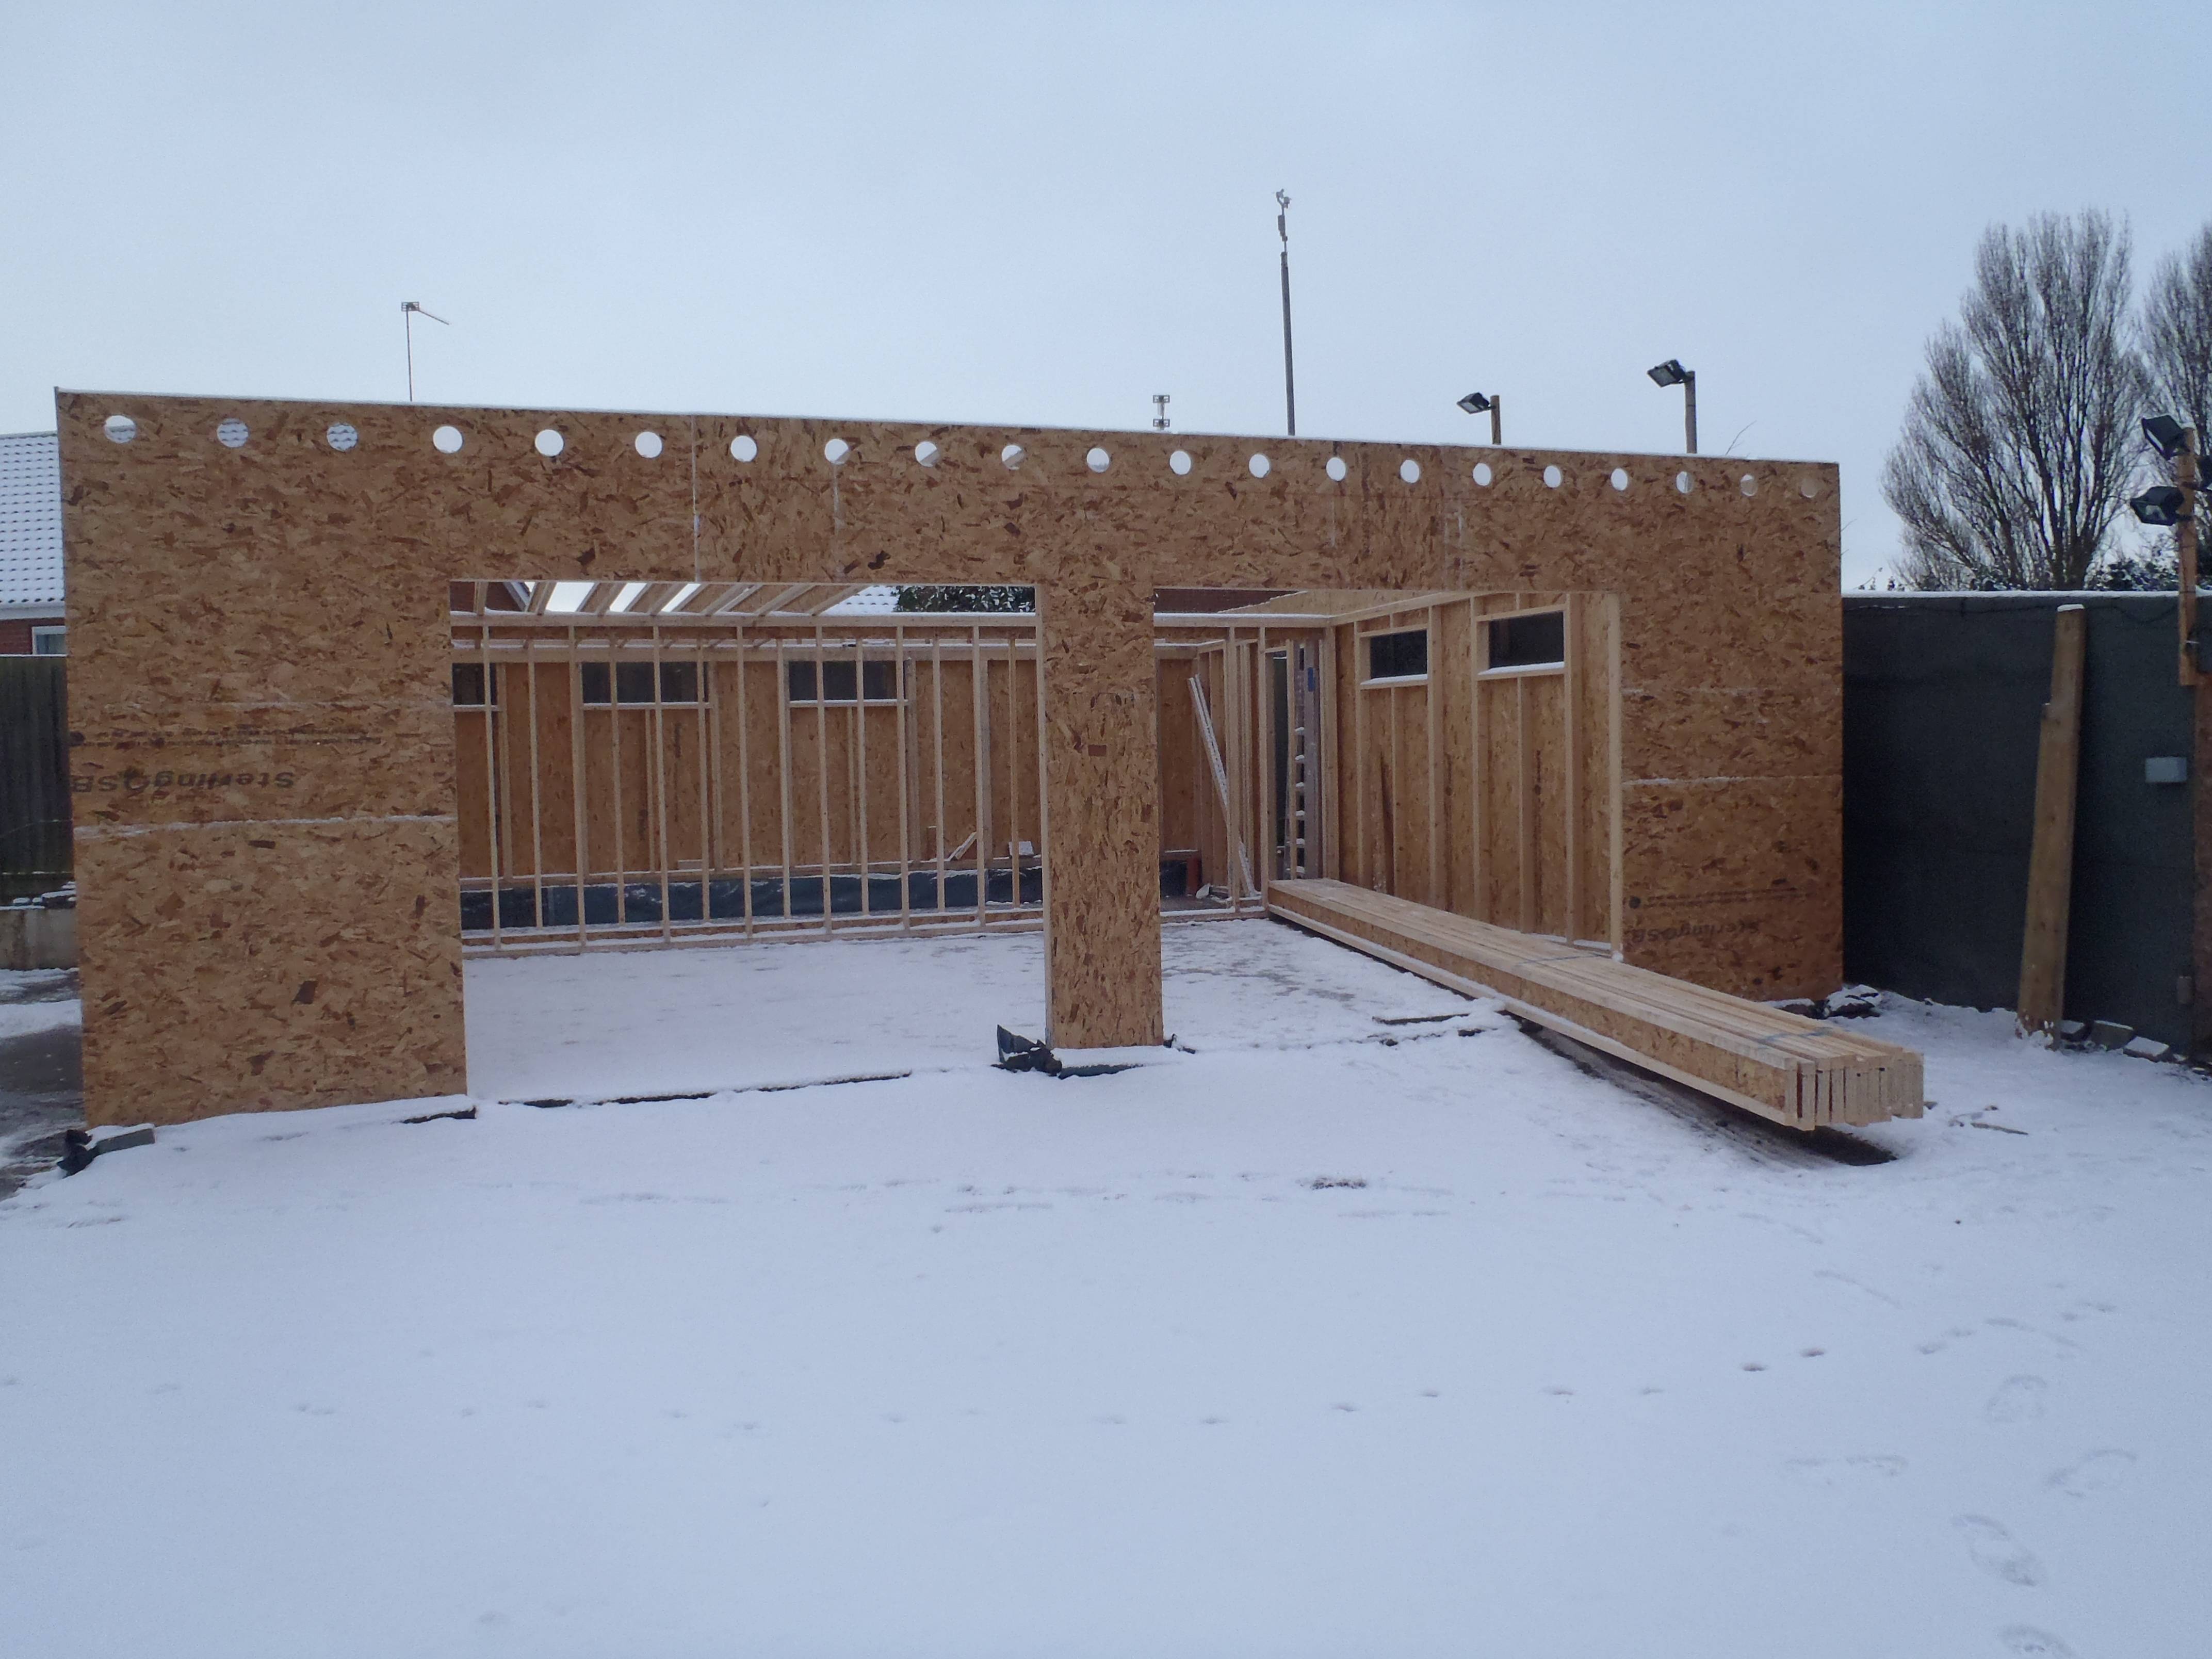
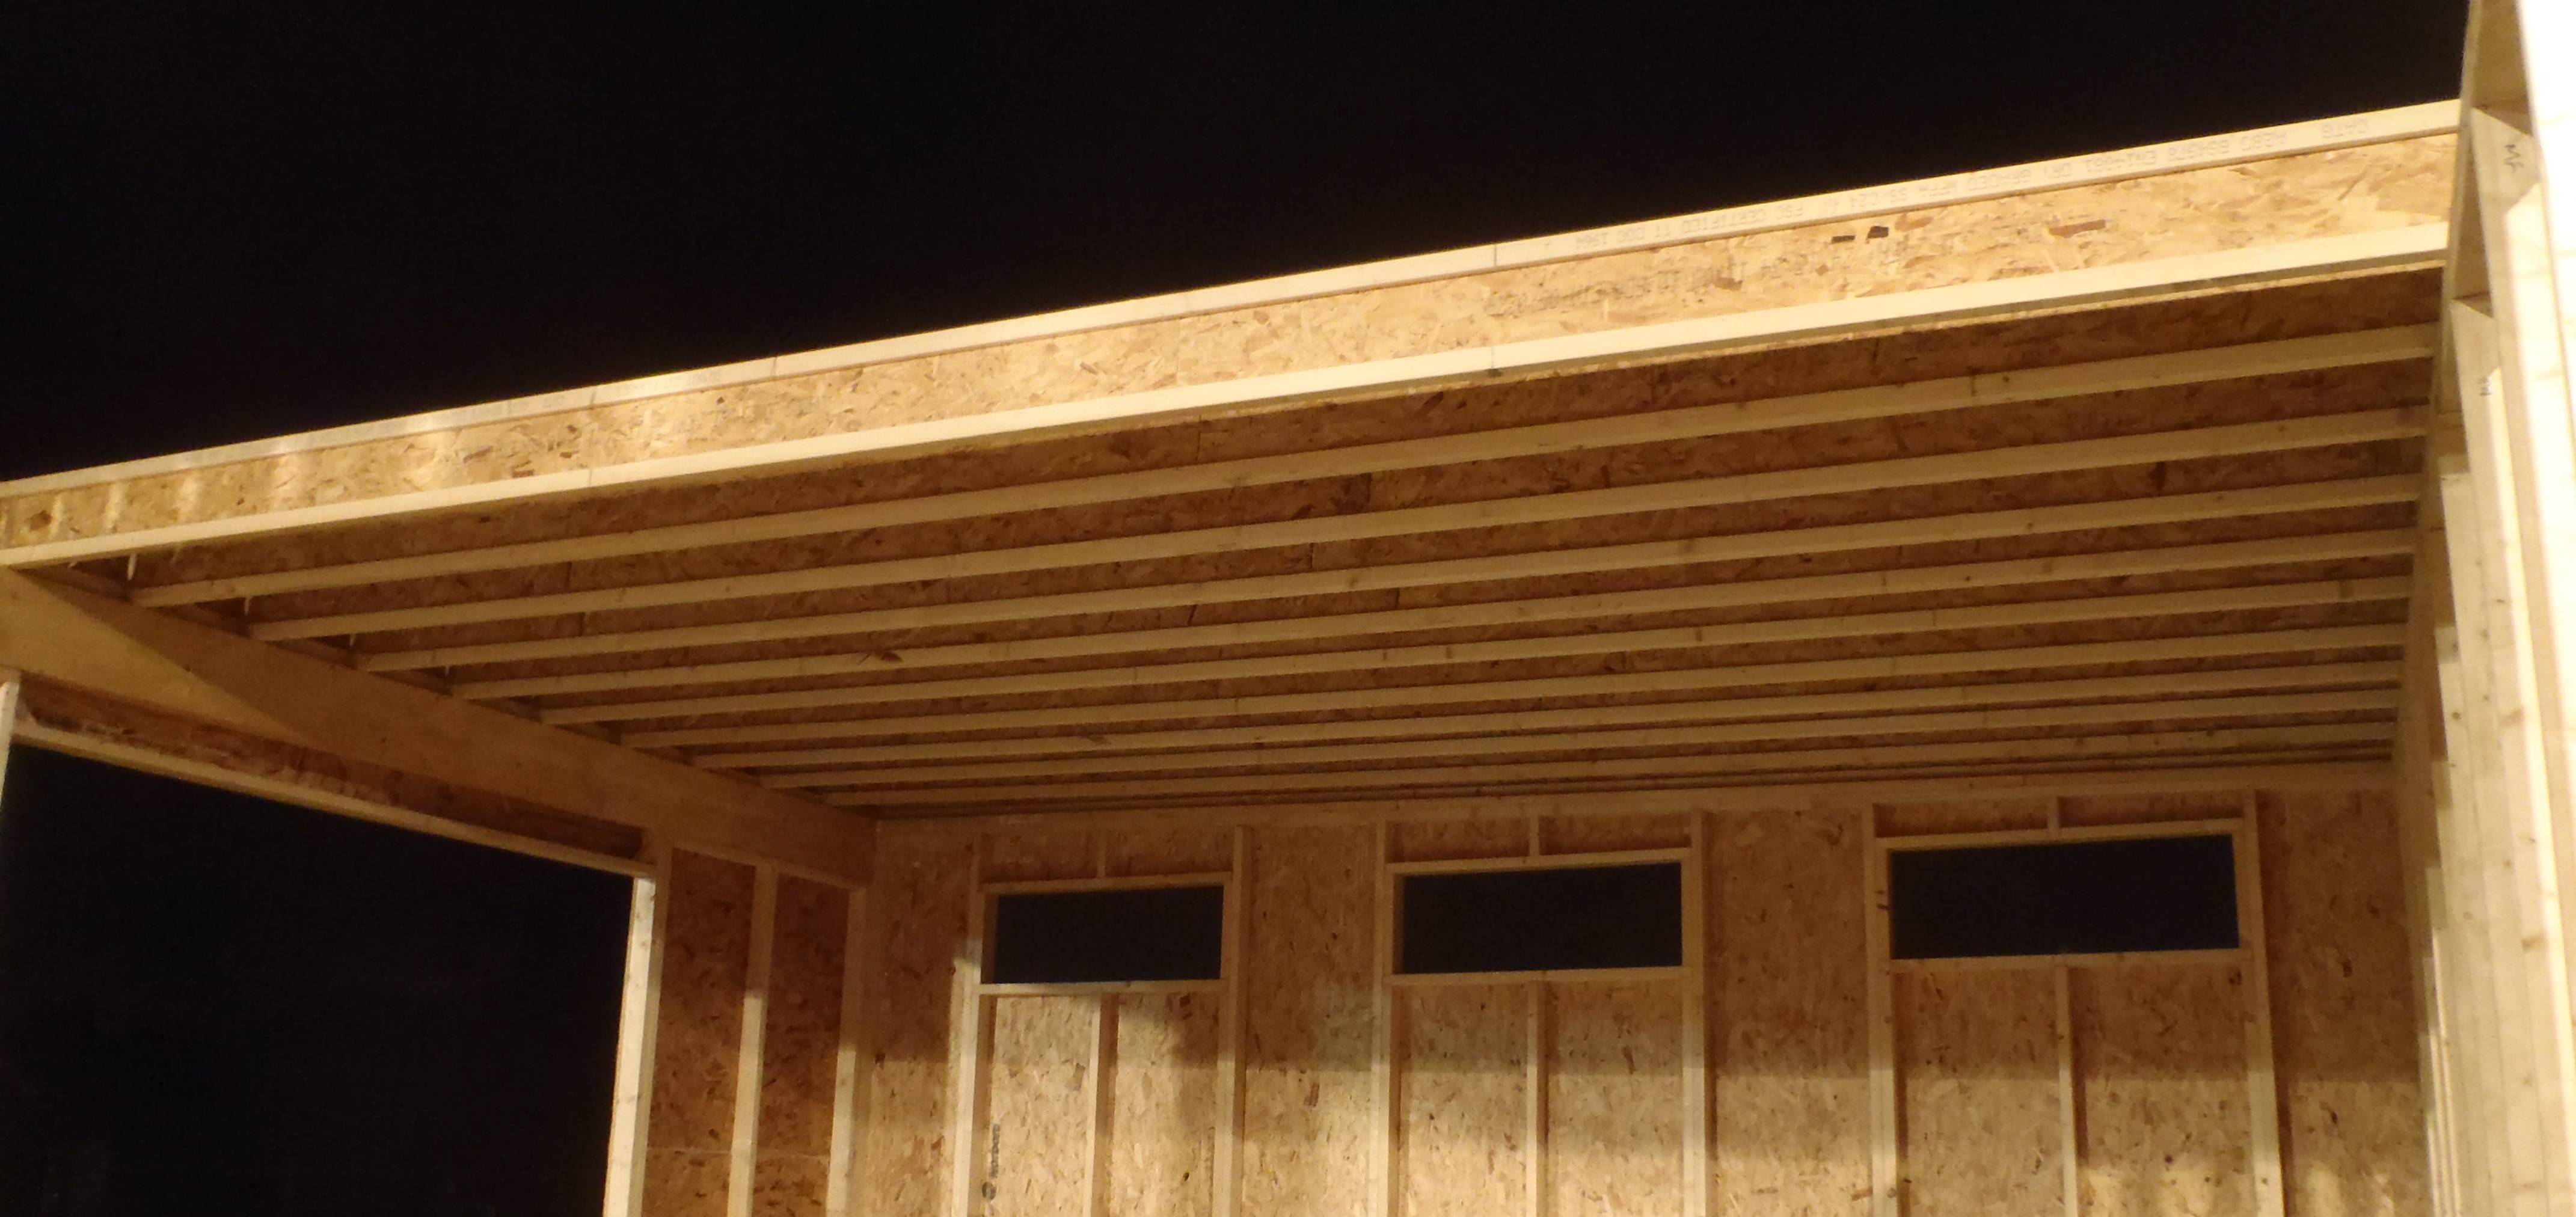
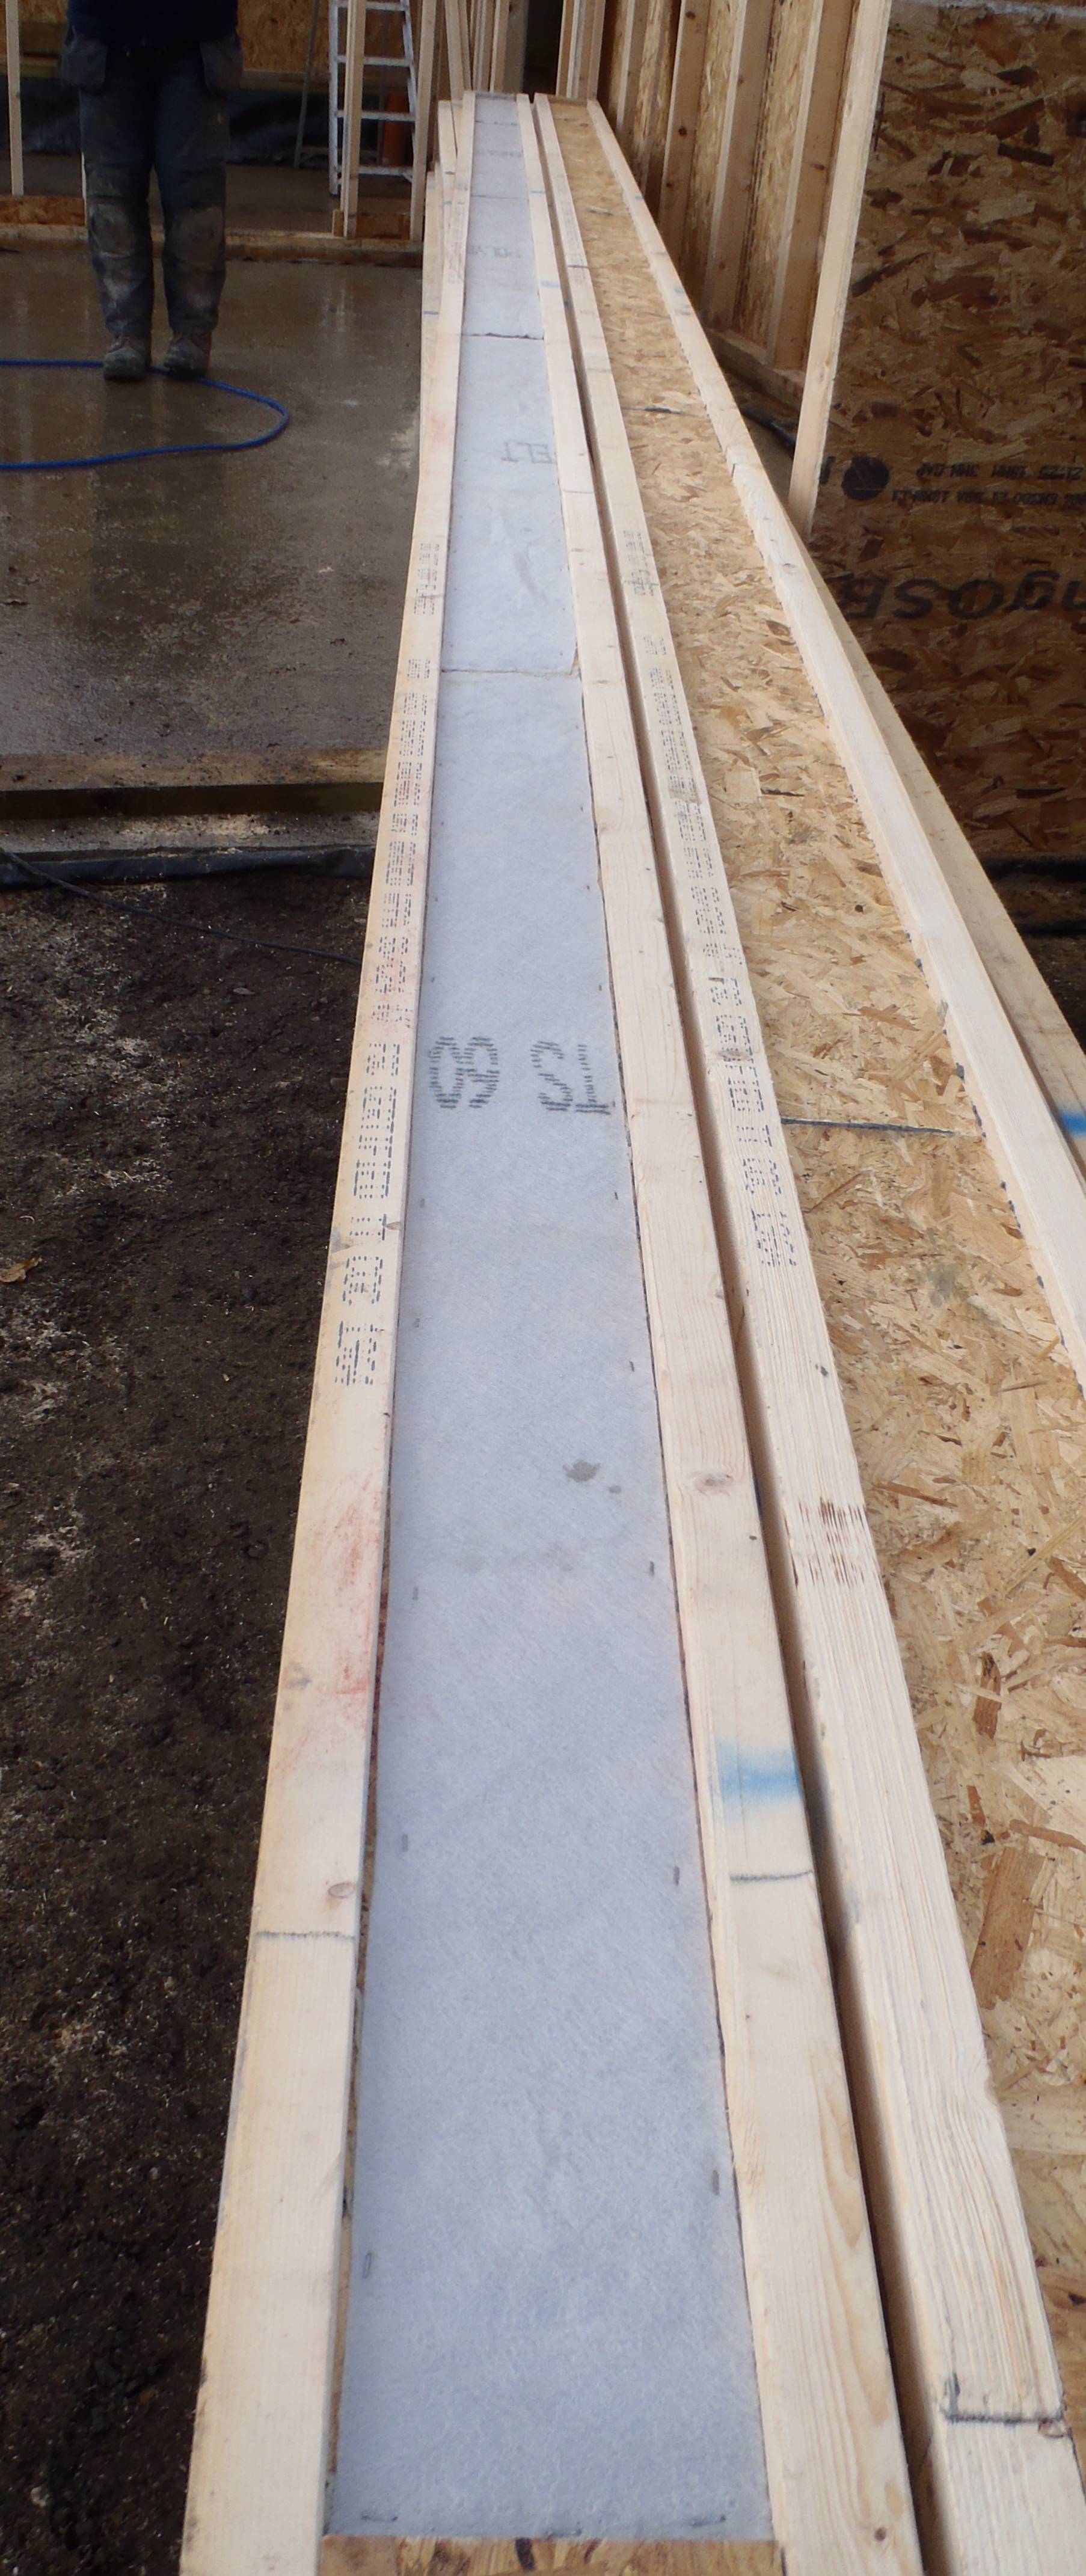
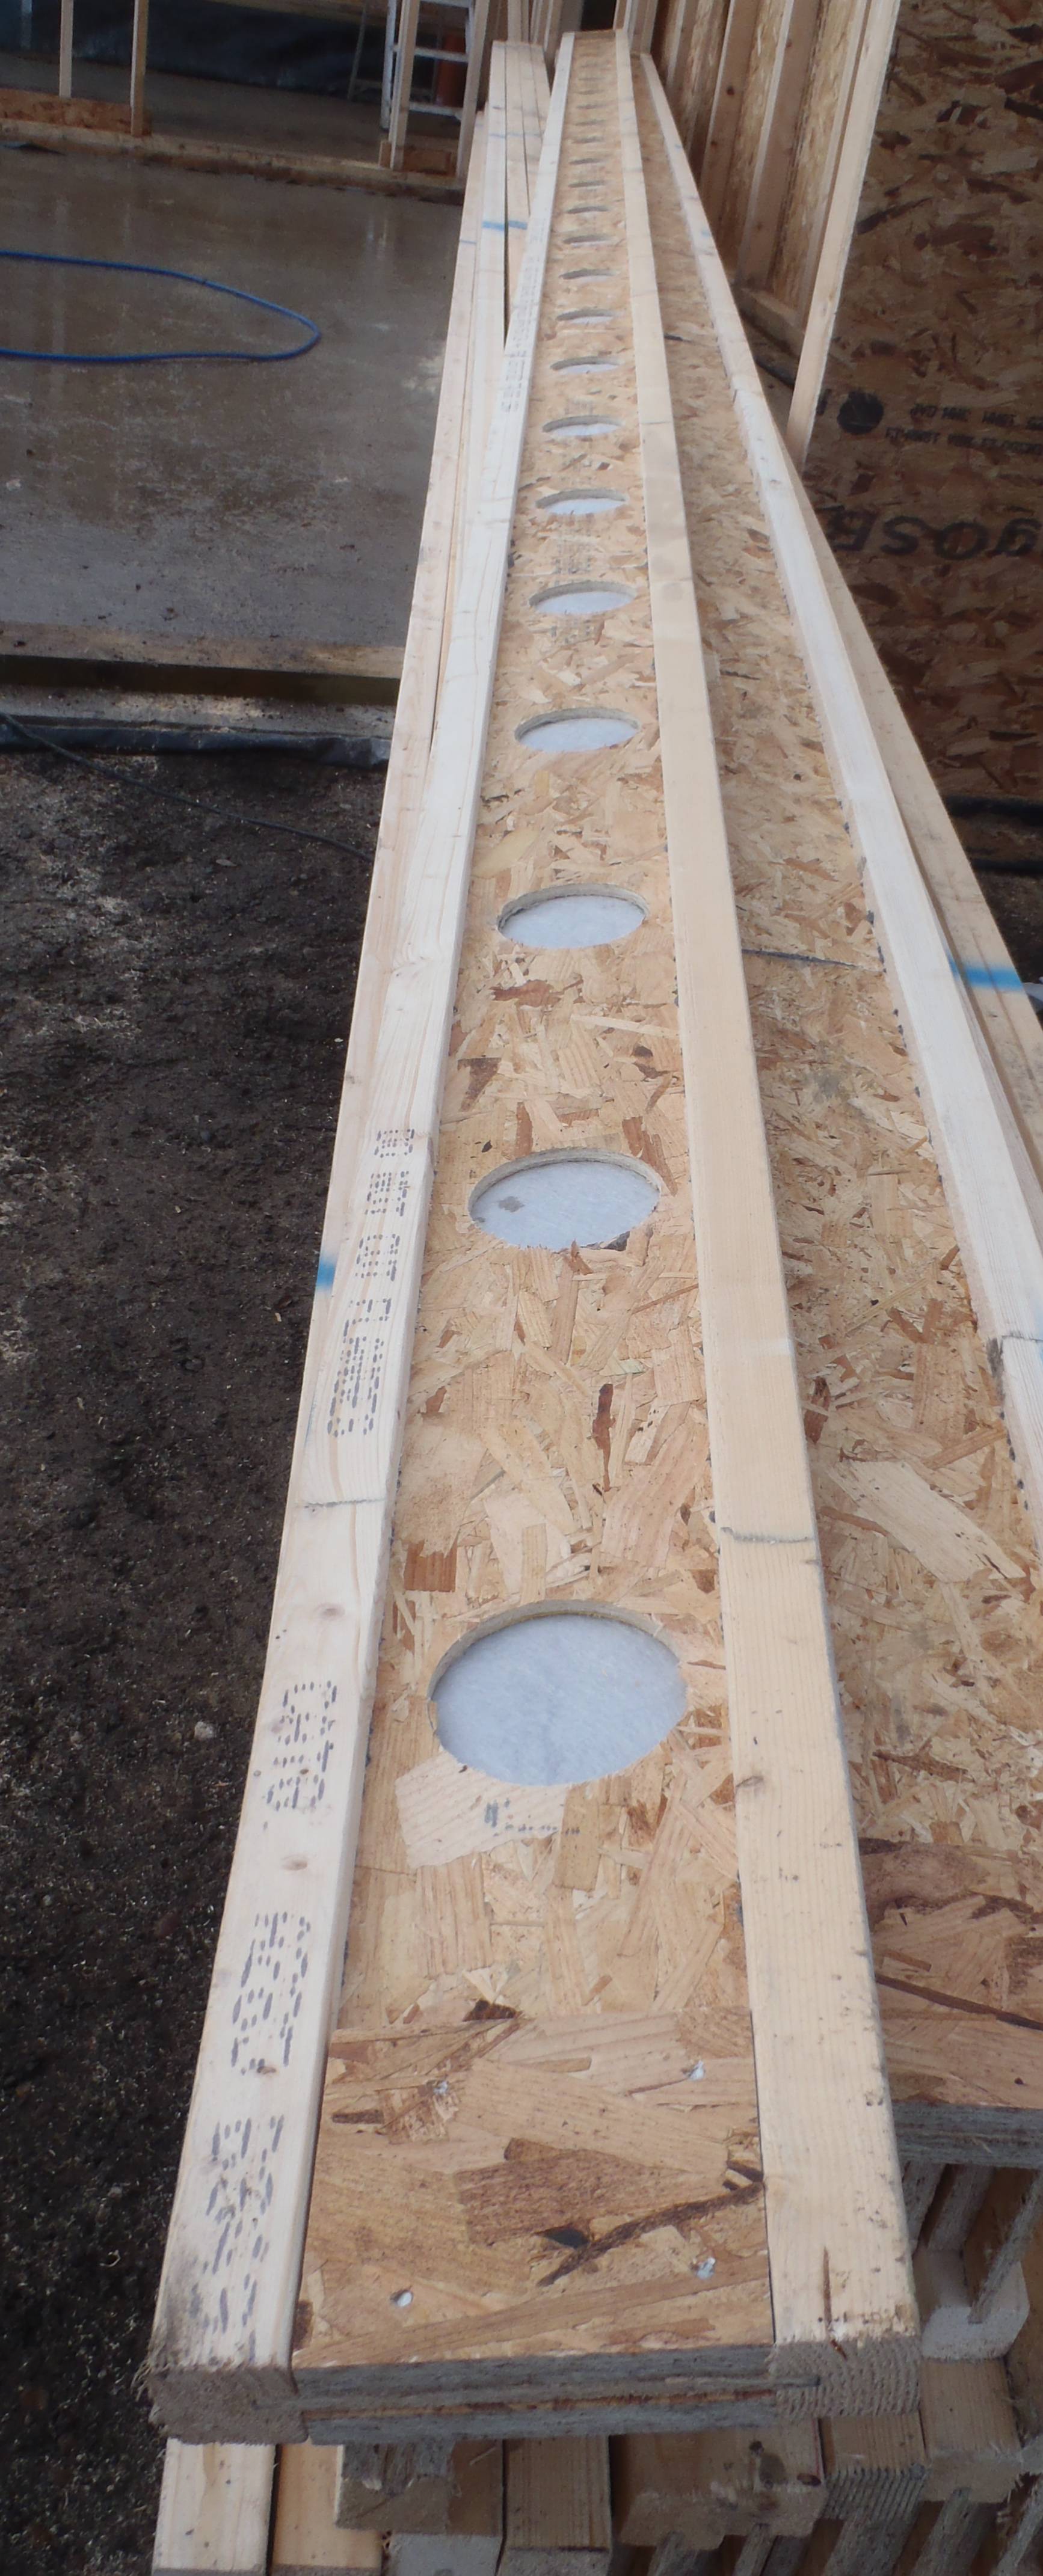
And we also trimmed the excess material off the tops of the walls. The OSB boards were nailed to the very tops of the iBeams and noggins (on the front) to finally finish off the walls.
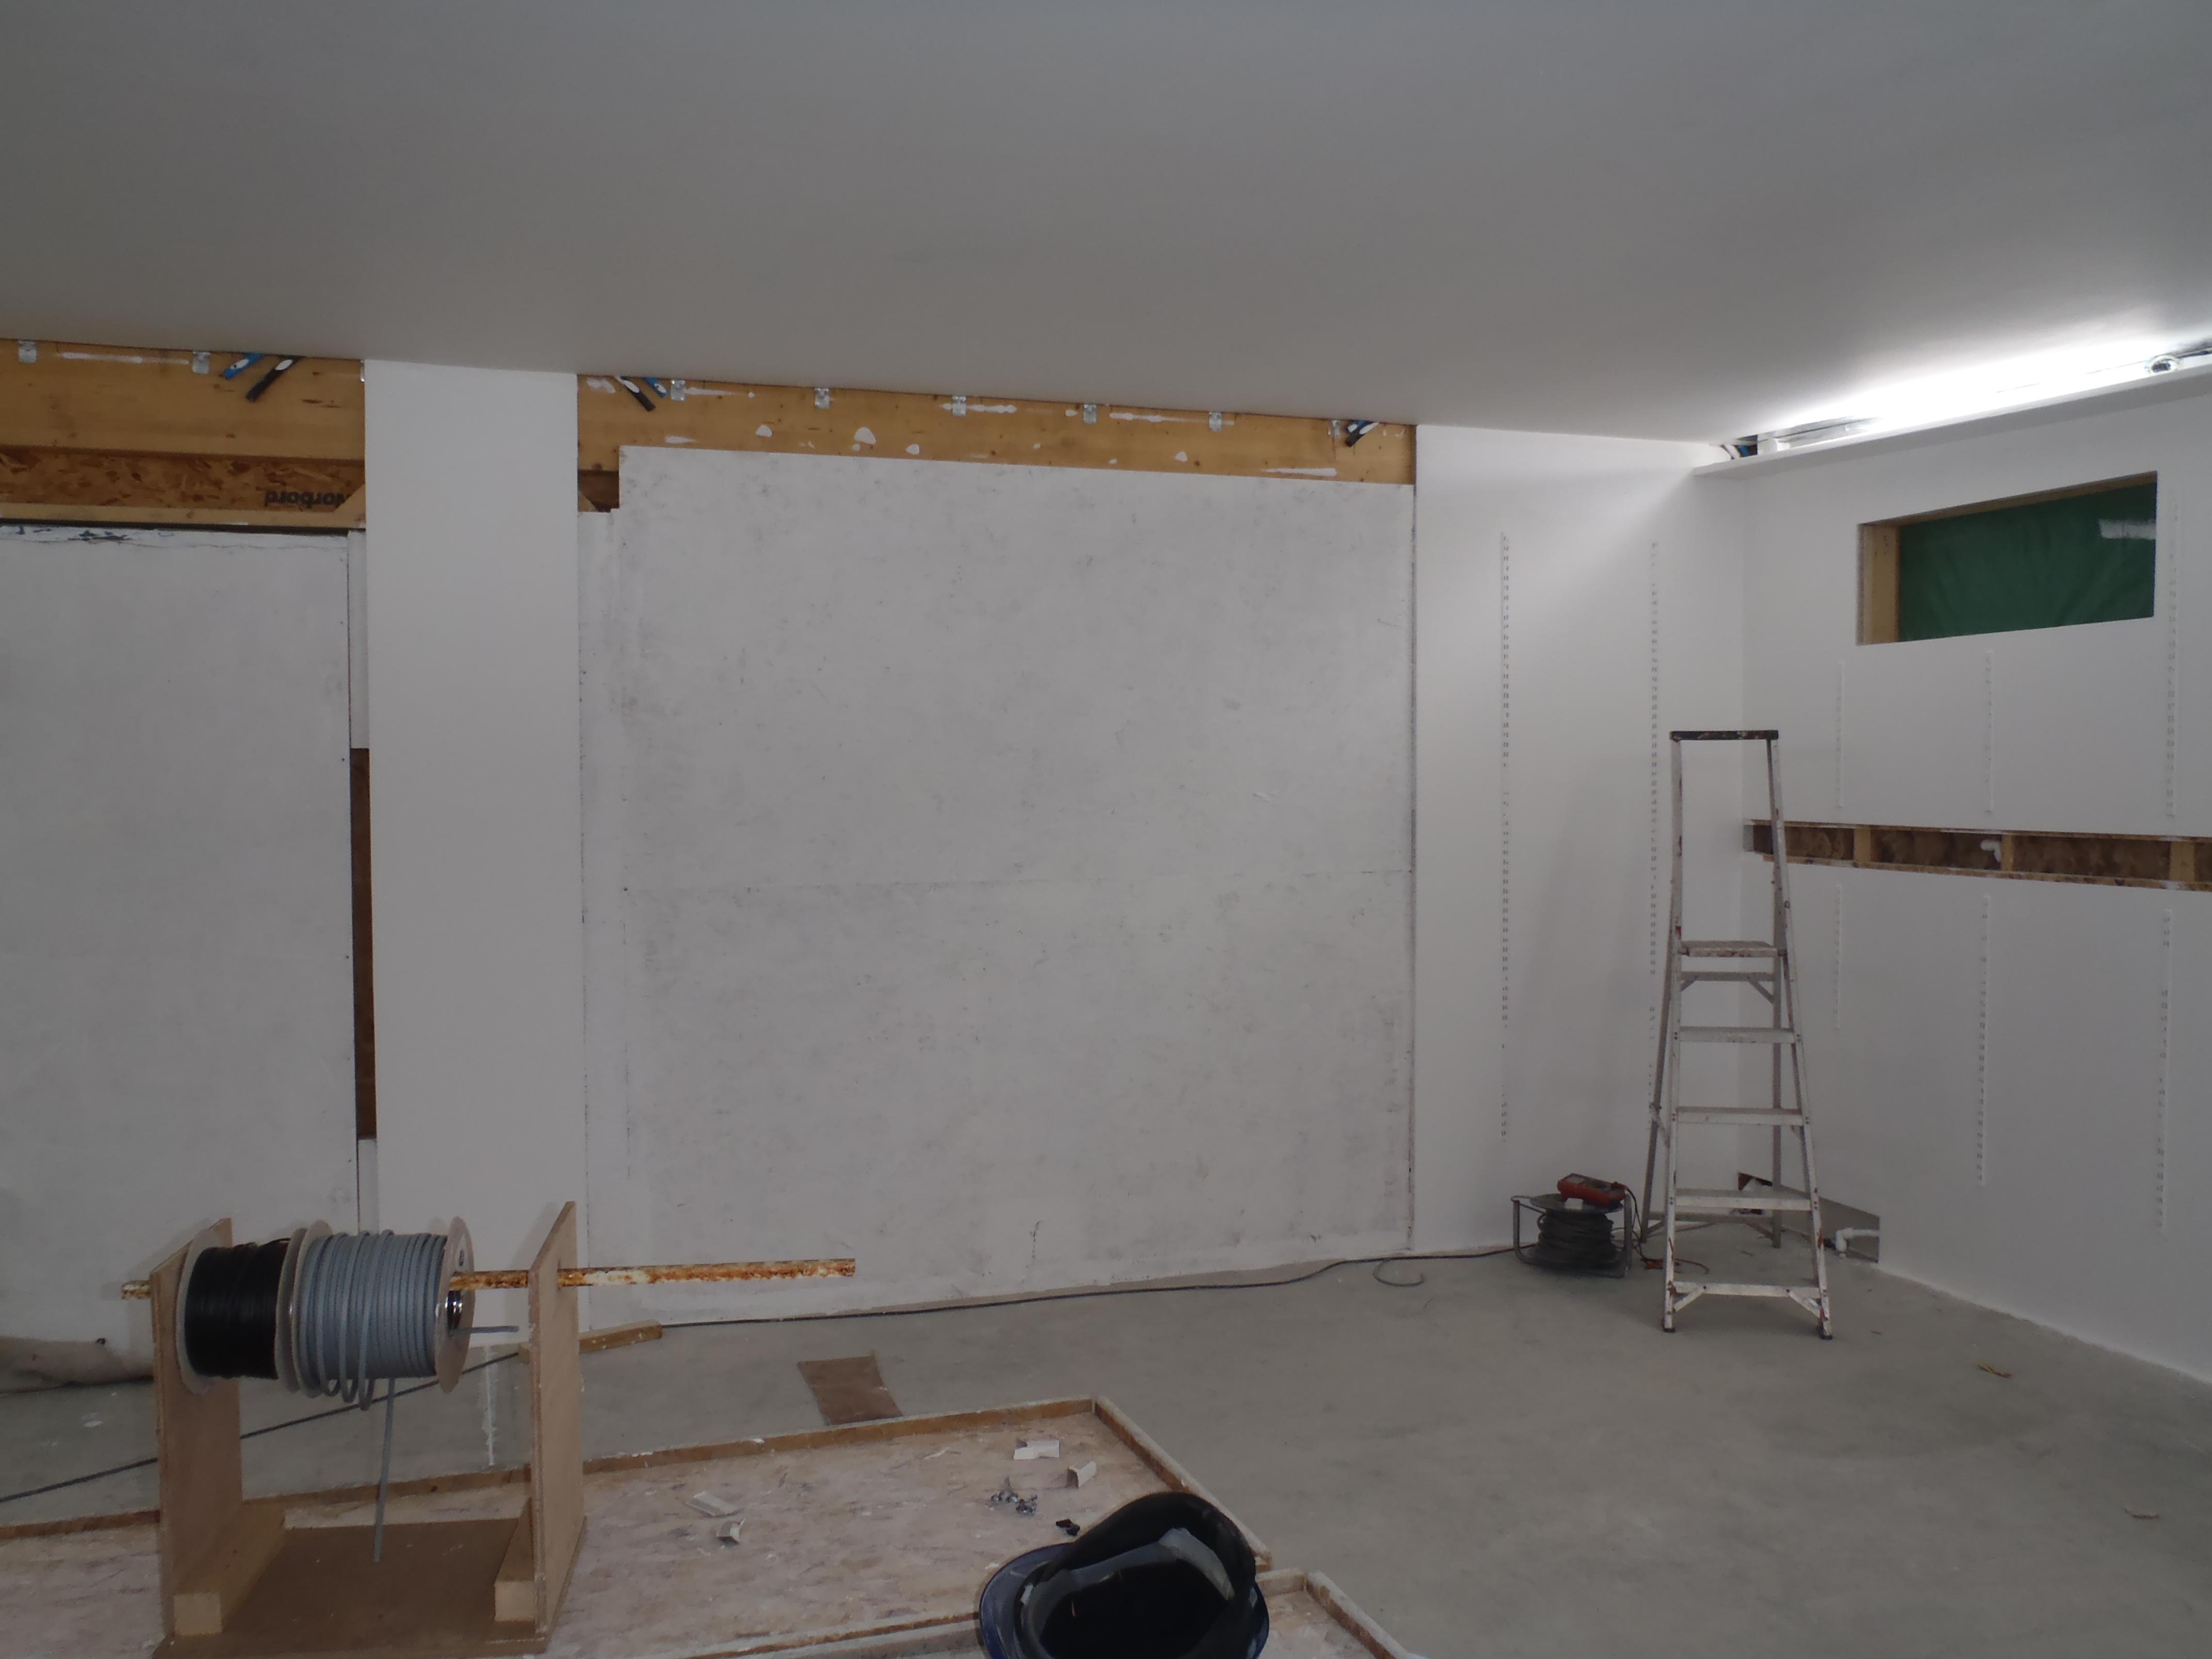
Garage Lights Finished
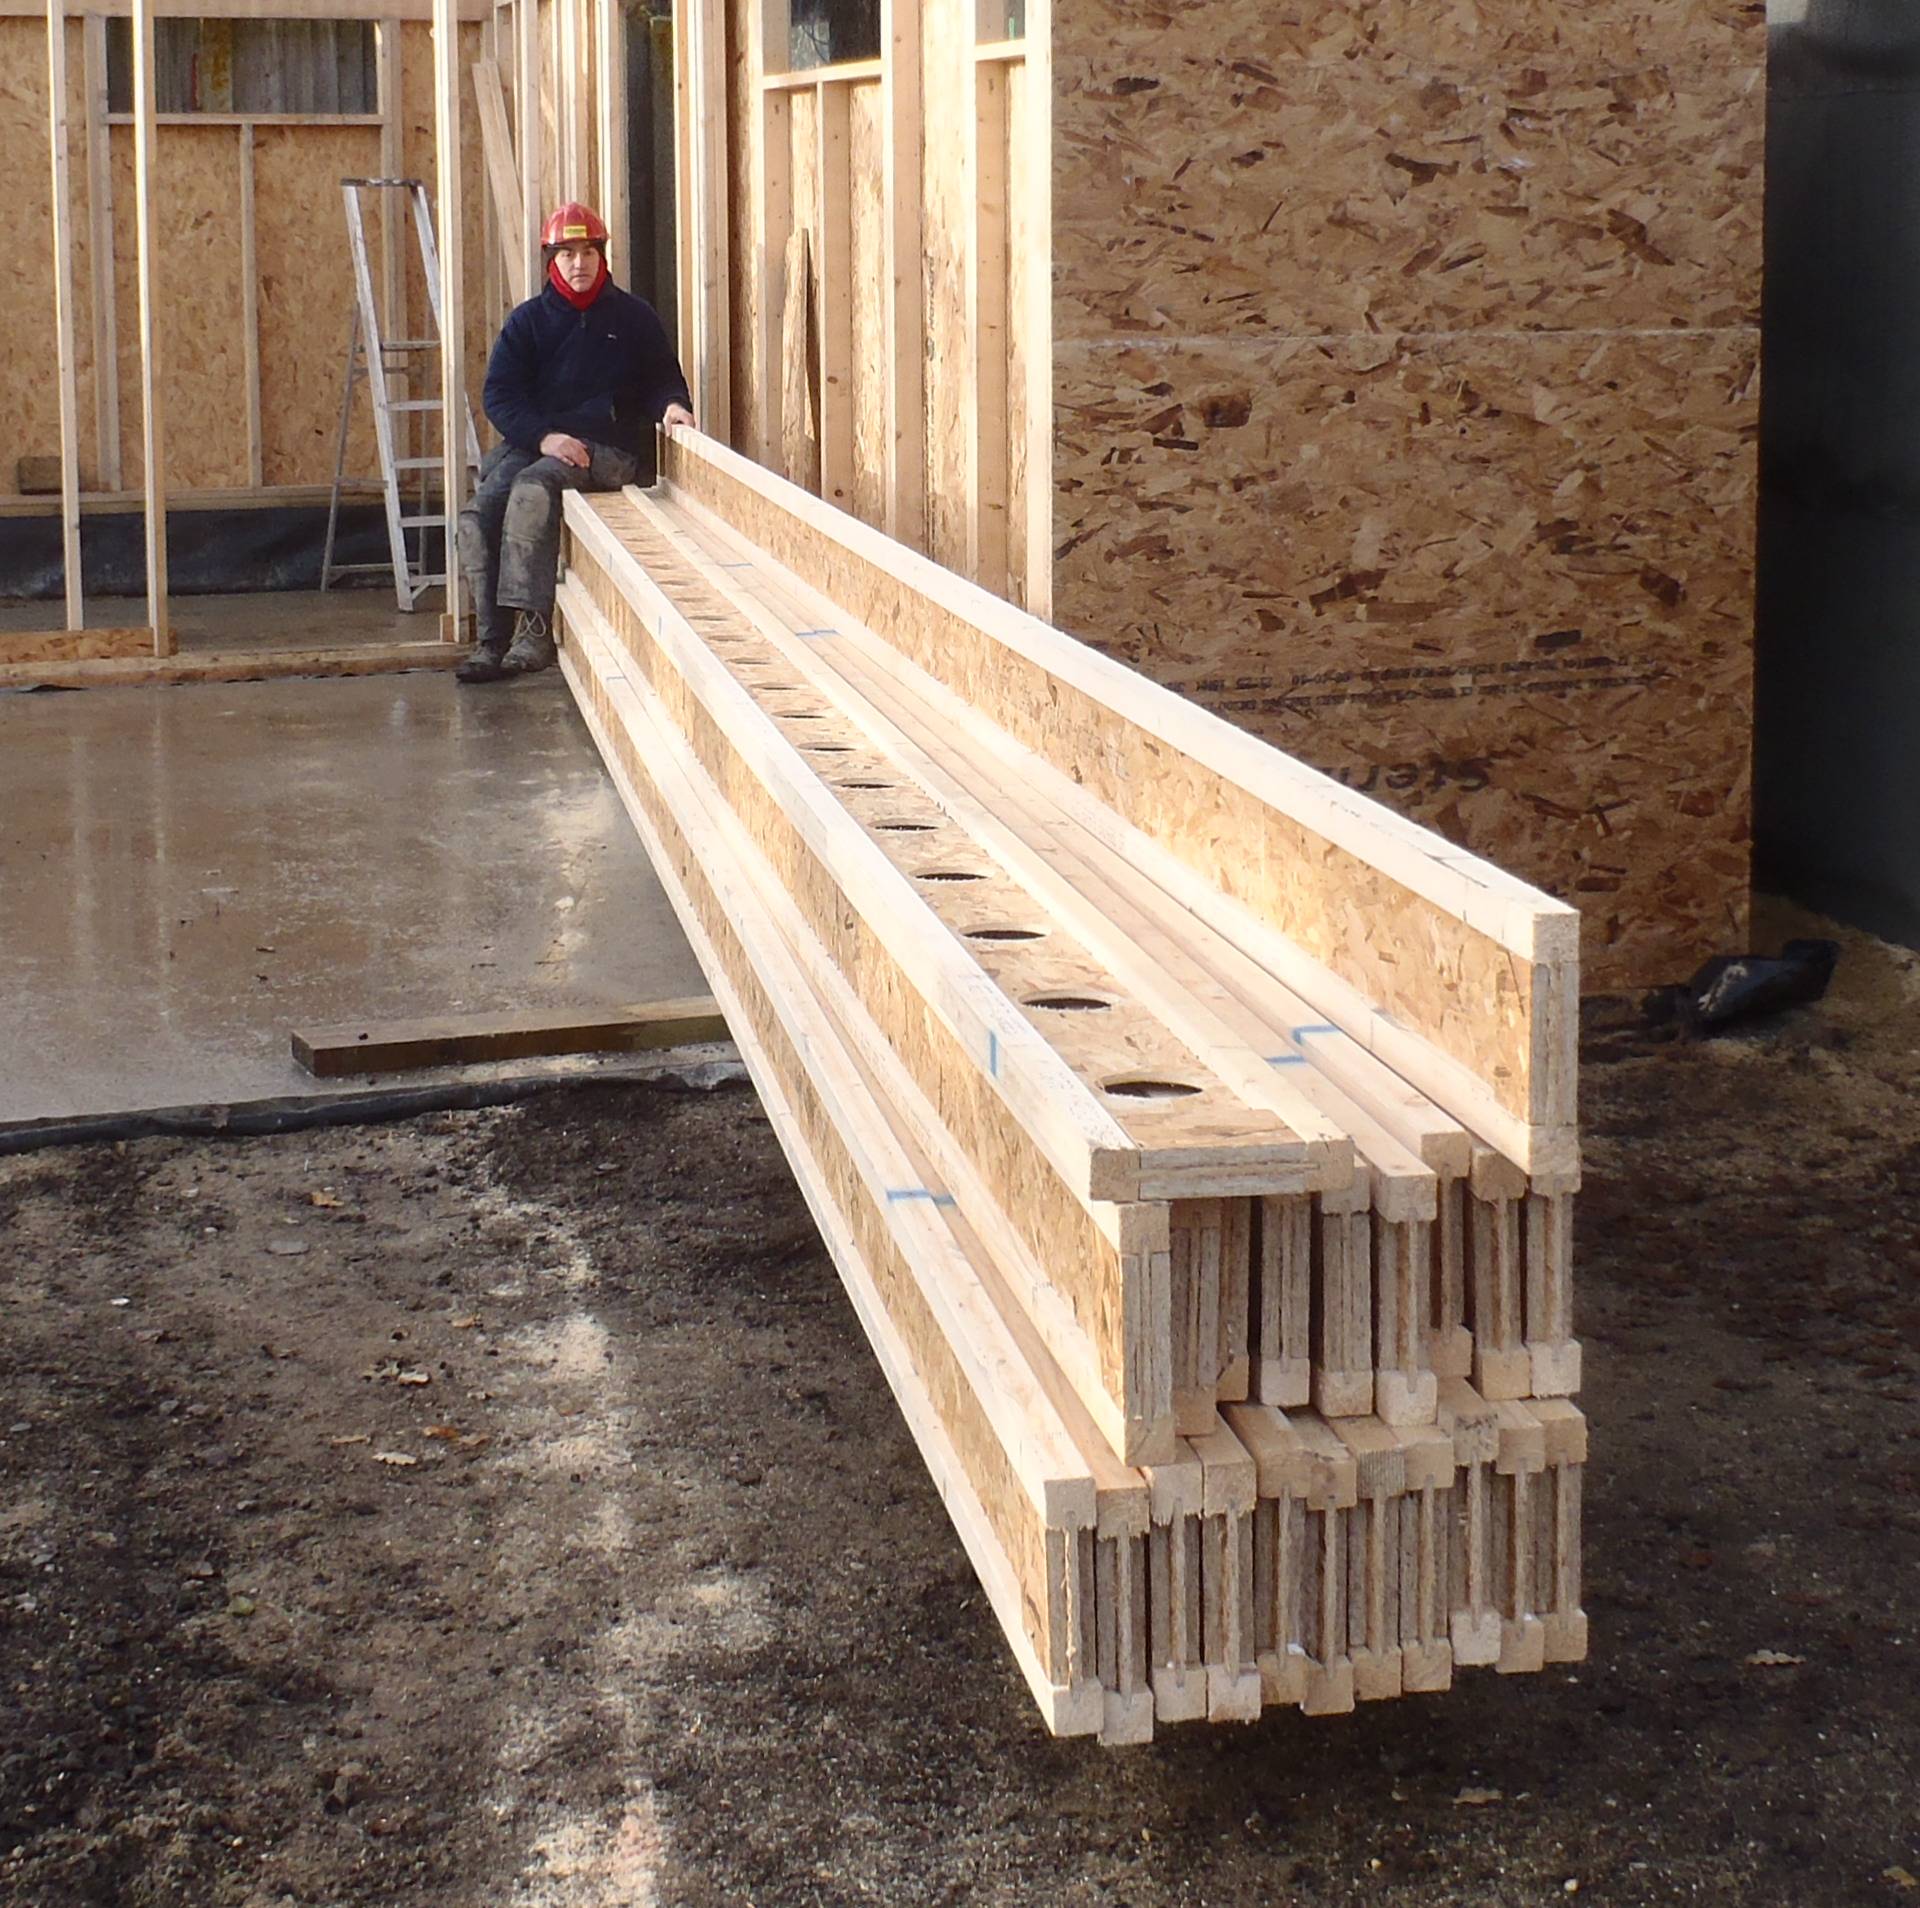
There isn’t any more jagged steps in the sky line of the walls! All nice and smooth ready for the 18mm OSB boards! At last!
Next is to man handle almost 30sheets of 18mm OSB boards each weighing about 35kg (77lbs) each! We are going to get hot so roll on the freezing weather! No sweat!!