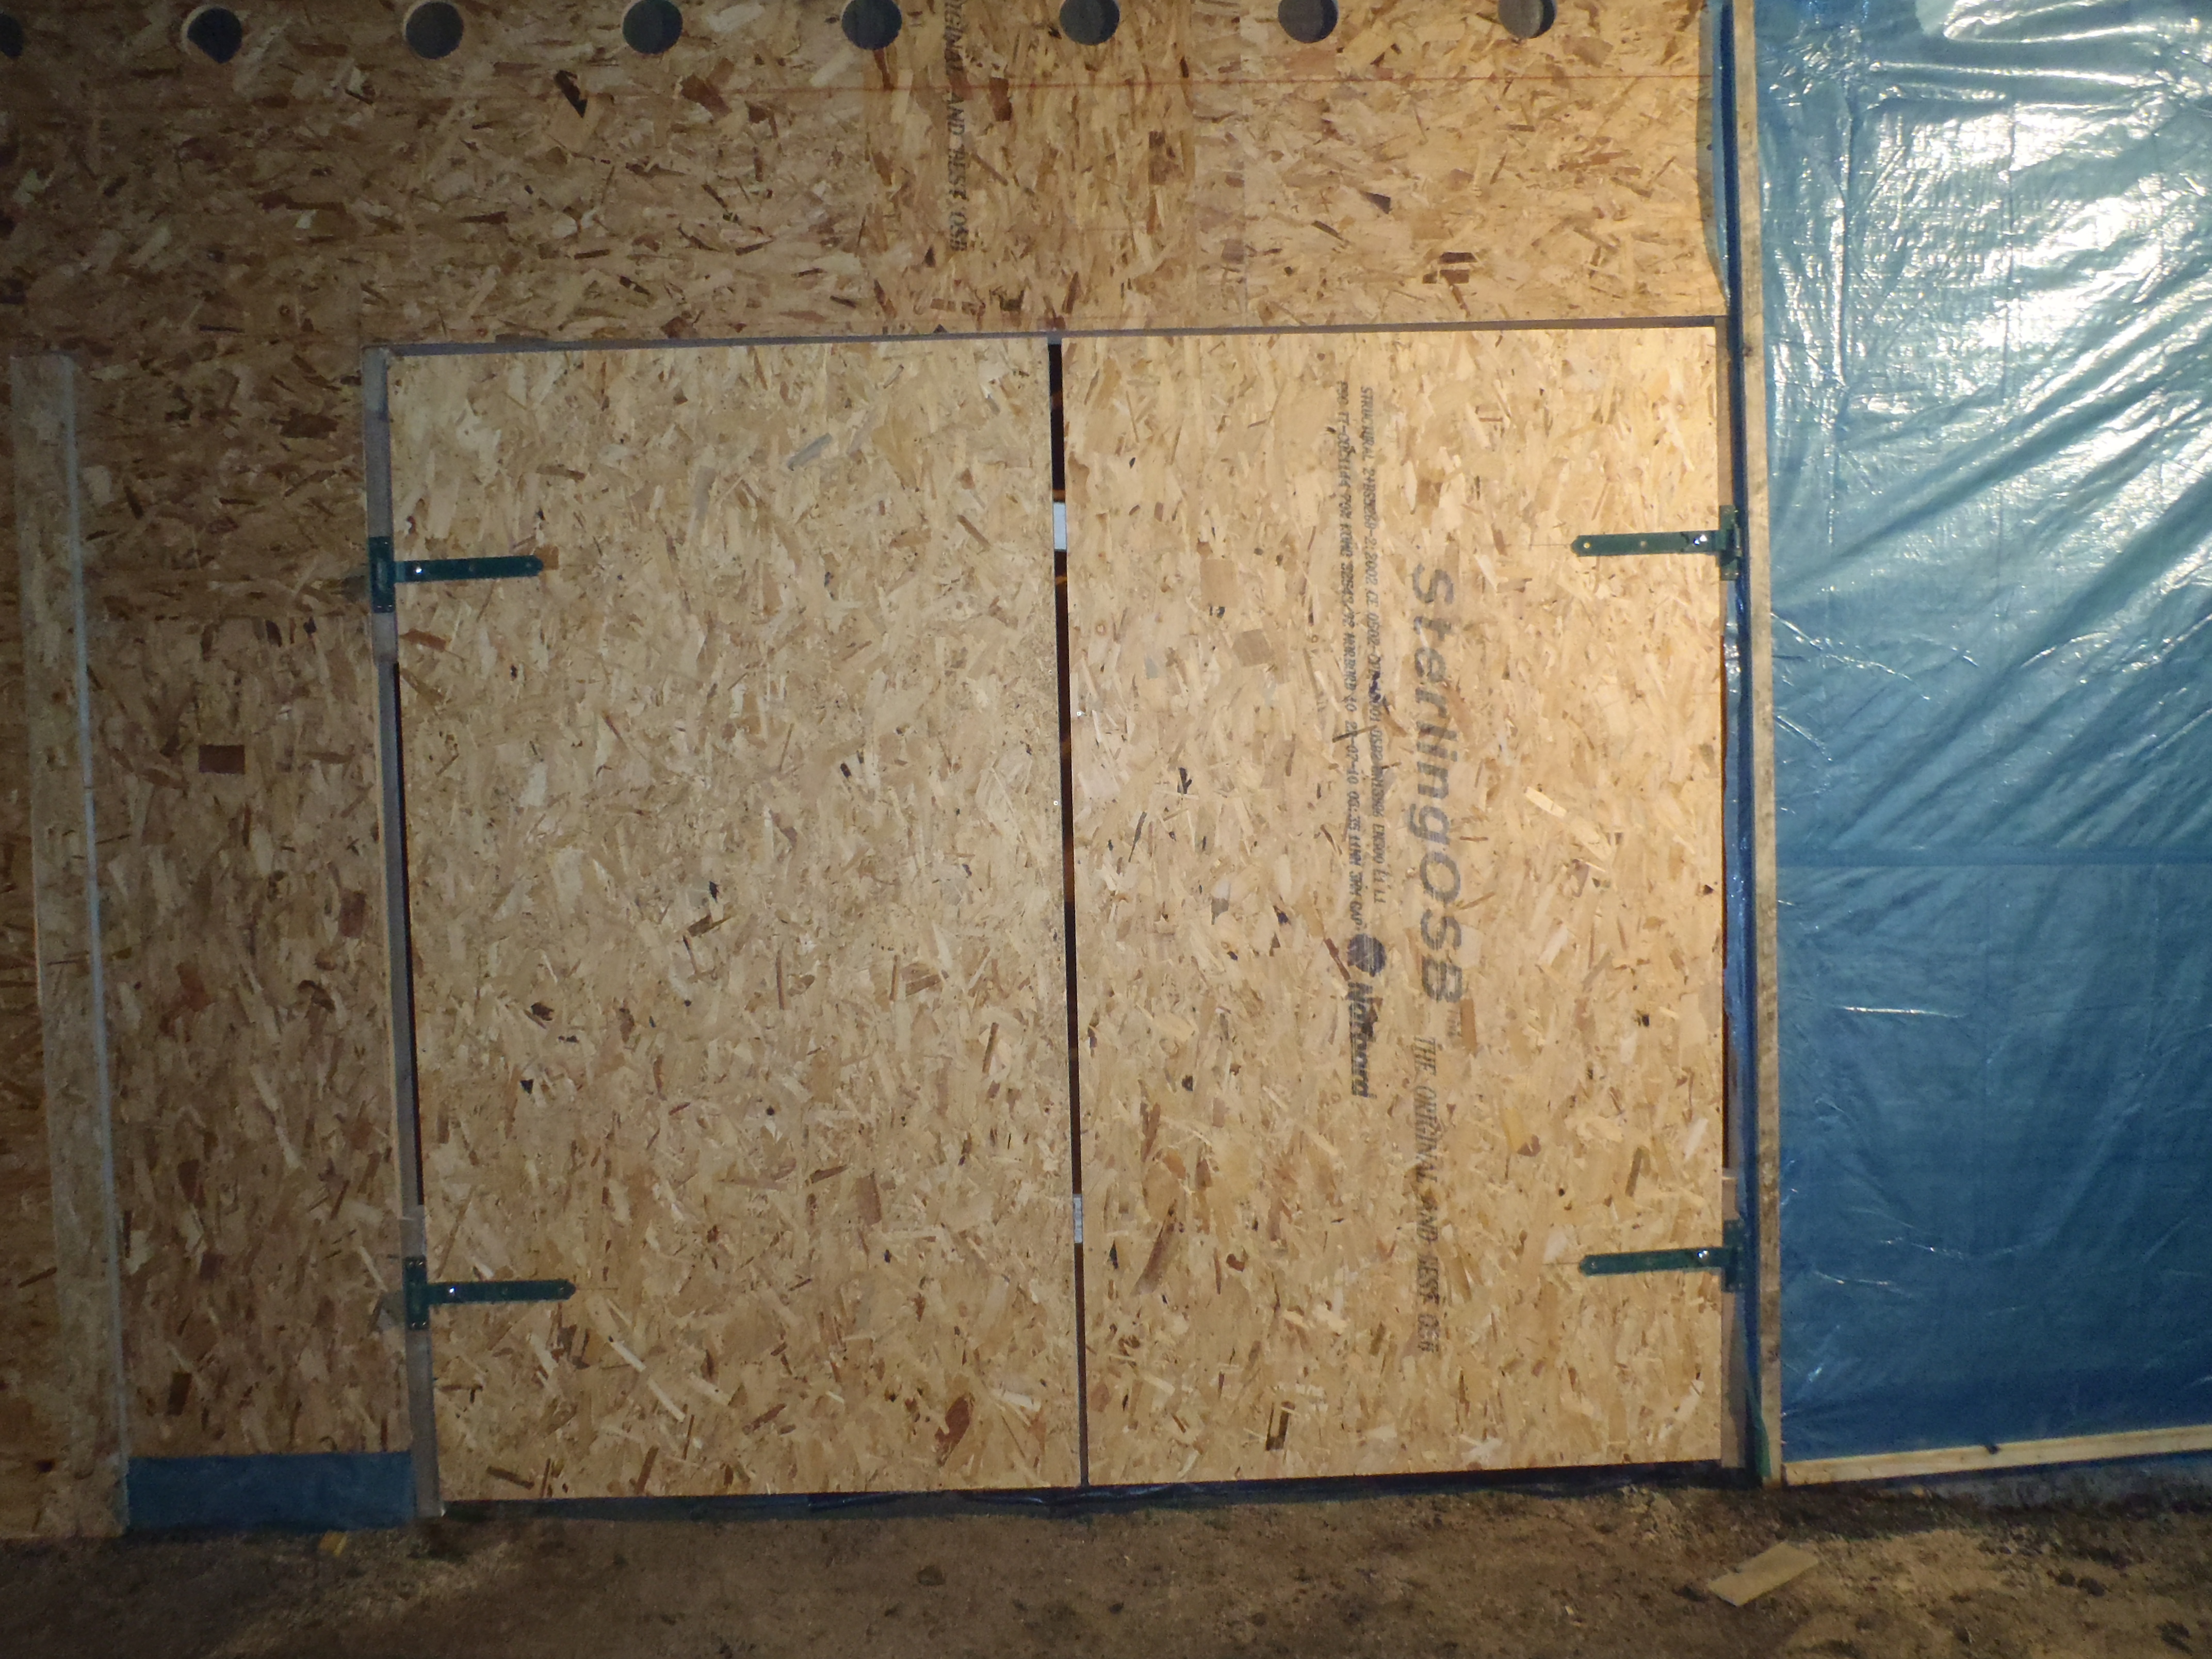
The last two days we have been humping up 30 sheets of 18mm OSB boards on to the Garage roof, grabbing the fine dry weather! This was to ensure that the builder’s construction glue sticks properly to the rafters! The iBeam manufacturer recommended using this type of glue to stop creaking noises!
Day 1 – Sunday 9th January 2011
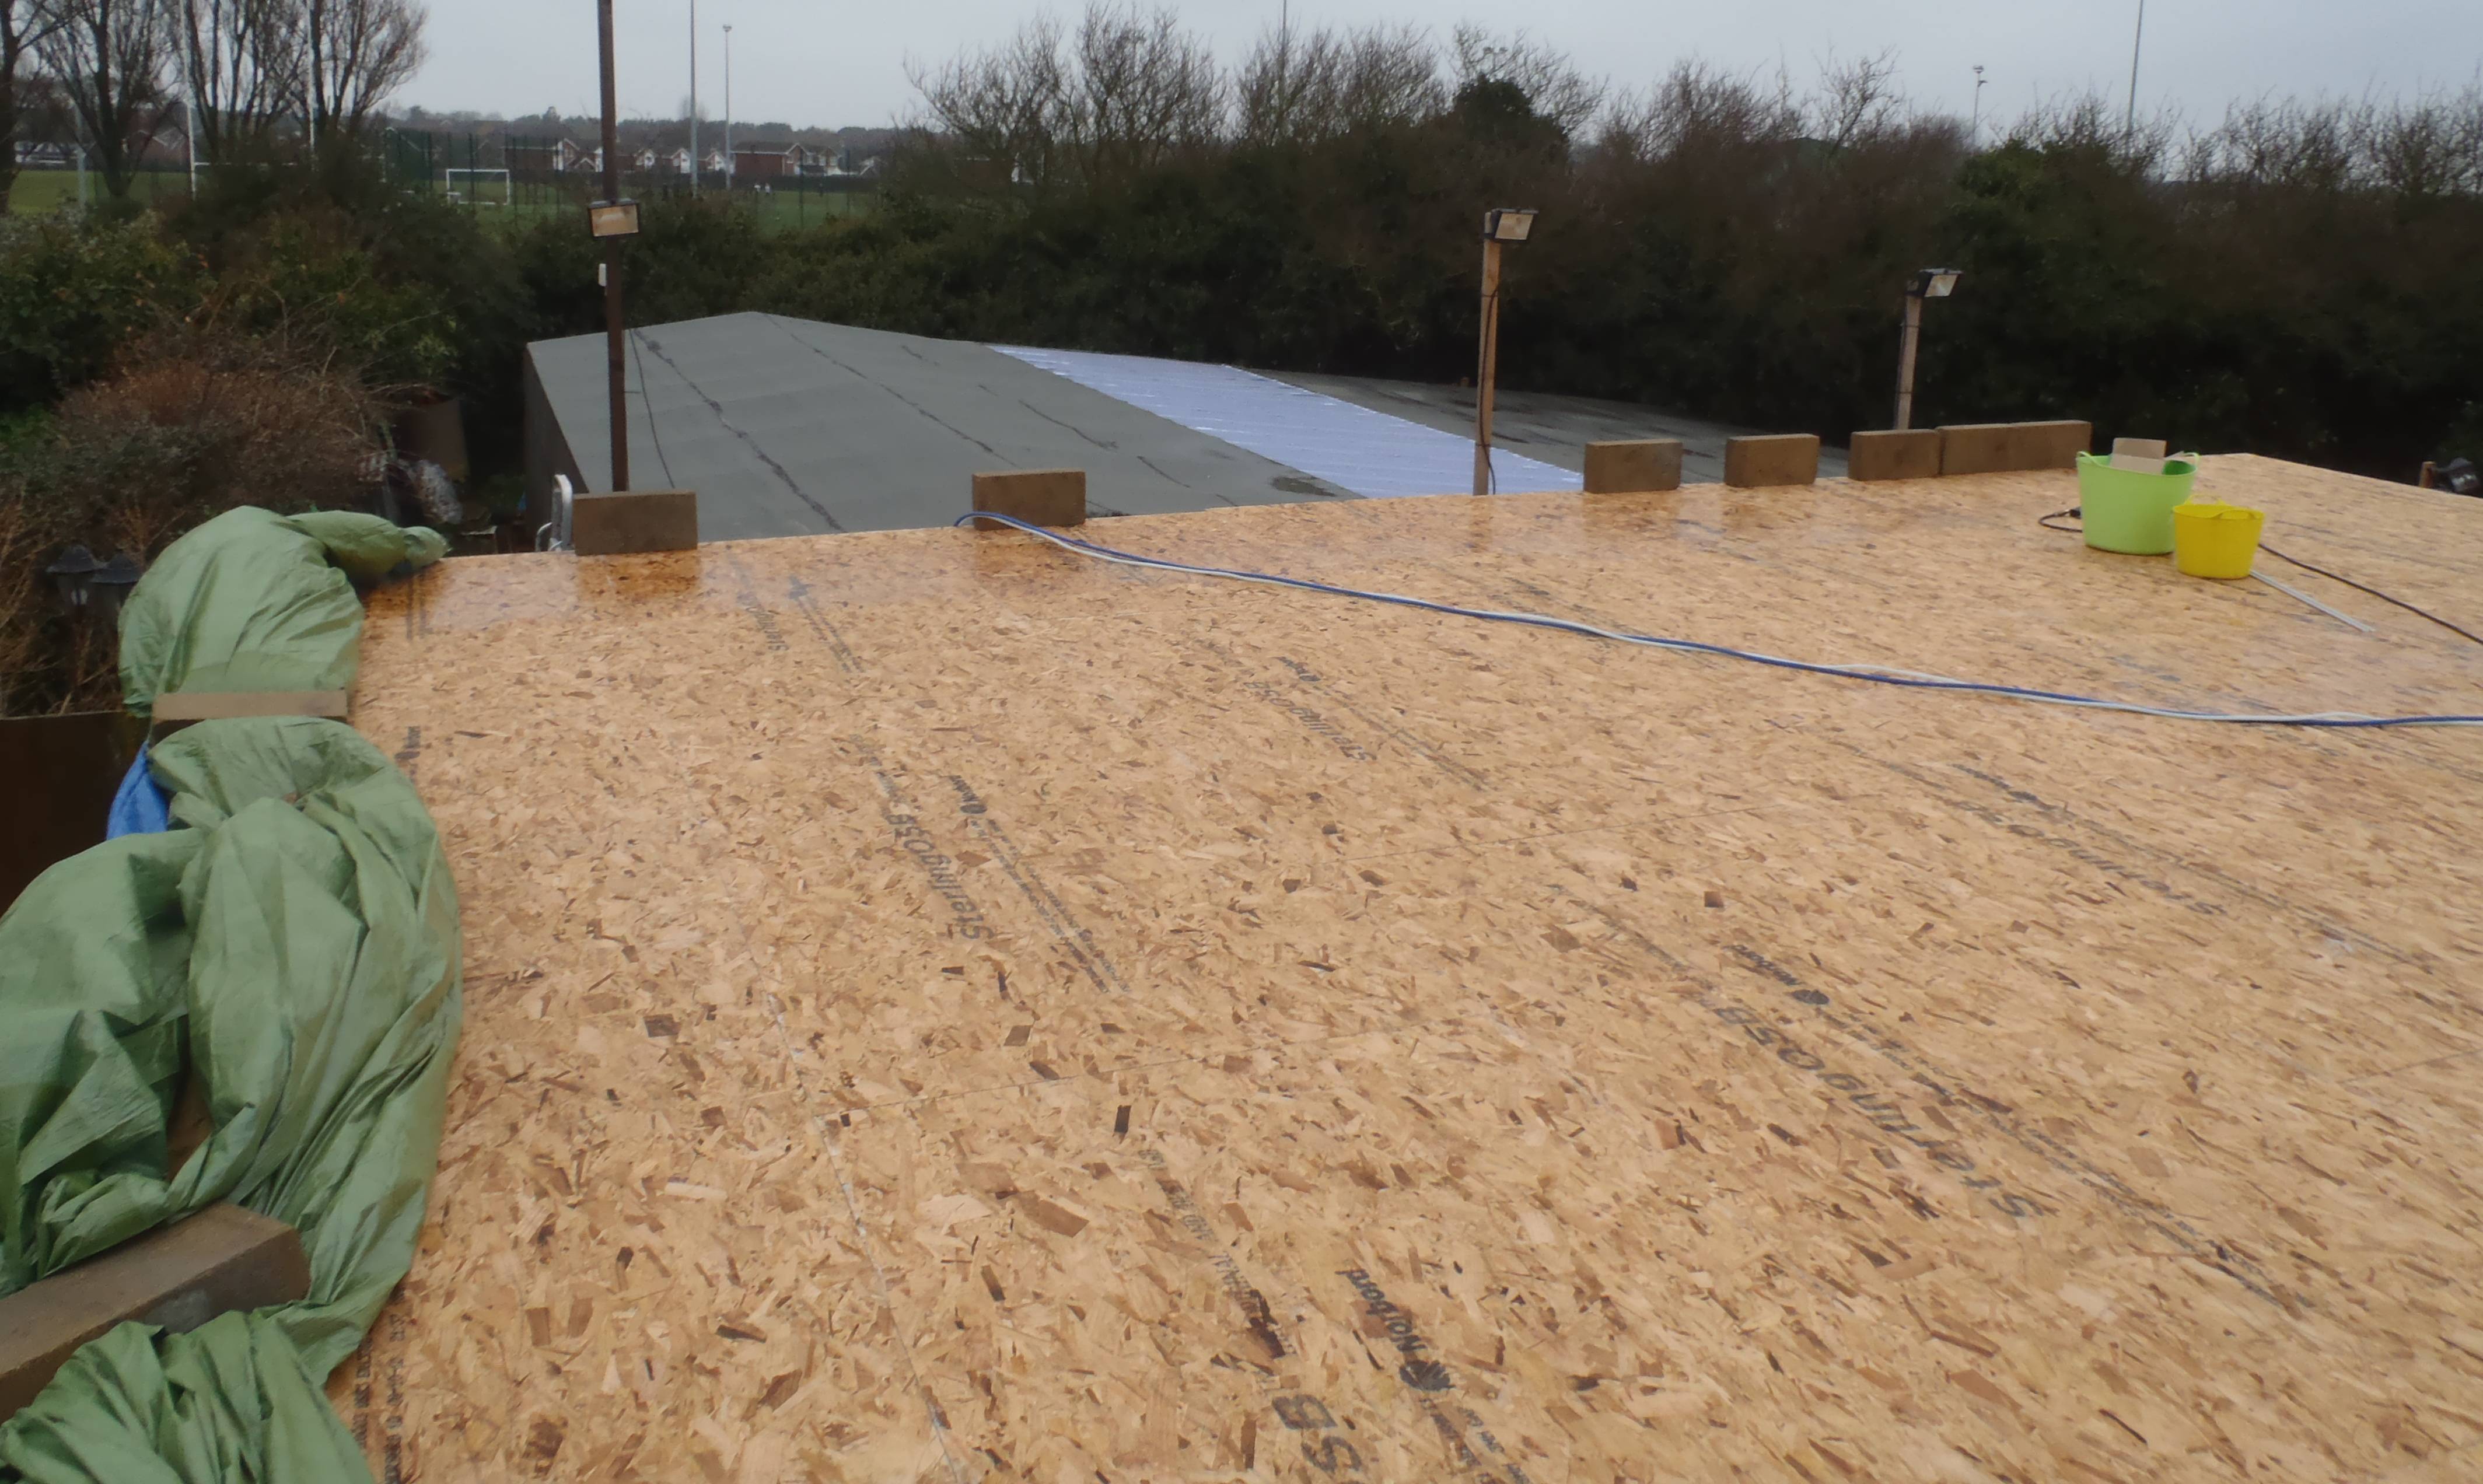
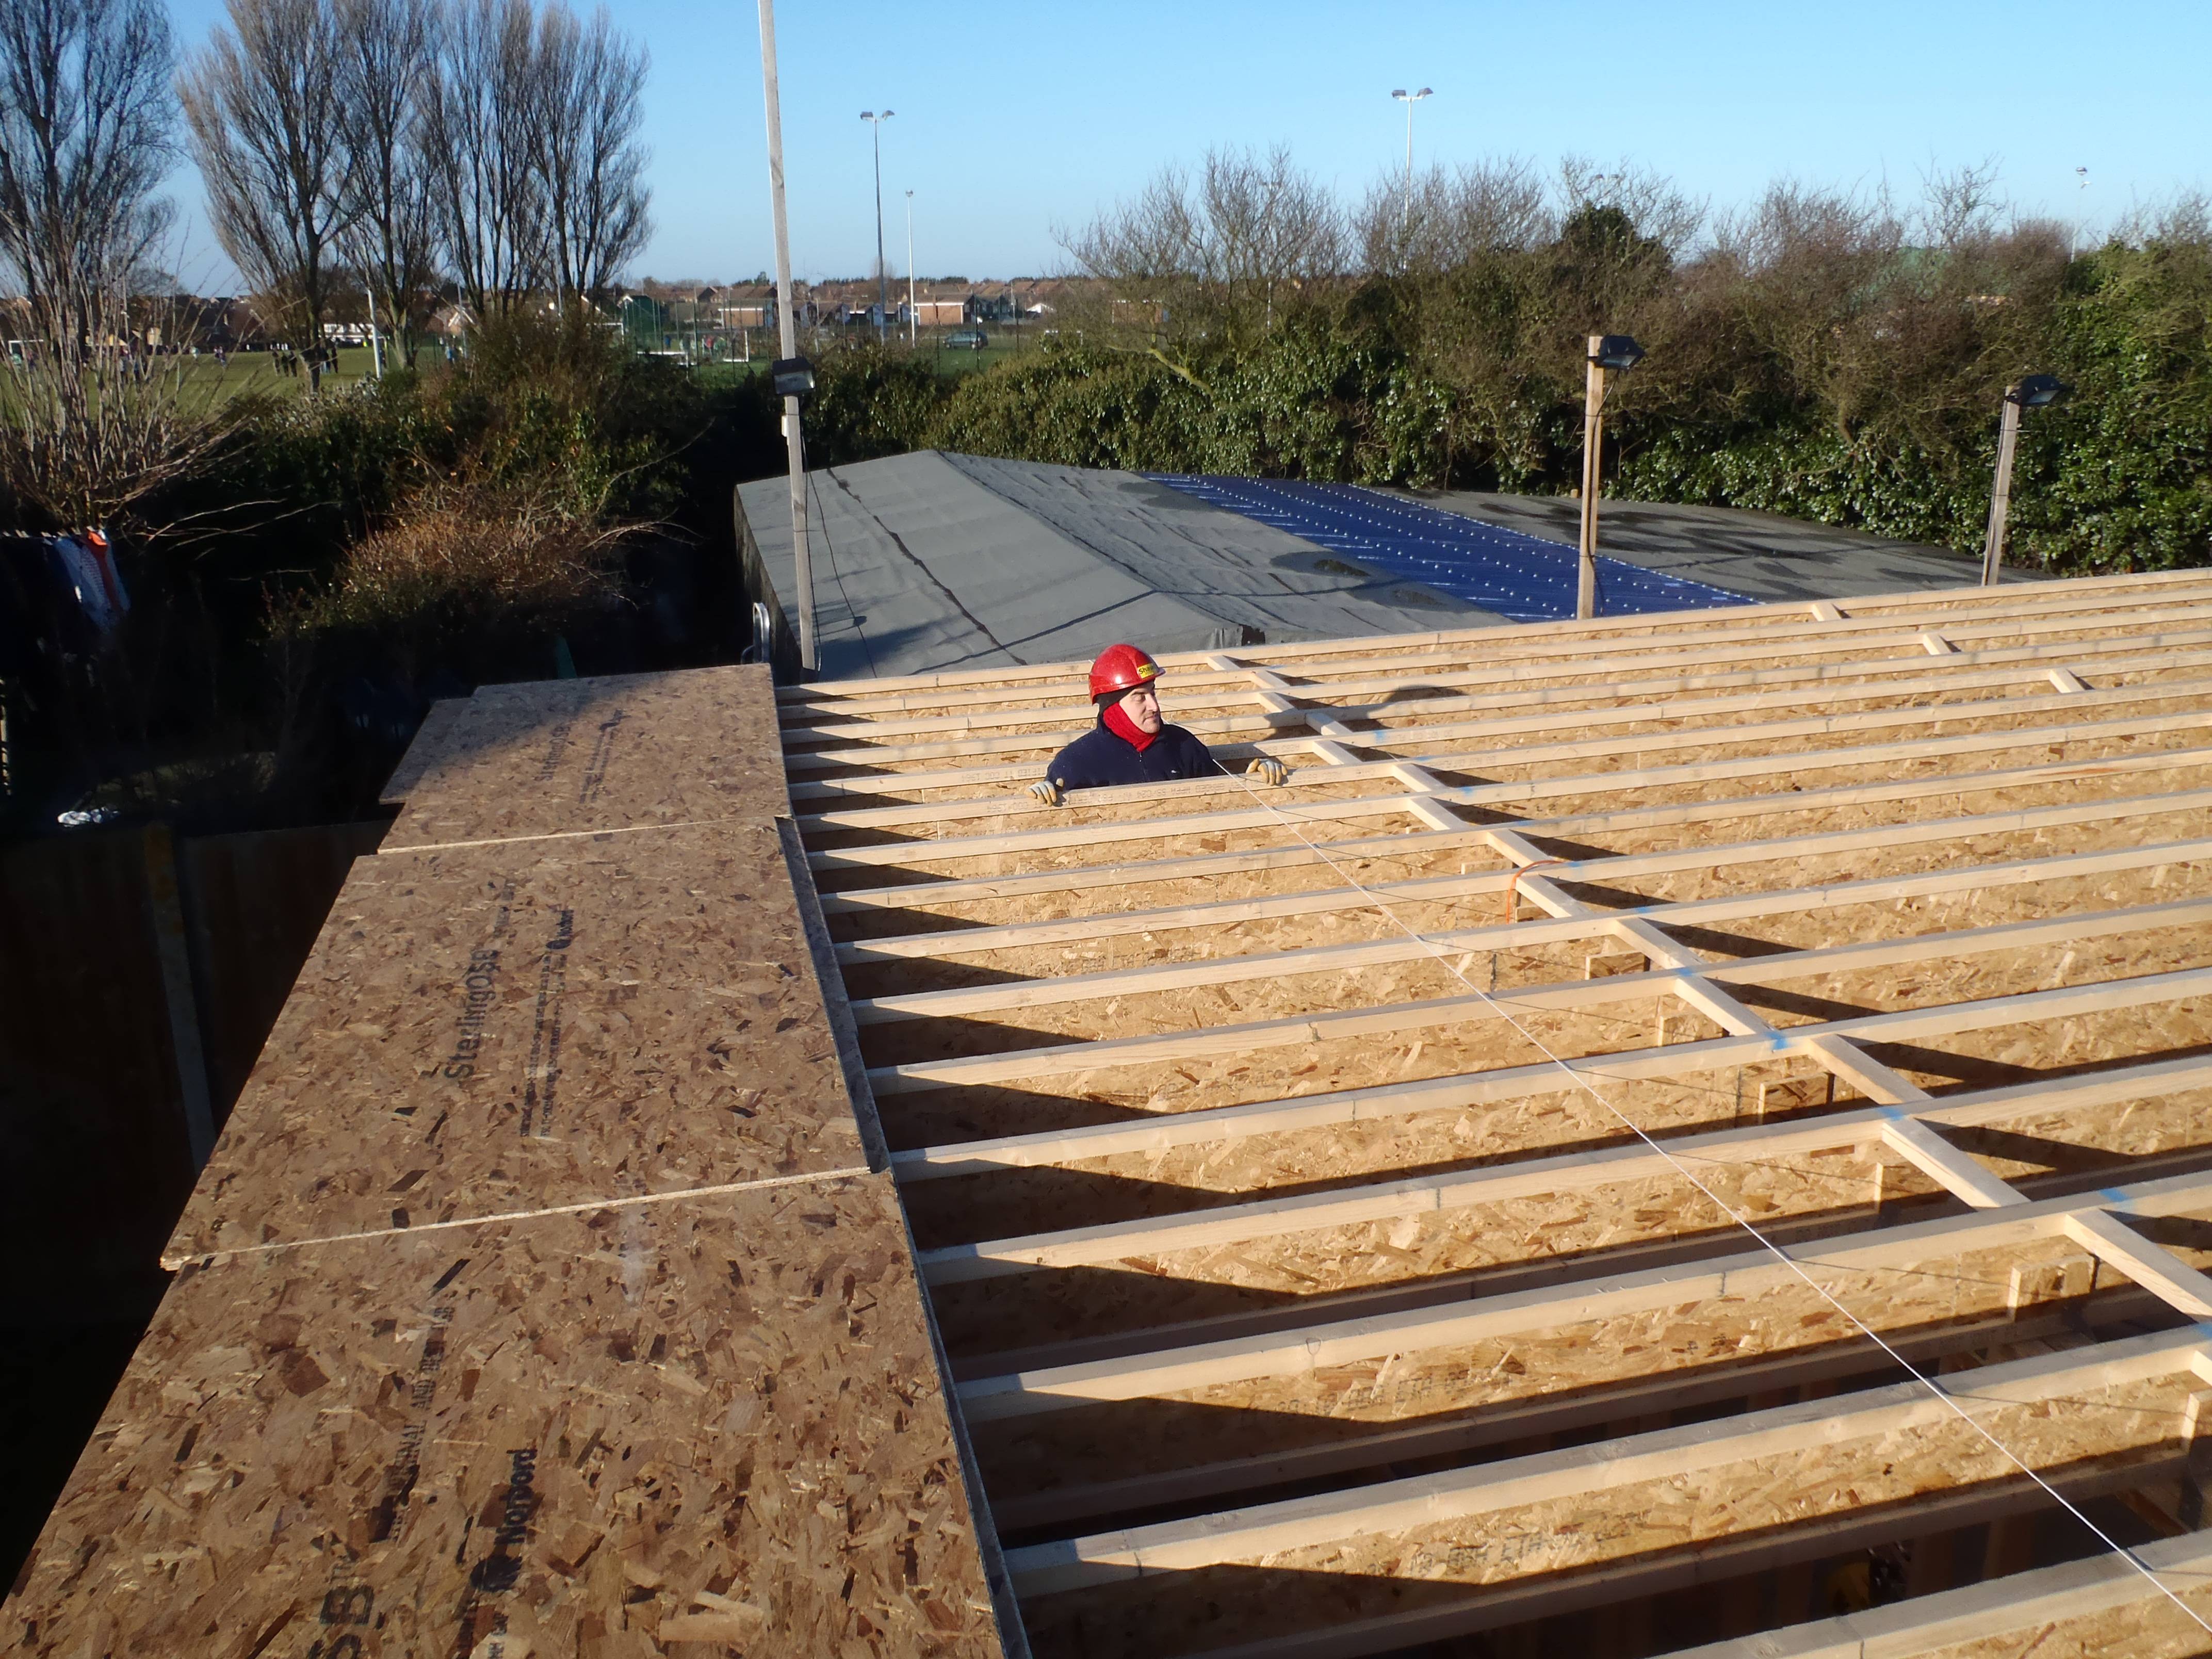
Starting very early (9:30am), we first had to deal with the heavy frost we had overnight by wiping all the rafters and allowing them to dry off in the lovely sunshine! Then using a chalk line to establish a starting line for the first row of boards and proceeded from that point. The tongue and groove joints were proving more difficult than we thought.

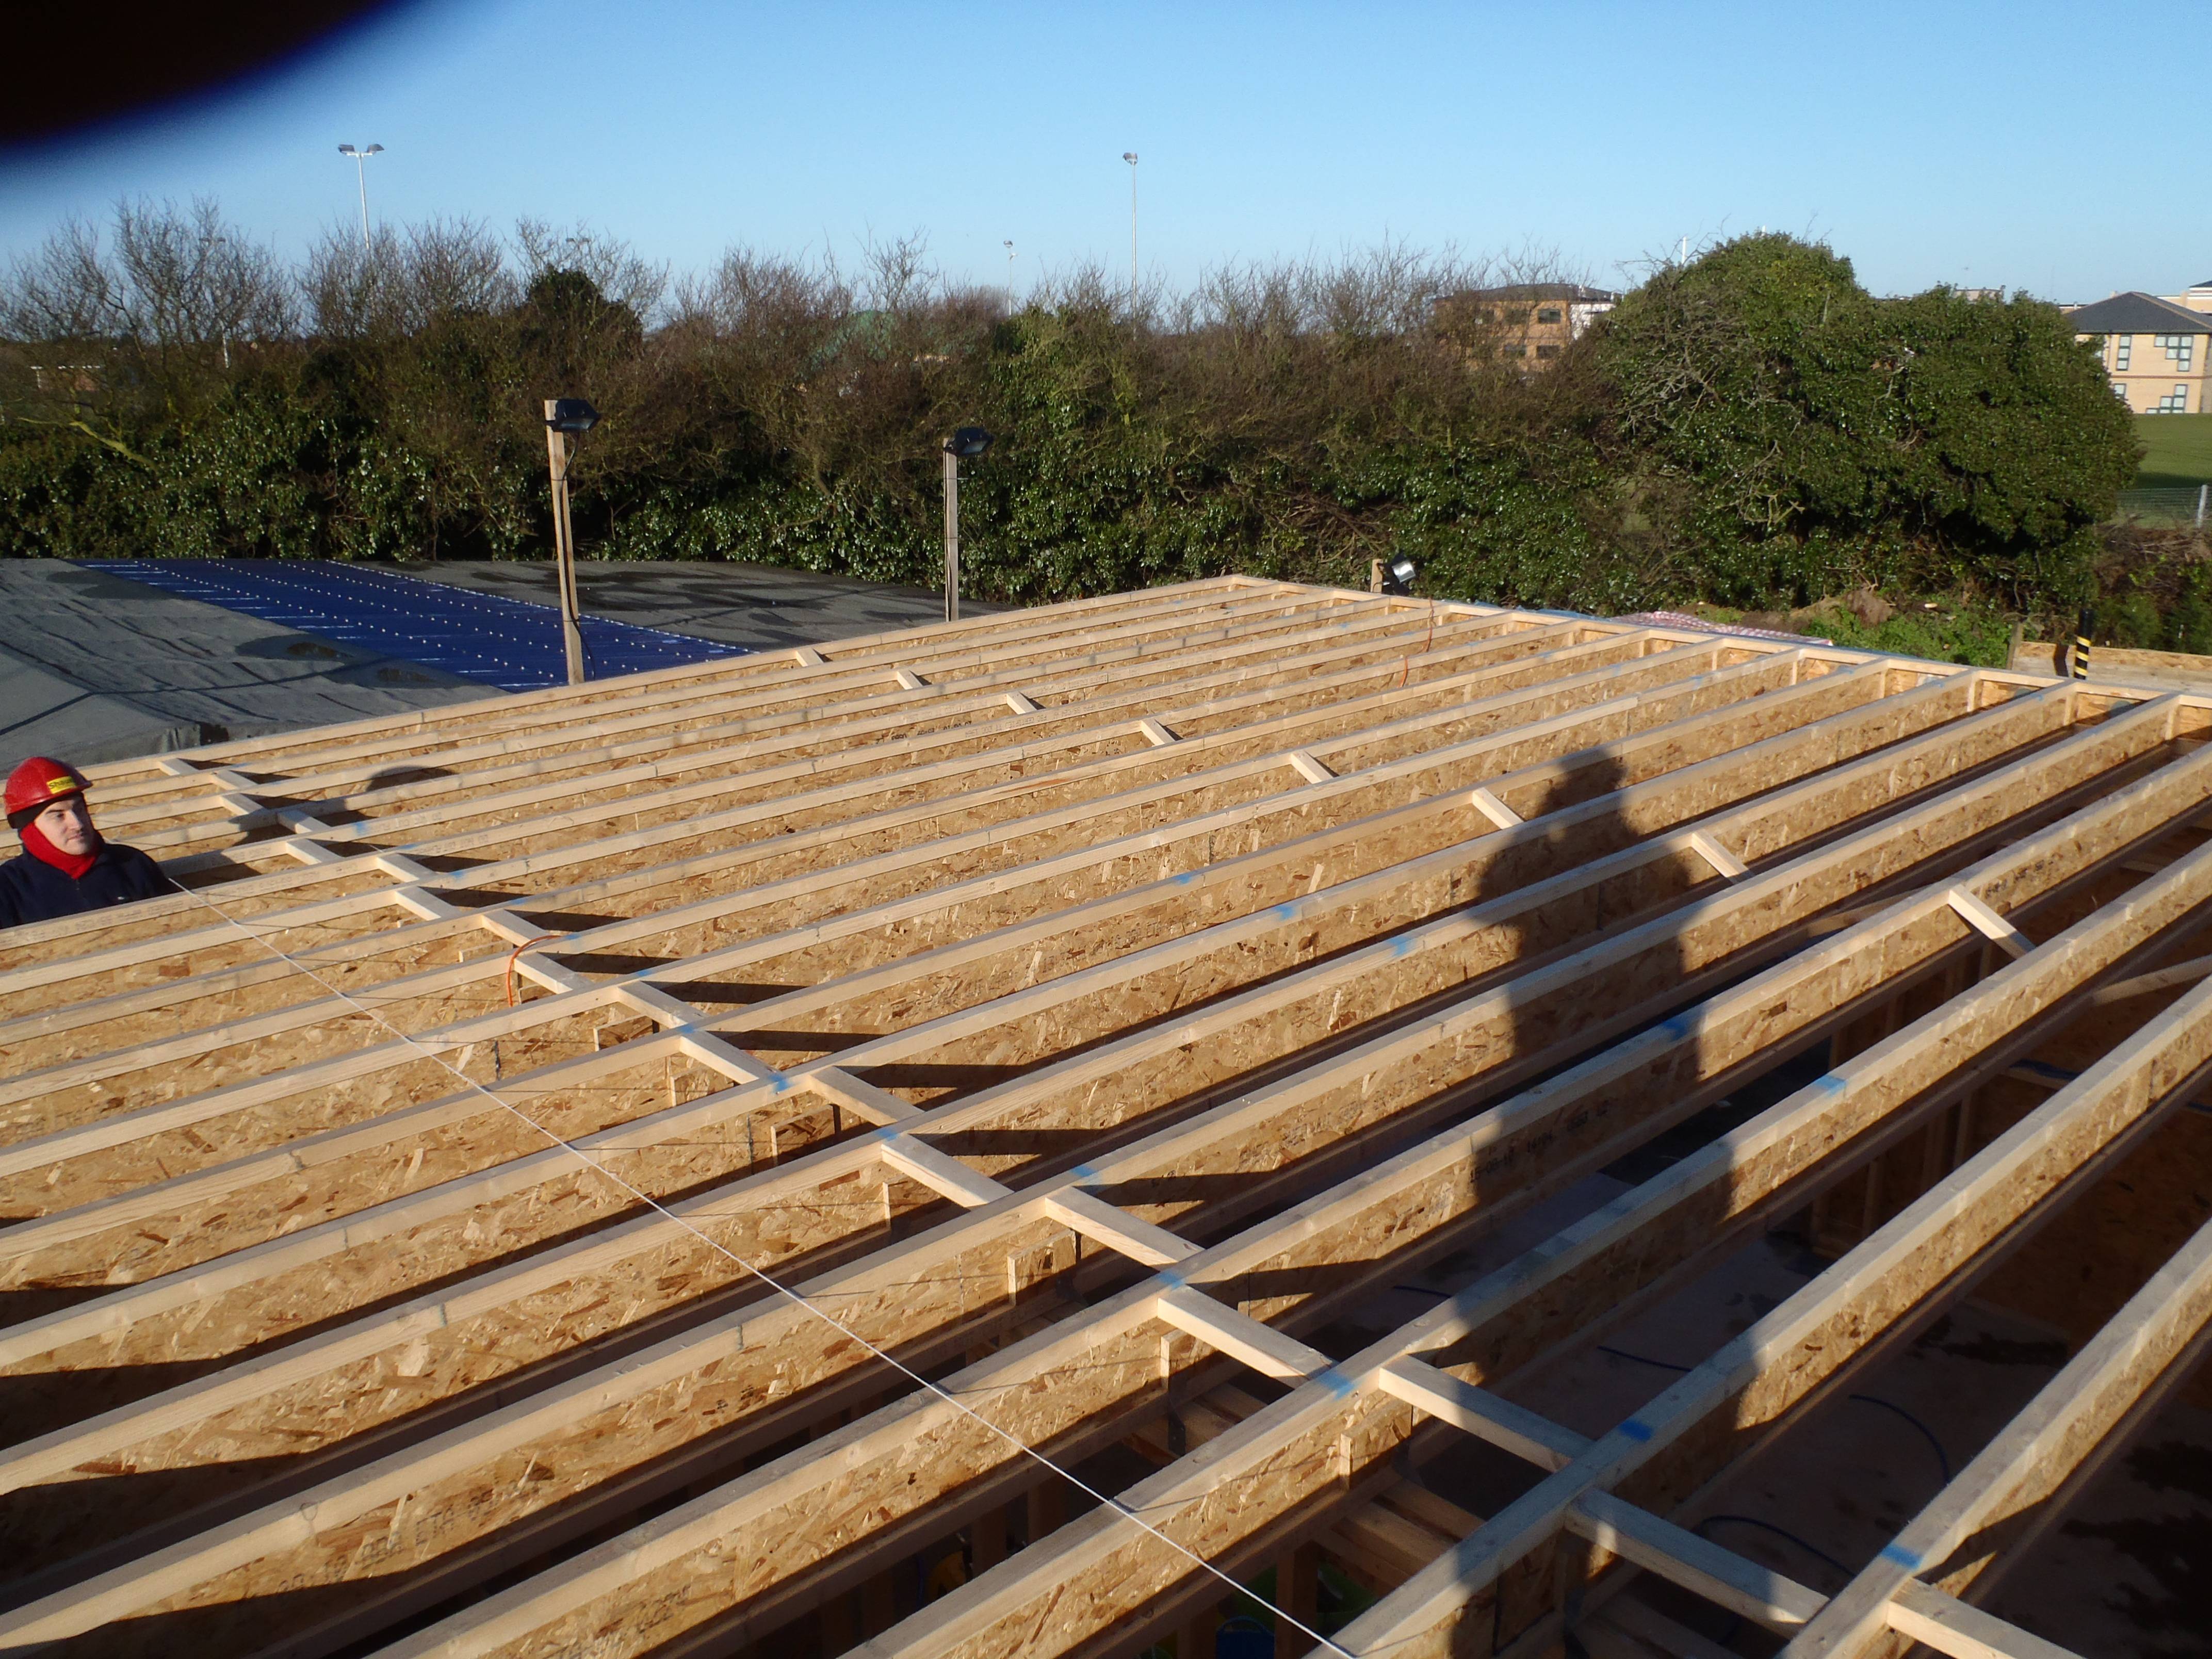
Starting to cover the roof rafters

Starting to cover the roof rafters
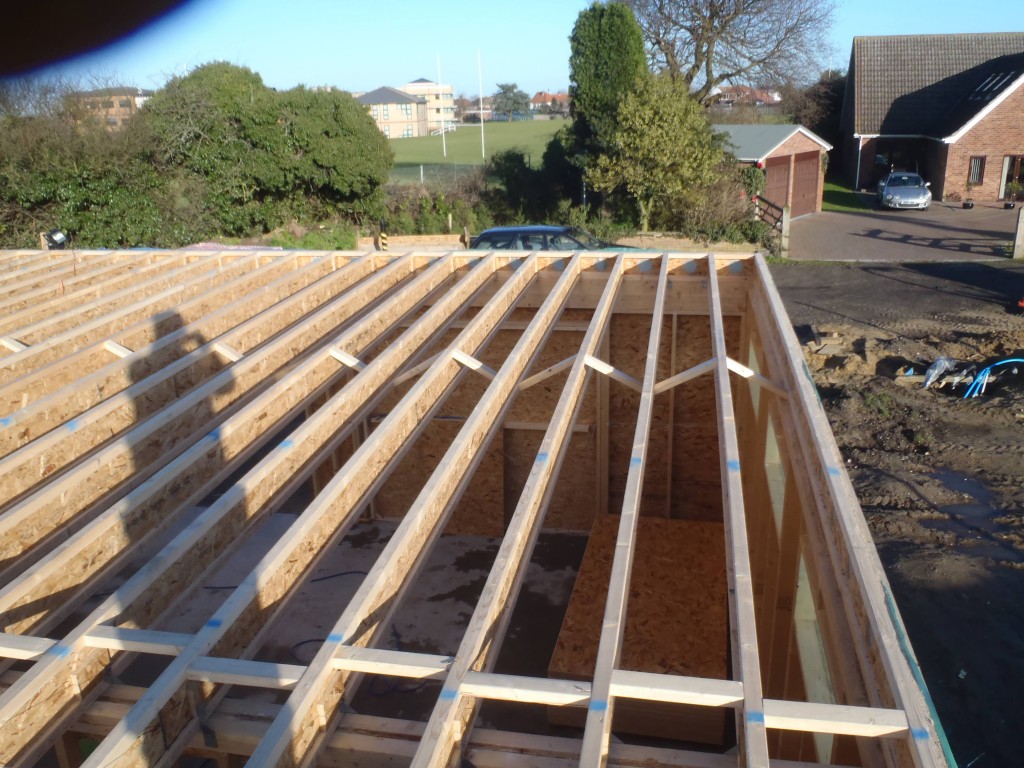
Starting to cover the roof rafters
(first row completed)
We managed 3 rows of completed glued and nailed boards.
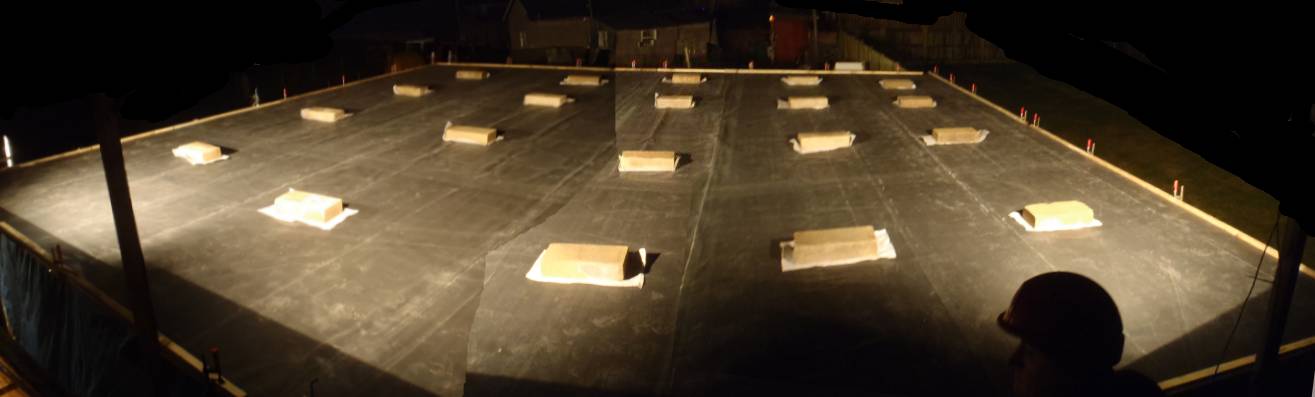
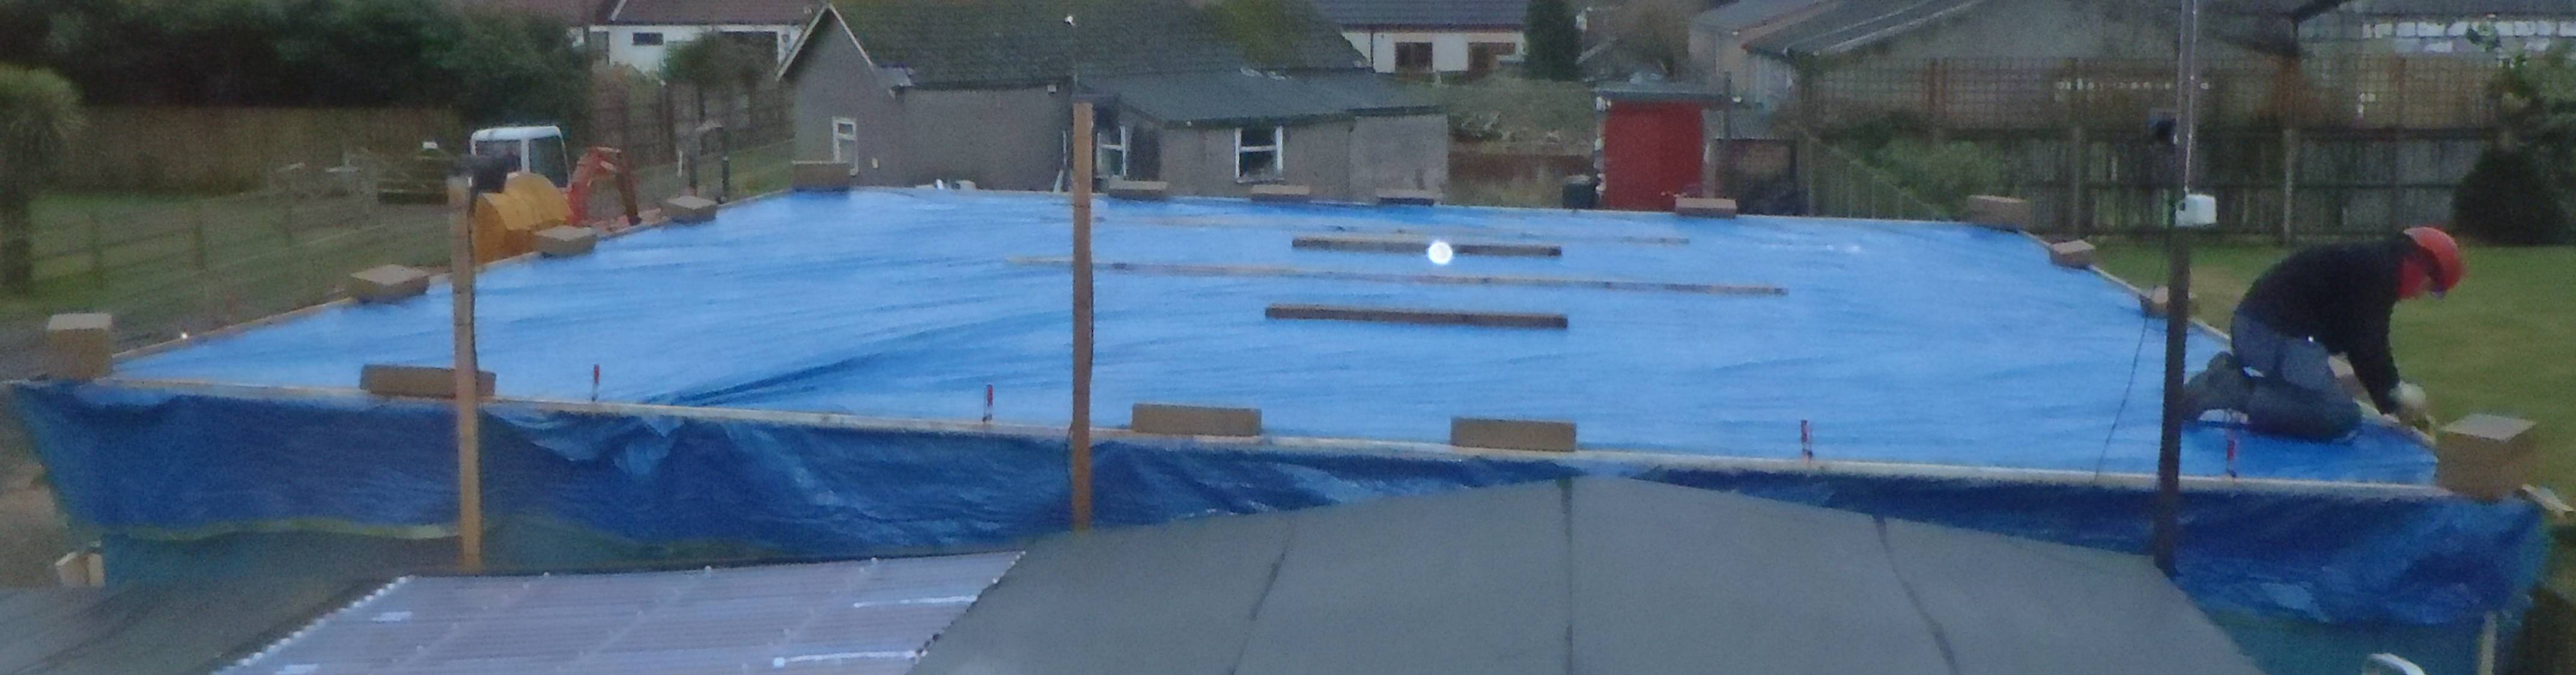
It was dark at this time and the dew was already quite heavy and even freezing which made it very slippery! We decided to cut and put up all the remaining boards onto the roof ready for the next day and finished off by covering the entire roof with our 10metre by 10metre tarpaulin to protect the remaining rafters and boards against the frost. We put up 6 concrete blocks to hold down the front edge but fortunately there wasn’t much wind!
We staggered home 8:15pm!
(all the boards up but only half fixed down)
Day 2 – Monday 10th January 2011
We got going a bit later today, at 11am! We resumed where we left off yesterday and managed 4 more rows to take us to almost the front of the garage! We have only 600mm (2feet) to go, a half a board width!
We re-covered the roof back over with the tarpaulin and this time tossed up a further 13 more concrete blocks to hold down all four edges against the wind and the forecast of heavy rain overnight!
http://roselea.co.uk/wp-content/uploads/2011/01/Roof-Nearly-done.wmv
(Tarpaulin covered roof and concrete blocks)