Category: Garage

The Garage

  • Interior Dividing Wall Framework is UP!

    Our middle wall inside the Garage is assembled and is UP! This wall is ready for the iBeams (roof rafters) to be thrown up, sit on the supports and fixed down!

    The sub-dividing wall between the garden room and the garage front part is made of two layers, in total 30 posts spaced 300mm (a foot) apart alternating from side to side. The reinforced top and bottoms beams have the extra 18mm OSB strips inserted, works quite well especially allowing us to position each post hard up against it and offering good support for the nailing gun!

    The two side walls came together very nicely and there was only a small leaning over offset of about 8mm so we pulled it vertically and tied it down waiting for the boards to be fixed on to lock it all up. In fact the roof boards will provide the racking in all directions! Front to Back, Left to Right and North to West too!!

    Well that’s the major load bearing wall finished, let’s roll on the moment in a day or so, when the roof goes on!

  • Bolted Down & Holed Out!

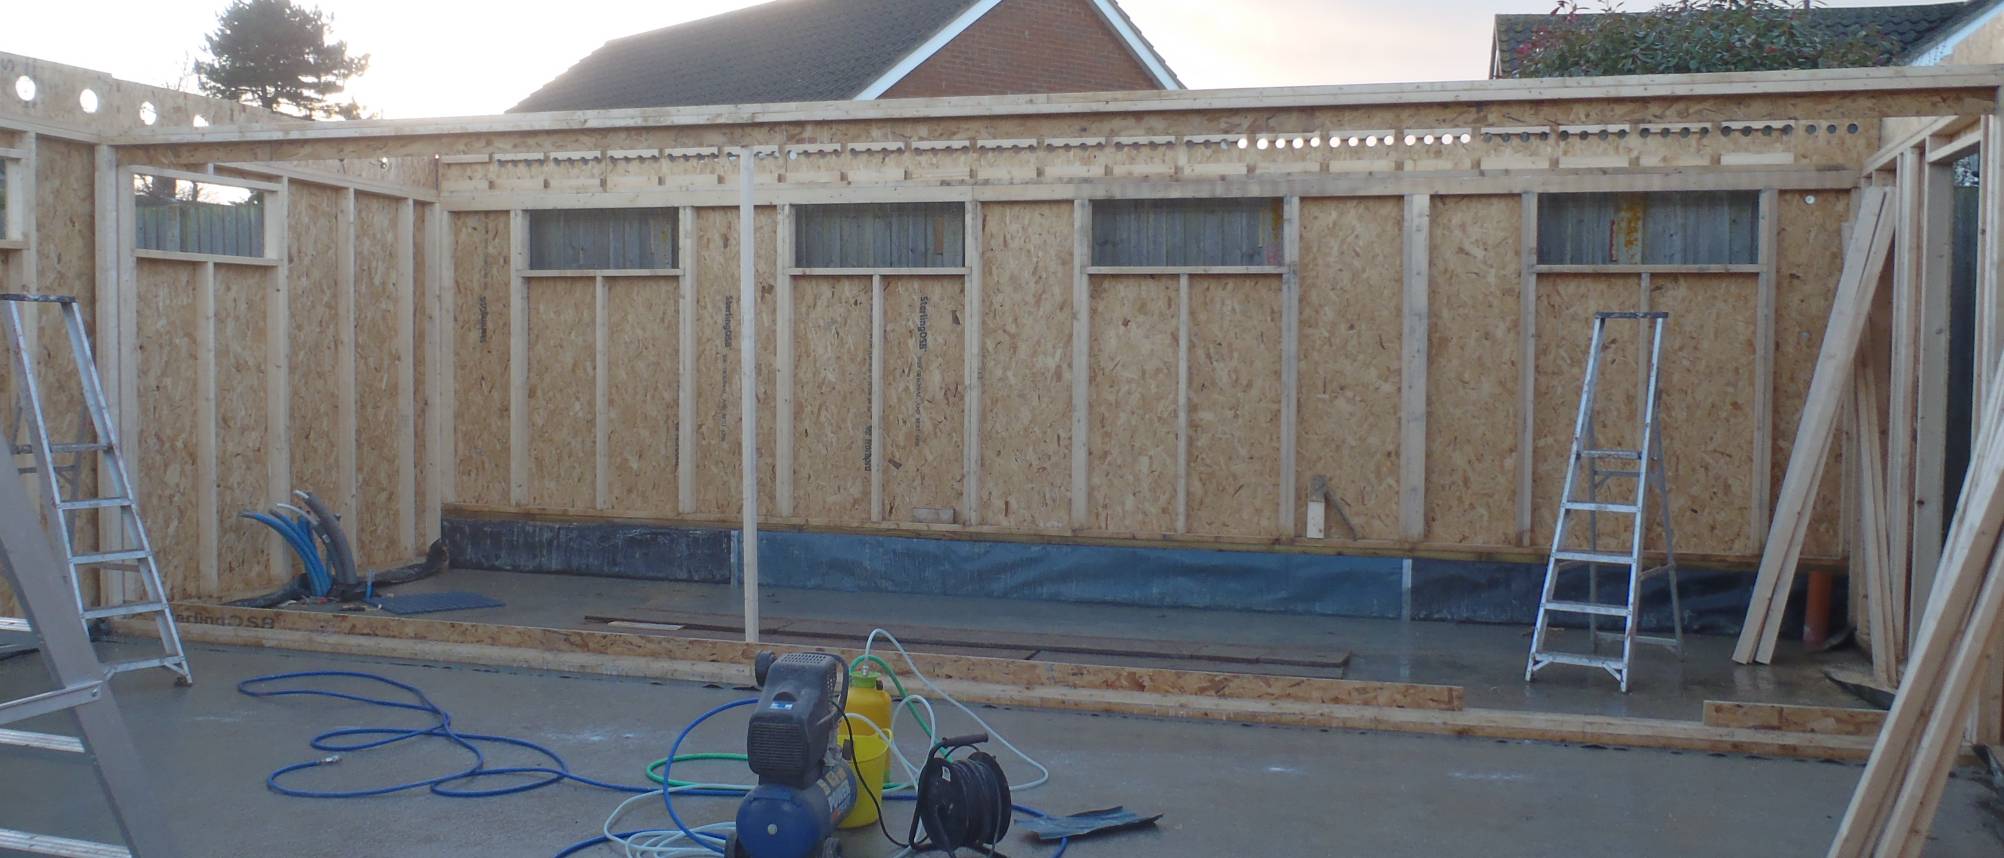
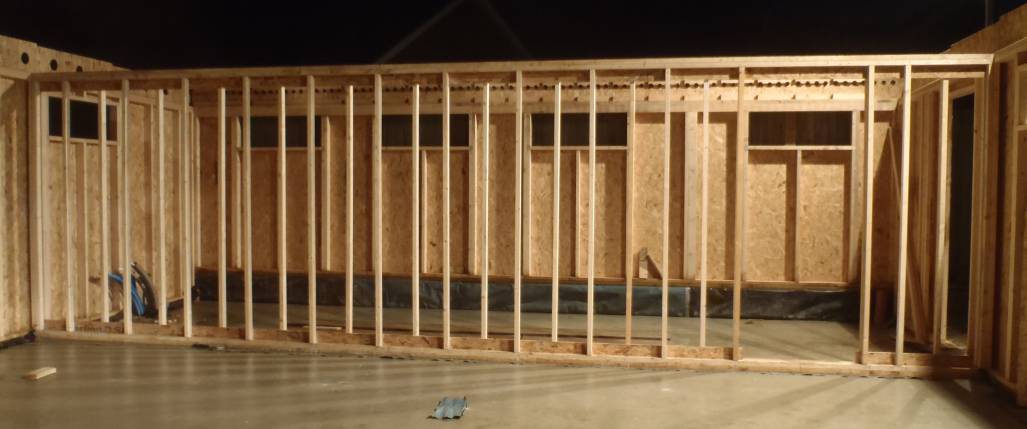
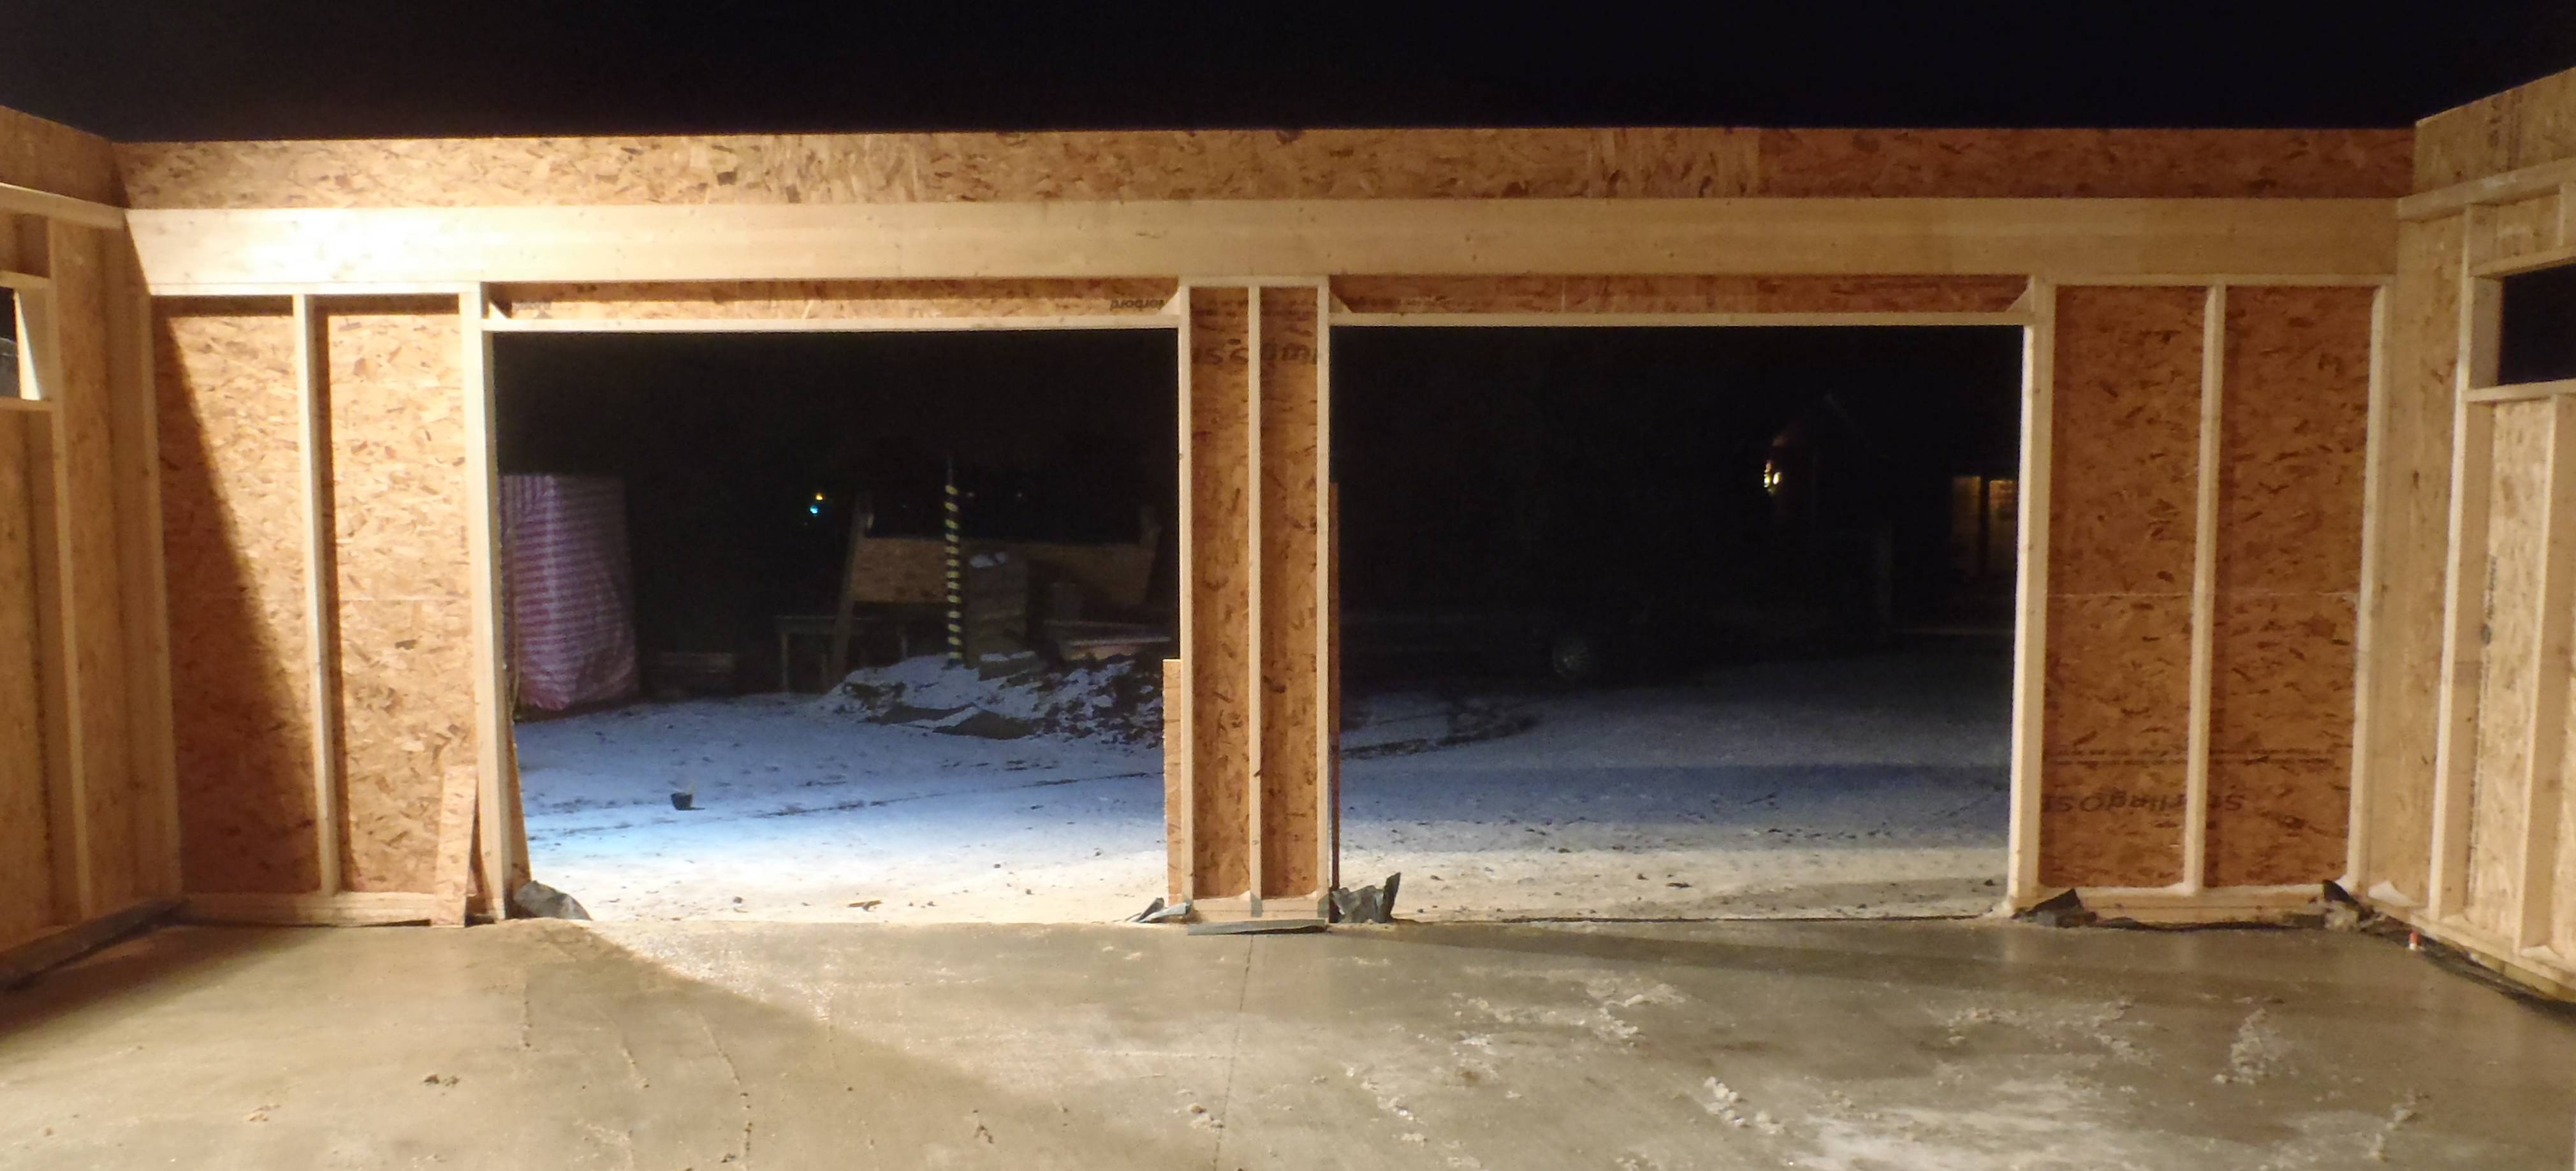
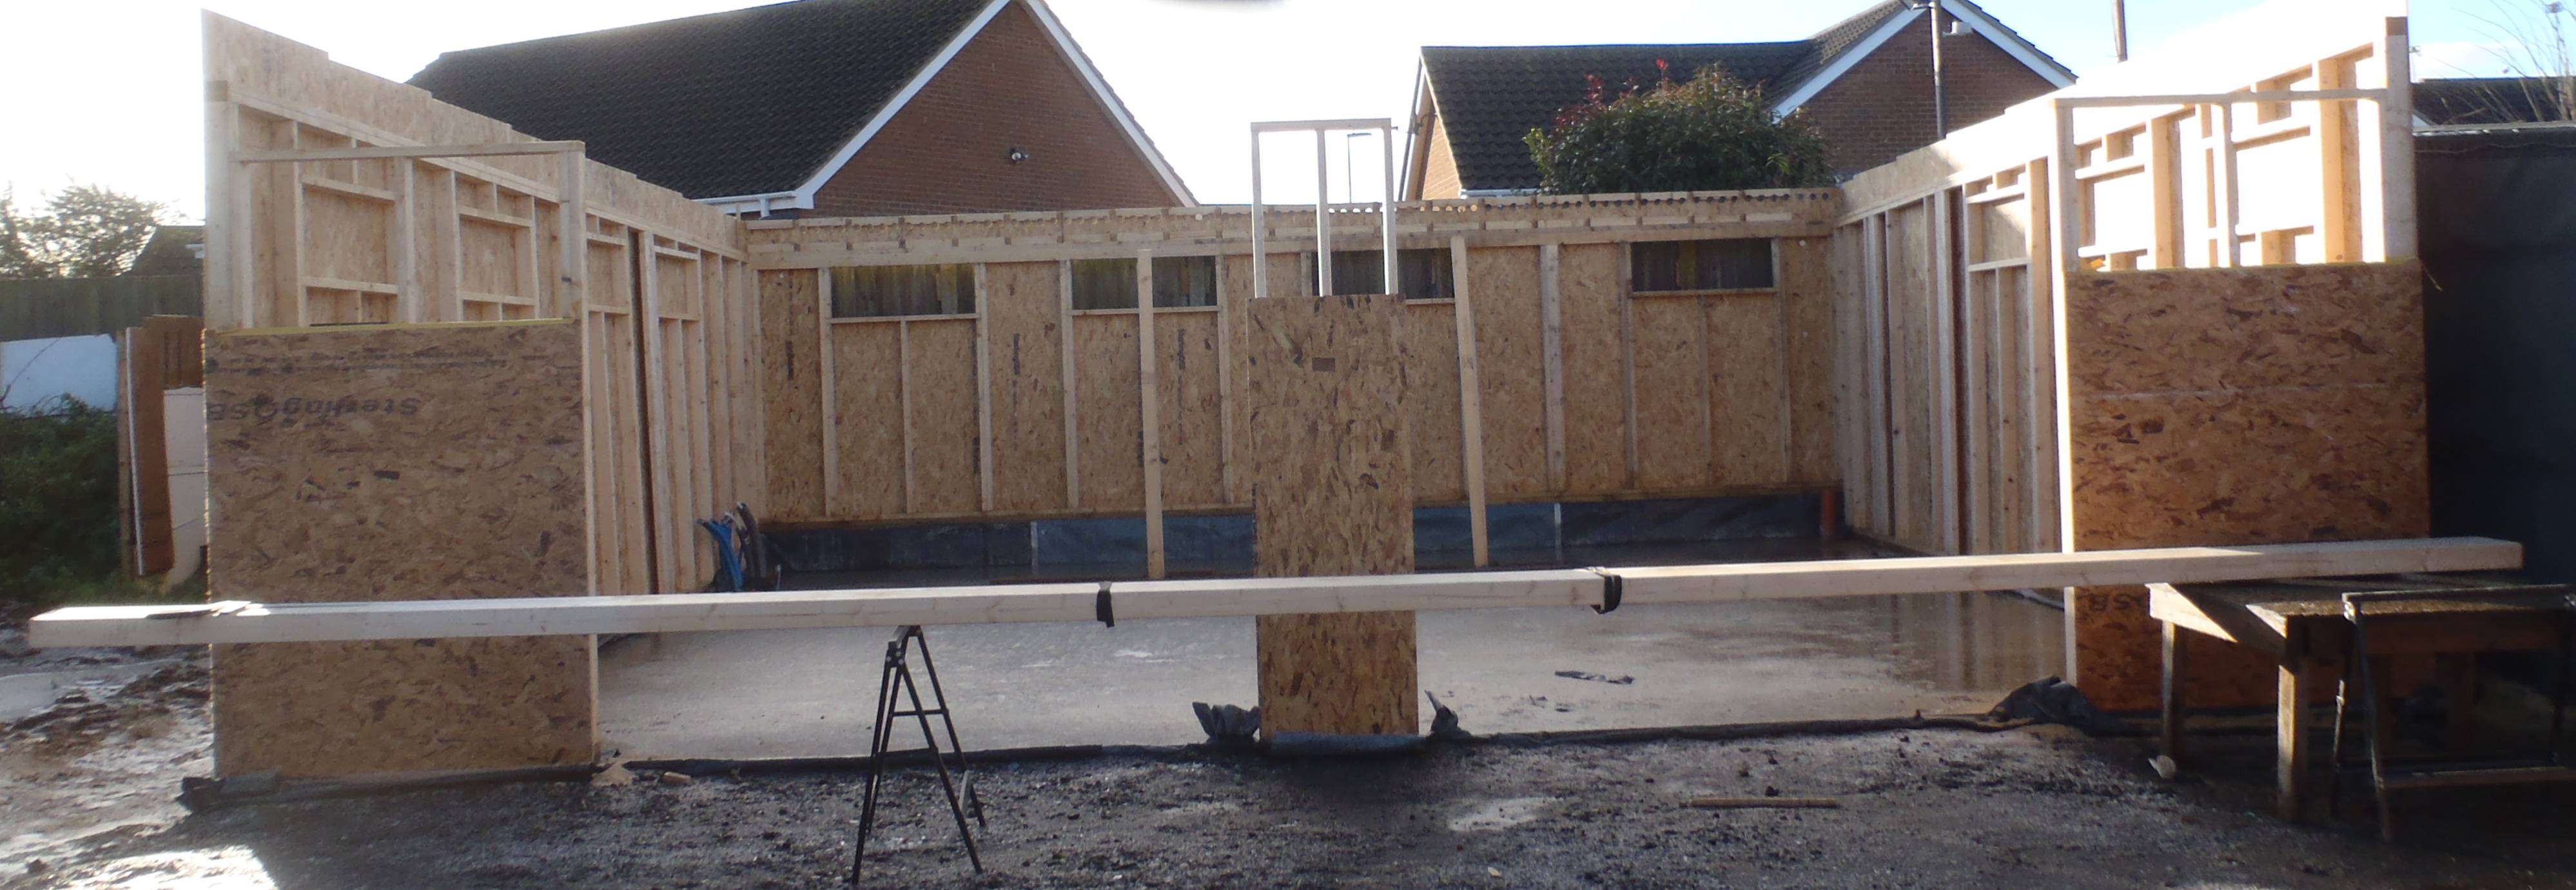
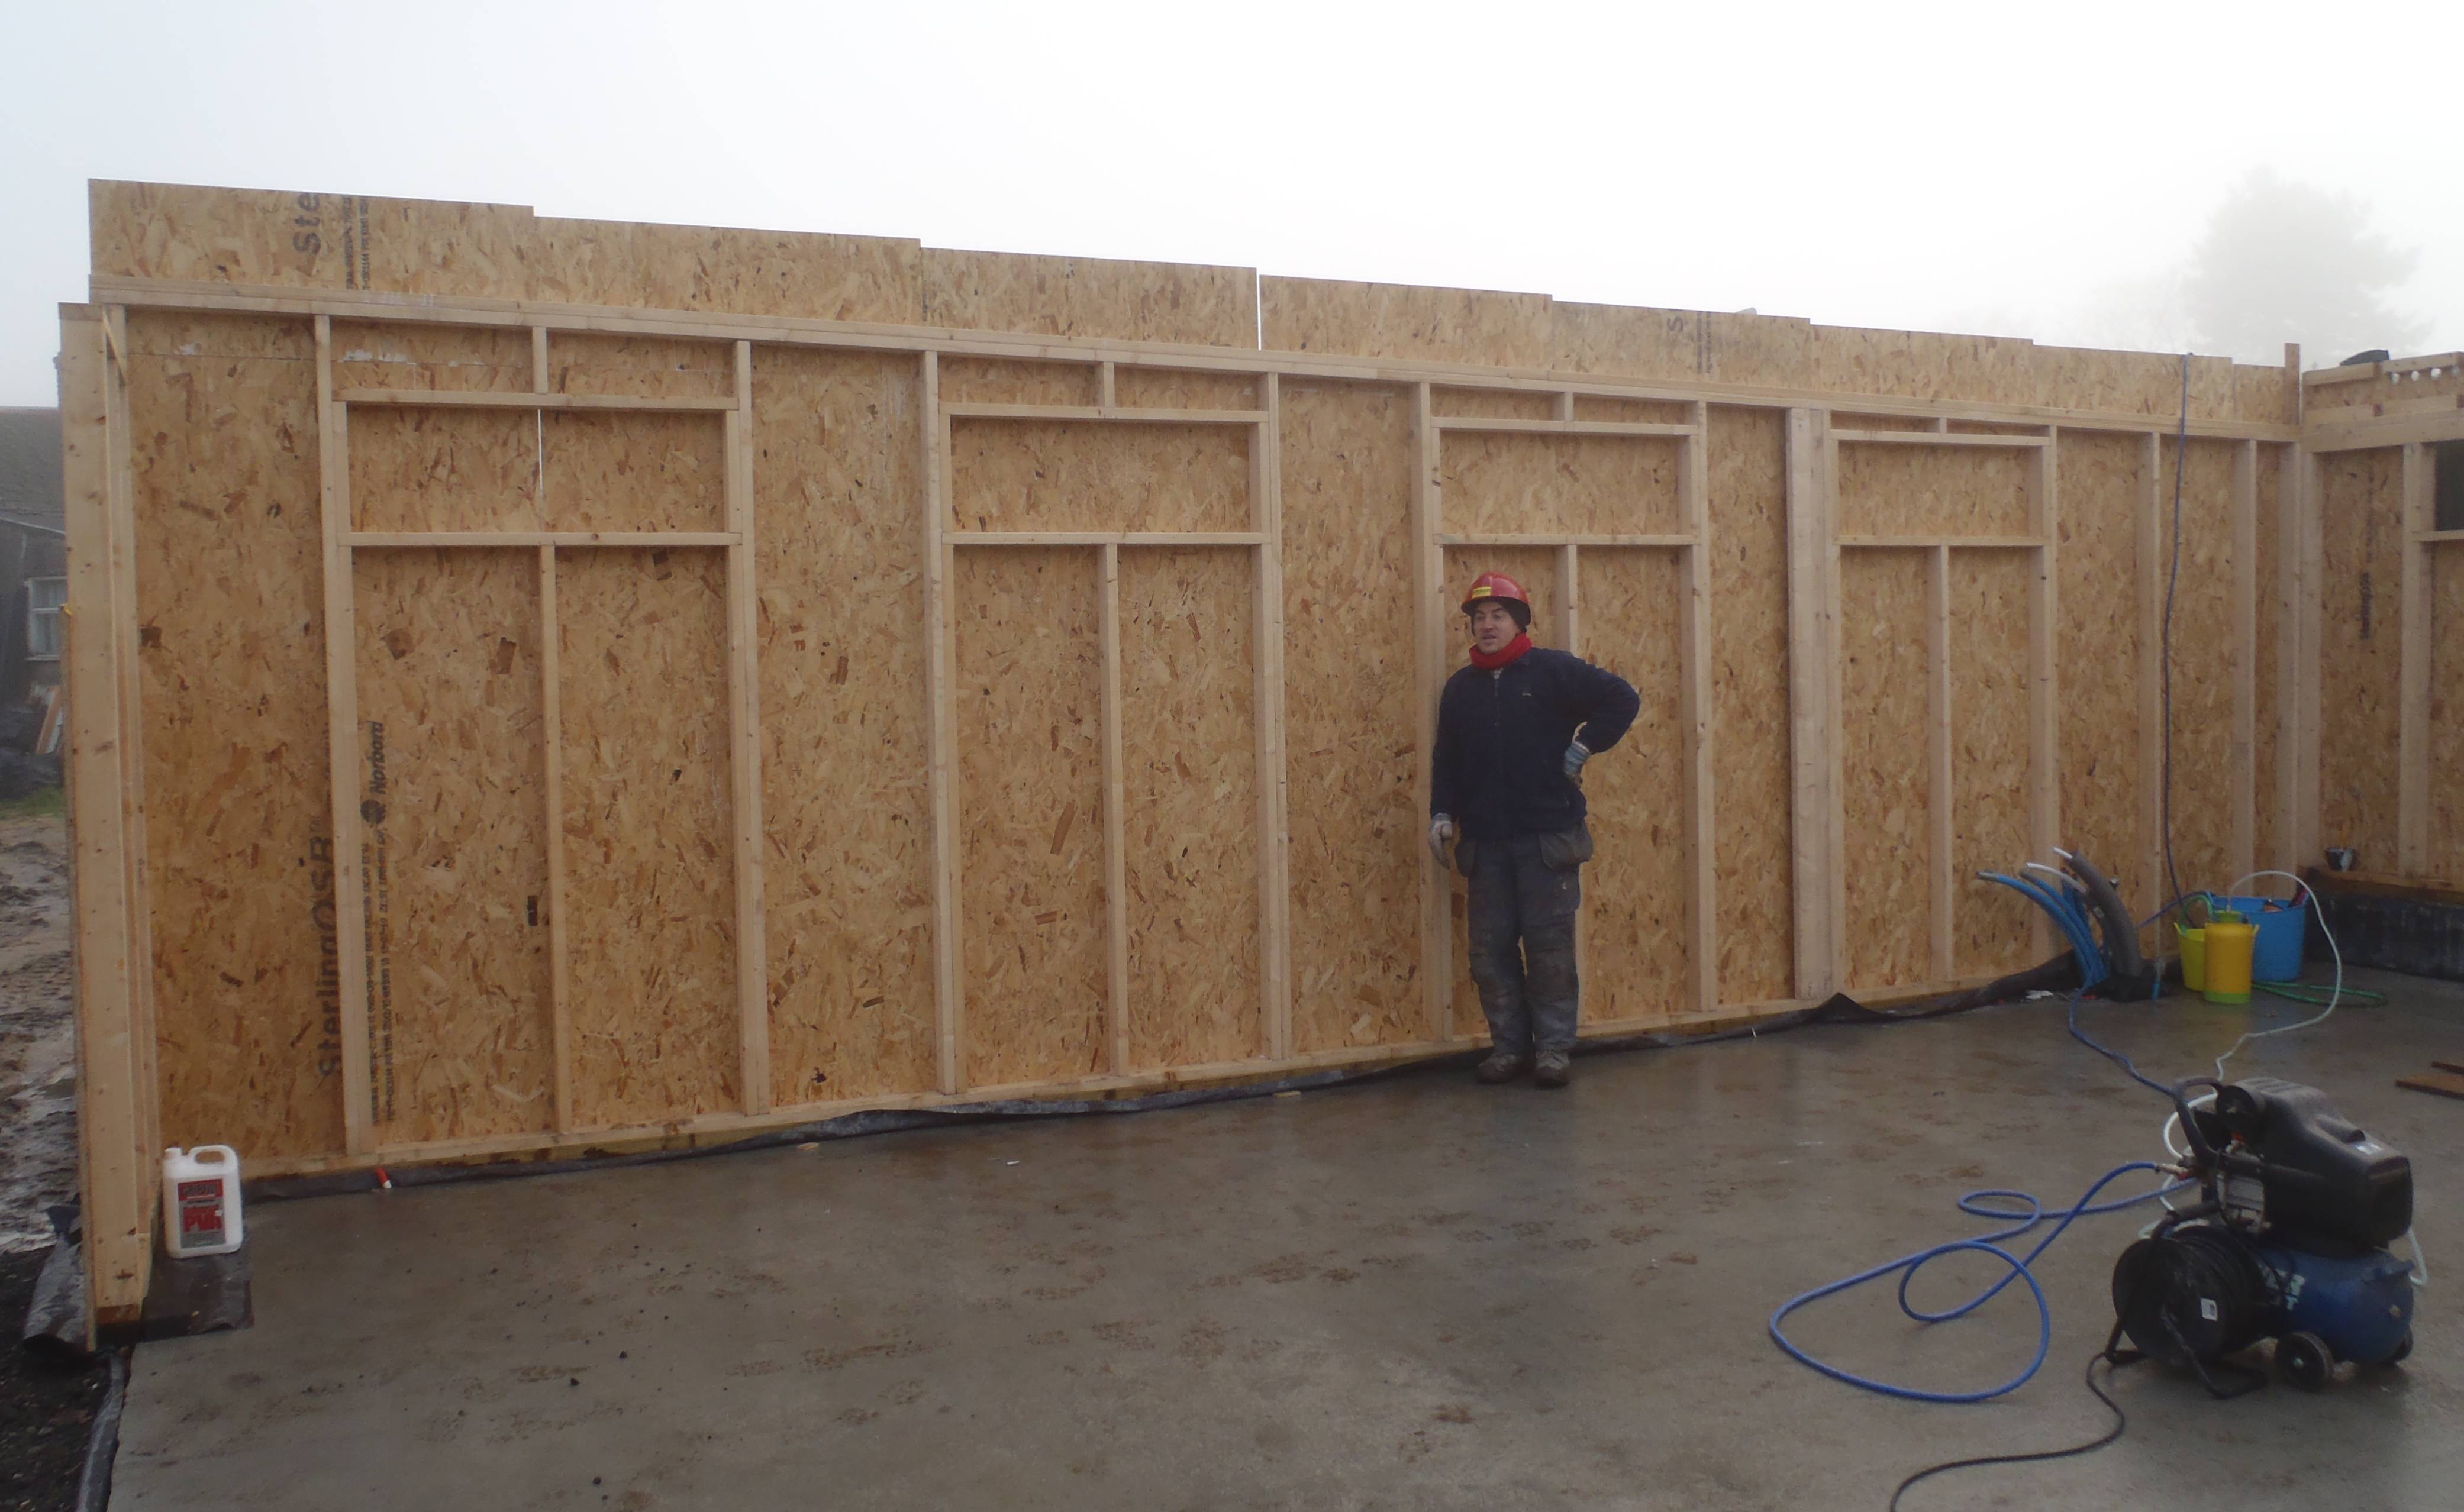
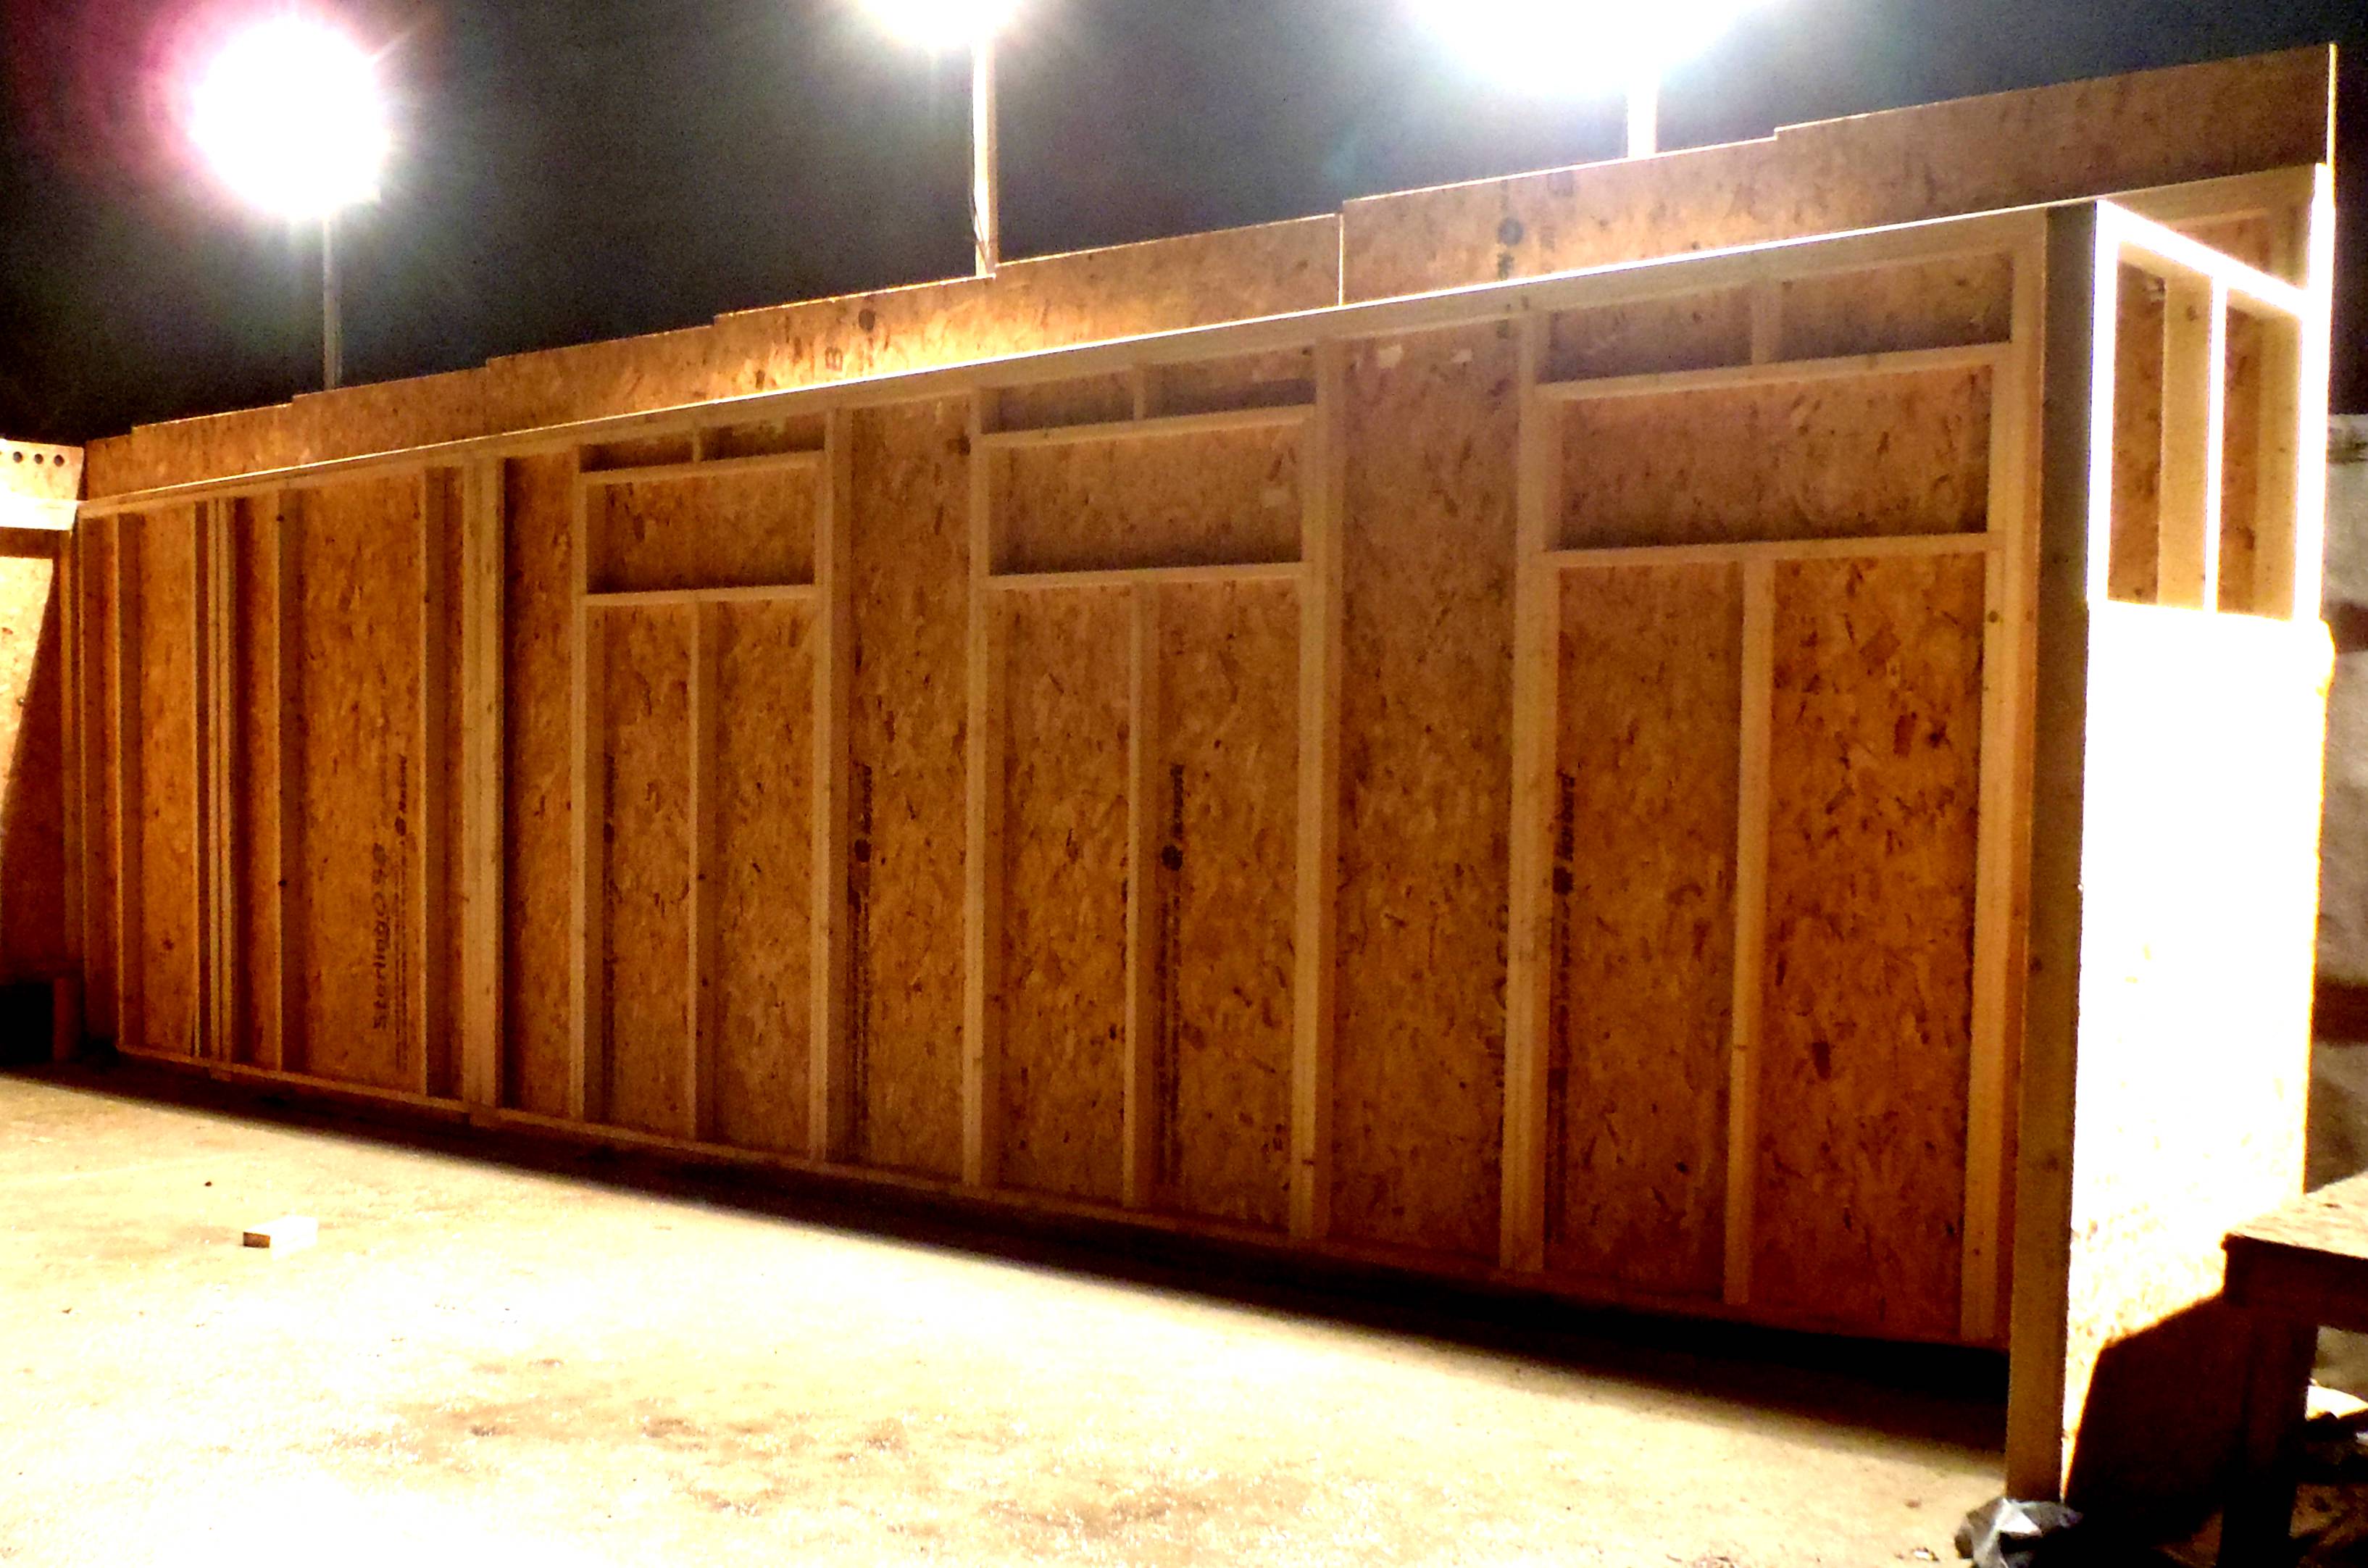
    Yesterday and today we bolted down the two side walls, there are over twenty thunderbolts in each wall! We pulled out a string to make sure the walls are straight and Stephen went along with the SDS drill to cut the holes and I came after screwing down the bolts!

    Today we drilled air holes for both the roof ventilation and the air conditioning “source”.

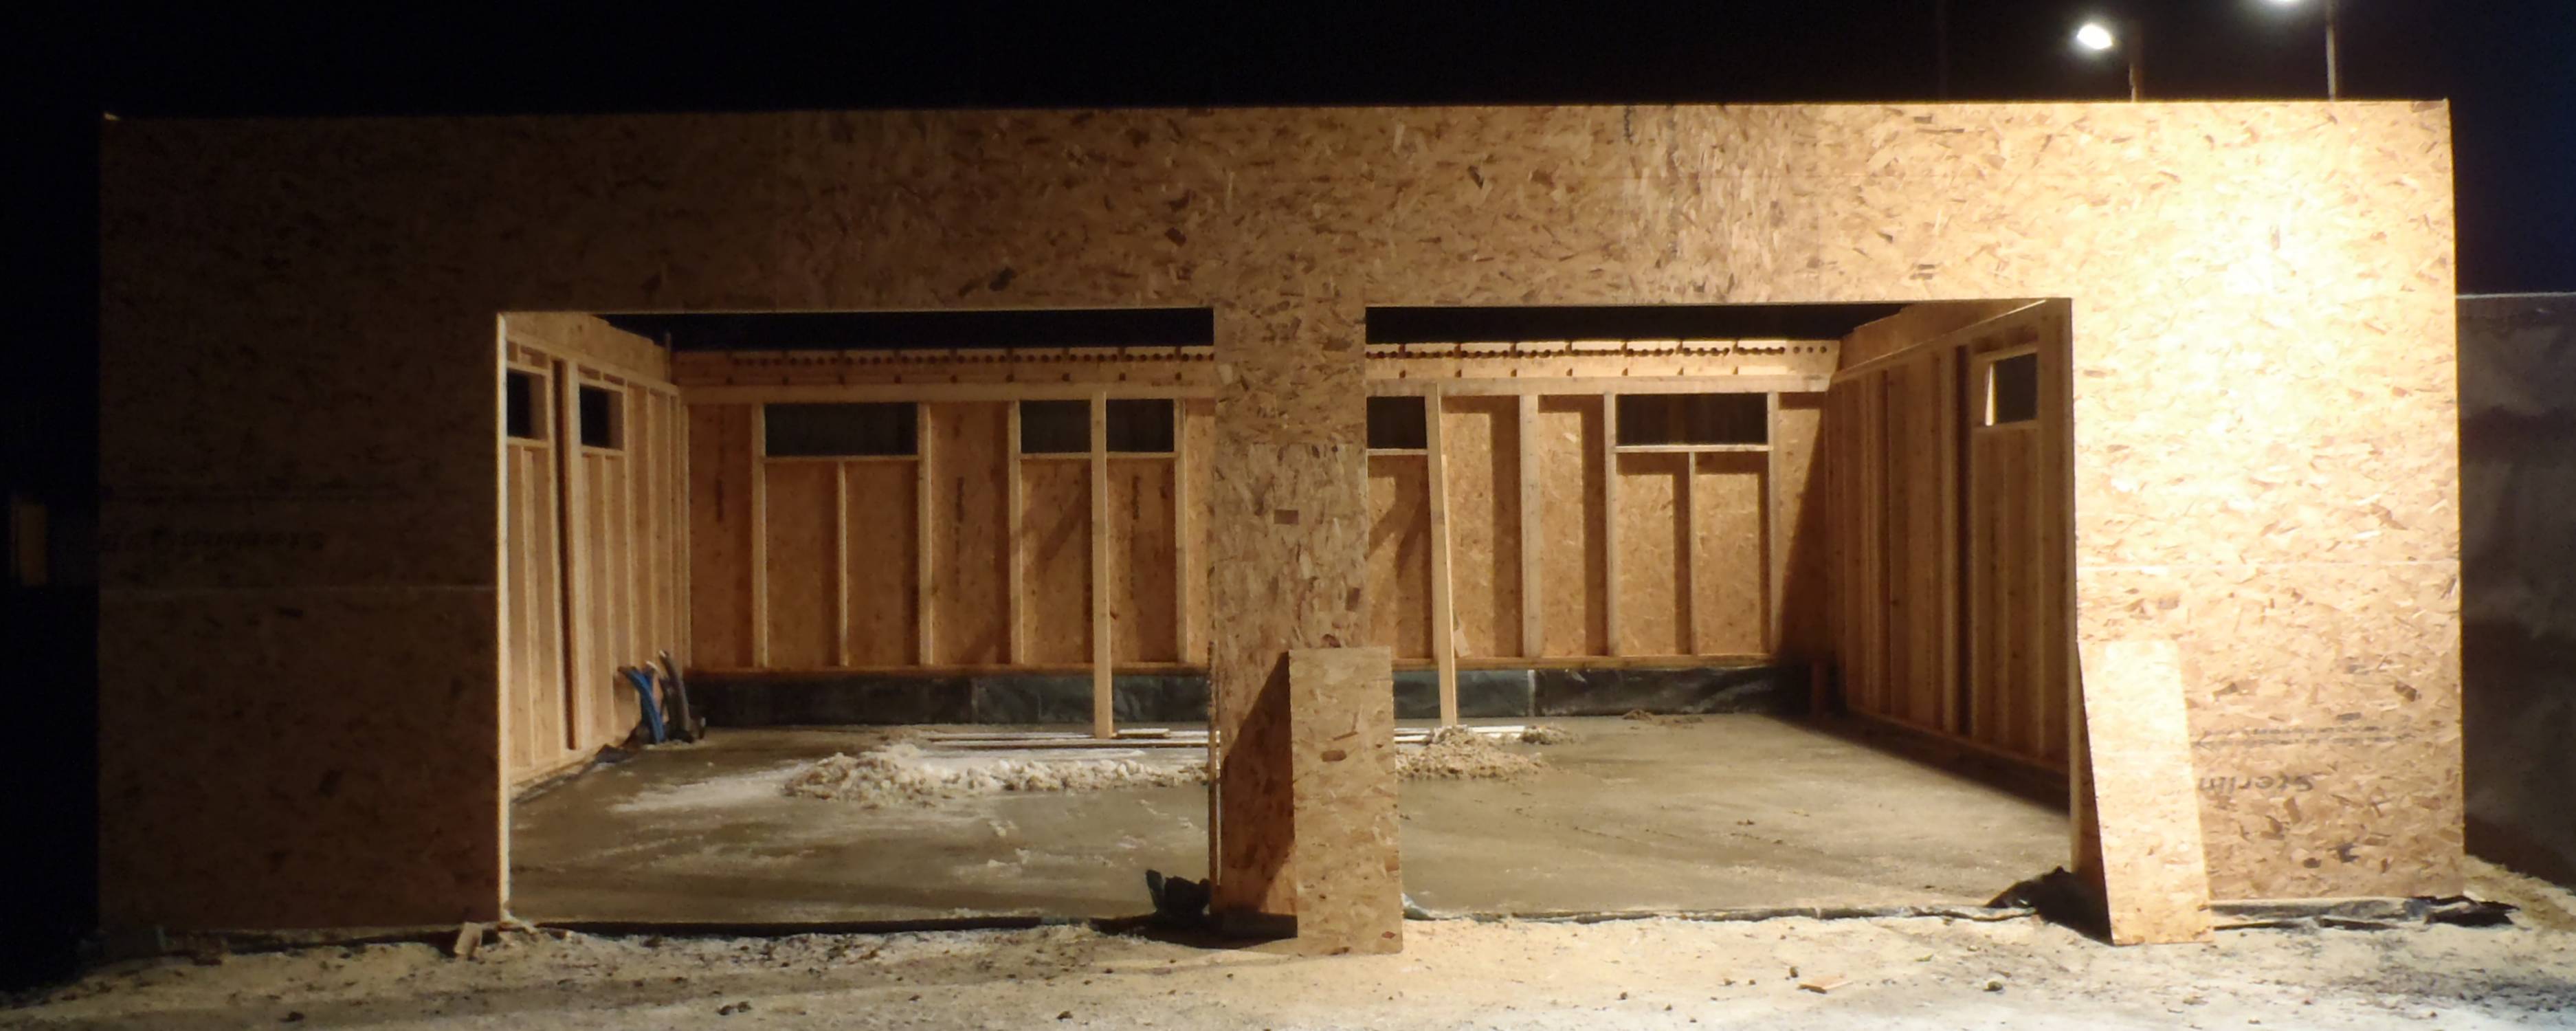
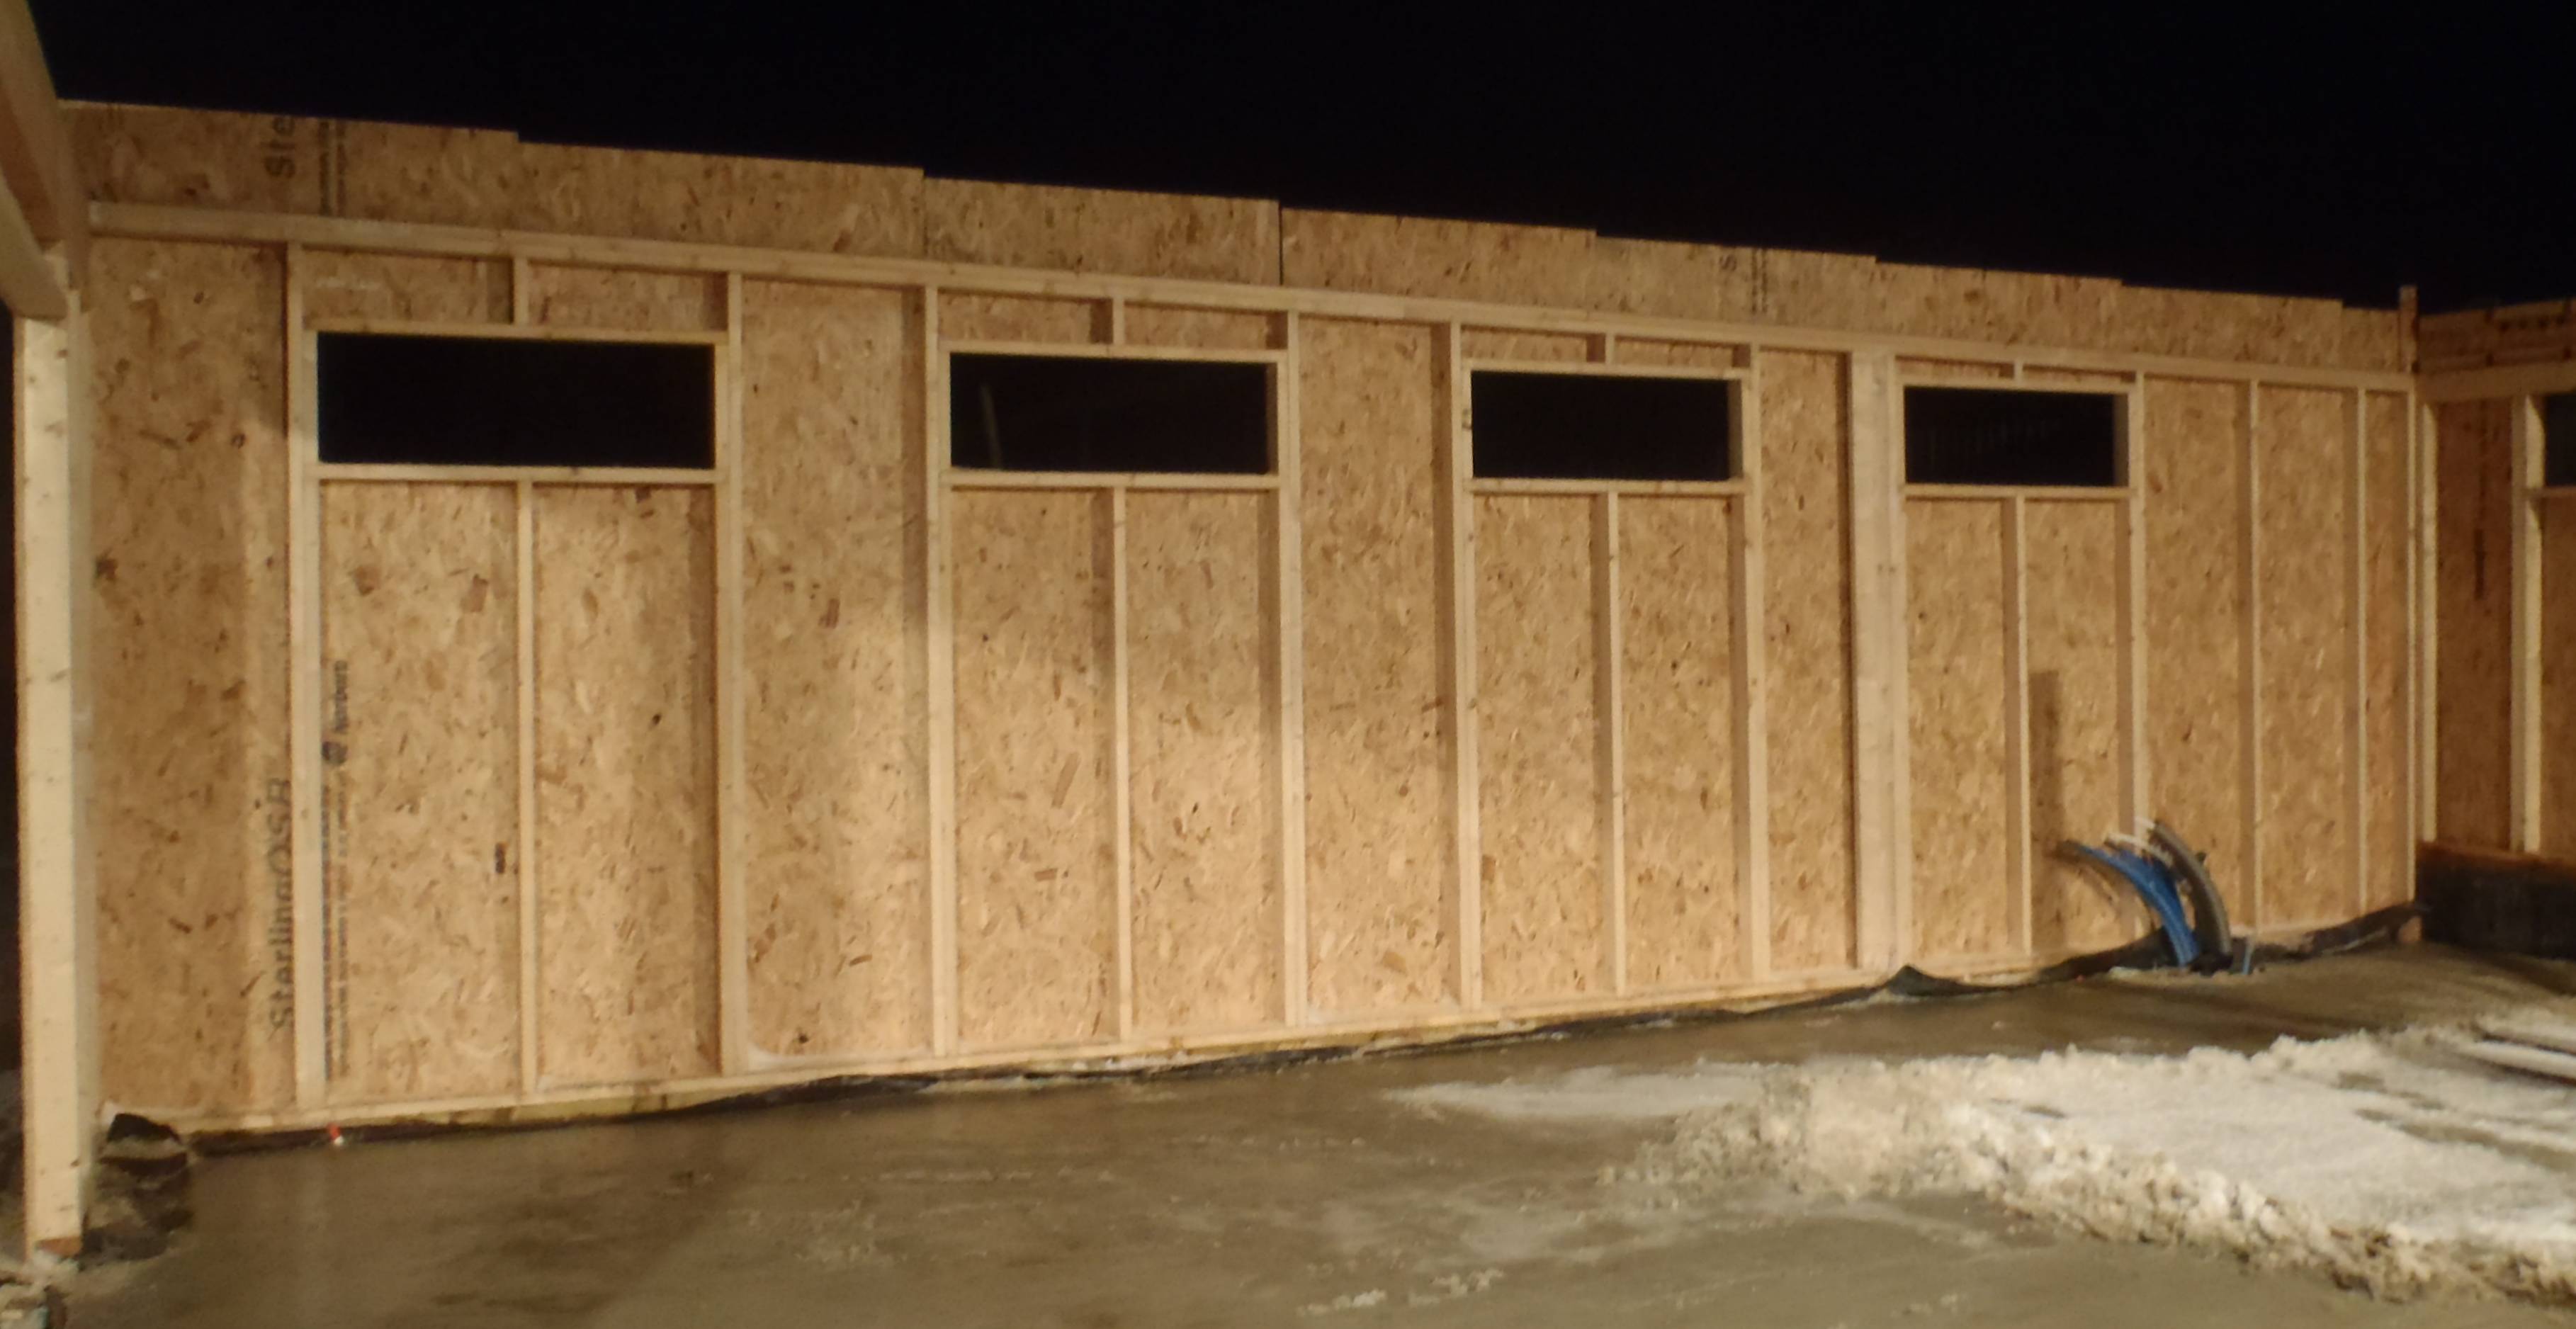
    The side wall has 21 114mm holes to allow fresh air to enter which will be drawn down into our earth tubes for cooling before entering into the house. Well this will be what will happen when we have built the house! Each hole will have a covering of stainless steel mesh to protect against insects and larger creatures and another layer of fluffy geotextile to filter larger dust particles and stop those sub millimetre bugs and creepy crawlies! The 21 holes adds up to over 210000 square millimetres which is double what we need but with the extra barriers of the two filters (mesh and geotextile) we need to make sure the pressure and speed of the air supply is not too badly affected.

    We also drilled another 21 holes along the front of the garage to allow air to circulate in under the roof boards to make sure it never gets damp and rot. This is all in the building regs! These holes will just have the stainless steel mesh covering them.

    You will not be able to to see these holes in the long run as there will be another cladding layer using the pretty Cedar wood!

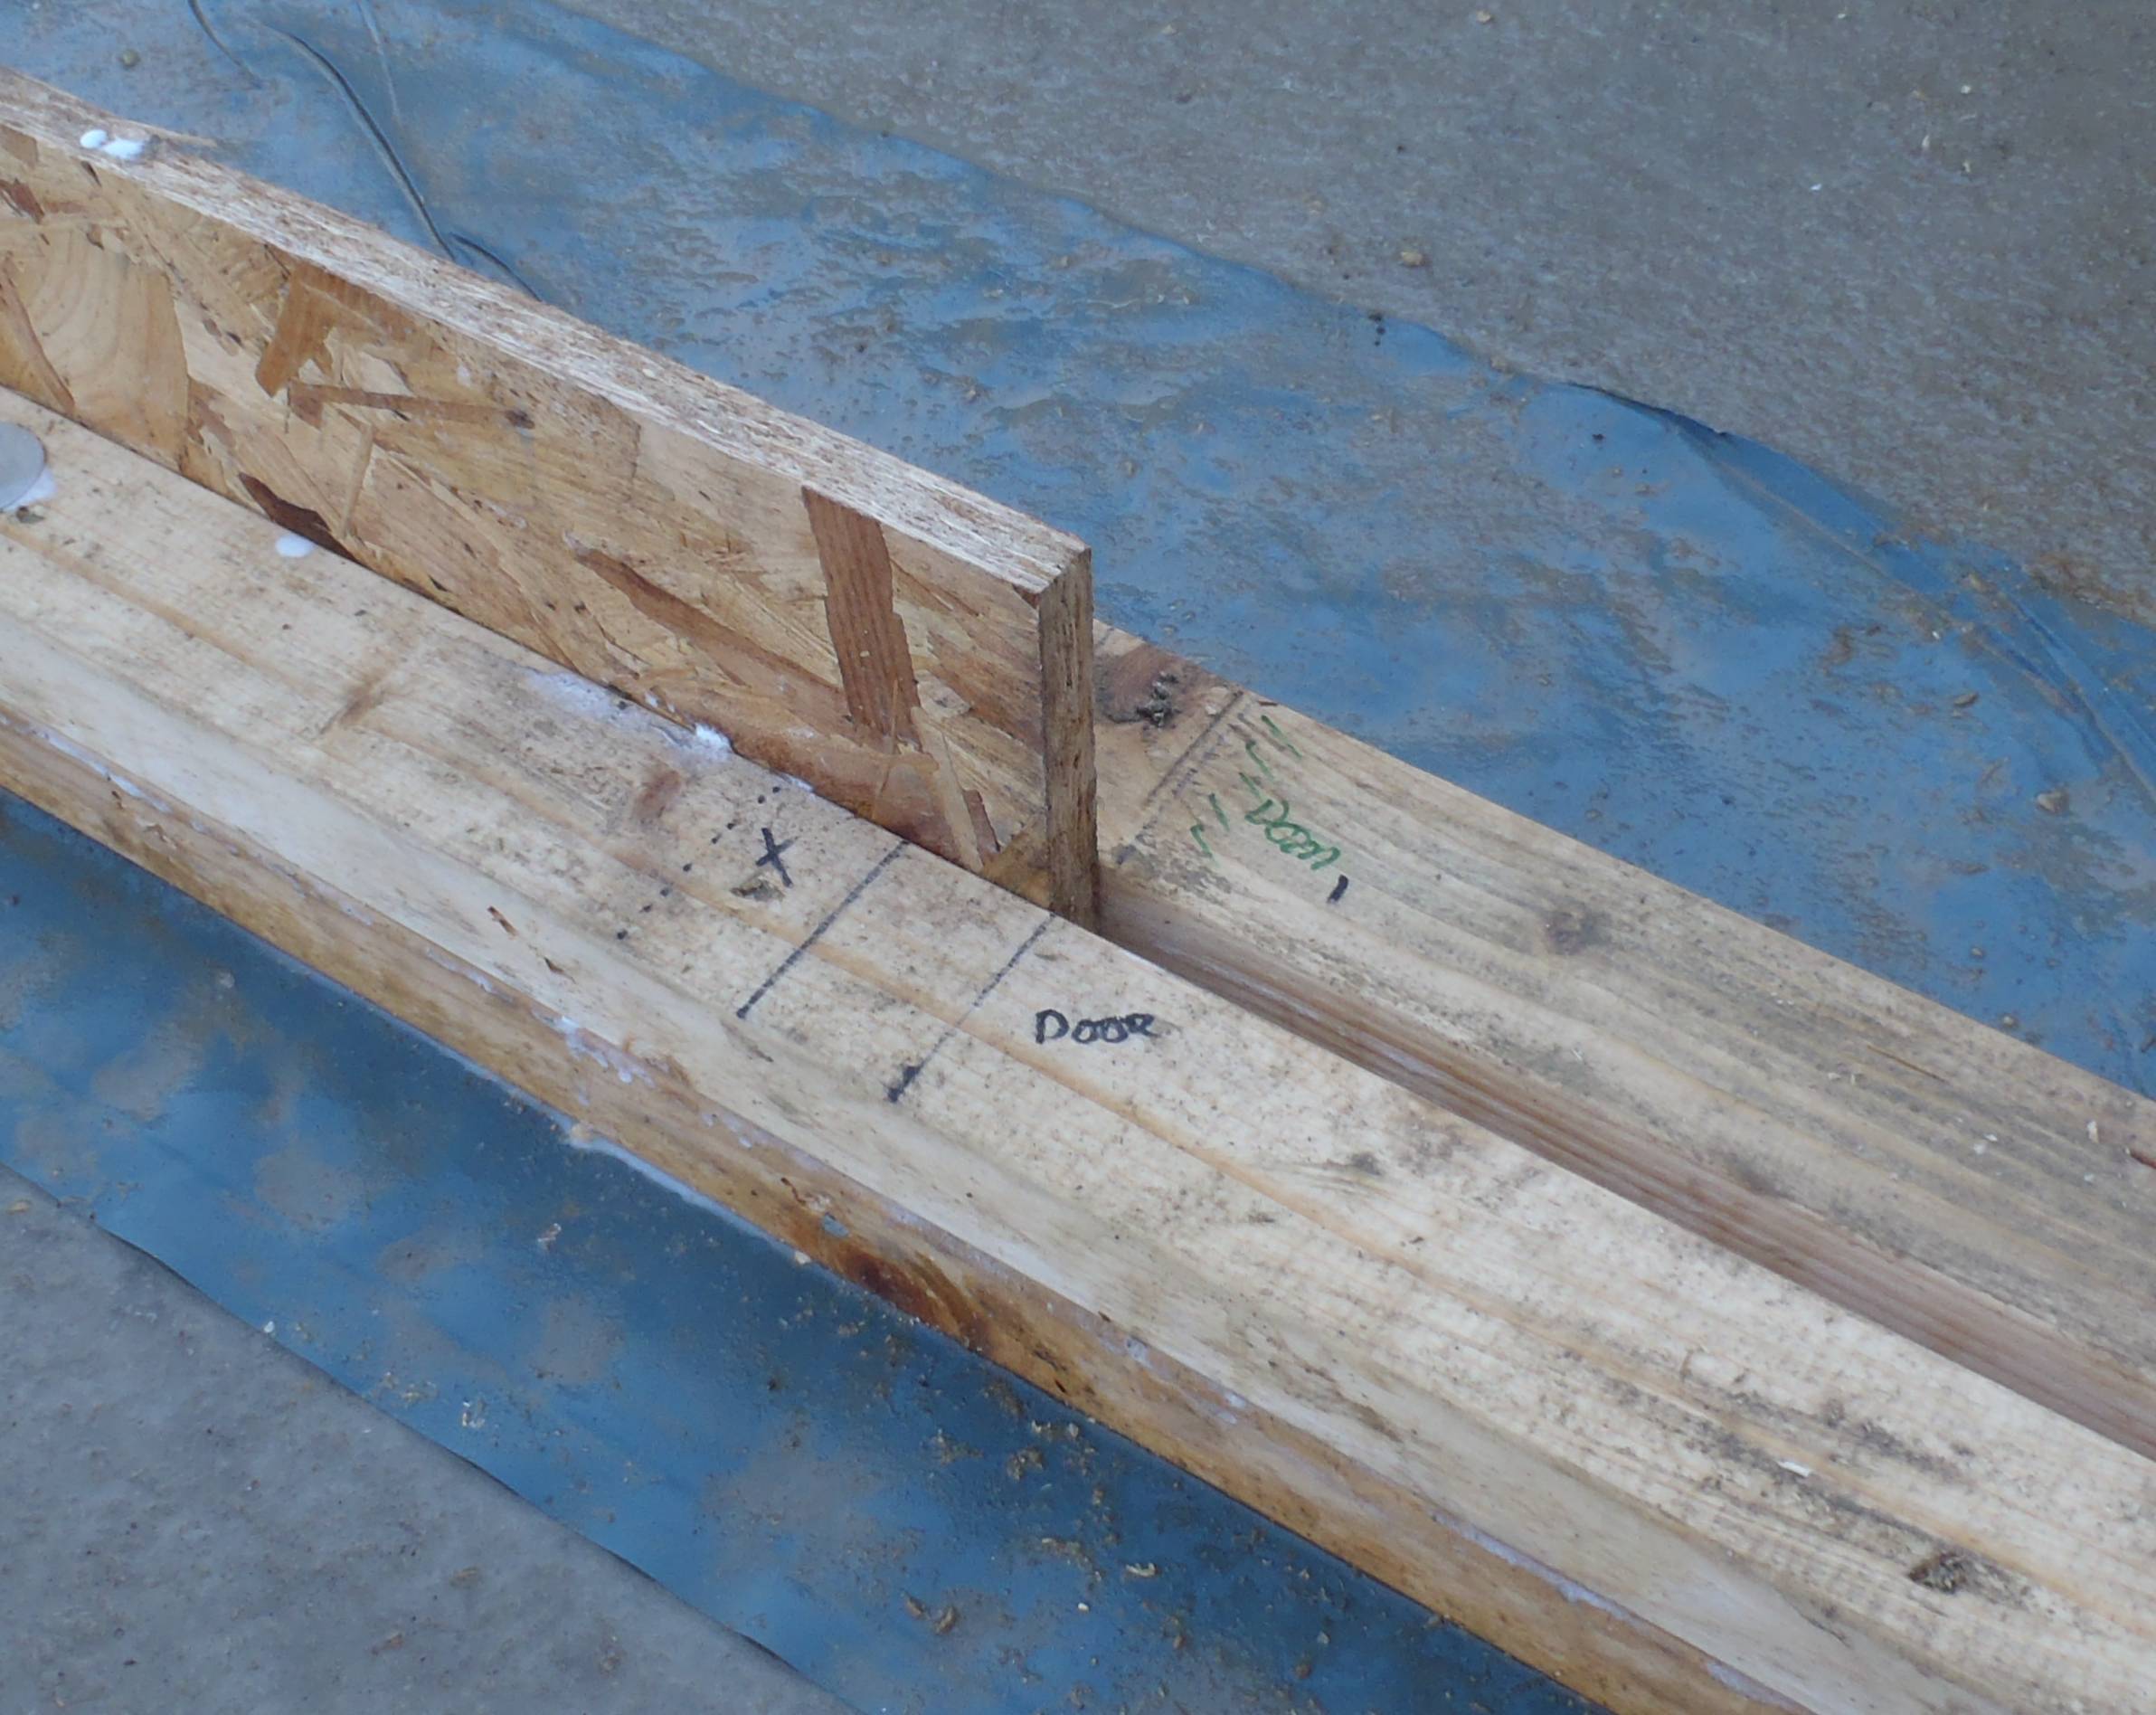
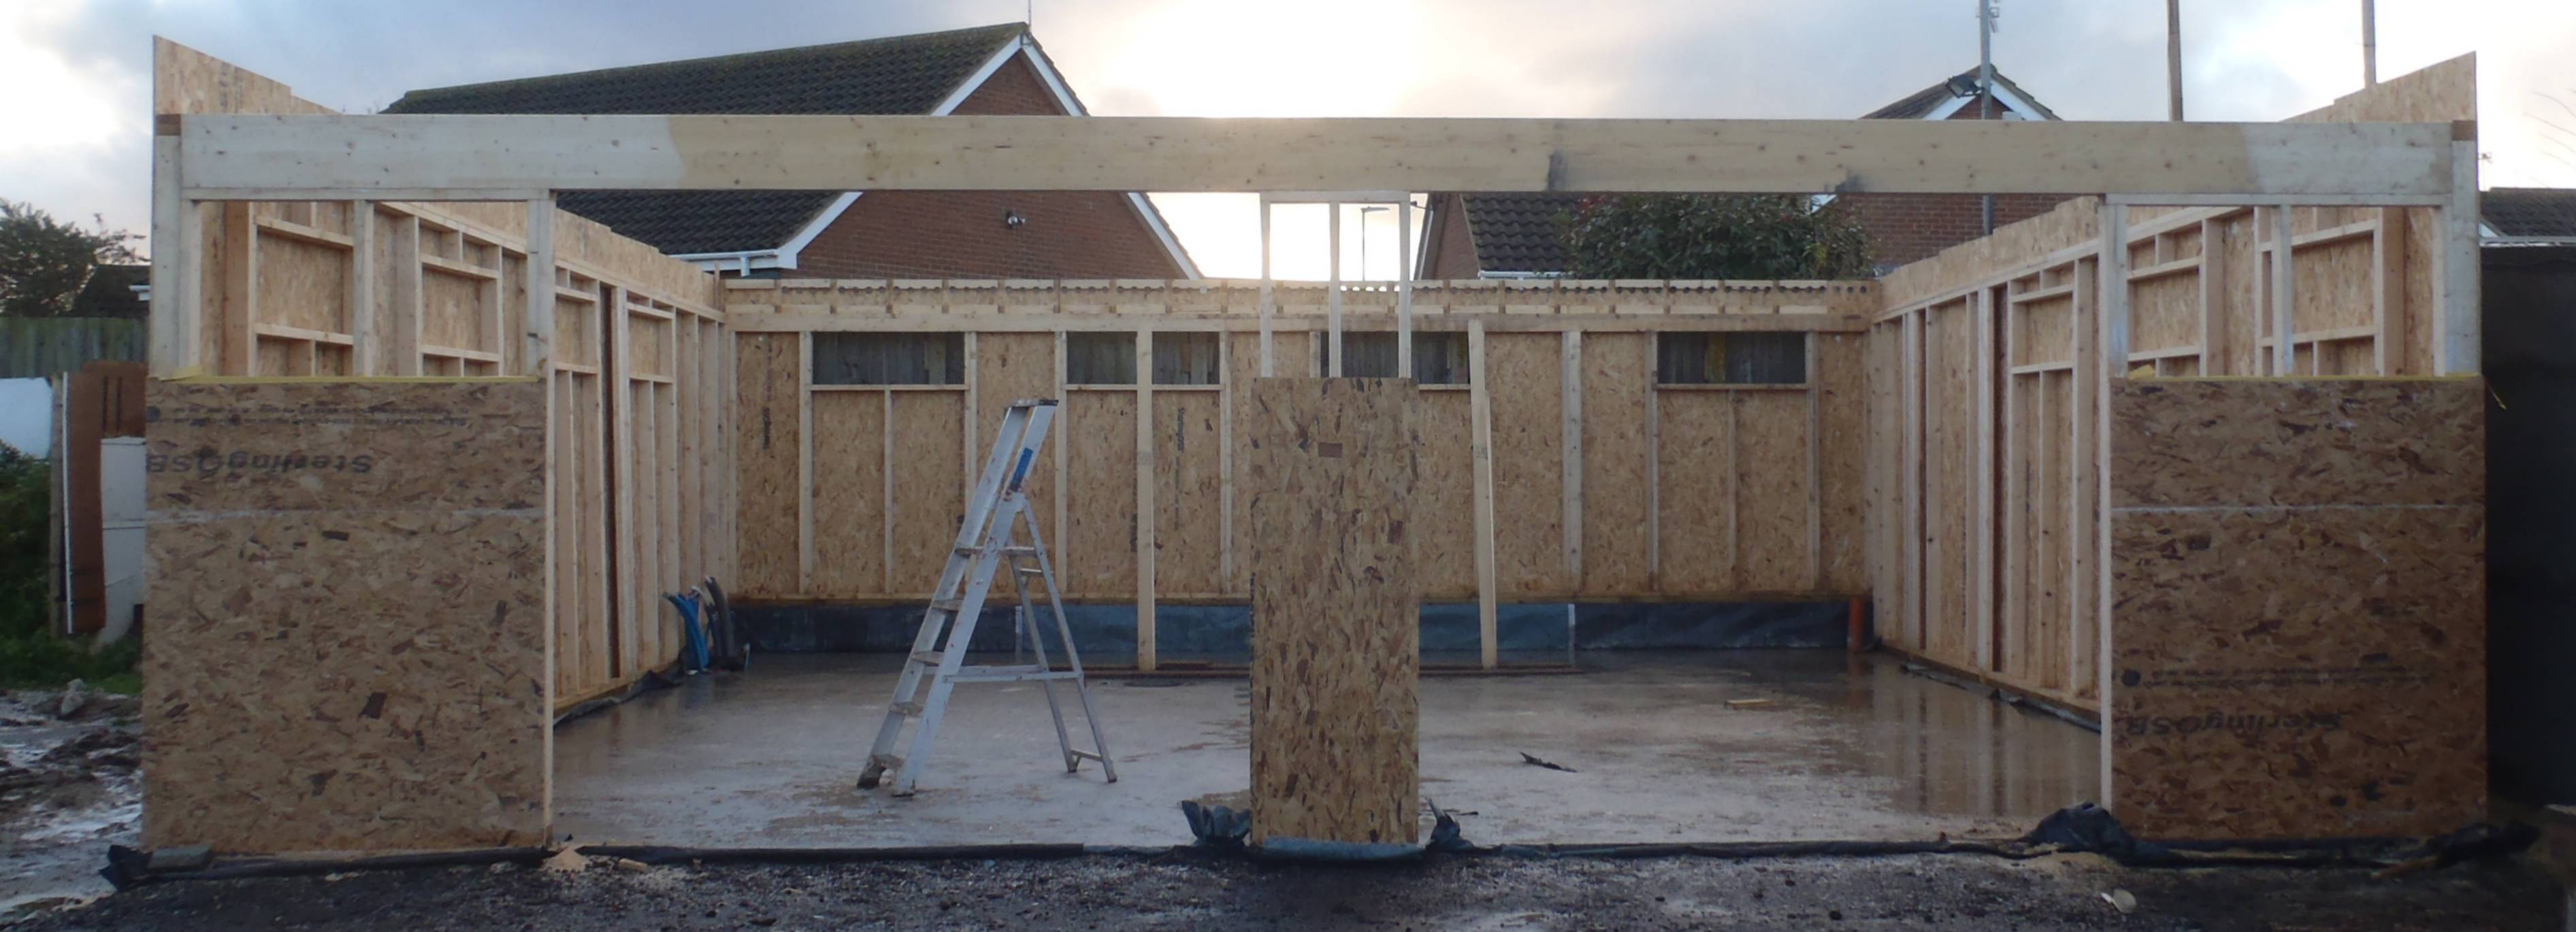
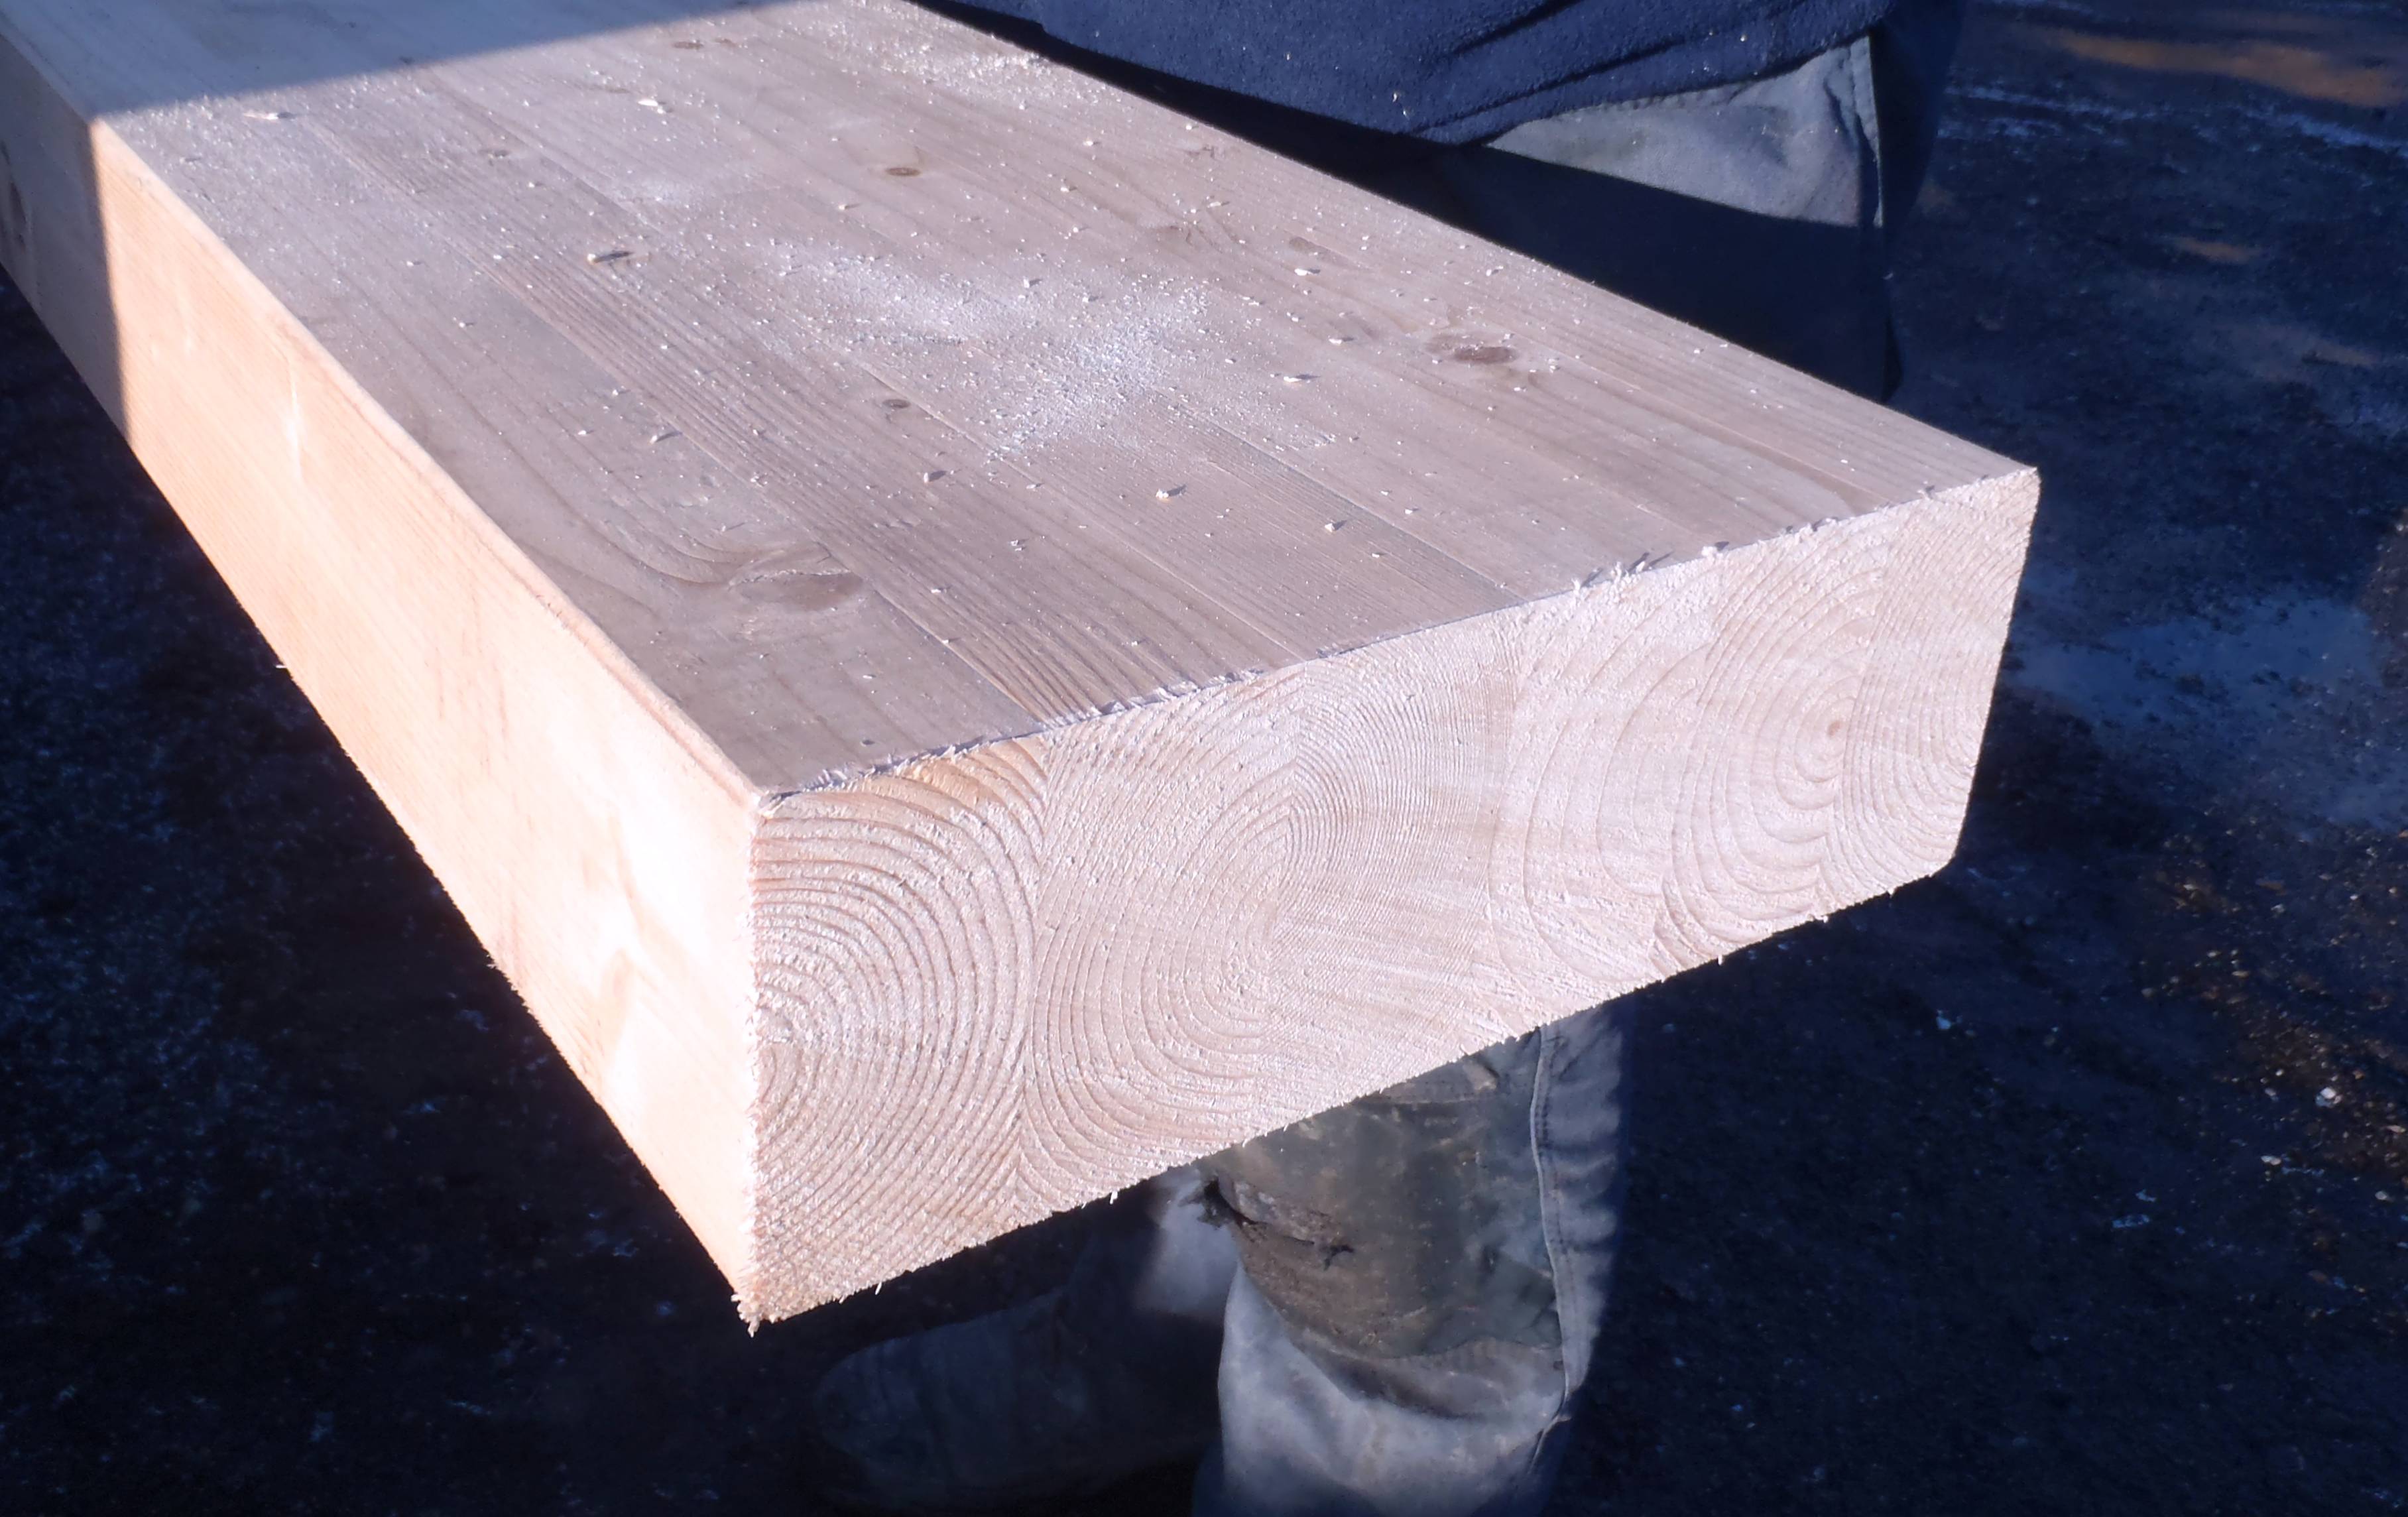
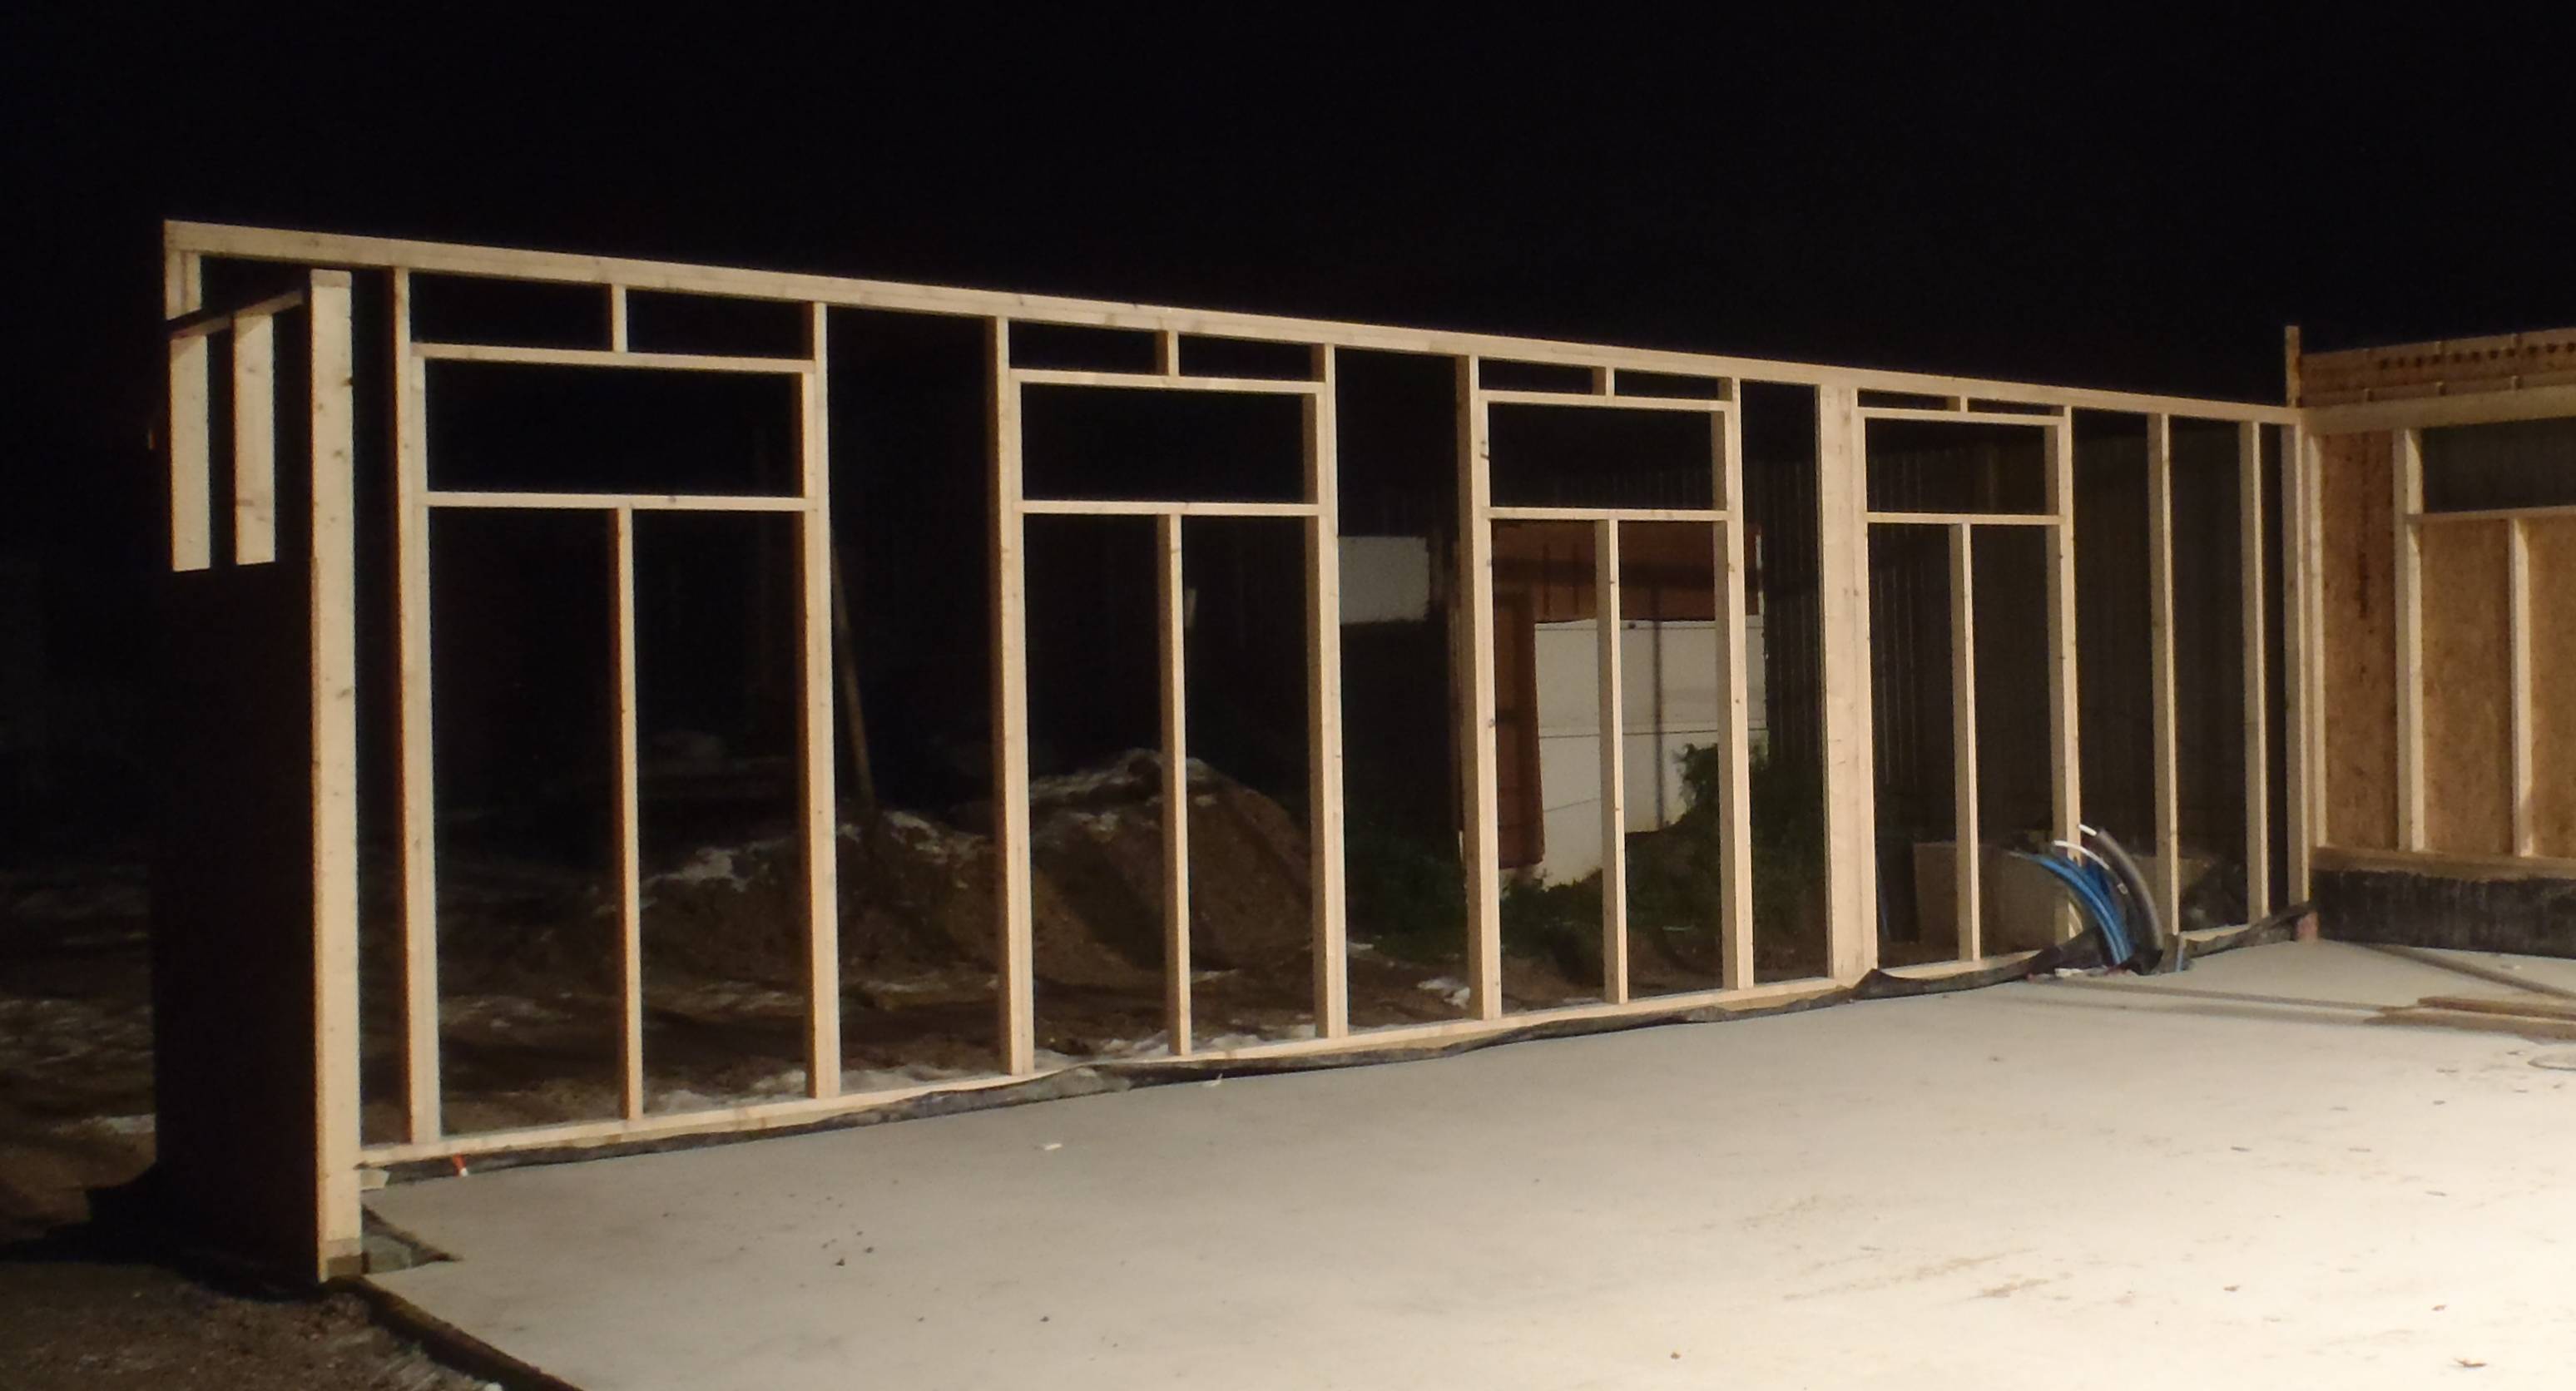
    Finally we have started building the middle internal wall that divides the garage from the garden room. We reinforced the sole plates and to improve the tie down structural strength by inserting 170mm high 18mm thick OSB strips in between the two halves of the wall. This is needed as there could be a potentially large “up” force in high winds blowing across the roof or blowing into an open garage door or doors causing a significant upward force inside the garage! This is why all the roof rafter themselves needs to be tied down using metal angled brackets. Our structural engineers had calculated all the numbers and this is what we have to do!

    We have bolted the sole plate down and it is now all very solid and ready for the rest of the wall to be constructed tomorrow!

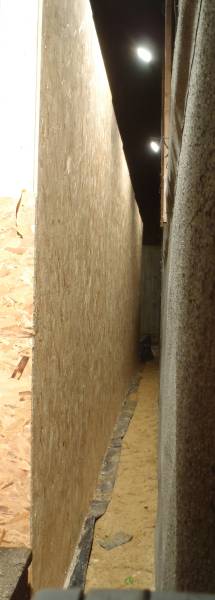
    (close up of reinforcements of sole plates)

  • Front Wall completed!

    The front wall of the garage is now completed! All the 18mm OSB boards is up and trimmed around each of the door entrances.


    Also we have cut out the seven windows on the two side walls!


    We have the basic box of the garage built, all that is left to do is build the middle wall and put on the roof!

  • GluLam Beam is up!

    The front of the garage is getting there! The central pillar is up and bolted down!

    Now the huge single piece timber called GluLam has been hoisted into place!

    It is 8315mm (27feet 3inches) long, 270mm (11inches) high and 90mm (3 1/2 inches) thick, made from 6 layers of 45mm x 90mm planks of planed timber, all glued and highly pressurised together!

    (close up of GluLam Timber)

    Now for the cladding boards!

  • Cladding OSB Boards on left side is UP!

    The structural OSB Boards are up! The left hand side of the garage was covered in seven and a half boards in just a couple of hours! It was much easier as we predicted, as we had gallons of room!


    We also trimmed off the sticking out parts of the front wall’s OSB boards!

    So we have 3 and a bit walls completed, just the final fixing down using the Thunderbolts after we have lined up both the right and left walls, absolutely, perfectly, dead straight!!

  • OSB Boards cladding is up for the right side!

    Today was the day for mounting the OSB 11mm boards onto the framework! We started with the right hand side of the garage and we soon discovered that none of our stepladders was small enough to fit in the gap between the garage and the temporary living quarters and store room so we had to build a slim platform out of 2 by 6 (inches) planks we had lying around! It is 8feet long and 6feet high with the platform set to 5 feet at the moment.

    It was a tight squeeze down the gap but after juggling with the platform, nail gun, glue and the boards, we managed to finish the whole right hand side! In the dark again at around 6pm!


    Tomorrow it should be easier on the left hand side as it is open and we can get our stepladders in! Famous Last Words!

  • Right Side Framework is UP!

    We had a good day today! Started 10am and finished 7pm! The right hand side of our Garage is UP! The framework is erected along with part of the front wall to provide the usual stability.

    Right hand wall framing complete

    It was positively warm today, no snow, no sleet, no hail, no rain (well almost none!) and no wind to speak of too! As I say, positively barmy!

    Tomorrow (weather permitting) we will nail on the boards – 11mm OSB boards to provide the structural racking to stiffen up the whole building!

    And also drill dozens of holes for all the tie down bolts! The self-tapping screws we are using are called Thunderbolts and they go straight into the concrete (a pilot hole of course) without any wall plugs, expanding bits or glues!

  • Finally At Last! Work resumes!

    We have had loads of bad weather for the last week and outside work has been grounded! We had snow, hail, sleet and loads of rain! A very wet November! And for the last week or so very cold too!

    But yesterday and today we have managed to get out there to start erecting the walls with the pieces that were cut and built (the front wall segments) inside the workshop! It is a matter of fitting the jigsaw together!

    This shows the left hand side wall with just a couple of posts in place, and connected to the front wall which was bolted down to provide stability.

    Then the wind got up! Today we have been battling with over 20mph winds and gusts, our ladders keep on being blown over!

    The final finished framework of the left wall, quite dramatically lit up against the night sky!

    I wonder what the weather will bring tomorrow!?

  • Back wall up!

    Yahoo! the first wall of the building project is completed!

    We started the day by using the mini-digger to lift the wall to the just above horizontal, this reduces the friction allowing the wall to be pulled by one person each side. The wall was soon moved next to its sole plate on the mass wall.

    Before we lifted the wall upright we tied the ends to both the mass wall and the front of the garage to reduce the chance of the bottom of the wall sliding to far forwards or backwards. The mini digger the raised the wall with a careful combination of lifting the arm and driving forwards. When the wall was upright we left the arm holding the wall up while we fixed it in place. We then removed the ramps.

    Back wall lifted into place

    The wall was not quite lined up properly in either plane so we had to lever it into alignment with the front of the sole plate, then use a sledge hammer to shift the wall about 10mm to the left. A few concrete bolts were inserted to hold the bottom of the wall. We braced the wall with diagonal struts from the wall to timbers inserted into the earth tubes (our Dad suggested this). Finally all of the concrete bolts were inserted.

    Back wall finished!

  • Finished back wall

    Spent the last few days finishing off the back wall now the cement boards are here…

    First we fixed a sheet of thick polythene over the OSB as a final waterproofing layer, this took longer than we thought as we had to work hard to get the wrinkles out. Cut the plastic around the window holes. Then placed and aligned the cement boards.

    BW - Cement boards on

    The next job was to cut and install two rows of noggins at the top of the wall. These will keep the end of the roof I-Beams upright.

    Next day we drilled the ventilation holes for the roof  in the wall, 79 of them (each needing to passes with a hole saw). In fact Shaun kept busy removing the cut disks from one hole saw while I used the other on the next hole.

    BW - Vent holes drilled

    In the afternoon we slid strips of  SS mesh between the cement board and the OSB to cover the holes and fixed them down. Then we routed out the window holes. Last thing of the day was to seal in the joints between boards with Polyurethane sealant.

    BW- Windows holes cut

    Trimmed off the bottom of the cement boards to the right height. Fitted the ladder brackets and installed the steel ropes and tensioned them (we then de-tensioned them until the wall is installed in final position). The wall is now ready to be moved into place.

    BW - Ready to raise