Category: Garage

The Garage

  • Air Ducting Under floor

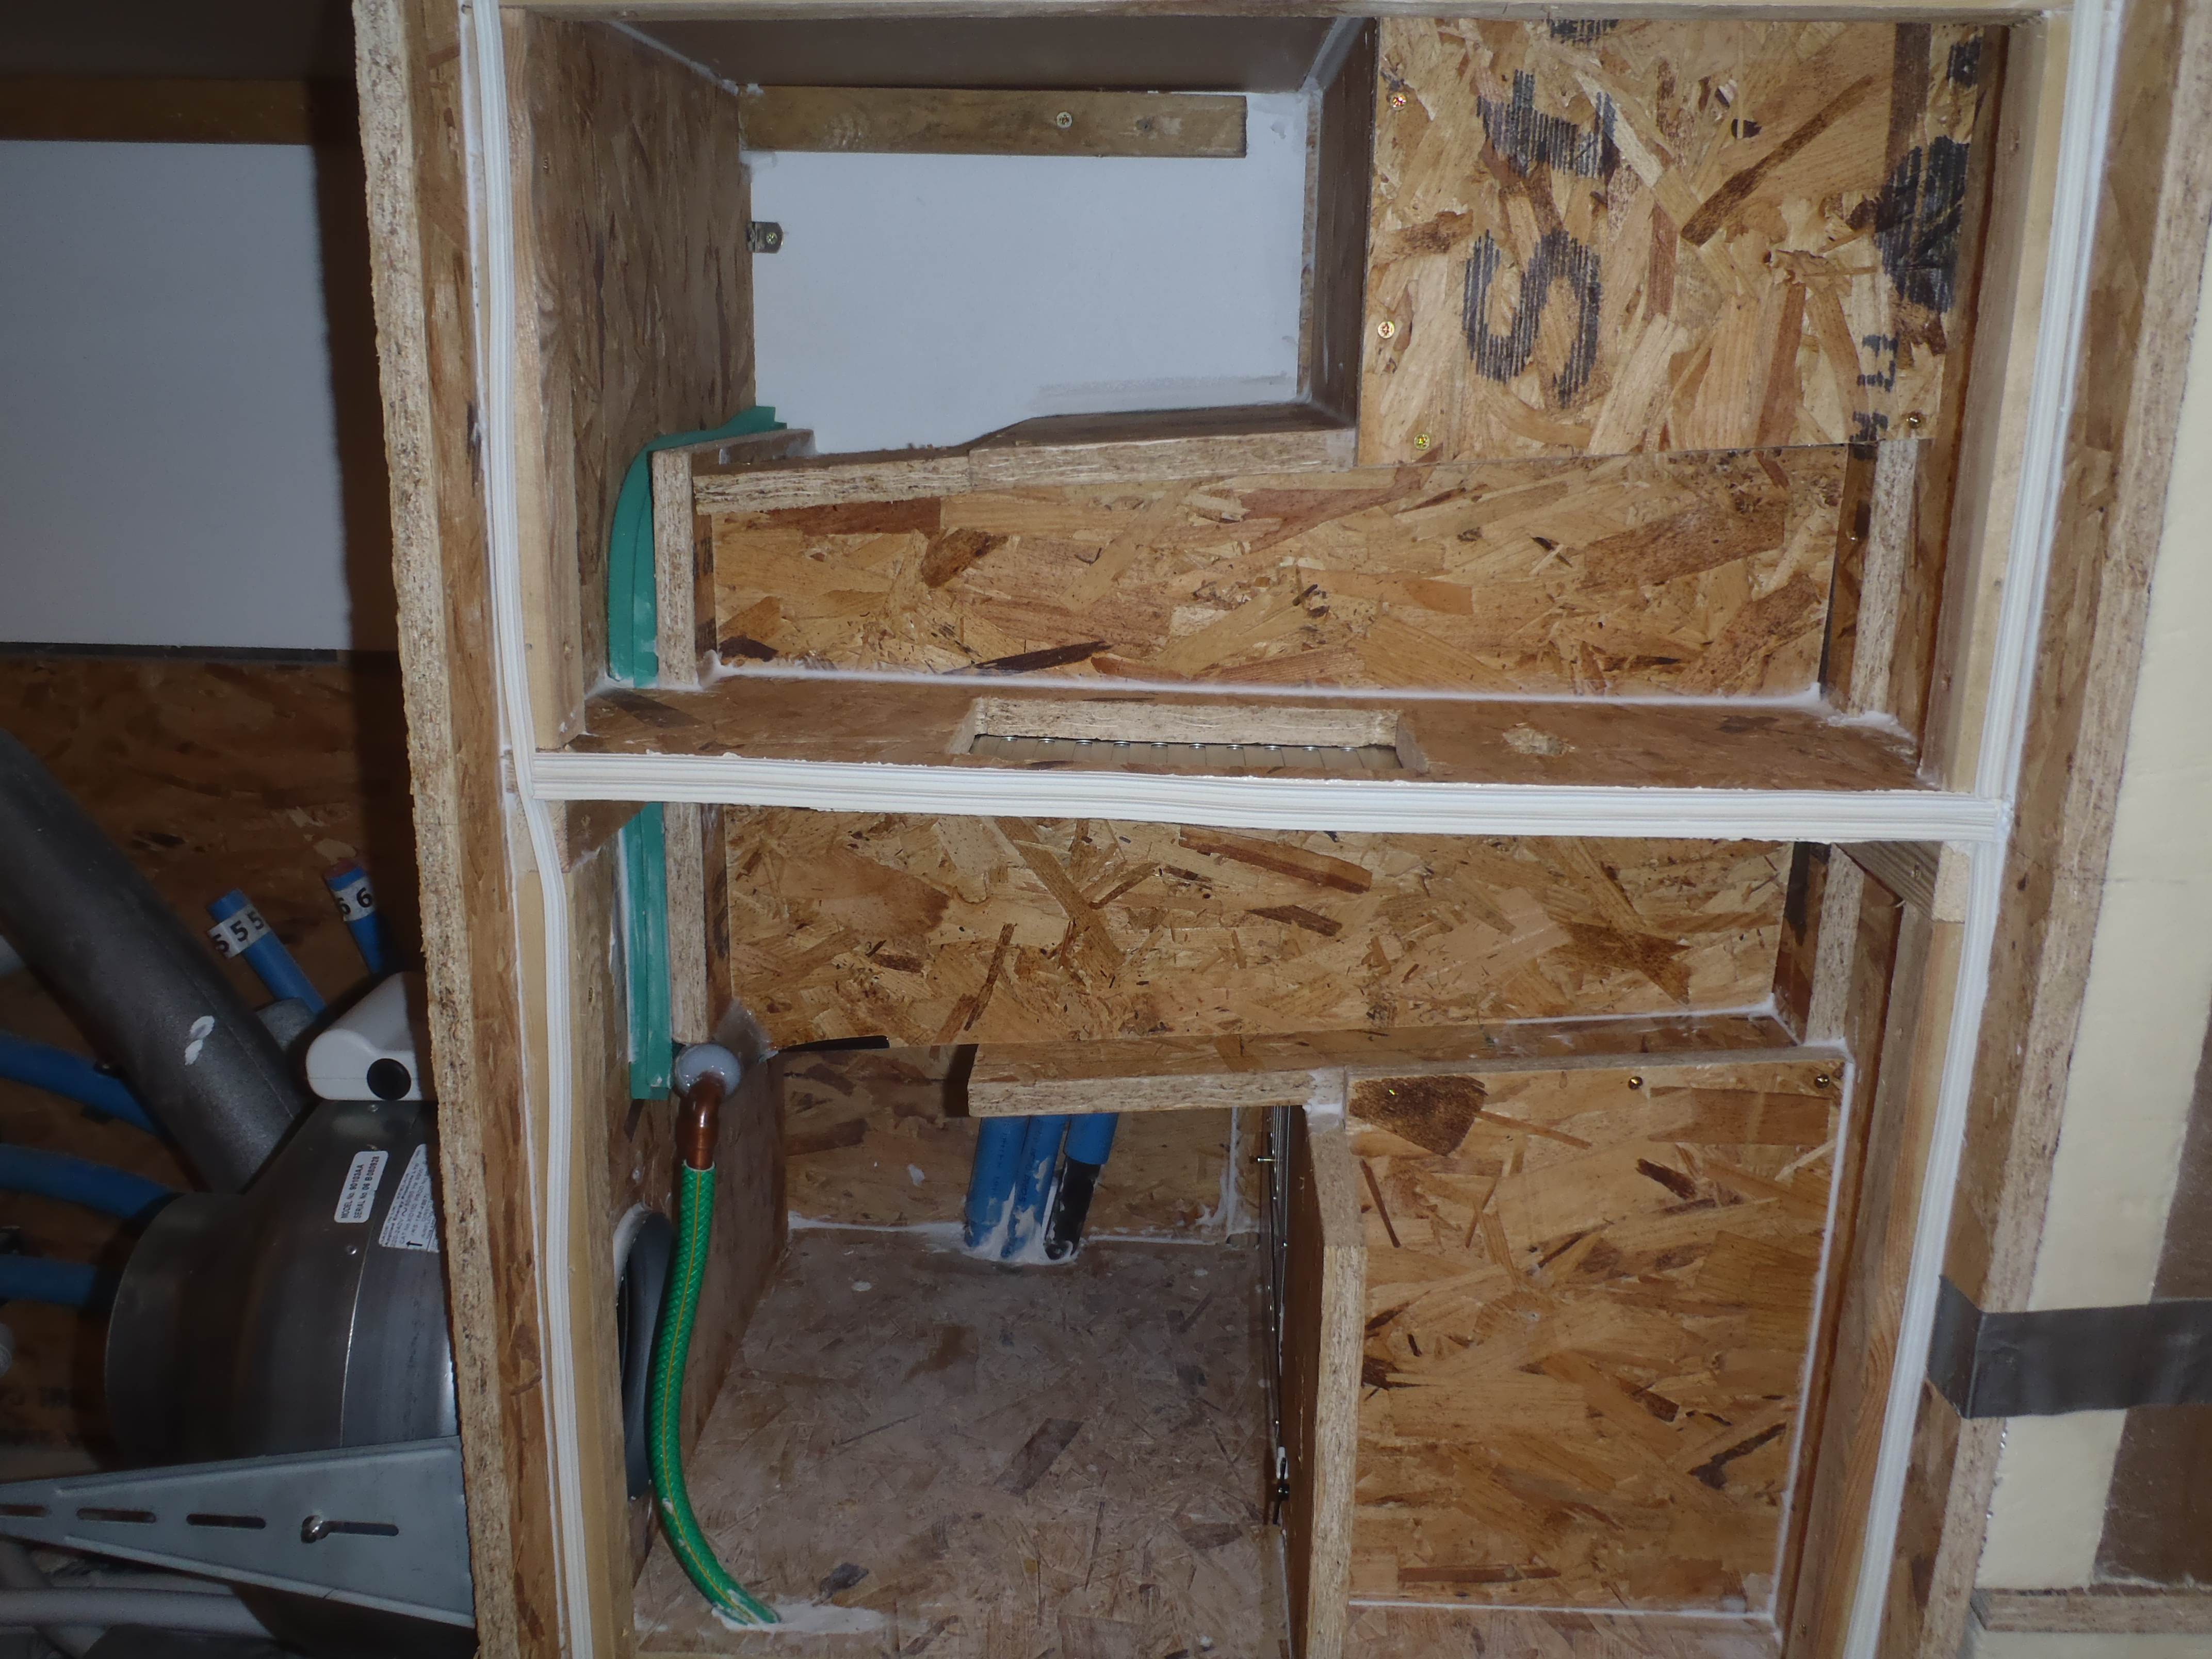
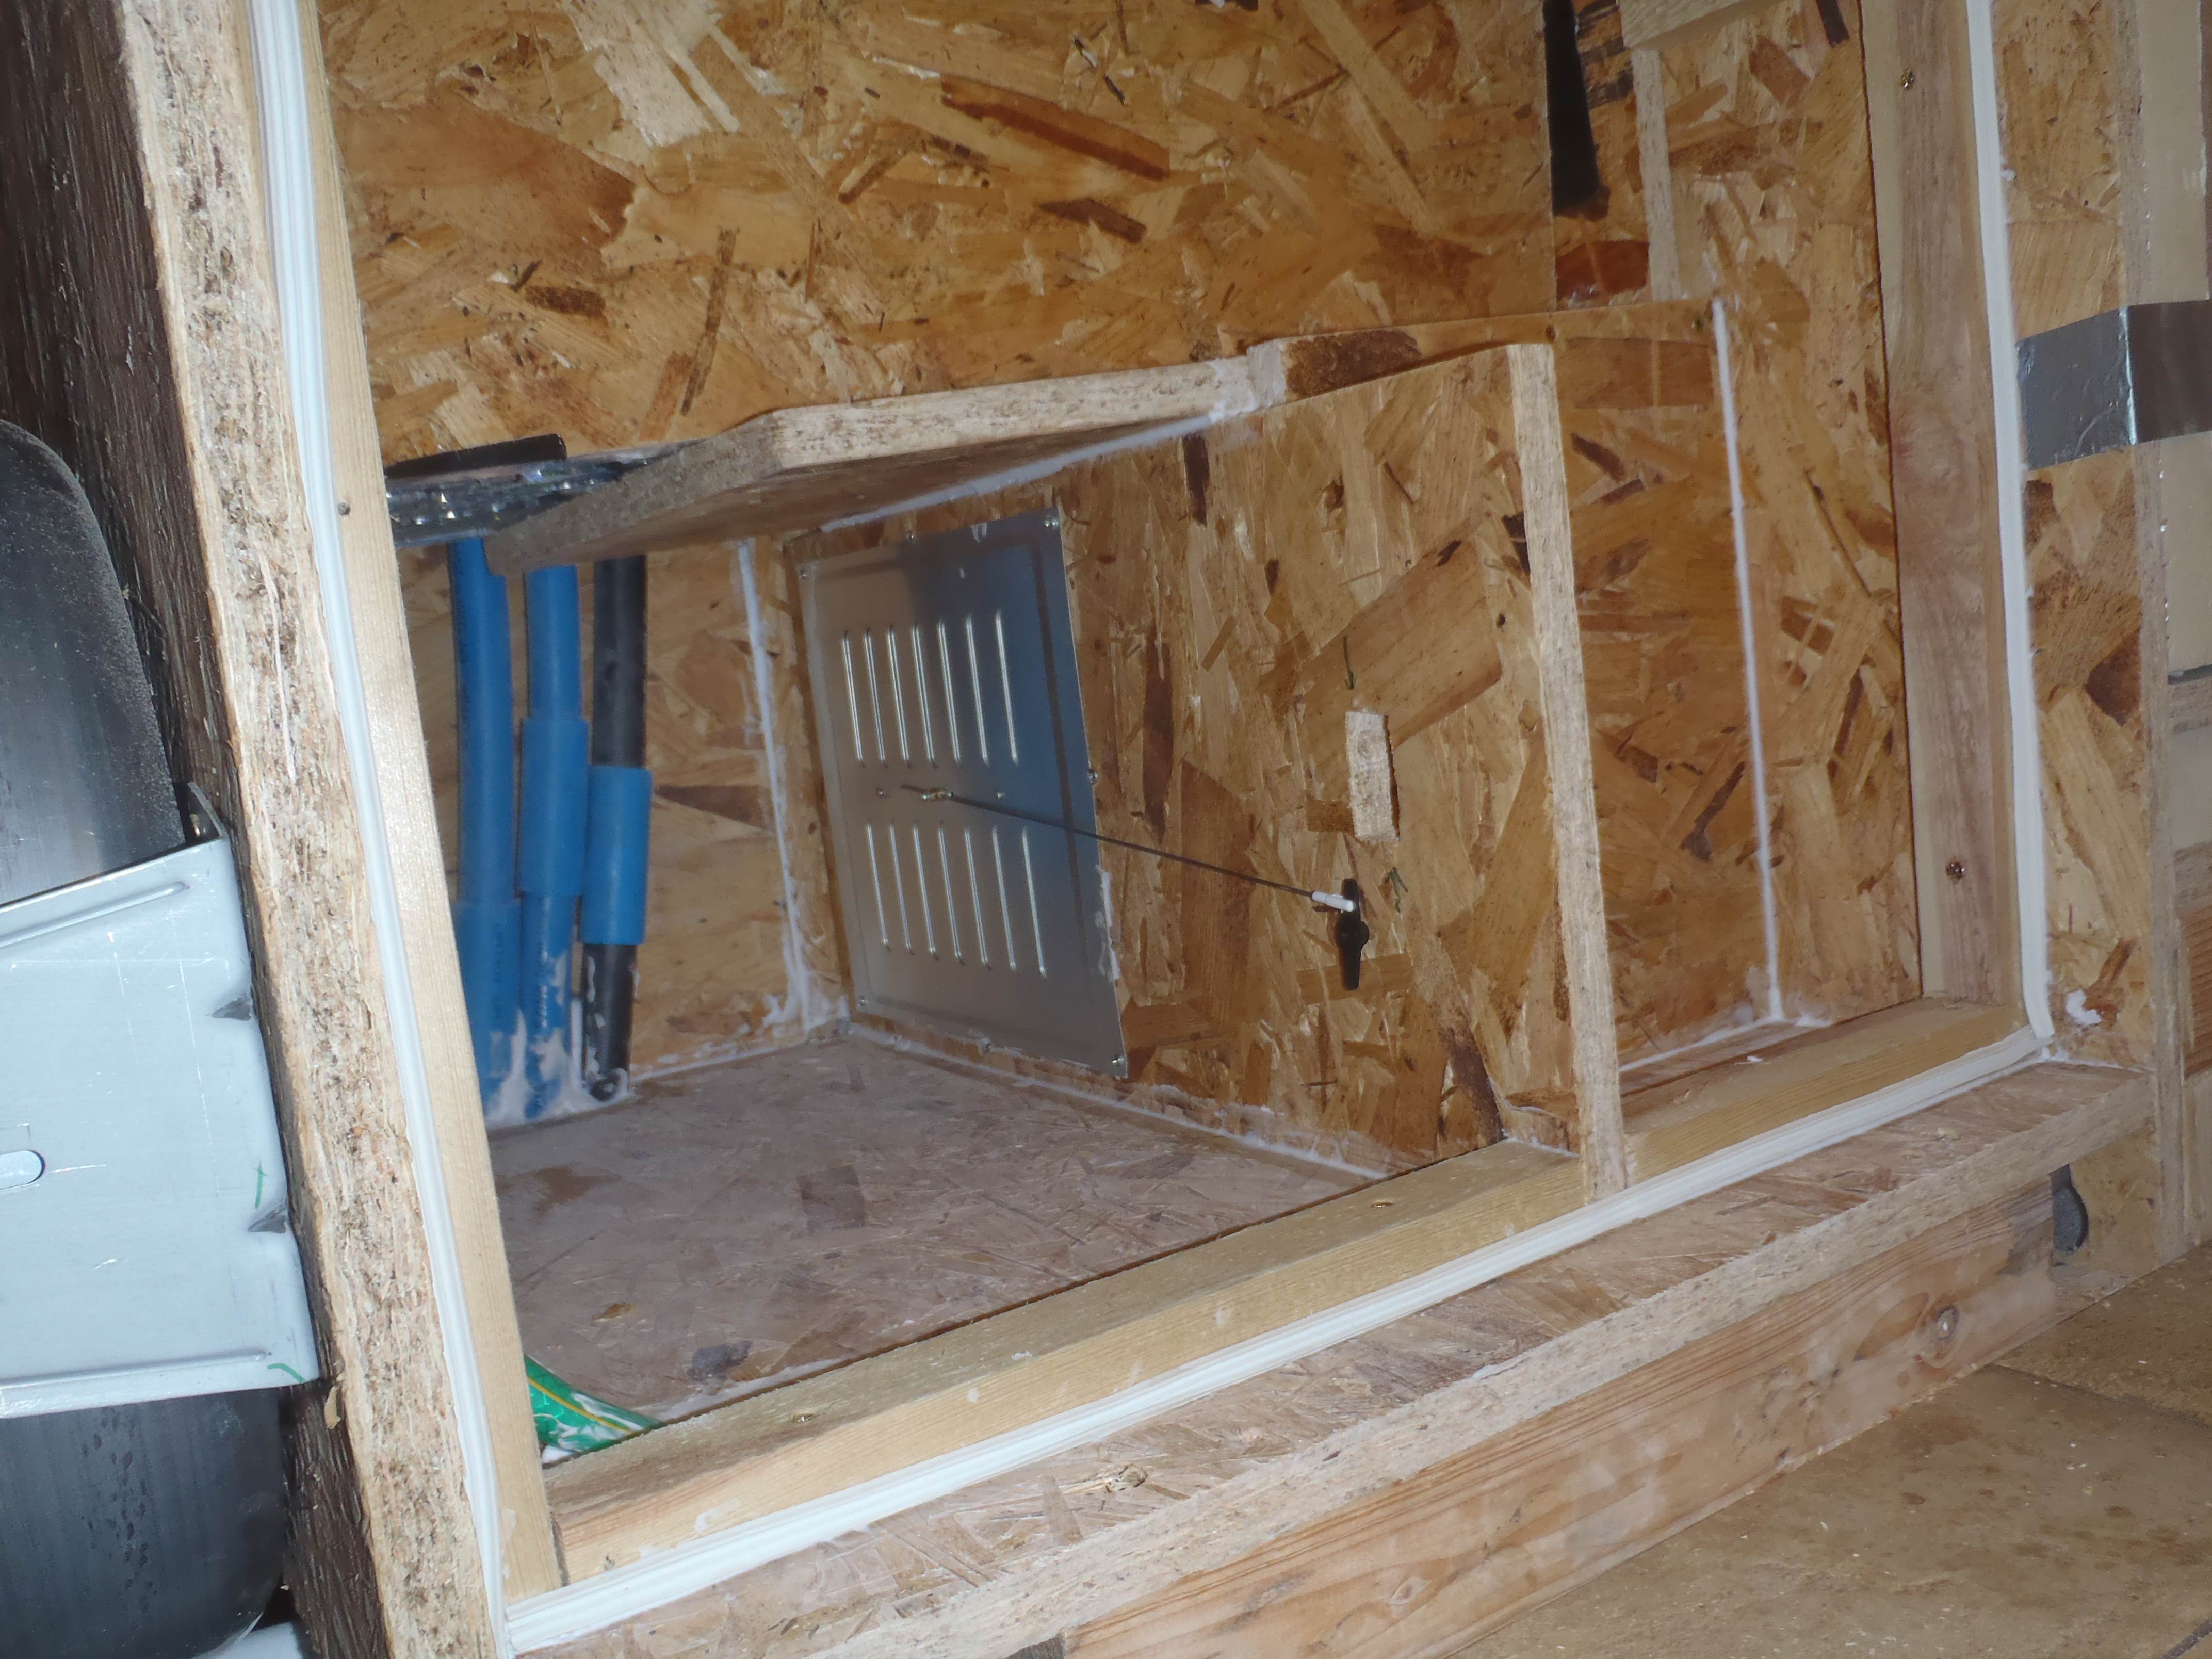
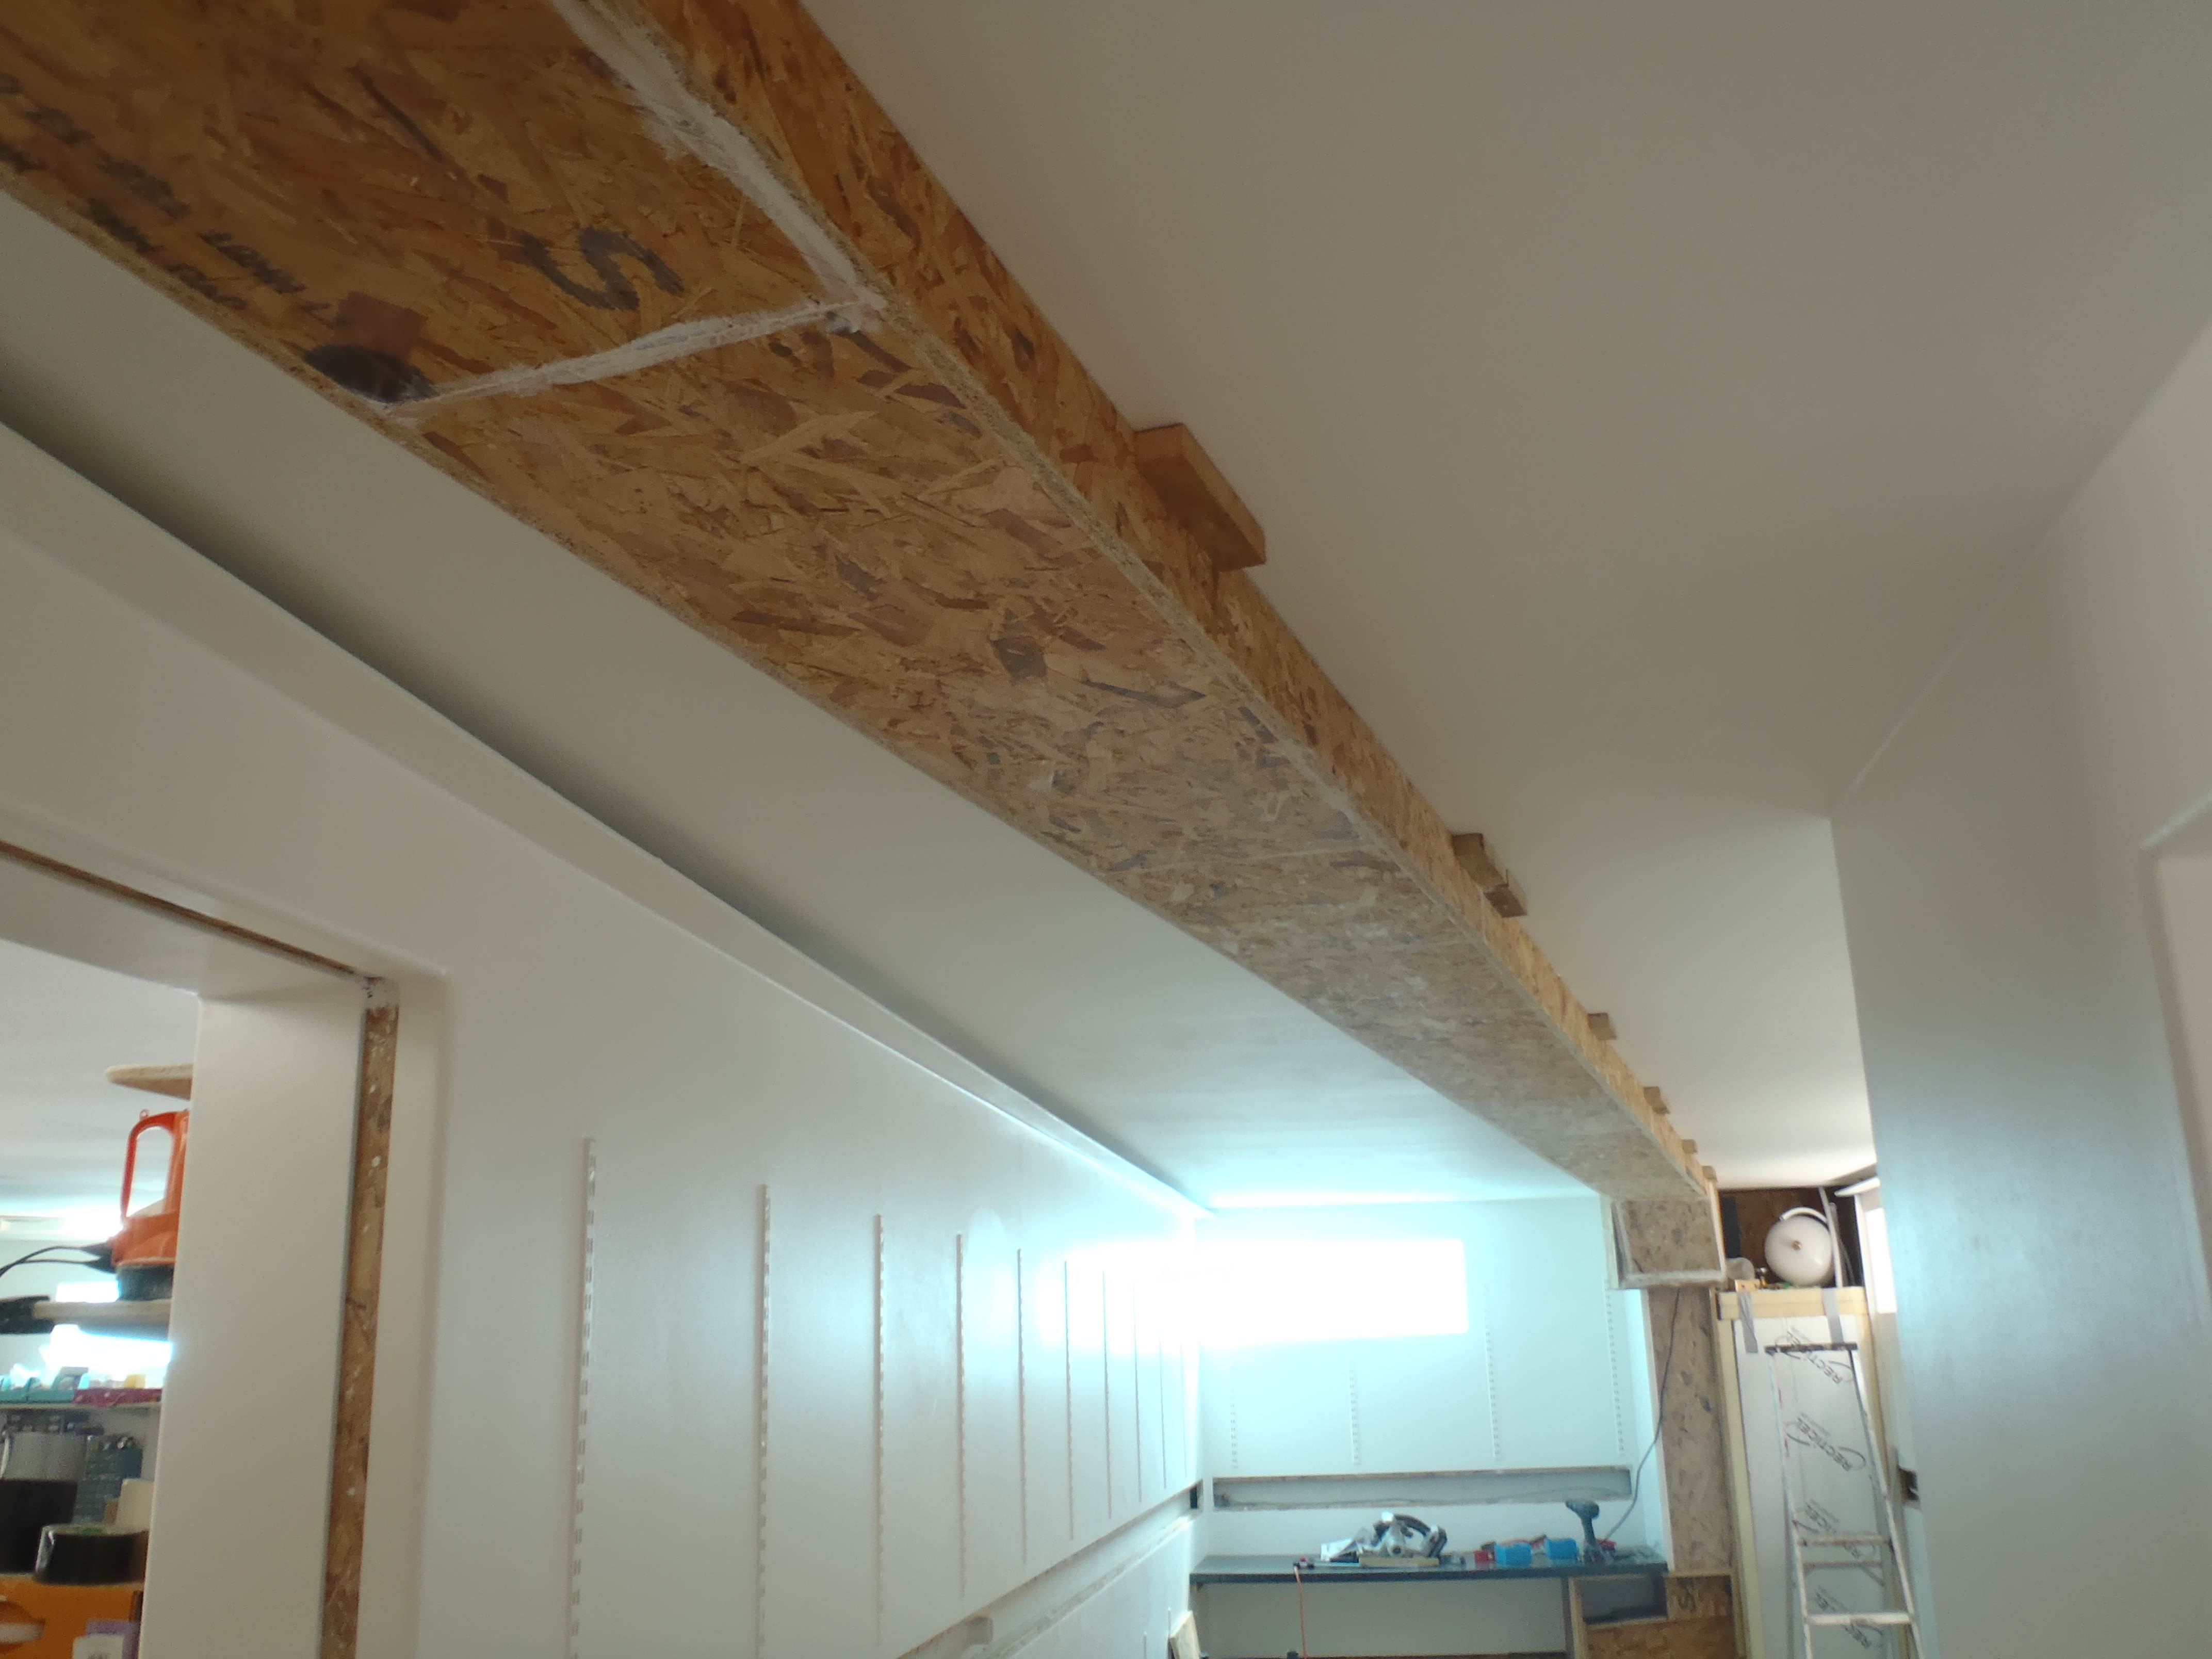
    We have finished investigating the problem with our under-floor ducting and why it was not blowing through with sufficient volume of air. It seems to be clear in the channel between the two layers of PU foam (not completely sure without resorting to a fibre optic camera!) but it was noticed that there were many leaks along the concrete floor and the side walls of the channel.

    We think that much of the air is leaking out on both sides of the channel but we cannot reach them and put in a caulk filler, except for a short segment where we can lift the floor cover up from over the Earth Tubes. It was quite noticeable that even just that small segment after it was filled with the caulk filler, the increase amount of air flow. But alas not enough for our temporary living quarters!

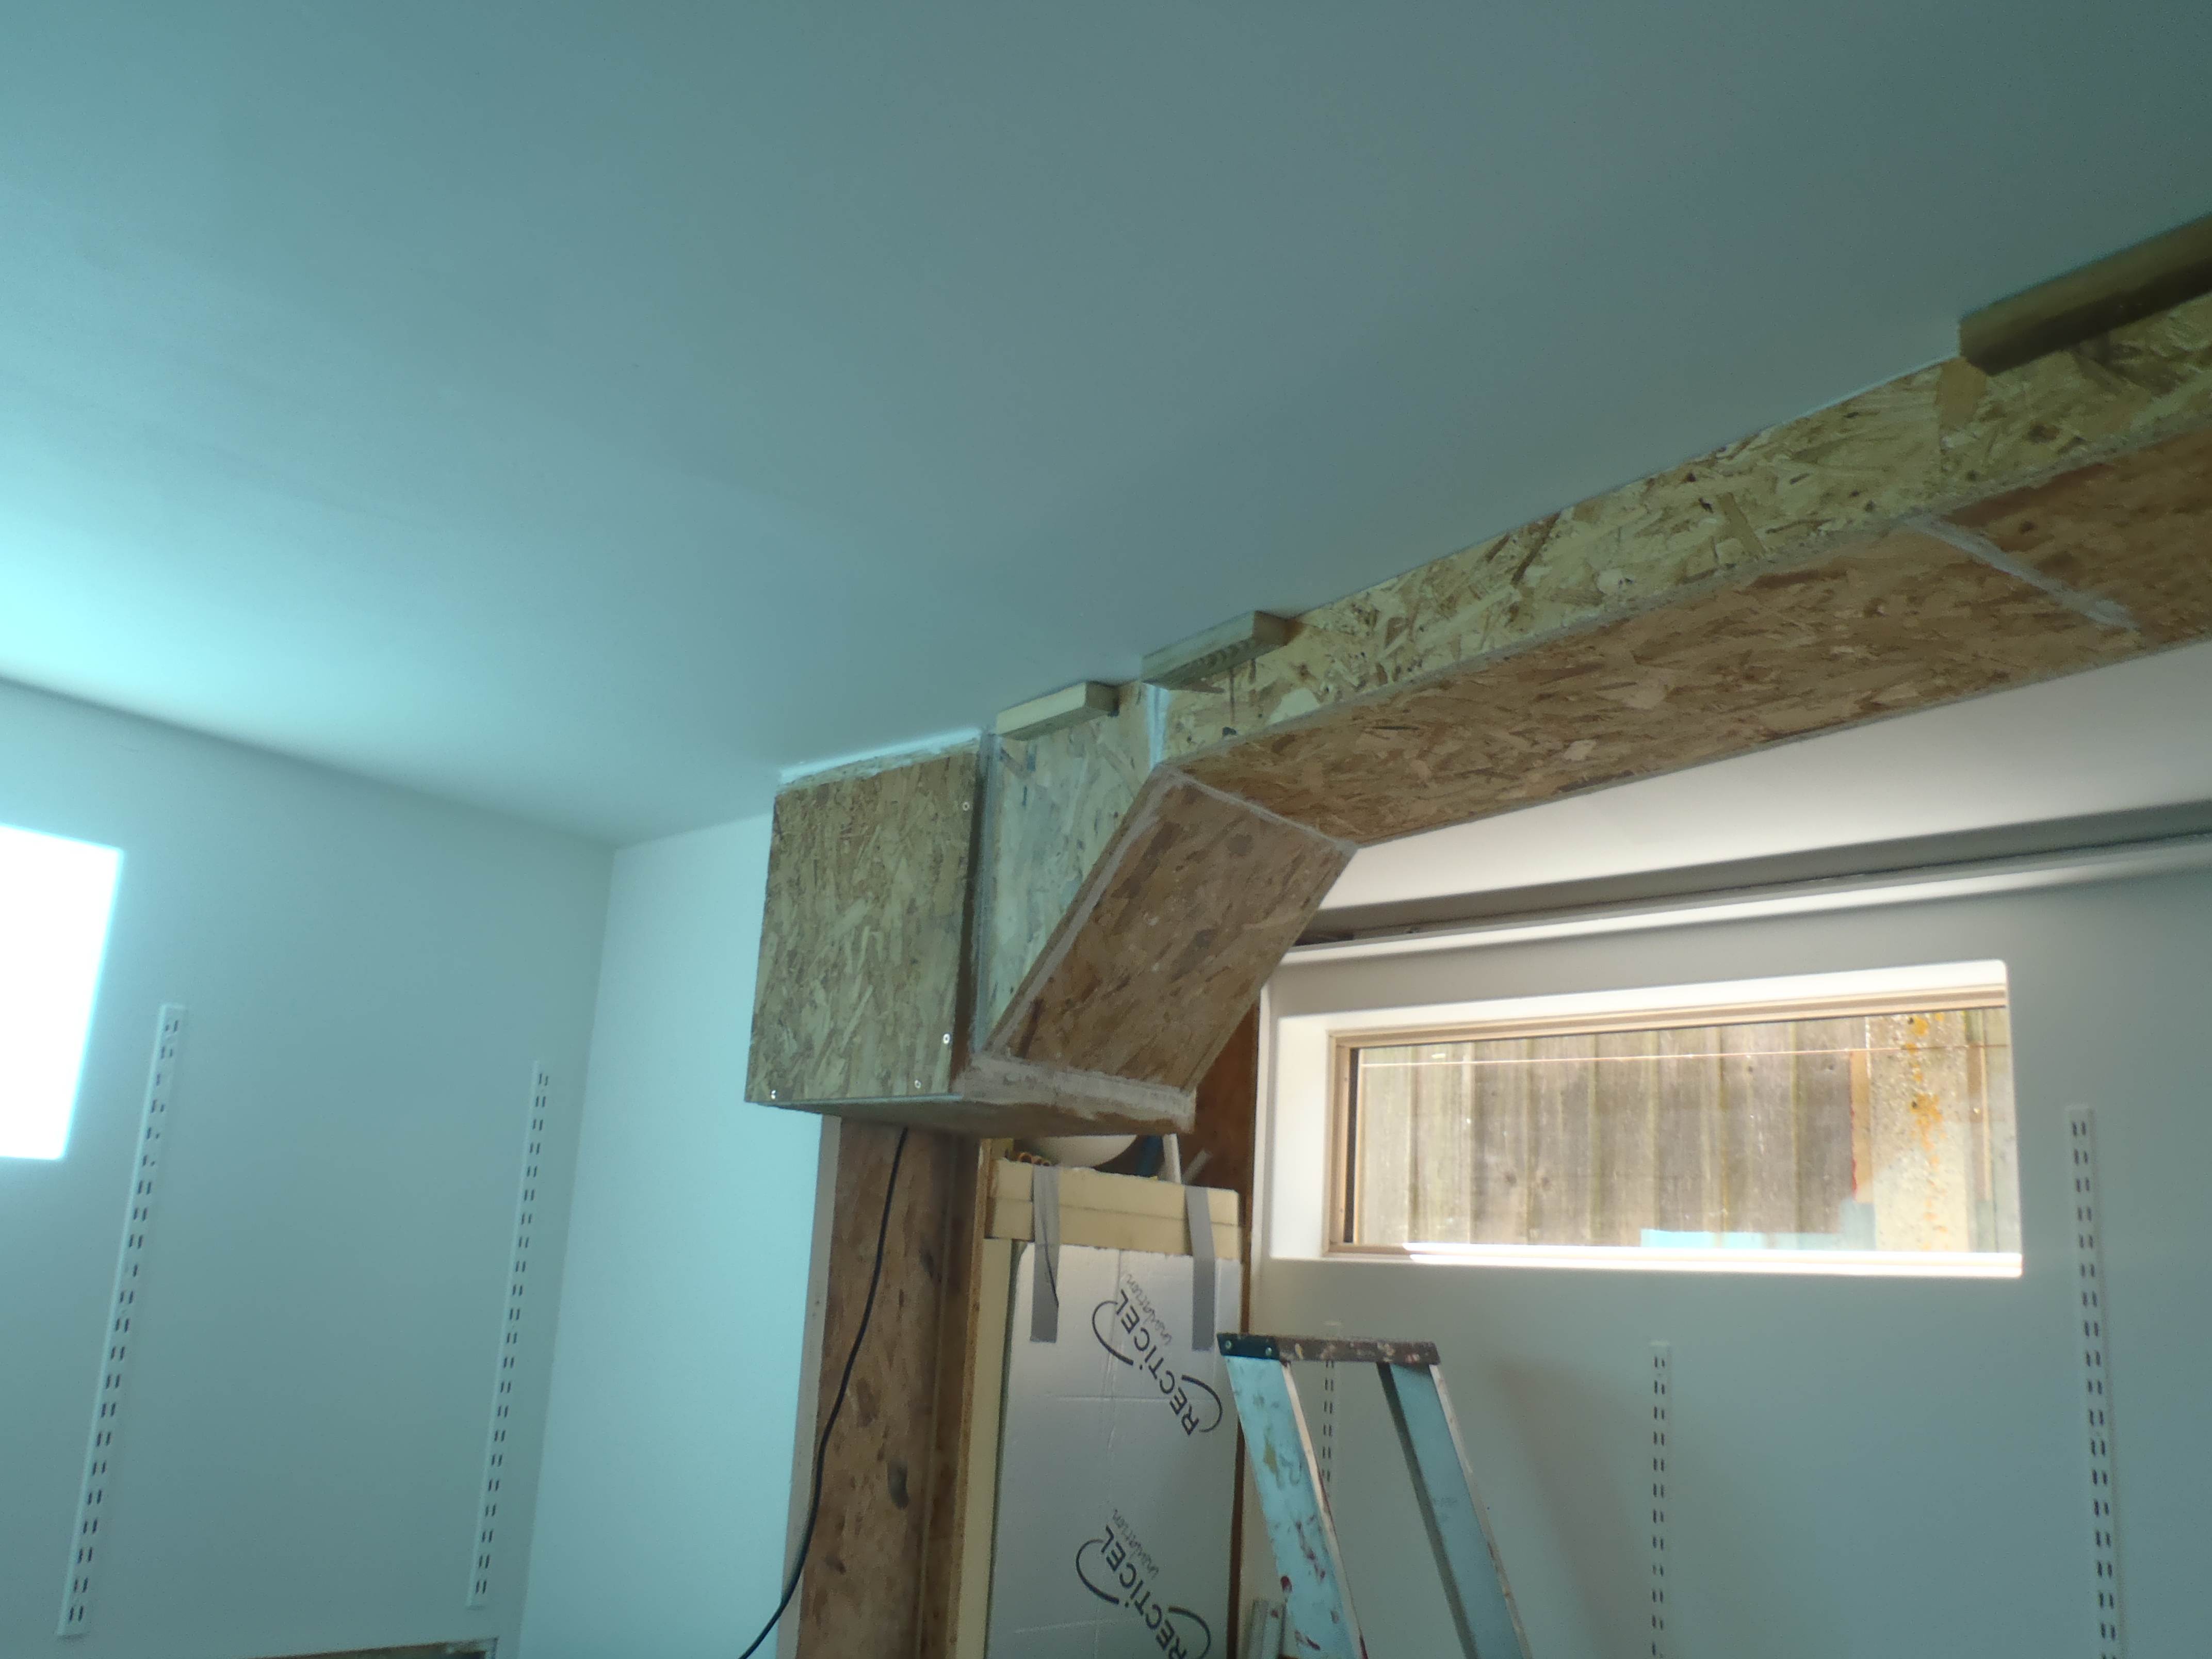
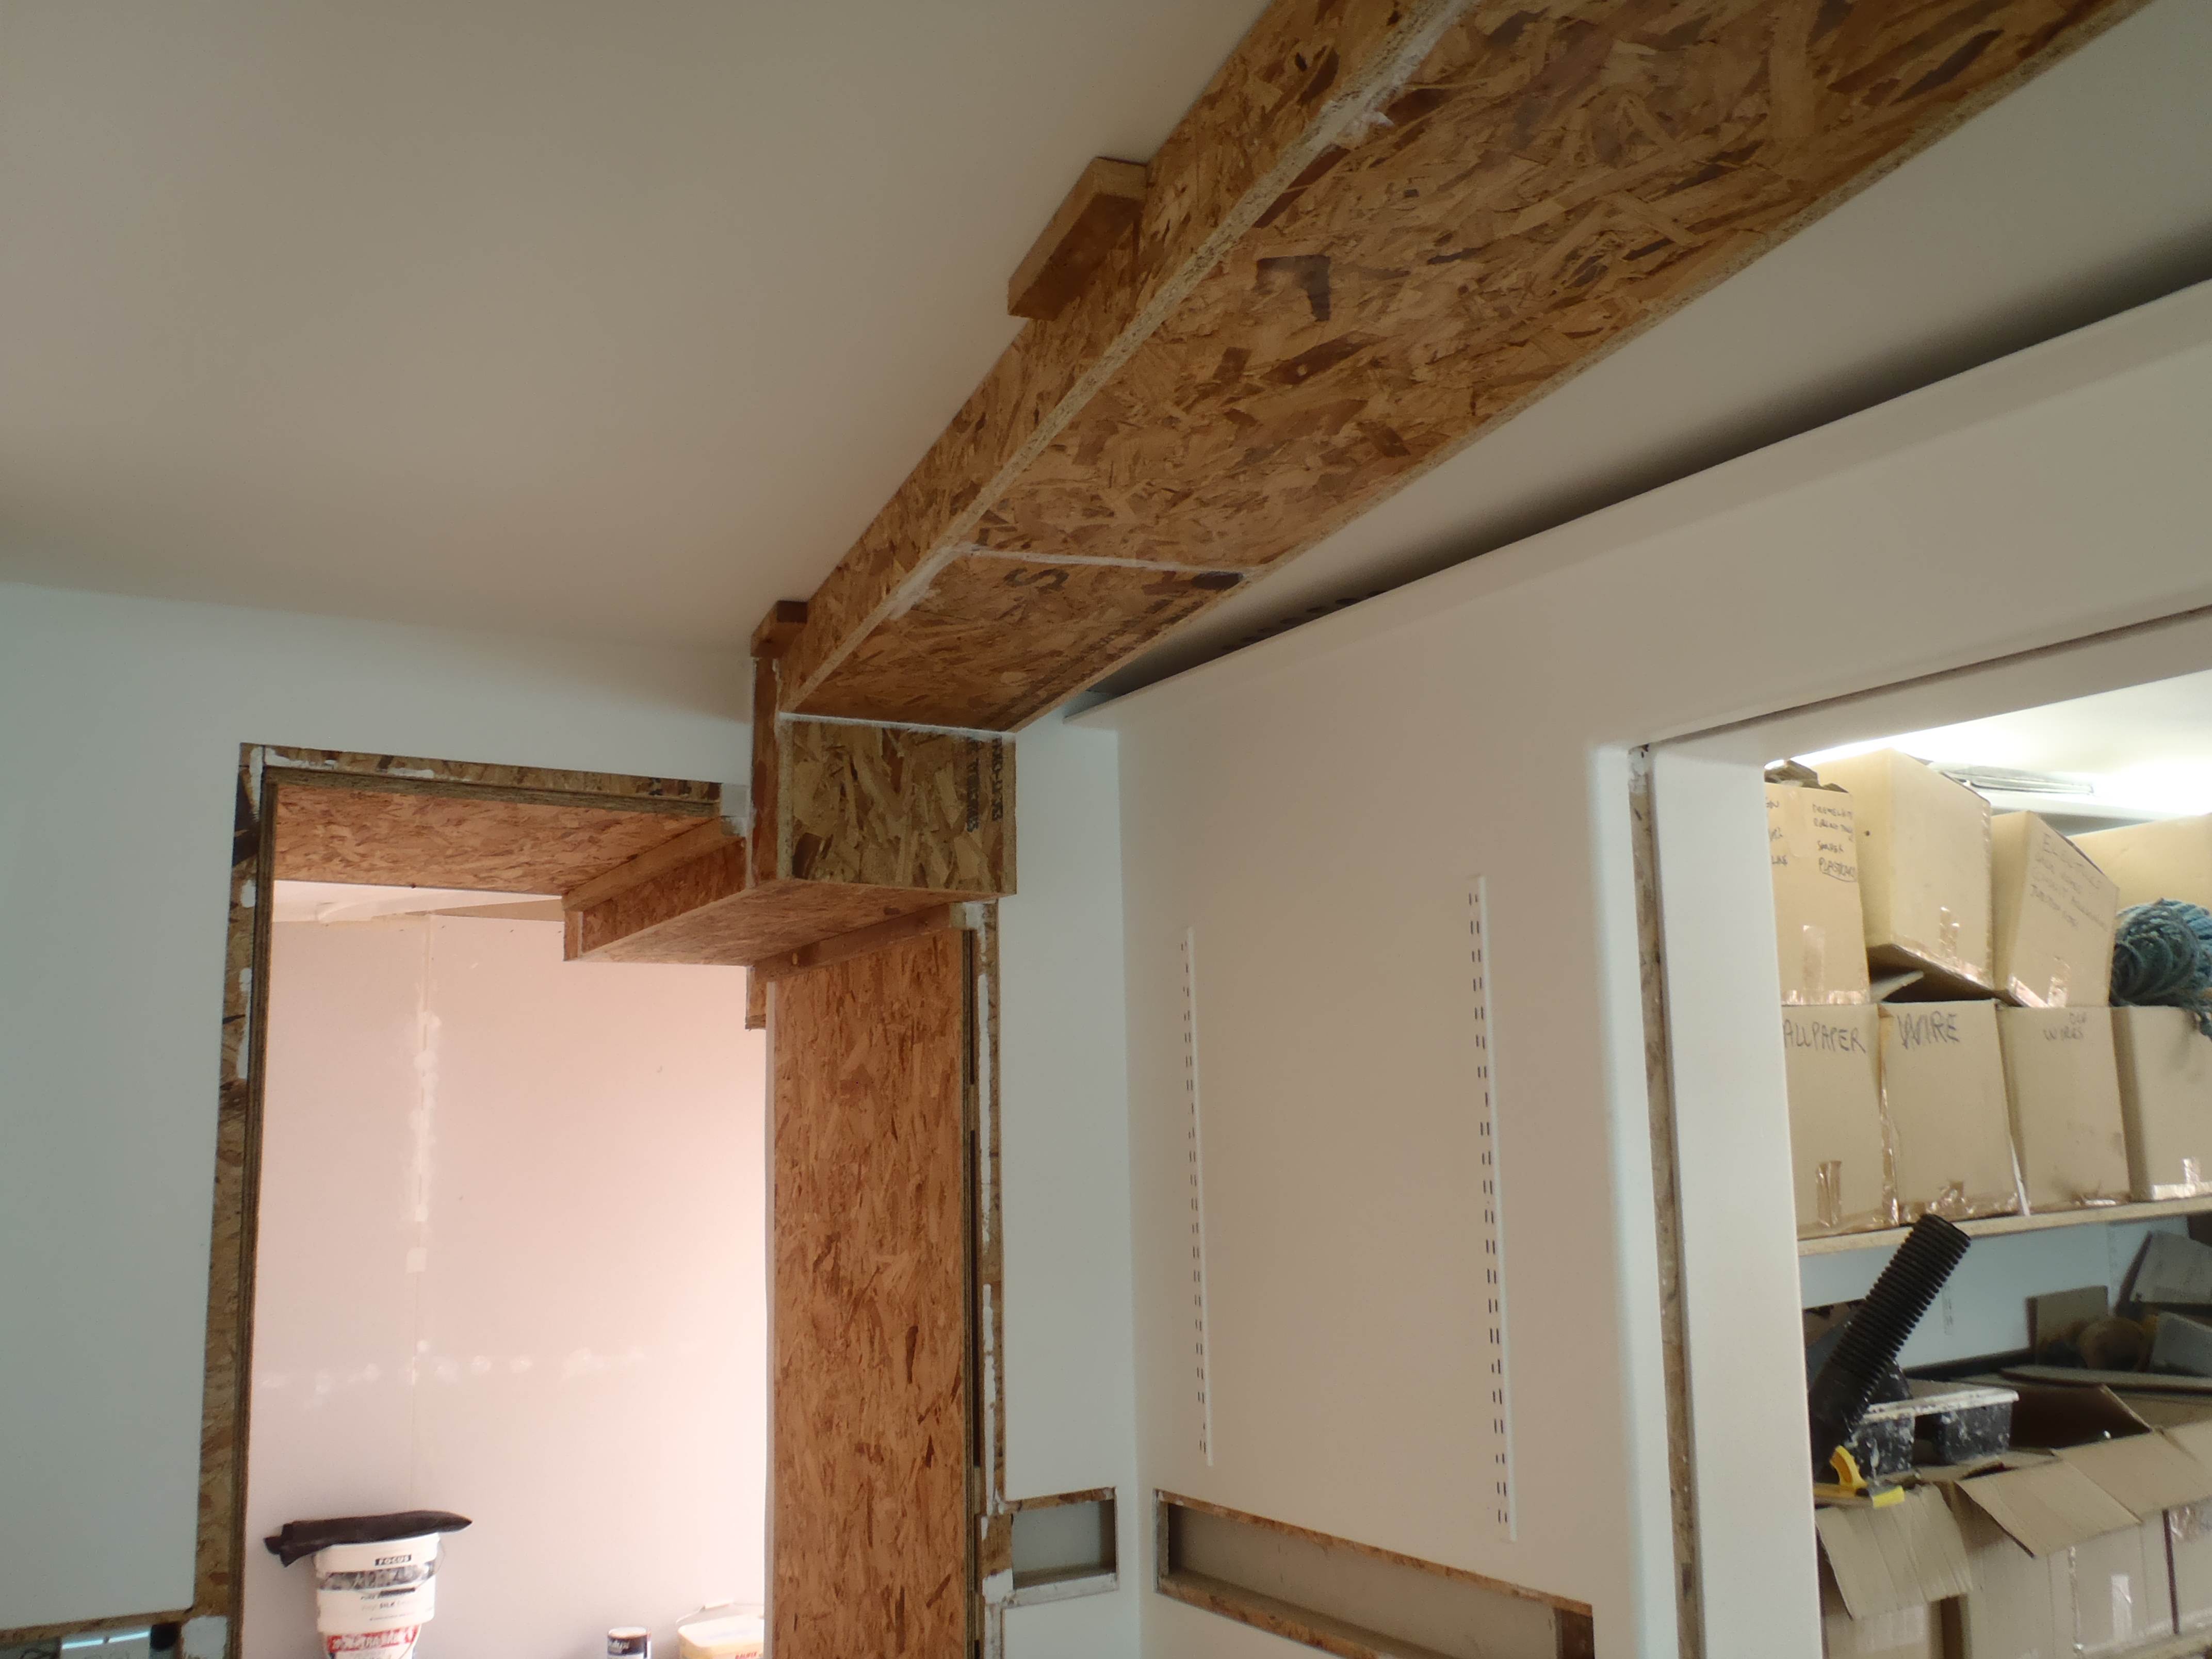
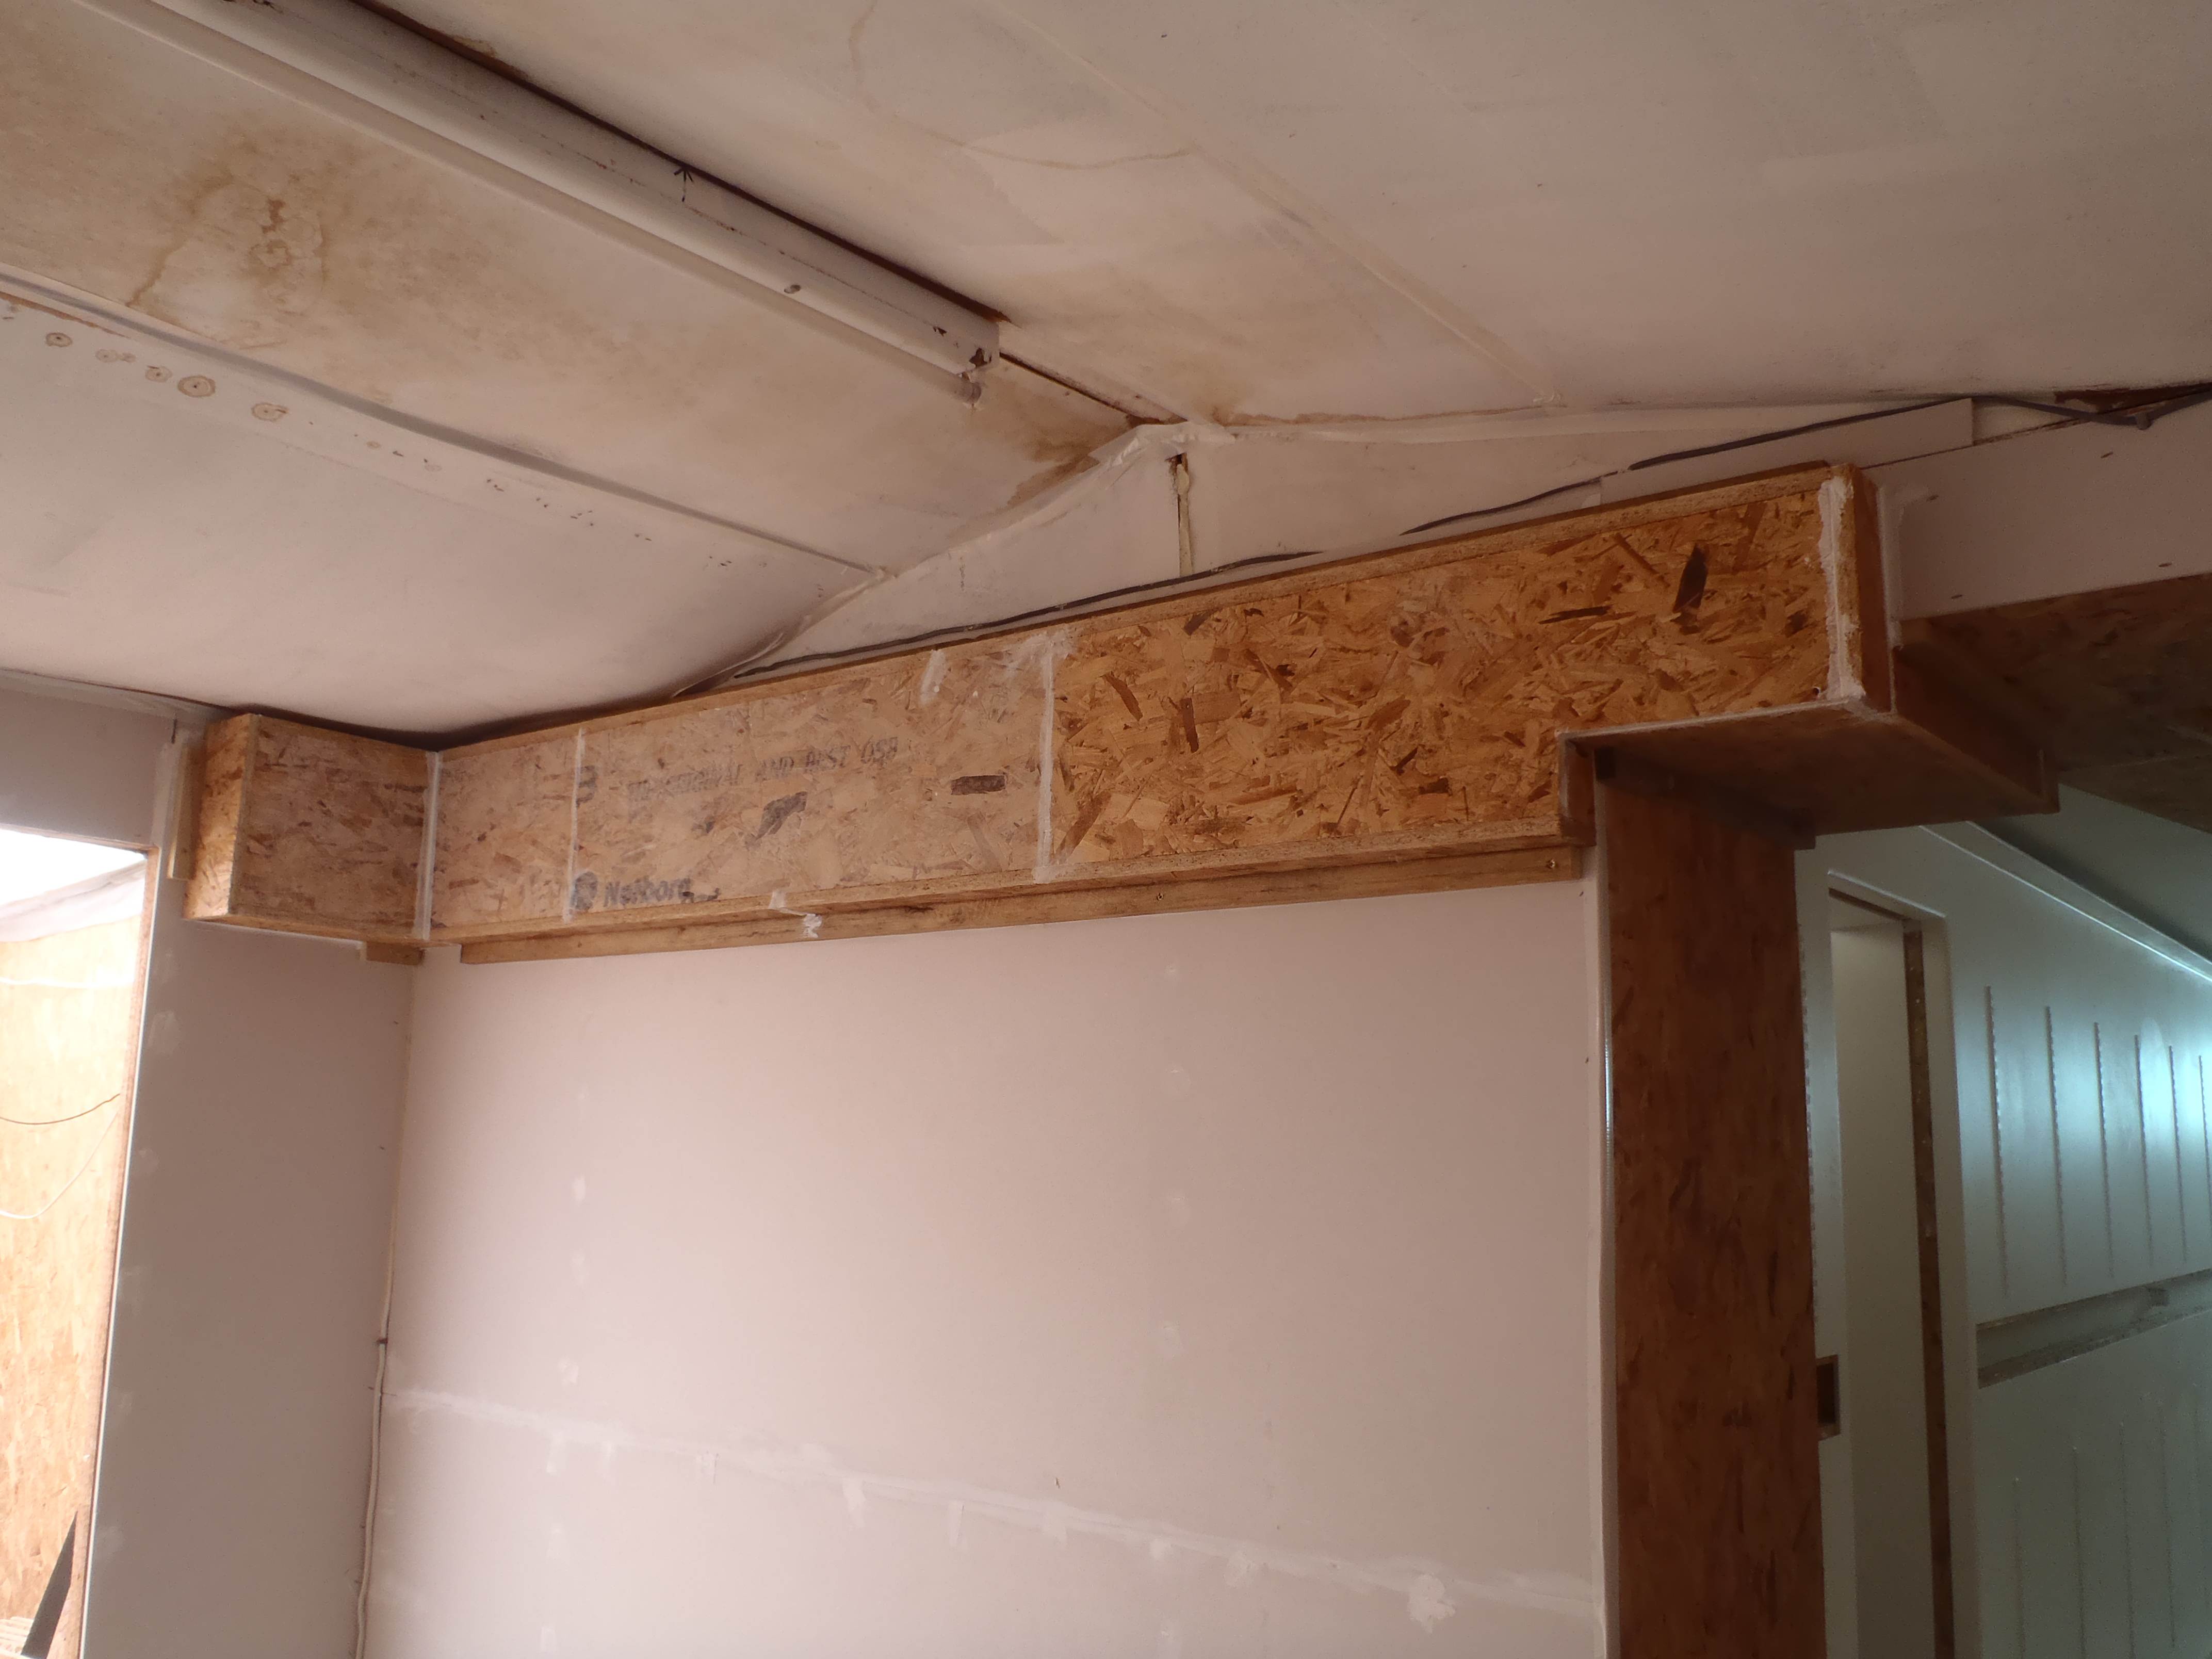
    We have learnt a valuable lesson with air ducting! Seal It Up!! Do not assume that a large wooden joint screwed together is a perfect seal!

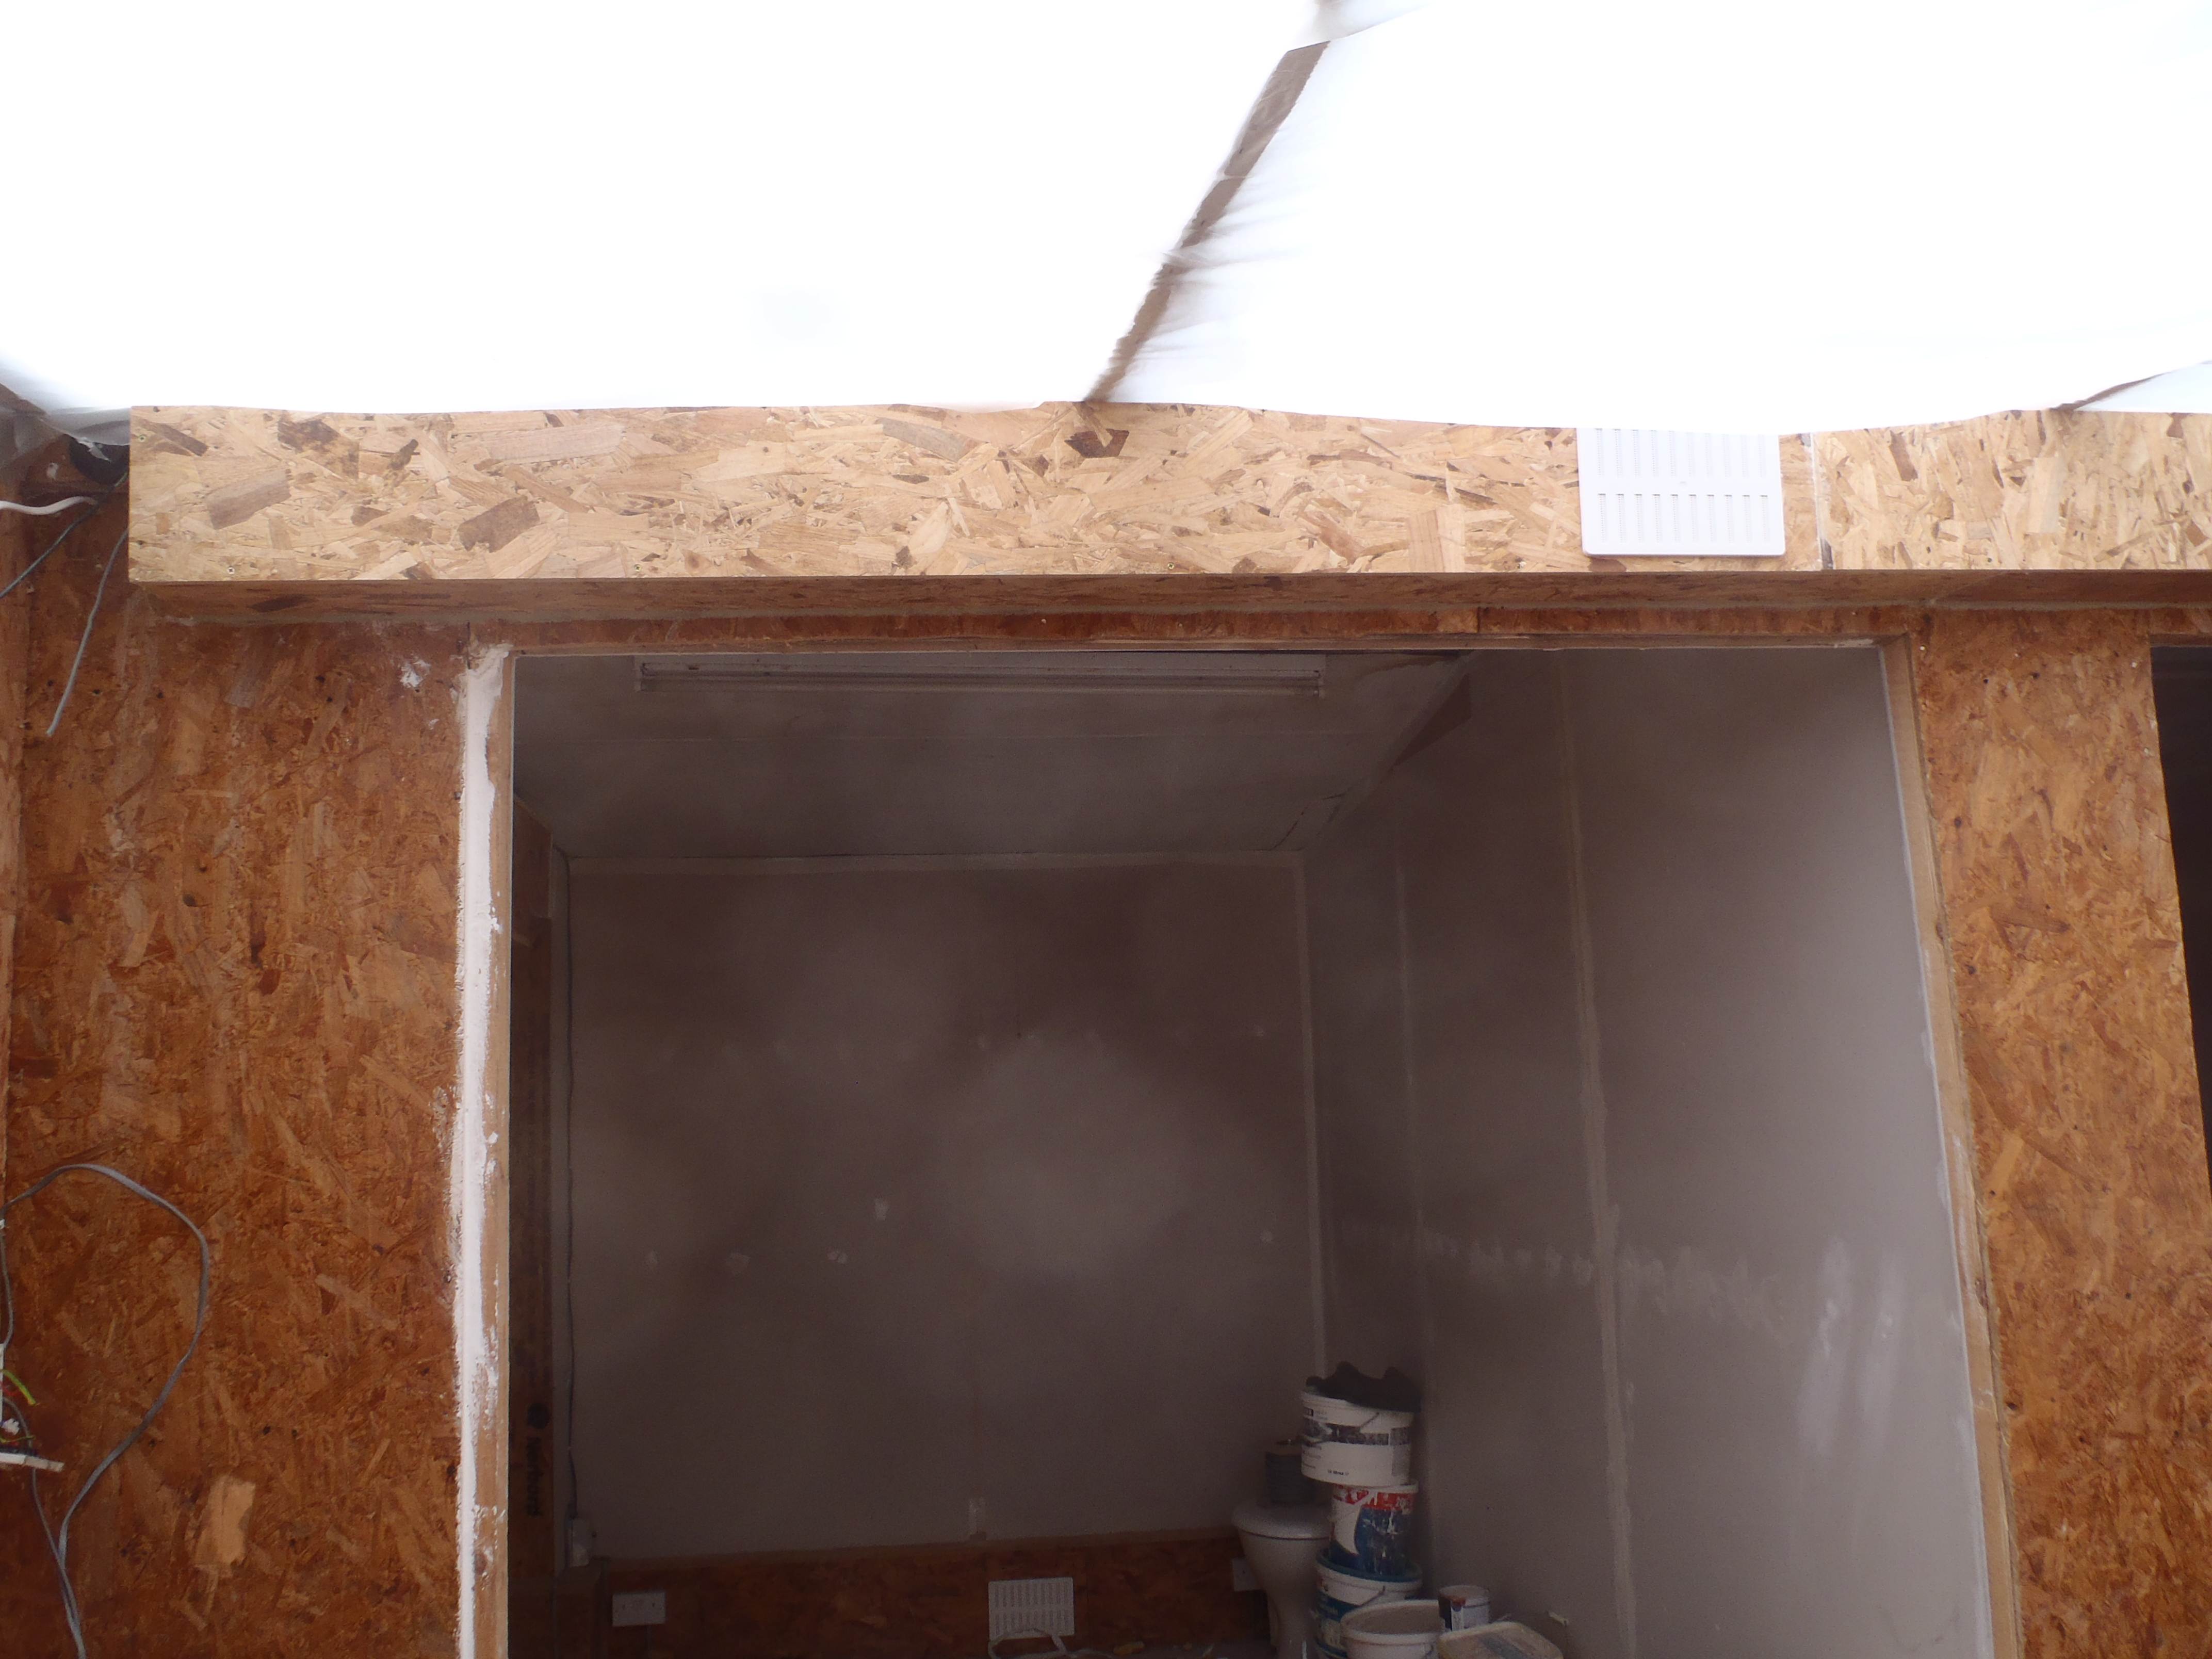
    The state of this ducting is just about ok for the Garden Room and Garage when it comes solely into its own. But for now we will have to put in another temporary ducting to deliver fresh air to our temporary living quarters.

  • Air Heater coil

    The final part of the air con unit was built today and connected to the ducting running under the floor. The heater water coils was mounted inside a mixing chamber which was connected to a low voltage water pump and in turn connected to the hot water supply.

    Air heater coil

    Air heater coil

    But switching on the air fan to push air down the ducting to our temporary living quarters and the toilet, did not show any sign of flowing air!! Oops! Where is the blockage? Tomorrow we will have to investigate!

  • Air Con Unit motorised and sealed

    Stephen finished off his assembly of the air con unit by fitting servo motors and connecting rods to the air vent shutters. He also sealed the cover on the front with draught excluder rubber strips.

    Heat exhanger installed

    Heat exhanger installed


    Heat exhanger installed

    Heat exhanger installed

    Next is the little last piece connecting the heater to the air ducting already in place under the floor.

  • Air Con Unit & 2nd fan

    The air con unit is now assembled together and the “old” extracted air is now going through the heat exchanger and blowing up the chimney to the outside as waste.

    The second fan is installed ready for operation but it will not be working much at all until we have provided a chimney at the very beginning of the earth tubes over by the main house! the other end is still underground waiting for the main house to be built but we can put in a temporary chimney to benefit from drawing in fresh air and cooling it down through the buried earth tubes.

    Heat exhanger installed

    Heat exhanger installed


    Heat exhanger installed

    Heat exhanger installed

    It is getting there!

  • Air Ducting

    Over the last few days, we have installed the air ducting from the fan box, along the ceiling in the garden room, through the doorway into the lounge and then to the sun corridor, and finally all the way along to the end.

    Extract vents and ducts

    Extract vents and ducts


    Extract vents and ducts

    Extract vents and ducts


    Extract vents and ducts

    Extract vents and ducts


    Extract vents and ducts

    Extract vents and ducts


    Extract vents and ducts

    Extract vents and ducts


    Extract vents and ducts

    Extract vents and ducts

    It is quite interesting learning about air ducting and how quiet or noisy air is blowing inside them. These ducting are made of 18mm OSB sheets which are not the smoothest of materials and perhaps that is part of the noise and also the joints needed to be sealed with a little bit of cheap caulk filler!

    Now the next step is to fit the second fan to push the fresh air into the rooms!

  • Heat Exchanger built and First Fan installed

    We have finished the heat exchanger at last! It took three days to build, putting layers upon layers of thin plastic film and spacers to create 50 layers of air “ducts”! 25 for each of the two air streams, separated alternatively in the layers. It was quite difficult to get the plastic film to stay straight and not wobble! We are definitely won’t be using this choice of materials again!

    Heat Exchanger finished

    Heat Exchanger finished

    Also we have put up the first fan ready to pull the “old” air out of the living quarters and the garden room. The ducting will be along the ceiling in the garden room and pop through the doorway into the living quarters. The ducting will be 75mm high and 300mm wide to create a fairly low profile square shape, painted white. This is only temporary while the temporary living quarters are there!

    Extract vents and ducts

    Extract vents and ducts

  • Heat Exchanger module started

    Today we started building the heat exchanger module to transfer the energy in the old “waste” hot air to the clean cool fresh air! The new fresh air is coming from underground via the Earth Tubes we installed last year. This cool air will help keep the temperature down during the summer and the heat exchanger to transfer as much as of the useful valuable energy back into our living quarters during the Winter times.

    We are making the heat exchanger out of thin layers of plastic films separated by 5mm glazing tapes with gaps at both ends for the four connections! It is slow work building up each layer one by one and we are learning the pros and cons of the materials we are using this time around. We realise that the plastic films might not be stable enough for long term use and it is quite fiddly so we will probably switch back to looking to use thin aluminium sheets instead. We were looking for a cheaper material for our smaller temporary exchanger so We will finish this one and put it into operation to learn the results of the heat exchanging efficiency and other factors!

    Tomorrow we will continue the build!

    Heat exchanger half built

    Heat exchanger half built

    Heat exchanger half built

    Heat exchanger half built

  • Header Tank built

    The header tank for the garage and our temporary kitchen, shower and WC is now built and installed on the roof. It is a long box made of OSB boards covered with some left over rubber sheeting to make it waterproof.

    ~images

    It is only 400mm (just over a foot) high (the water level) but it is 2.4metres long (8feet) and 500mm (1 and half feet) wide!!

    This gives us a capacity of about 600 litres to allow us to run the pumping of the tanked rain water in a less frequent on and off cycles. This will reduce wear and tear and noise.

  • Toilet is Lit Up!

    Stephen has wired up the high frequency high efficiency low power florescent tube in the WC in the Garage building. It is 1200mm (4feet) long and it is only 28W producing a maximum of 2900lumens output! The controller will allow us to dim this light to various levels too!

    ~images

    This light might serve as our “night light” to provide a gentle glow during the night times. At 10% light level, the power consumption would be very low at around 4W (power vs. lumens is not a straight curve)!

  • Garden Room has 4 glass windows now

    The garden room now has four windows fully fitted with their Oak frame and their double glazing units.

    ~images

    Just one more on the side wall to complete and that is the Garden Room done.