Category: Garage

The Garage

  • Shower Cubicle Day 8

    A few coat of varnish was applied to the underside of the shower tray itself and the “roof”. Then today we put on said roof, sealed it on and screwed it down. Then put on the final full gloss varnish on all the inside surface of the cubicle all over!

    Oh yes nearly forgot, we drilled several holes for the water pipes and electric cable to enter for the shower module itself and a larger hole to allow the extraction of the air (to keep the temperature at a reasonable level!).
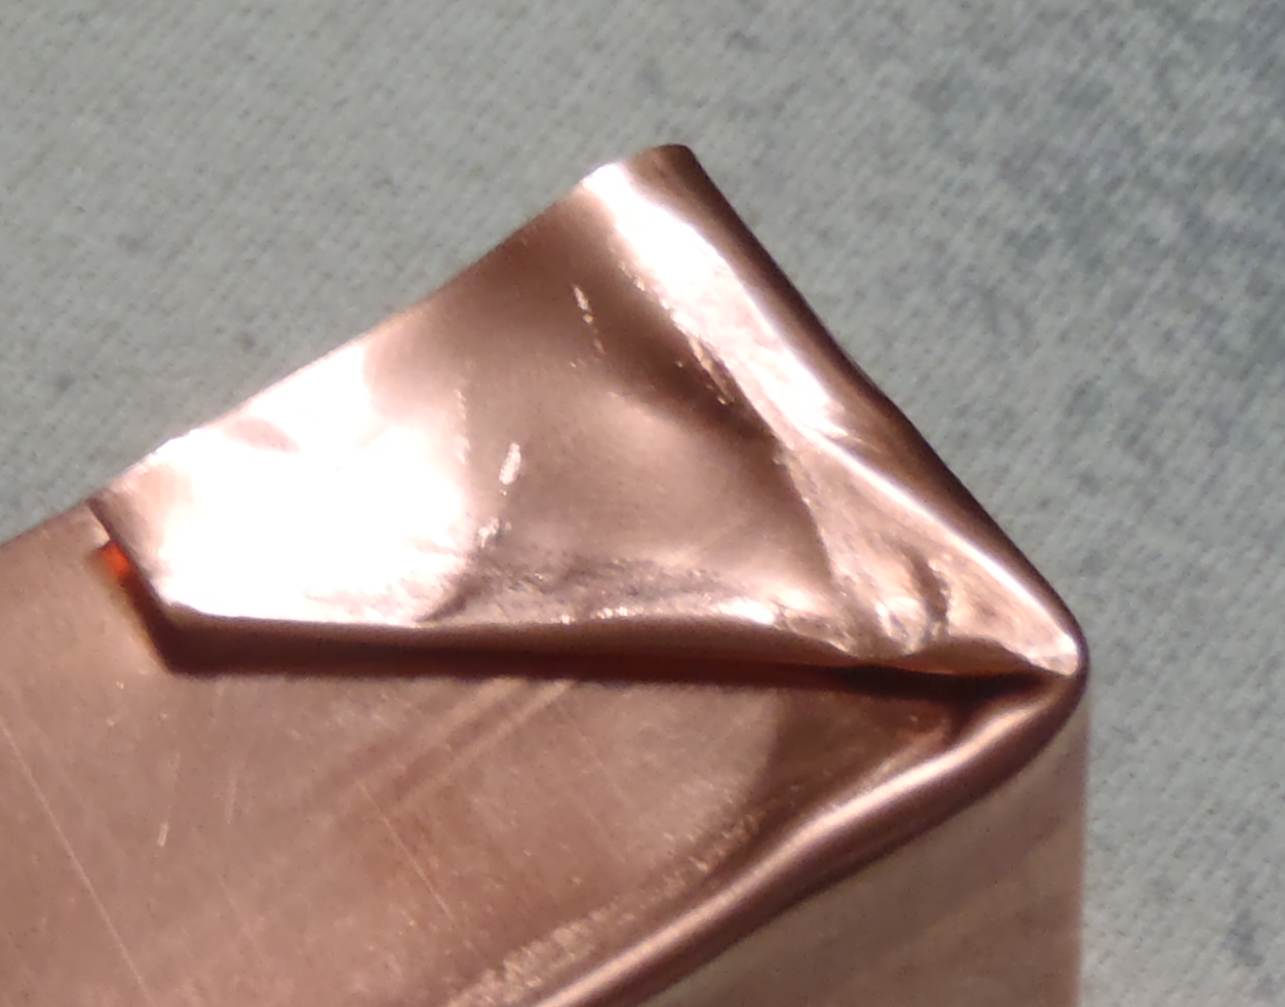
    Heat Exchanger

    We cut our copper sheet to 640mm by 840mm and with the cut-off piece we practice bending up the sides to make sure we can do it without breaking the copper or making any holes. It turned out to be fairly easy!


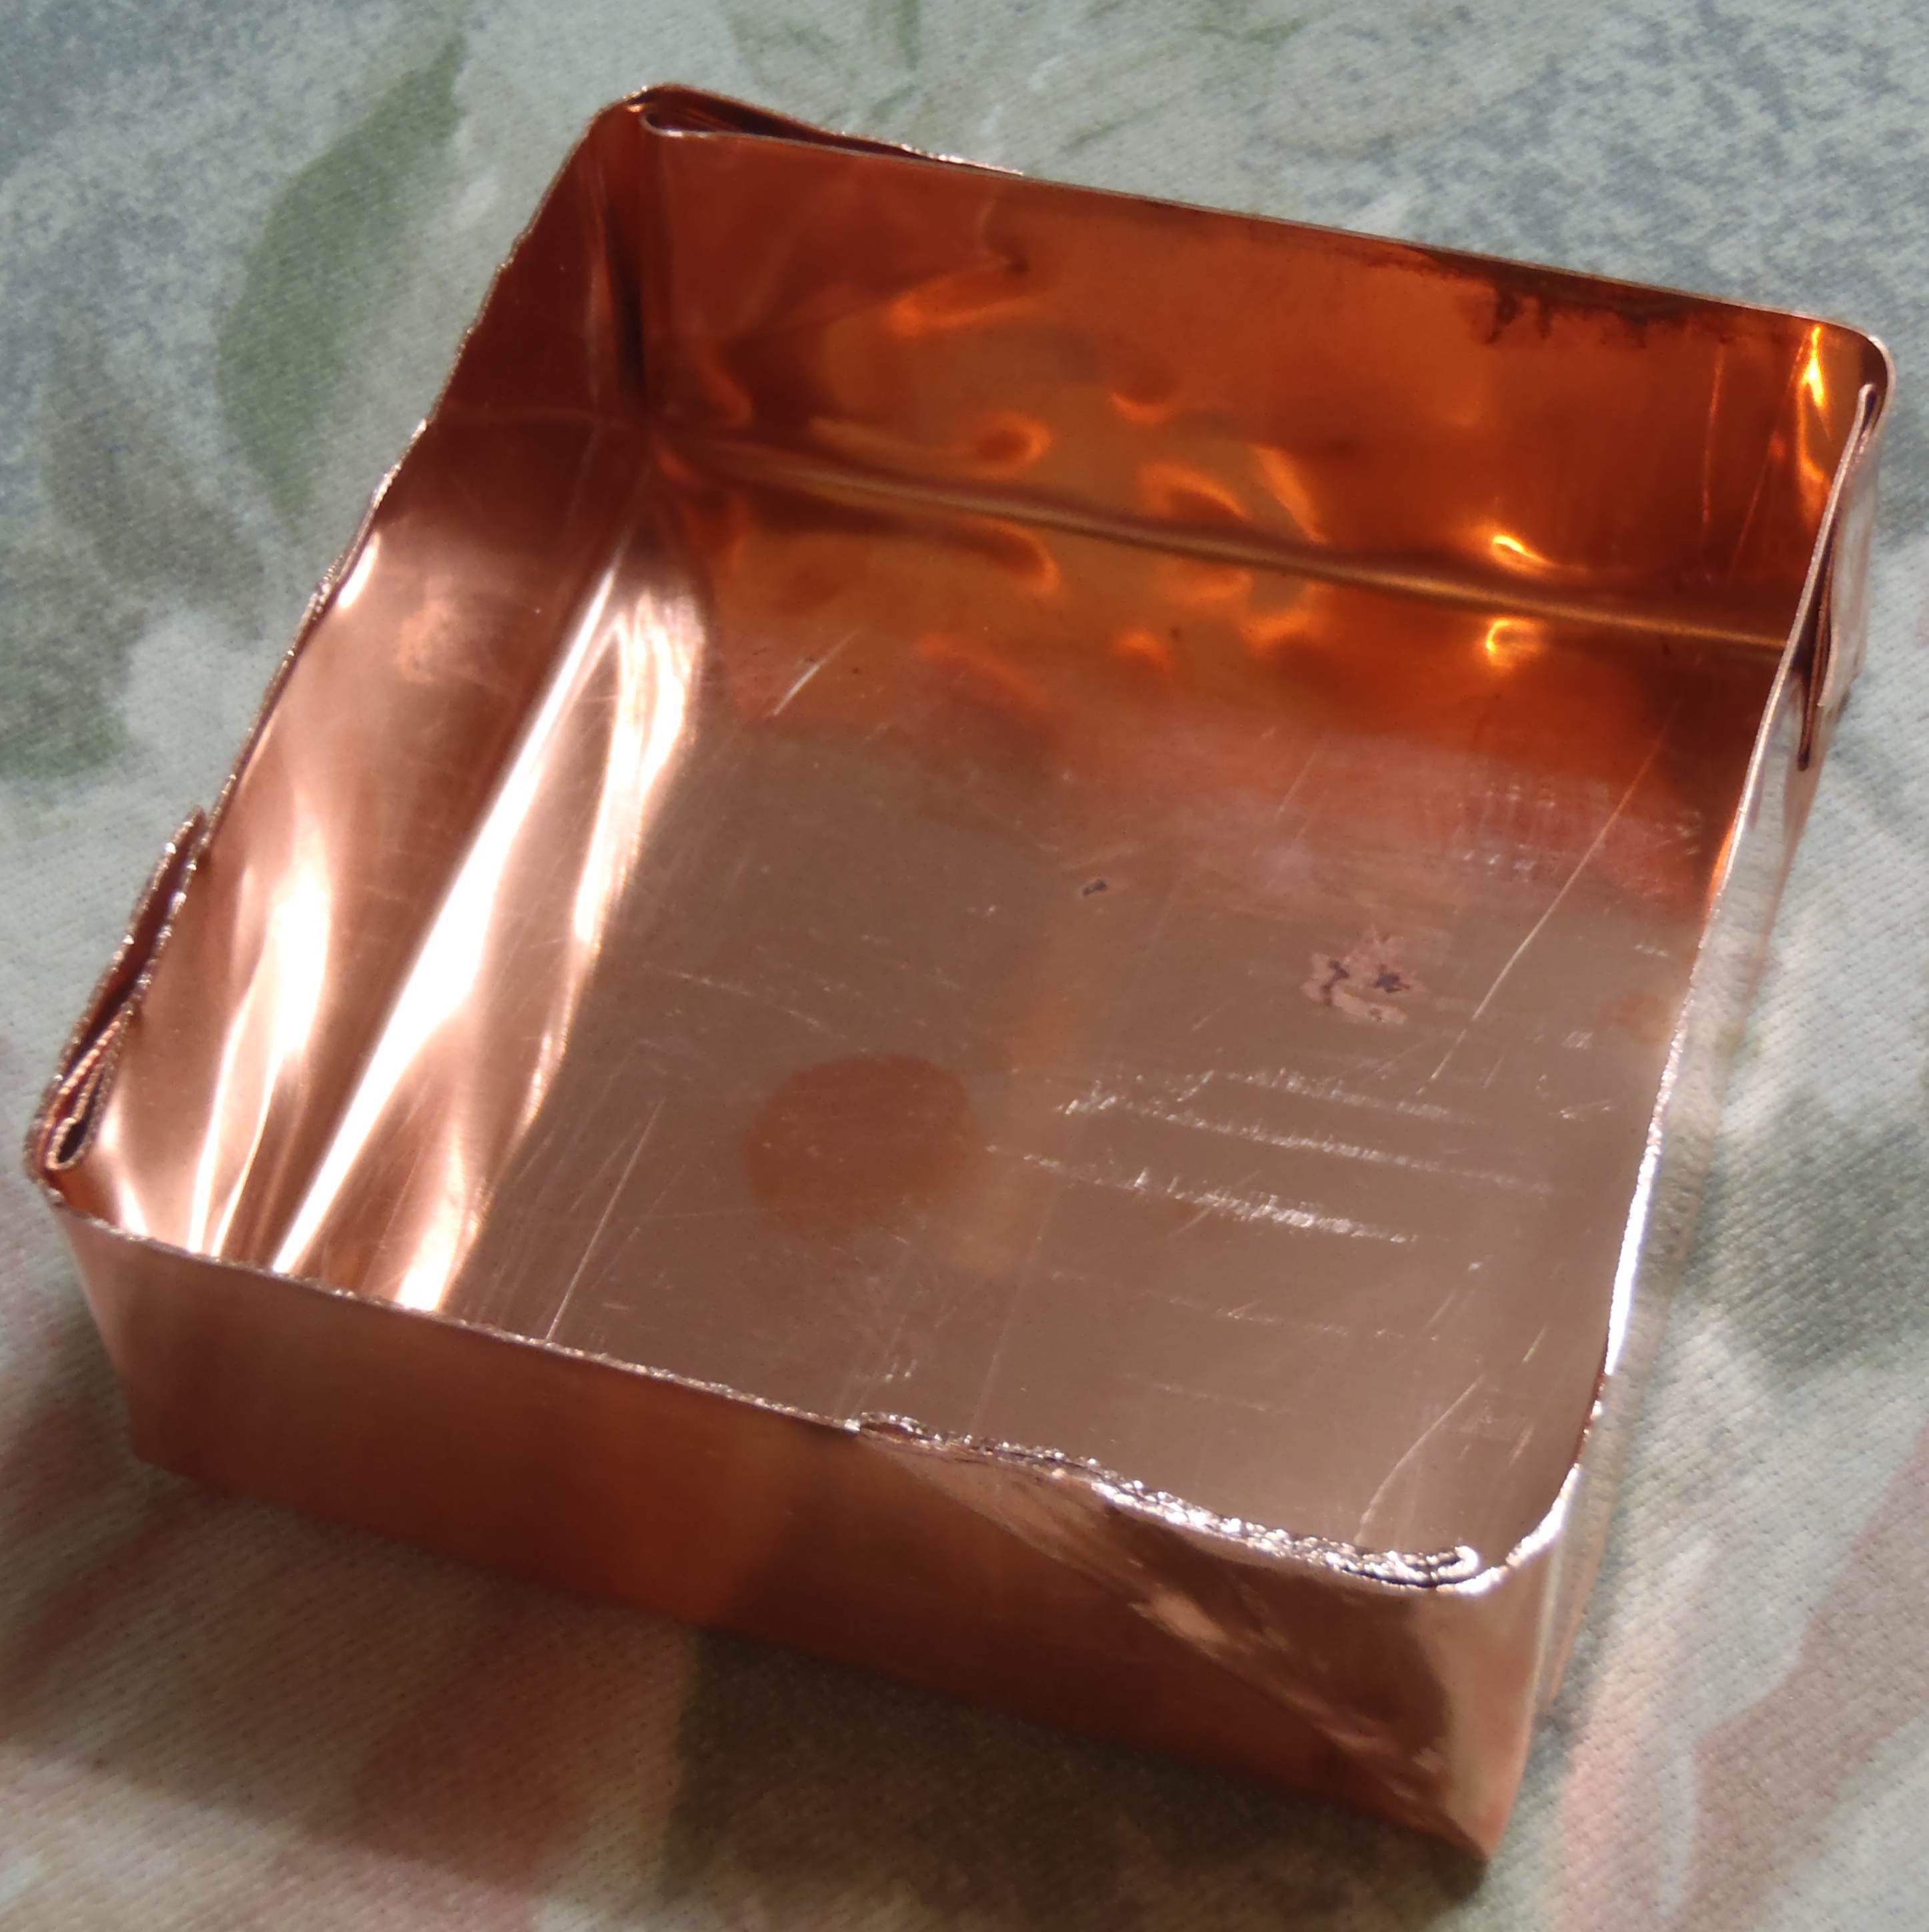
    Tomorrow it is the mounting of the cubicle’s door! And soldering the 15mm copper pipe to the copper sheet to make the snaking back and forth path for the cold water to take in the “energy” of the waste water!

  • Kitchen Cooking Unit Finished

    The stainless steel handles came today and were fitted and we also bought a longer piece of heat resistance electric cable for the ovens. We now have a completed Cooking Section.

    Cooking unit completed

    Cooking unit completed

    Cooking unit completed

    Cooking unit completed


  • Cooking Section installed

    At last we can and have installed the Cooking Section unit into place. The induction hob is fitted, the eight drawers are slid in (apart from the missing handles – due to arrive in the post soon!), the microwave oven is plugged in and almost the two ovens are fitted but discovered that their heavy duty cables are too short to reach our sockets!!

  • Air Duct Reinstalled

    Today we finished off re-installing an air duct to drive fresh air into our temporary living quarters. We needed more air pressure to serve the four extra living spaces attached on the side of the garage. We ran a 150mm aluminium laminated foil tube along the ceiling just under the light channel down the Garden Room, and then down to the existing air duct that runs off into the temporary living quarters.

    The chimney is to transfer the “air” from the cupboard at floor level, pass the cooking section and up to the ceiling, and trying to minimise destructions of our work surfaces.

    GR Supply airduct re-routed

    GR Supply airduct re-routed

    GR Supply airduct re-routed

    GR Supply airduct re-routed

    GR Supply airduct re-routed

    GR Supply airduct re-routed


    We have learnt a valuable lesson regarding air ducting and how sensitive the performance of the delivery of “air” is in the real world!

  • Kitchen Cooking Section painted

    The Cooking Section was rubbed down today and given several coats of paint (boring old white emulsion!) and one acrylic gloss coat! The drawers were fitted with their metal ball race double extension runners. But we discovered that our store of spare handles were the wrong size and the pre-drilled holes were set apart too far! We had eight spare in a box and we pulled one out to measure it which happens to be the bigger one in the box! It was only today that the discovery was made that all other seven handles were smaller!! We are surfing the web for more handles of the correct spacing and we found some!! Phew!

    Cooking unit - painted

    Cooking unit – painted

  • Garden Room Utility Rail modules Completed!

    This morning the last of the modules for the Garden Room’s Utility Rail was put up. The last section was going around the toilet and the two doorways.

    GR Final section of electrics

    GR Final section of electrics

    But if we have a need for another electrical socket in the future, we can remove a module anywhere and replace it with a module already having the cut-out for the socket or switch being desired, and wired into the cable running inside the Utility Rail! For example we quite like to have some loudspeakers in the garage or the Garden Room and connect it to a MP3 music player with a remote control but we will wait until we have finished Phase 1 first!

  • Garden Room Modules going Up Part 3

    The back wall of the Garden Room now has all its modules up and connected!

    GR Utility rail with fittings Pt2

    GR Utility rail with fittings Pt2

    Only the last section around the toilet is left to go.

  • Utility Rail Modules Mounted Part 2

    The continued job of putting up the modules on to the Utility Rail carried on today with the additional task of fixing sockets into the wall itself, 300mm below the Utility Rail at the positions of each appliance like the washing machine, dishwasher, waste disposal unit and tumble dryer!

    GR Utility rail with fittings Pt2

    GR Utility rail with fittings Pt2

    GR Utility rail with fittings Pt1 Mk2

    GR Utility rail with fittings Pt1 Mk2


  • Utility Rail Modules Installation Part 1

    The Garden room is coming together with its Utility rail modules being installed, half of them are up so far!

    GR Utility rail with fittings Pt1 Mk2

    GR Utility rail with fittings Pt1 Mk2

    The rest to be done tomorrow.

  • Draws assembled!

    Today we took all the pieces of the eight draws of the Cooking Section and assembled them together. All joints were glued and screwed. The edges were rounded. And a filler applied to smooth the edges and surfaces.

    GR Kitchen draws Assembled and filled

    GR Kitchen draws Assembled and filled

    We wait for the filler to set and tomorrow we will rub it all down and put on the first coat of paint, the primer!