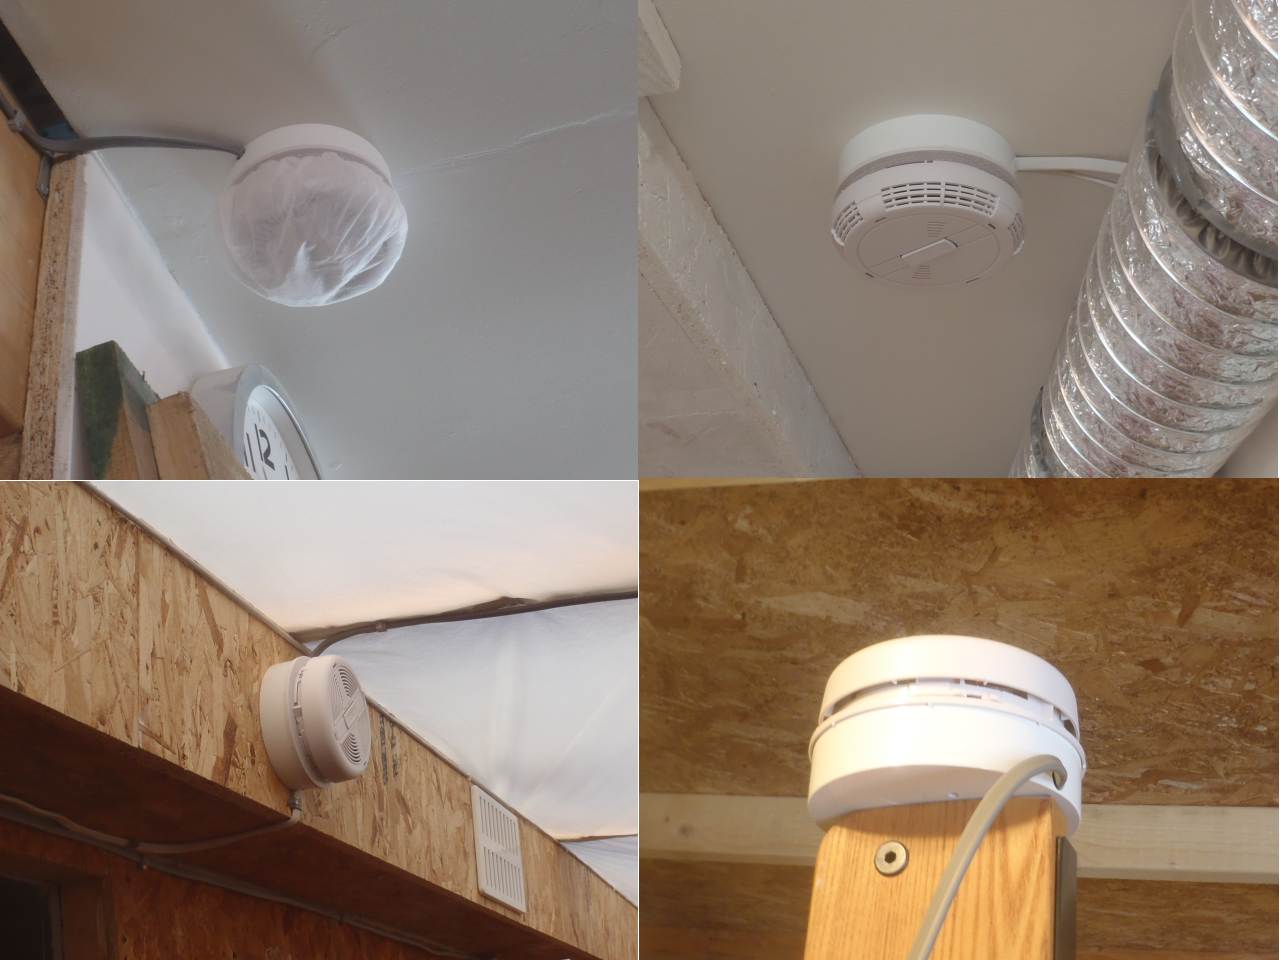
The Smoke and Fire detectors have been wired up and connected into the lighting circuit. All are linked together and seems to be in working order with the pressing of the test button!! Very loud!
The Garage
The Smoke and Fire detectors have been wired up and connected into the lighting circuit. All are linked together and seems to be in working order with the pressing of the test button!! Very loud!
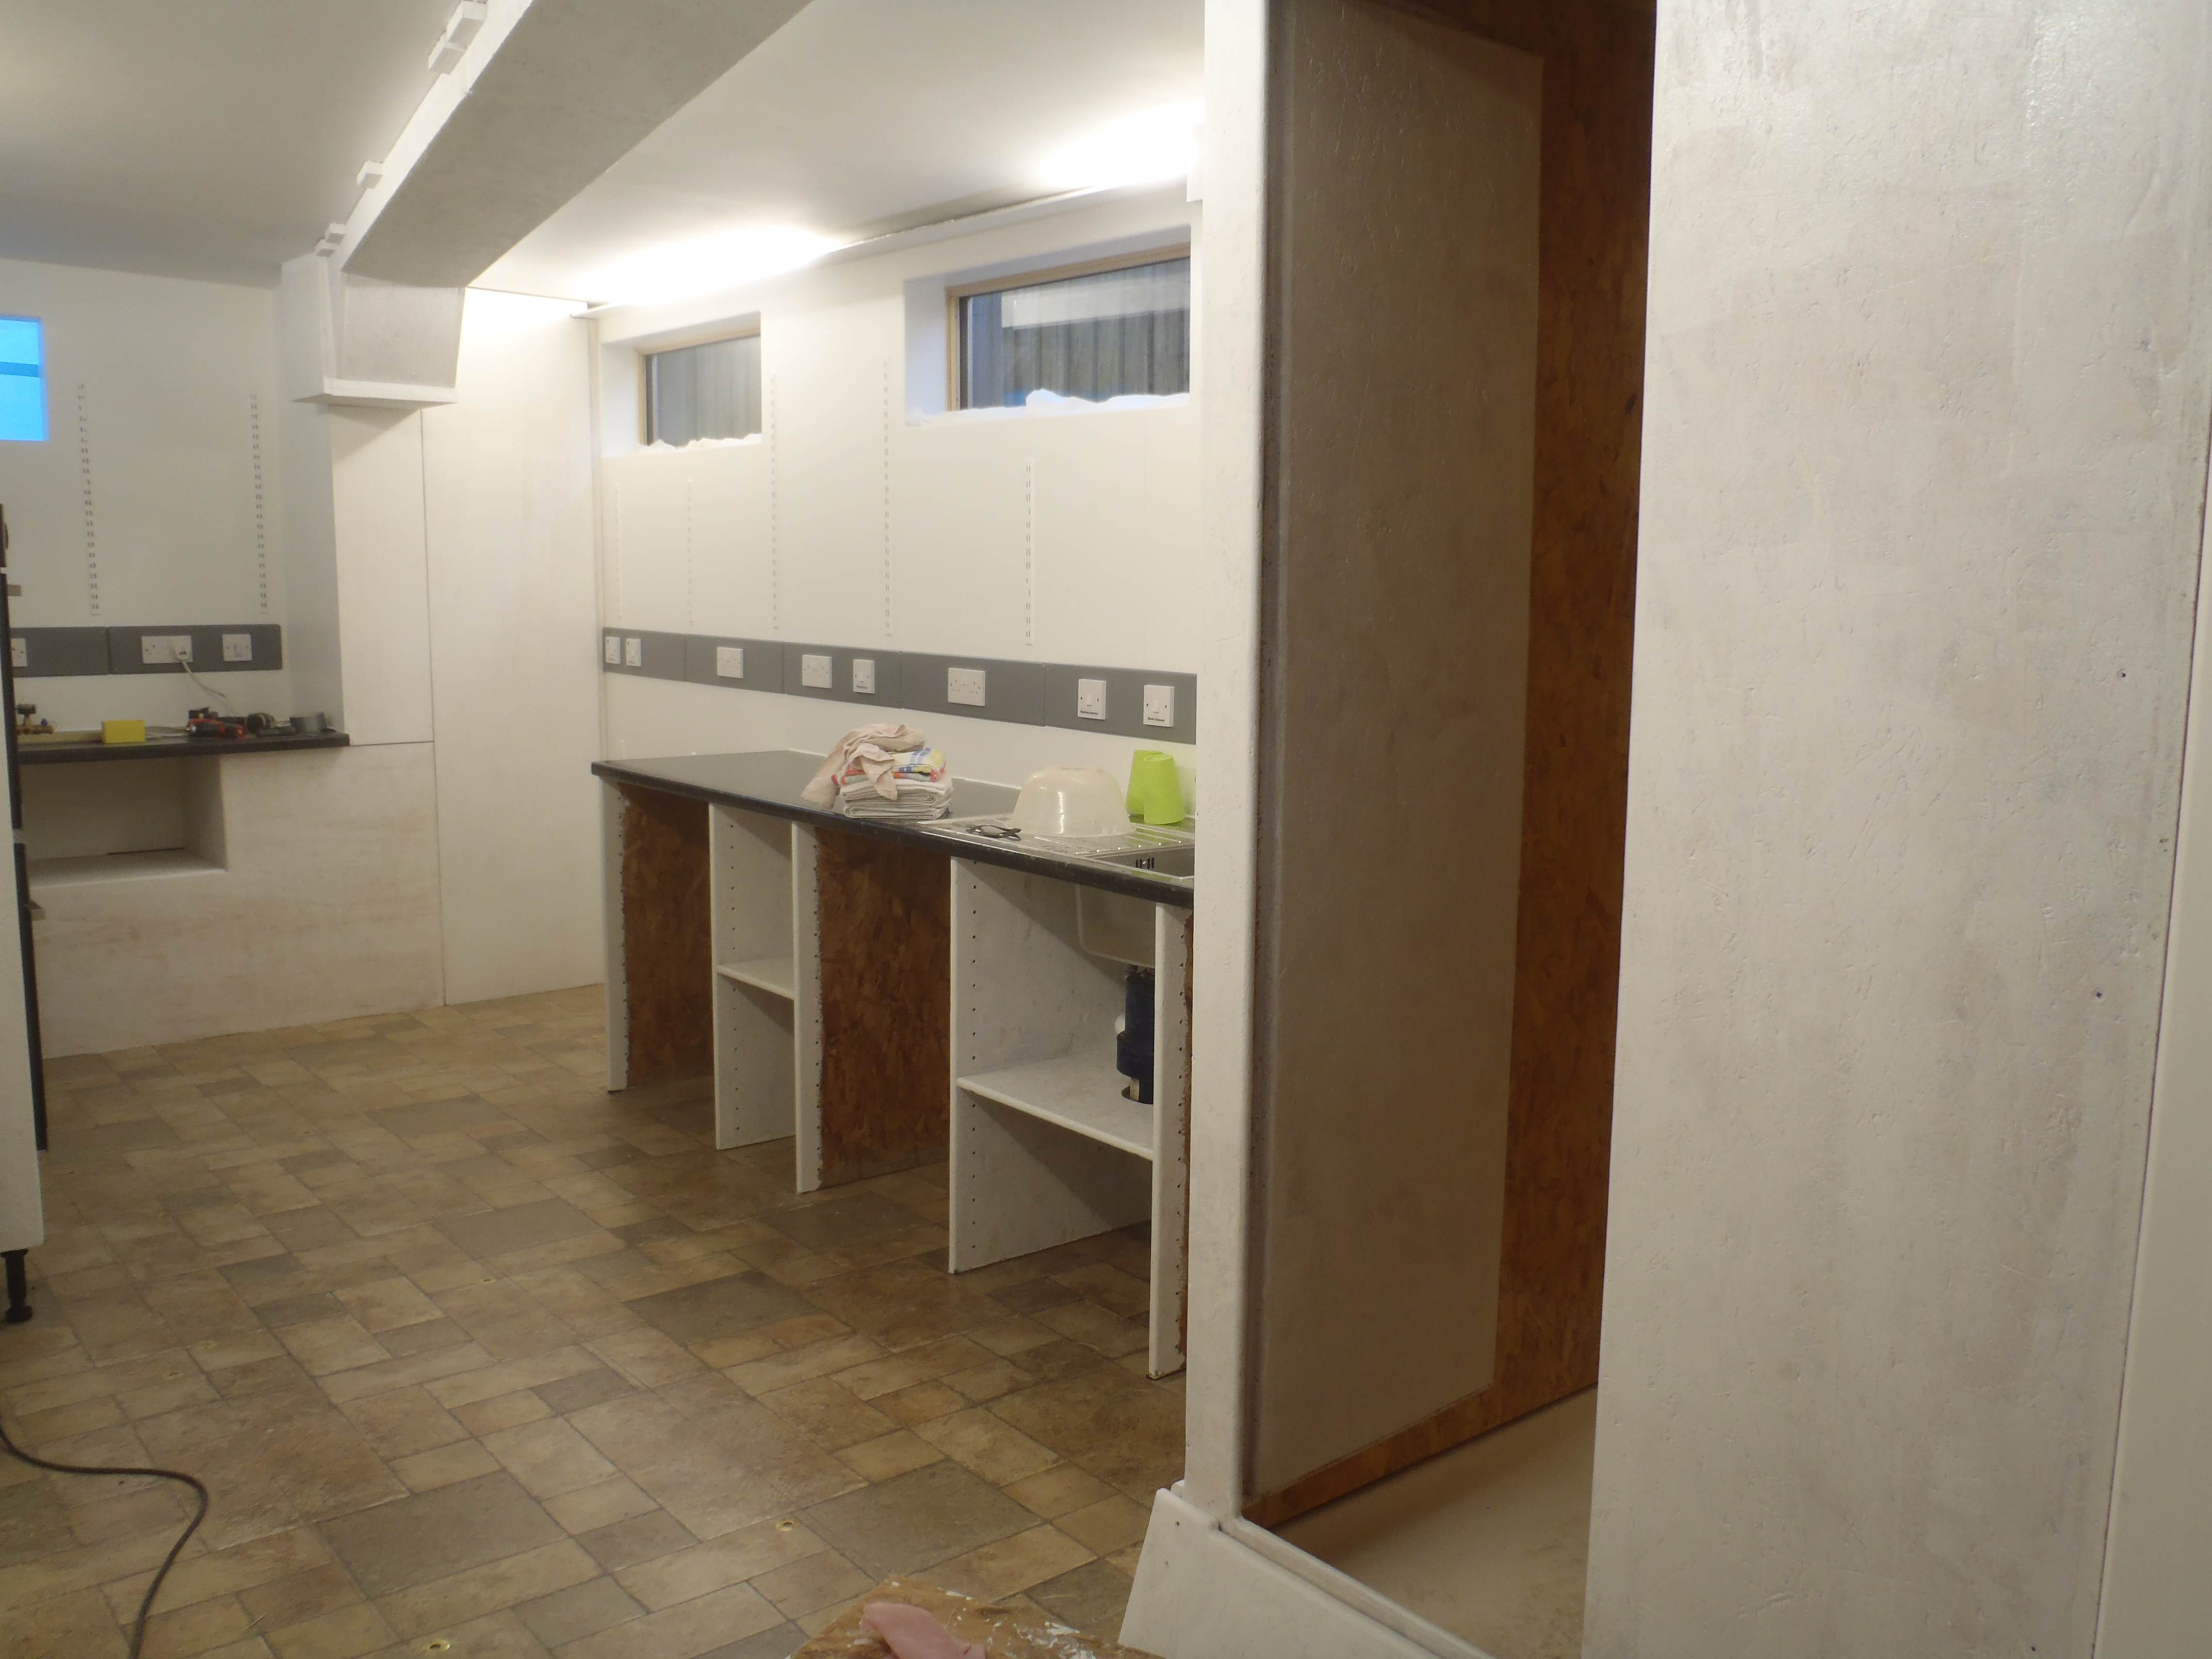
All the bare wooden surfaces were painted white. The air ducting, the shower cubicle, the covers over the hot tank and air con unit and the shelves under the sink & worktop!
Next task is to do the shelving!
This morning we put back the sliding doors for the toilet in the Garden Room. They were given a clear coat of varnish a little while ago. We changed the locking mechanism to grip the drive cord running around the two pulleys so it would be easier to release the doors from the drive cord in the future. We have smoothed down the edge and corners of each door and painted down the middle with Walnut varnish to darken the white fermacell to match the colour of the magnetic strips we are planning to use to provide a locking mechanism and also a soft buffer to avoid the clunk noise when the doors slide together!
Later on, we will put in an electric motor and control circuits to control the doors for us and automatically close or open the doors on a press of a switch etc.
We calculated what shelves we needed in the Garden Room to provide storage space while the room is being used as the kitchen. It turns out to be two 300mm (1foot) deep shelves approximately 4.1metres (14feet) long along the back wall above the sink and worktop, two 300mm (1foot) shelves 1.78metres (just under 6feet) long in the gap, above the worktop, to the right of the cooking area and a further three 400mm deep (1 and third feet) 1.6metres (just over 5feet) left of the chest freezer, below the Utility Rail and back to the doorway. Plus Three 300mm (1foot) shelves 2.8metres (9feet) above the Utility Rail over the chest freezer and going back to the doorway too.
Finally a set of six shelves both below and above the Utility Rail positioned left of the doorway, these are only 200mm (8inches) deep.
Oh yes another se set of four 200mm deep shelves below the Utility Rail over by the hot tank cupboard in the gap before the sink worktop!
We have sliced up 4 sheets of 18mm OSB boards! Next to rout the edges and corners to make them safer etc!
The compartments where the hot water tank, air ducting and chimney, and fan lies, are now all covered up!
They just need a coat of paint!
We analysed our building layout including our temporary living quarters and selected 4 devices, 1 optical smoke detector, 2 ionising smoke detectors and 1 heat sensor, all linked together as required in the regulations. The two ionising type of detectors are for the store room and our living quarters in the corridor between the lounge and bedroom 1. The optical type is in the kitchen and finally the heat sensor in the garage right up front on the highest point of the room (the ceiling slopes upwards towards the front).
We started laying in the 3 core & earth, lighting grade cable, through the building. We will tap into the lighting circuit in the garage.
The detectors should be arriving soon, along with batteries for each of them.
The sink seems to be sealed! We ran water into the sink and nothing leaked!! The waste disposal unit operated just fine too! Phew! Thanks goodness for that! We switched on the immersion heater during lunch time and we returned back to a half a tank of hot water! The basin in the toilet delivers the hot water after about 30 seconds of waiting (it is a long run and the head of pressure is low. The kitchen sink came through ok too after about 20seconds (of course it is a shorter run).
We put the shelf in under the sink and put a self in the section between the washing machine and the tumble dryer.
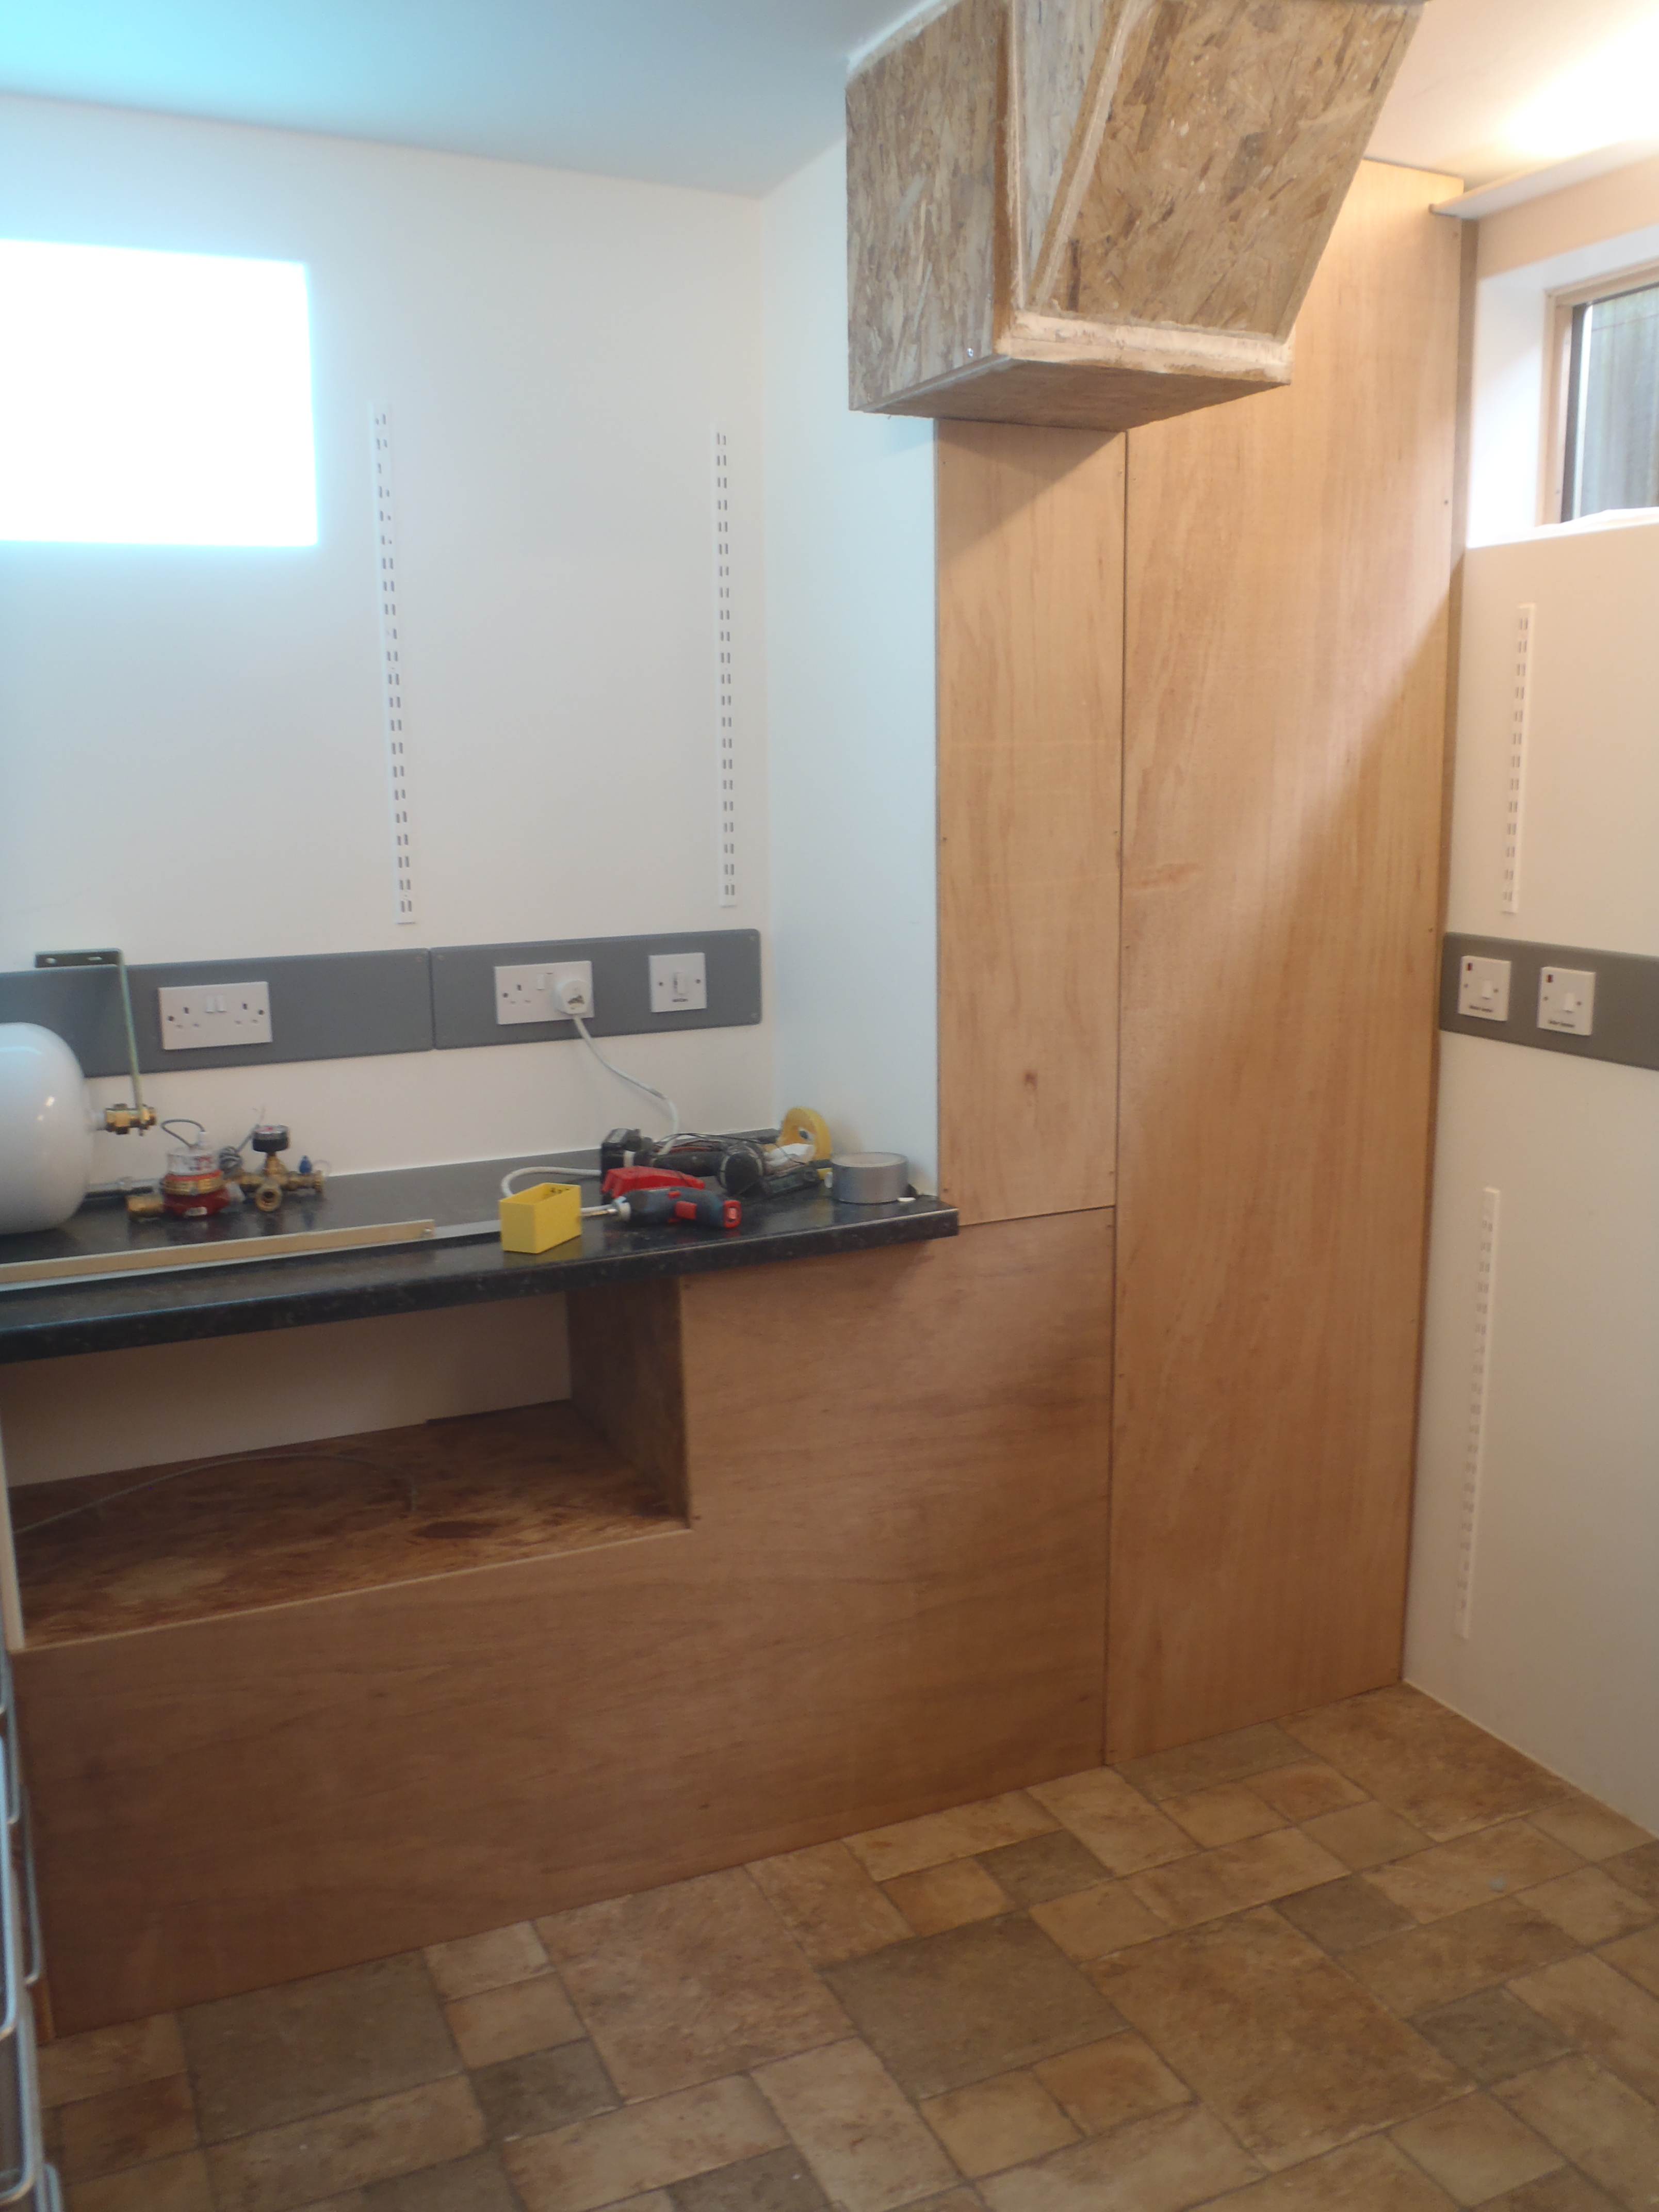
We also sealed off the final part of the air ducting above the air con unit to direct the old waste air up and out of the building. Then we put up a door to cover up the hot water tank cupboard using a piece of 9mm hardwood ply (measuring 560mm wide and 2270mm high) with a slot cut into the edge to allow the lighting channel’s flange to be accommodated.
Tomorrow we will be doing a smaller cover to hide the electronic controls and junction boxes, plus another cover over the air con section. We also will put up open shelves along the back wall above the new worktop ready for all the “stuff” of our kitchen! With just a splash of white paint on the bare wood surfaces to finish off then the kitchen would be ready for occupying!
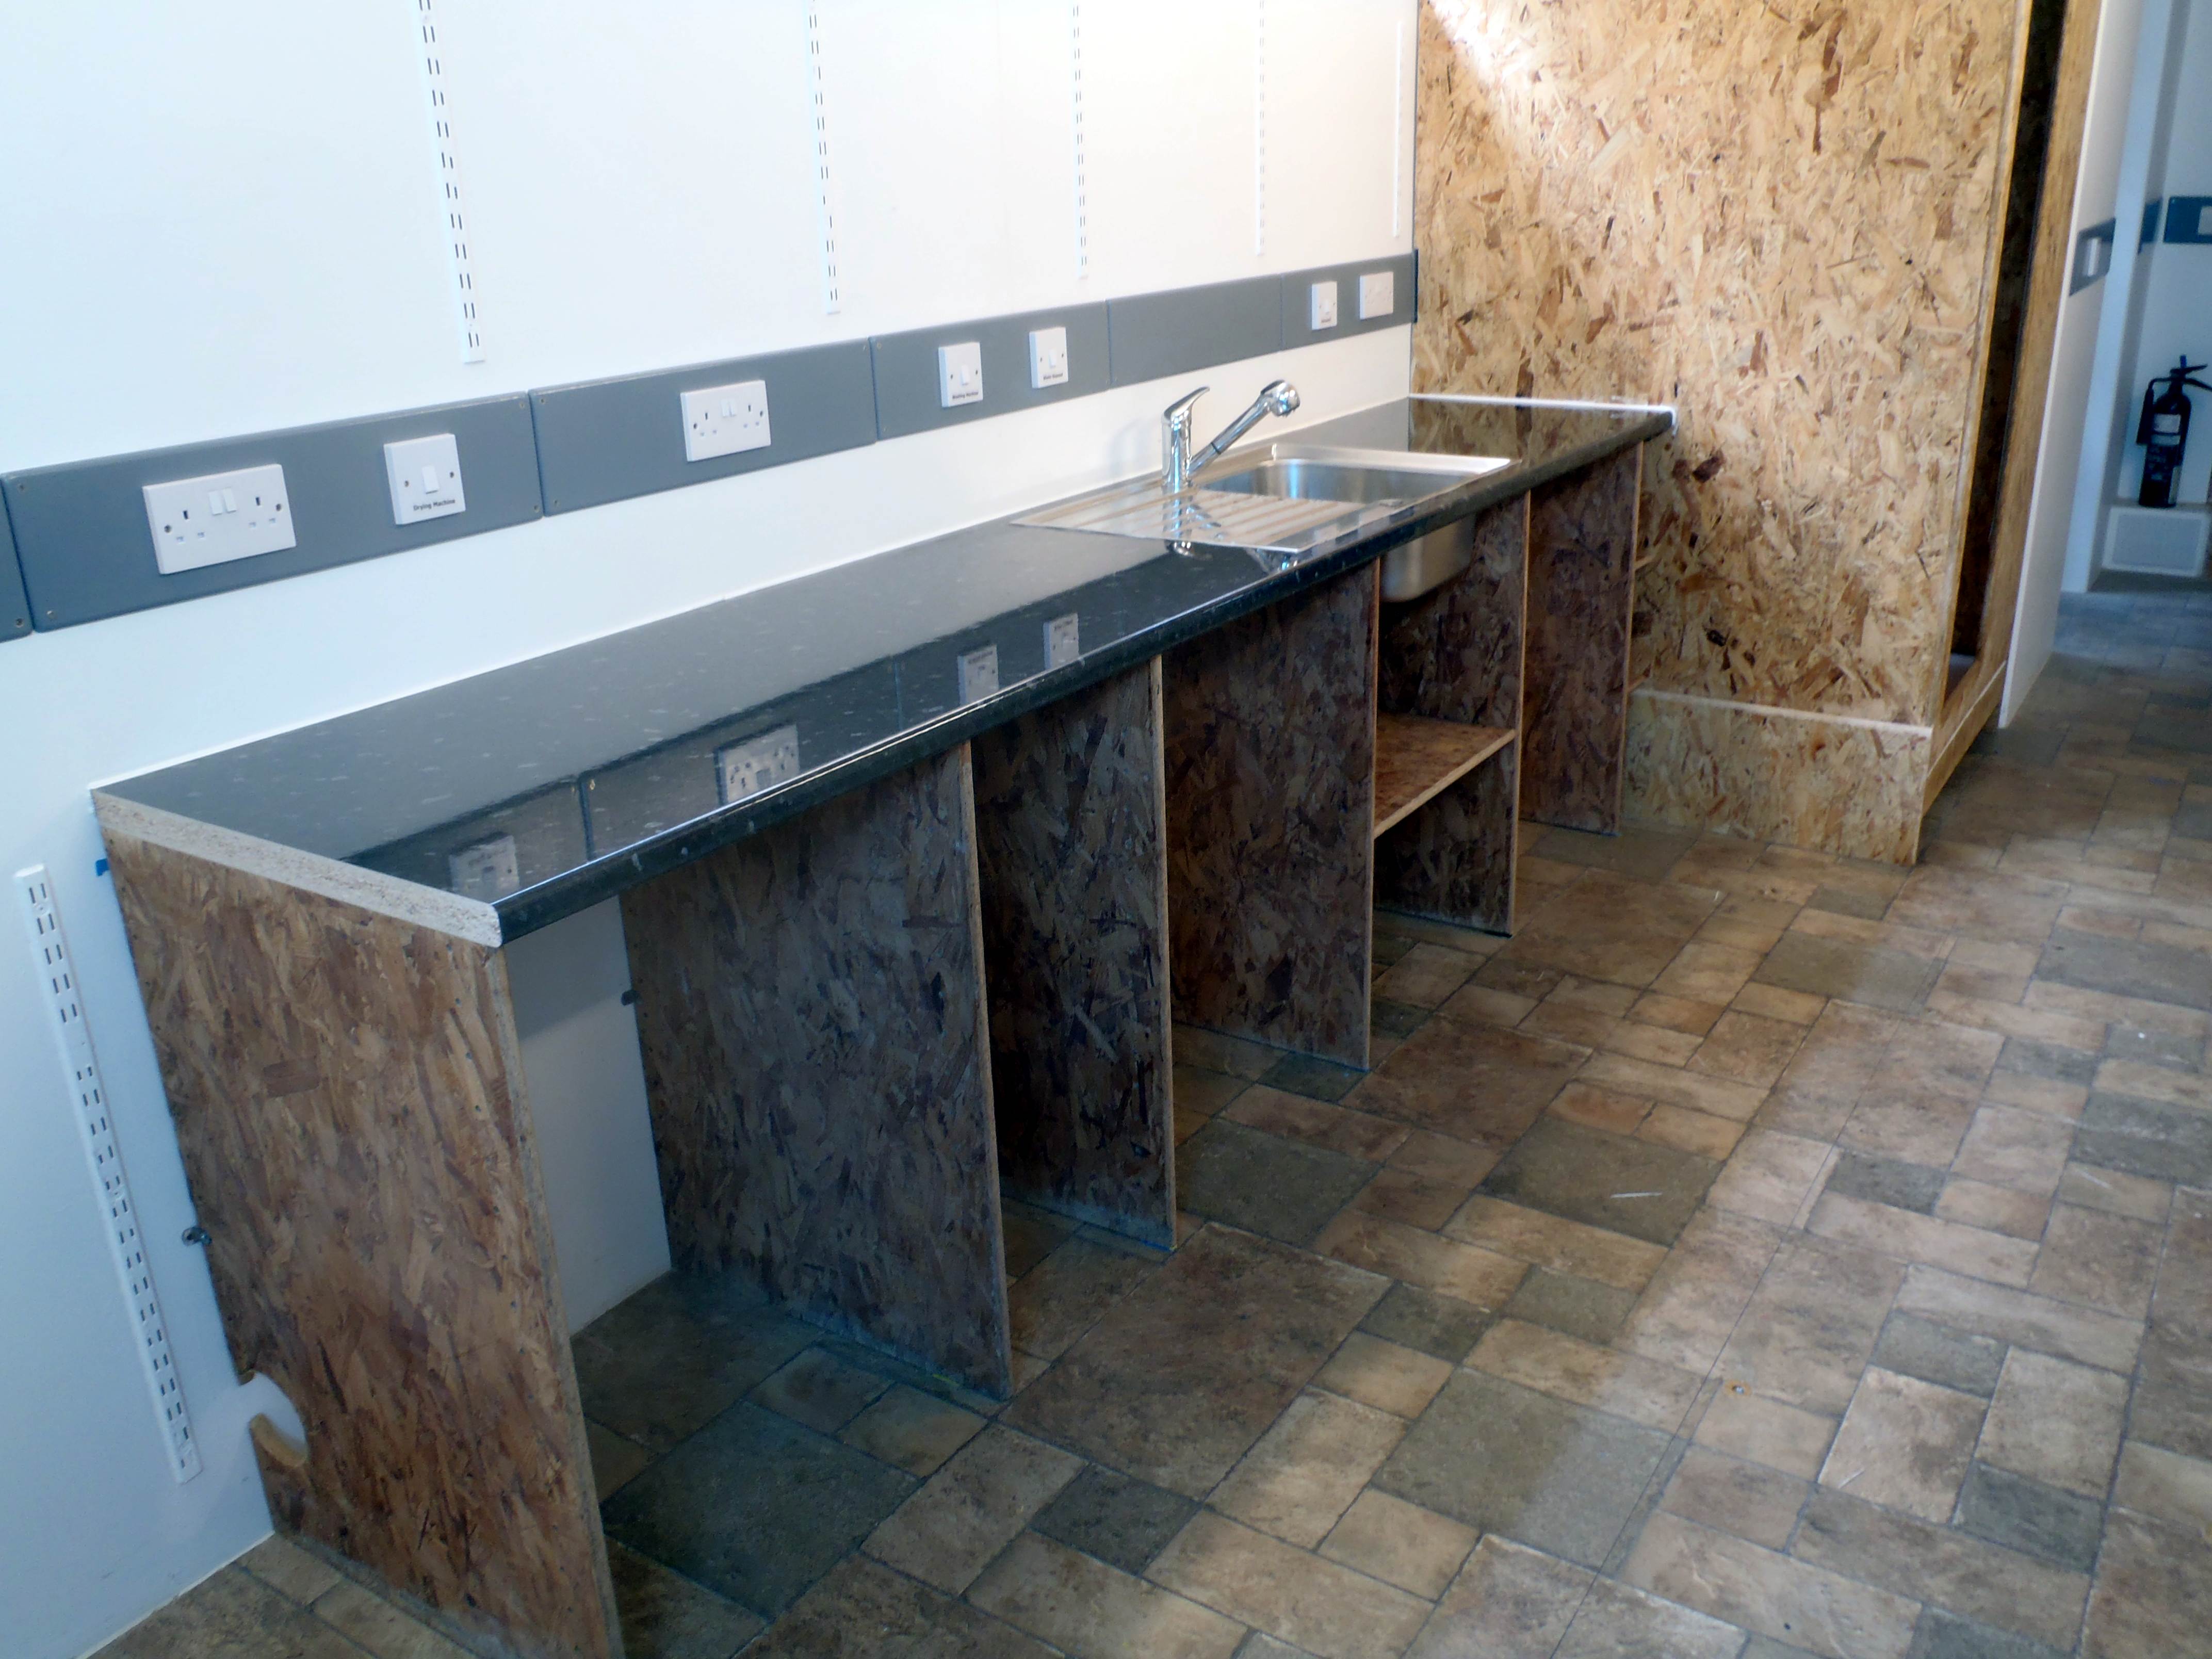
Today the sink was installed into the new worktop. The waste disposal unit was attached underneath and the waste pipes sorted ready for the outputs of the washing machine and dishwasher. Also the mains water and hot water supplies for said machines were fitted.
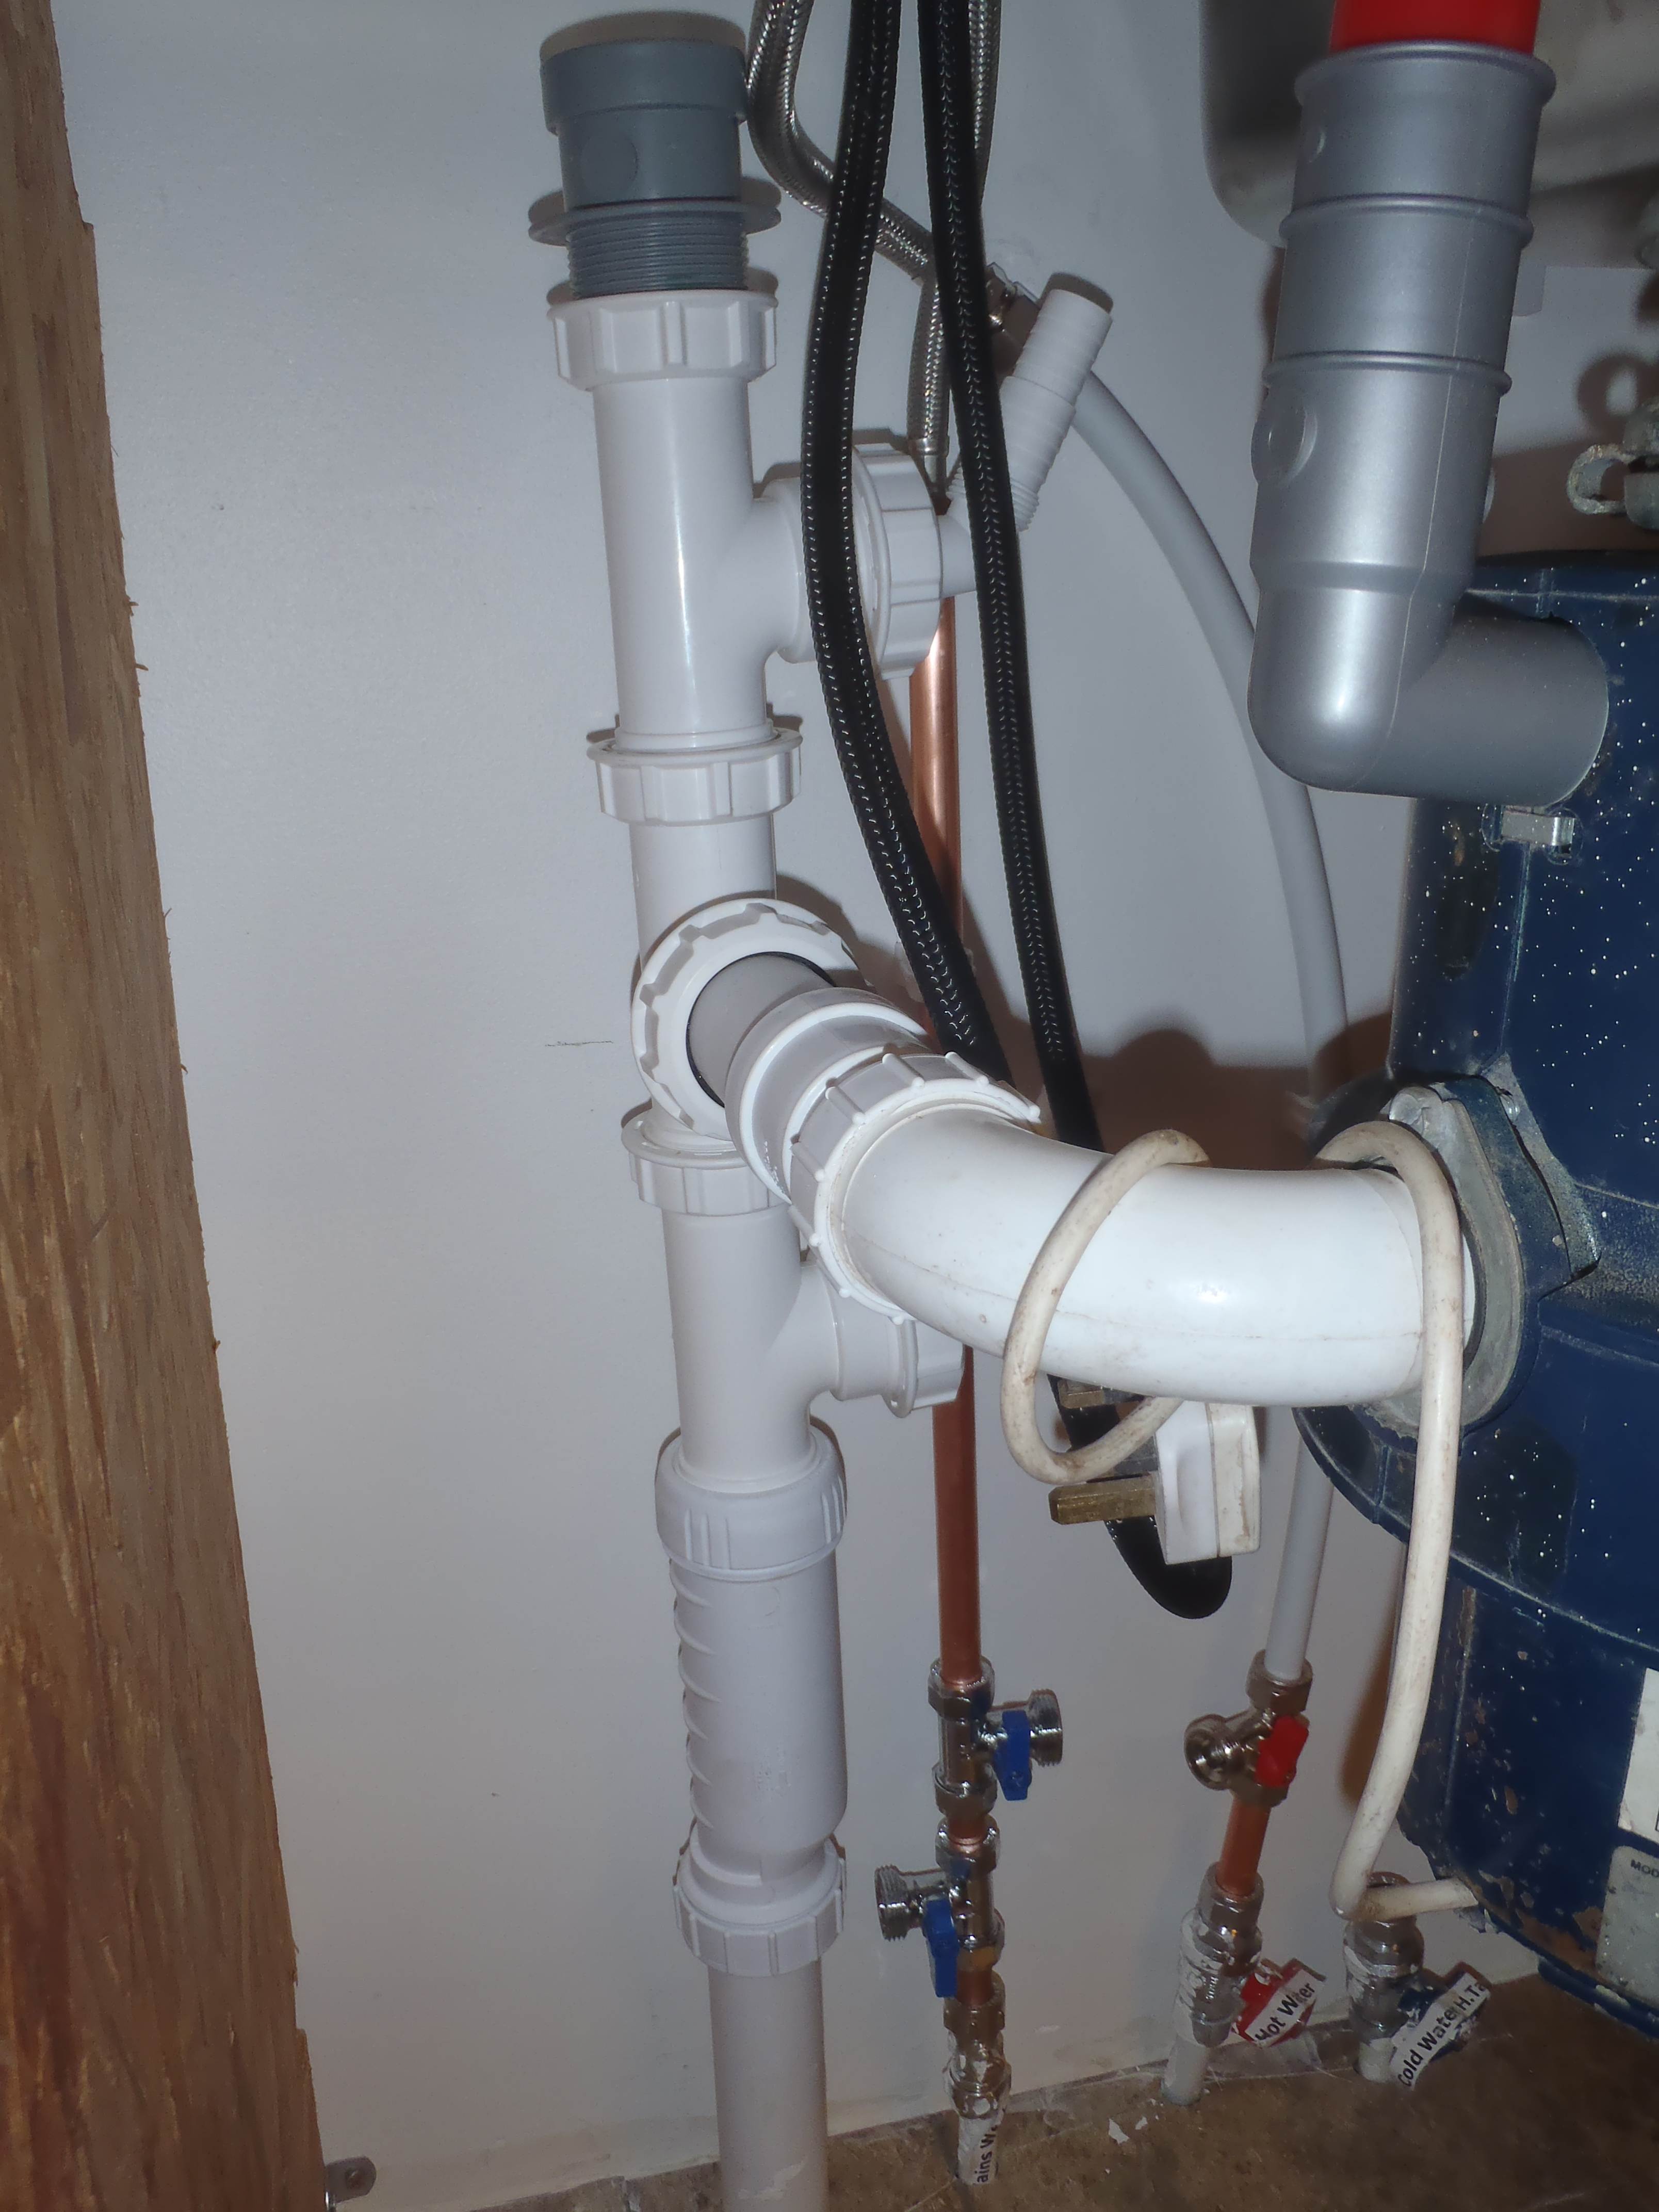
The kitchen mixer tap was fitted. Everything has been sealed with sealant so we cannot test it until tomorrow.
We also made a shelf to provide a storage level for the usual “stuff” that lives under the sink!
Today the final stretch of worktop with vertical panels underneath, to make the sections for the three machines (dishwasher, washing machine and tumble dryer – respectively from right to left), was put up next to the Shower cubicle, along the back wall in the Garden Room.
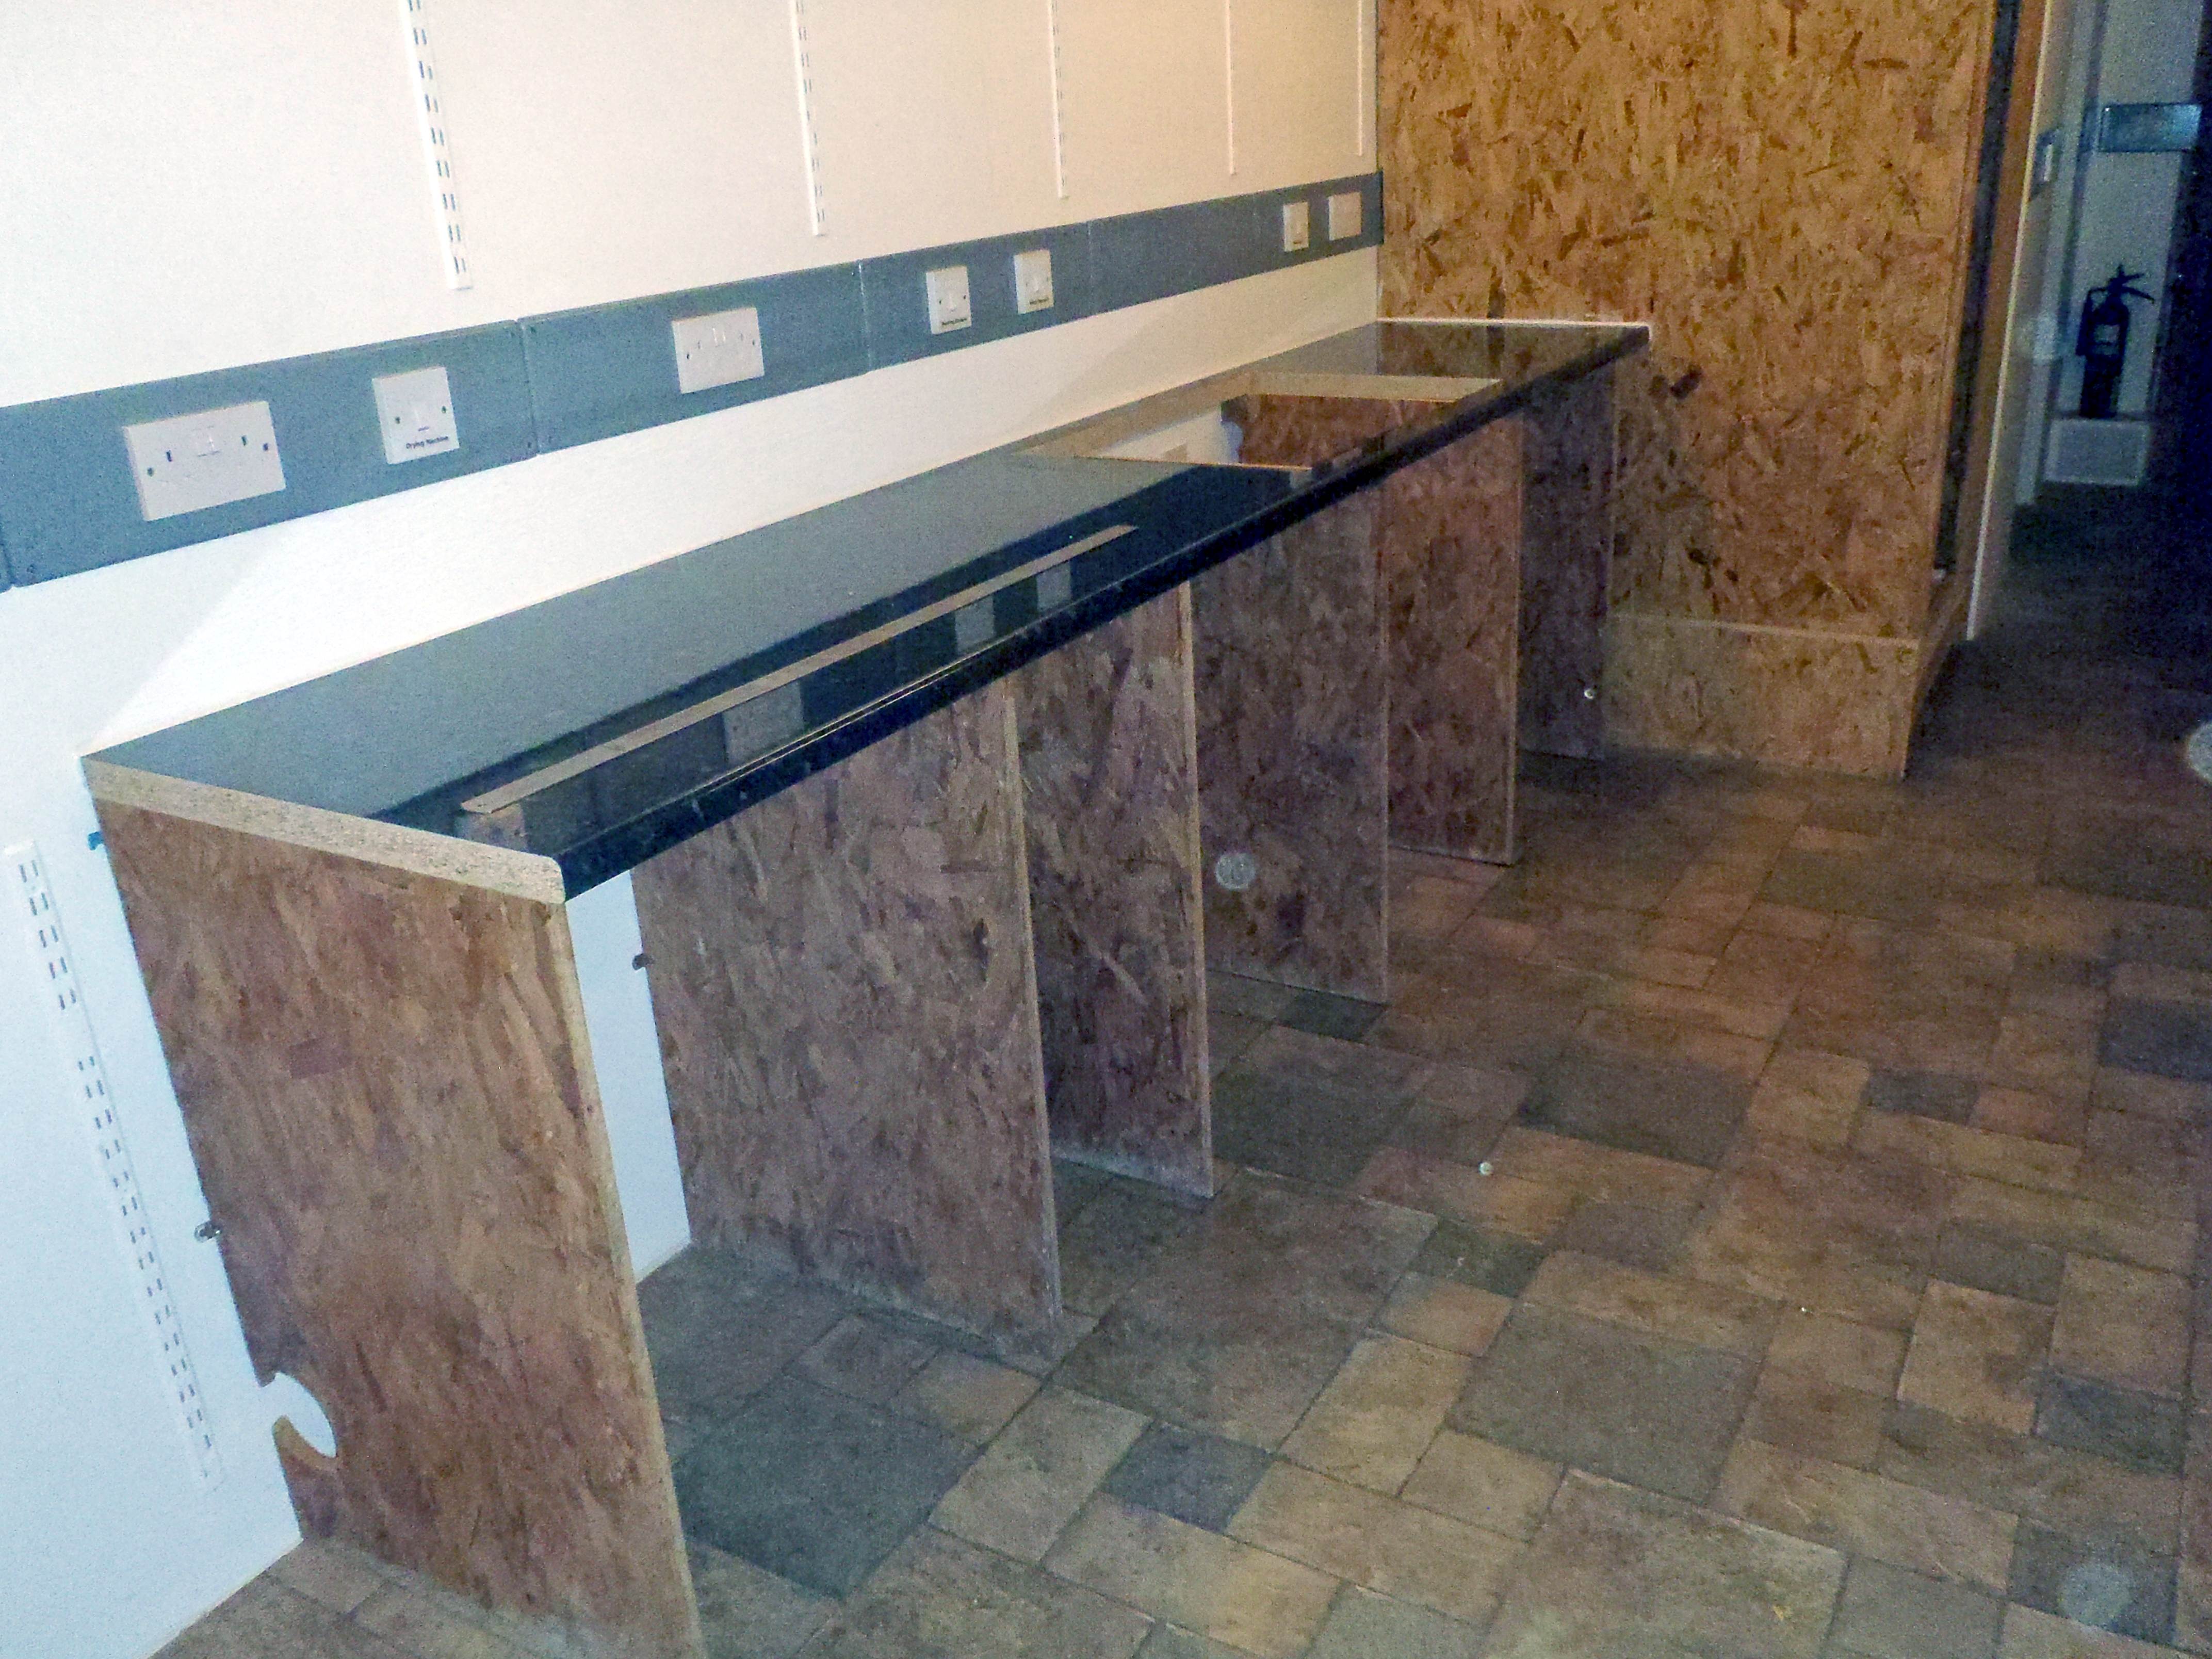
The whole worktop was sealed to the wall using PU sealant. It is a very high modulus and we want to see if this kind of sealant holds against wear and tear, and offers better long term protection and resistance against mould growth etc.
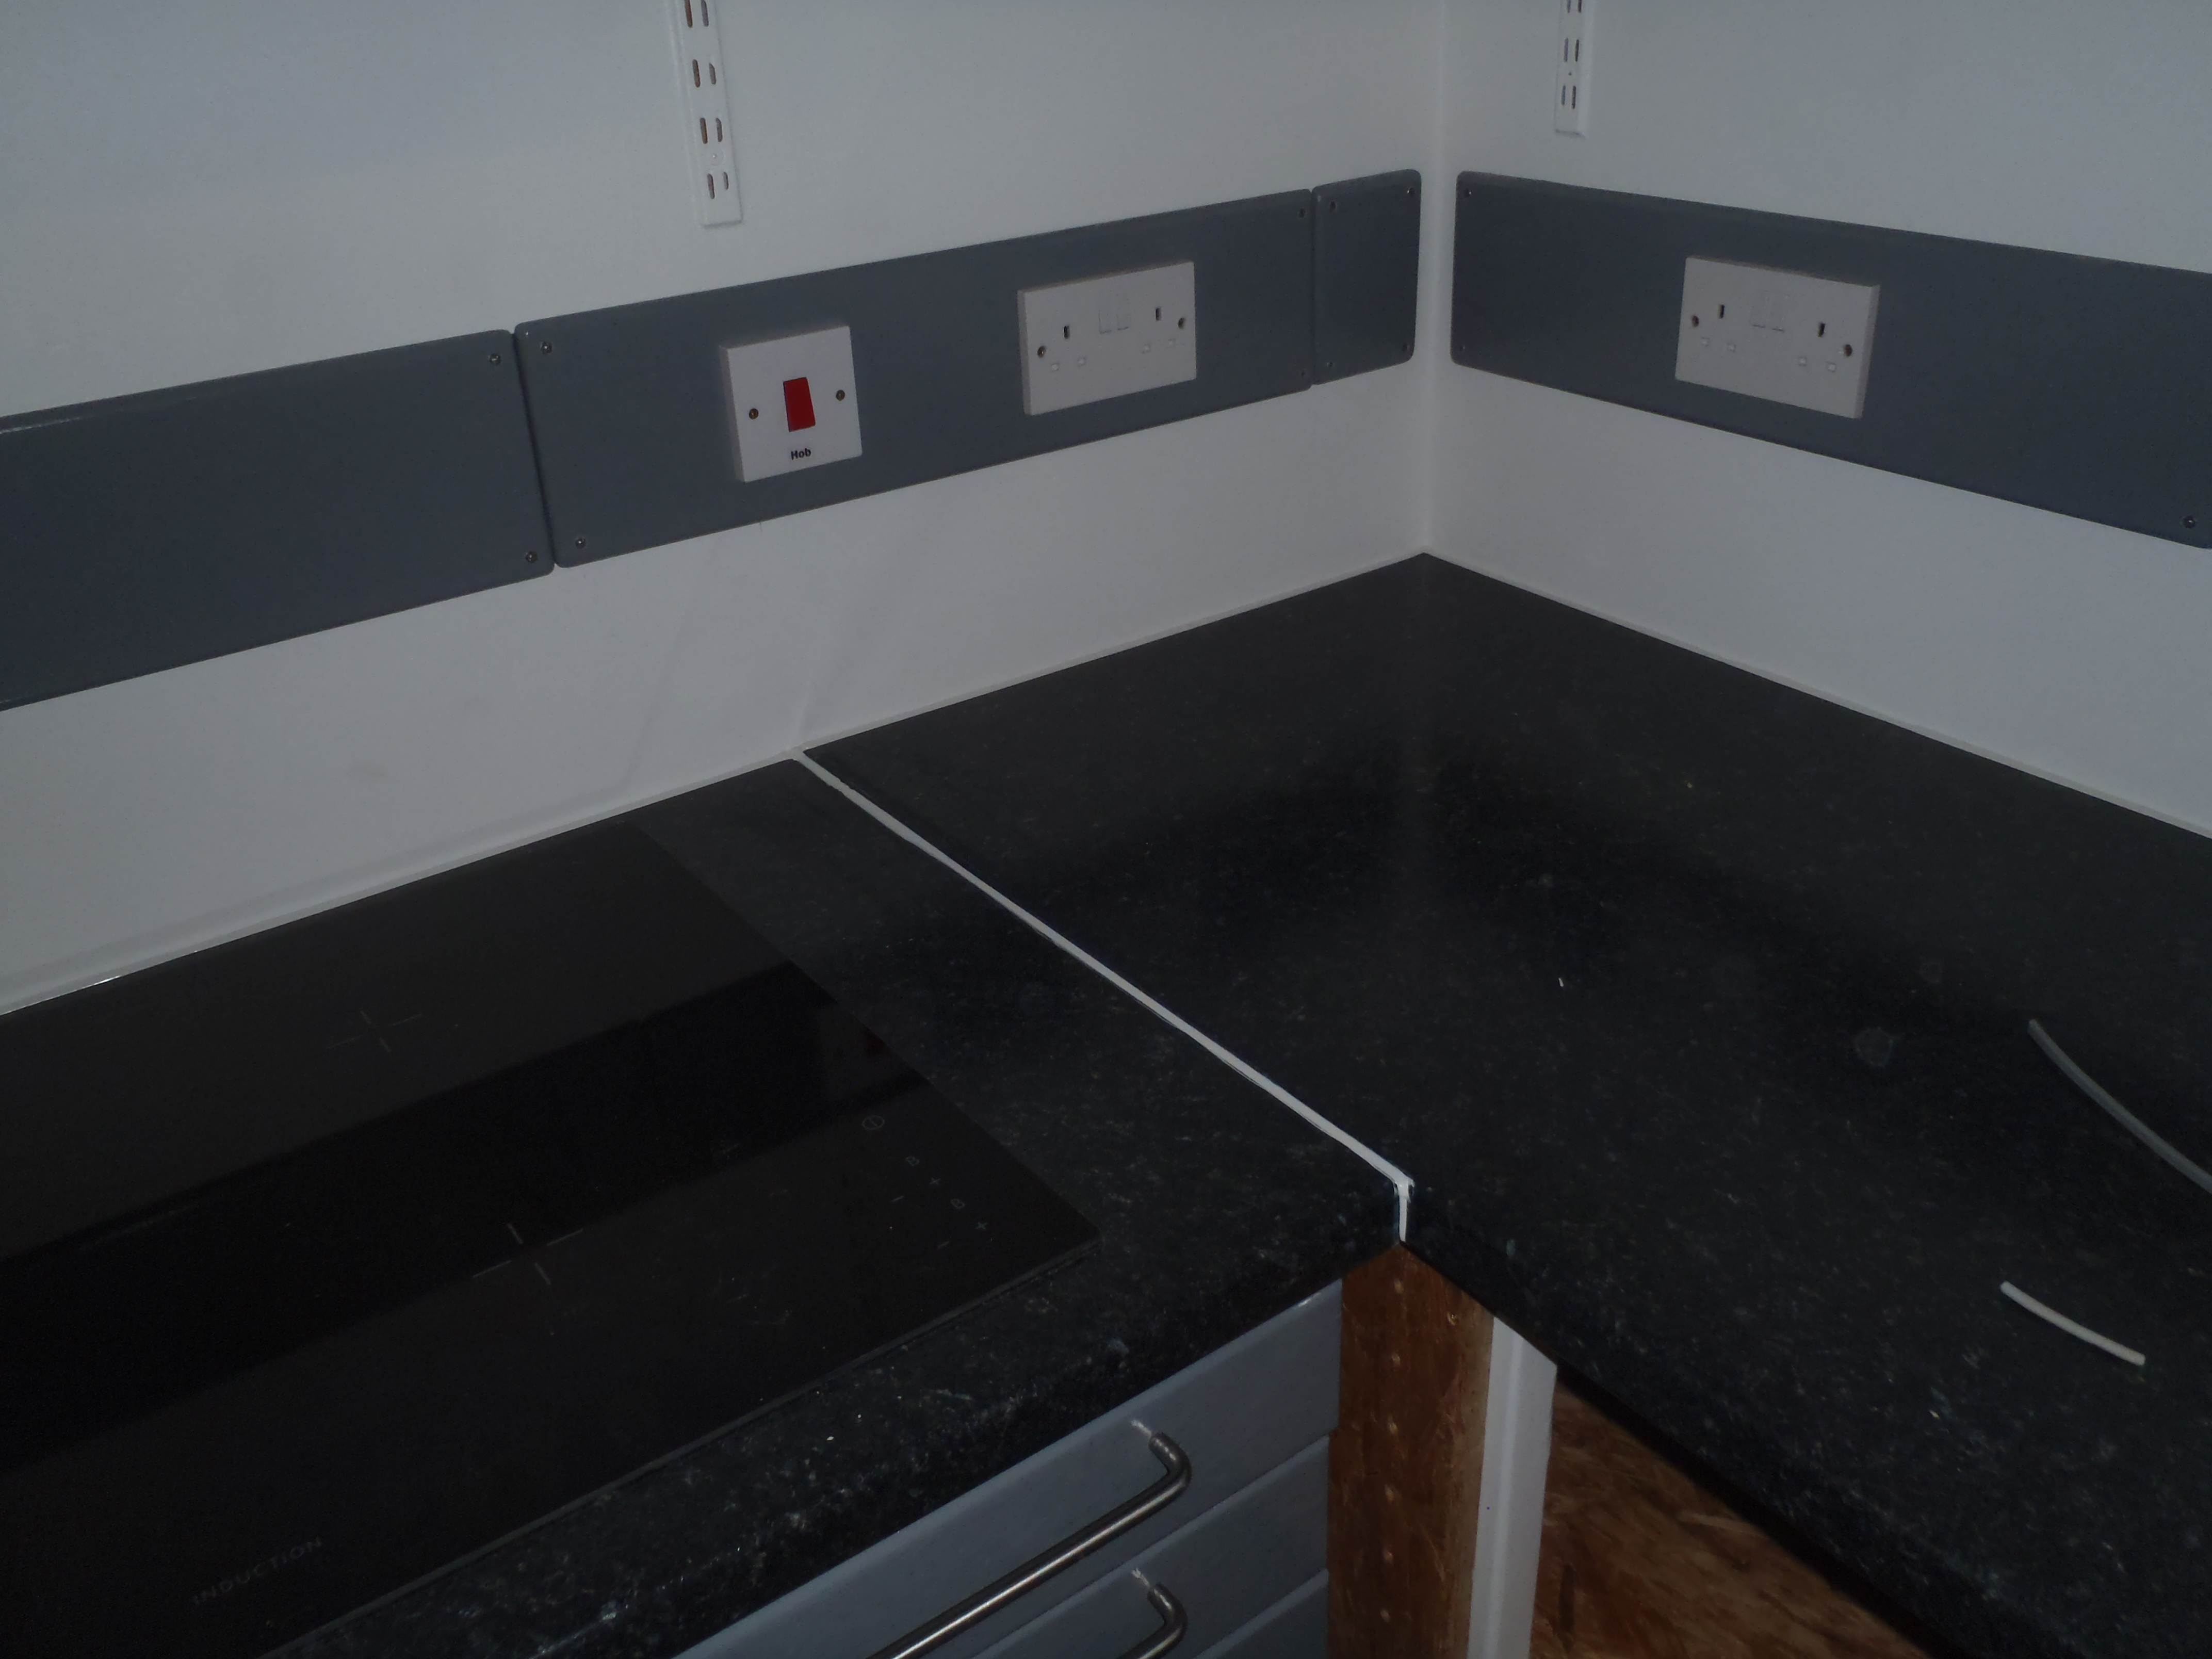
Also the Cooking Section was sealed with the same PU sealant.
Time will tell!
Today the Garden Room had three pieces of network cable threaded around in the Utility Rail, ready for activation when the ADSL router in moved (from the old house) and installed into the garage on the Tech Shelf! One network cable runs around to the Shower Cubicle to measure the performance of the heat exchanger. The second cable is a short one to the Air Con unit and finally a very long one that goes all the way to the far end of the temporary living quarters to the main hub and servers.
The network cables has to be mounted on shoulder hooks to ensure a good separation from all the mains voltage cables, both inside the Utility Rails. The network cable hangs from hook to hook, with a cable tie on an occasional one to keep the cable nice and taut!
The shoulder hooks seems to work quite well but we would like a more definite solid channel so when we are threading a new network cable or other low voltage cables through the Utility Rail in a room, it would be nice to push the guide rods along a solid “lane”. We are thinking of using a L shaped plastic extrusion where it can divide up the conduit into a upper lane for low voltage cables and mains voltage ones all dumped in the bottom!