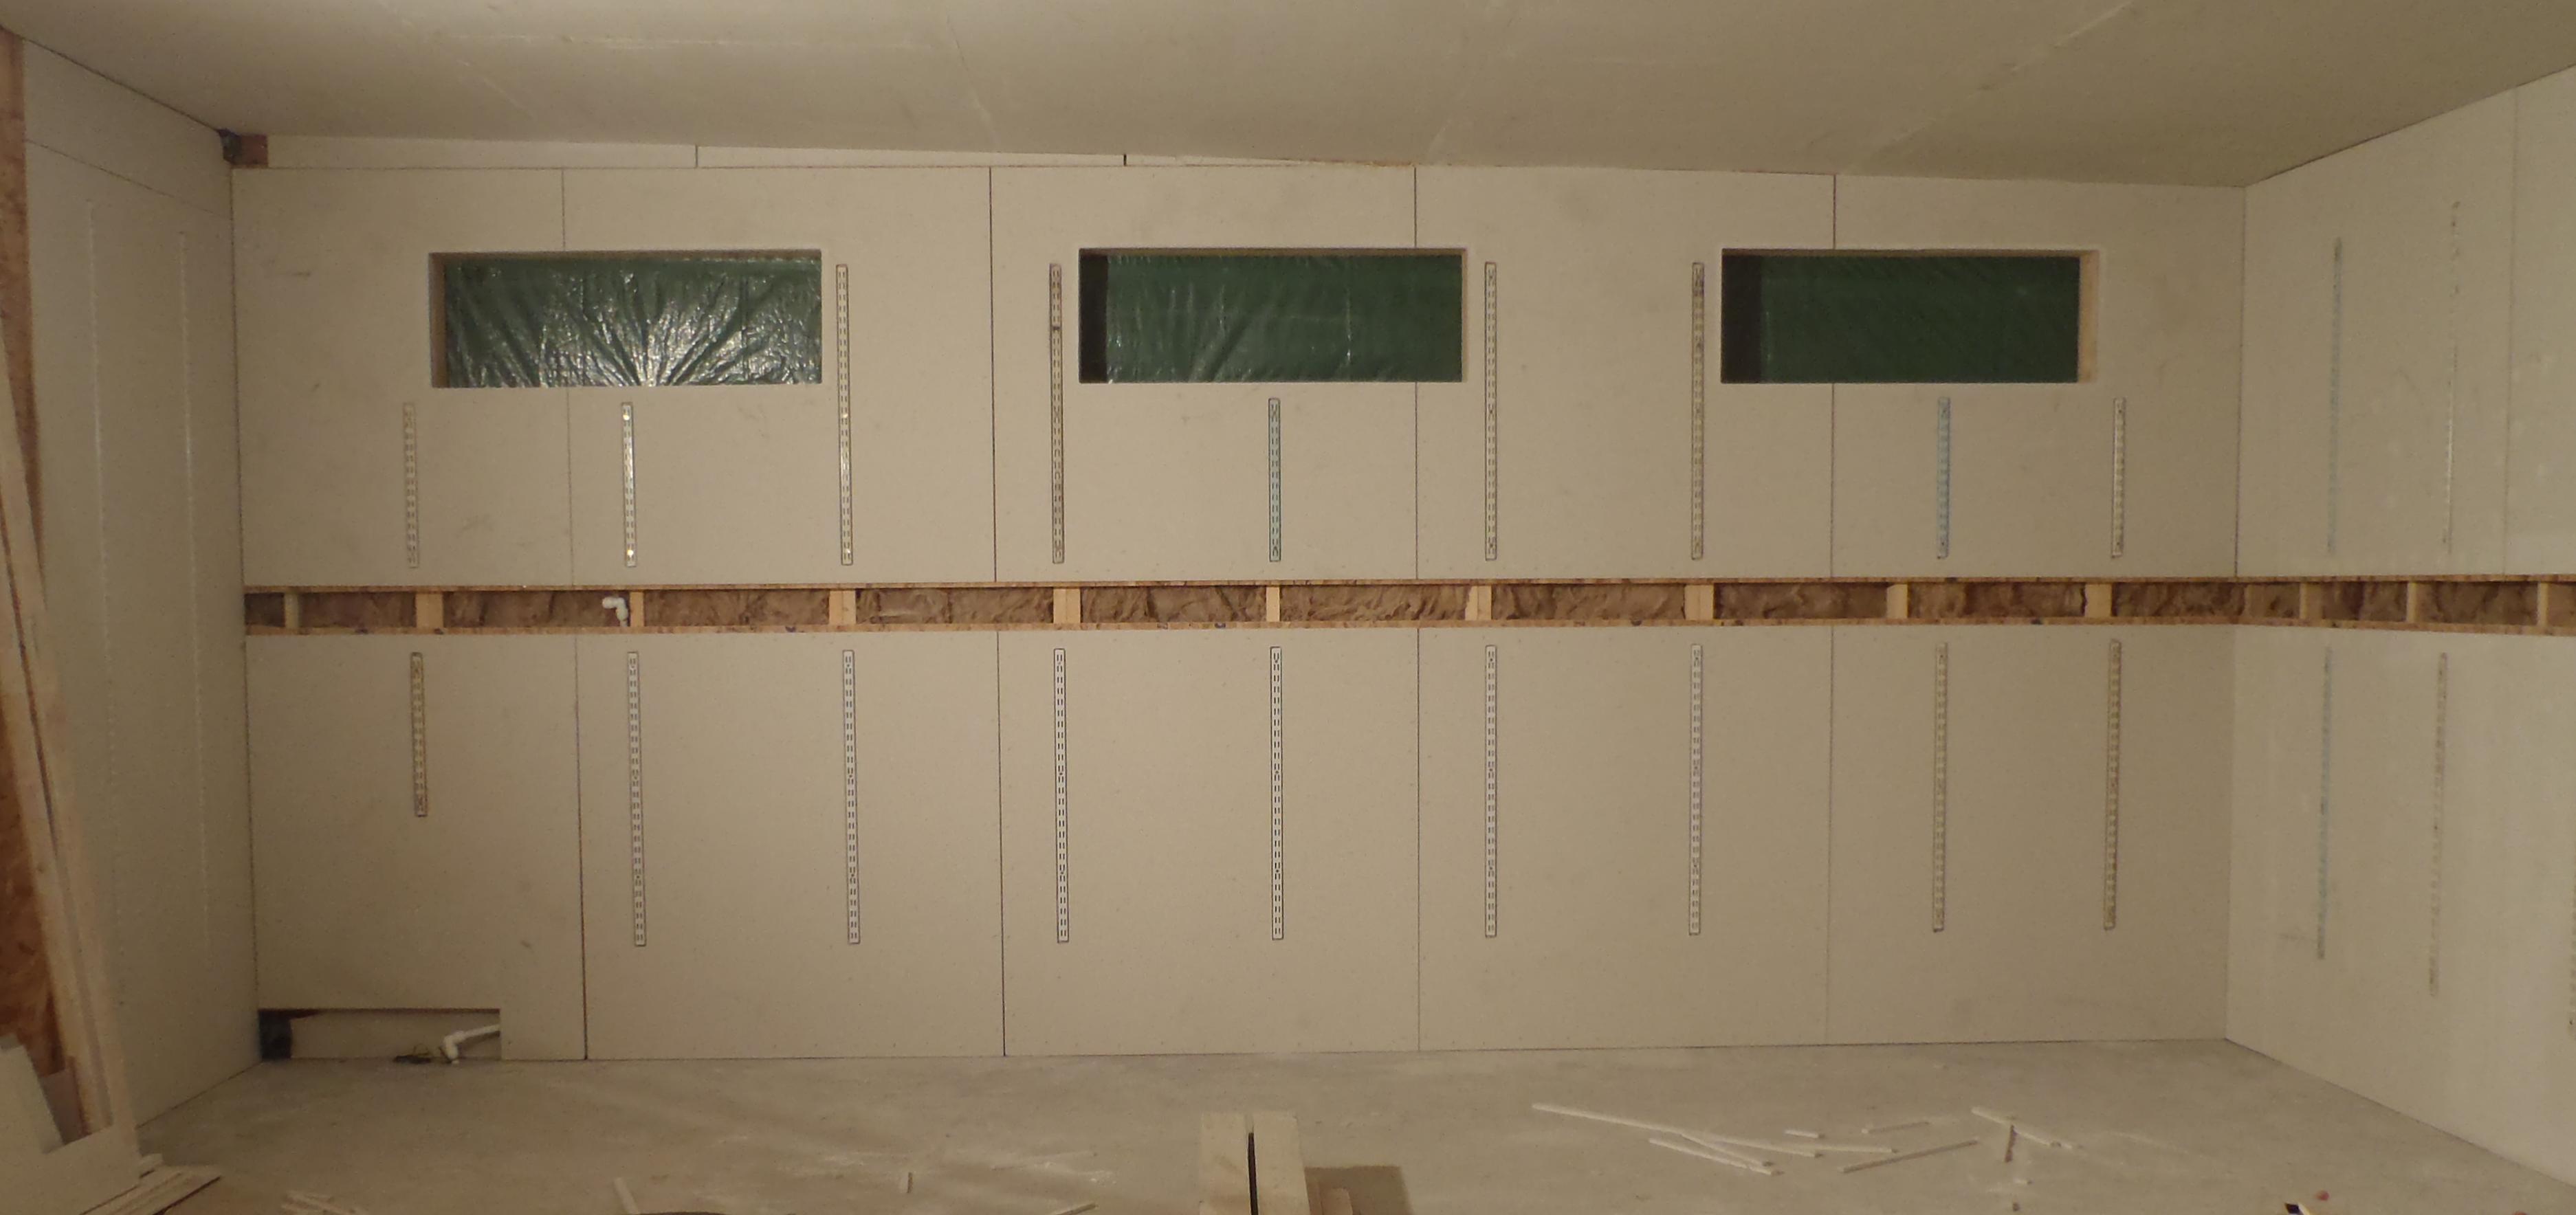
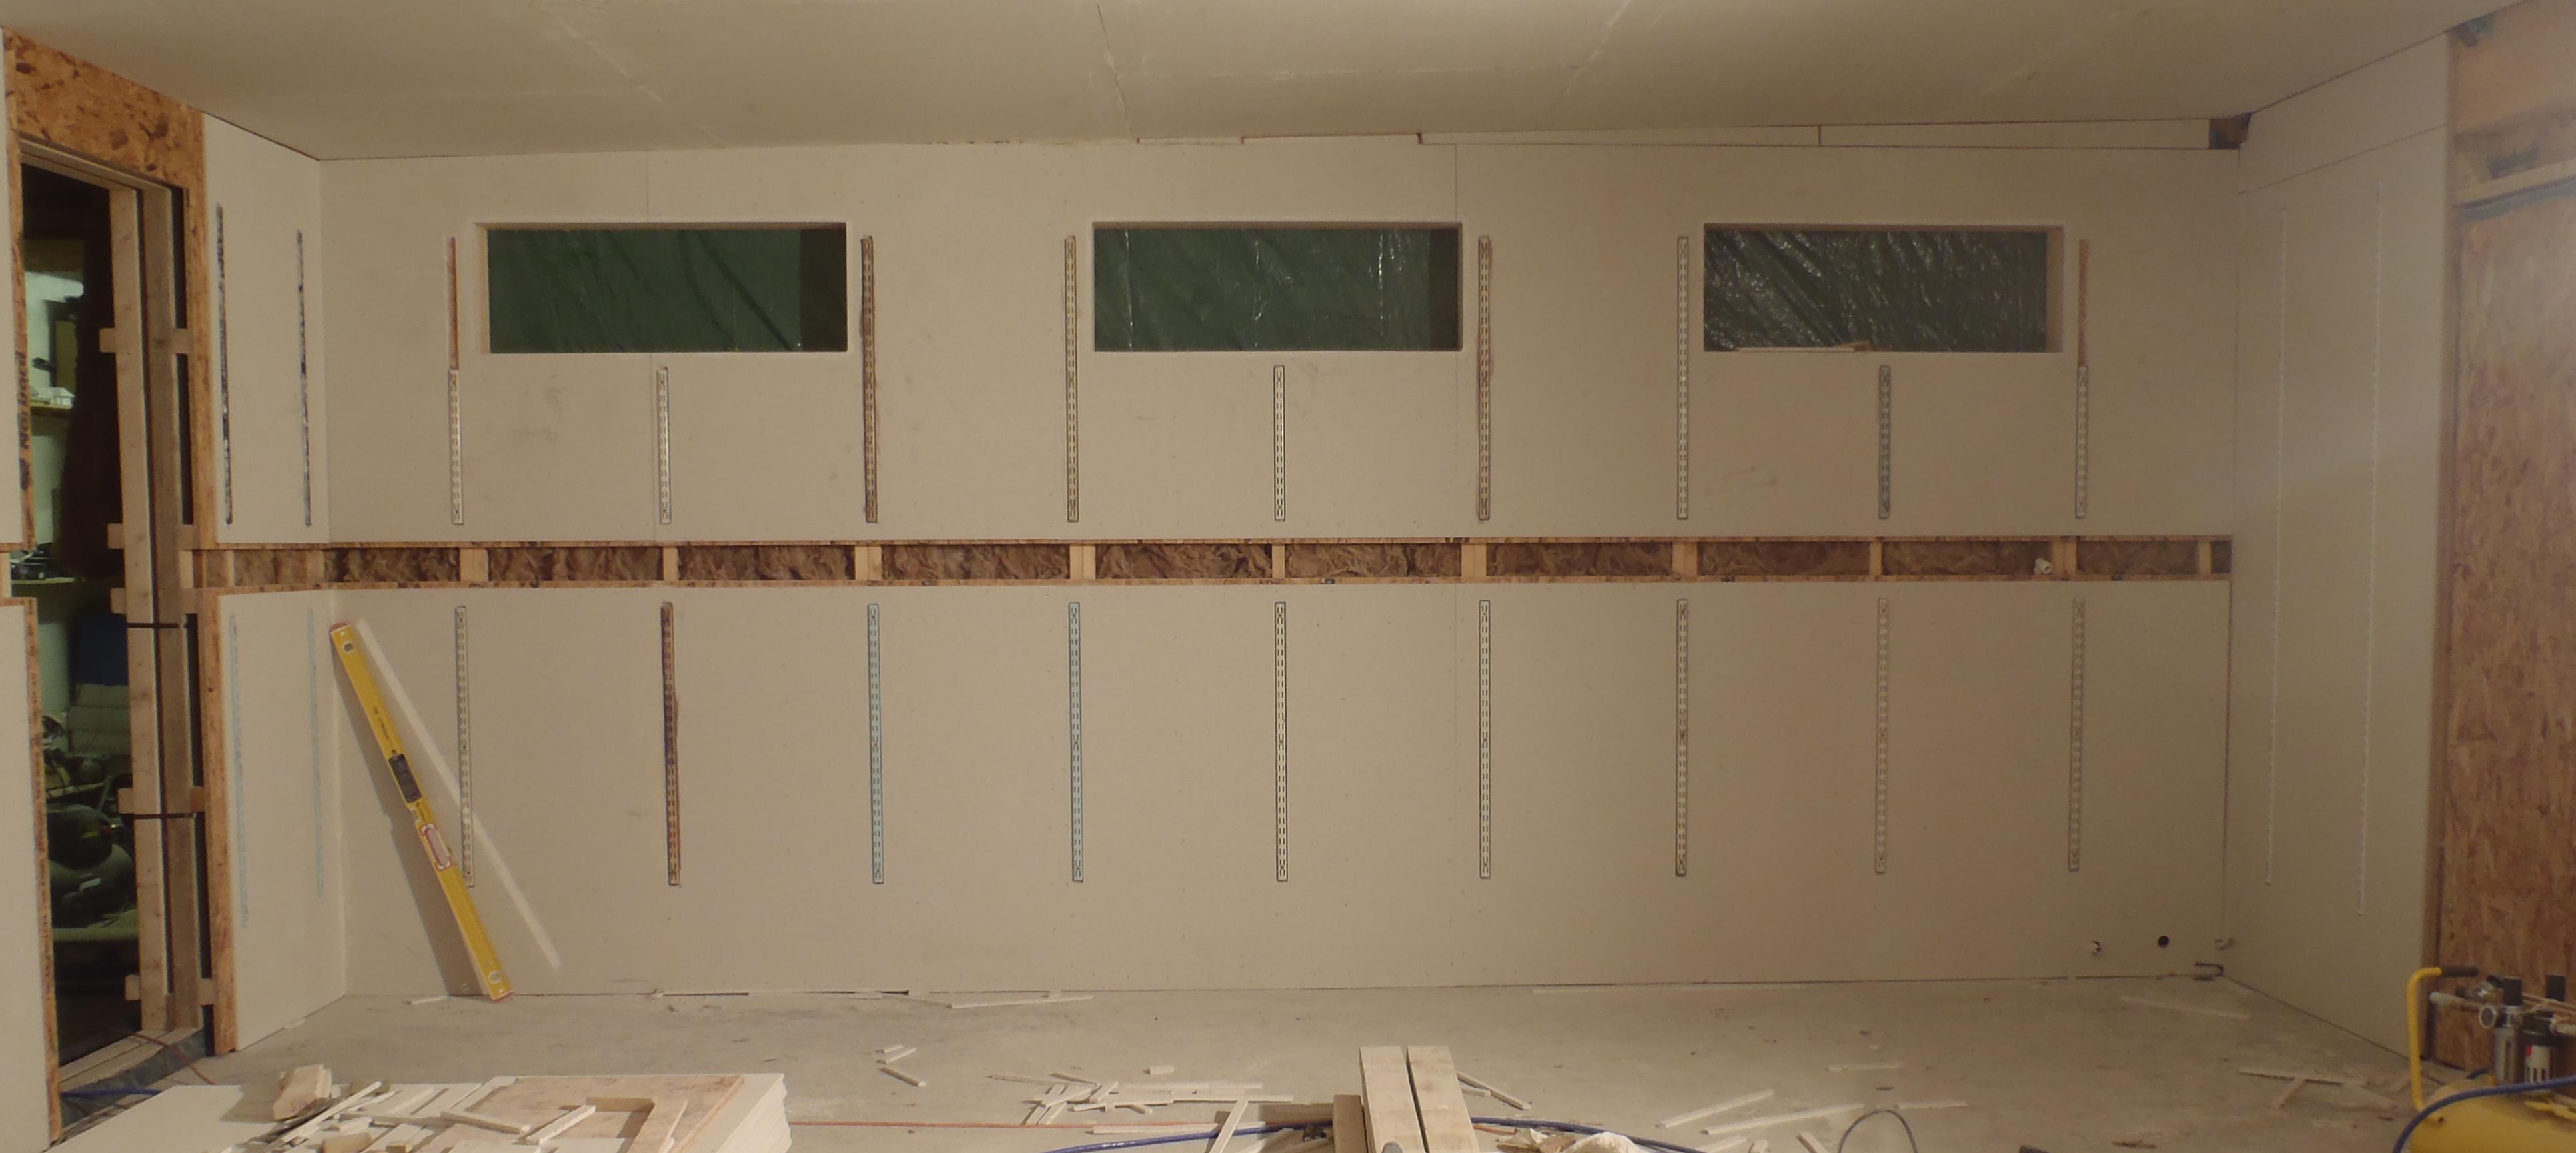
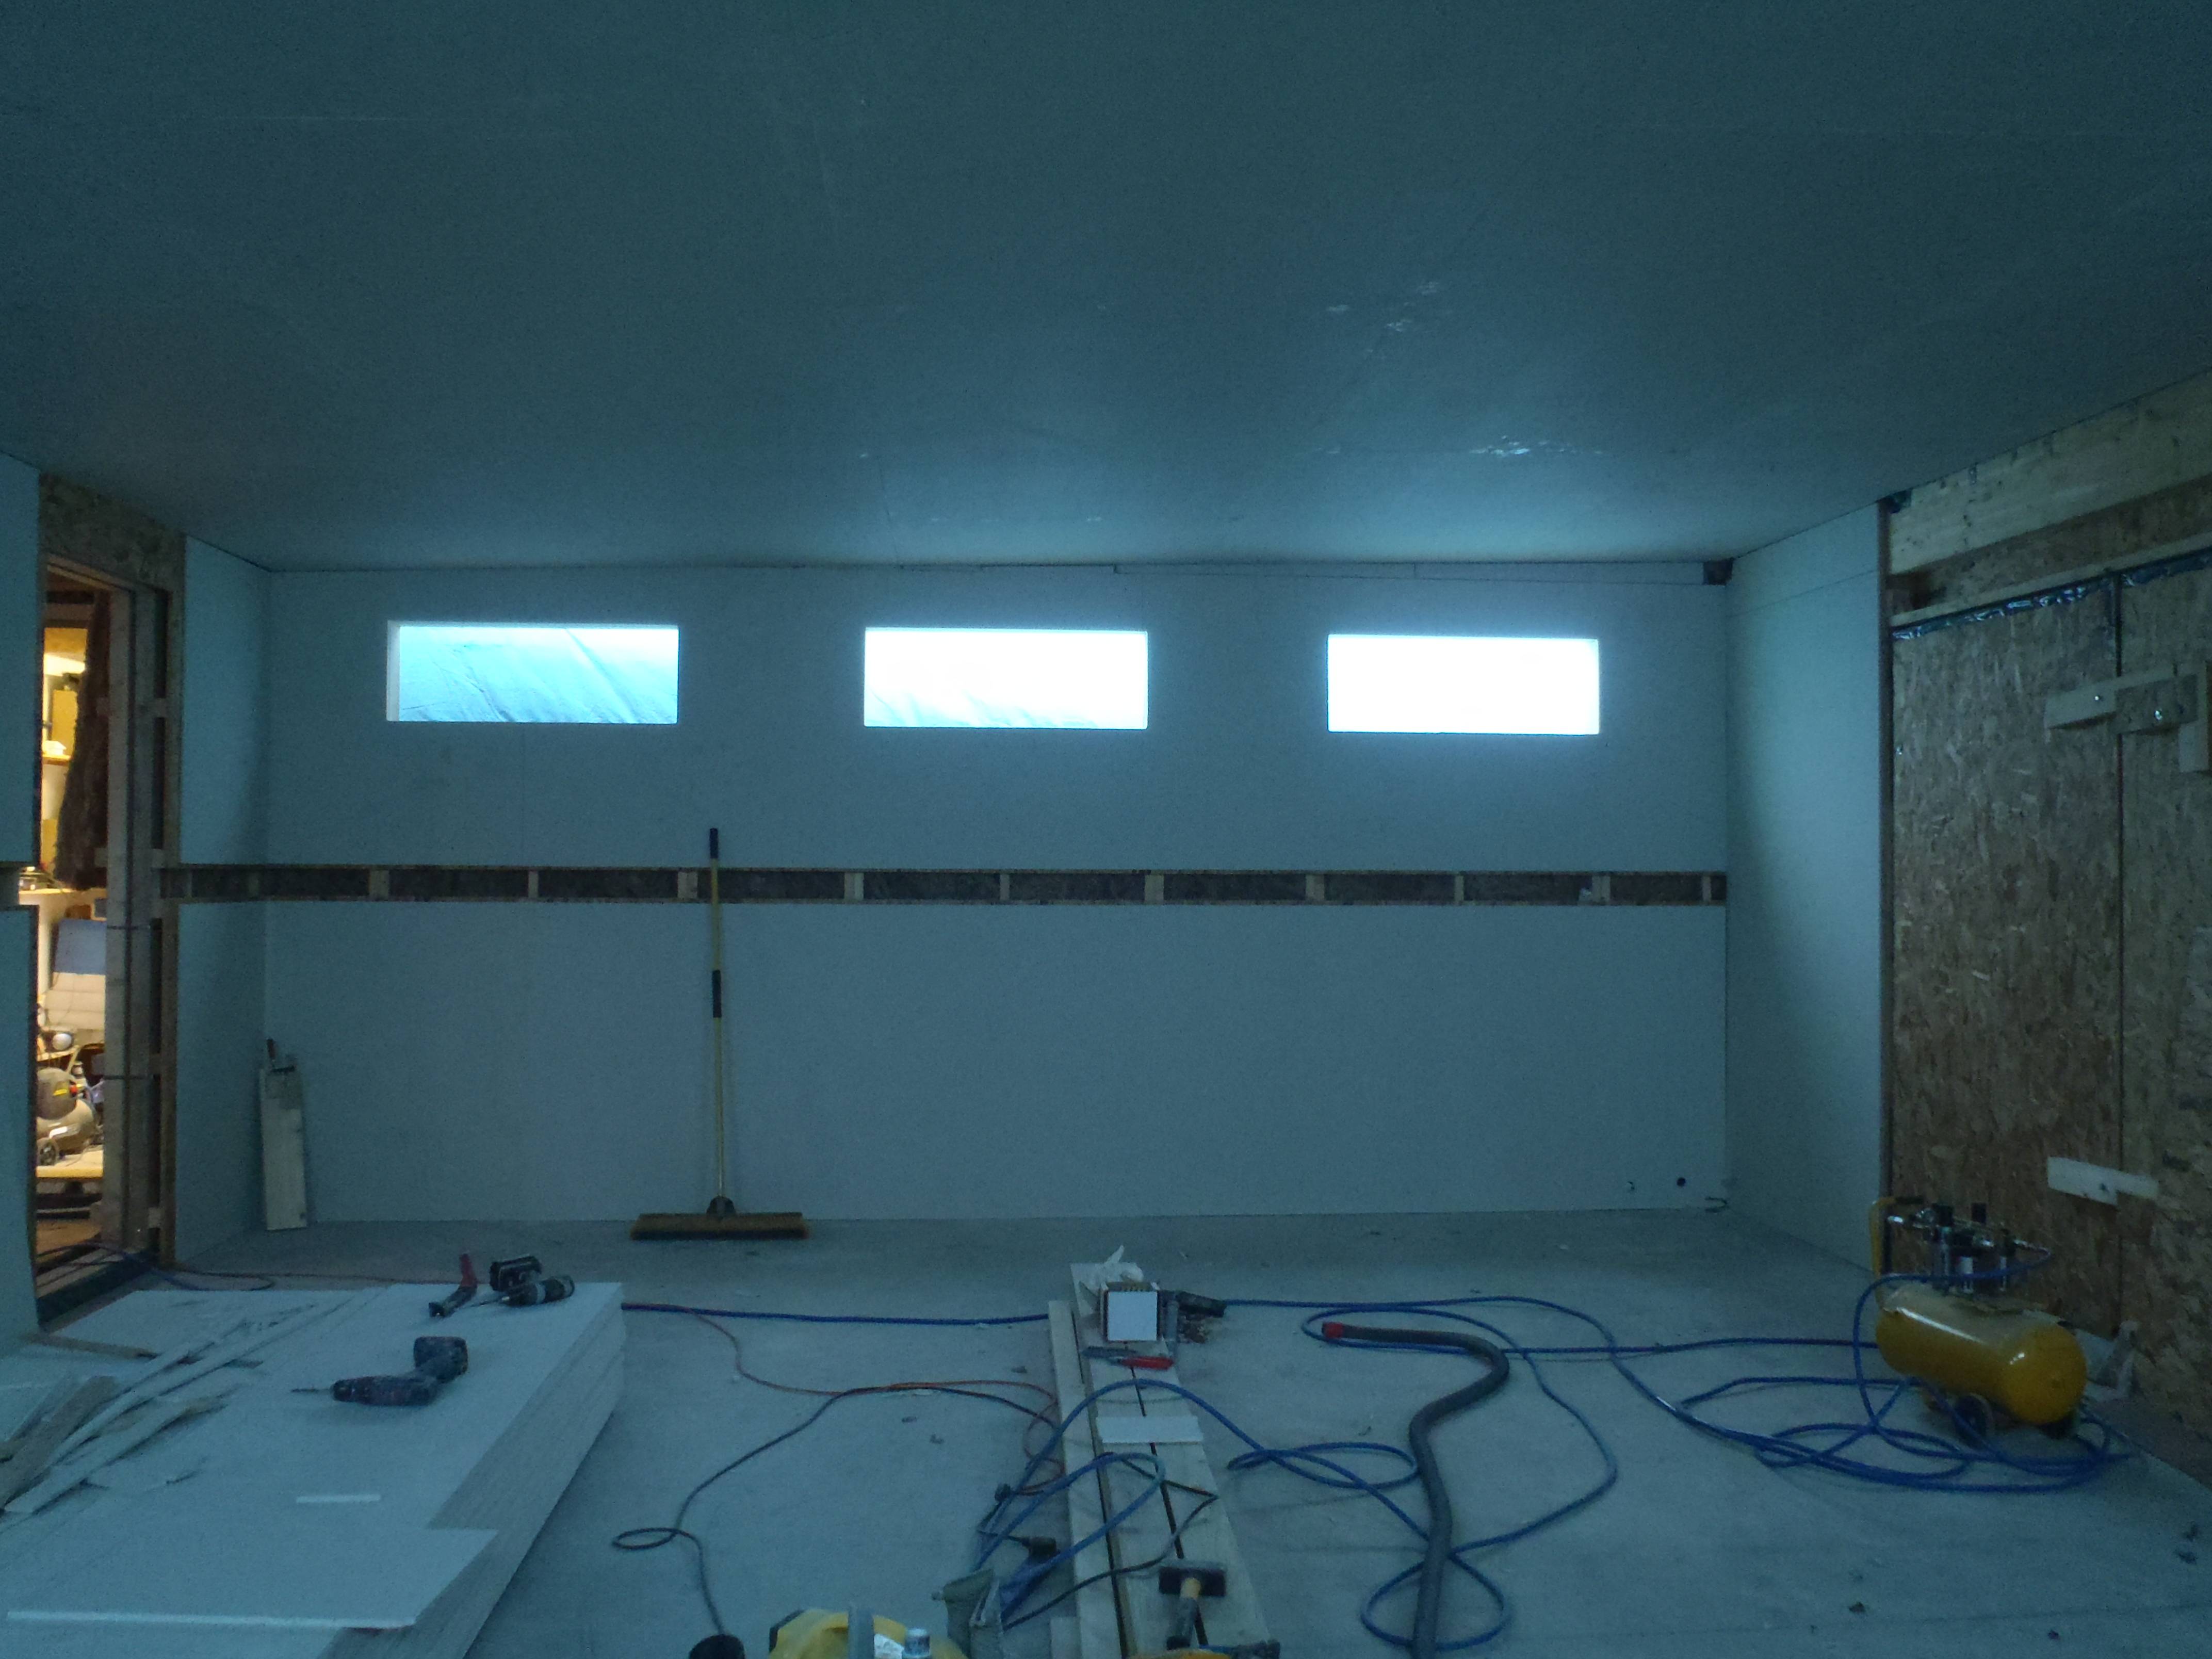
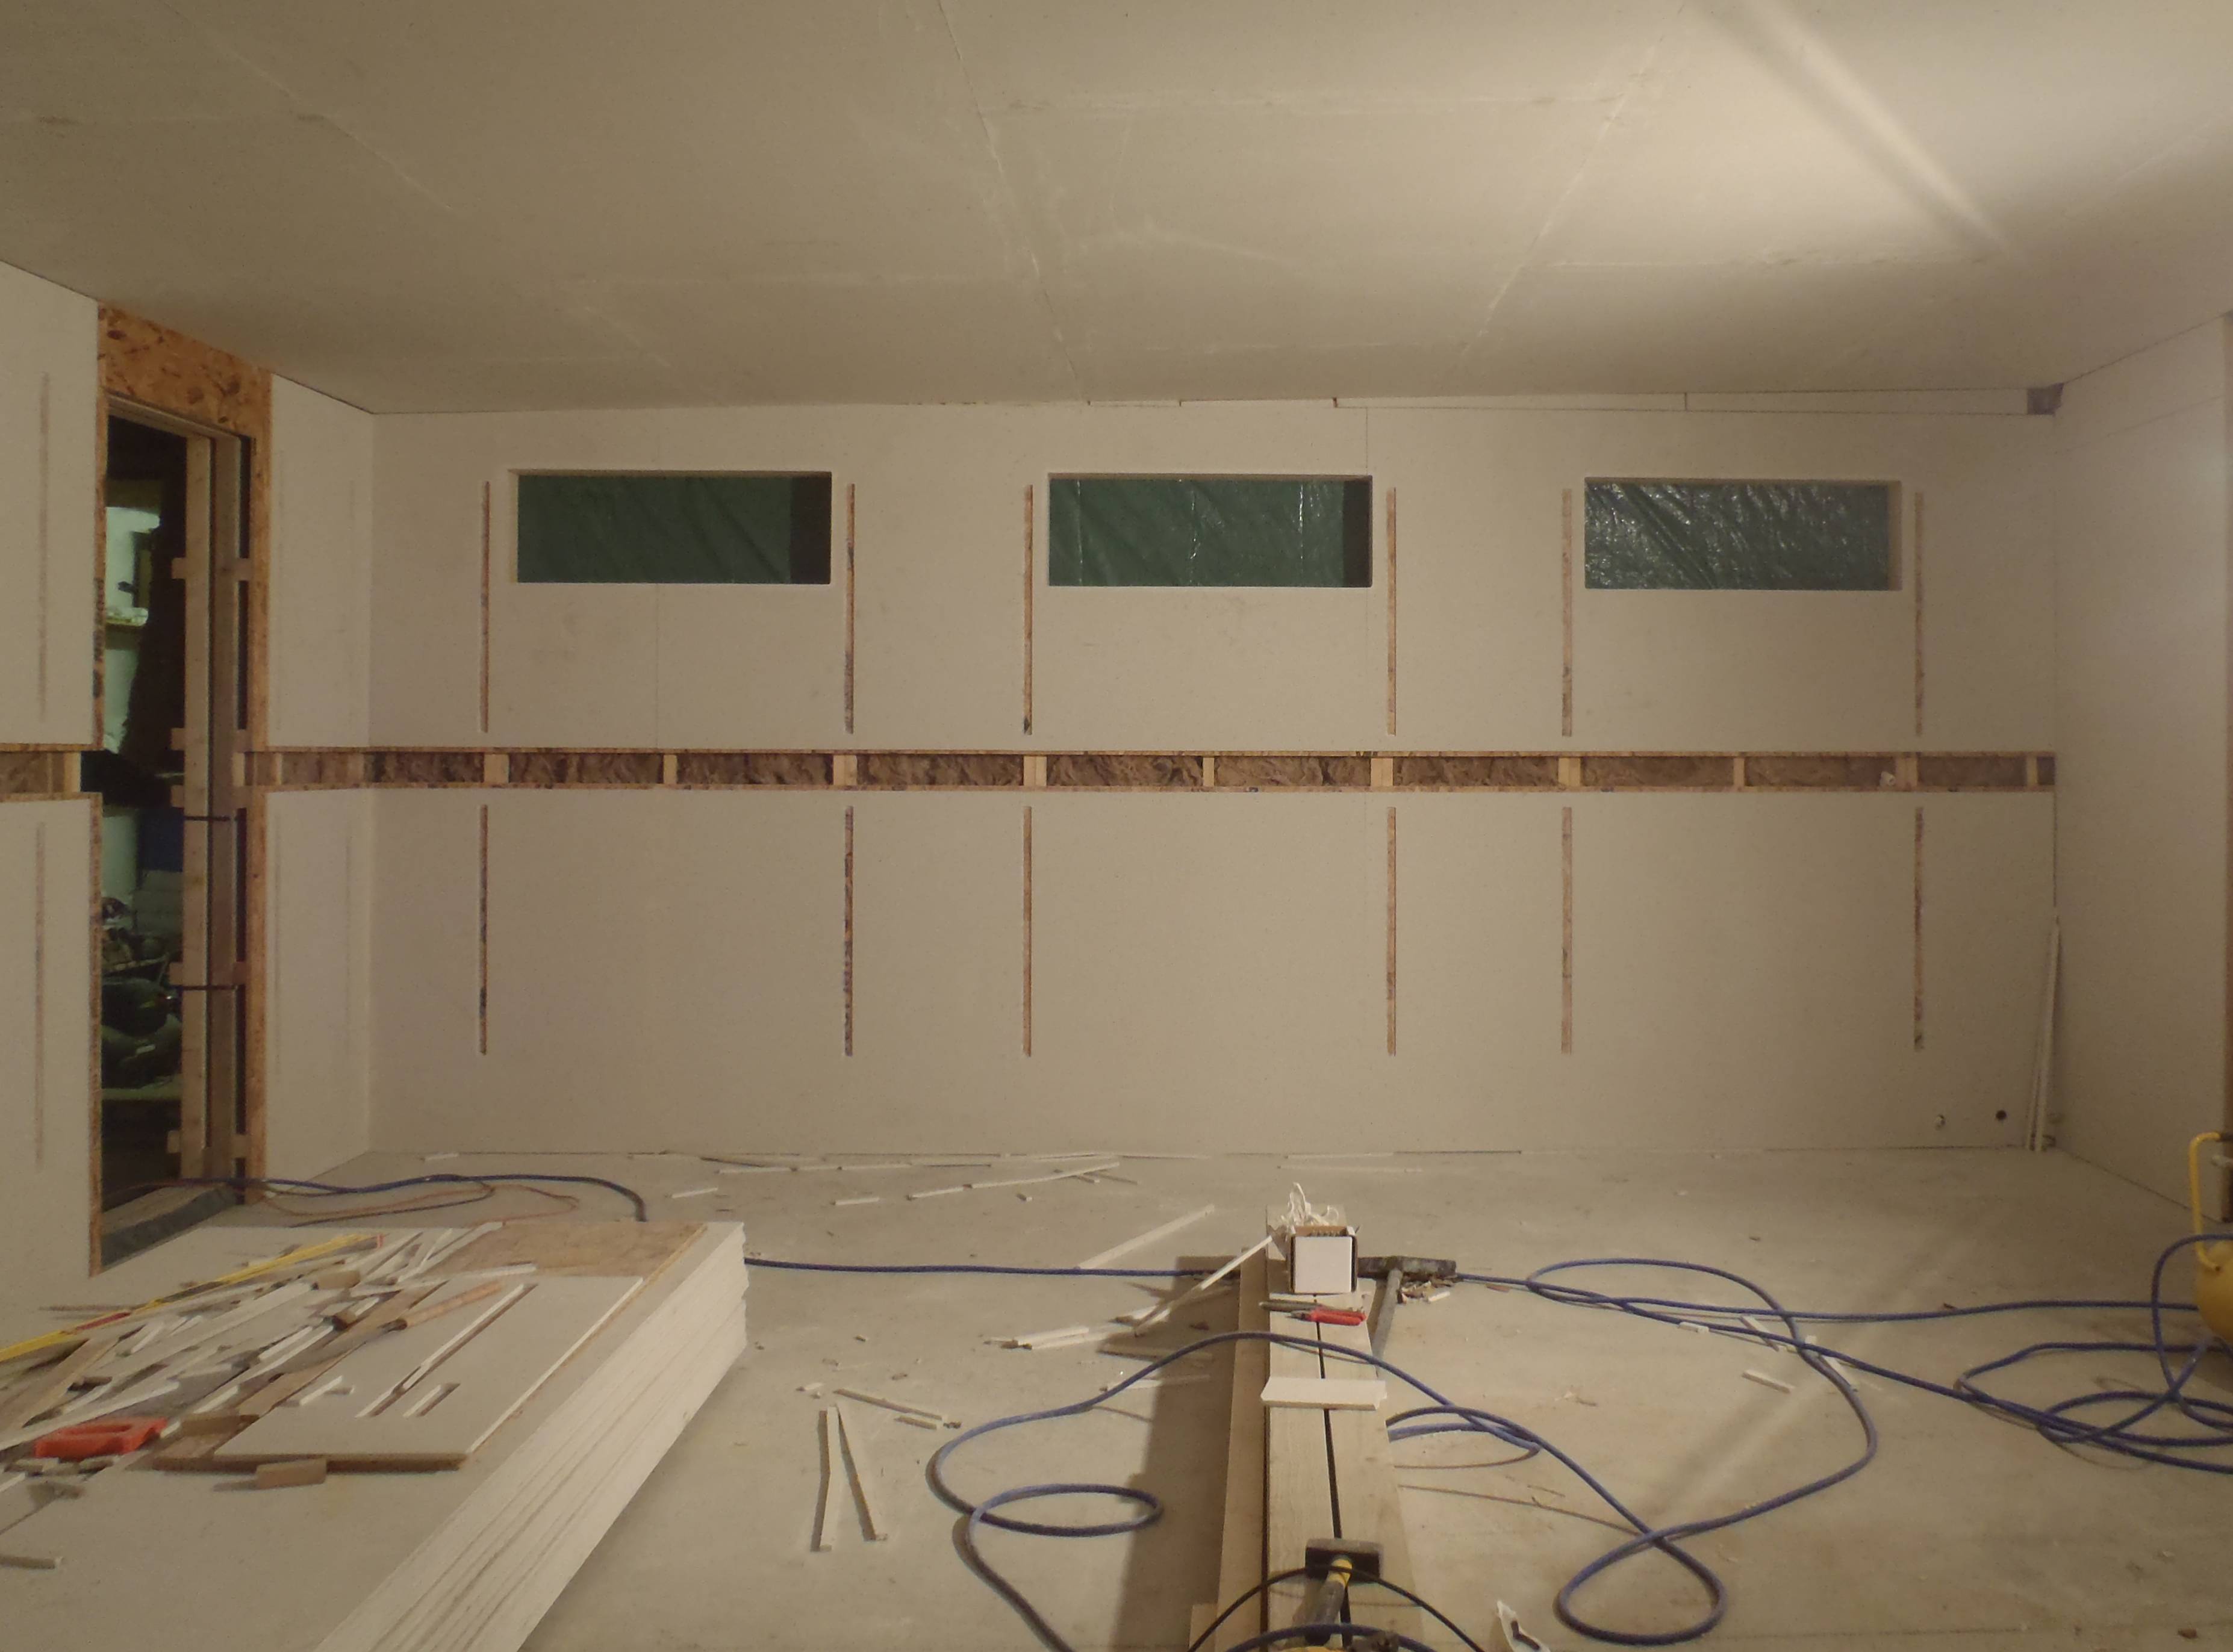
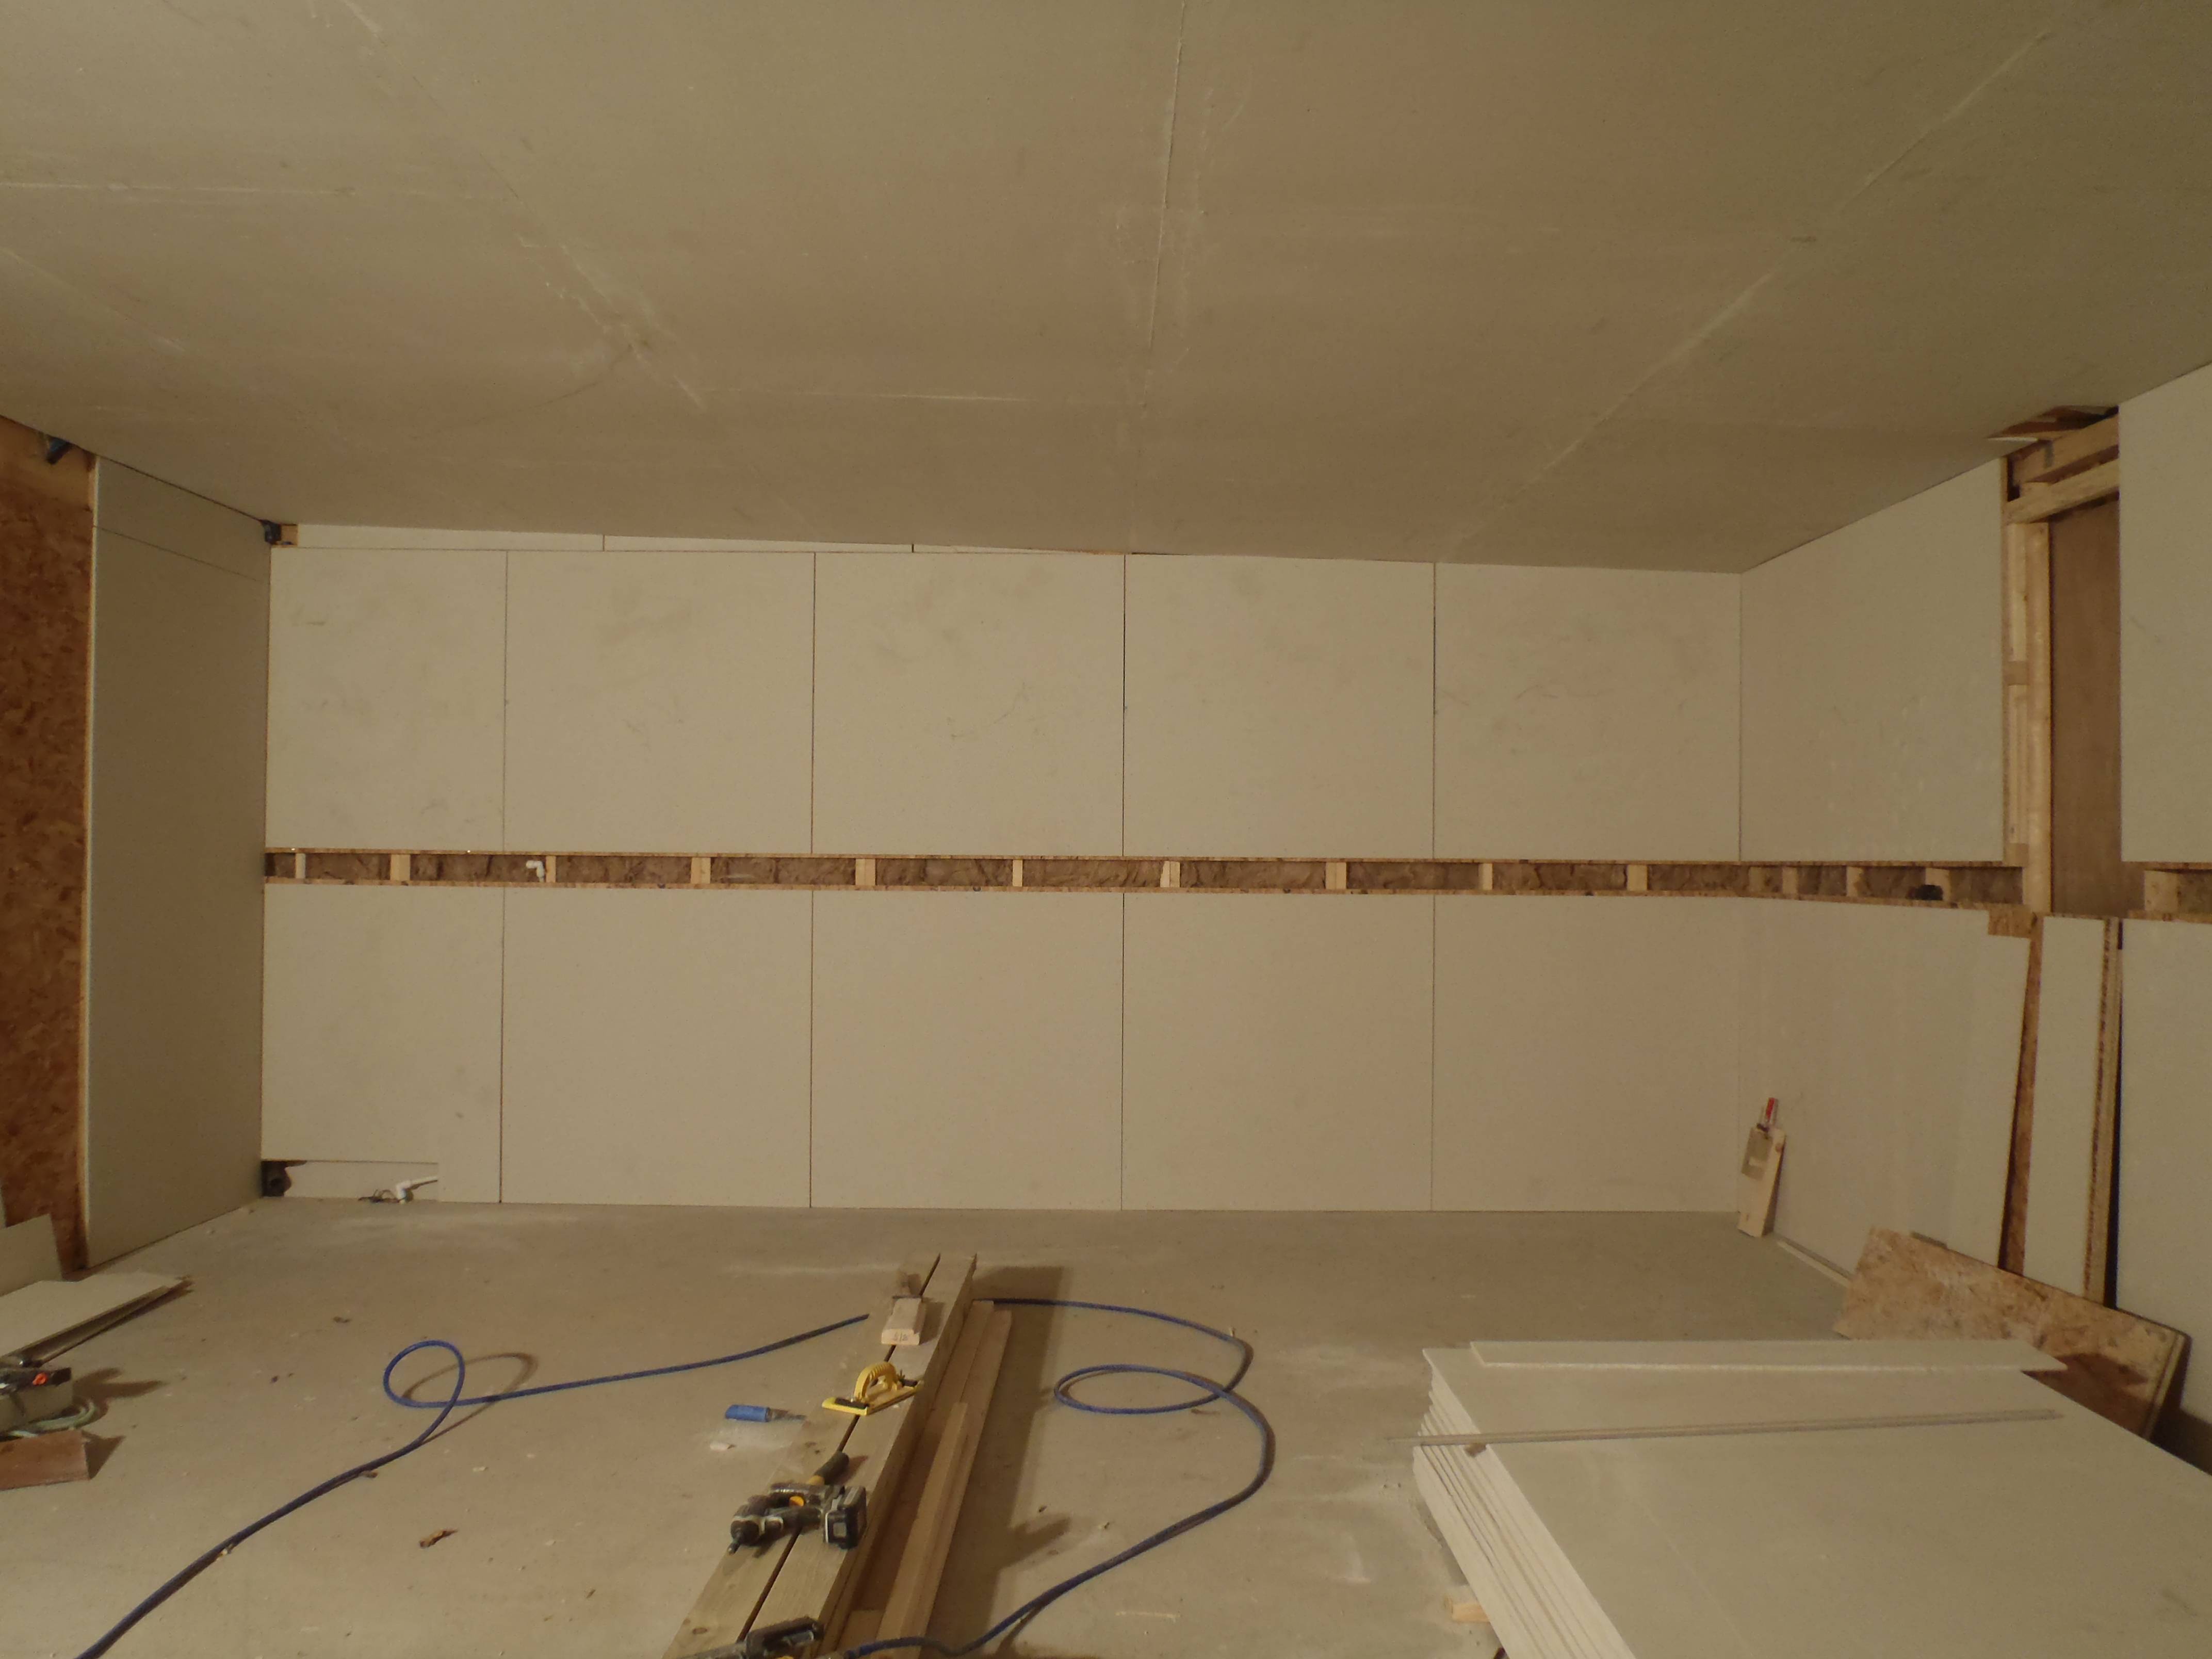
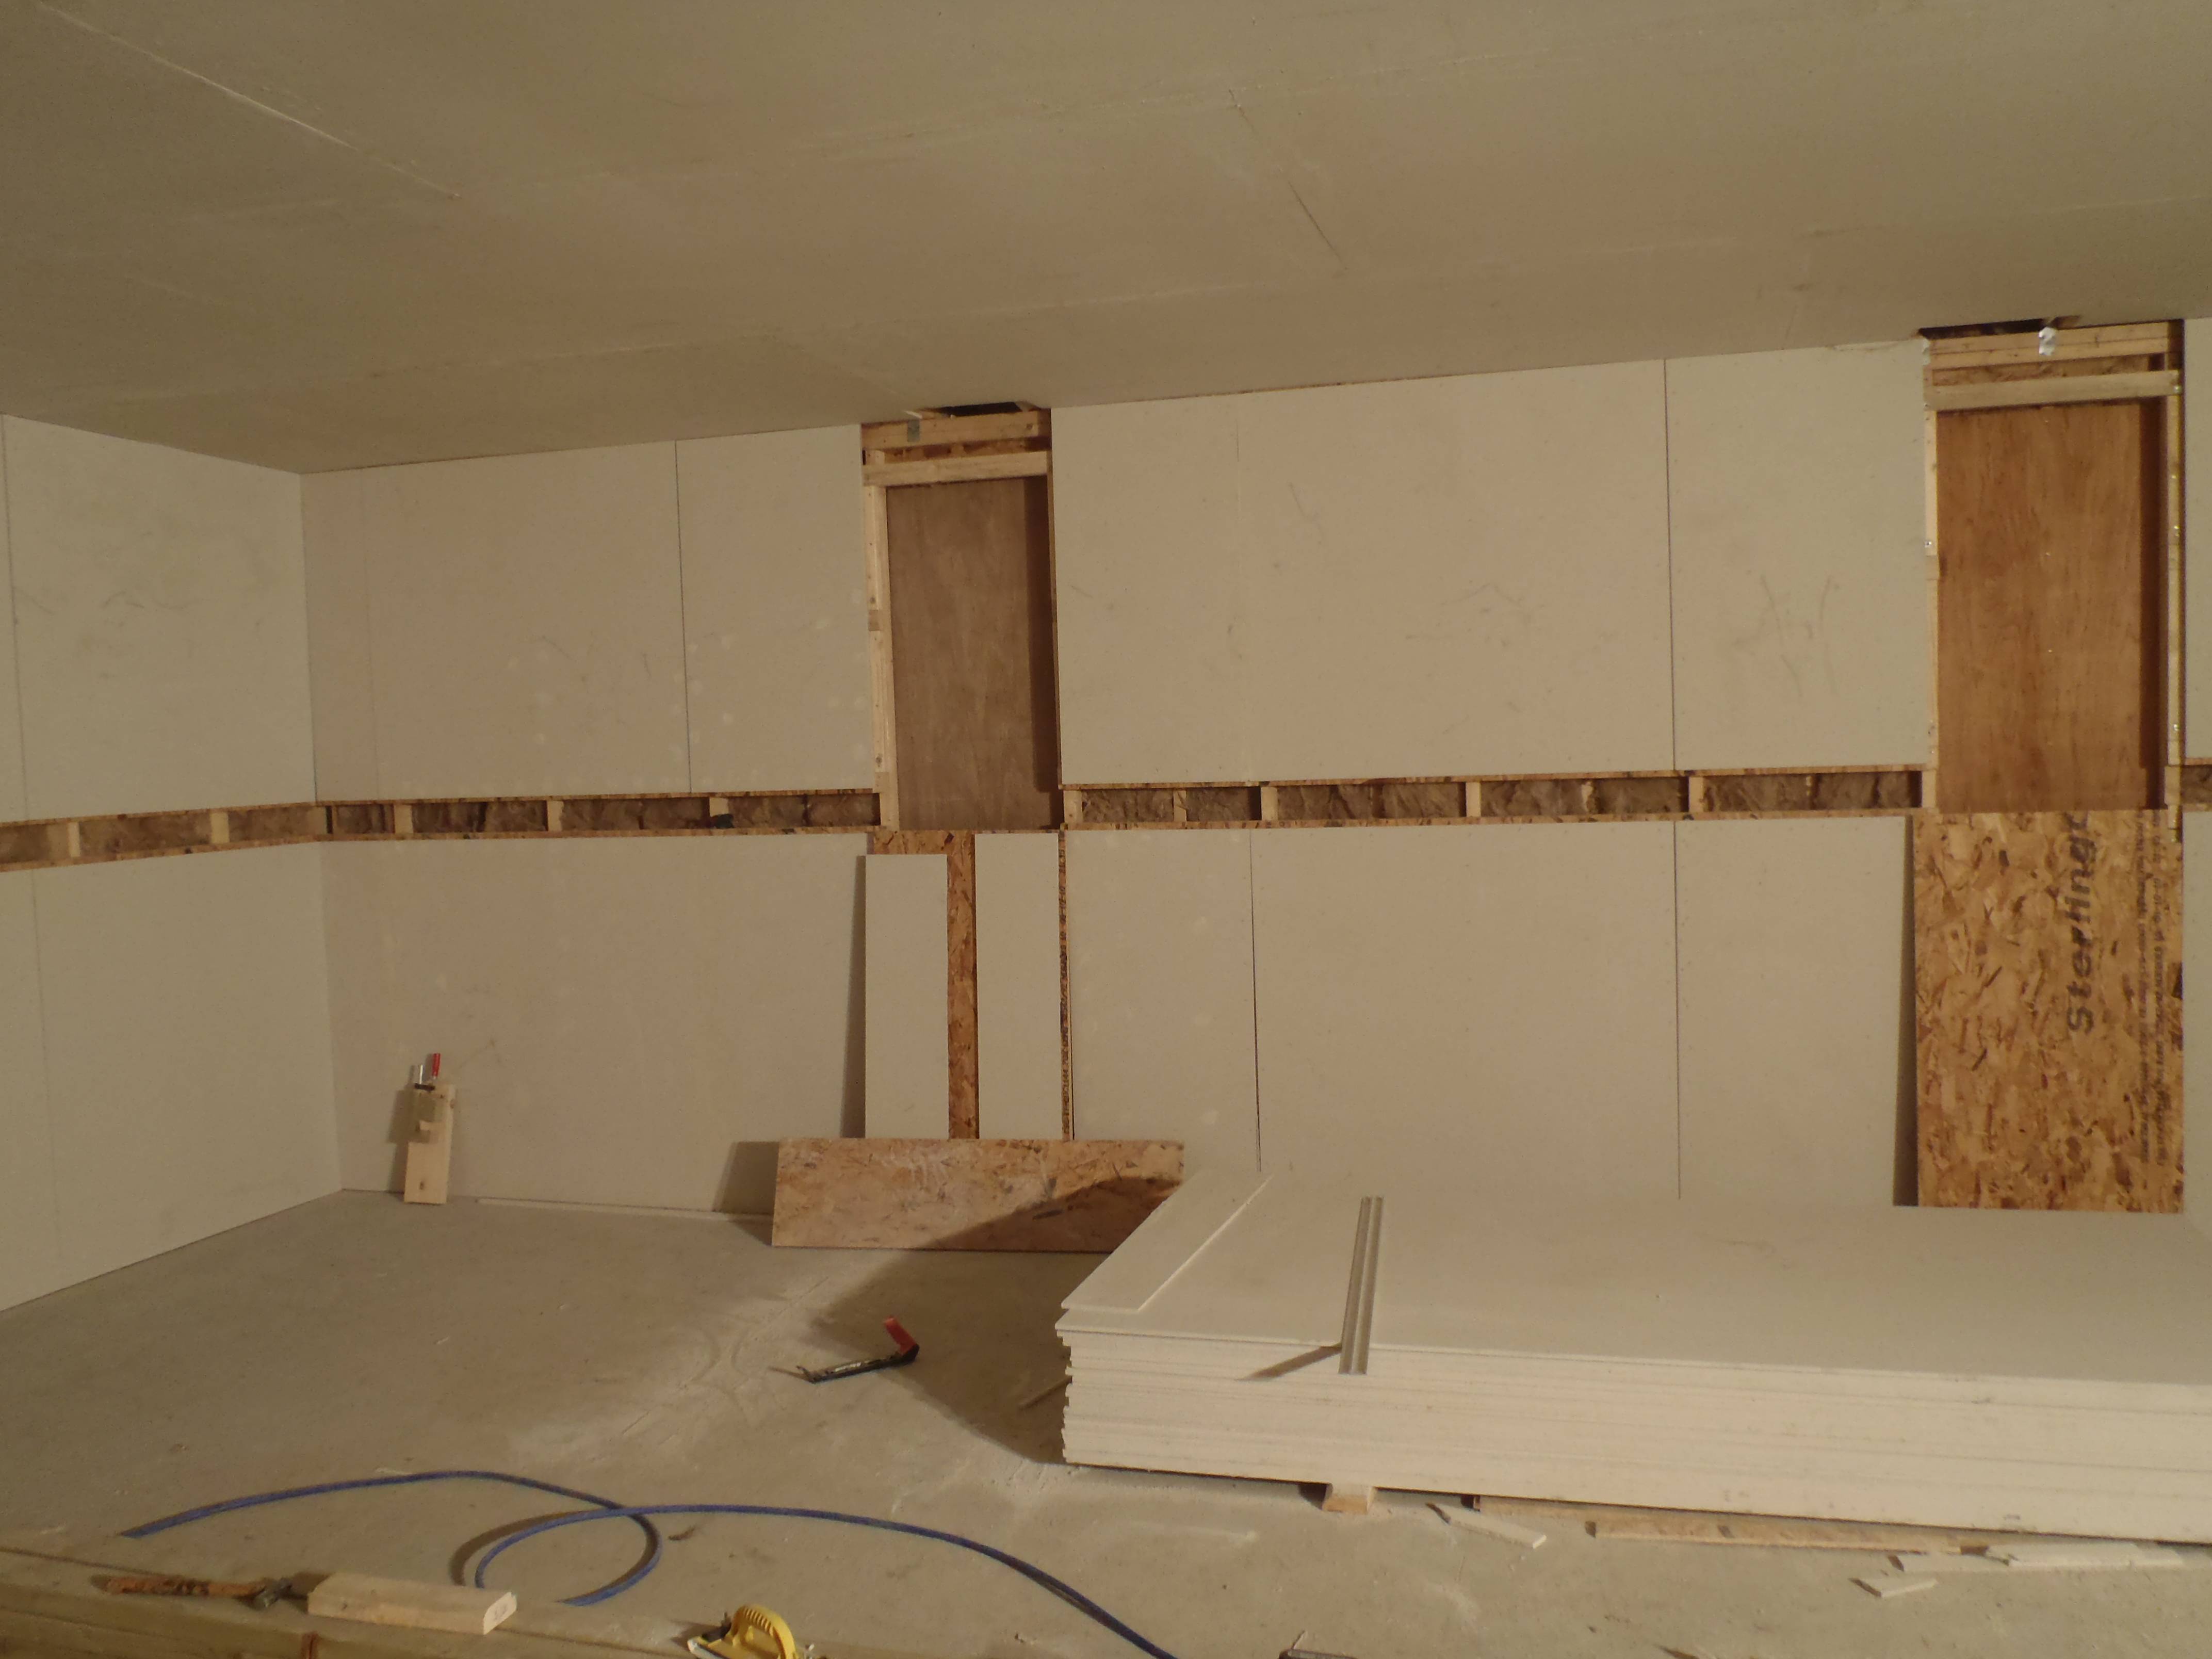
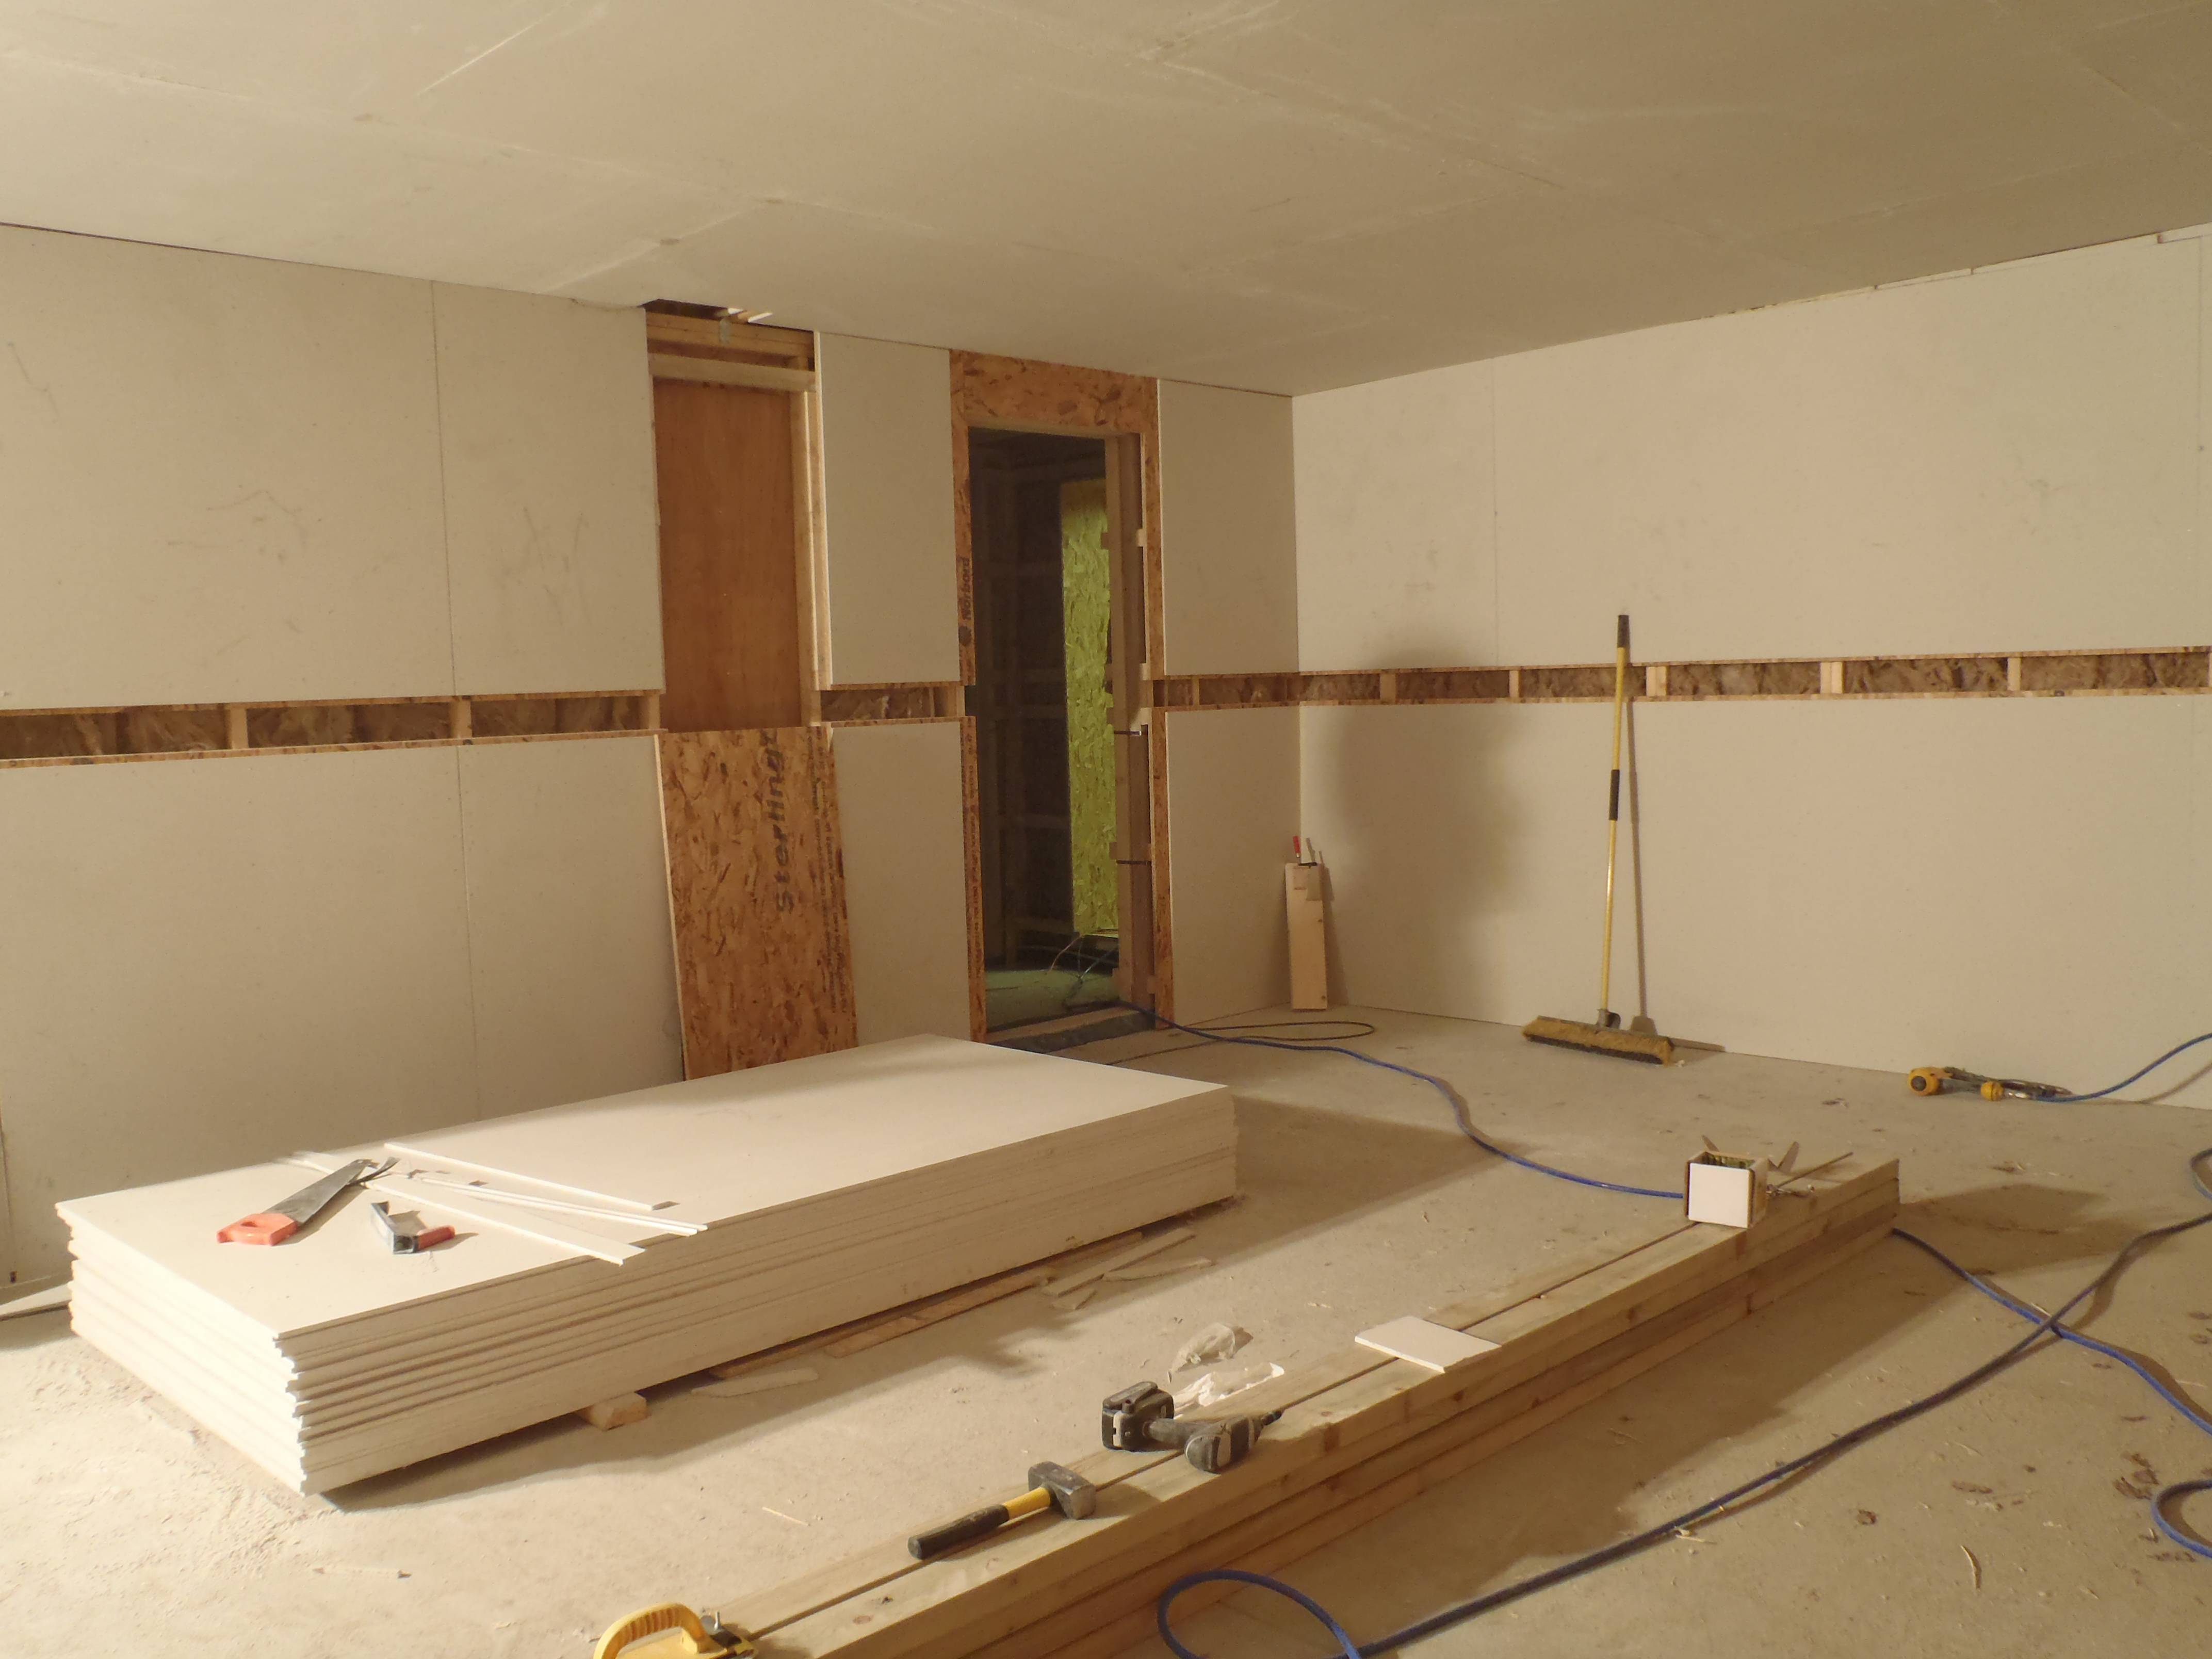
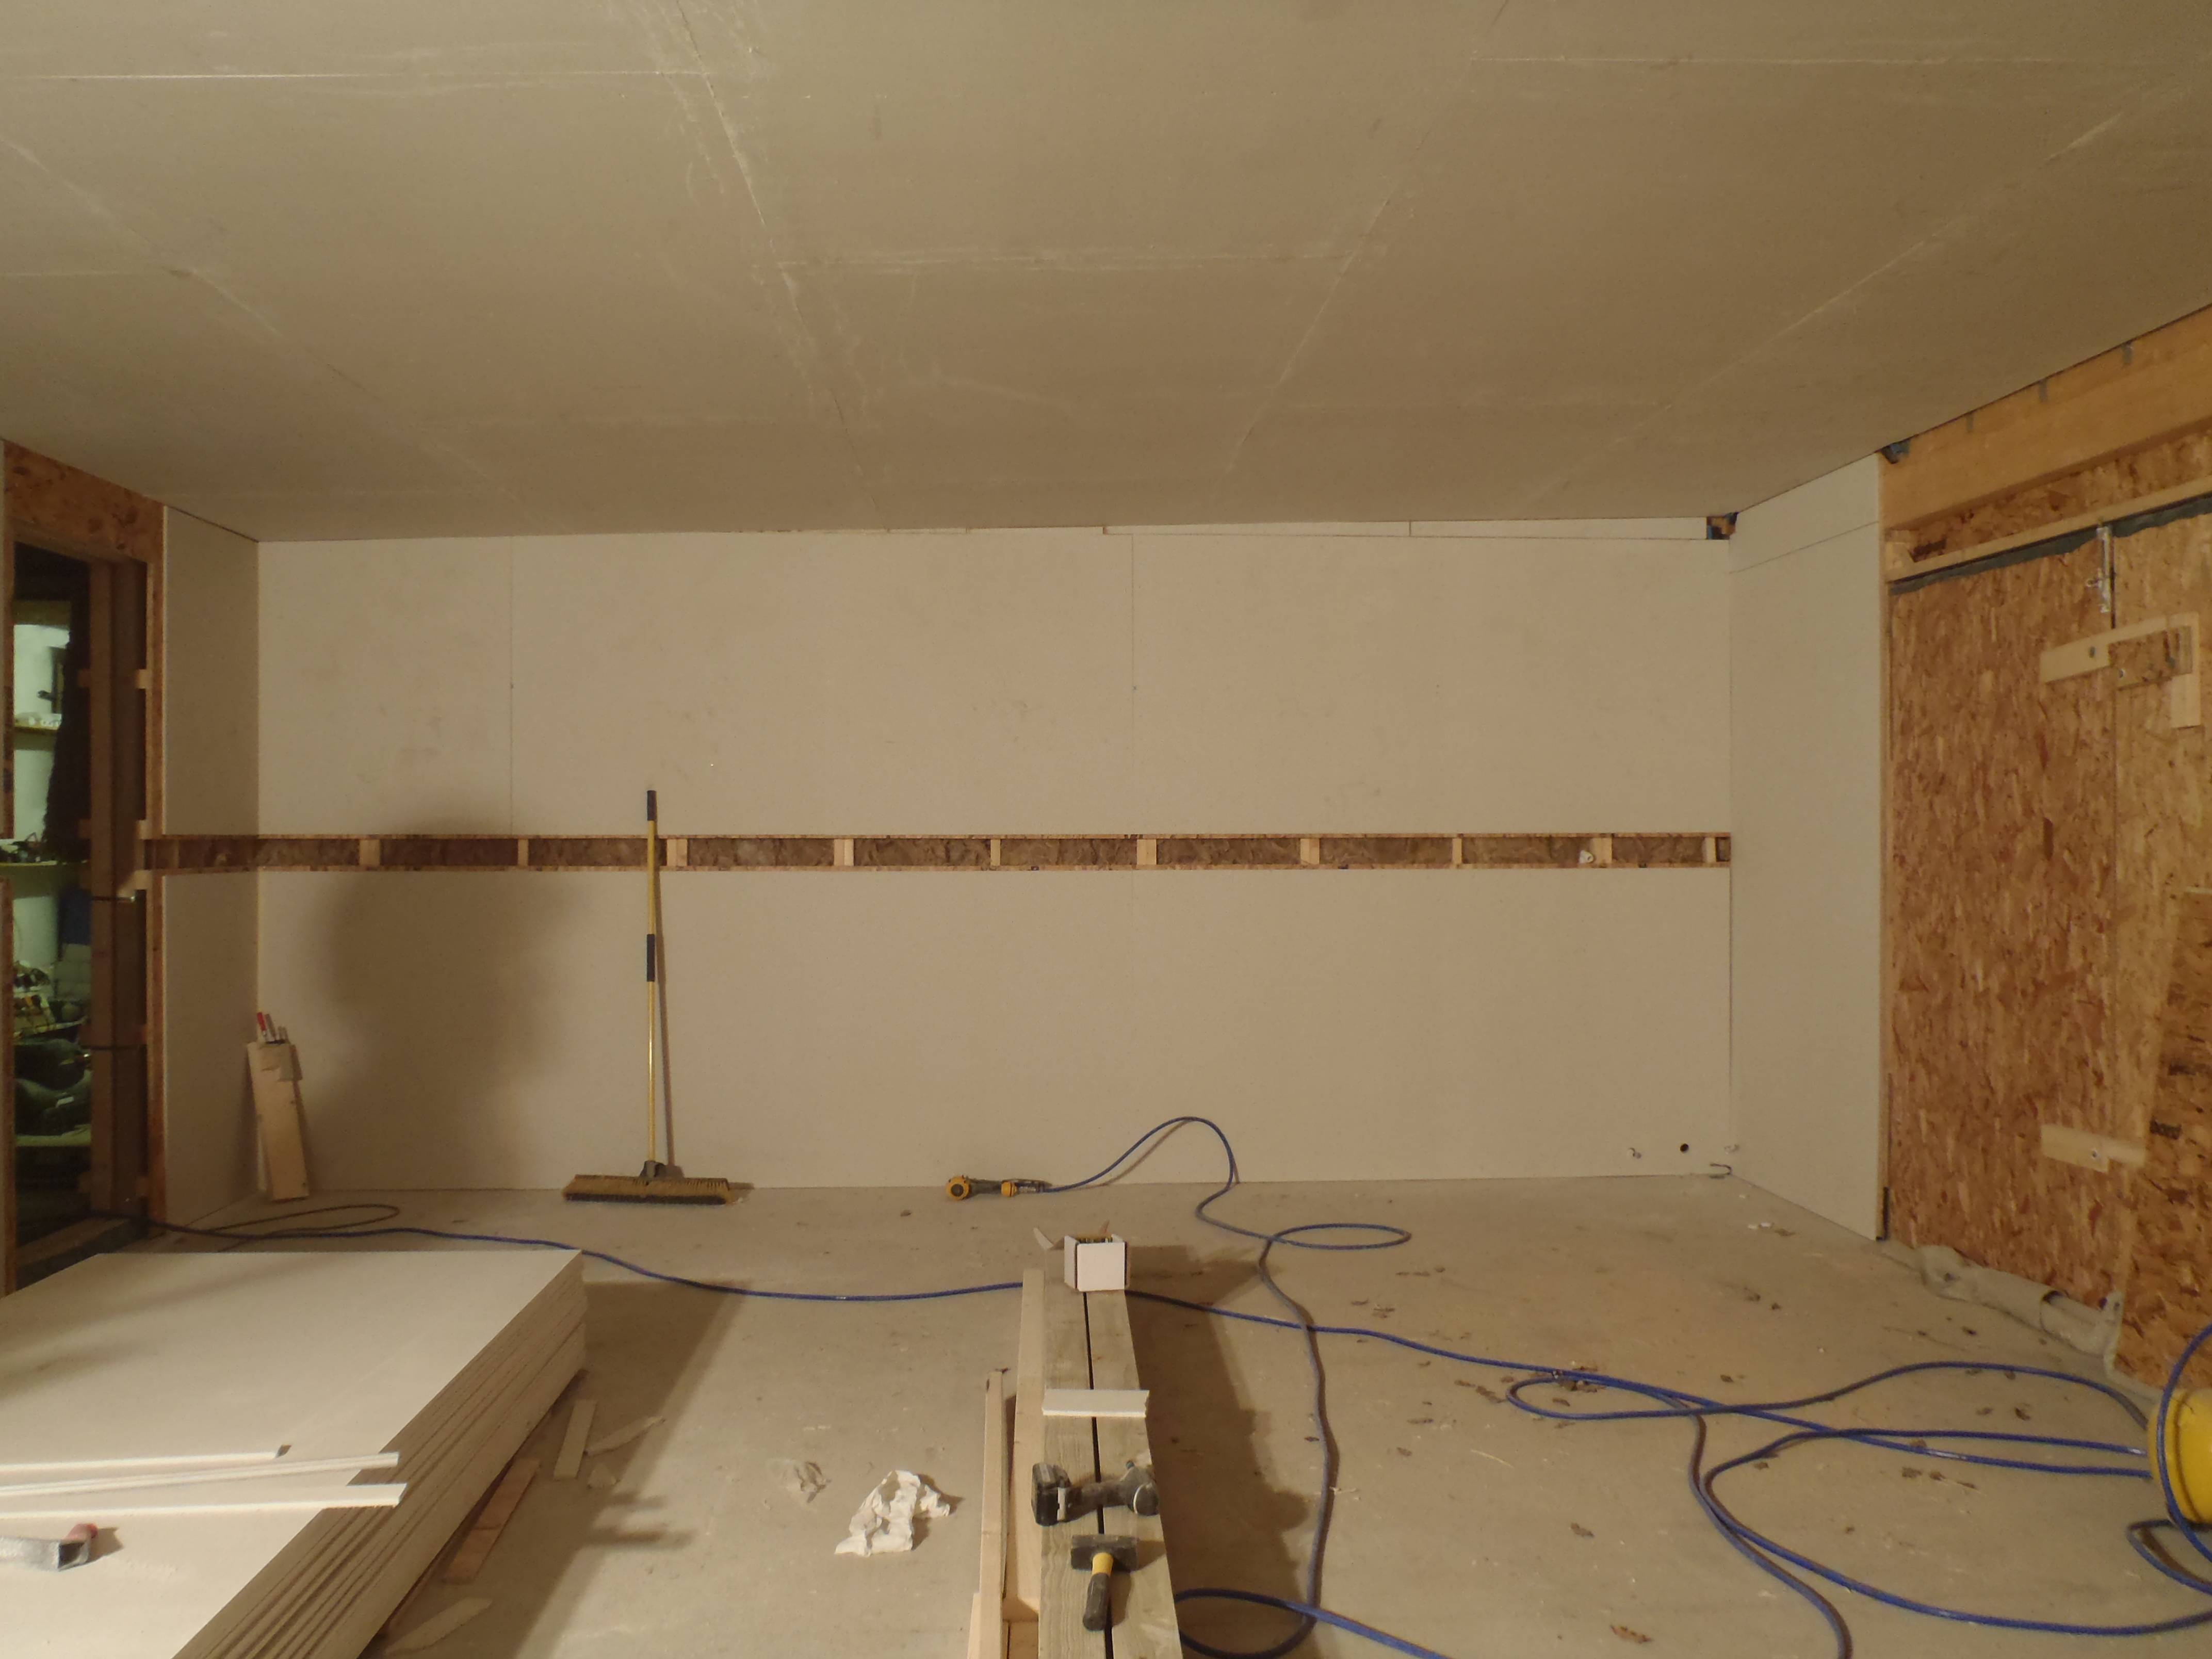
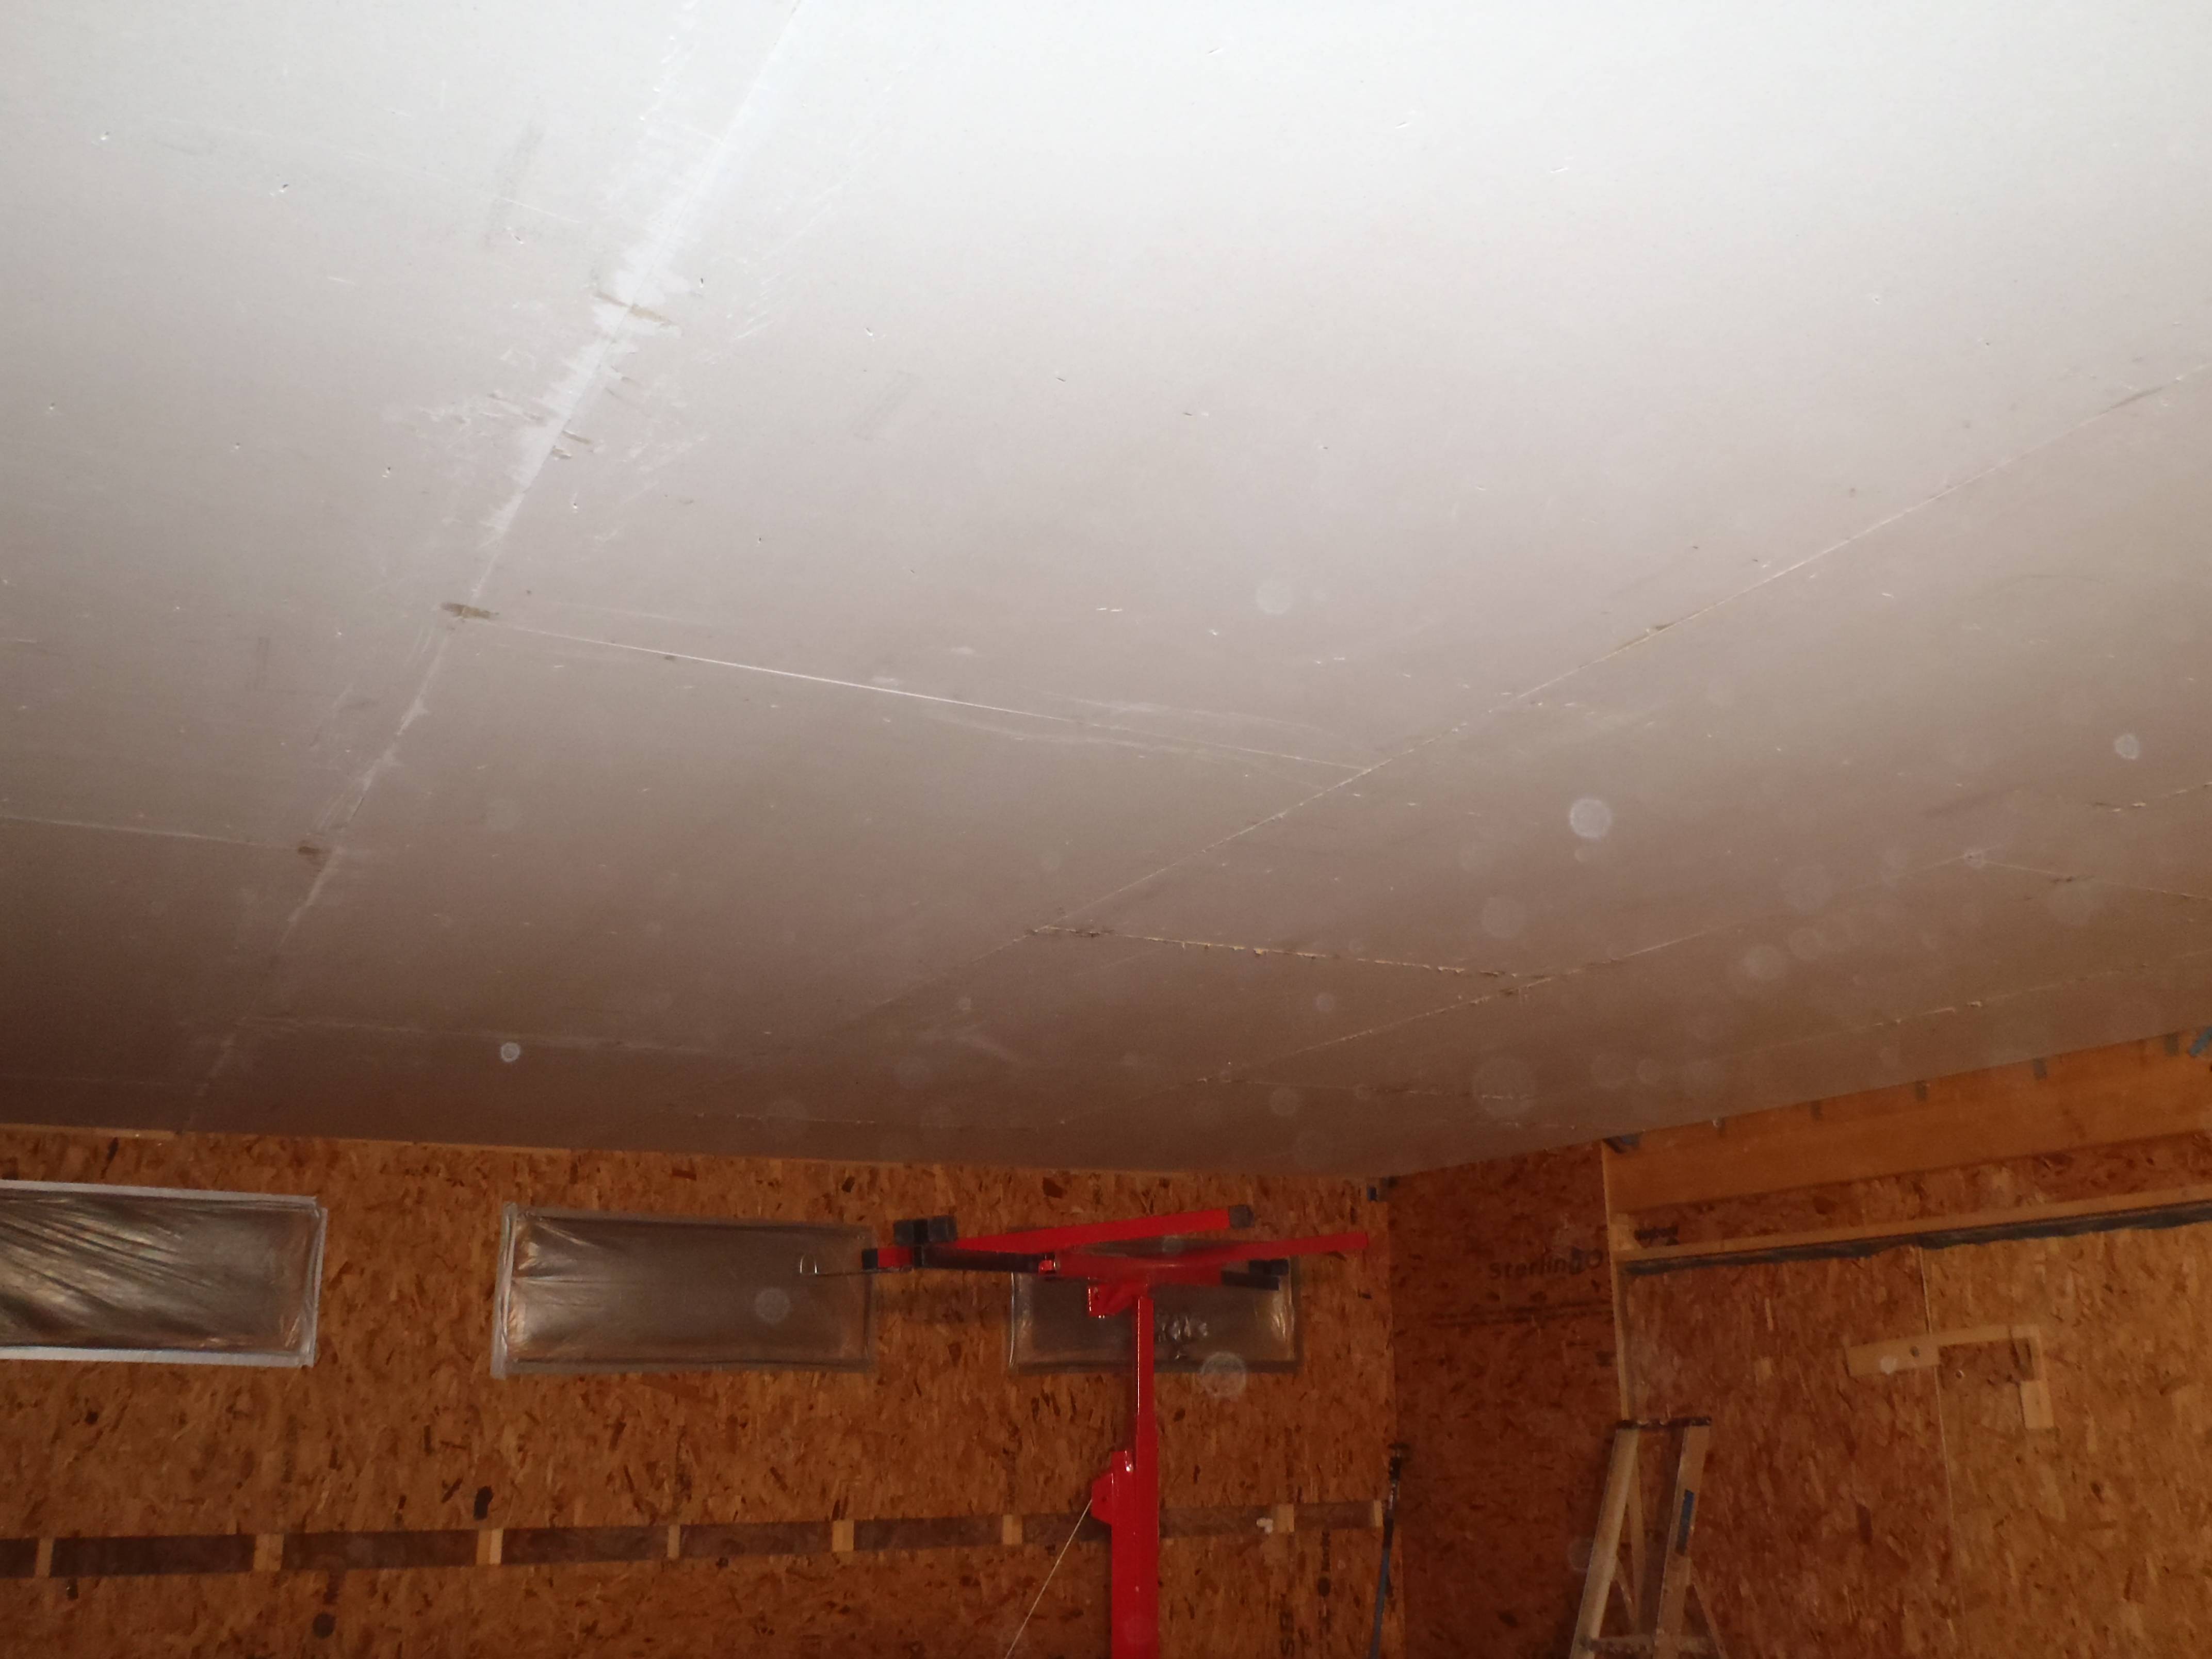
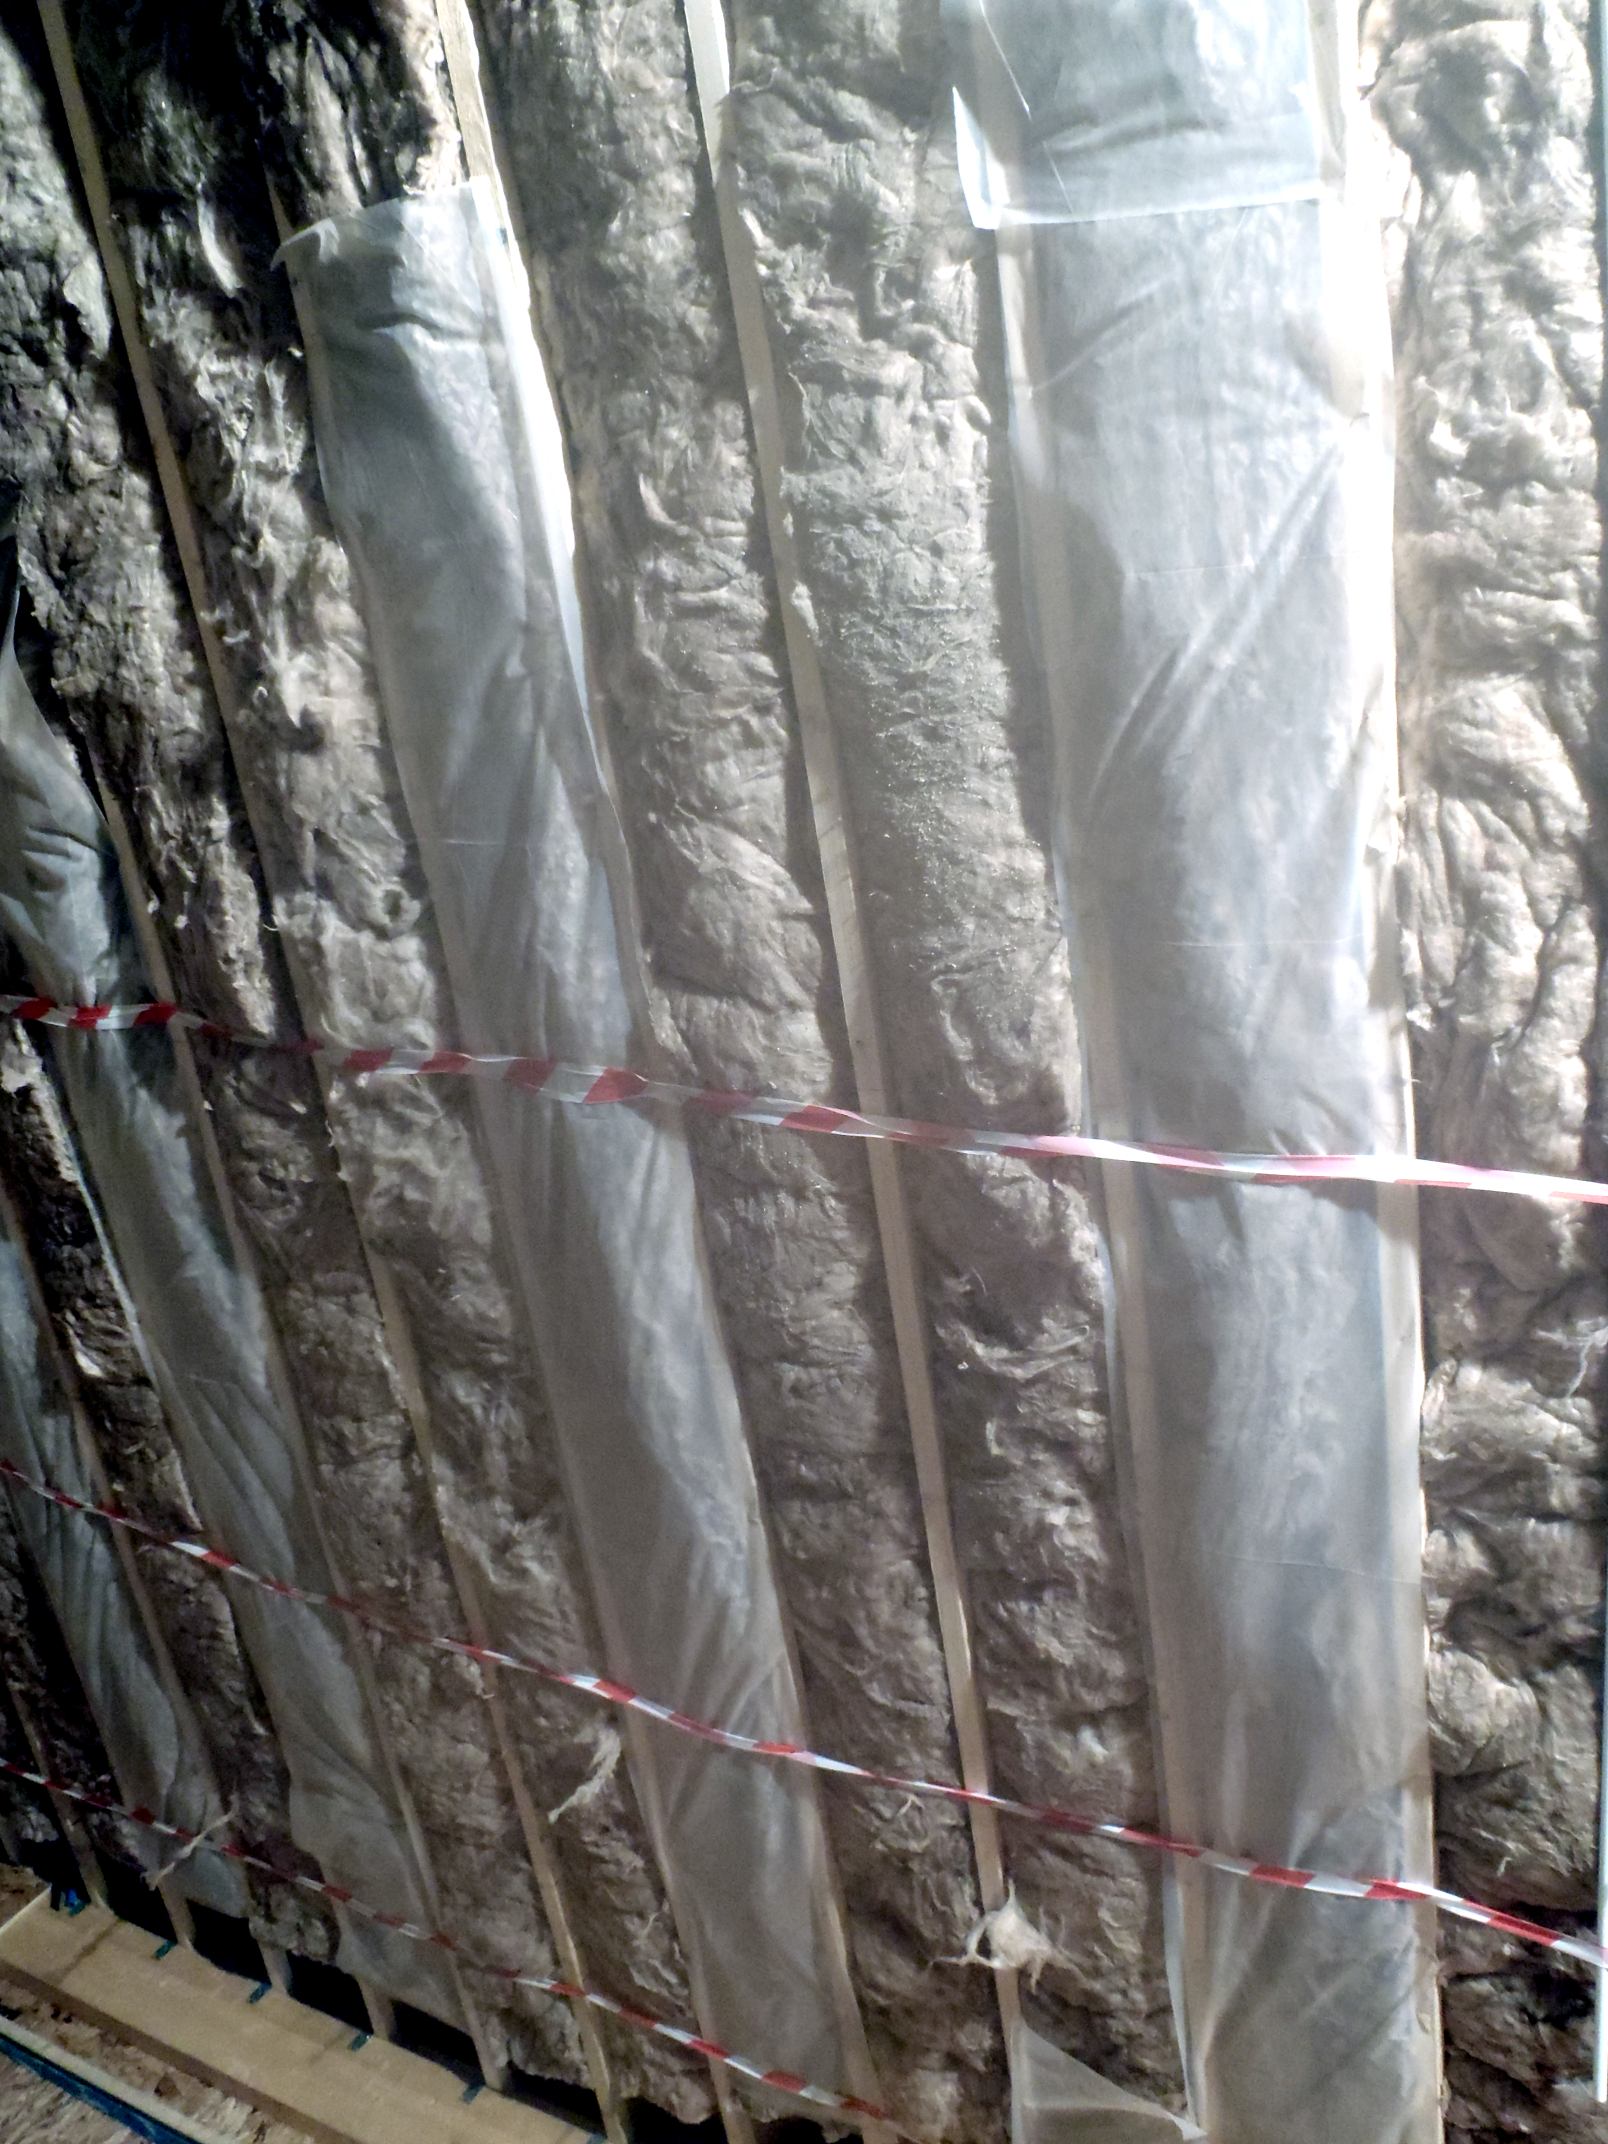
The full Light Chamber is now complete, all 20metres of it, going right around the three sides of the garage room, starting from the front left corner, down the left side to the middle wall then across to the right side and back towards the front right corner. It has reflectors inside the Light Chamber which will provide two functions, the primary function of reflecting as much light out to the room and the secondary function of providing an electrical Earthing point which is required for the fluorescent tubes circuits.
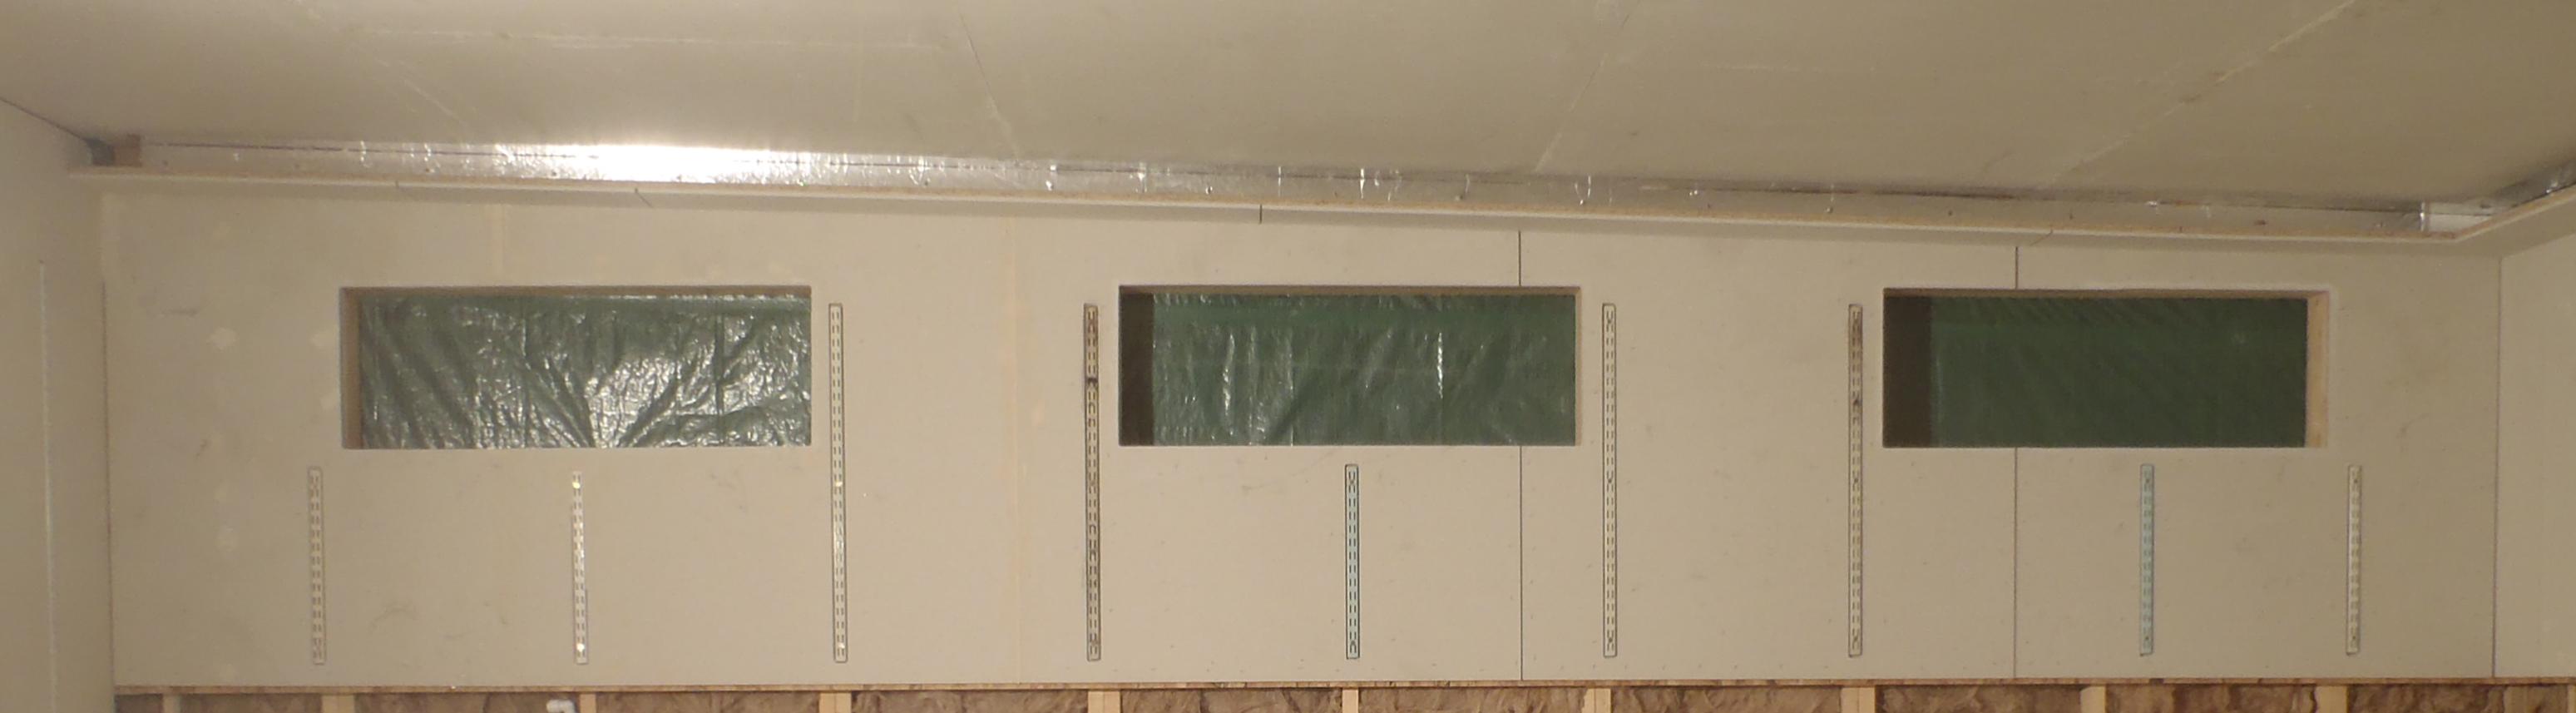
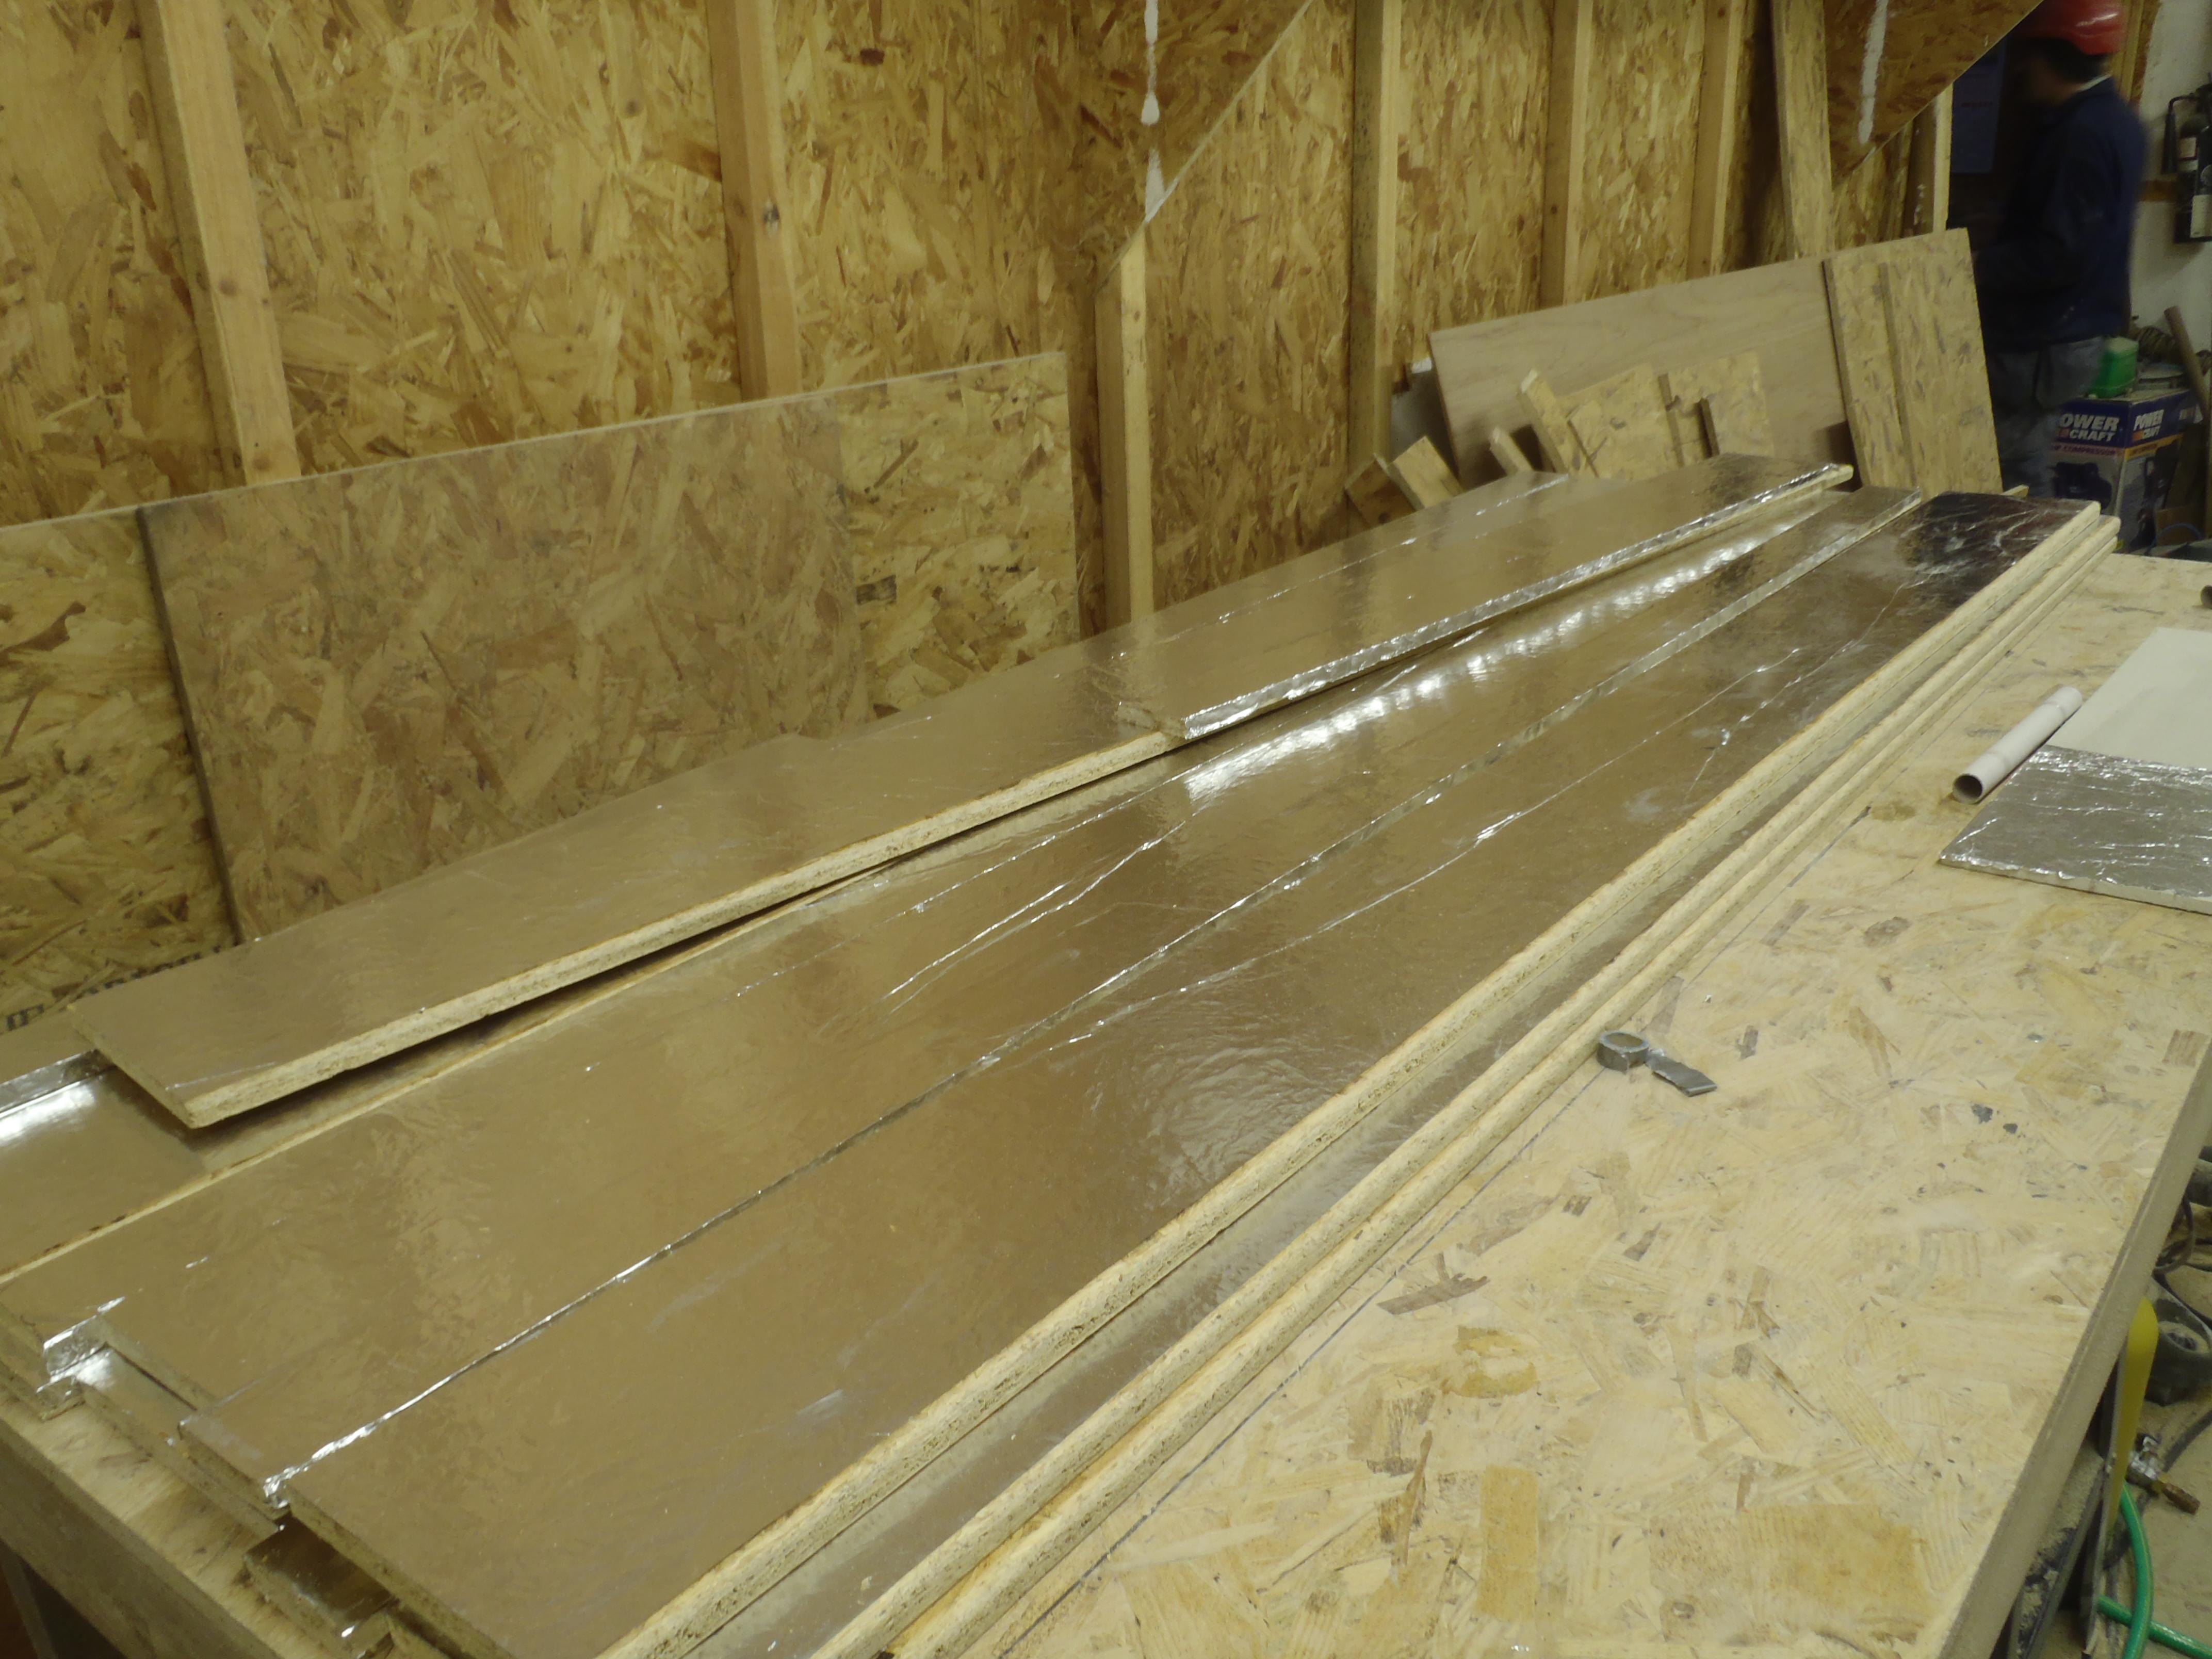
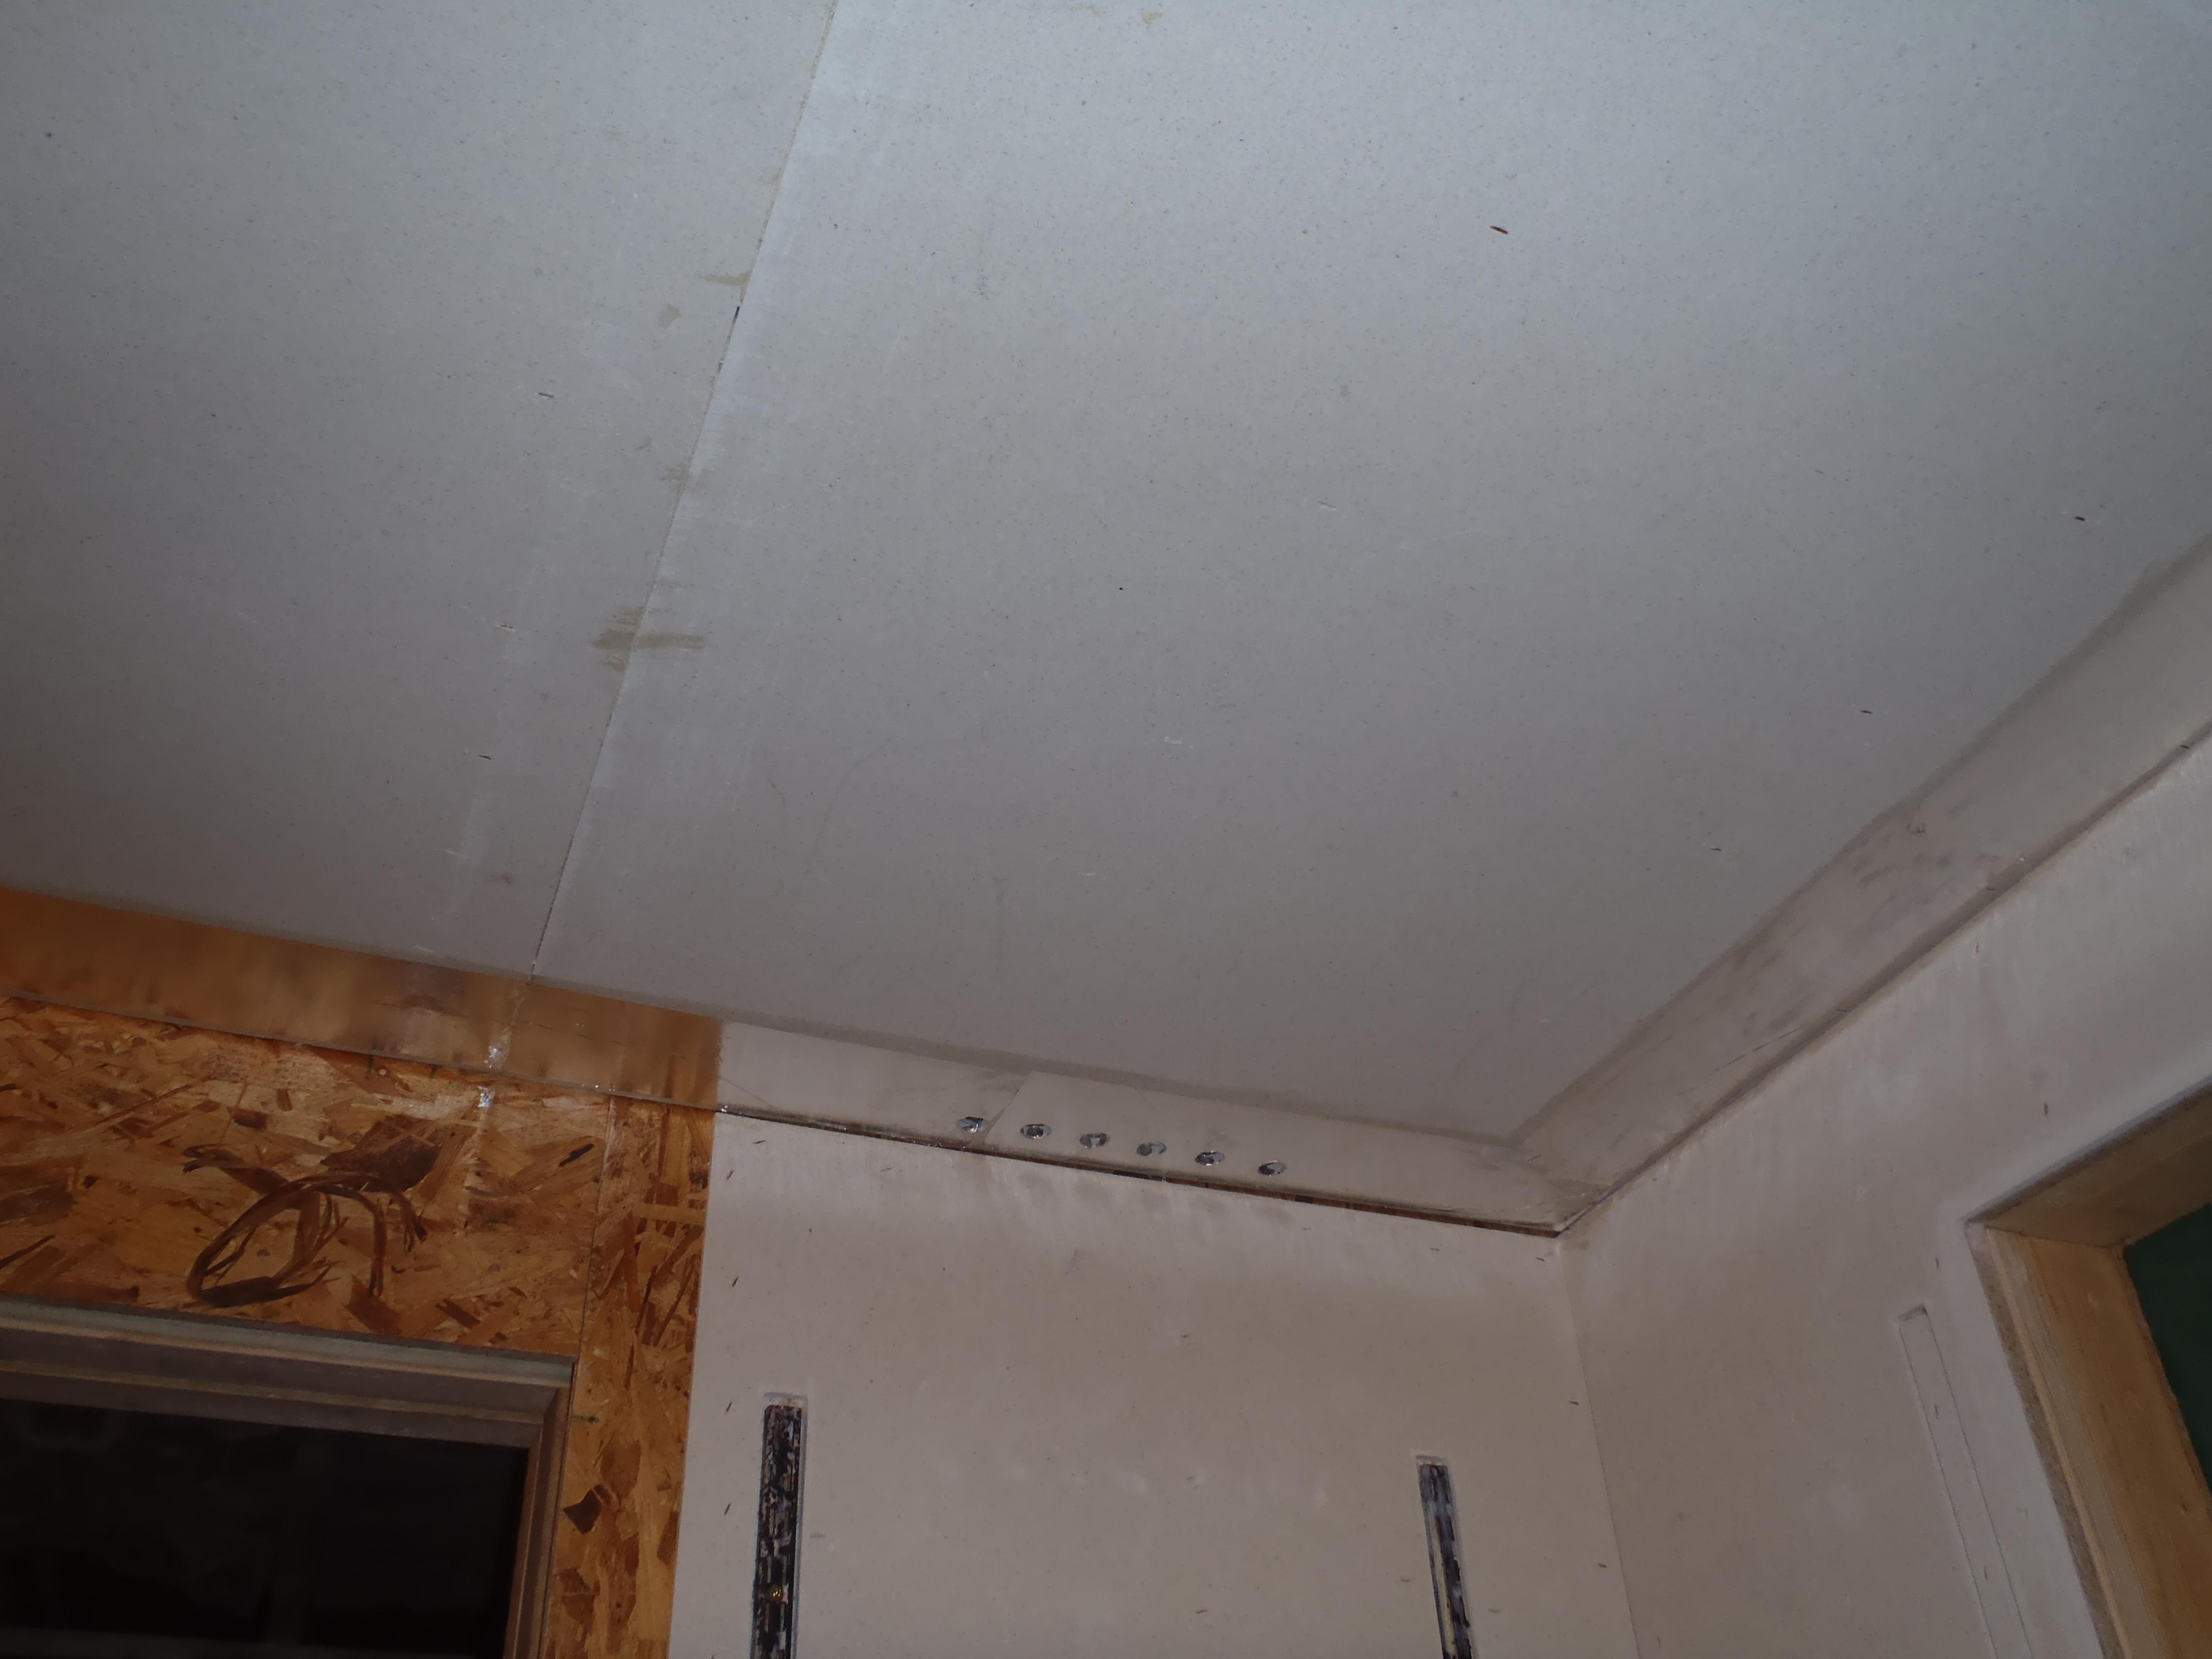
Light Channels – Installed
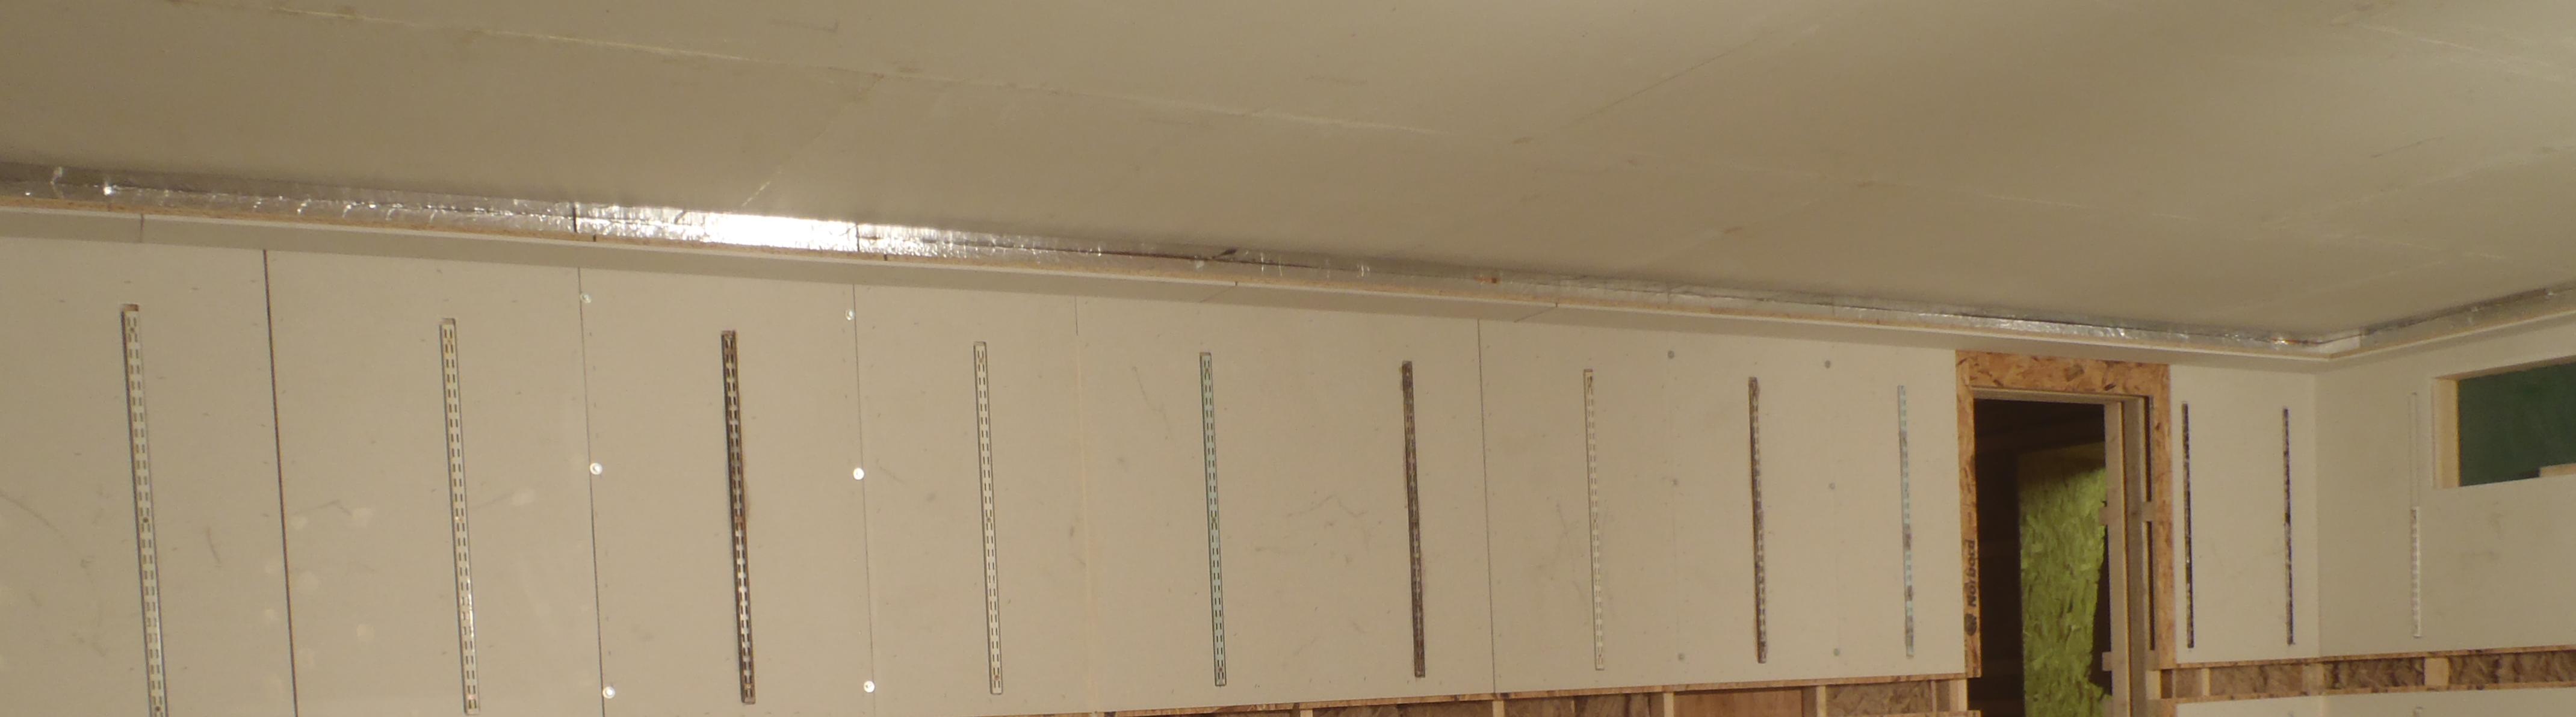
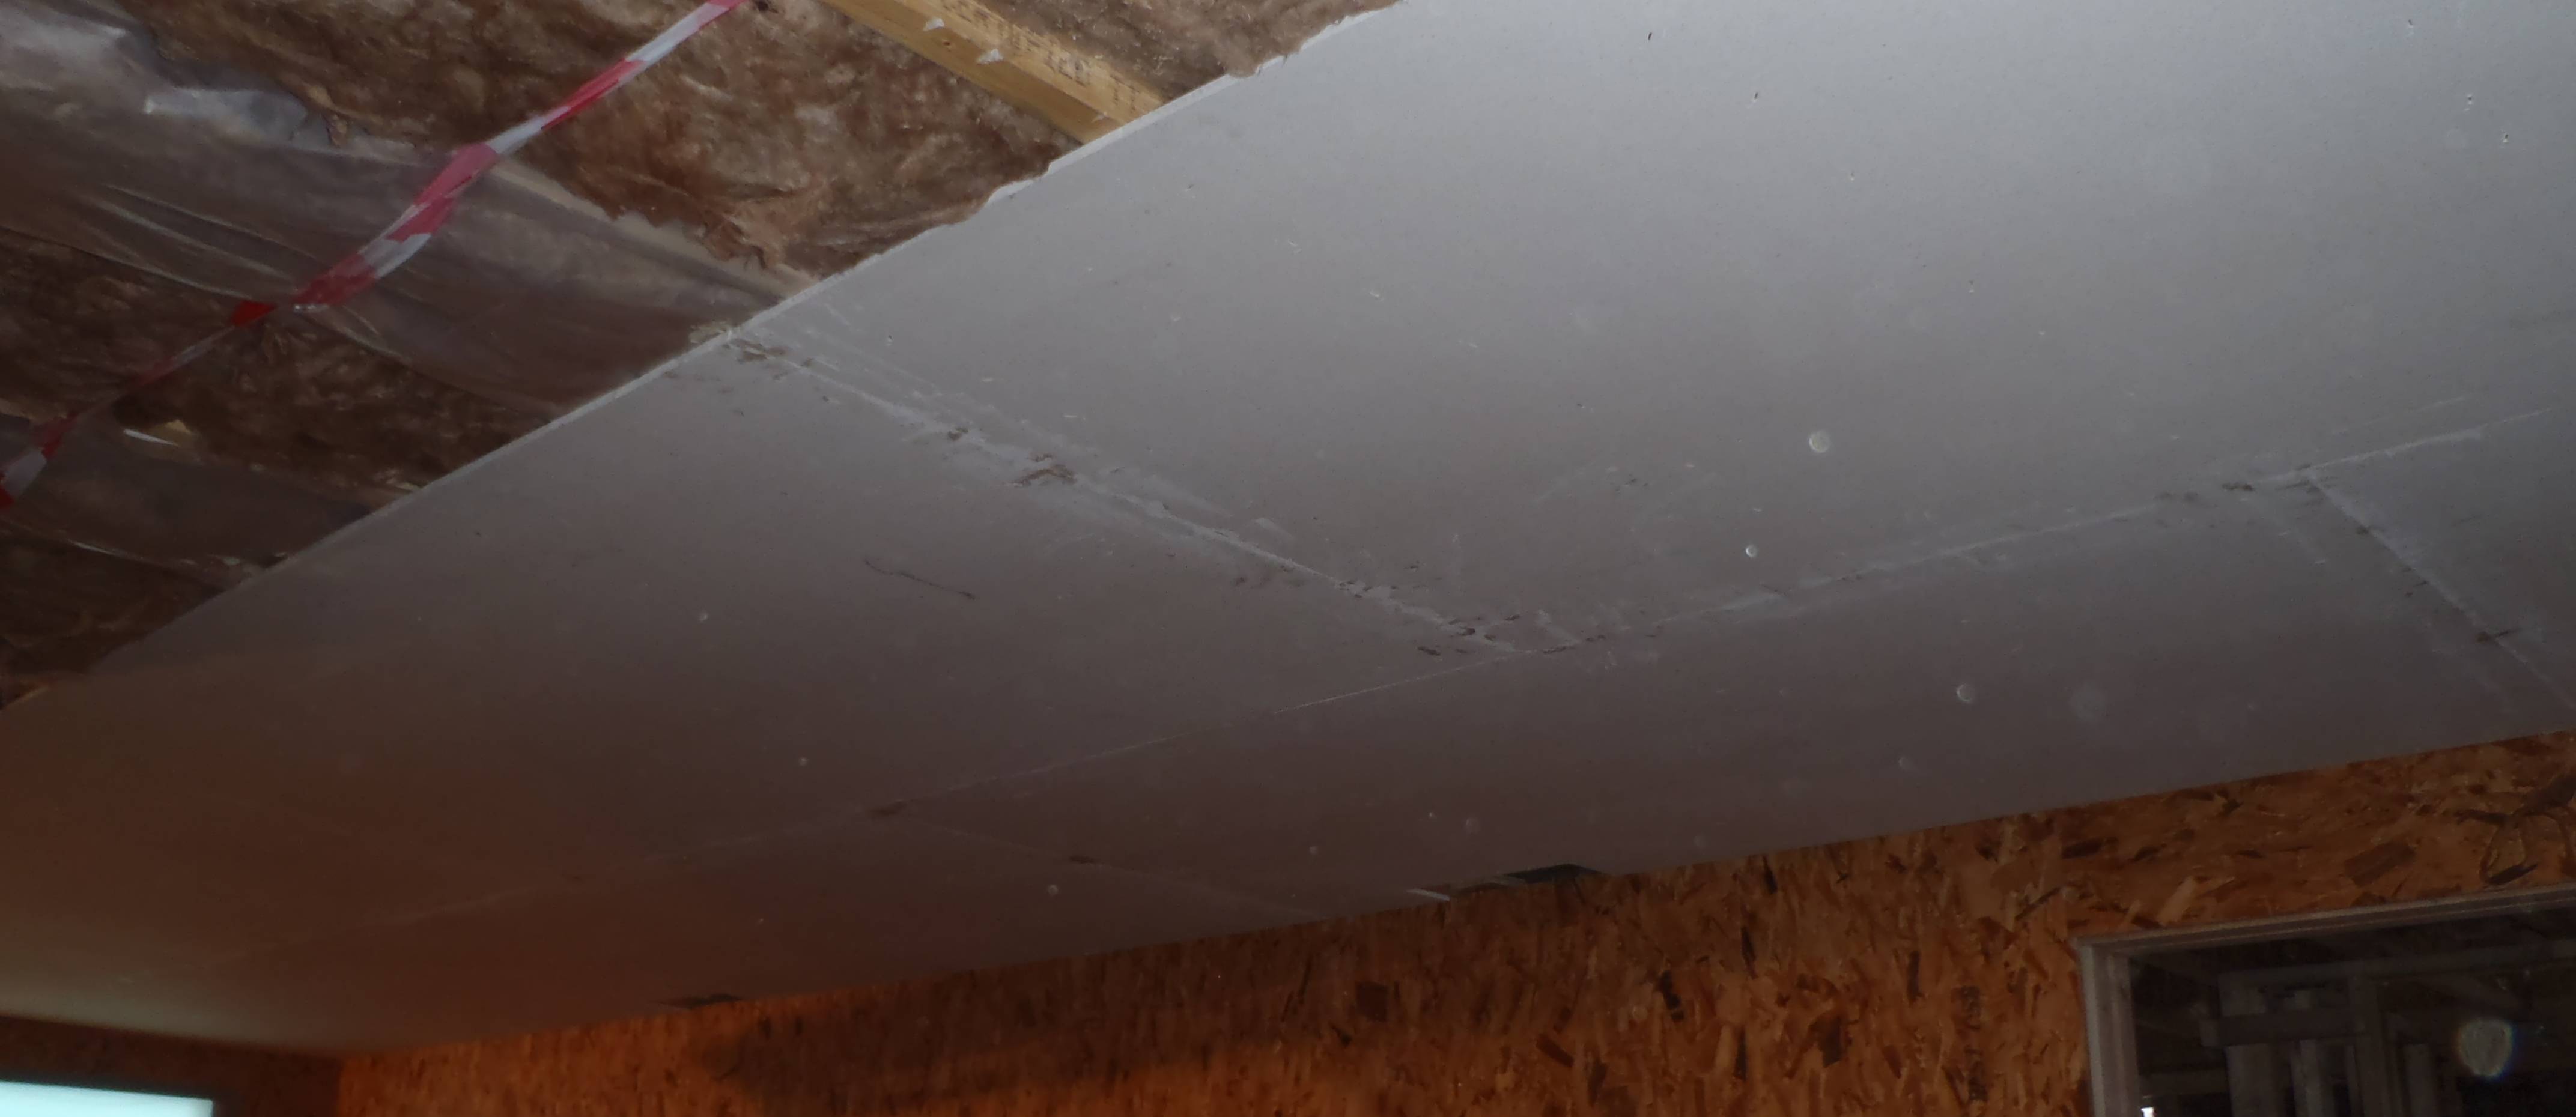
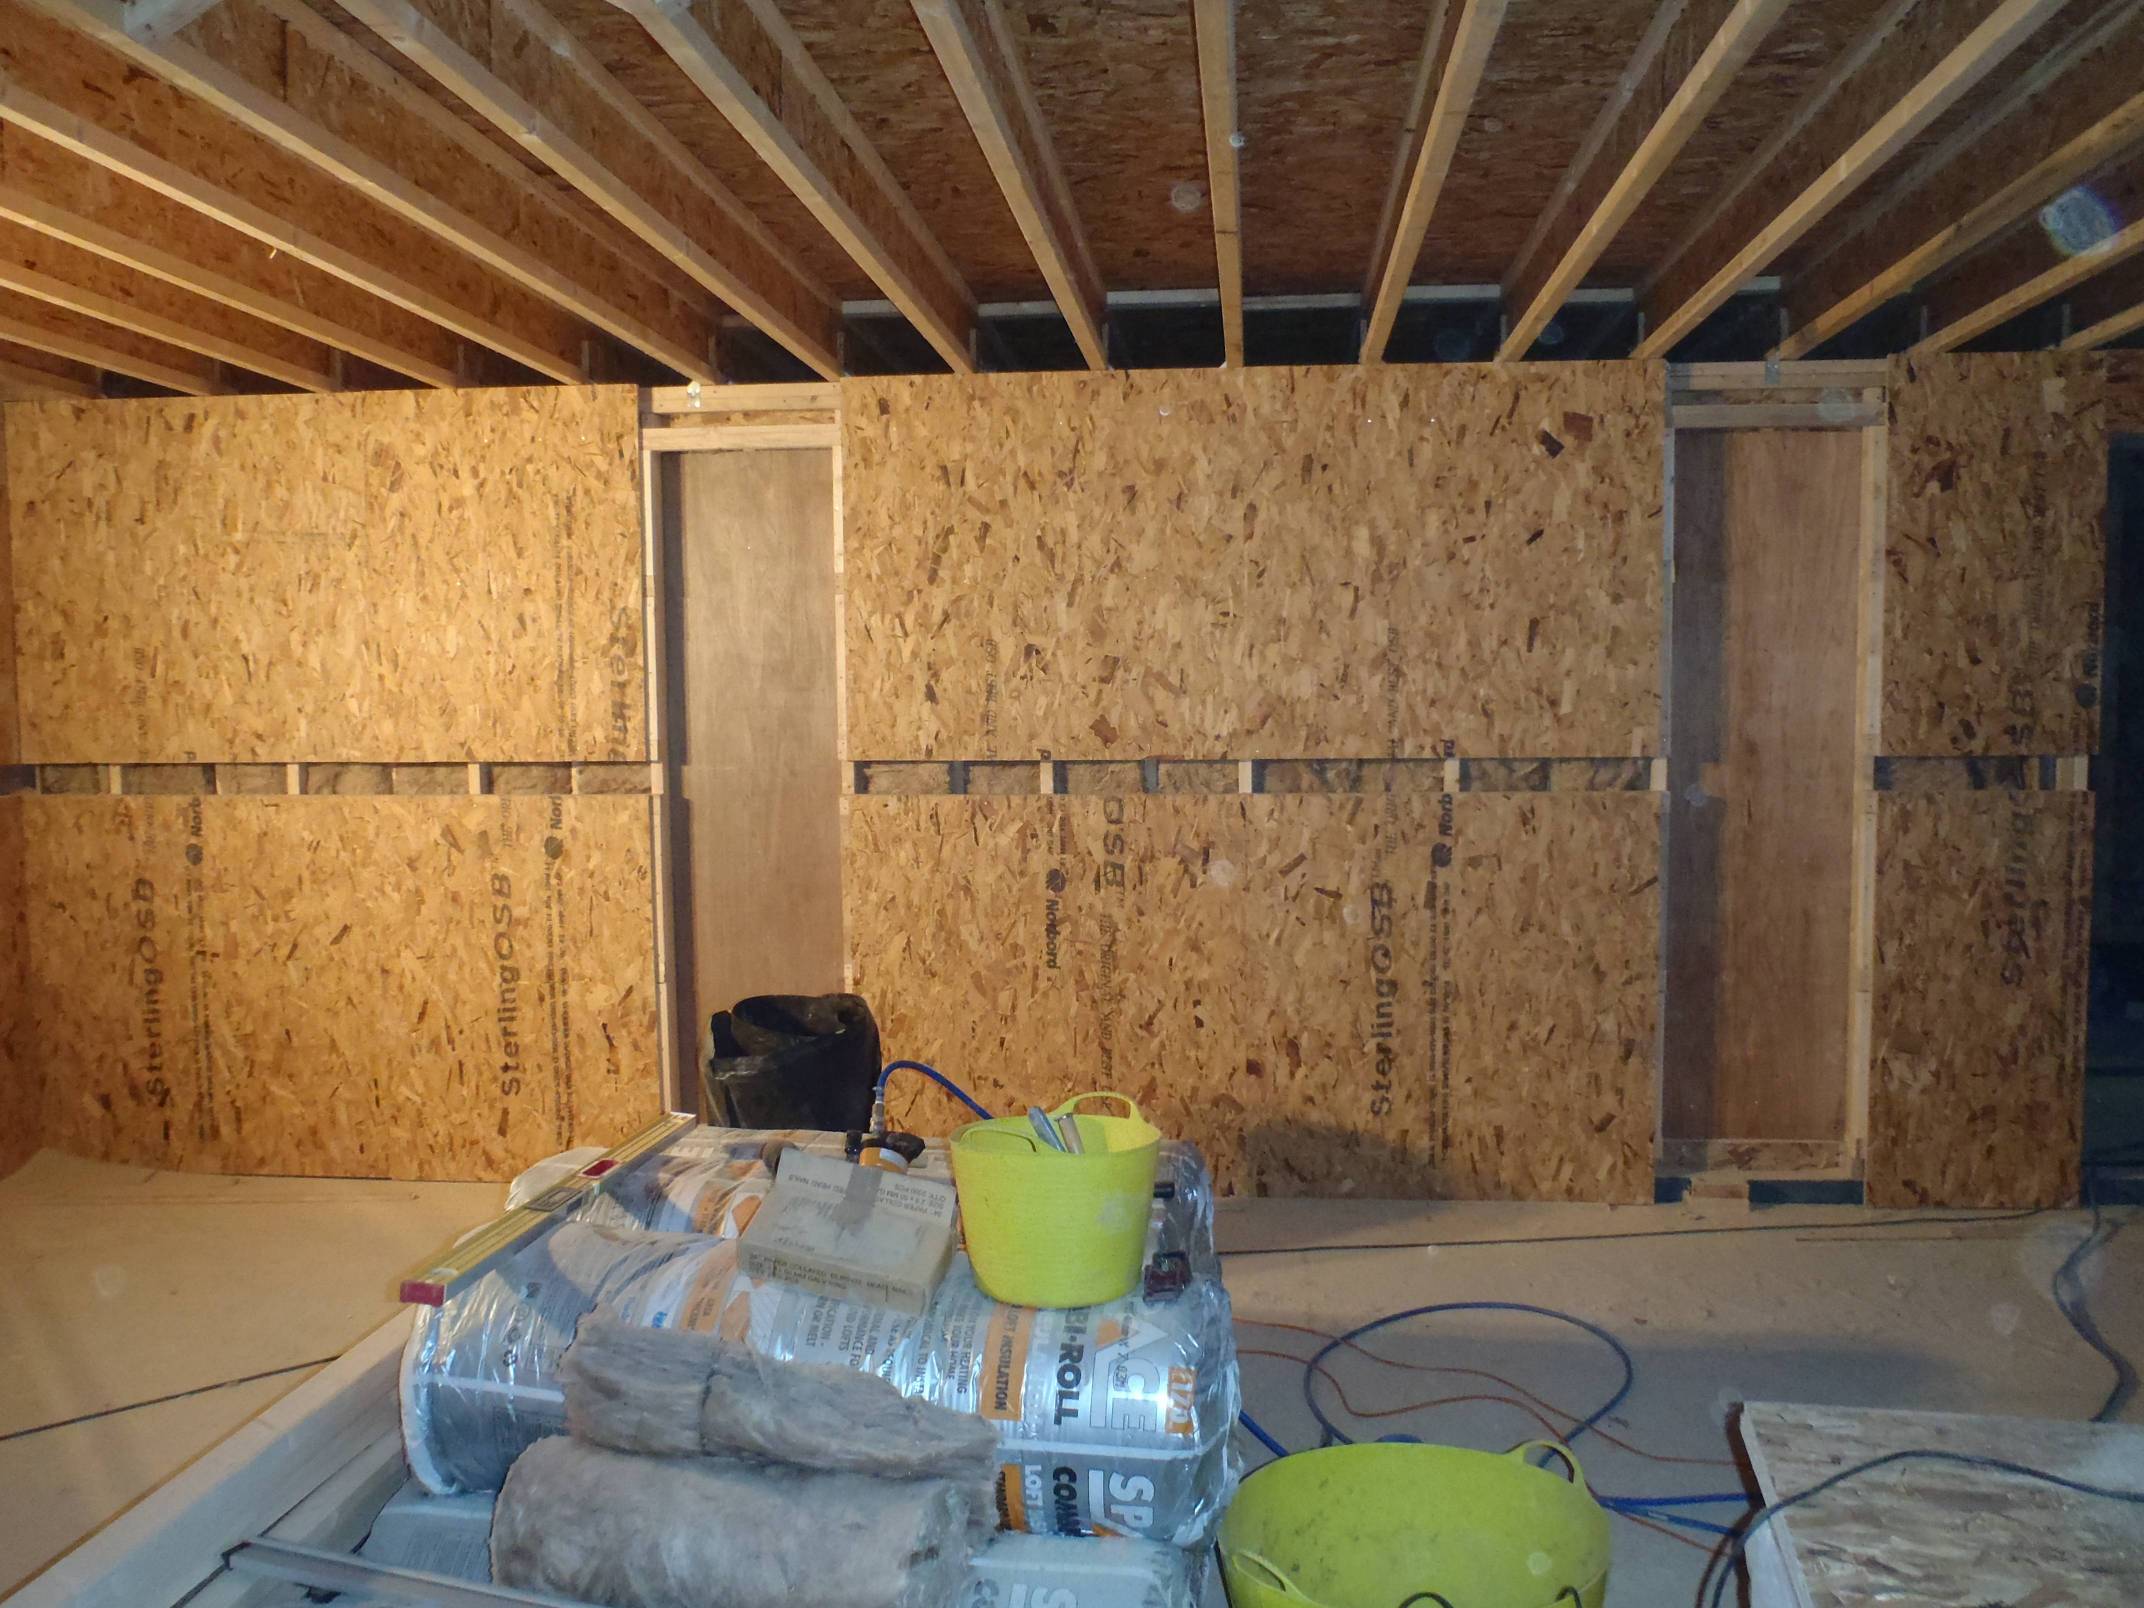
Light Channels – Installed
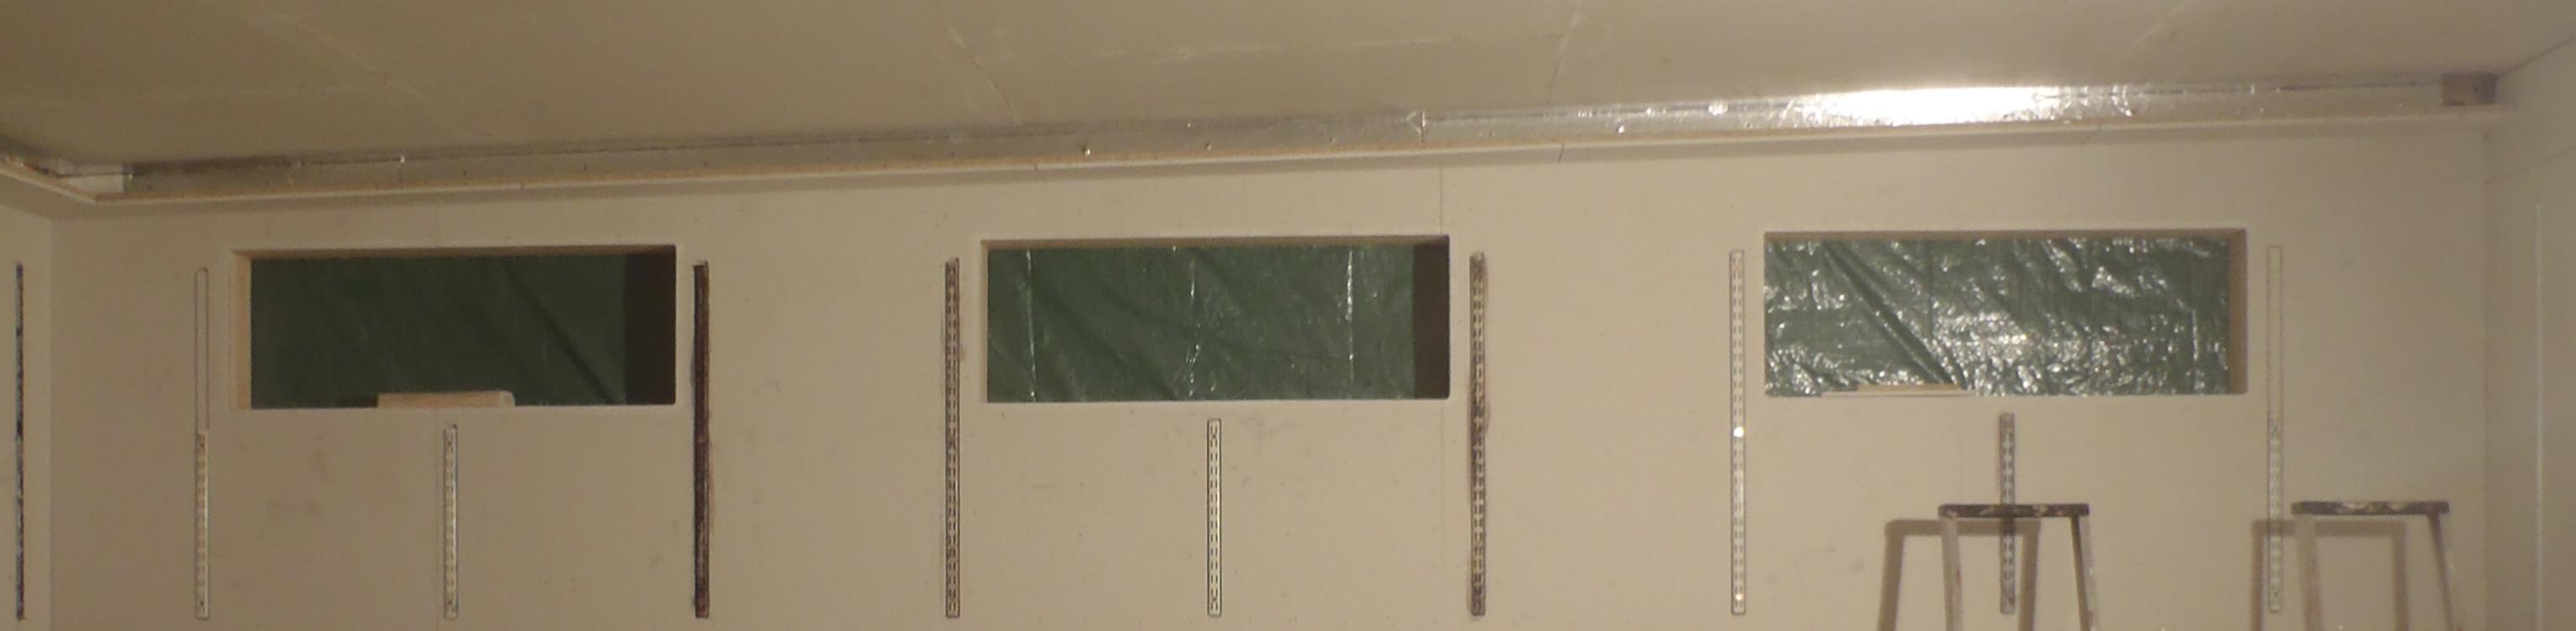
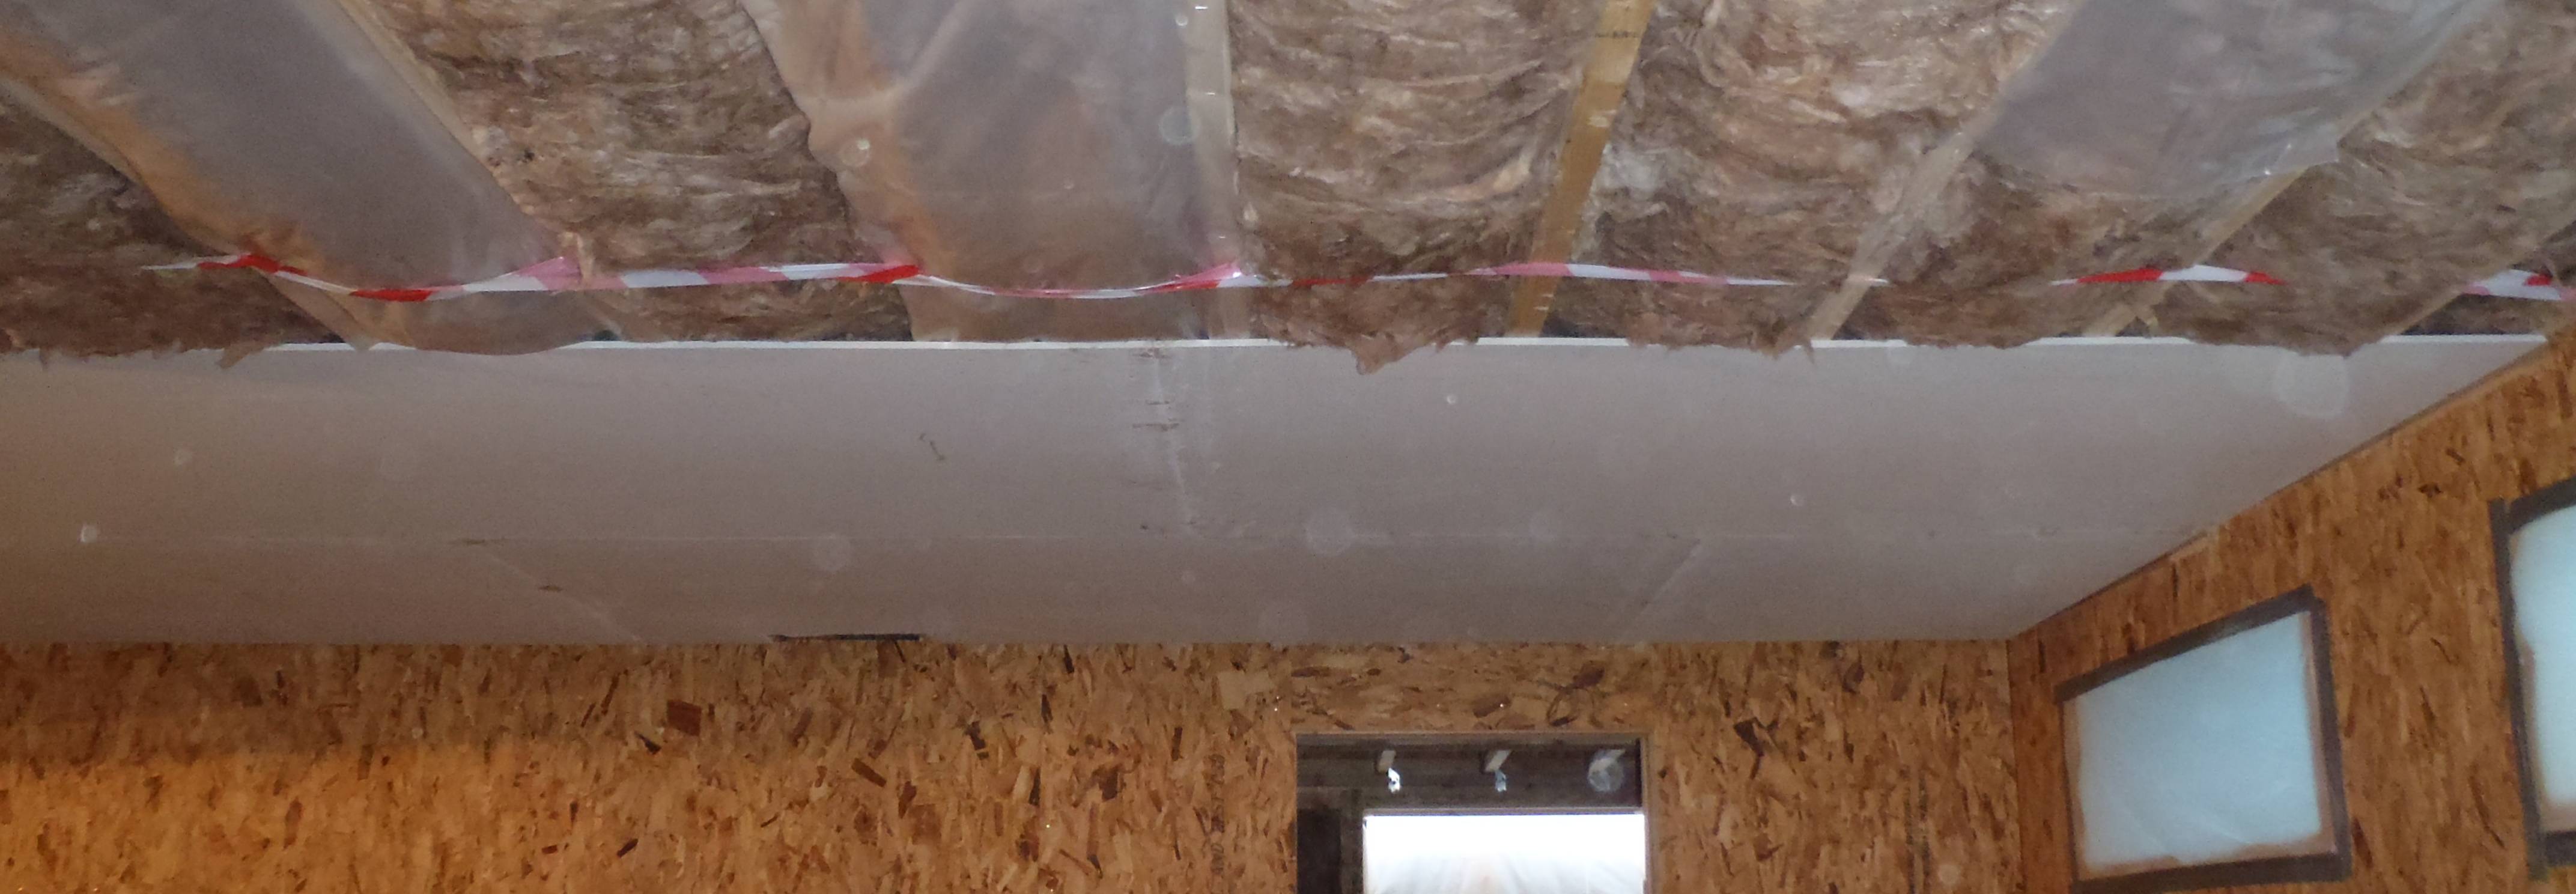
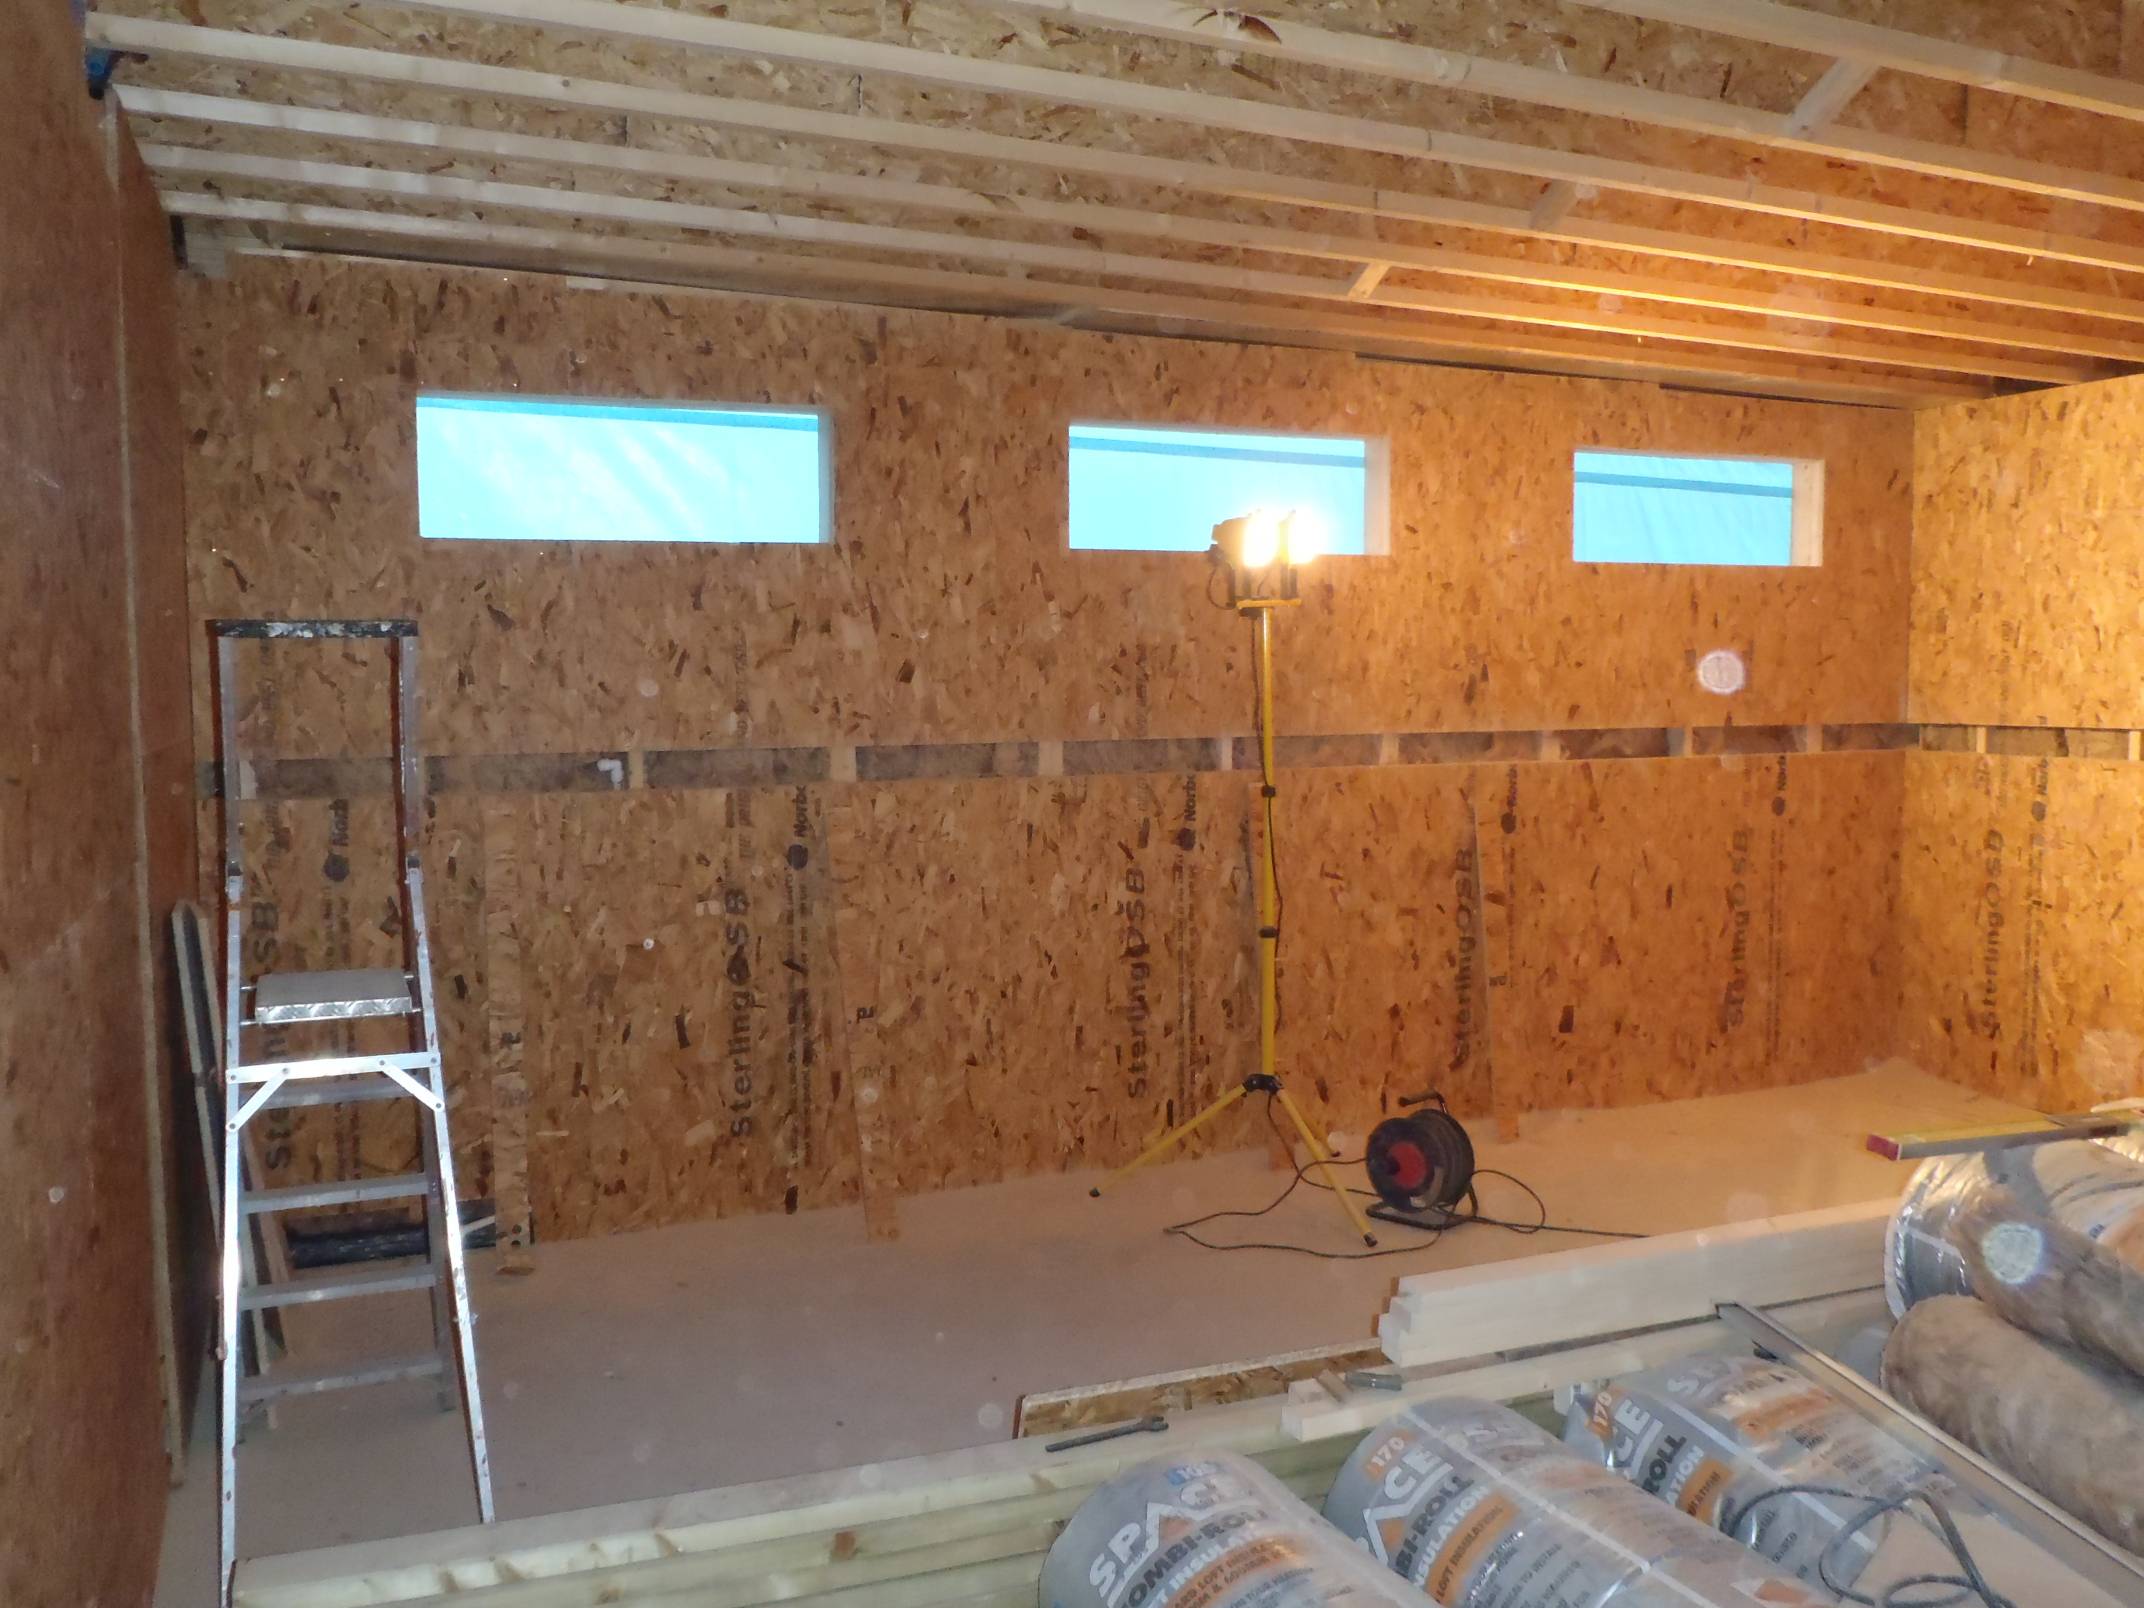
Light Channels – Installed
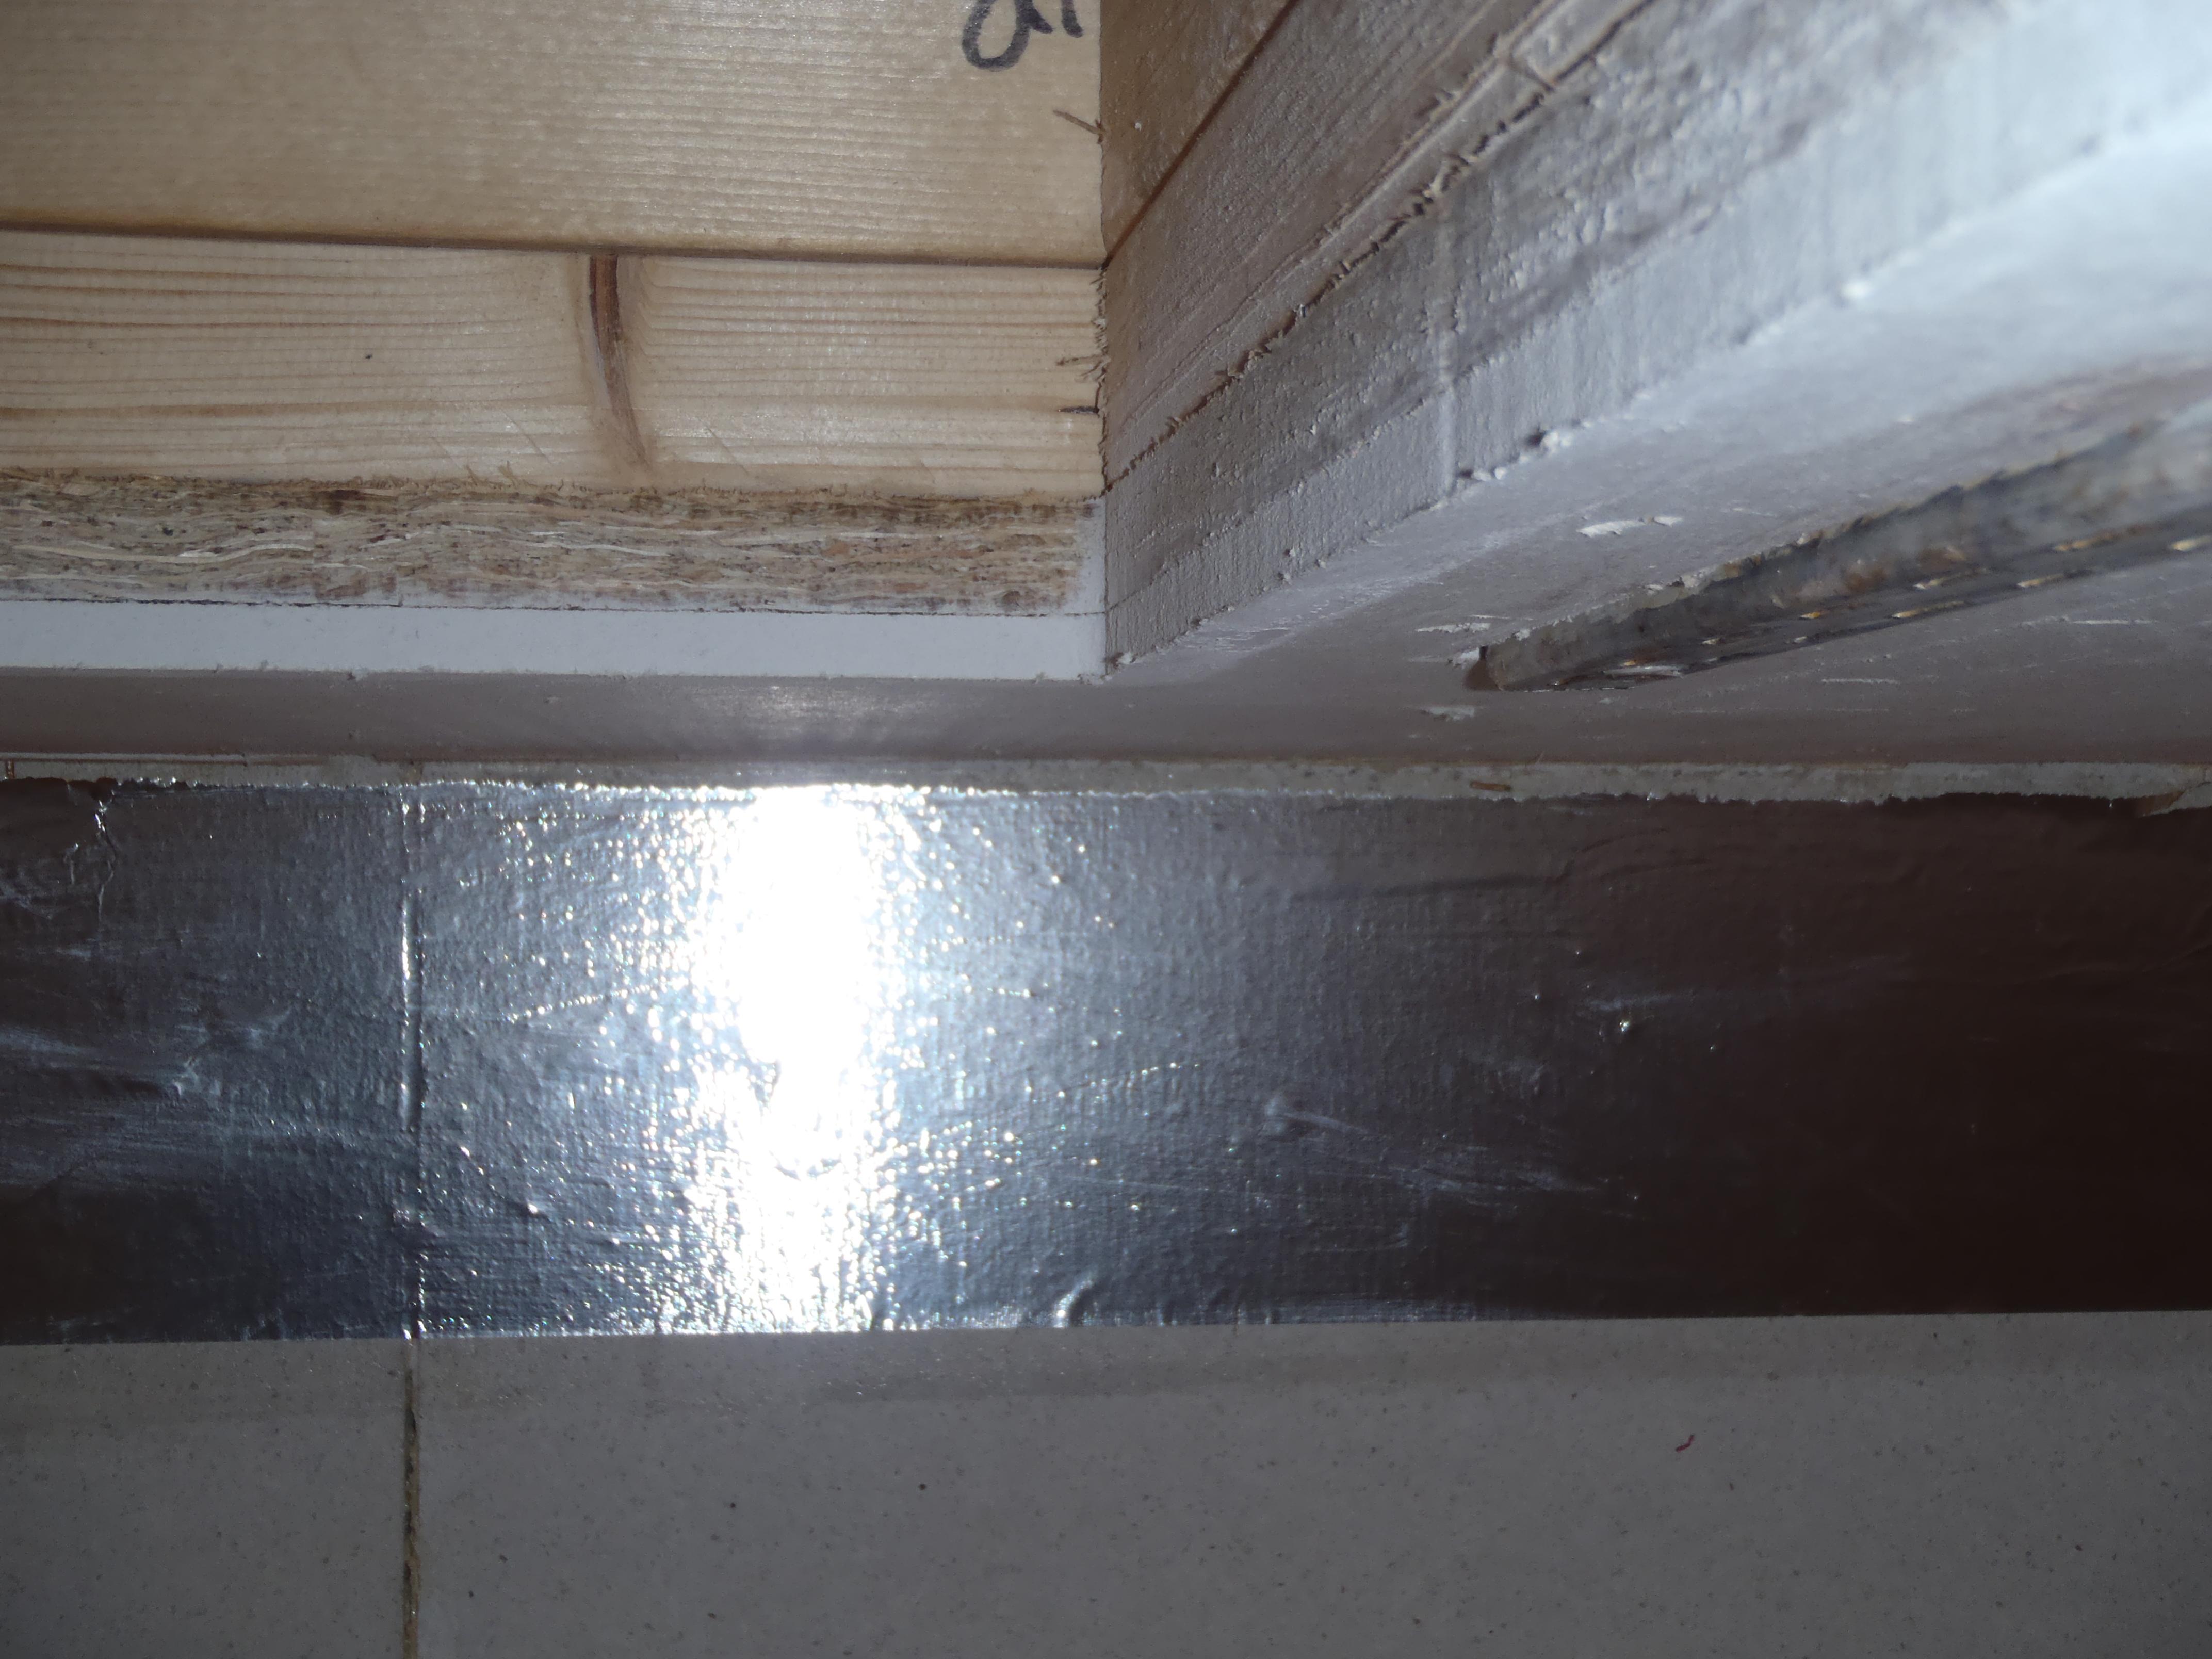
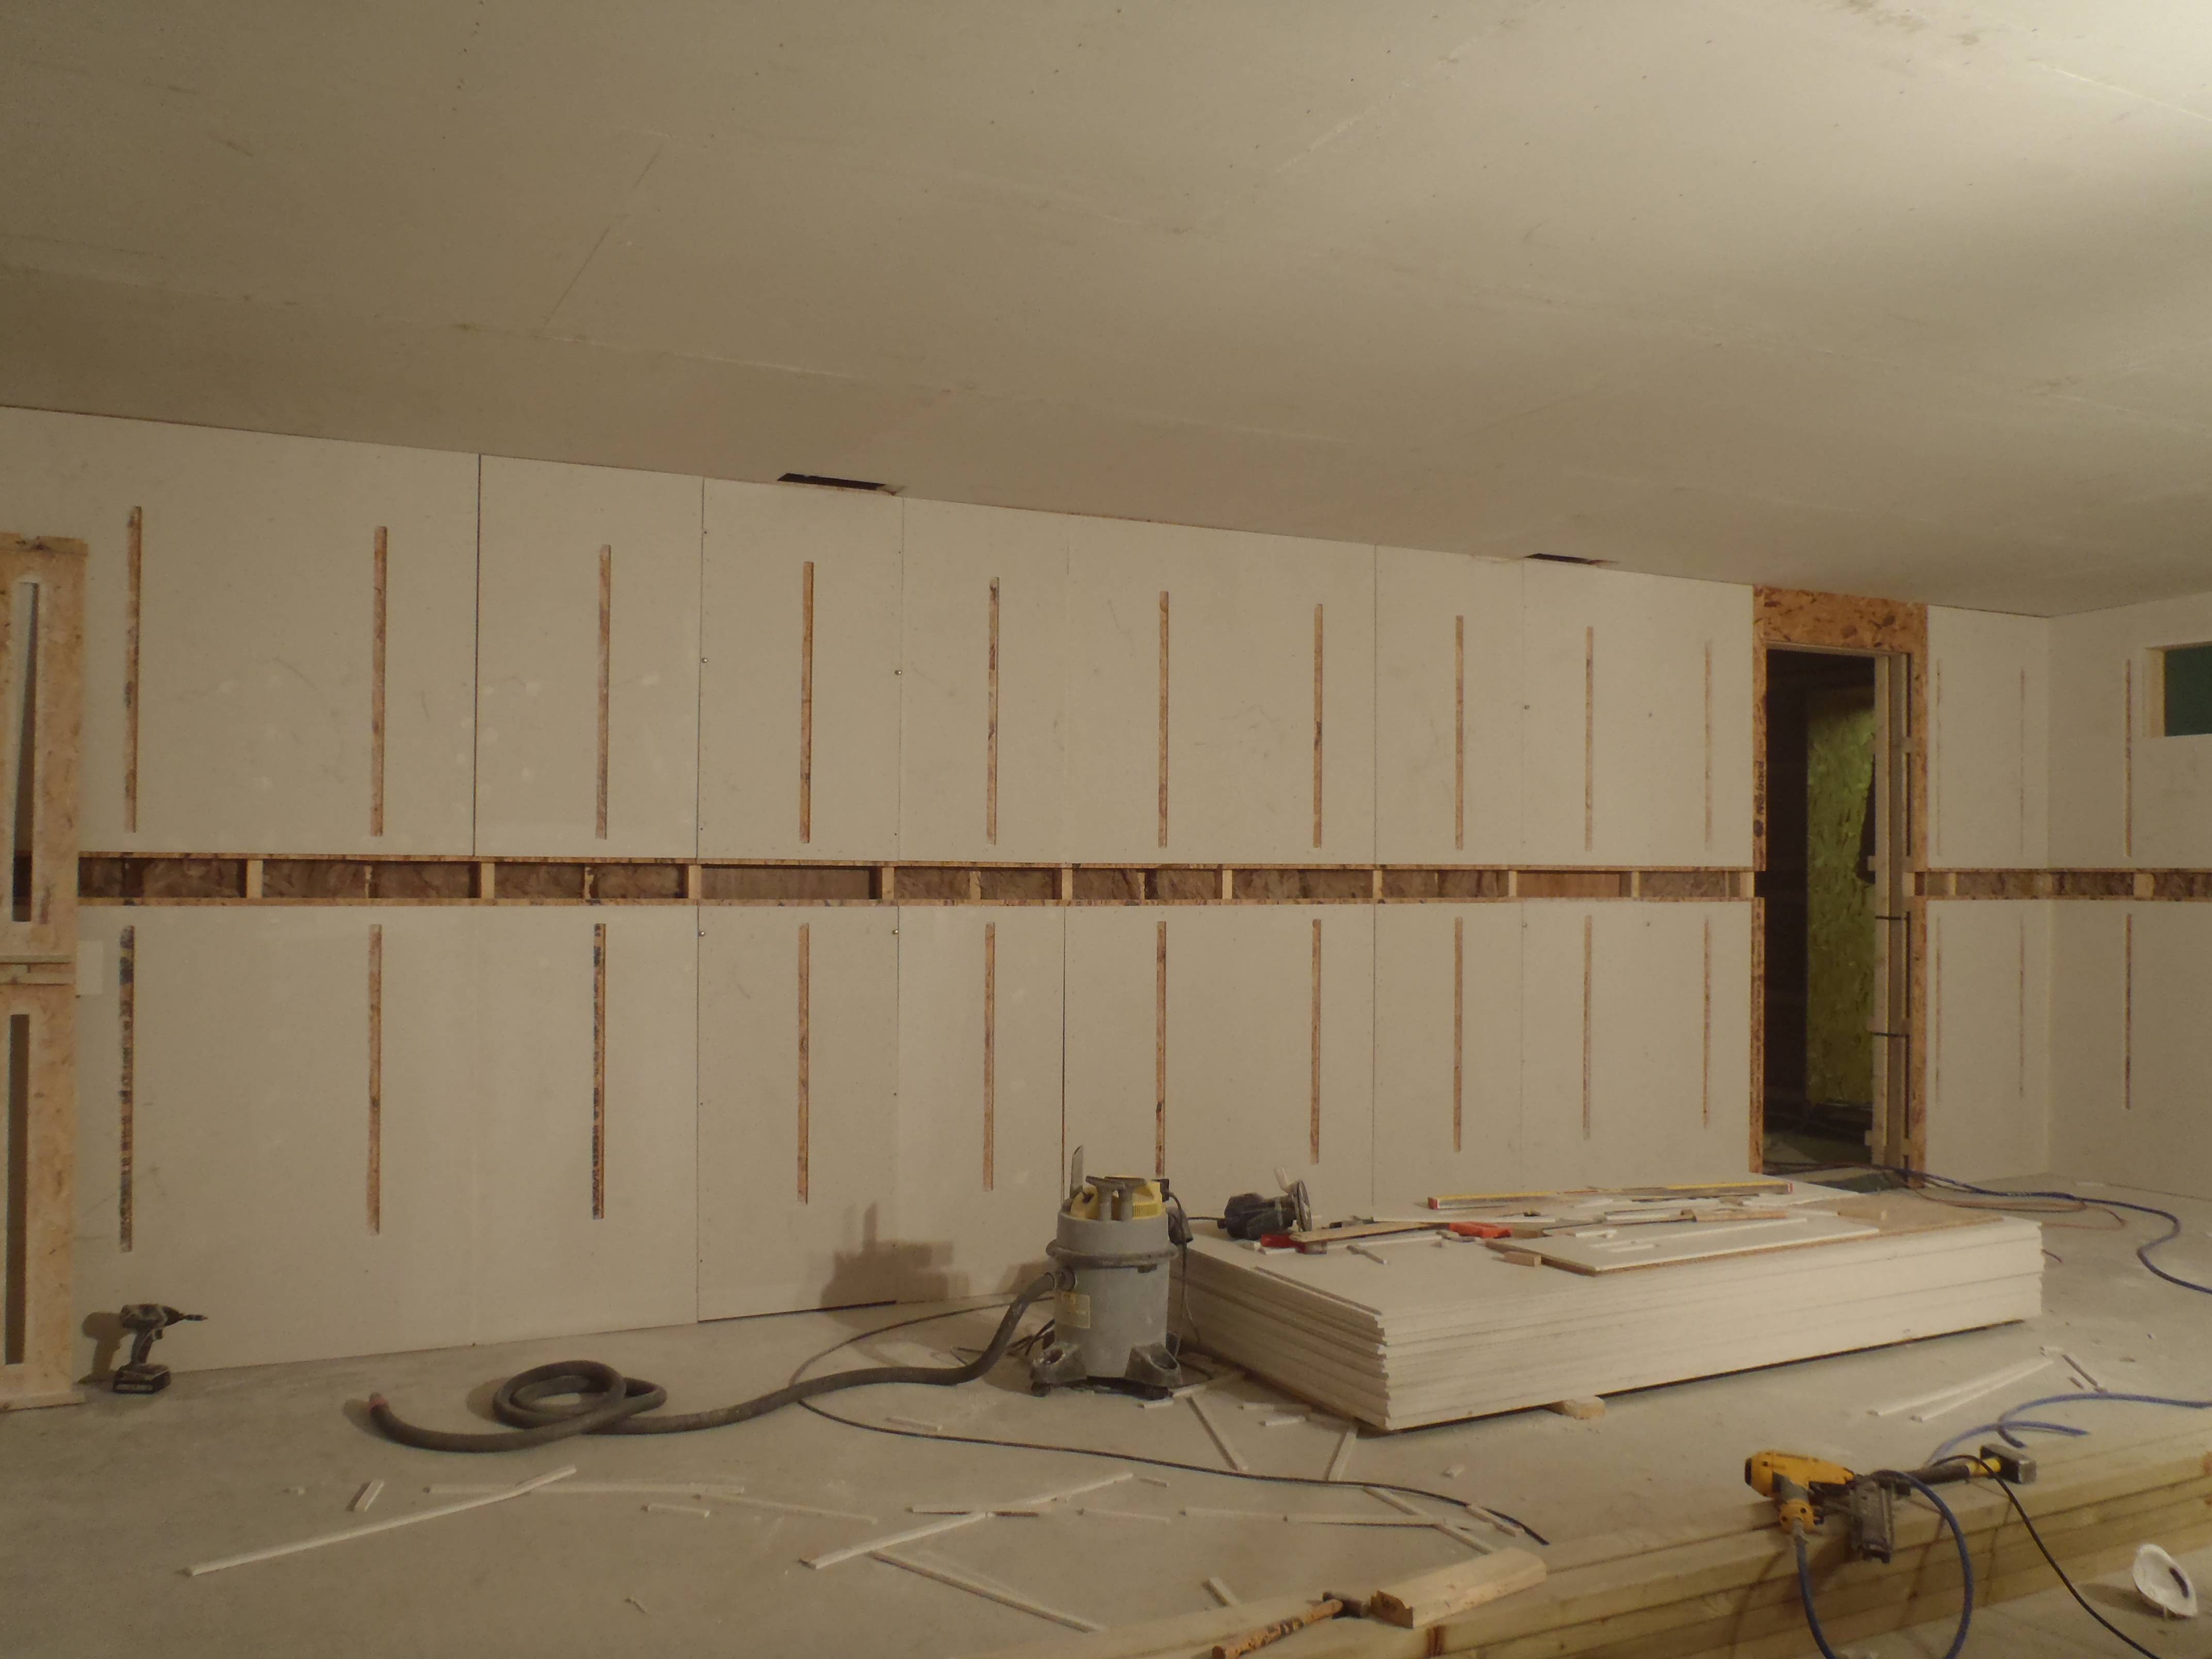
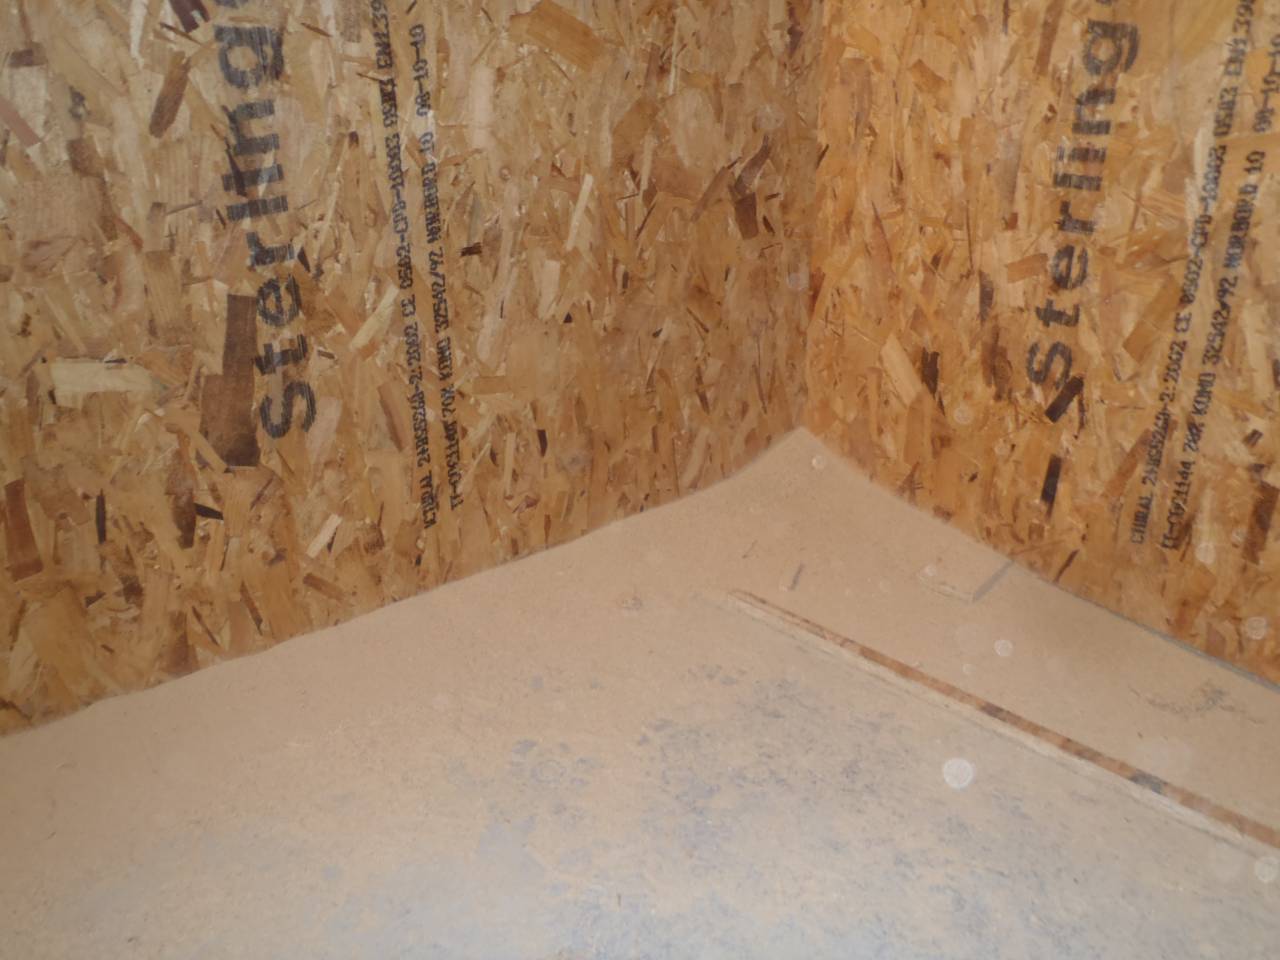
The flange is covered with an additional layer of the Fermacell to make it blend into the whole structure of the finishing surface.
Now the boring job of filling in the staple holes and the joints!!