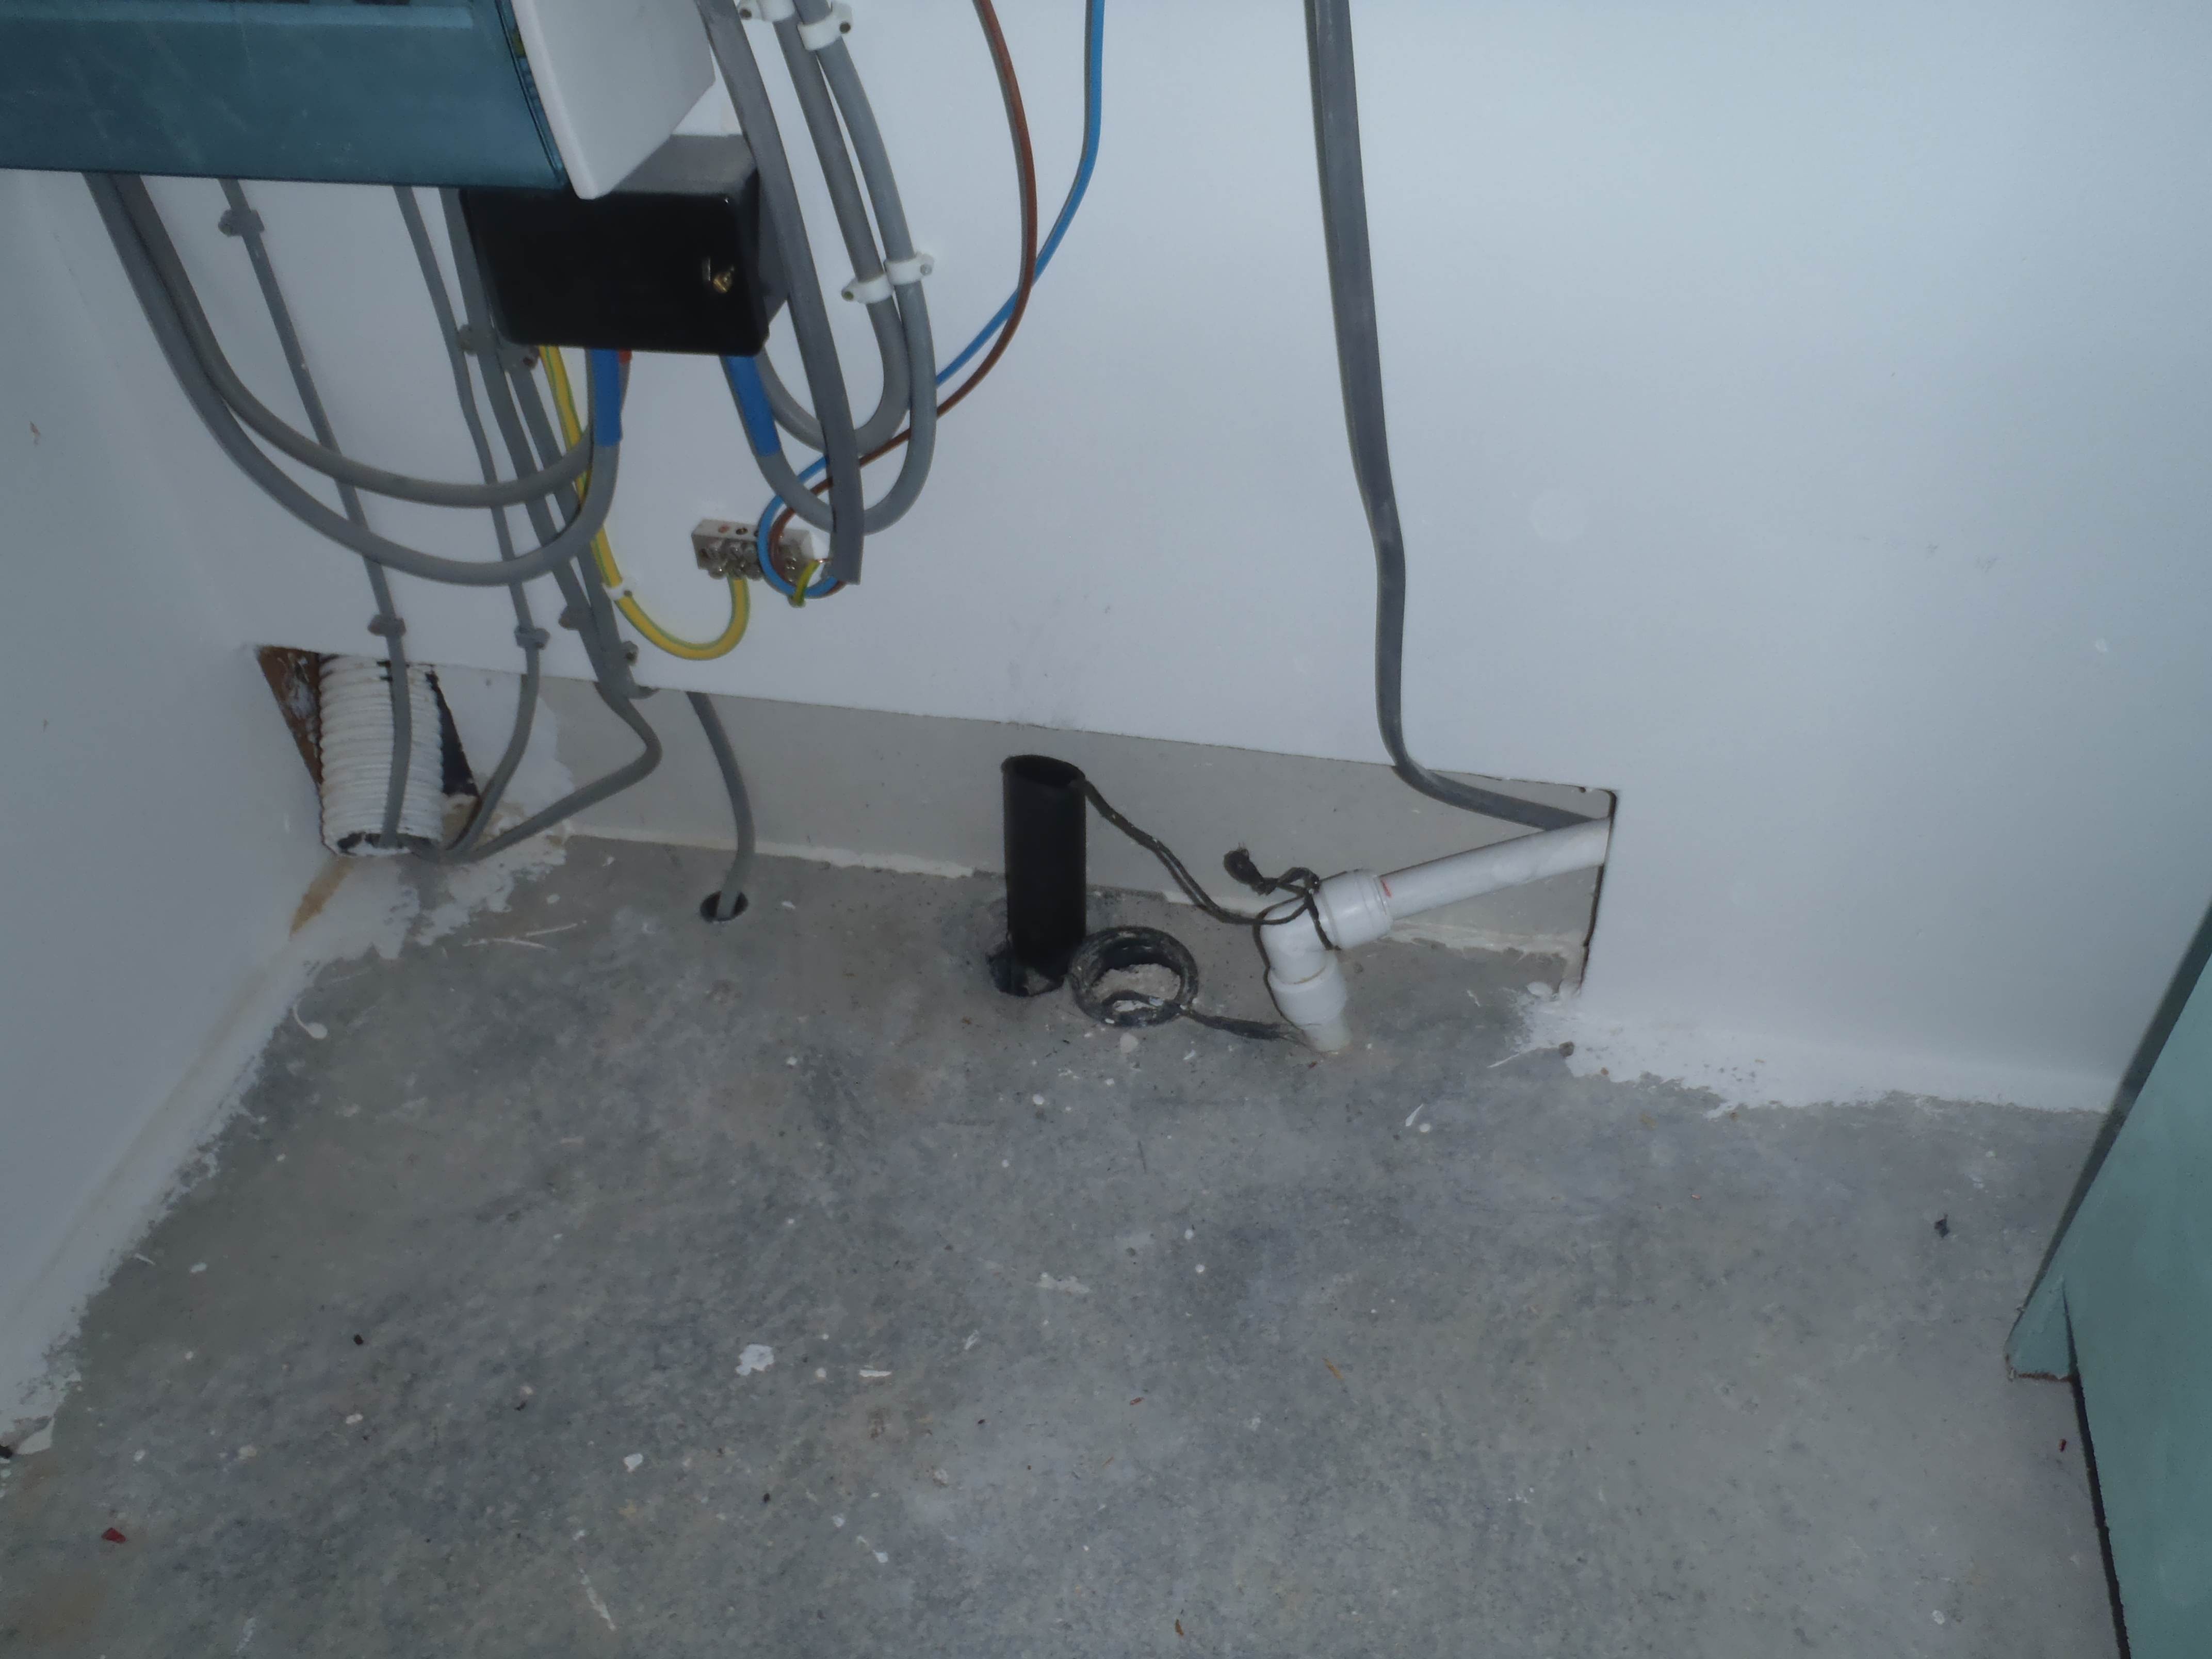
We have completed the task of laying down the three remaining utility supplies; Water, Telephone and Electric.
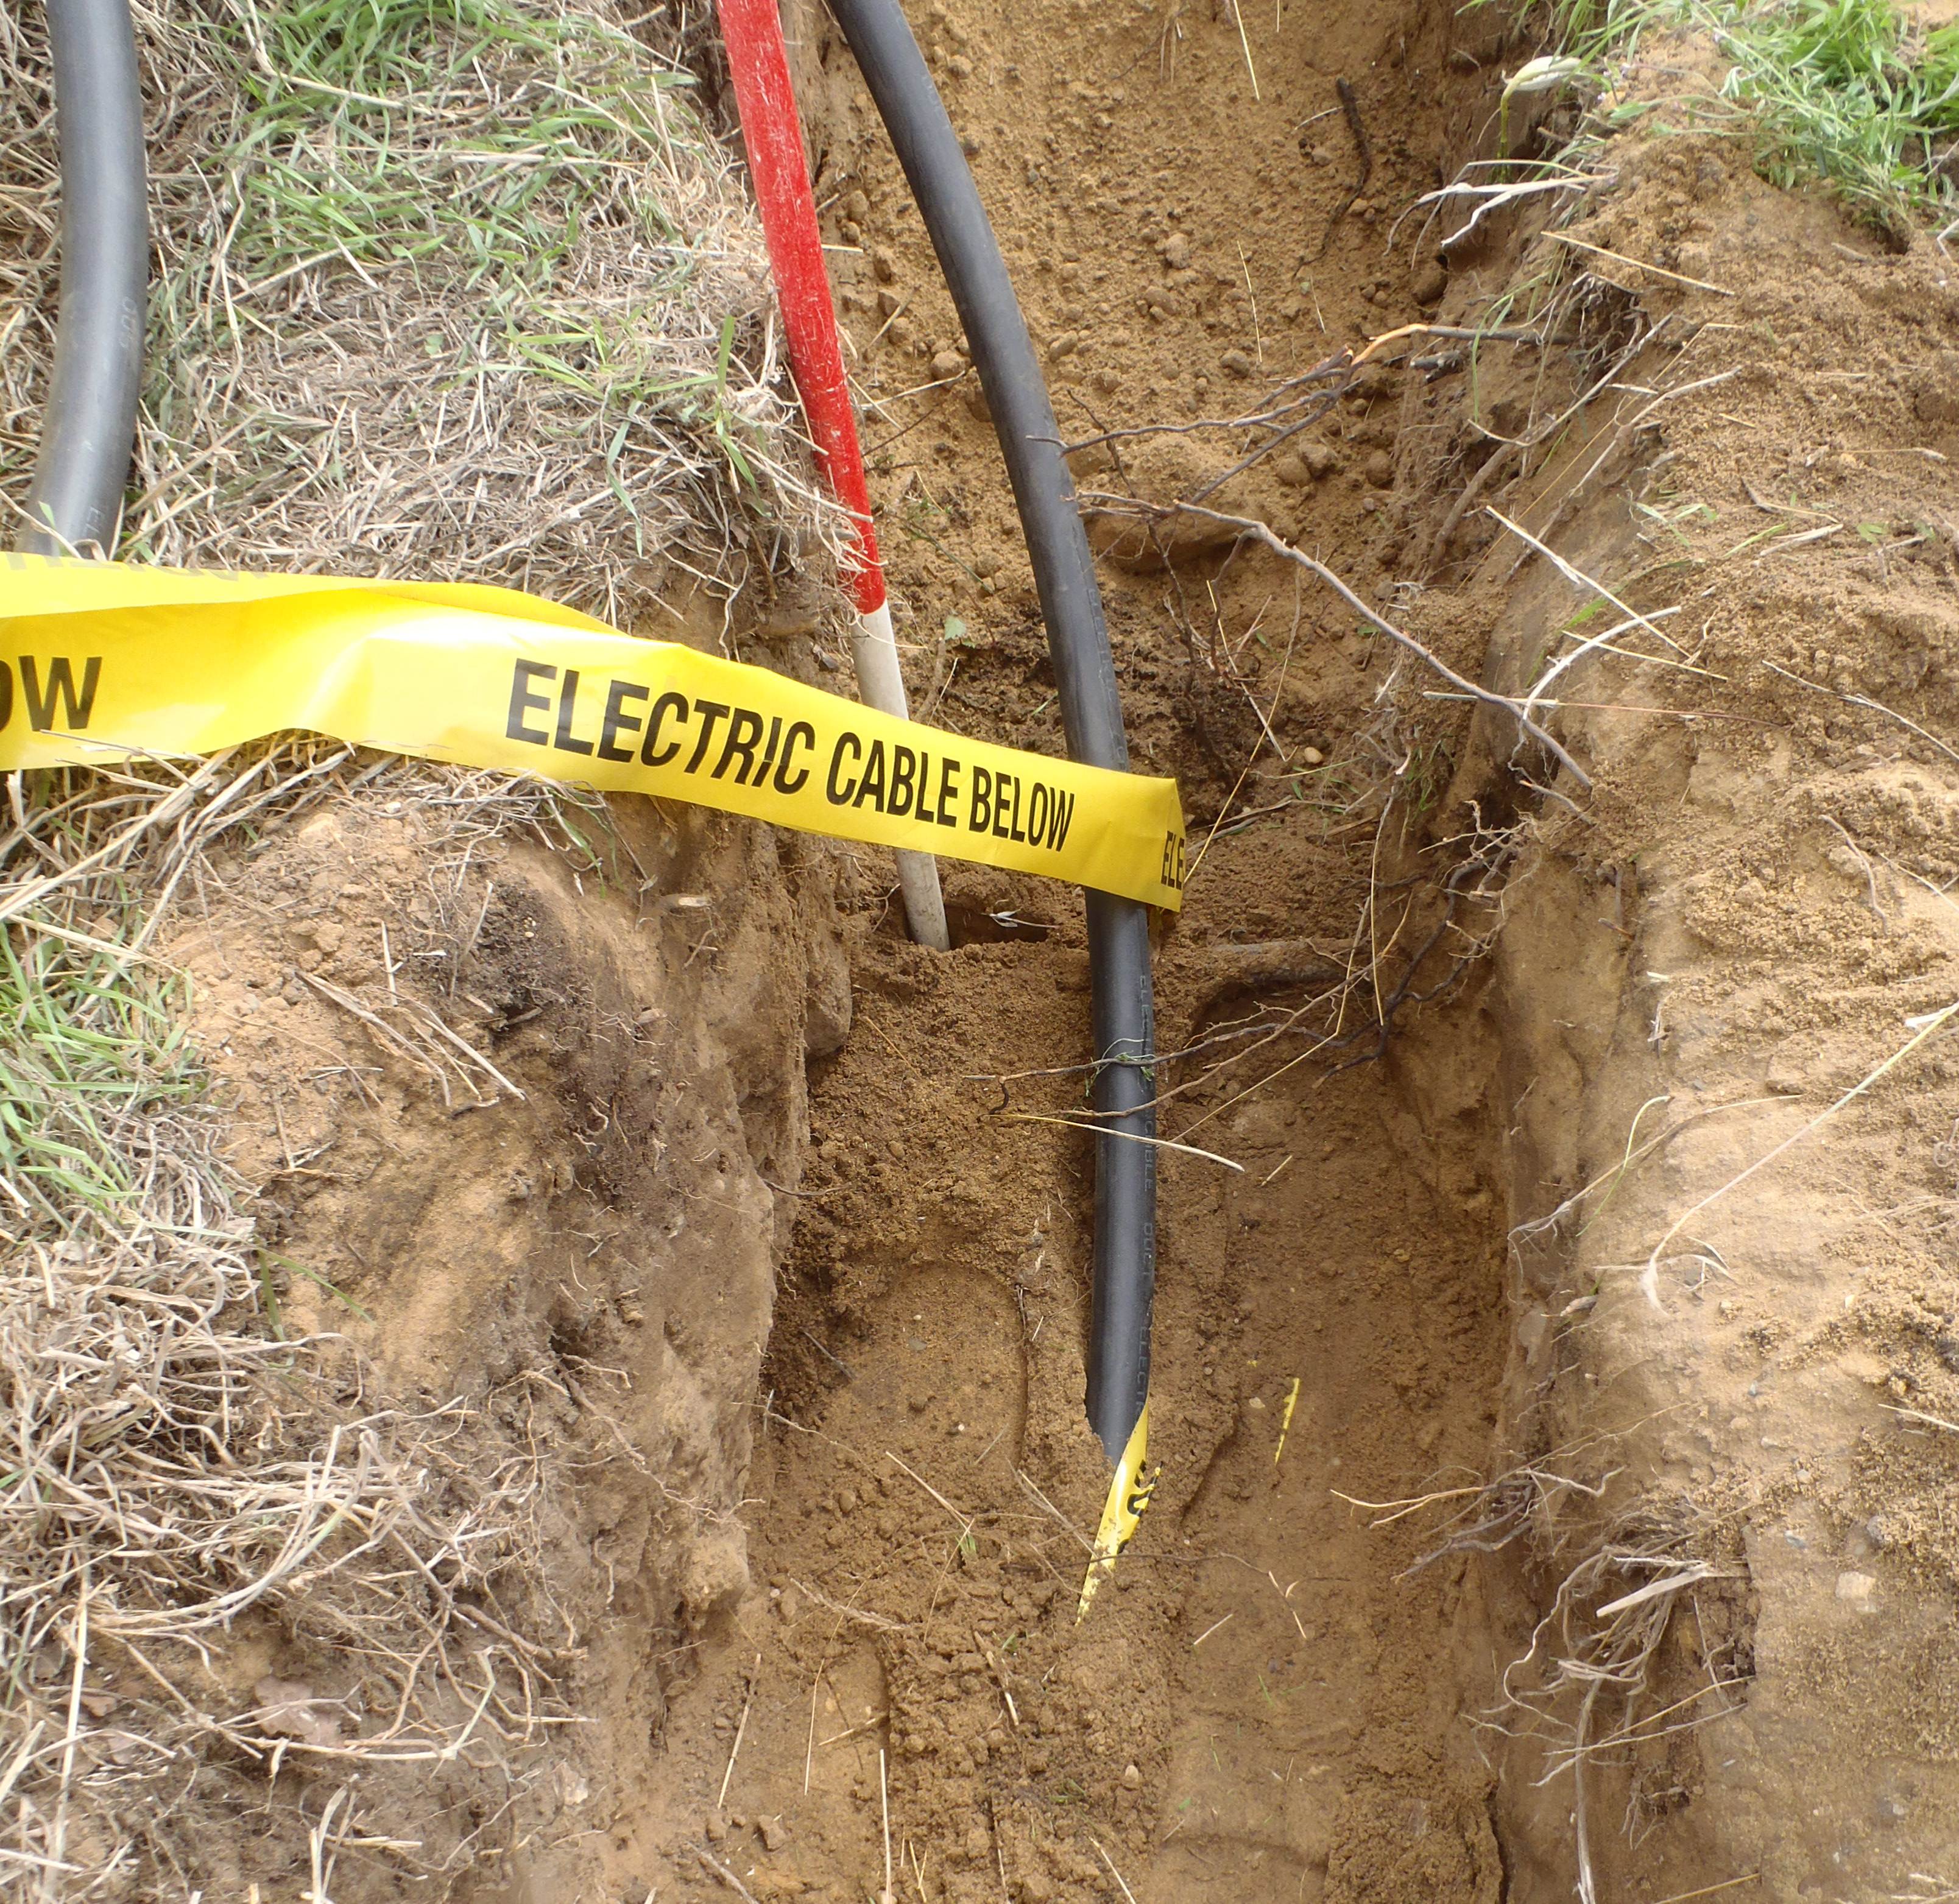
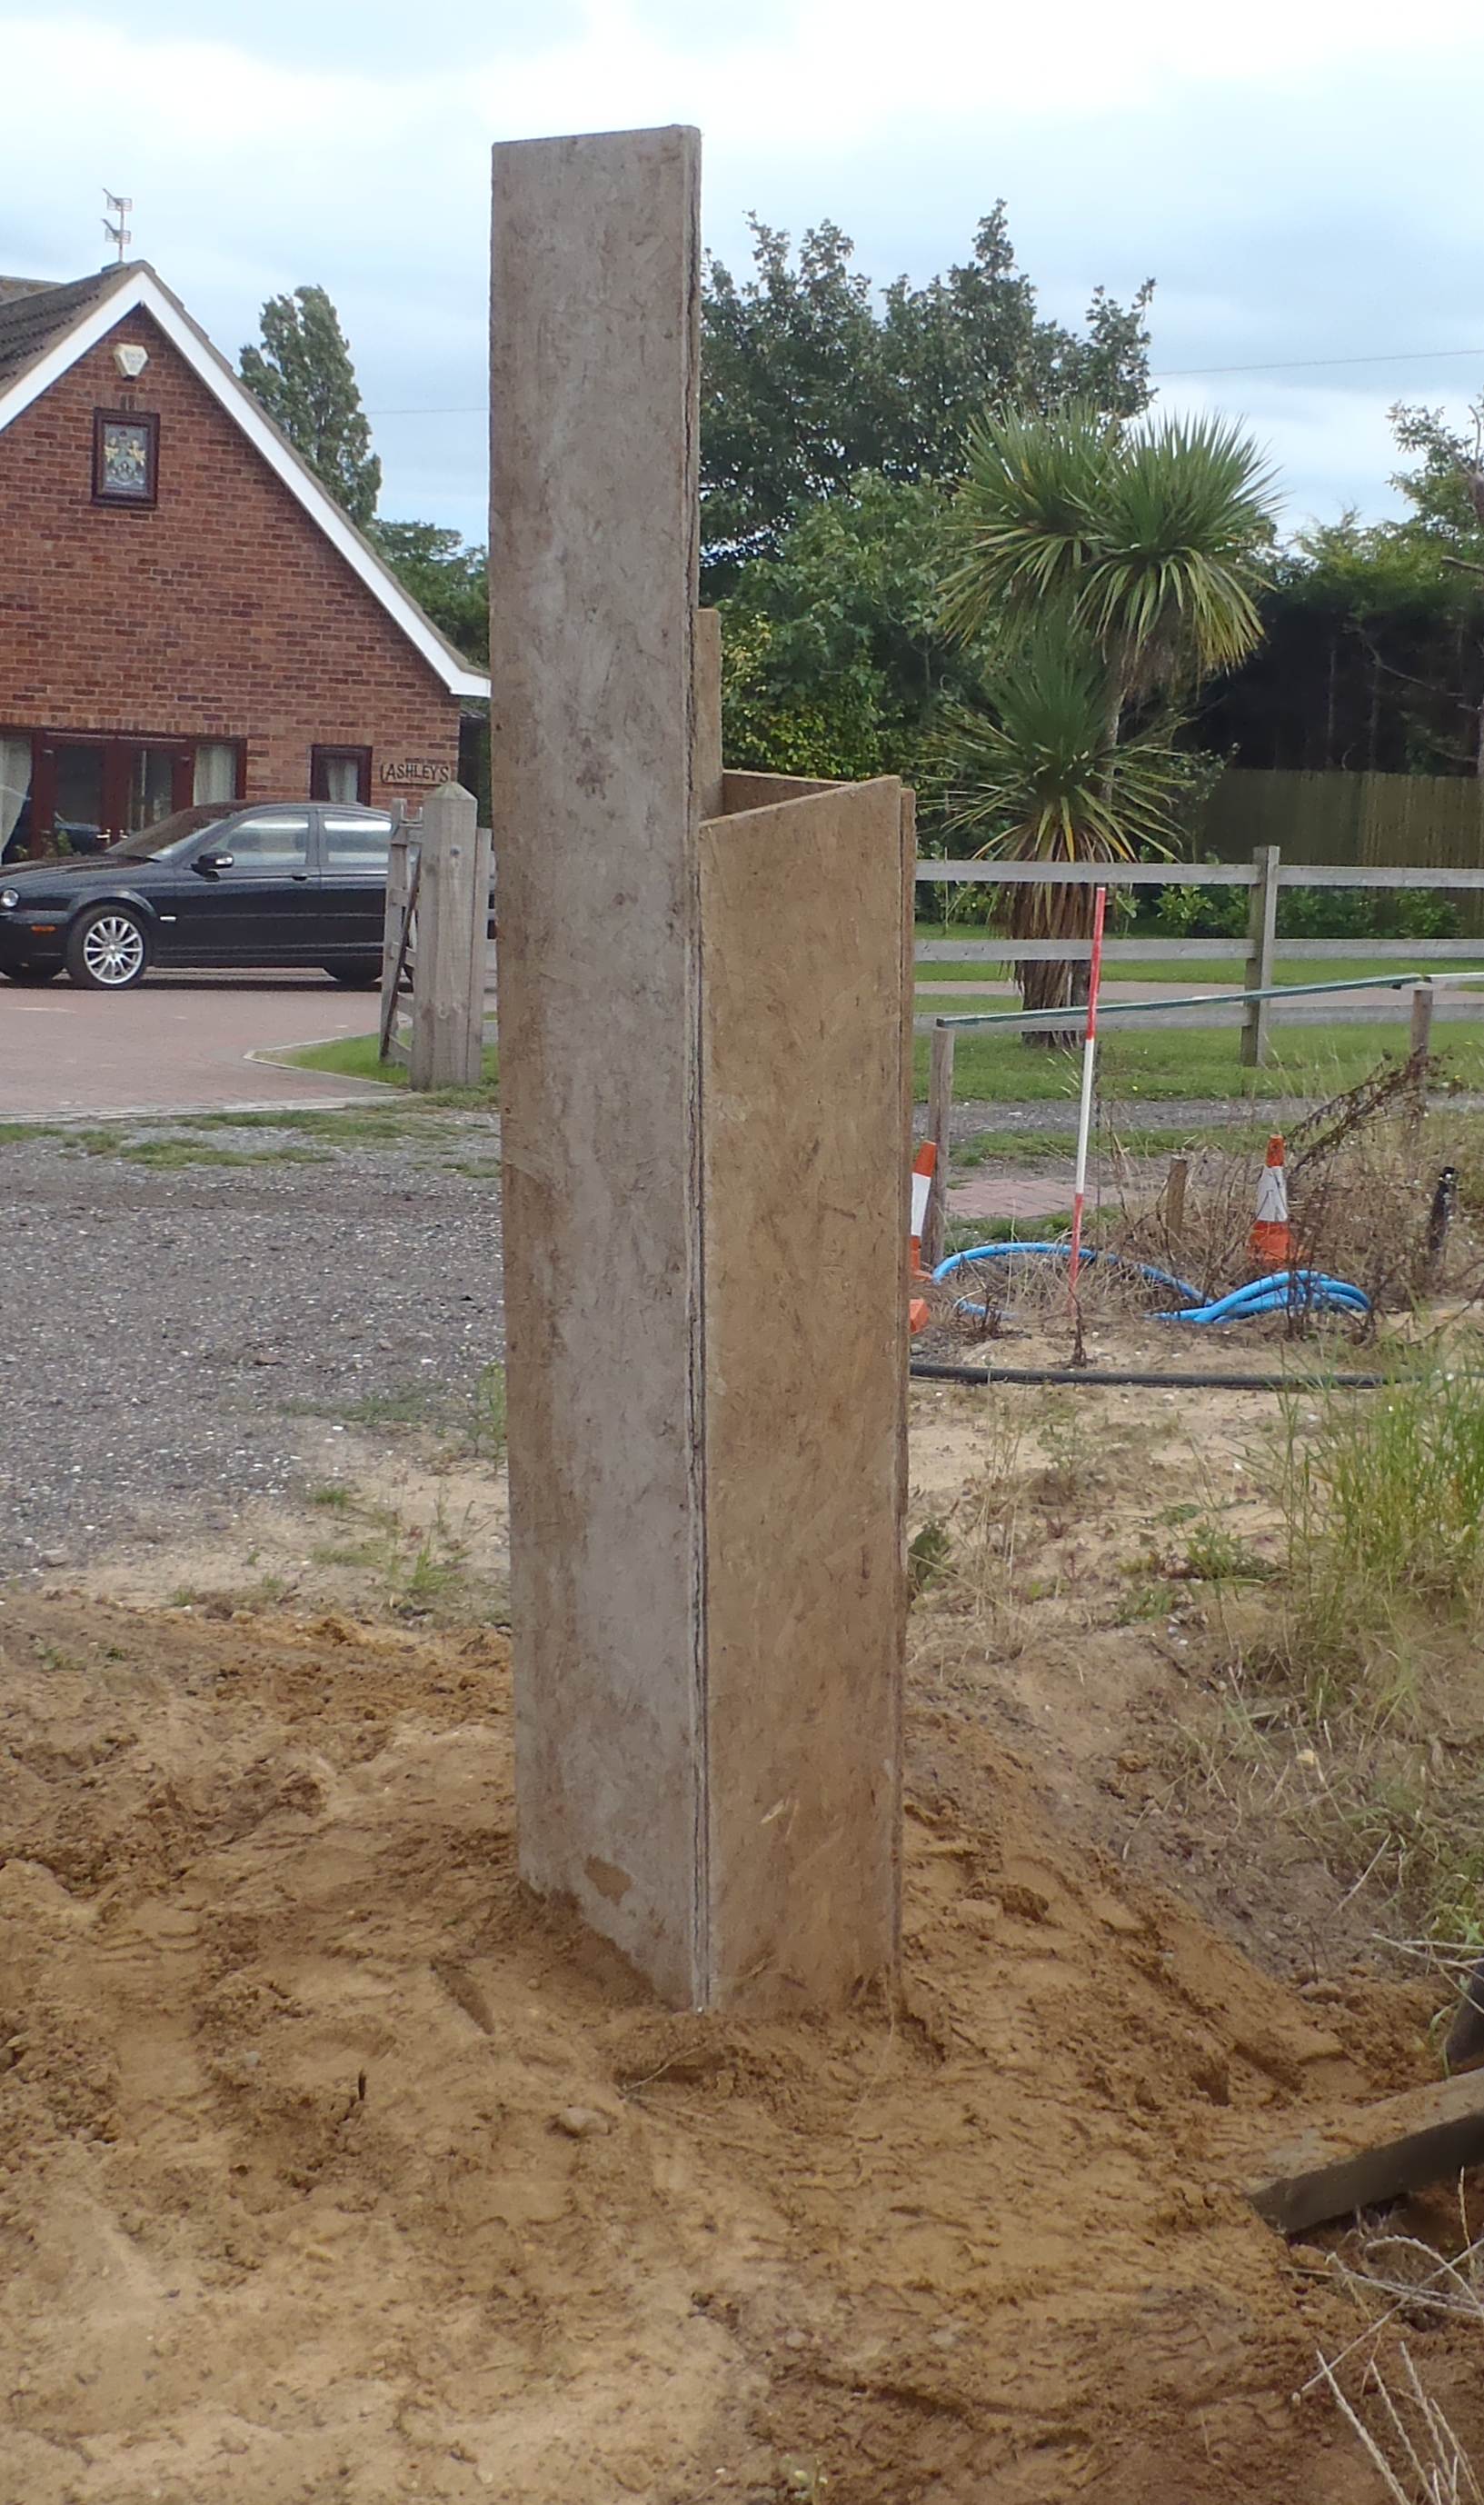
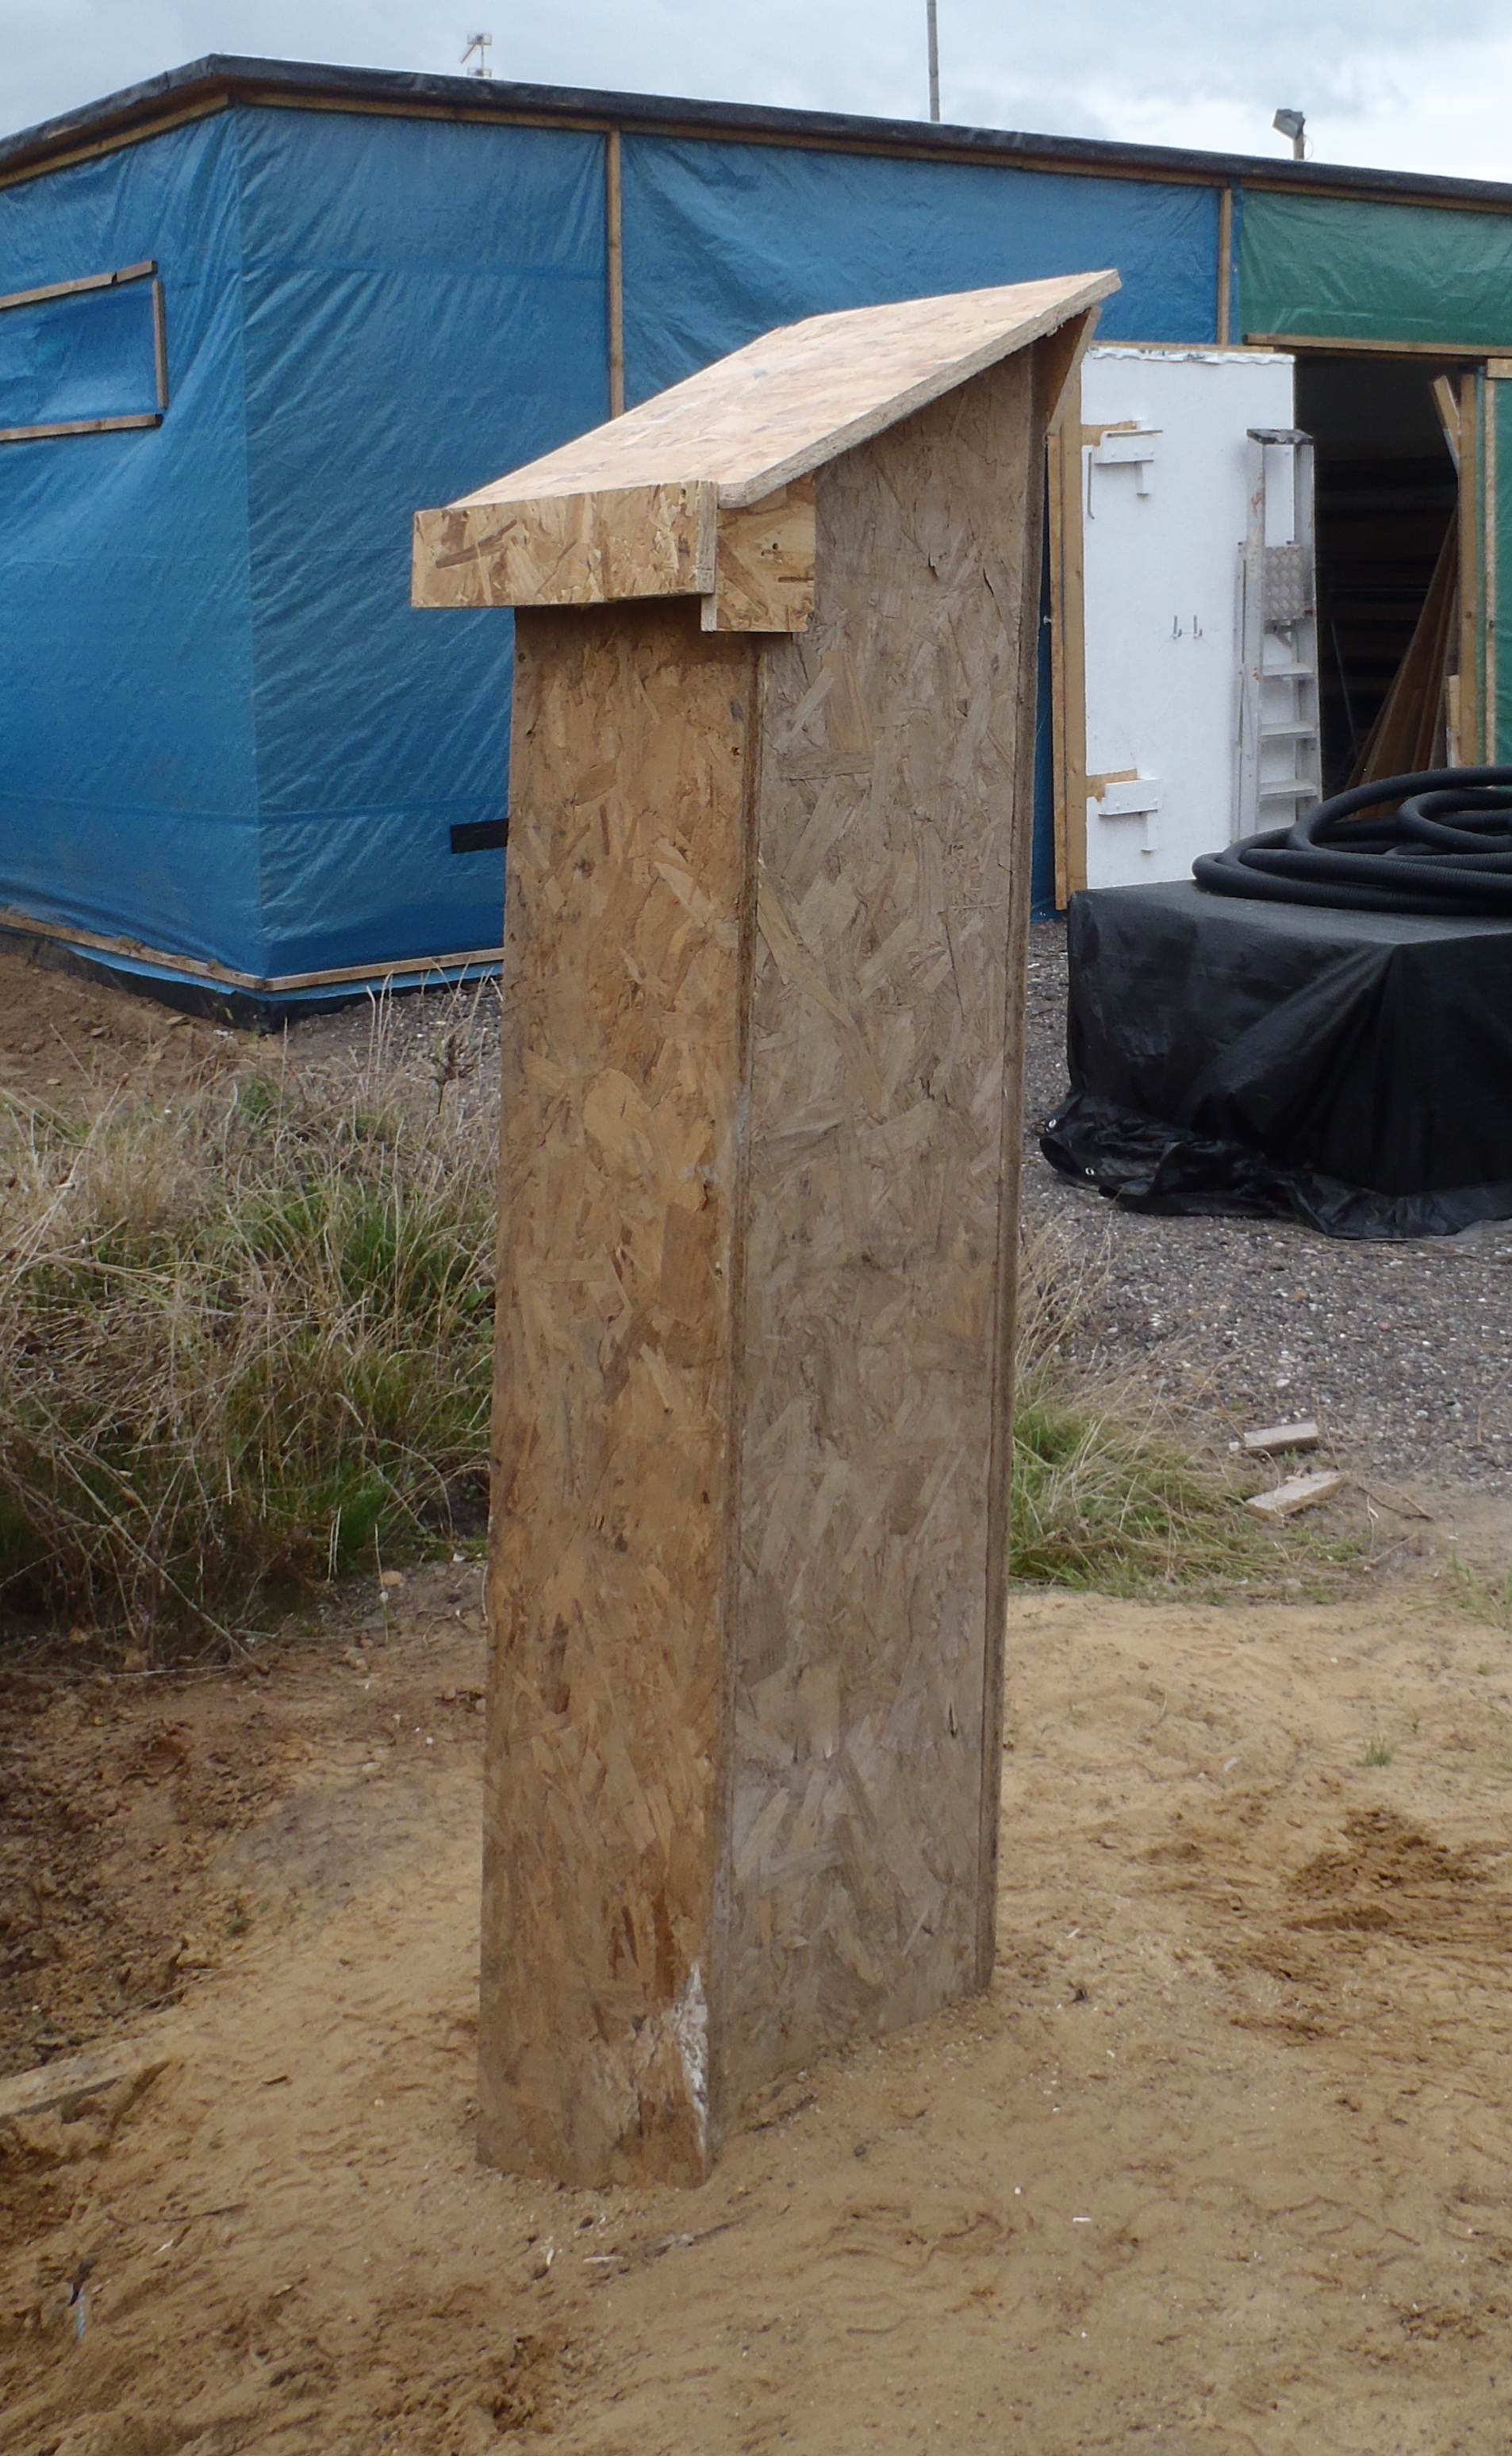
Electricty duct and incoming cable
Today we connected our new water supply pipe to the existing pipeline coming out of the meter. It was a mixture of plastic “new” pipes and iron “old” pipe (running off towards the old little cottage). We didn’t know that the plastic / iron adaptor was specially designed to allow the whole adaptor to slide fully along either pipe, we had to assume that this wasn’t possible and decide how to fit a new length of pipe between the meter and the iron pipe without bending or breaking anything! So we dug an extra couple of metres to uncover more of the iron pipe. We hacksawed at that point and moved the original adaptor along to that point (and this is where we discovered about the special design of sliding along!). we then put in a T junction jut after the meter and then finally connected to our new pipe!
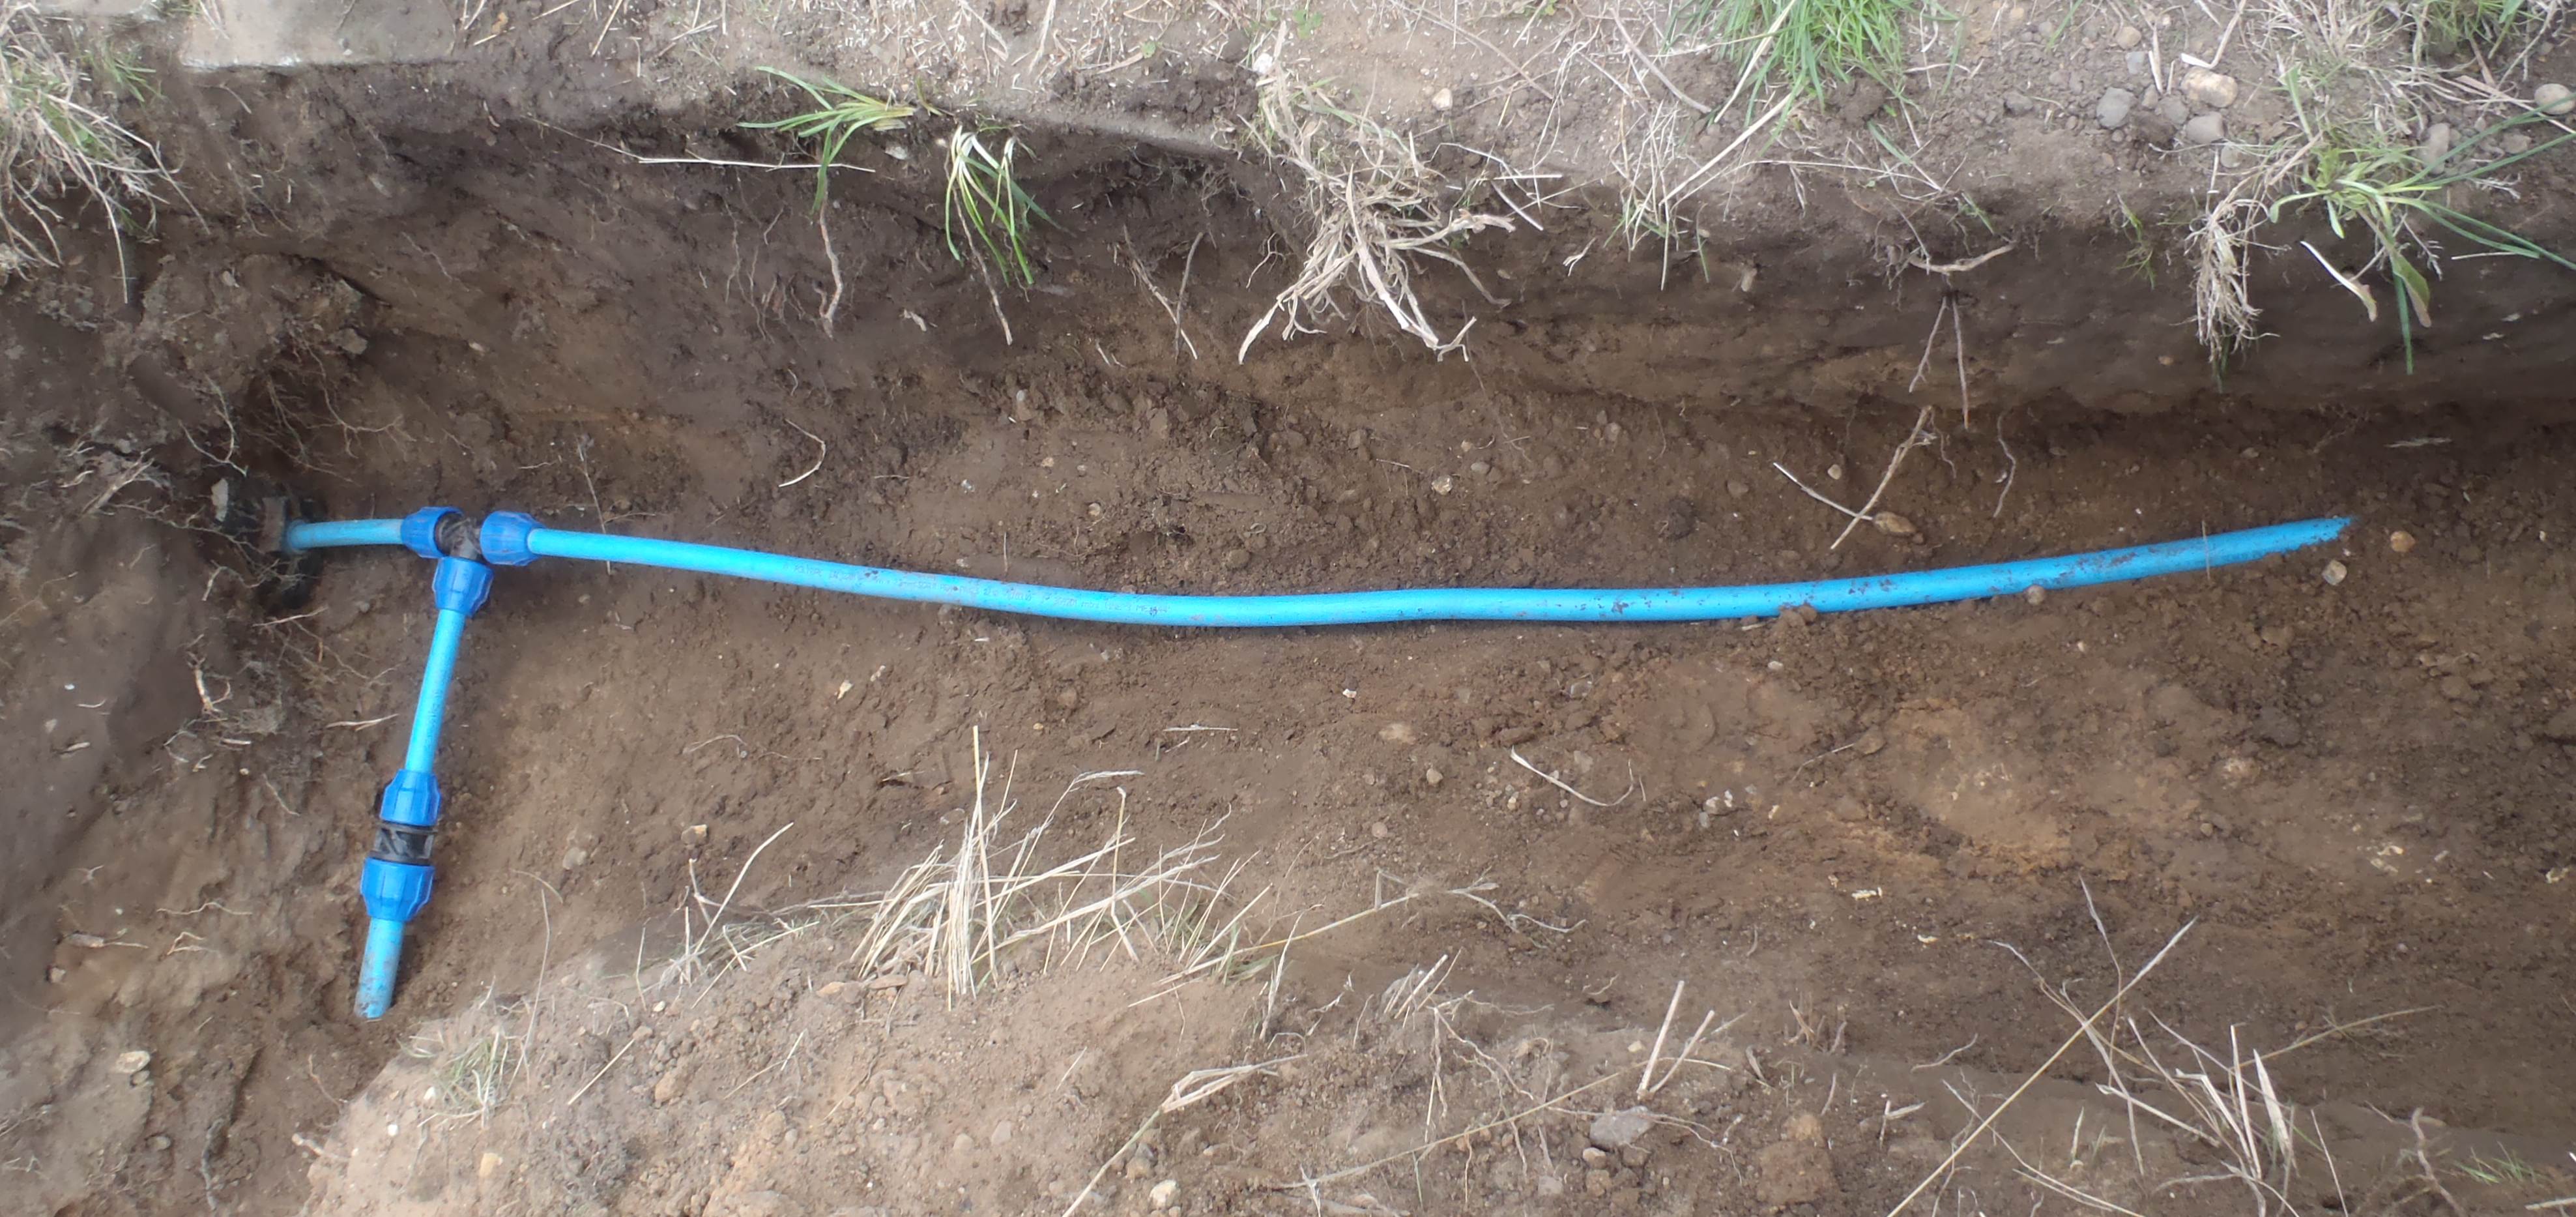
Water connected to mains
Then it was the nerve racking point of turning back on the water and see what leaks we got!! NONE!! Yippee!
The garage now has water going to it and the outside tap on the front of the garage now gushes lots of water on demand!
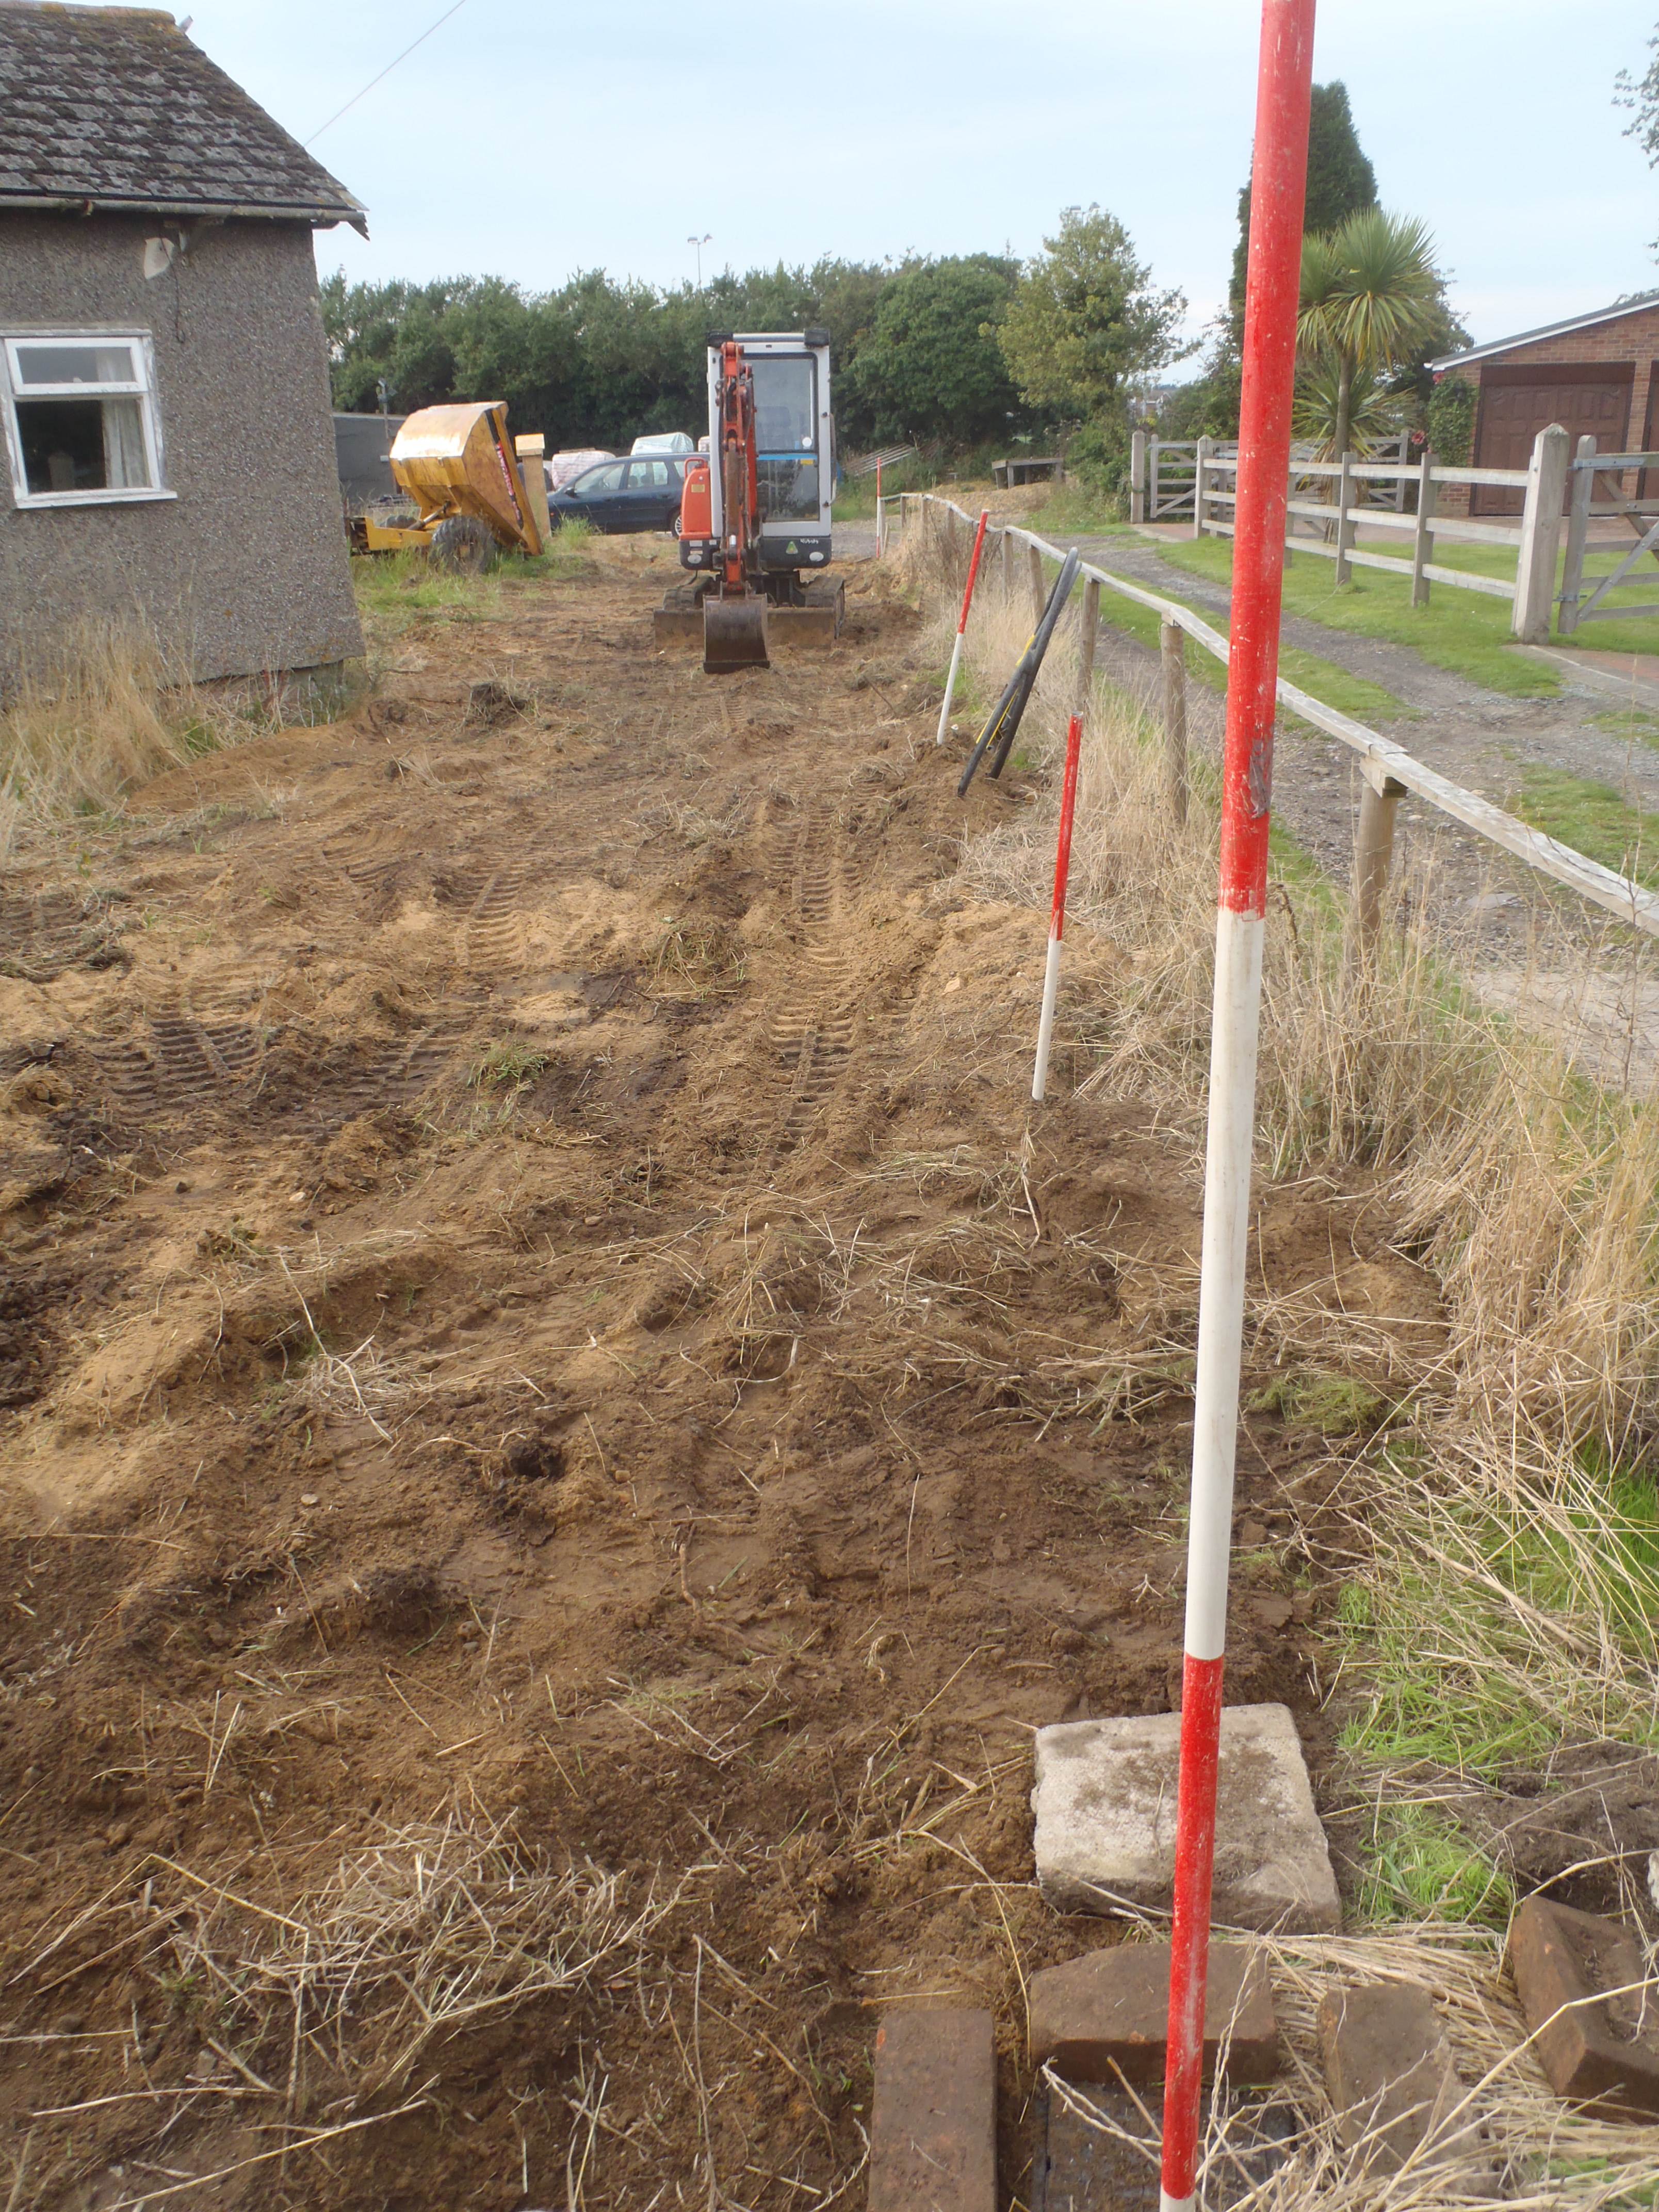
Trench all filled in
The whole trench is now filled right up to ground level.
It is the turn of the Engineers from the telephone and electric companies, who will be called in, to do the final “mile” or rather “yard” to their “live” cables and equipment. This will happen in a few weeks time when we have moved into the temporary quarters!