This afternoon, we tackled the next tool and template we will need for the production of our roof rafters and this time, it was the Bird’s Mouth jig template. We thought we could use the jigsaw machine to give us the means of quickly cutting the two straight sides of the “notch” at the bottom of the 89mm CLS timber. But our tests revealed that the jigsaw does NOT like being guided by an external straight edge, it kept wanting to curve towards the guide edge and bending the blade! it seems that jigsaws works best free form, meaning that one has to follow the line by eye, rather than the whole machine being guided by something else. it was quiet annoying to realise this!
Next, we tried using a router with a long straight cutter bit but the piece of our timber we are trying to cut is 38mm thick and it proved too hard for the router machine to cope with it all! Phew! Finally, we looked at using a circular saw! But, even though it cuts a lovely straight line, the machine itself is not very symmetrical and would have meant a very complicated template with moving flaps to make it work properly!!
That brought us to the end of the day and we abandon that task as well!!
Tomorrow, we will tackle this problem again and probably end up with a simple jig to guide a hand saw and we will have to do the job of making over 200 Bird Mouth notches by muscle power alone! Phew!
Category: Rafters
-
Bird’s Mouth Jig Much More Complex Than Originally Thought
-
Rafter Joint Squeezer Tool Created
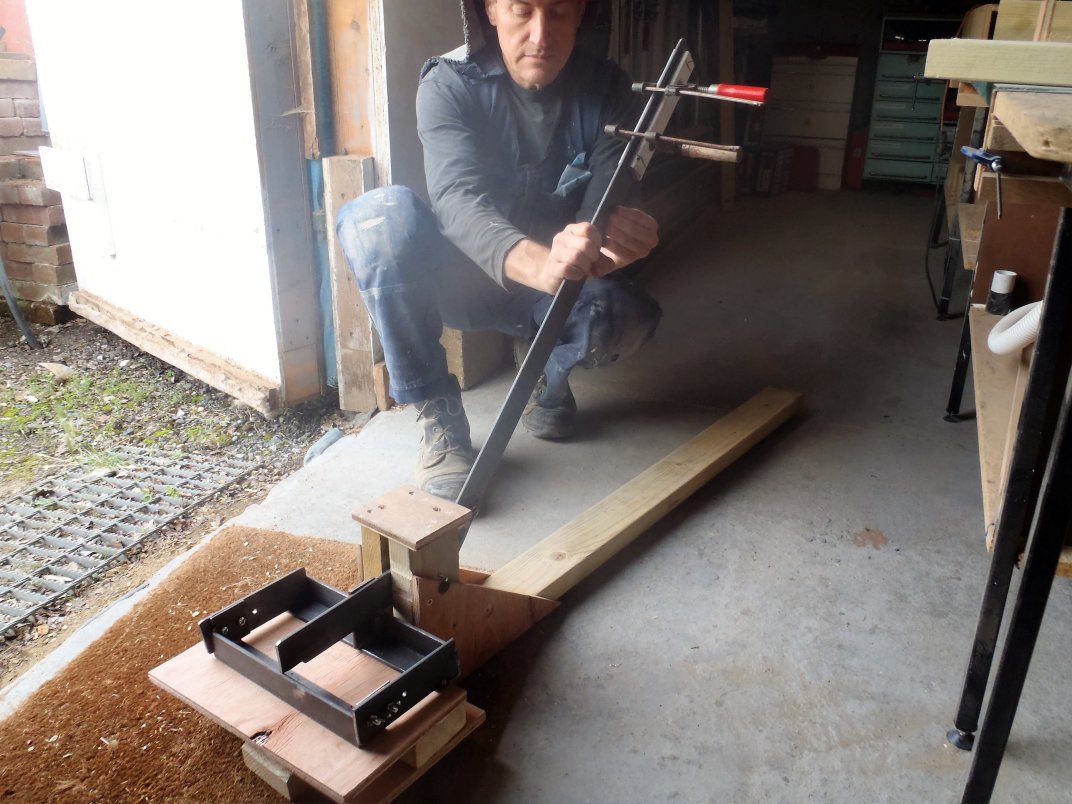
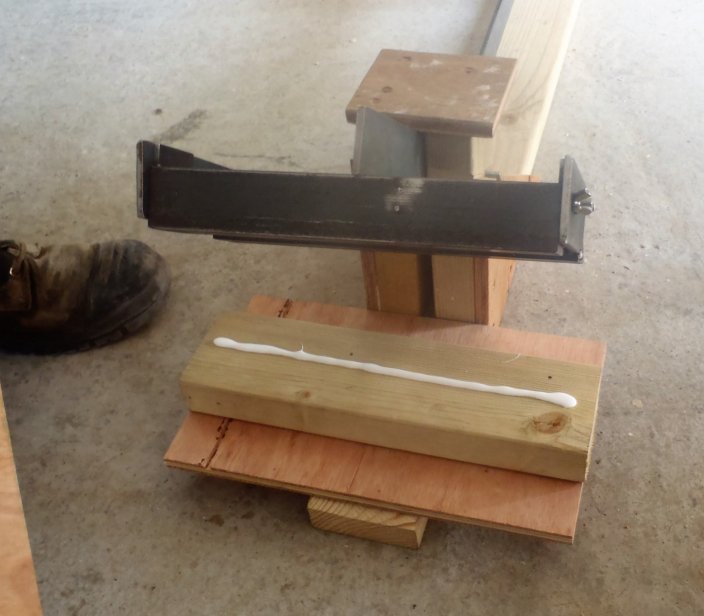
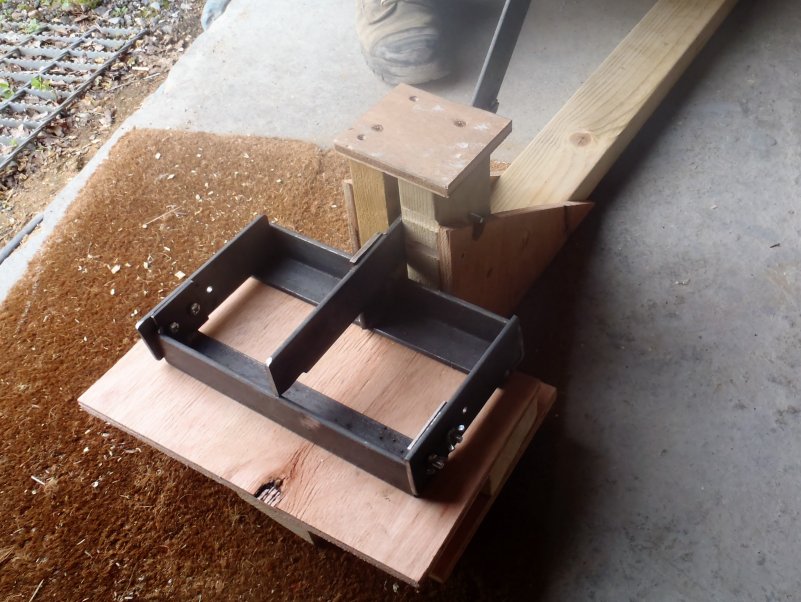
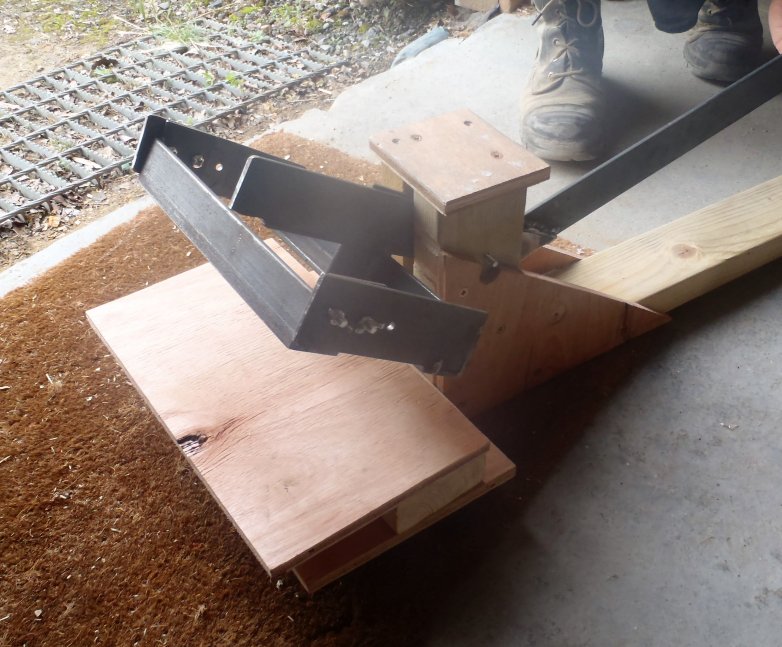
We made our first tool today! It is a joint compressor for squeezing the webbing (the plywood layers) hard onto the flanges (89mm or 63mm CLS timber planks) and making sure the glue is spread as thinly as possible to gain the maximum strength in the joint.
It is made using steel angle iron pieces with side arms and little upright piece and then a long “handle” with a couple of holes to provide the pivot point. A wooden footplate and sturdy short pillar to hold the bolt that is holding the metal part of this tool at the correct height to squeeze the rafters, first with just one plywood layer and then again when the second layer goes on later.

Joint clamp – The machine
Joint clamp – First Apply glue
Joint Clamp – close and apply pressure
Joint clamp – Open and move to next position
This tool will slide under the edge of the template that will hold the component parts of the rafter and squash the joint and hold it tight while the nail gun comes along and puts in four or five nails to lock things together while the glue dries and make it good and permanent.
Tomorrow, we will work on the next tool and template, probably the Bird Mouth and “end of Eve’s” template!