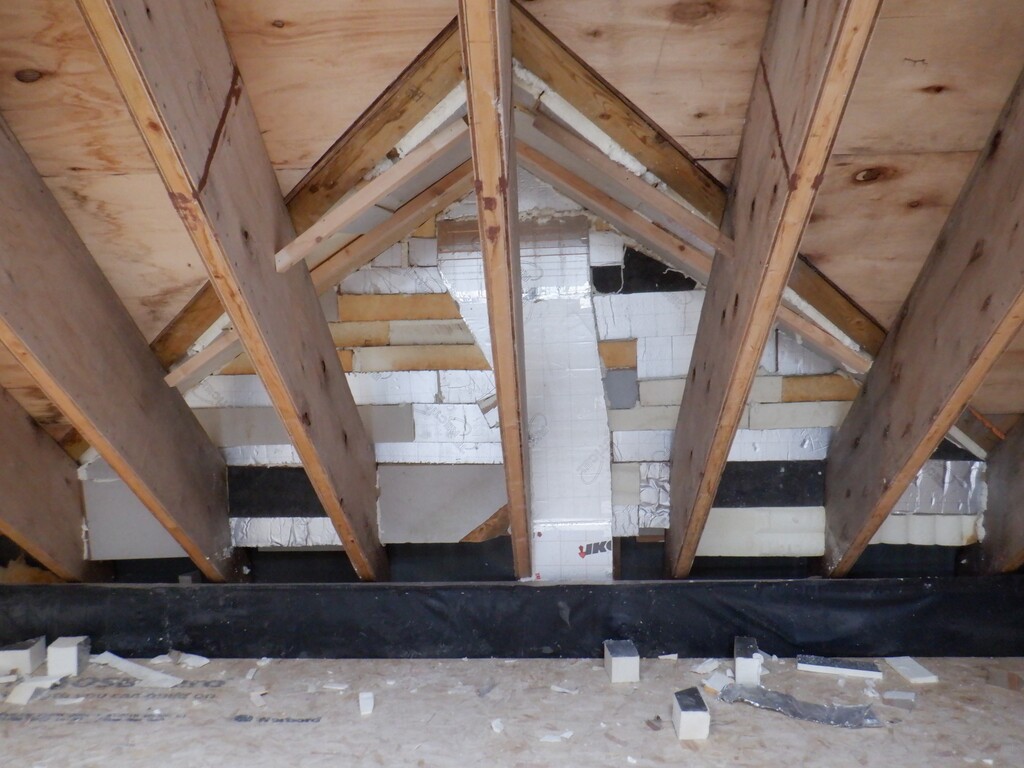
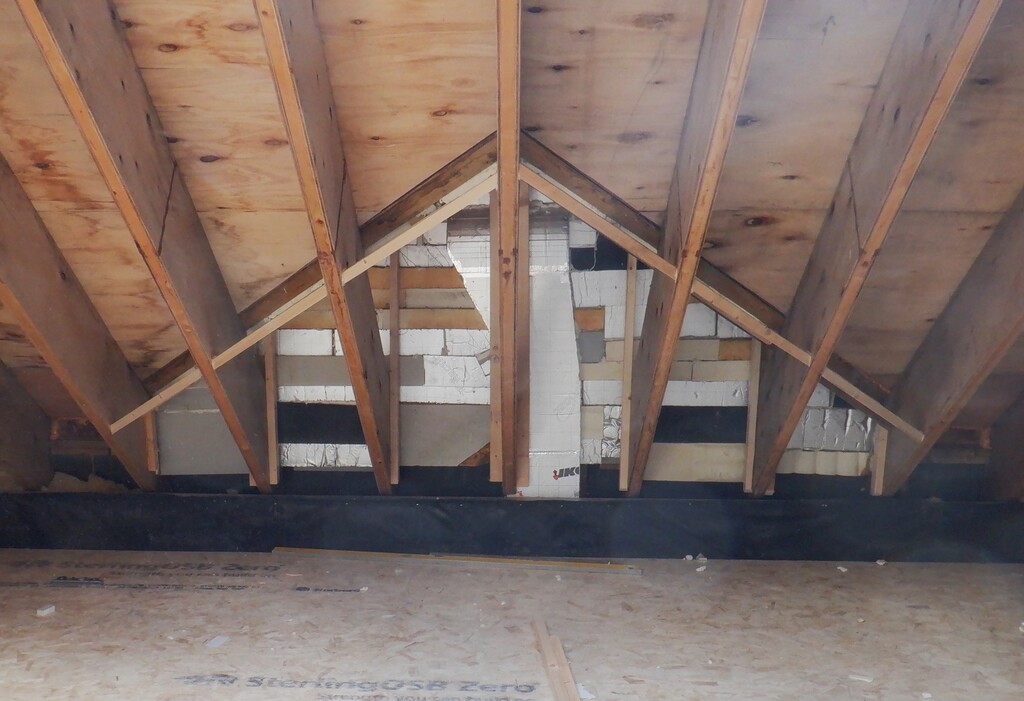
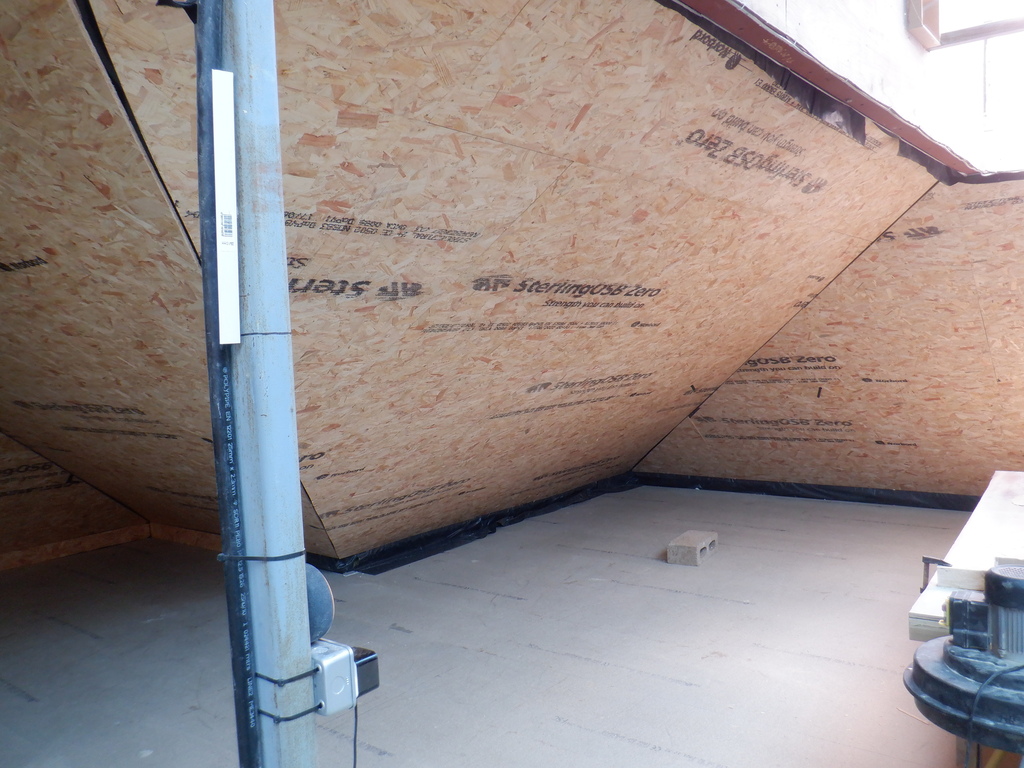
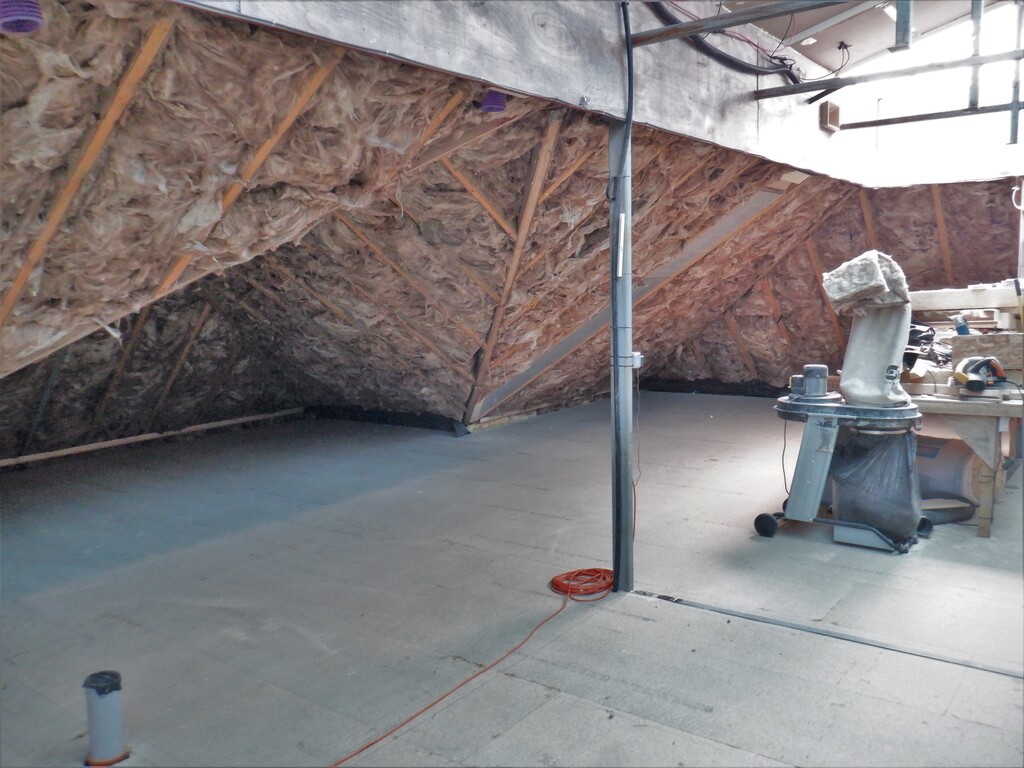
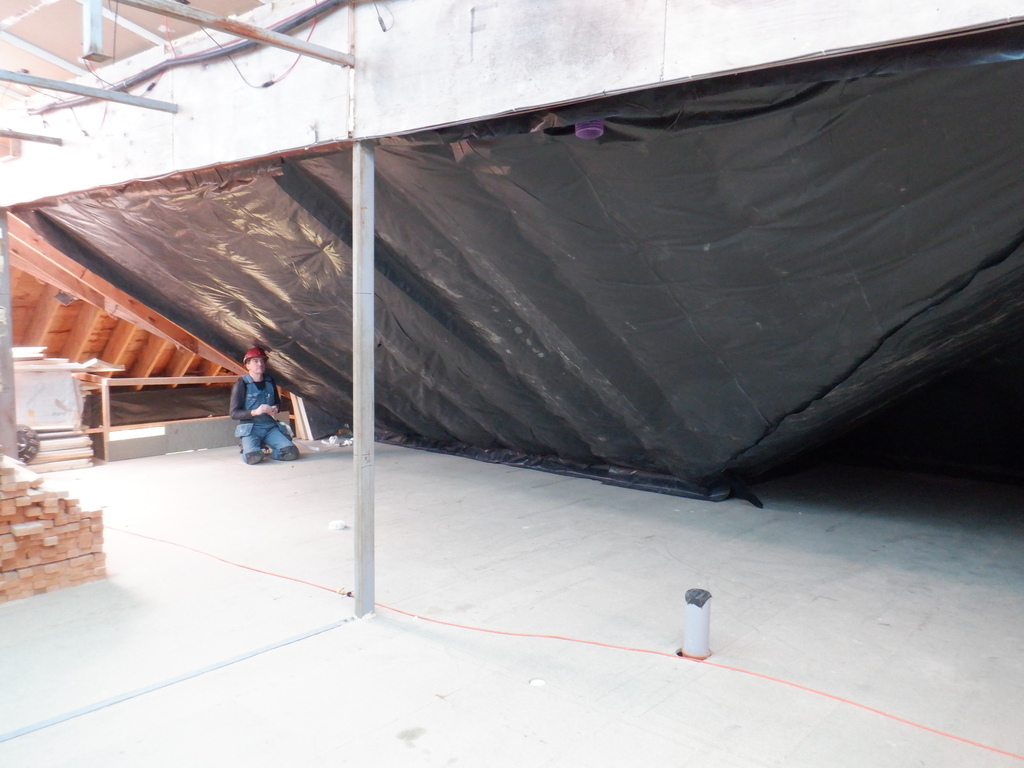
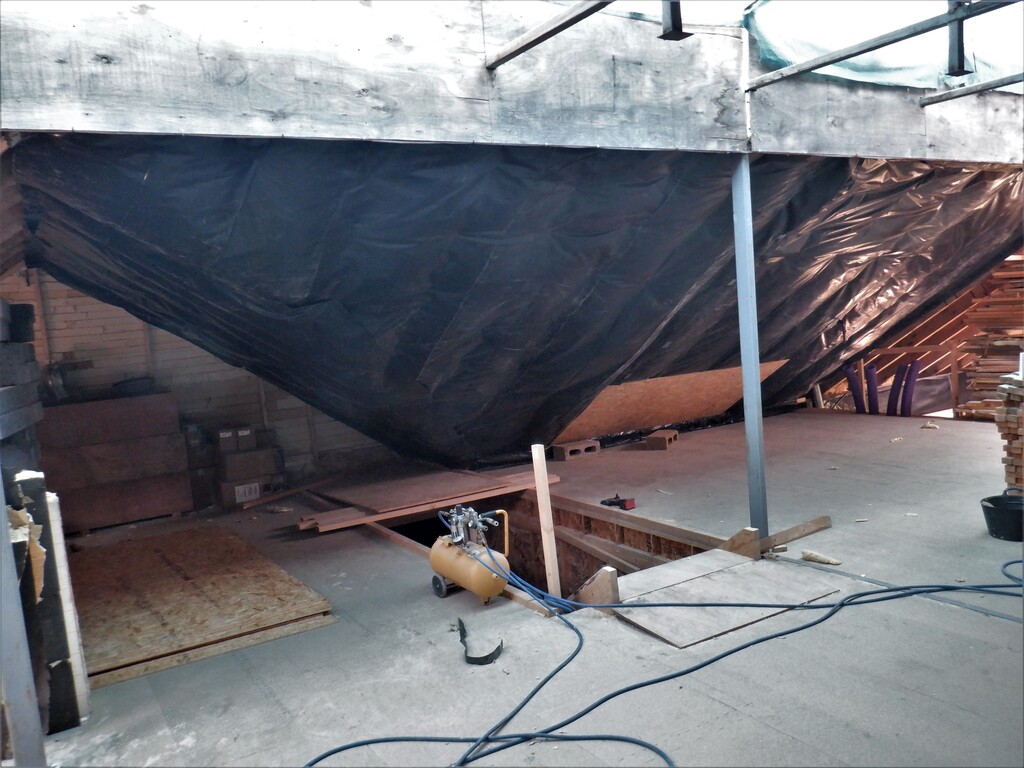
We spent three days levelling up all the “ceilings” of the Great Room. We wanted to make sure that the overall surface of each plane of the sloping roof is nice and flat, without any major wobbles. To achieve this, we mounted our green laser line generator on the side of each section of the roof rafters and adjusted the laser line until it is on balanced all even from one edge to the other edge of the roof.
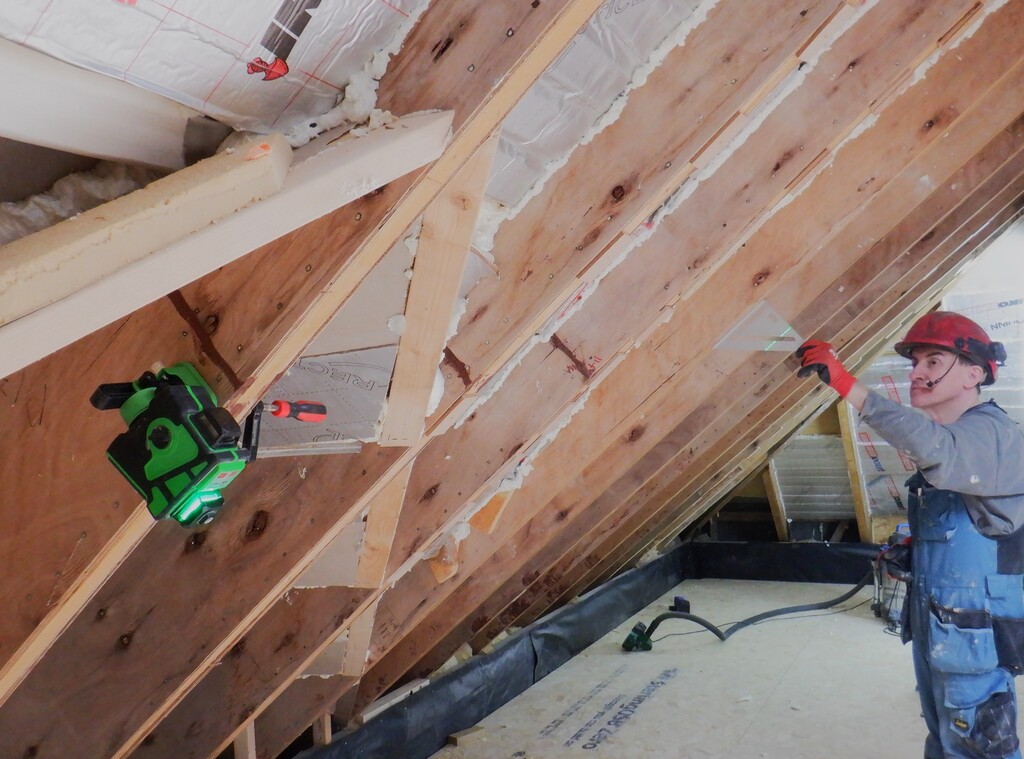

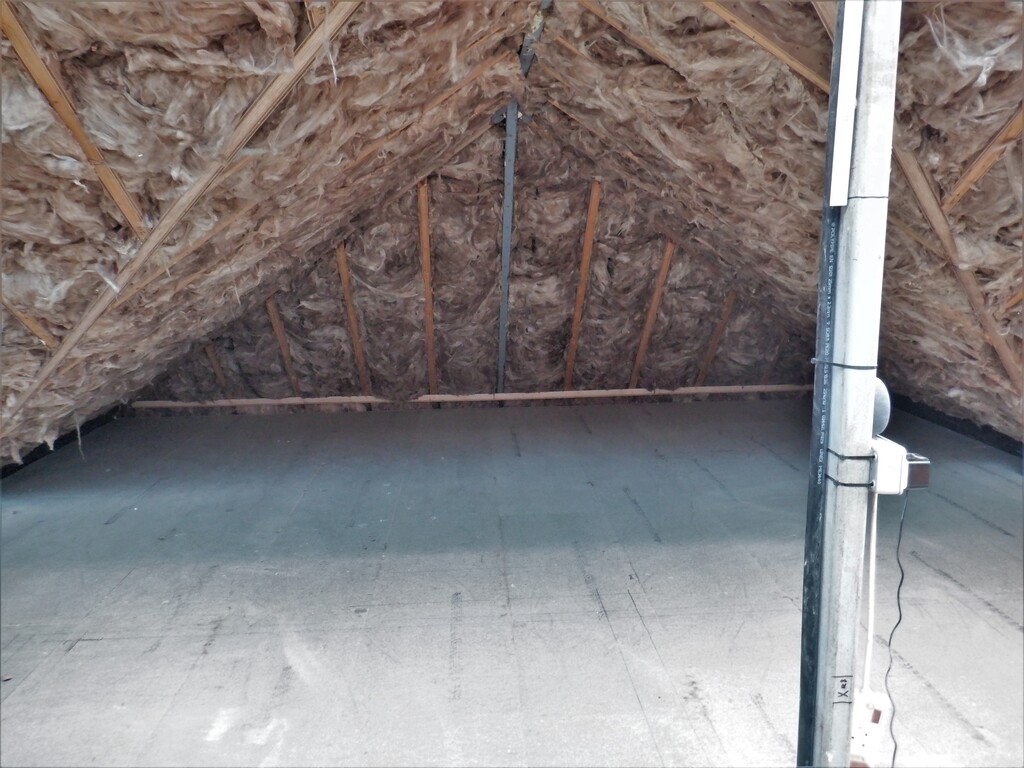
Using laser to align rafters
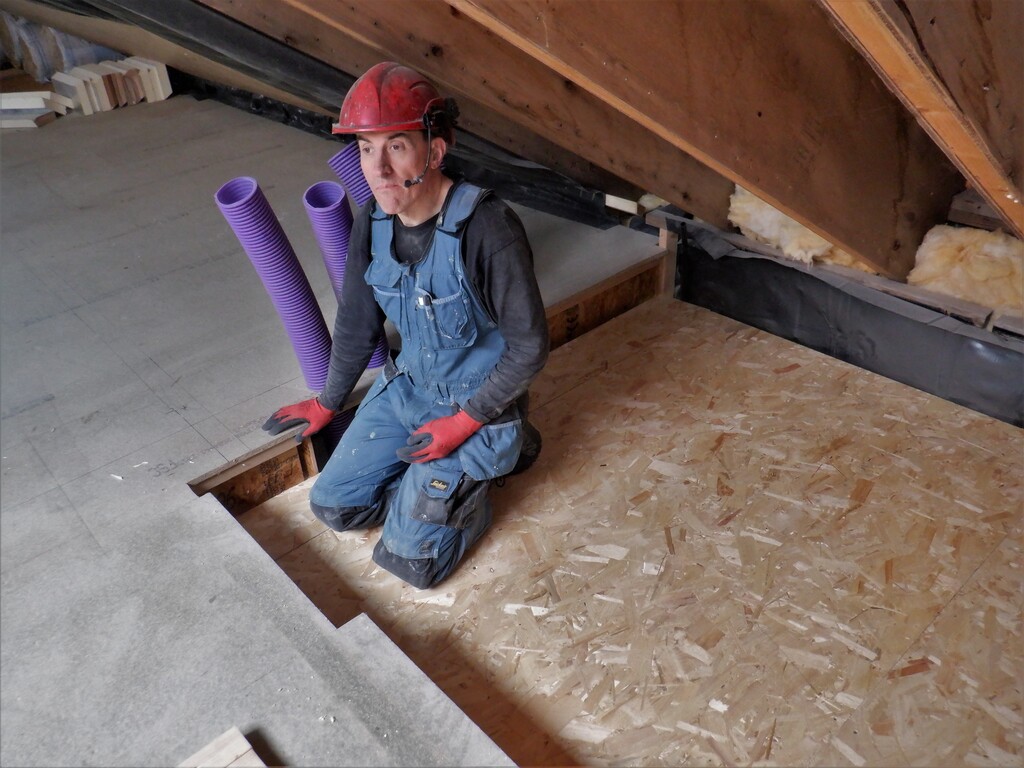
Measuring Rafter alignment
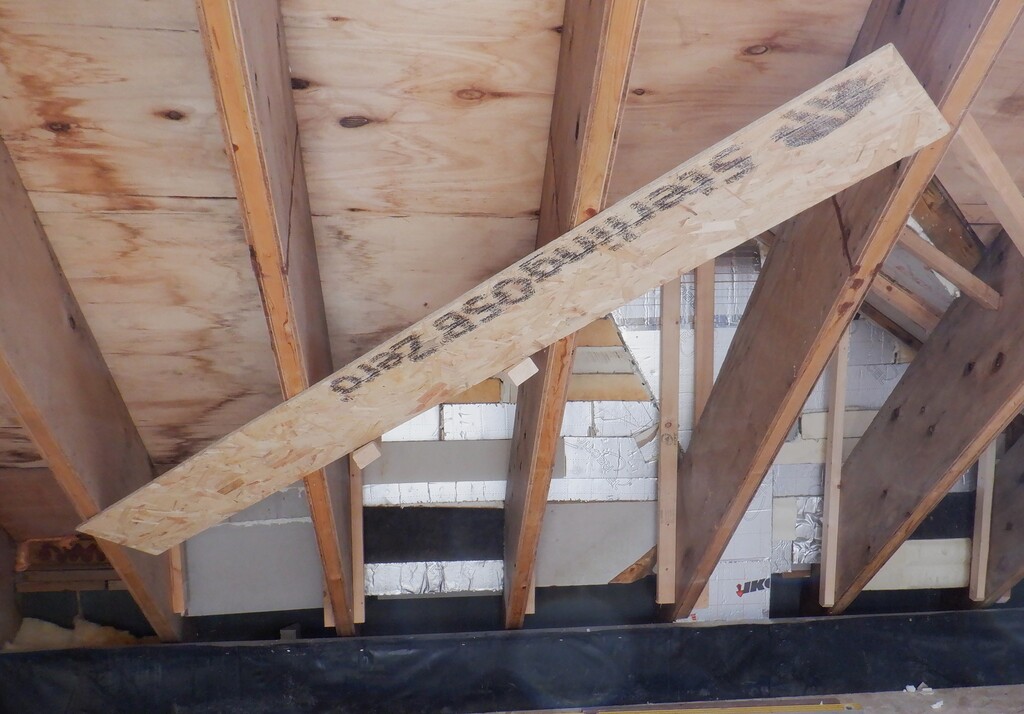
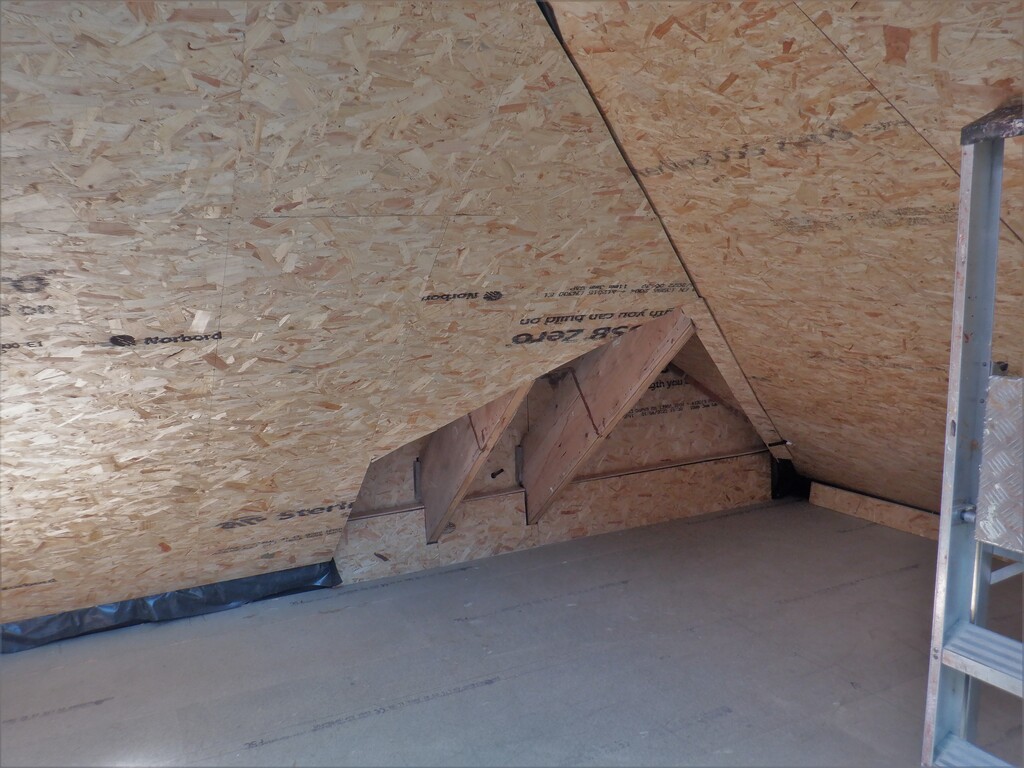
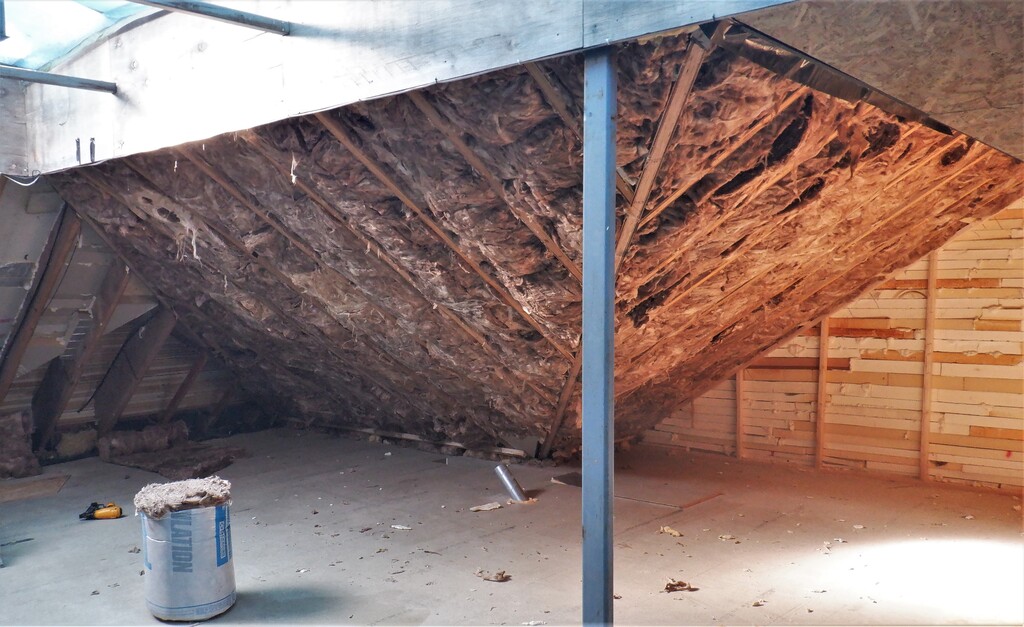
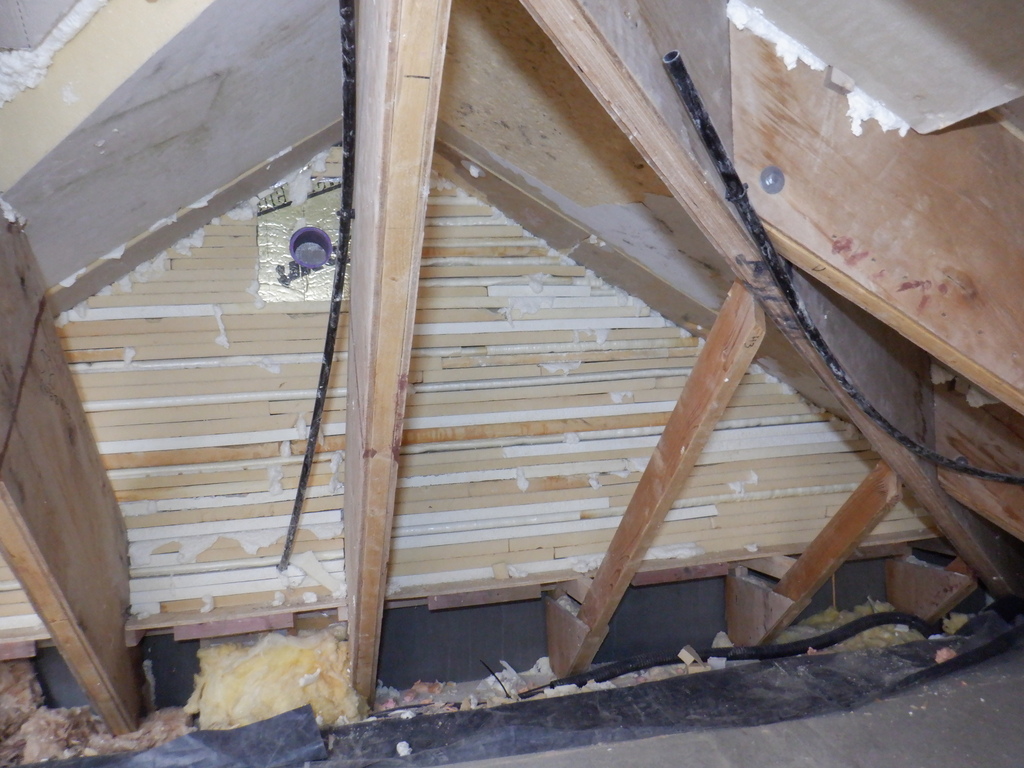
Then, we stapled various different thicknesses of wooden shims, depending on where the green laser line is in relation to each spot on every single rafter. We had a collection of 1.5mm plywood, 3.5mm hardboard, 6mm MDF, 9mm plywood, 11mm OSB and even some 12mm plywood pieces, all stapled using our air staplers and using 50mm long staples. We sometimes used combination so that we levelled up every rafter so that all of them matches up in one flat plane.
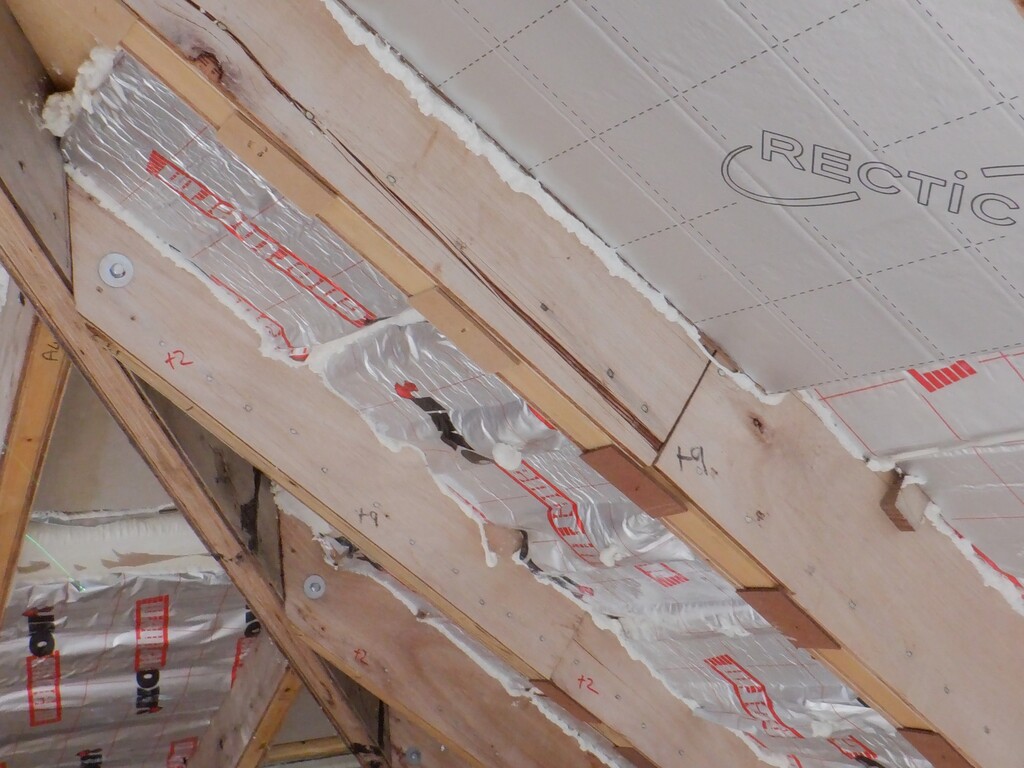
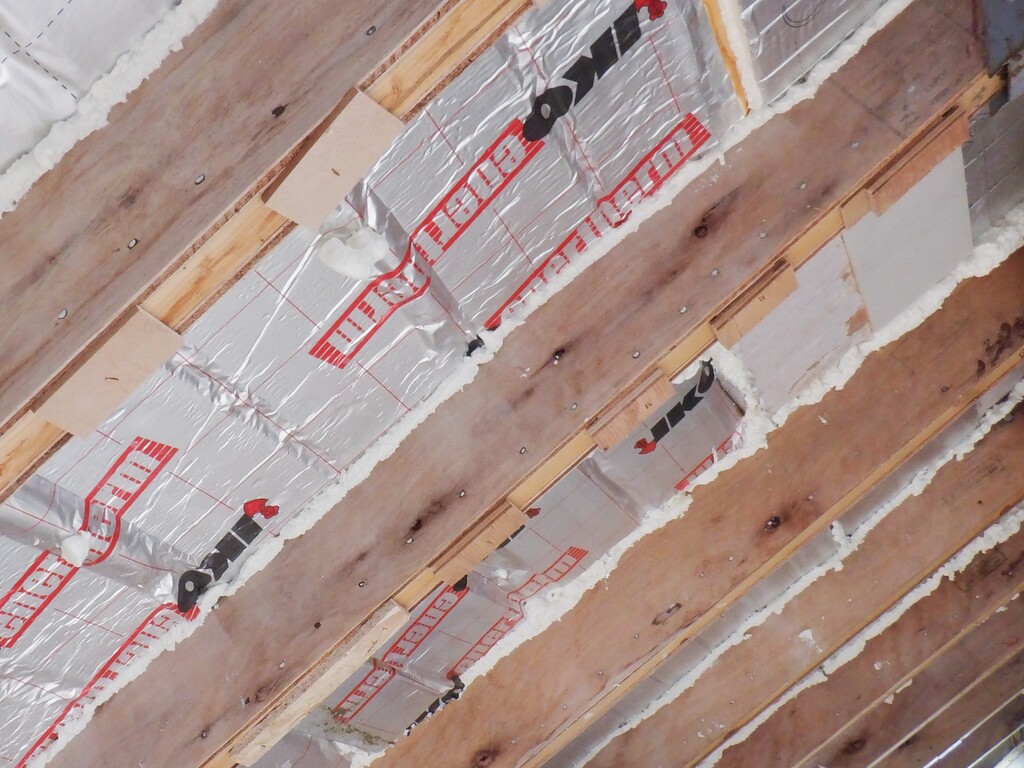
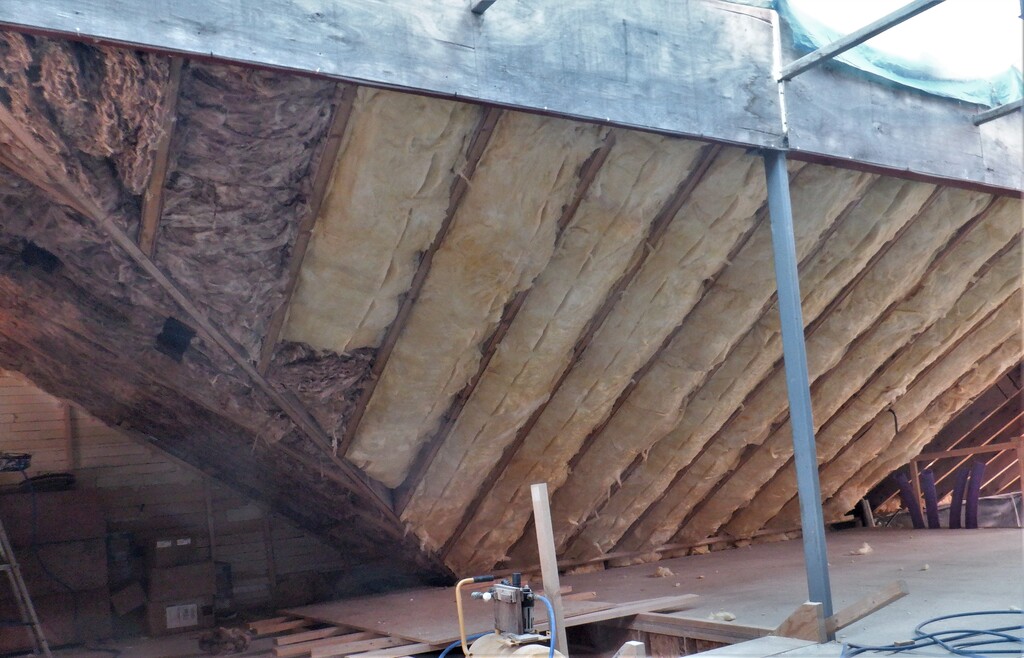
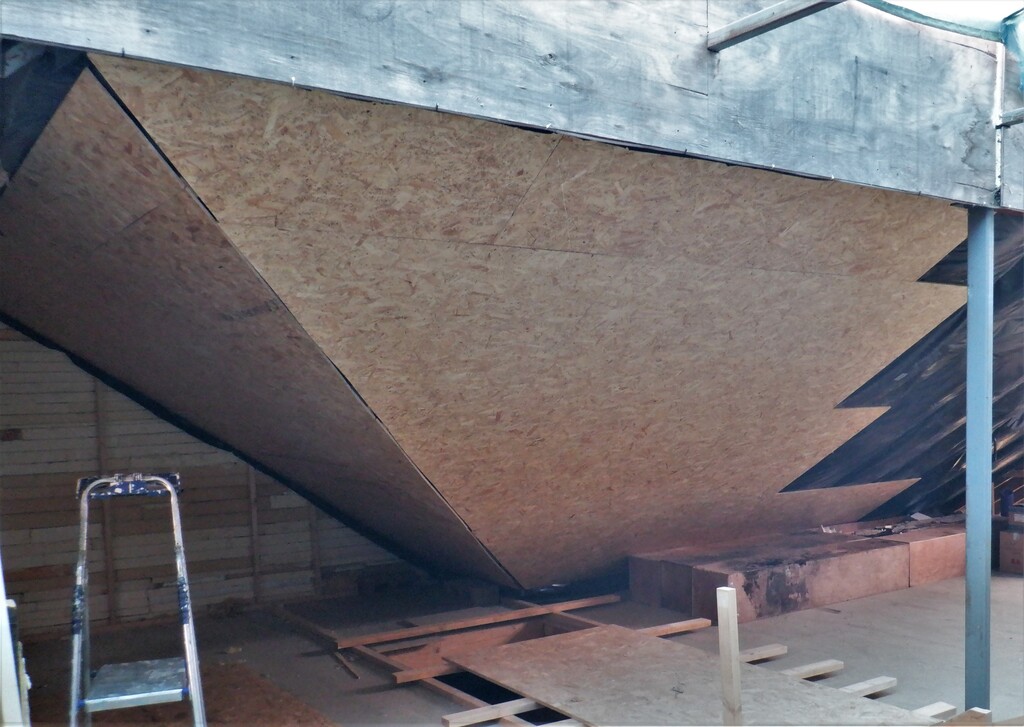
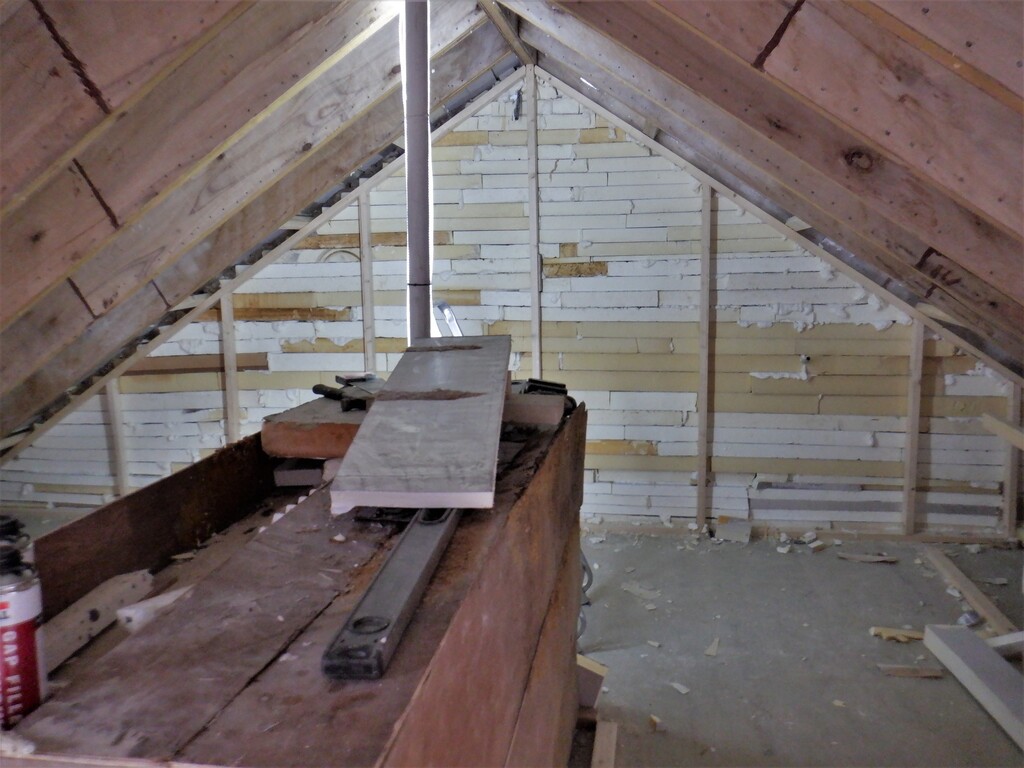
We progressed right around on all four individual roof surfaces we got in the Great Room, especially the “O” section where we had to cope with one of the rafters having a steel band with lots of hex headed screws in as well. For this roof plane, we had to put in an entire strip of 11mm OSB board, with various thicknesses of shims so that we can mount our 11mm sheet right across the ceiling surface and miss the metal band and its screw heads. 
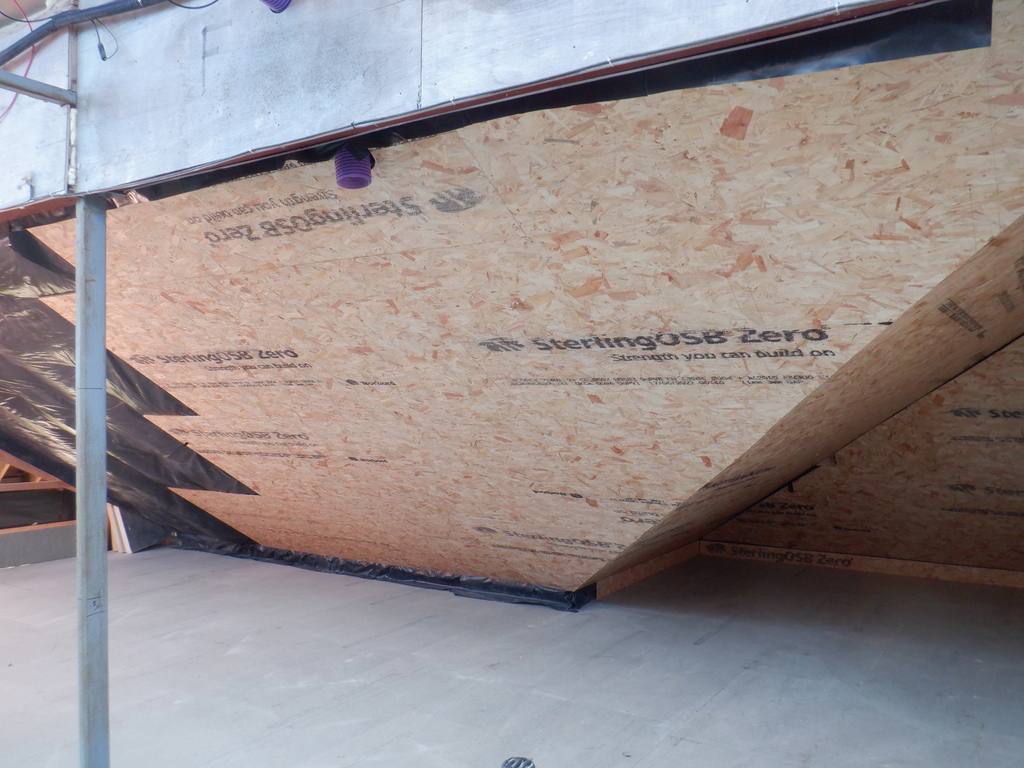
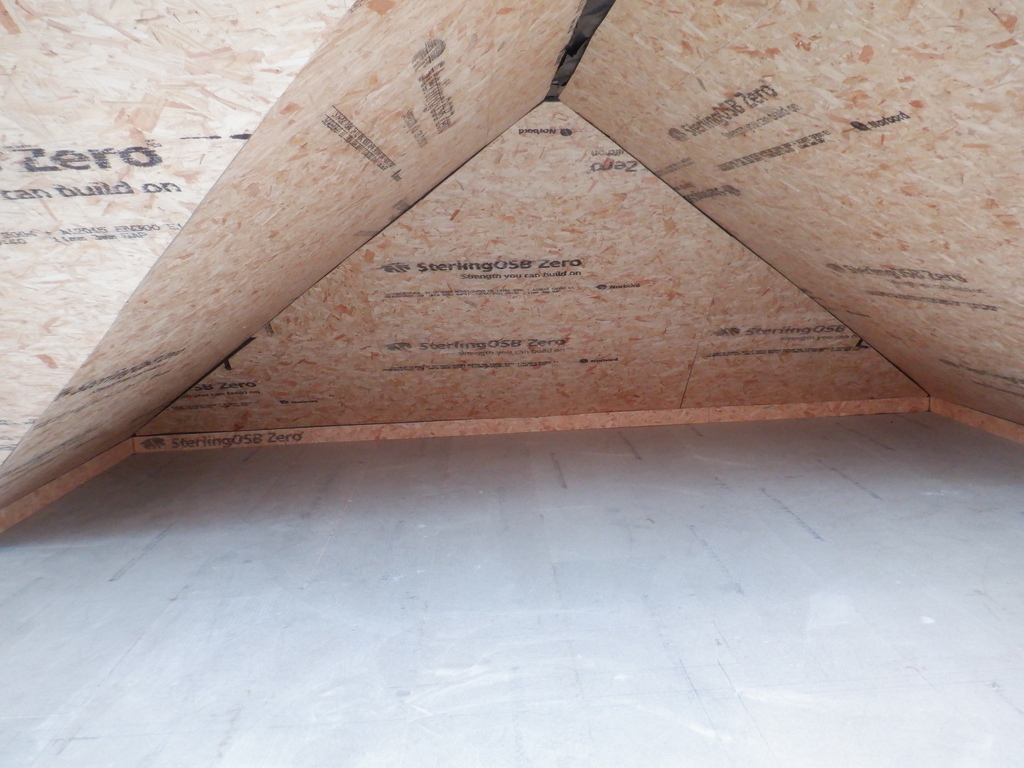
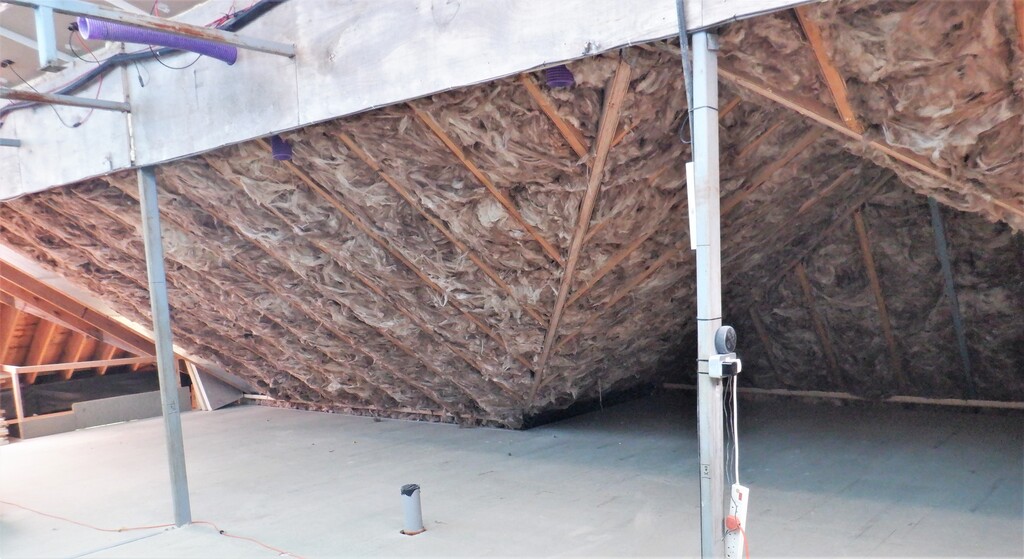
This section is now ready for the layer of Fermacell plasterboard sheets in a few weeks.
Spacers to align rafters (1)
Spacers to align rafters (2)
We progressed right around on all four individual roof surfaces we got in the Great Room, especially the “O” section where we had to cope with one of the rafters having a steel band with lots of hex headed screws in as well. For this roof plane, we had to put in an entire strip of 11mm OSB board, with various thicknesses of shims so that we can mount our 11mm sheet right across the ceiling surface and miss the metal band and its screw heads.
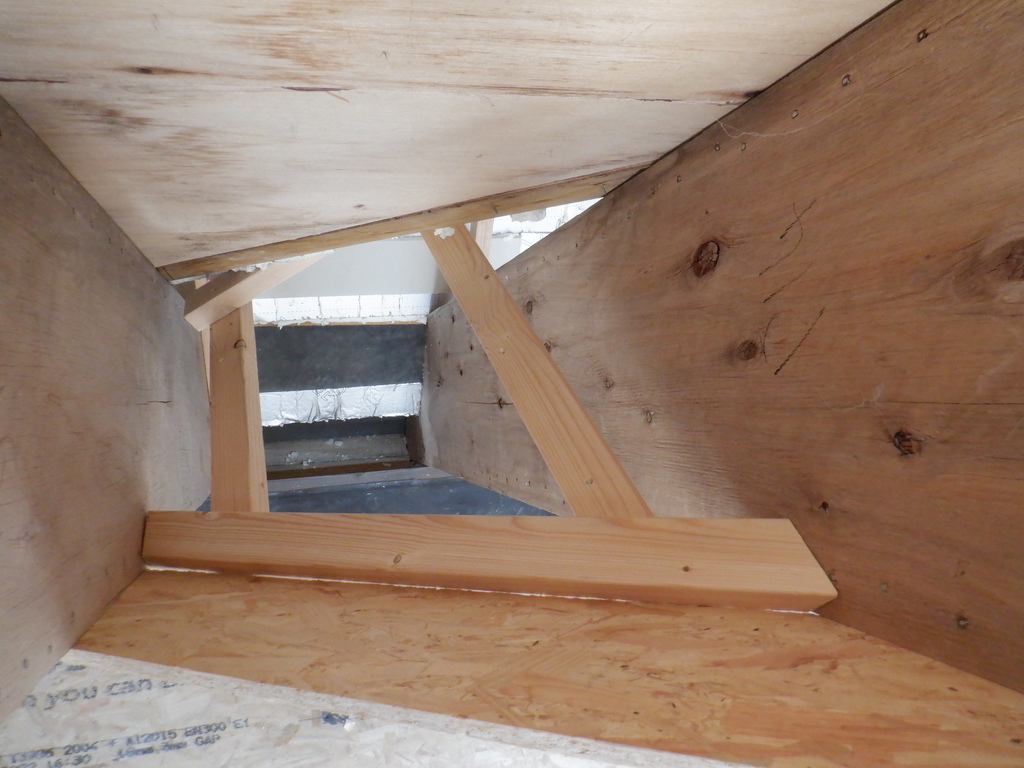
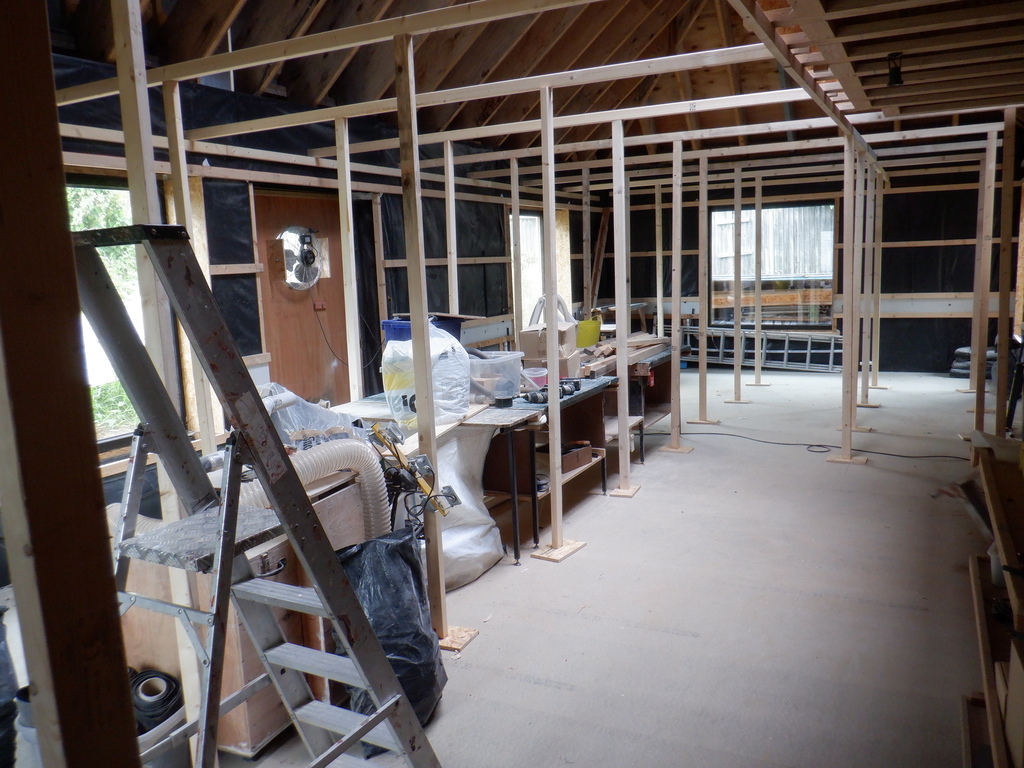
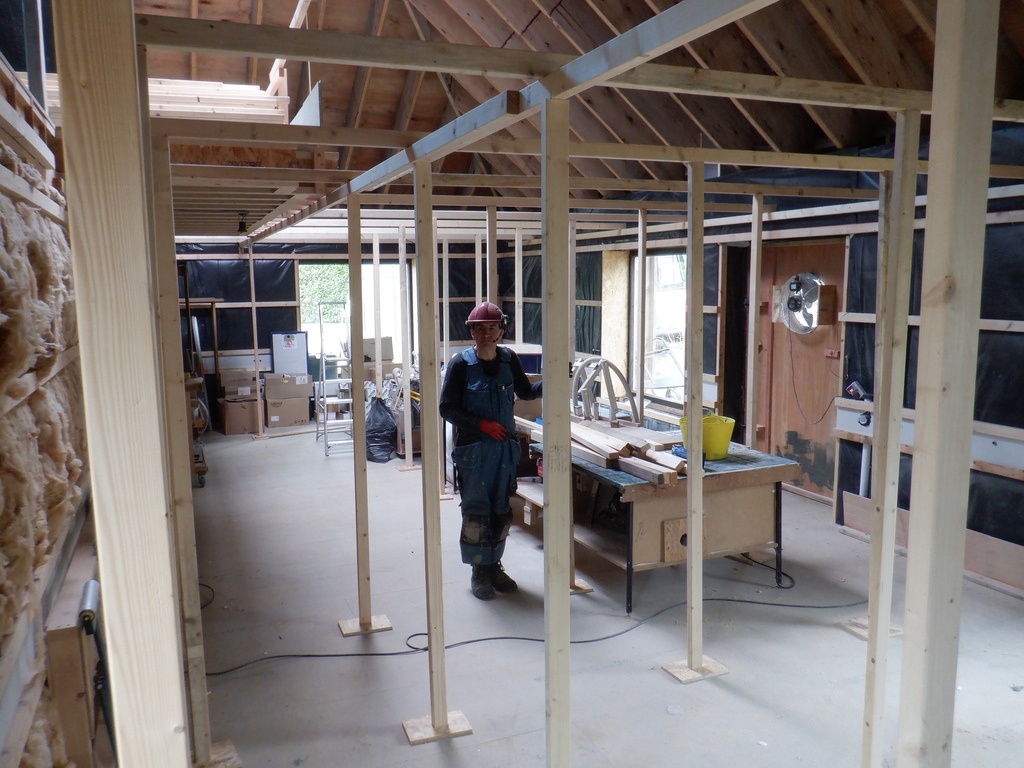
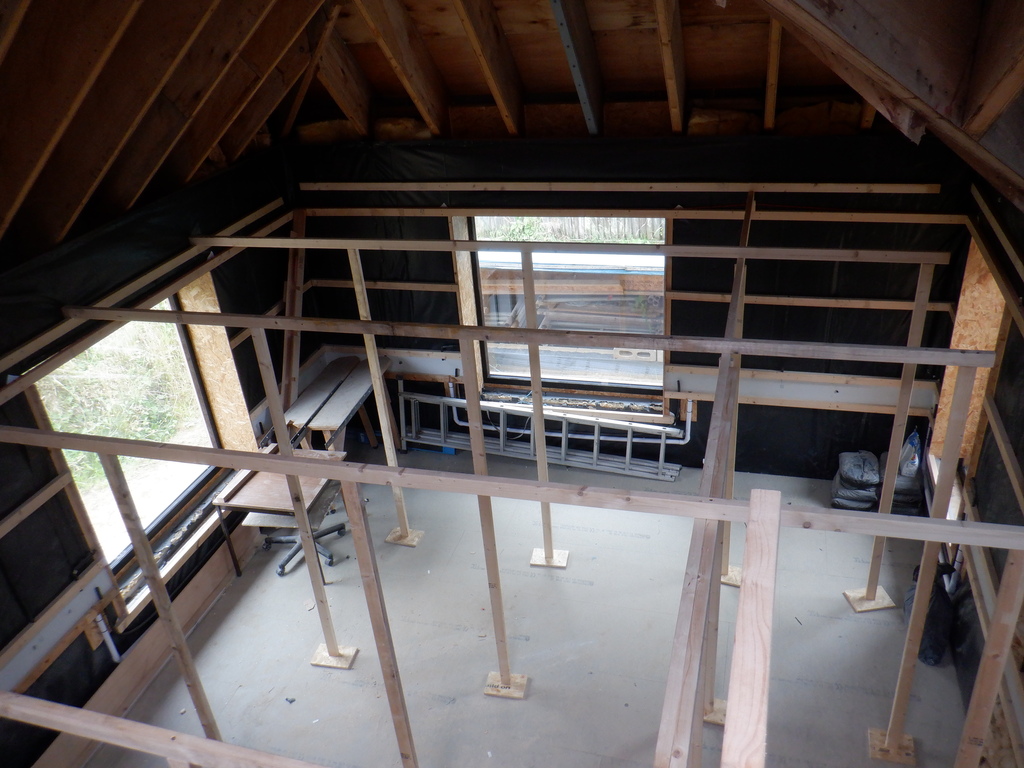
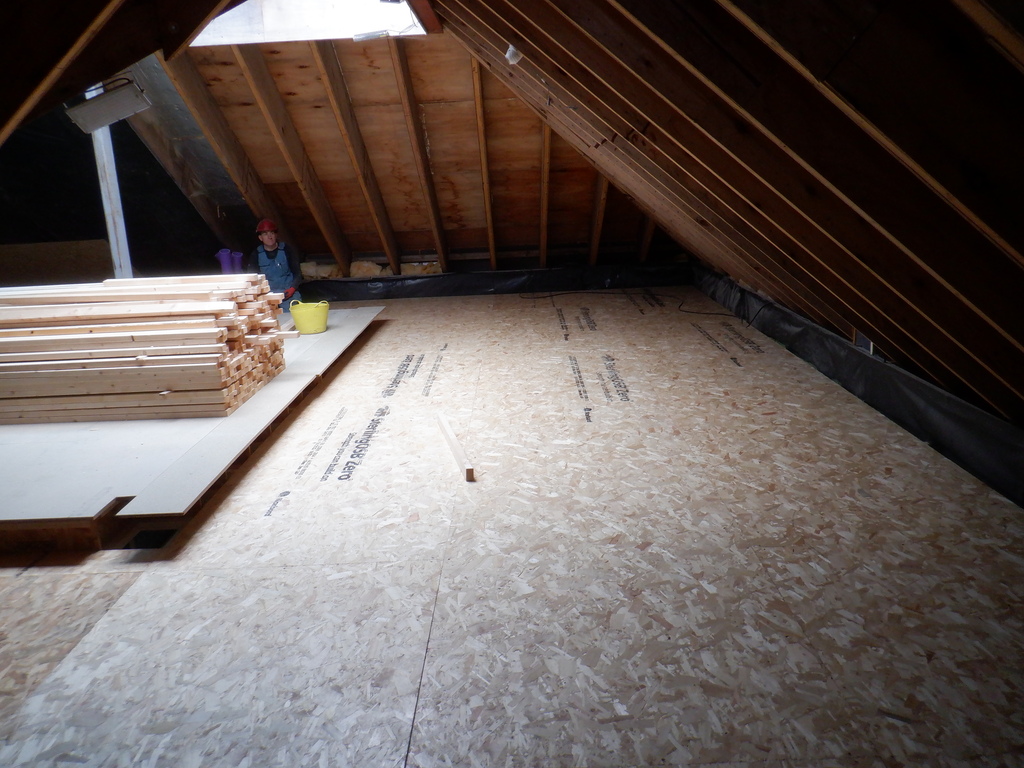
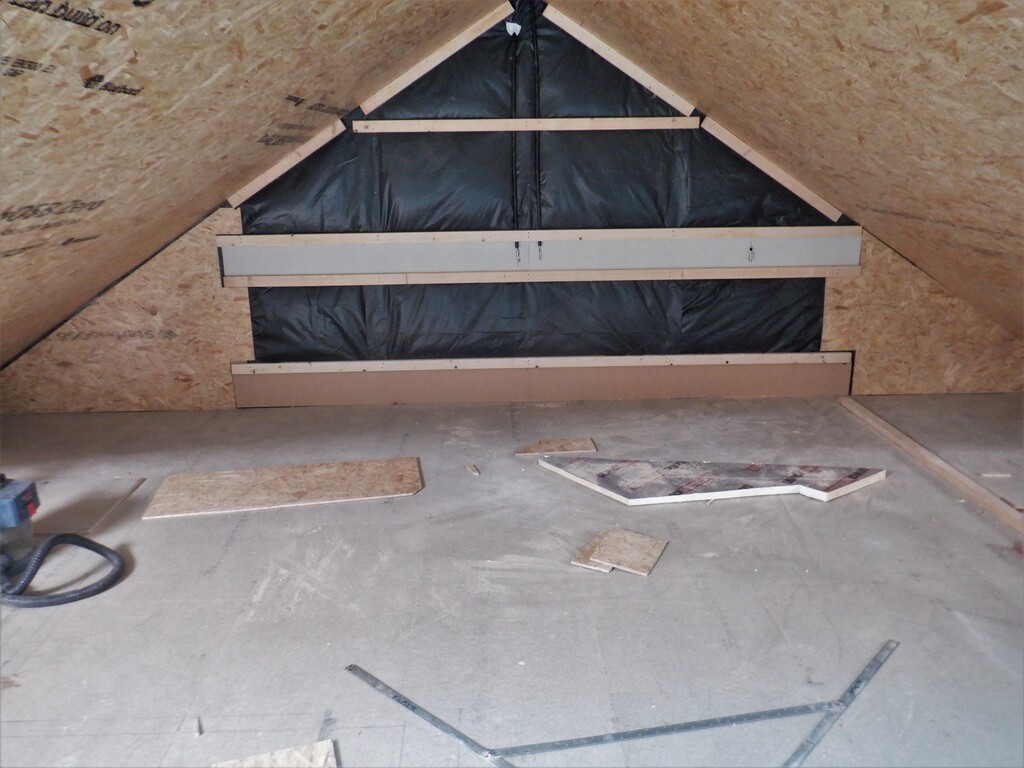
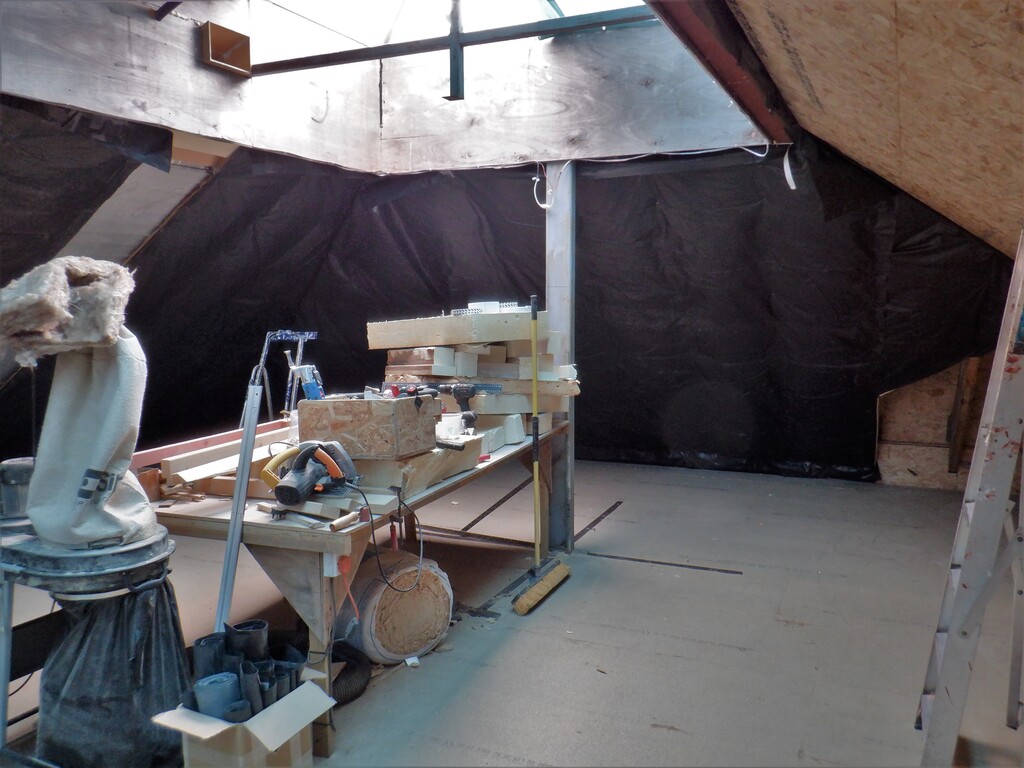
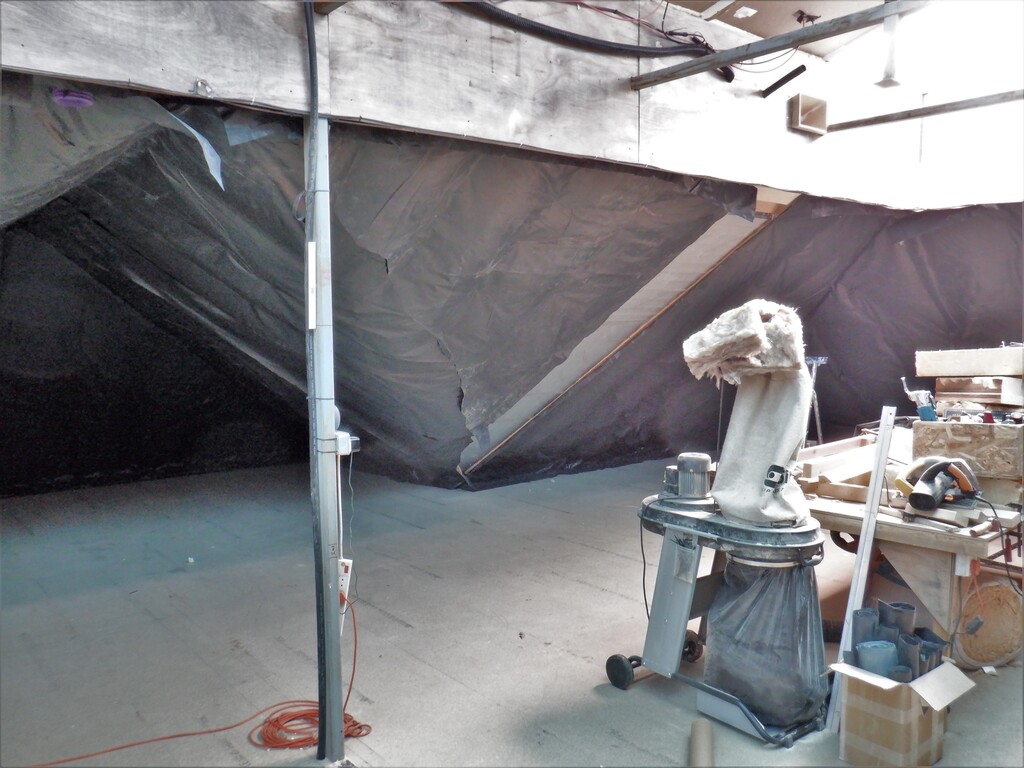
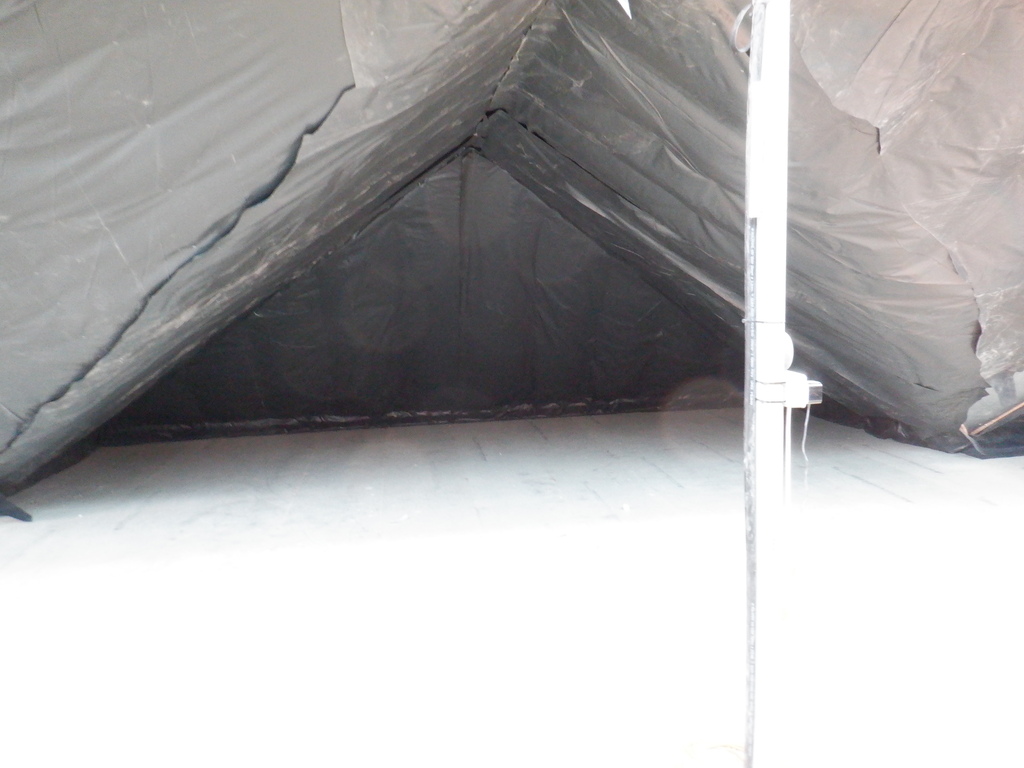
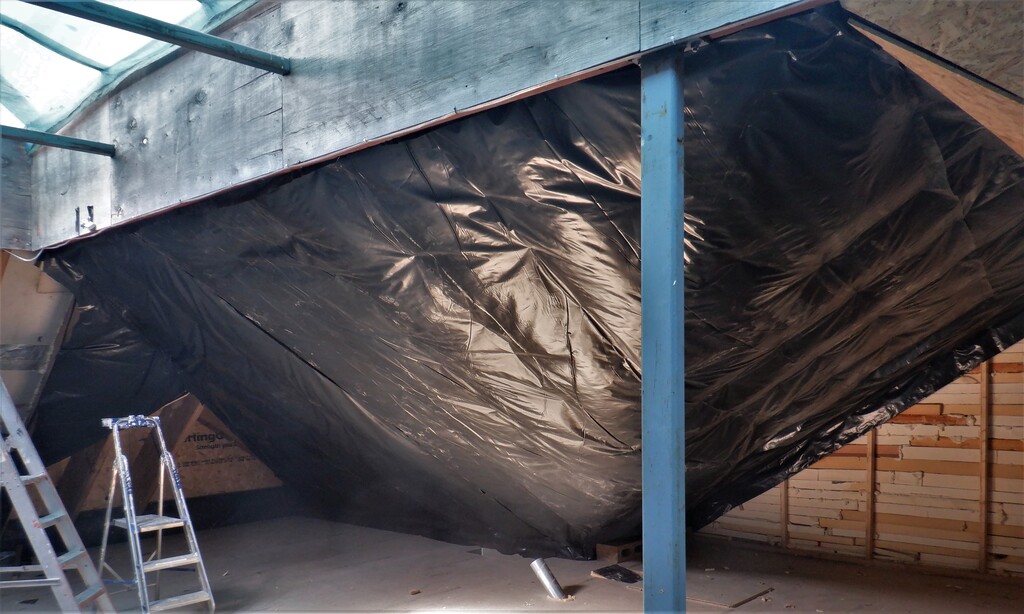
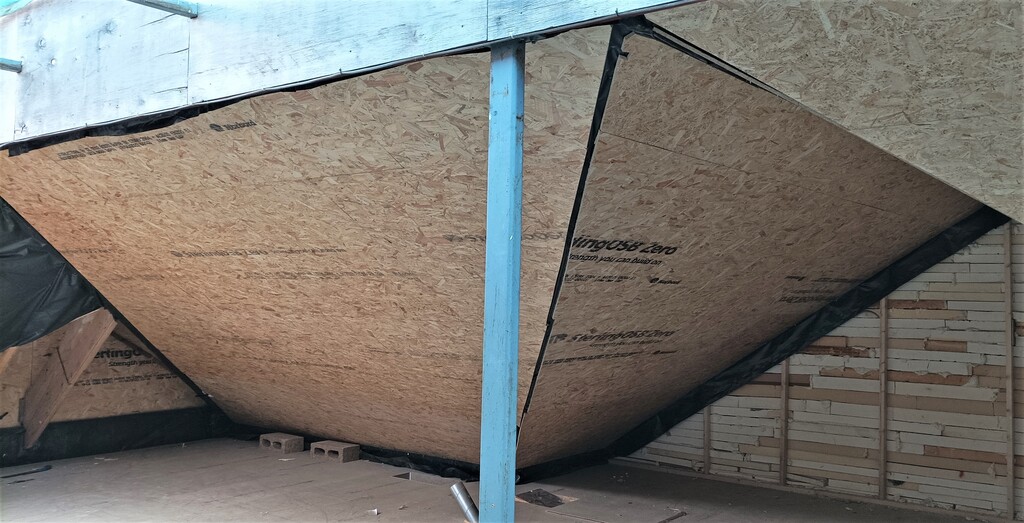
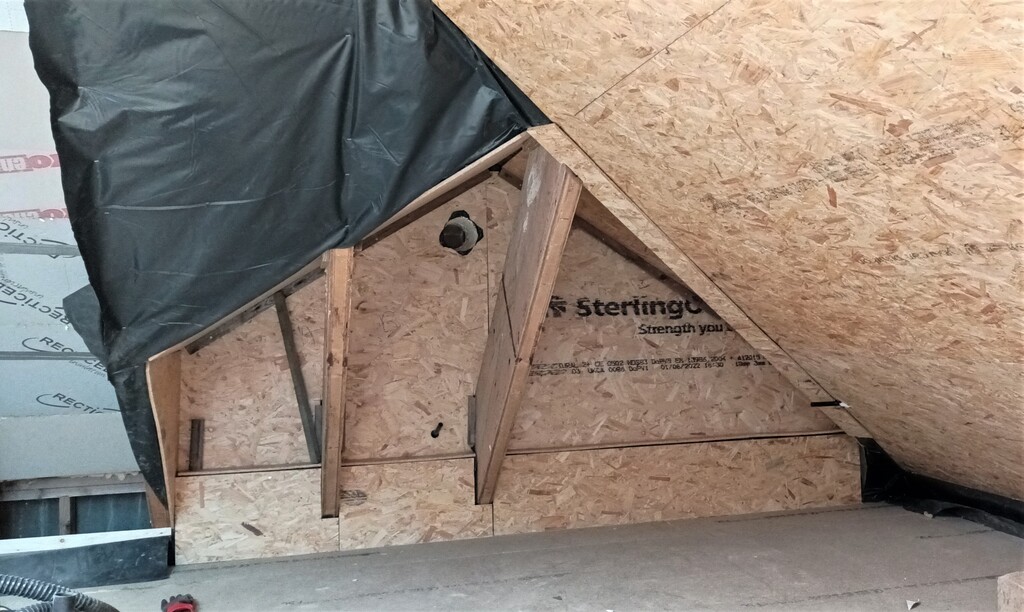
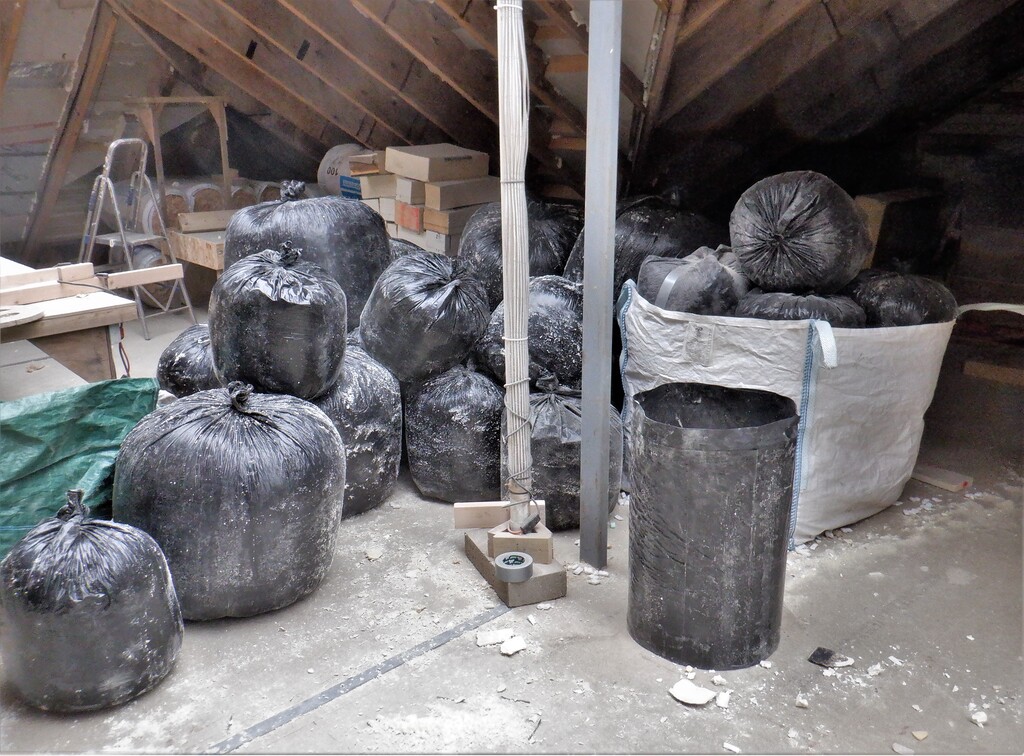
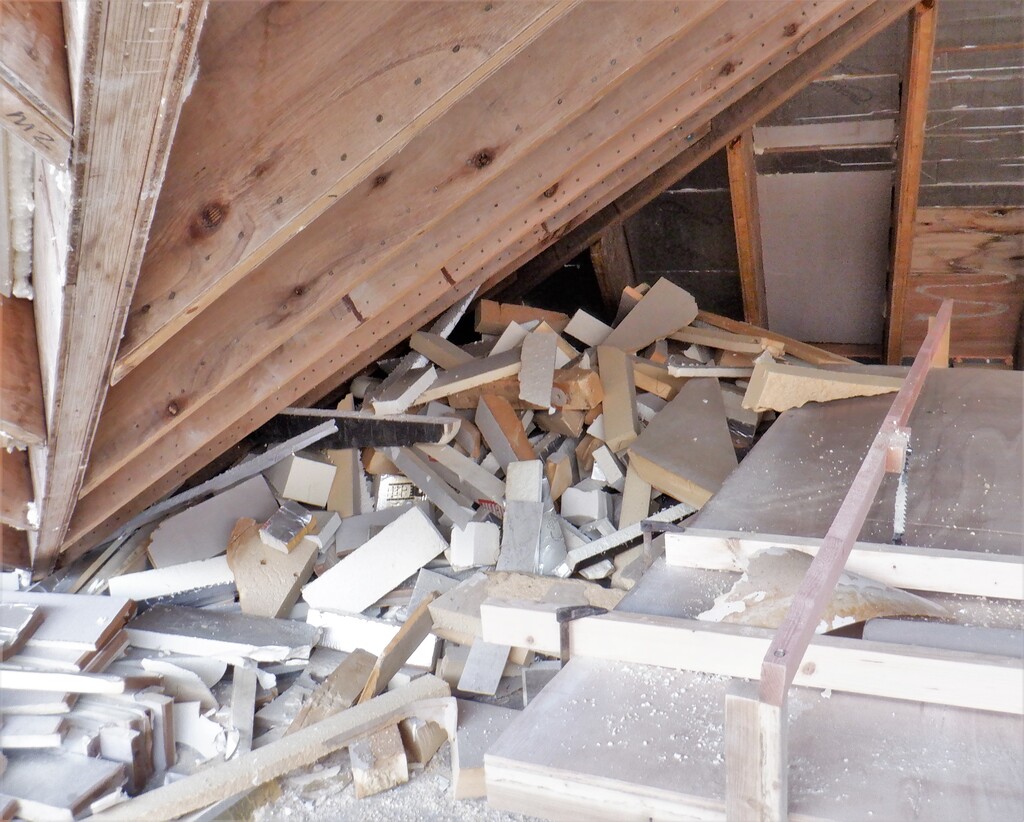
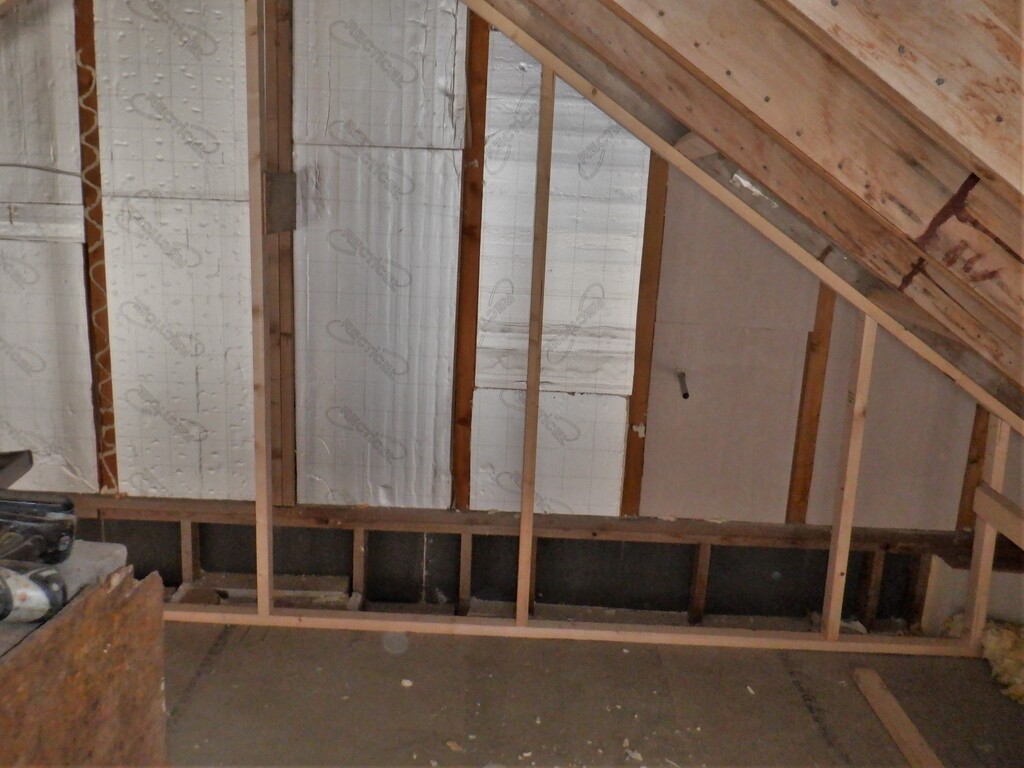
In the meantime, we then got on with filling in the space in the Dormer section with glass wool and then covering it up with our usual black plastic vapour barrier and protecting the plastic with our 11mm OSB sheet material too.
Dormer boarded out
This section is now ready for the layer of Fermacell plasterboard sheets in a few weeks.