For the last two weeks, we have been making steady progress in inserting the horrible glass wool insulation into the roof rafters, filling them up to the brim, and then covering it up with our plastic vapour barrier too.
This includes constructing the gable wall that sits over the Front Door that will form the end wall for the little Study room, or perhaps a spare bedroom.
We put in a layer of glass wool vertically between the few upright CLS legs, filling it up as we normally do for all our walls, and then we cover all this up with our vapour barrier membrane.
Then the next job was to nailed on a set of horizontal rails, again using the usual 63mm CLS timber. The bottom rail forms the Air Channel that has a 220mm high strip of 6mm thick MDF material fixed between it and the floorboards. Normally, our Air Channels are only 150mm high, but here, on our First Floor, we are having an extra multiple sandwich layers of dense “sound absorbing” plasterboards, a soft “vibration absorbing” foam and topped with another 18mm thick OSB board, all these layers adds up to 70mm thick. We saw this technique at a house building trade show 20 years ago and we thought that it was a clever idea of isolating noises generated upstairs and make it more pleasant for anyone who is trying to sleep or want peace and quiet downstairs.
The next couple of horizontal rails is for the regular Utility Channel, with the usual backing layer of fermacell, bringing together a couple of electrical conduits that we have coming through the wall from the outside wall and eves. We then screwed two long diagonal pieces that follows the slopes of the roof and finally, a smaller one half way up to finish providing support and anchorage to hold up the wall boards later on.
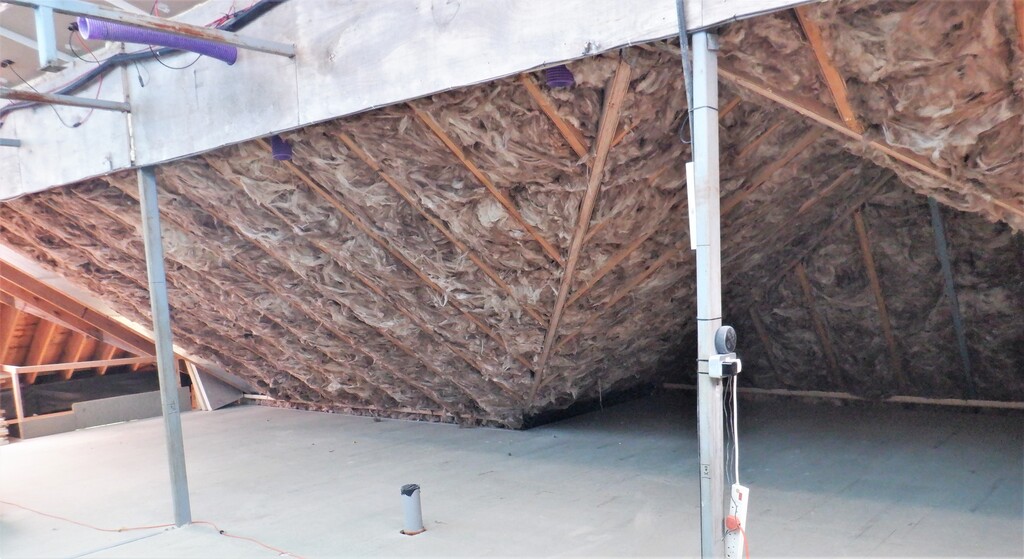
With this done, we proceeded to insert two layers of our newly arrived 150mm thick glass wool insulation, into all our remaining roof rafters that we can access here up on the First Floor. We now have all of “H”, “I”, “J”, “K”, “L” and “M” sections filled up to the brim of the rafters.
Then, we covered it all up with more of our black plastic sheeting, only just managing to complete that task before we ran out!
And the last few afternoons this week (we had quite a lot of interruption in the mornings), we started the job of cutting and screwing sheets of our protective 11mm thick OSB material. We started backwards and got half the “M” section done, gone around the corner and completed the “L” and got the first row done over on the opposite side on the “J” section.

One of the little side jobs we had to do, was to install a second air duct for the other half of the toilet come shower suite of rooms. We had originally had just one room to provide the shower cubicle and toilet plus basin for the upstairs rooms, but we realised that we could reposition our entrance doorway into the Storage area and split the shower and toilet apart. This meant that we needed another exhaust air vent for the toilet room.
This includes constructing the gable wall that sits over the Front Door that will form the end wall for the little Study room, or perhaps a spare bedroom.
We put in a layer of glass wool vertically between the few upright CLS legs, filling it up as we normally do for all our walls, and then we cover all this up with our vapour barrier membrane.
Then the next job was to nailed on a set of horizontal rails, again using the usual 63mm CLS timber. The bottom rail forms the Air Channel that has a 220mm high strip of 6mm thick MDF material fixed between it and the floorboards. Normally, our Air Channels are only 150mm high, but here, on our First Floor, we are having an extra multiple sandwich layers of dense “sound absorbing” plasterboards, a soft “vibration absorbing” foam and topped with another 18mm thick OSB board, all these layers adds up to 70mm thick. We saw this technique at a house building trade show 20 years ago and we thought that it was a clever idea of isolating noises generated upstairs and make it more pleasant for anyone who is trying to sleep or want peace and quiet downstairs.
The next couple of horizontal rails is for the regular Utility Channel, with the usual backing layer of fermacell, bringing together a couple of electrical conduits that we have coming through the wall from the outside wall and eves. We then screwed two long diagonal pieces that follows the slopes of the roof and finally, a smaller one half way up to finish providing support and anchorage to hold up the wall boards later on.
Utility channels and boards on ‘C’ wall
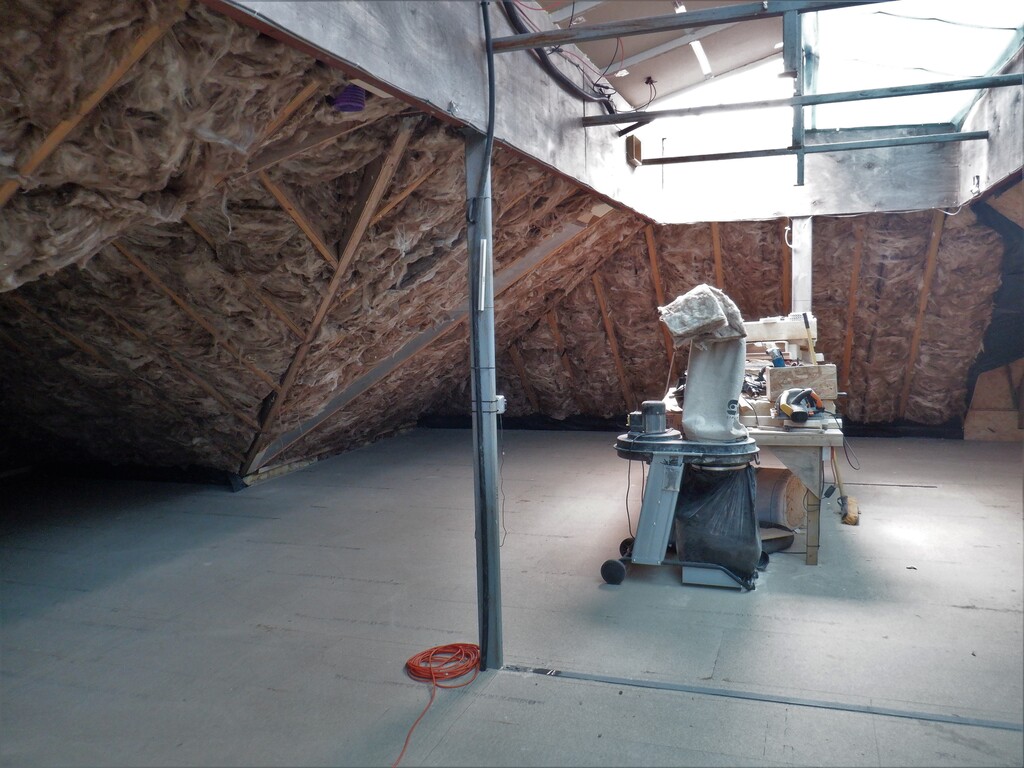
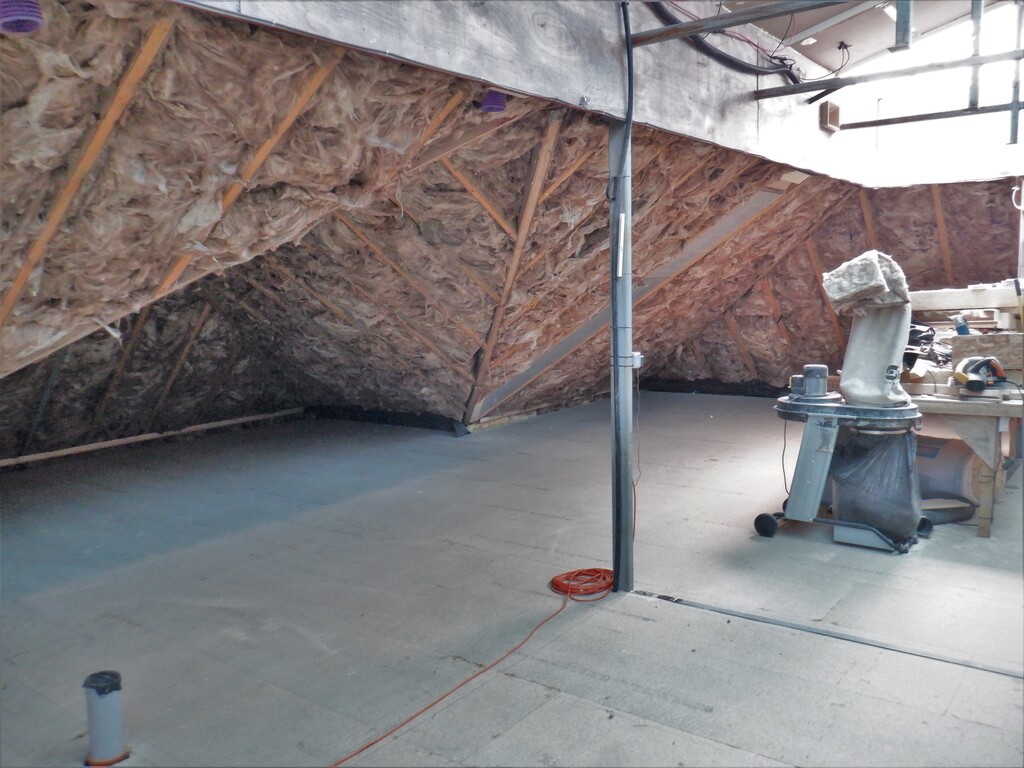
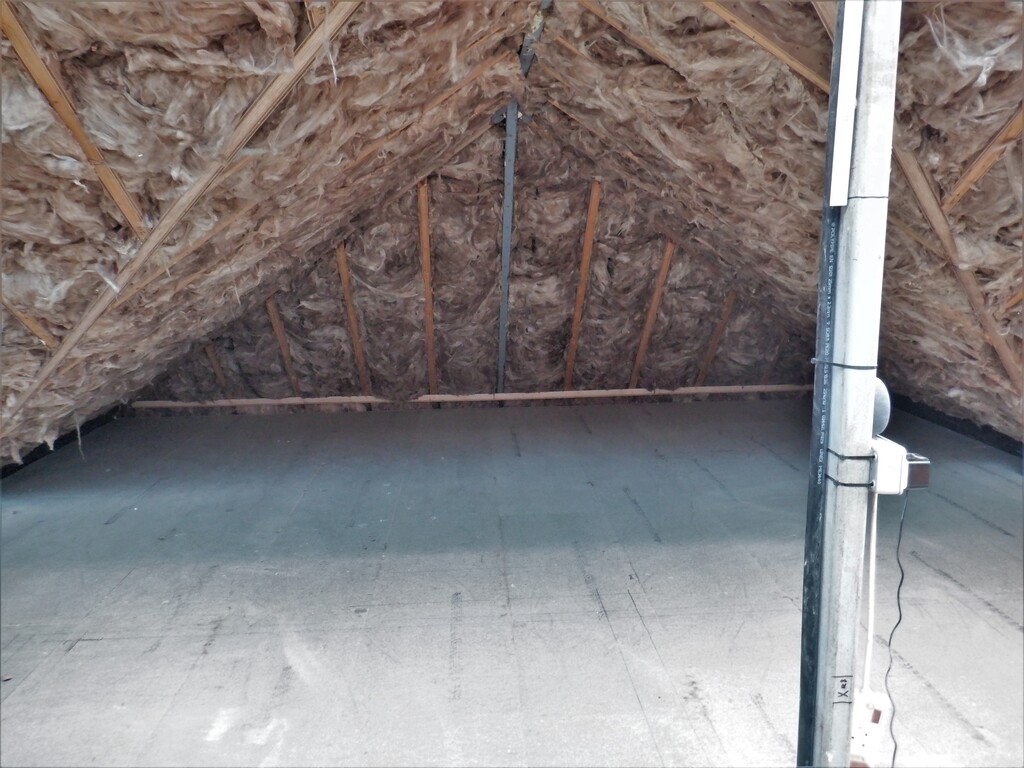
With this done, we proceeded to insert two layers of our newly arrived 150mm thick glass wool insulation, into all our remaining roof rafters that we can access here up on the First Floor. We now have all of “H”, “I”, “J”, “K”, “L” and “M” sections filled up to the brim of the rafters.
Insulation Finished 1
Insulation Finished 2
Insulation Finished 3
Insulation Finished 4
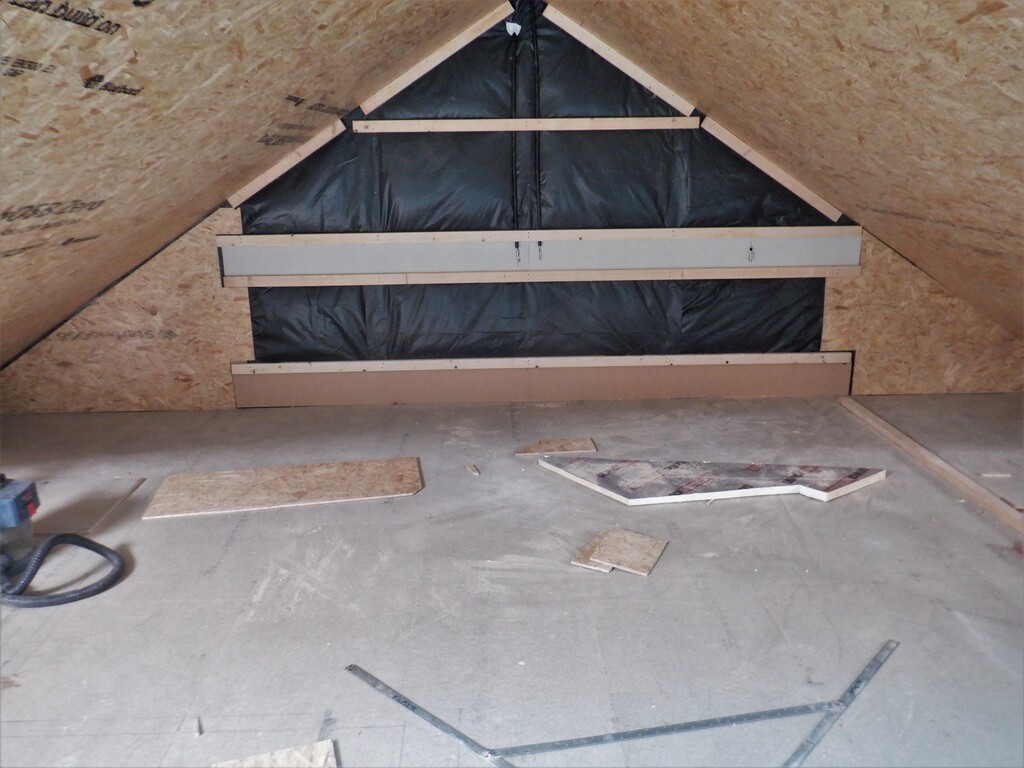
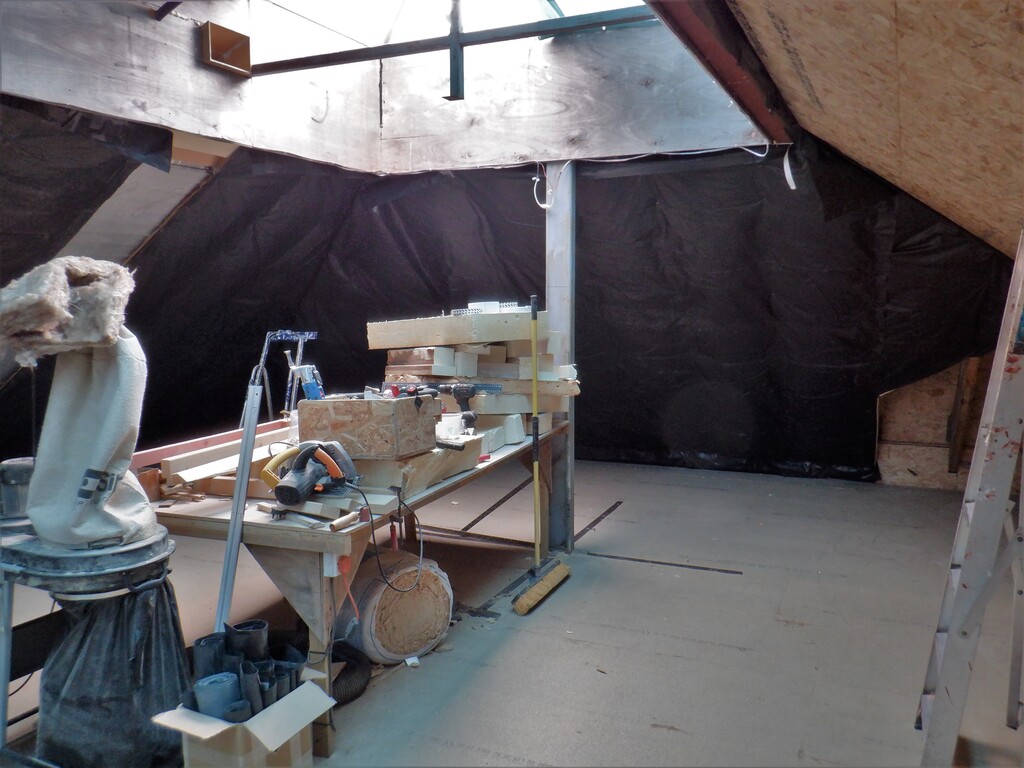
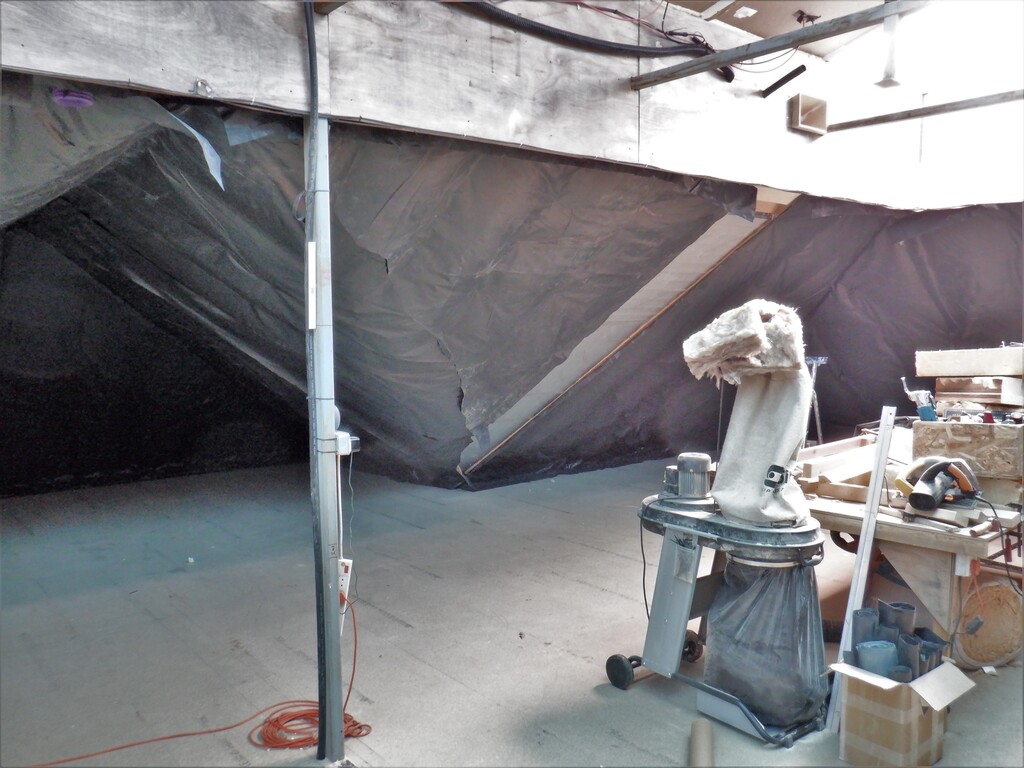
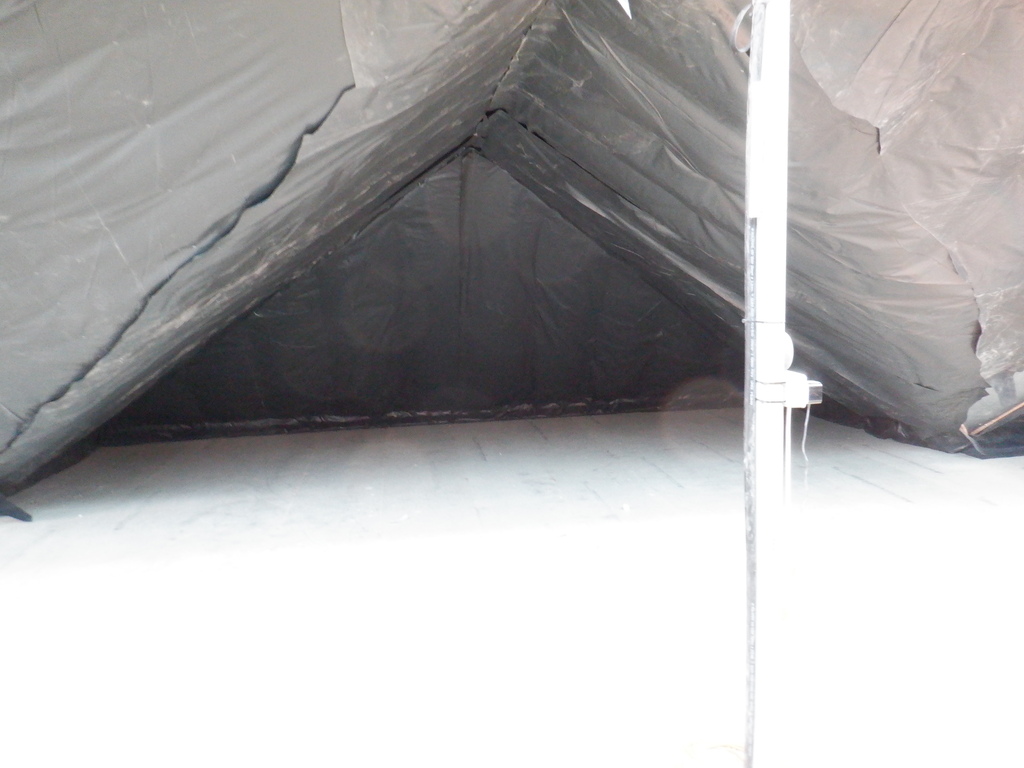
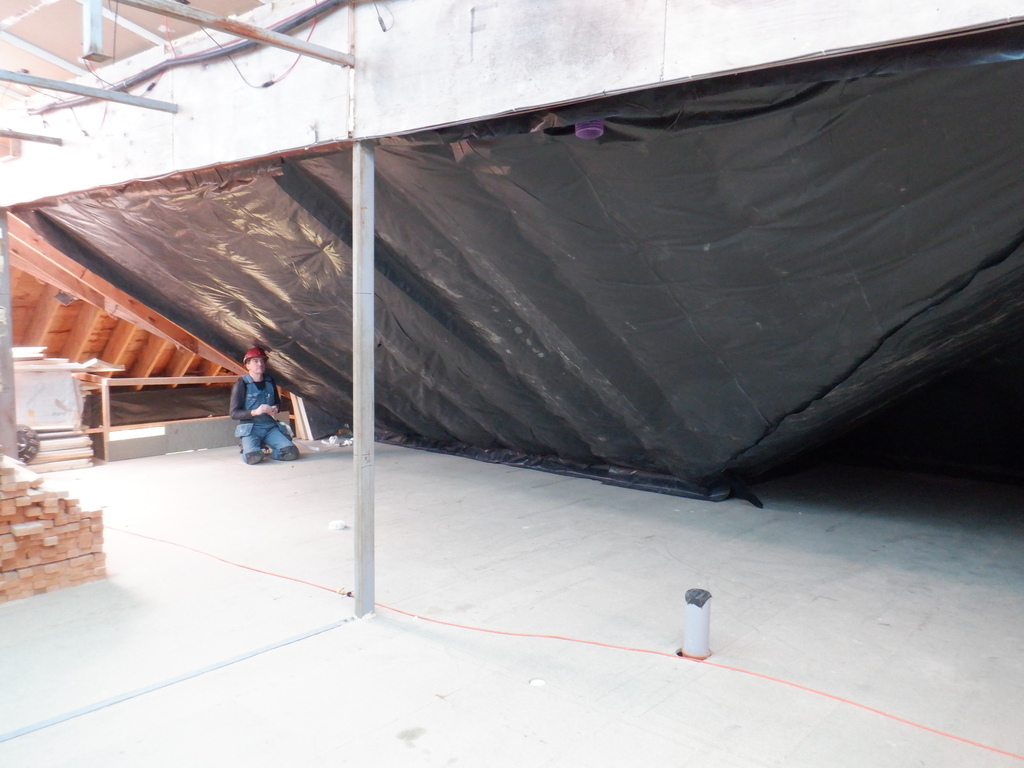
Then, we covered it all up with more of our black plastic sheeting, only just managing to complete that task before we ran out!
Plastic finished 1
Plastic finished 2
Plastic finished 3
Plastic finished 4
And the last few afternoons this week (we had quite a lot of interruption in the mornings), we started the job of cutting and screwing sheets of our protective 11mm thick OSB material. We started backwards and got half the “M” section done, gone around the corner and completed the “L” and got the first row done over on the opposite side on the “J” section.
Starting boards on second half
One of the little side jobs we had to do, was to install a second air duct for the other half of the toilet come shower suite of rooms. We had originally had just one room to provide the shower cubicle and toilet plus basin for the upstairs rooms, but we realised that we could reposition our entrance doorway into the Storage area and split the shower and toilet apart. This meant that we needed another exhaust air vent for the toilet room.
We thought that these two rooms will be more used by our guests so when the shower is in use, the toilet is still available, or vice versa.
So when we resume our next building session, We will finish off putting up the OSB boards and then start working in the Great Room, installing a temporary flooring all over which will allow us have a much easier time to access the roof rafters and get them all filled and covered up. This will also enable us to survey our Skylight windows and calculate exactly what we need to order from our glazing manufacturers, to finish putting up all of the triple glazed windows up in our Skylight and complete the super-insulated shell for the whole building.
So when we resume our next building session, We will finish off putting up the OSB boards and then start working in the Great Room, installing a temporary flooring all over which will allow us have a much easier time to access the roof rafters and get them all filled and covered up. This will also enable us to survey our Skylight windows and calculate exactly what we need to order from our glazing manufacturers, to finish putting up all of the triple glazed windows up in our Skylight and complete the super-insulated shell for the whole building.
Leave a Reply
You must be logged in to post a comment.