But first, we had to move our large pile of our 63mm CLS timber planks! We wanted to gain access to all the space where our “stub” wall will go around the edge of each room, the wall being four feet tall when it meets the sloping ceiling. So we had to move approximately 250 planks of timber, plus also 25 planks of “green” preservative treated timber as well. The green planks will be used for our wet rooms downstairs, where there is lots of water splashing about.
Anyway, it took a couple of hours to move the timber!
Then, we built a template that emulates a fully constructed “four-foot” wall, so that we can glue and screw up a whole sheet of a OSB board in one go, without having to slice it at all. This template is only four inches wide so we can slide it along on the floor, until it “bumps” into the sloping roof. We then would mark the floor with a green spirit pen and move along a couple of metres and do it again. The green colour was used because we had already other black marks on the floor from our previous attempts of laying out a rough plan of our rooms upstairs!
We started near the Gallery and marked out the two “four-foot” walls, one between the Gable wall and the stair case hole, and the other one, on the other side of the room, from the gable to the toilet, which is situated opposite the stairs.
Next, is framing around the stairs hole, positioning a footplate, made using our 63mm CLS timber. This footplate is lined up with the wall frame that is coming up from downstairs so that the wall surface will continue smoothly all the way up to the roof. We glued and screwed this CLS plank down, going all the way along the edge until it reached the steel leg holding up the Skylight. We then sanded the steel leg, using an angle grinder with a sanding pad installed, and polished the steel, removing all the paint and little bit of rust. We then glued a vertical plank of CLS timber on to the steel leg, using PU construction glue and clamping it into place for 24 hours.
Next, we carefully took another length of our CLS timber and glued it upwards to the 11mm OSB boards that coats the underside of the roof. This plank forms the top-plate for our wall. we then cut a series of posts, getting taller and taller, with an angled 32degree cut on top of each one, and nailed them every 600mm (2feet) along this section.
This forms the Hall side of the wall, for the stairs, and will continue across the upstairs, under the Skylight, to meet with the toilet wall.
There is a steel plate that is glued to the floorboard that ties the two steel legs together, all part of the structural framework for securing the whole Skylight against twisting and sheer forces coming from the winds outside. This means that we needed to glue a horizontal piece of timber on top of this steel plate so we undid the original screws, but first, having used the heads to bash “dents” in our CLS timber so we knew where to drill the clearance holes through the wood. We have been using our green laser line generator which is fully automatic, finding a dead vertical line and projecting a horizontal green line as well. We wanted to extend the stair wall so that it keeps the smooth flat surface going across as well. So, we positioned our CLS piece and bashed those screw heads after we had lined it up against the green laser line. Very very useful tool to have, the laser line generator!!
We sanded the metal plate like we did before, then glued the wood down and put in slightly fatter and longer screws so it would grip the steel instead of the wooden floorboards underneath, to tighten the new bottom-plate down tight to the steel and the glue.
Then, we glued another vertical piece of CLS timber on the other side of the steel leg, to finish off that leg beside the staircase.
While the glue was drying and curing, we continued marking where the “four-foot” wall is located around the rest of the rooms, doing the Study room that is over the Entertainment room and Front Door, around the large Office come Work Room to the right side of the house and then positioned our green laser line to go back across the other two steel legs, to finish the fourth side of this Work Room. The next line to mark down is between the back two steel legs that will have wall to front the Shower room and Toilet, plus entrance way into our Storage area at the back of the house.
Now we started gluing and screwing down one layer of CLS planks, to follow these new green marks around the floor. We did the three sides of the Studio come Sitting room (which is also our spare Guest Bedrooms, next to the Gallery), to form a space measuring about 6.2metres across (20feet) and about 4.8metres deep (16feet). This is the space between the “four-foot” walls so that is not walking around head clearance, the actual 6foot clearance space is about 4metres (12feet) across, maybe a bit more.
Then we laid down shorter pieces of CLS timber to form the Toilet, which measures 1280mm (4feet) across by 1800mm (6feet) deep. We put in a double layered wall for sound proofing purposes, and also, to allow a vacuum pipe to come up from below so we can plug in our brush and tube to our central vacuum system, for hoovering the upstairs rooms. The waste sewage pipe is also fully hidden inside the right side wall, plus also it will hold the steel framework that will support a wall mounted toilet bowl. The basin will be located at the back of the room under the sloping ceiling.
The Shower Room came next so first, we glued and screwed down two lines of CLS planks going across and pass the two steel legs, heading towards the front of the building. This wall is the entrance way into the Office come Work room. Now that we got this line of wall done, we can work backwards towards the Toilet and put down the second wall on the other side of the Shower room. This room measures 1100metres (3½ feet)wide and 1800mm (6feet) deep again.
Now we laid down a line of CLS around the circumference of the Office Work room, joining back to the piece going across the steel legs. This wall is also double layered so that the steel legs are hidden away so we don’t have unsightly “boxing” sticking out in our rooms. Nice and Neat!
Finally, the Study room, which is a L shape room, had its line of foot-plates put in as well, joining up to the side of the Office Work room, including a short double skimmed wall as well for more sound proofing. The last line is the one going along the edge of the Stairs and out into the middle of the Skylight. We had to put in a “kink” when we reached the last section going underneath the Skylight, because the wall needs to align to the metal tie bar and the glazing rafter so that the wall surface itself can go up and neatly meet the wooden beam that is supporting the double glazing glass units. So the daylight is divided into the Hall and the Stairs, and for the Study room.
This “kink” will have a gentle 45degree angle put on it, rather than a sharp right angle turn to the wall surface.
We then put on two of the three horizontal utility rails, one for the Air Channel, including putting on the MDF 6mm pieces. Then, we put on the lower half of the Utility Channel and that is where we got to. We didn’t have any fermacell sheets sliced up into narrow 175mm wide strips. So, we are going to do that later.
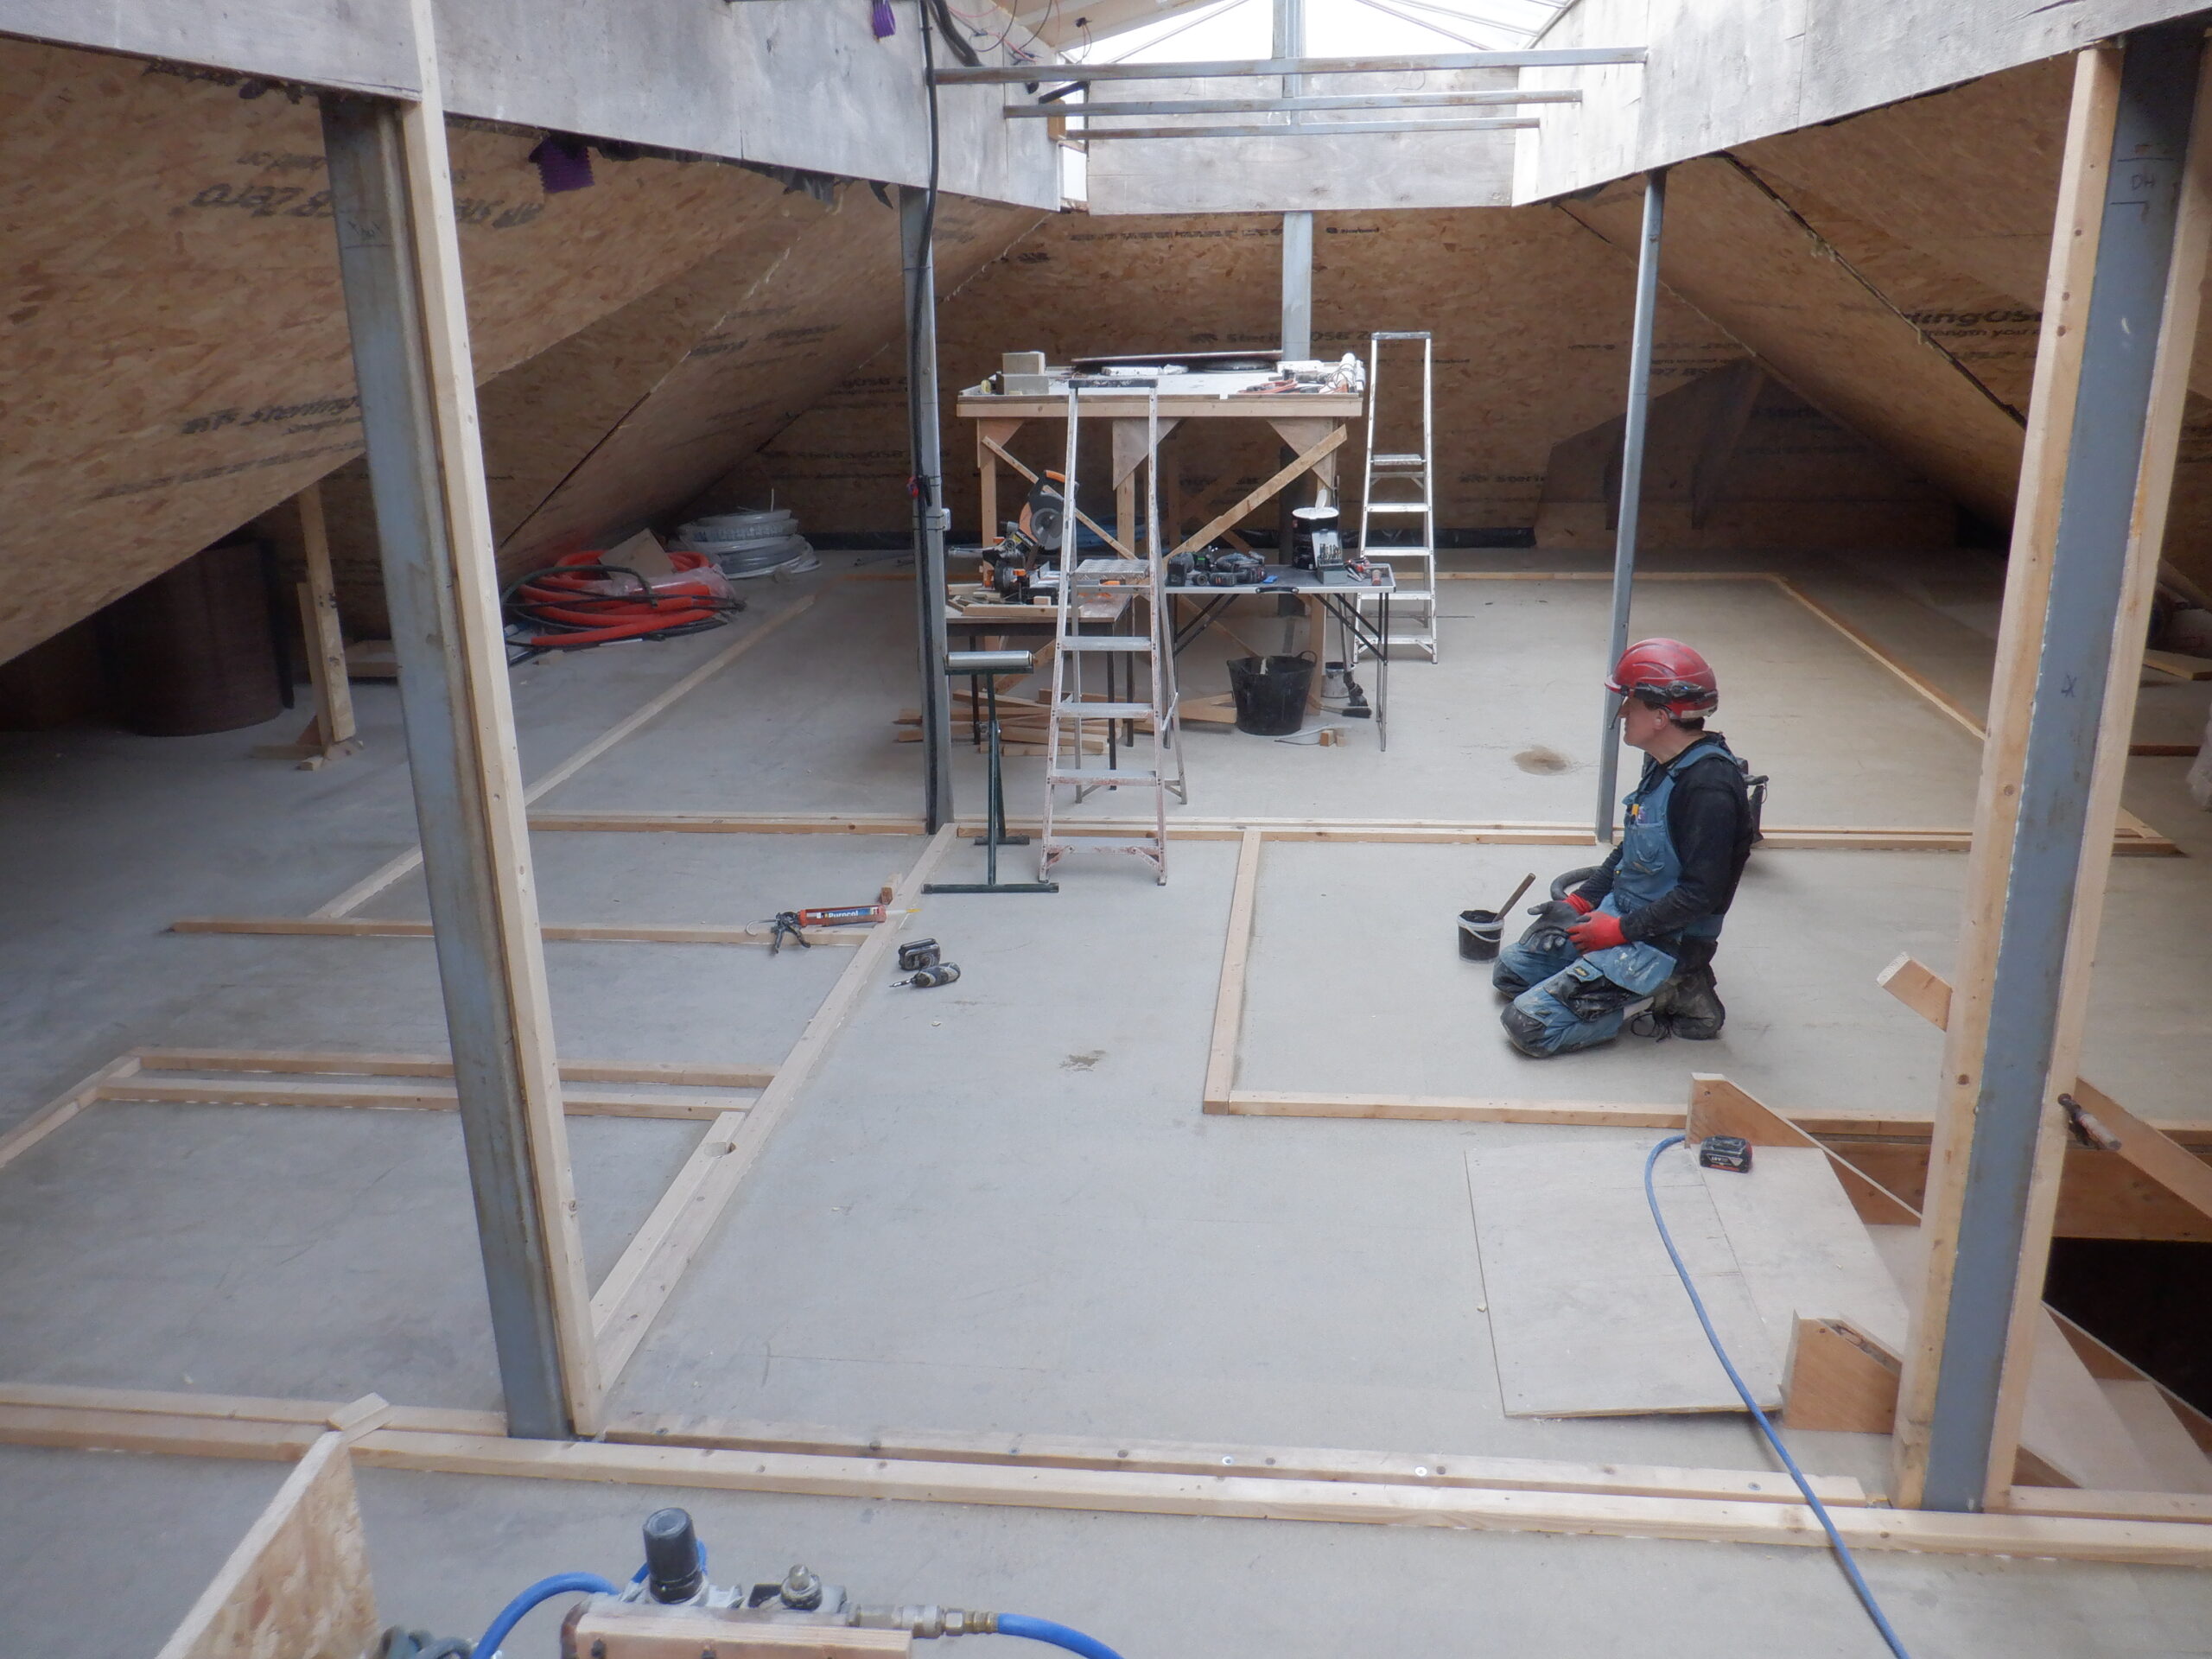
First floor foot plates
That concludes this little section of work, to basically define all our shapes of all our rooms upstairs. We can now do something else, for a change. And, we have decided to go and build our cold water header tank, that sits behind the Shower room. We want to get on with implementing a lot of our utility services like water and air ventilation, so we can actually start having the chance of having real running water in the Kitchen or Toilet etc. yippeee!