This morning, after the thunderstorm and lightning we had from 4am to 6am, and collecting 22mm of rain in that time too, we had to go out and see why the water wasn’t draining away from our floor slab, plus also why our rain shadow tent had a huge bulge in the tarpaulin roof!
Water-bulge-in-Tarpaulin
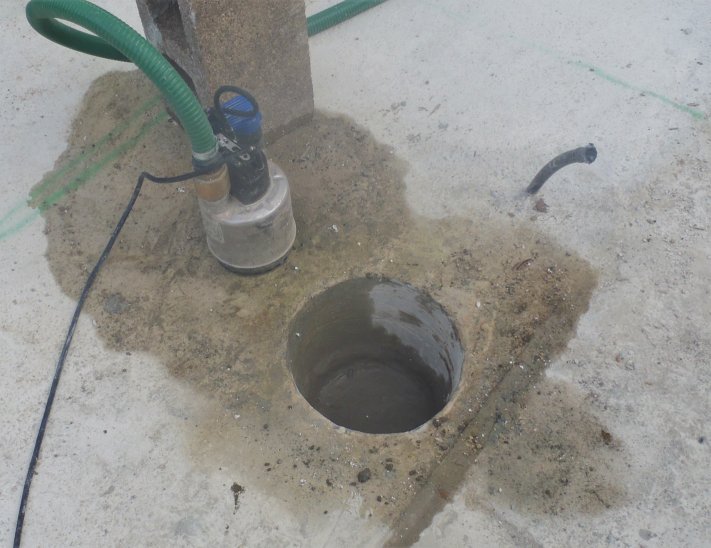
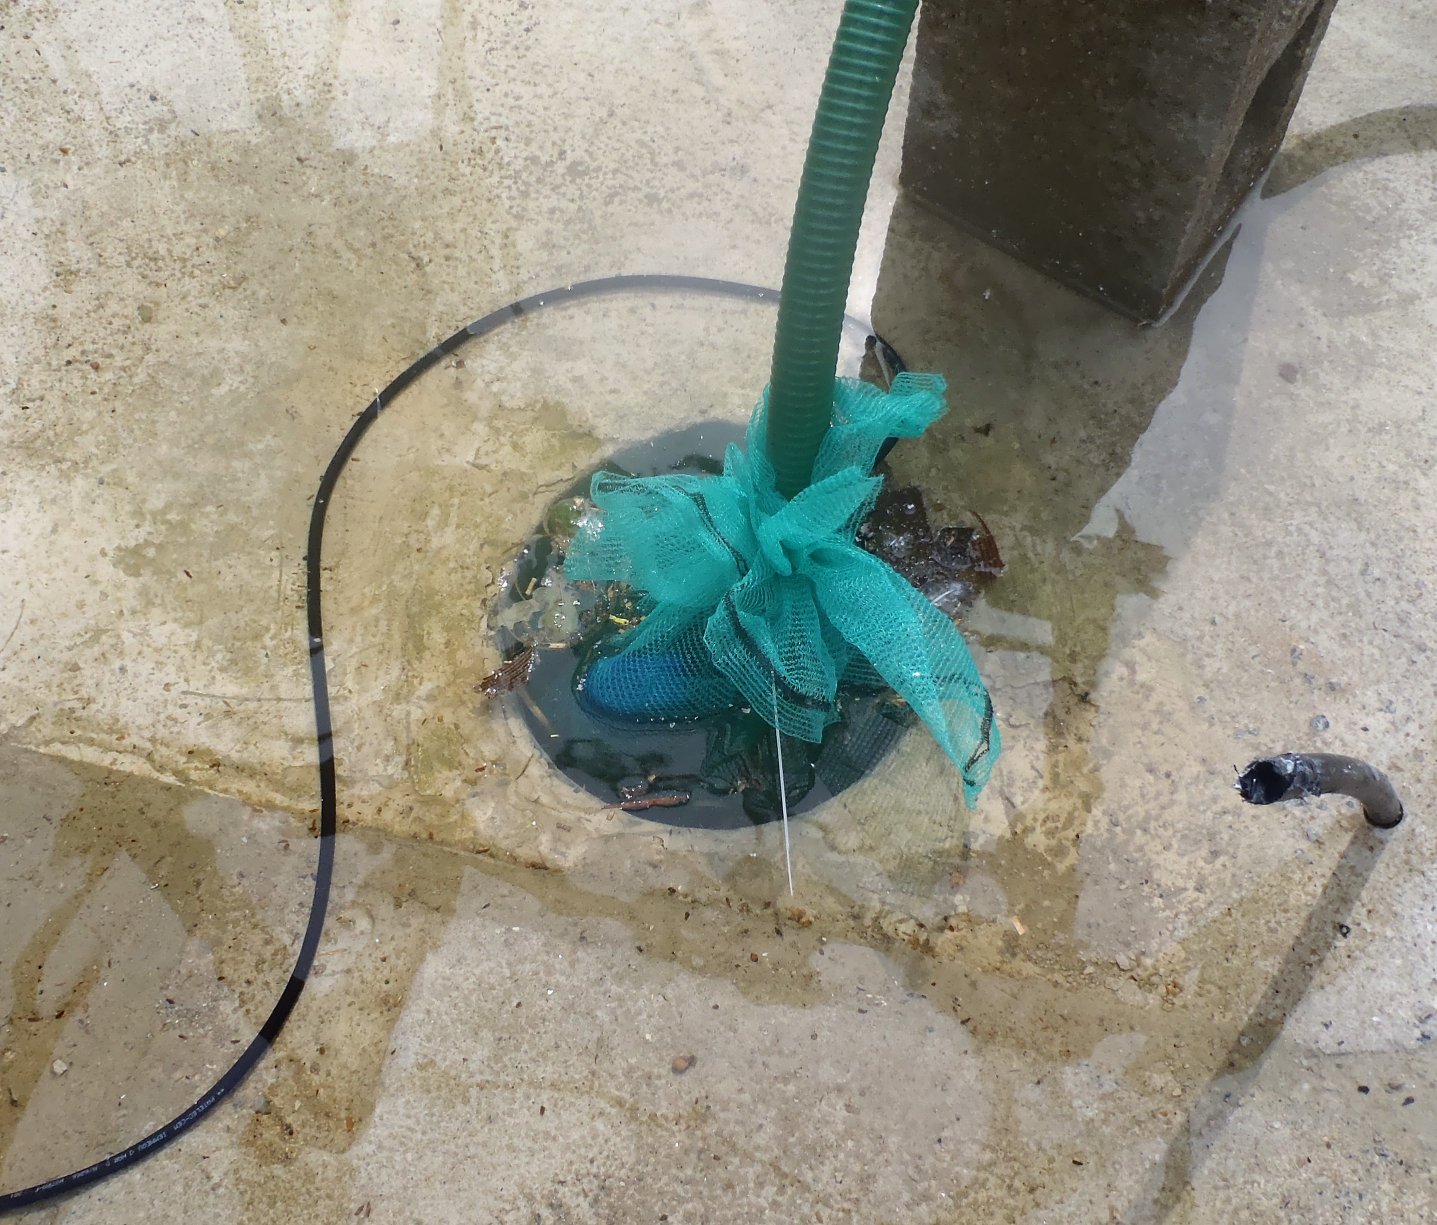
First of all, the pump was running and seems to have been doing so since the early hours! The reason for the water not being suck up was .. lots and lots of wooden rubbish blocking the input vents at the bottom of the motor!! The whole thing was wrapped around with a plastic netting which is where the blockage was so we took off the netting and promptly all the remaining rubbish we couldn’t get out of the water got sucked up and blocked the inside of the pump instead! Argh!
We unscrewed the bottom plate and after a while of scratching our heads, realised that another piece also came off the bottom to reveal the impeller .. and the blockage of rubbish!! We cleaned it all out, flushed it backwards using the garden hose and put it back together but with an additional metal mesh to try and keep the finer plastic mesh away from the pump and its input vents. The motor went back in the sump hole and it merrily pumped away and within a couple of hours or even less than that, most of the water, which we estimate to be about 7000 litres, was flushed away down into our underground rain soak-away module!!
Updated-pump-filter
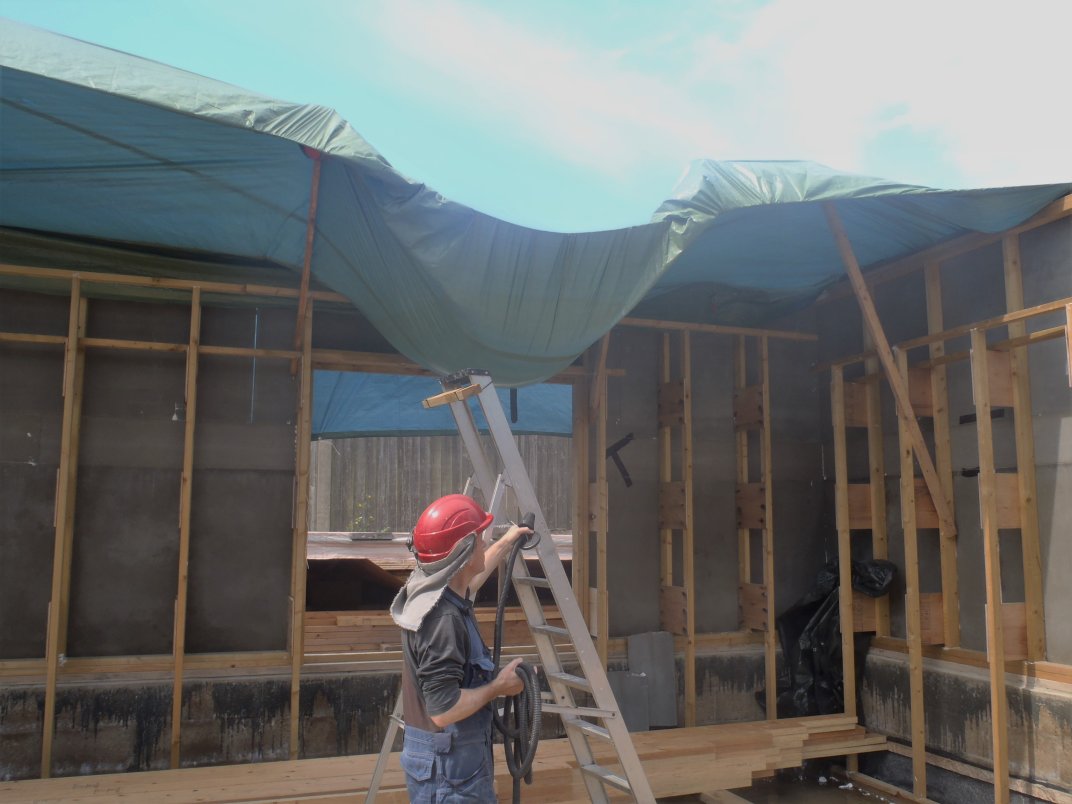
Next, dealing with the bulge in our tarpaulin tent roof, we tried lifting it and pushing it from below, but it was far too heavy. It is likely to have been about 400 litres or more which means it weighs 400kg! It was amazing that the tarpaulin was able to support that amount of water and weight! We solved the problem of shifting the water by the old fashioned trick of syphoning it off with a hose and sucking on the end to get it started (and suffering a mouth full of water!!). It gushed out quite quickly and soon the bulge was no more!
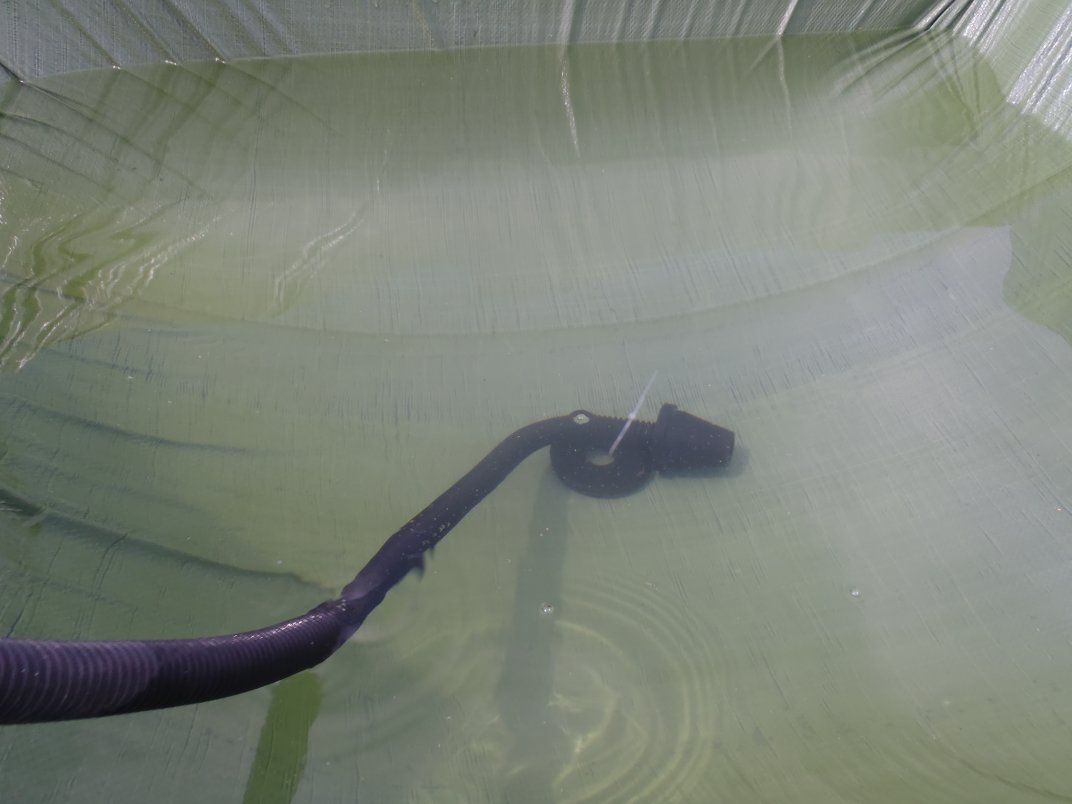
Syphon-hose-in-water-bulge
But, we discovered that more rain water managed to get inside between the layers of the tarpaulin and the whole thing was sagging in many spots and also some of the eyelets that had rope tying them down had ripped completely out too!
So we decided to abandon the whole tent idea and take the tarpaulin down. It was much simpler to wrap the LVL timber in another tarpaulin instead to protect it from the rain! Oh Well! That’s Life!