Category: Site Maintenance

  • Annual Empty and Cleanup of Septic Tank

    We had our Septic Tank emptied and cleaned up today. It was slightly longer than the usual 12 months since the previous service because we had stopped putting down vegetable matter down through our disposal unit in the kitchen.
    We have been monitoring the state of the discharge fluid and we decided that it ought to be done especially since we also had a servicing episode with our air pump a couple of weeks ago where the rubber bellows had split after 7 years of constant operation. See Servicing Sewage Air pump
    The man with his smelly lorry came and this year, he had brought along his narrow 2inch extension tube so we didn’t have to “duct” tape a length of our 68mm plastic pipe and was able to reach down to the very bottom of the tank to suck up the content.
    We then washed around the upper rim to make sure there were no rubbish lingering around.
    All done for another year!
  • Air Pump for Septic Tank was Serviced

    We noticed that our Septic Tank was not “bubbling” away as usual and discovered the Air Pump had stopped operating. It usually is emits a steady hum that slightly rattles the shelf it is sitting on but it was silent!
    Upon opening up the pump, we found that the rubber bellows had fallen apart due to old age. We looked up to when we had previously replaced the bellows and it was about 7 years. It was another 6 years before that when we first bought the air pump.
    So perhaps we should have been conscious of this regular maintenance cycle last year and proactive in dealing with it.
    Anyway, we ordered a replacement kit which comes with new magnets as well and did the necessary repair work.

    Its now humming away again , hopefully for another 5 years or more…
  • Adding Extra Insulation to our Roof on our Temporary Living Quarters

    Adding Extra Insulation to our Roof on our Temporary Living Quarters

    We were interrupted in doing this task by a bout of Covid and waiting for the weather, but we finally got to install an extra layer of insulation foam boards to the roof of our temporary living quarters. We are suffering from the huge rises in electricity prices and we needed to do something about it and save money.
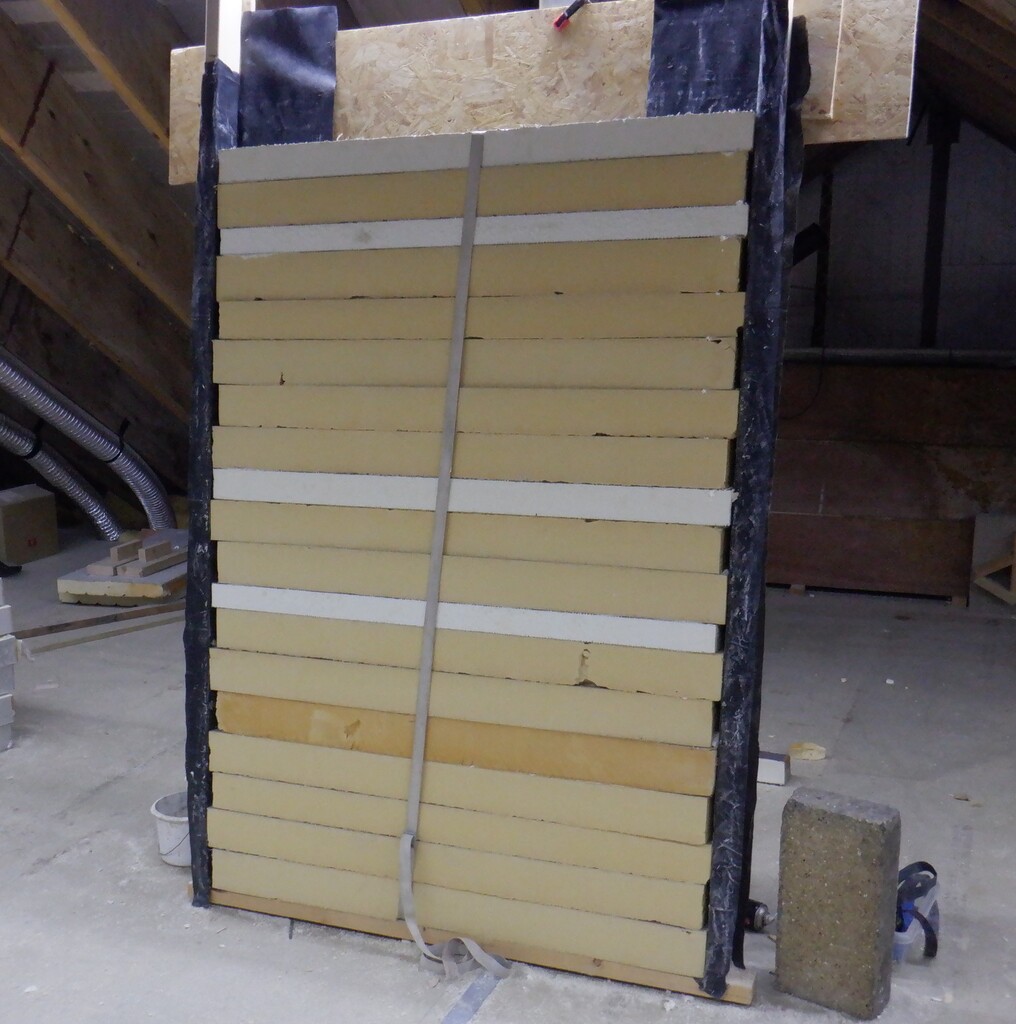
    So we decided to make use of our recent supply of recycled PU foam board pieces and construct 90mm thick panels. We took a heap of random sized pieces, only making sure that they were at least 1200mm wide and put them through the slicing machine to make 90mm wide pieces. We then stacked them into a frame and stuck them together with a little bit of PU spray glue. We stacked them up to a height of 1750mm which covers the majority of the roof surface, leaving a small gap down the ridge line, which will be filled in with other 90mm pieces later on.

    Adding Extra Insulation to our Roof on our Temporary Living Quarters

    Sliced-insulation-glued-into-a-sheet


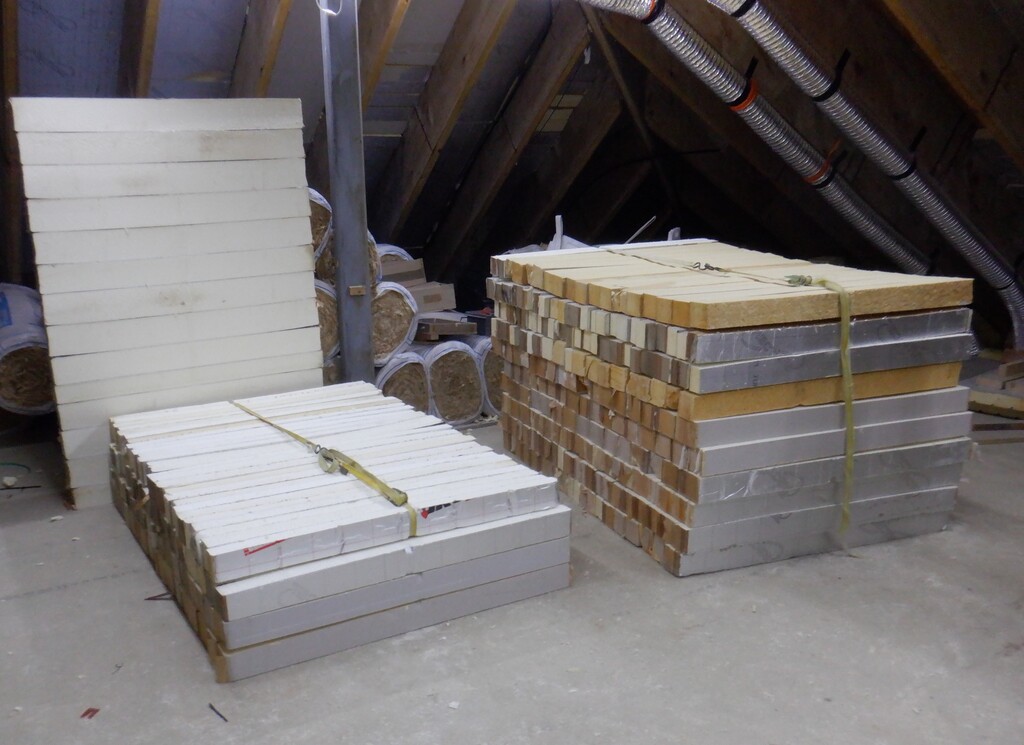
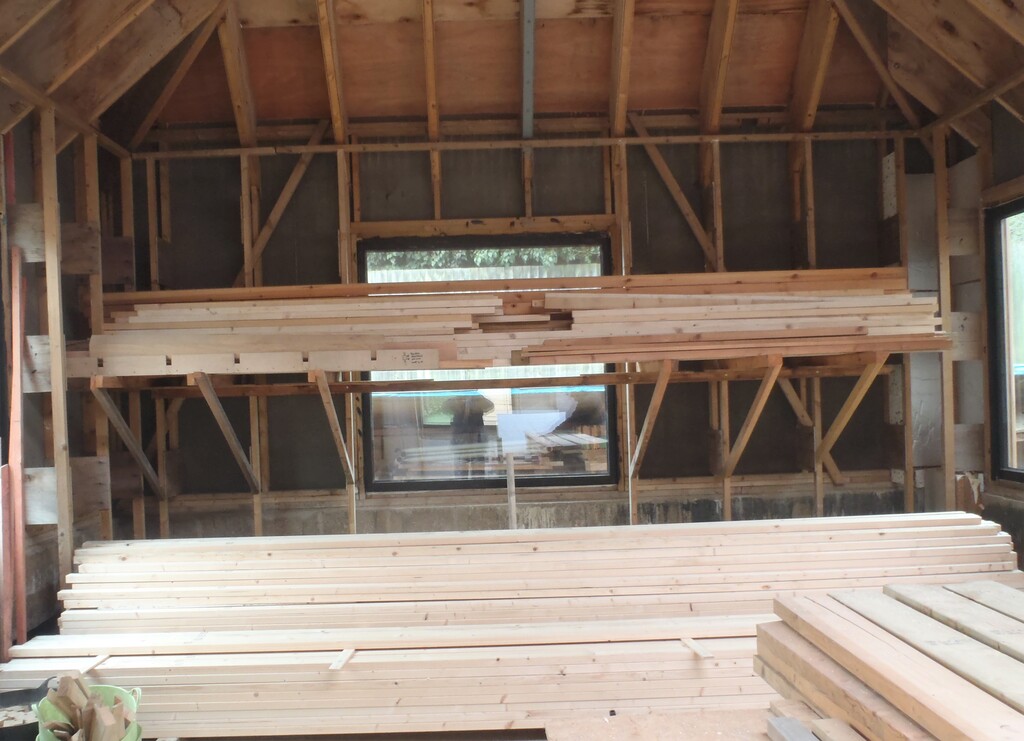
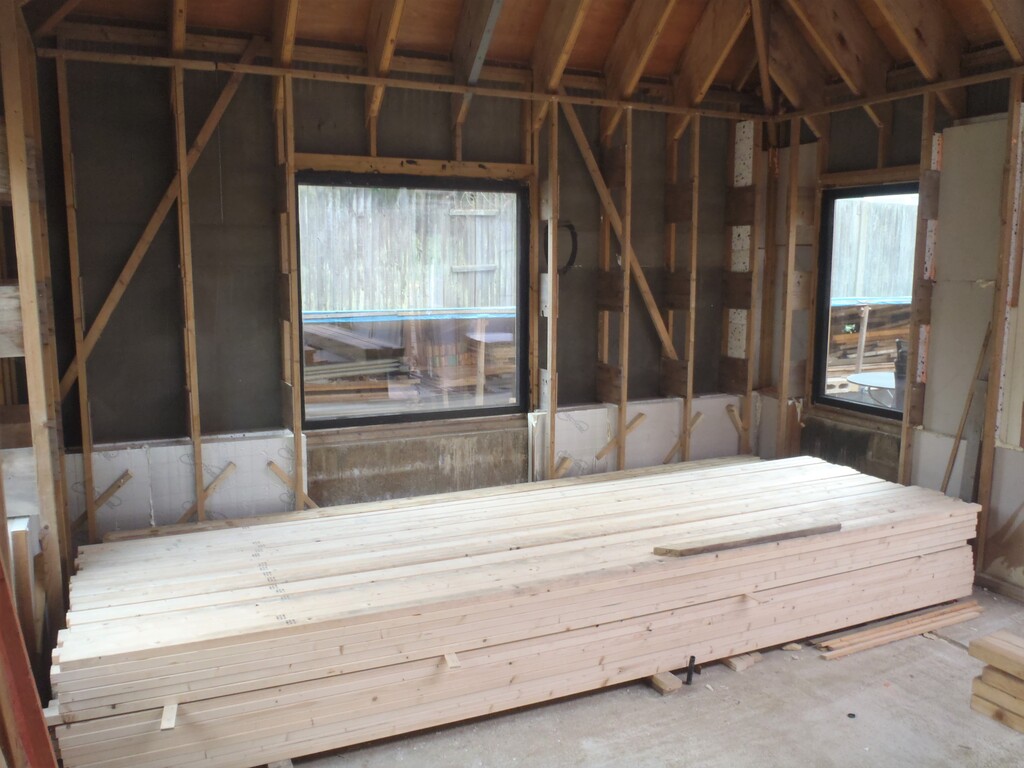
    We proceeded to make sixteen of these panels over the course of several days.
    Adding Extra Insulation to our Roof on our Temporary Living Quarters

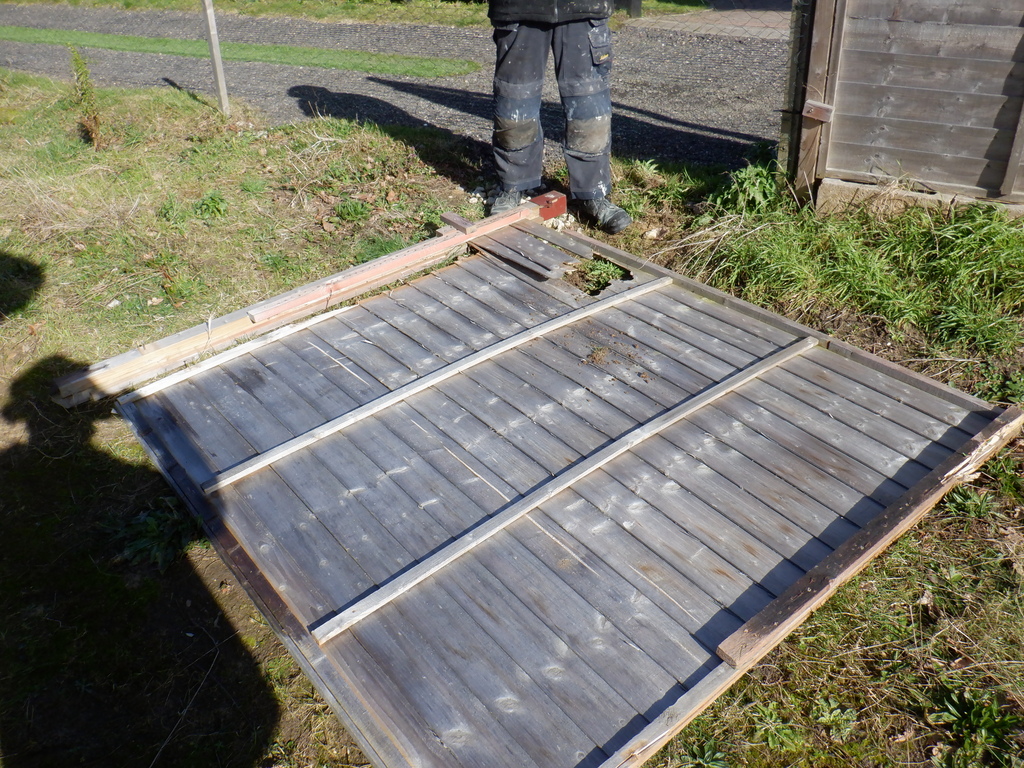
    Constructed-sheets-ready-for-install


    One of the early jobs we did before we got Covid, was to install a series of 89mm CLS timber pieces up on the roof so that we had somewhere to fit down the roofing felt and also retain the foam panels in. These CLS pieces were screwed down with 150mm screws, all the way around the edge.
    Adding Extra Insulation to our Roof on our Temporary Living Quarters

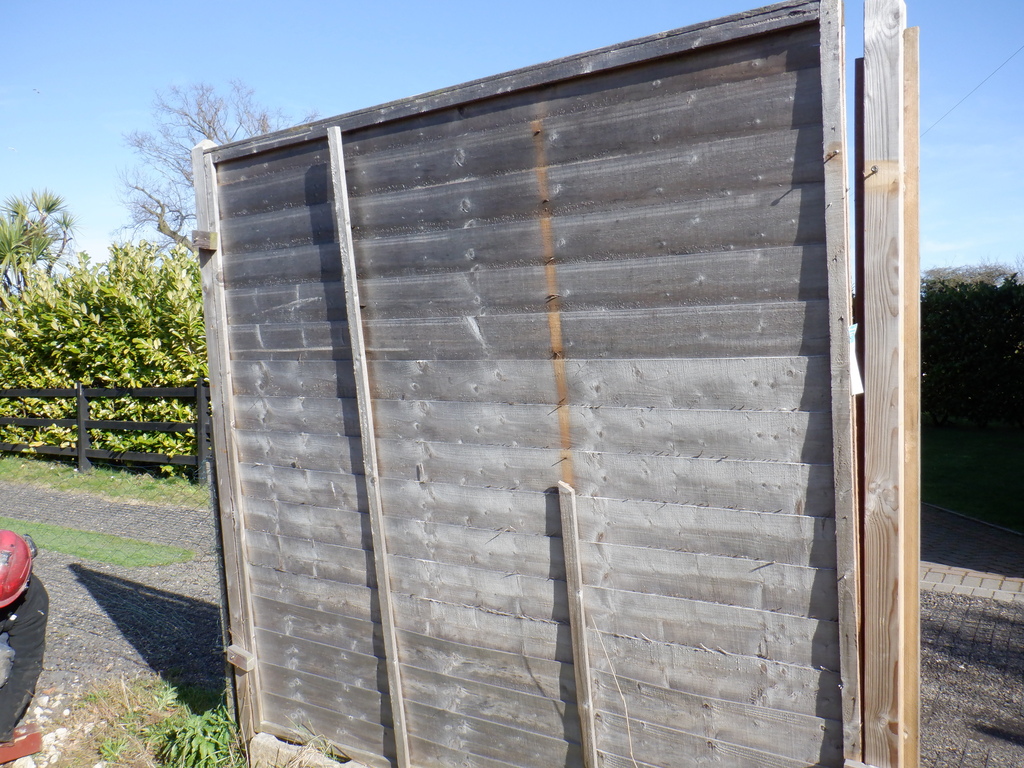
    Temp-Living-extra-insulation-framing


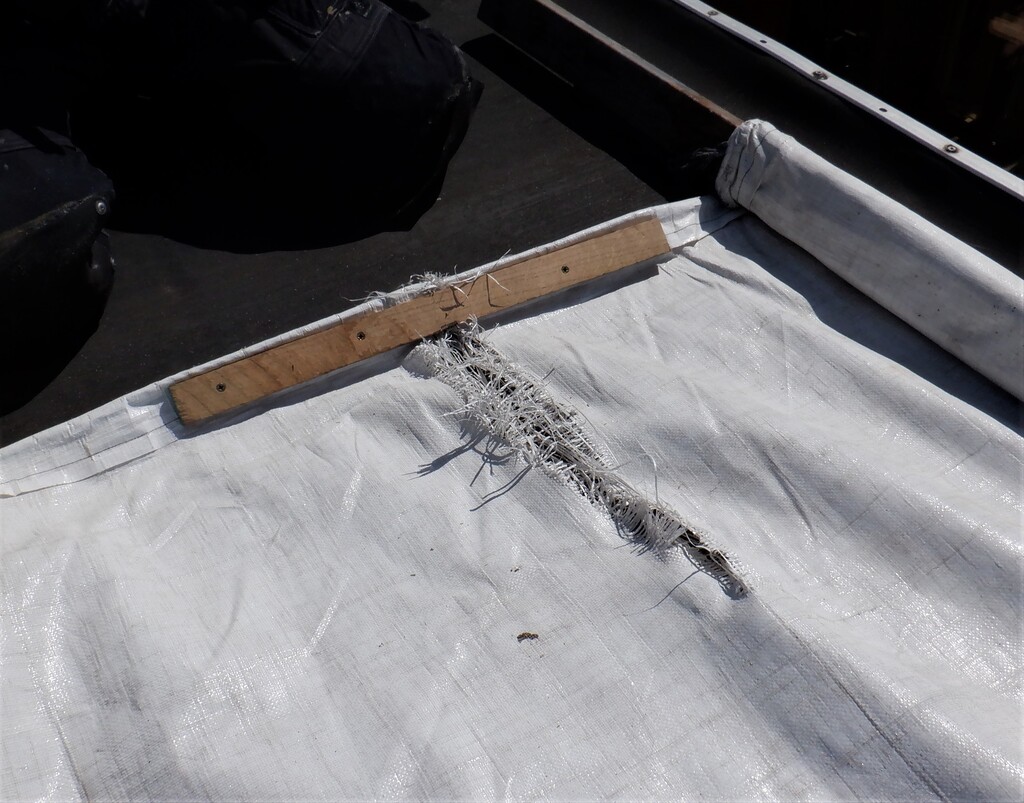
    The next task was to slice up some 11mm OSB board to generate fourteen 100mm wide strips and four 75mm ones, all them being 1780mm long. These pieces will be used to clamp down the insulation panels. Eventually, we will laid down a covering of protective roofing felt, so we decided that these OSB strips needed to have their edges chamfered so we put each one through our router. The four smaller strips had a quarter round shaped on one edge and a 45degree slope cut into the other edge. The same 45degrees chamfer was done on both edges of the other fourteen strips.

    Then, after ordering a box of 180mm long screws and clout nails for the roofing felt and grabbing a lovely clear day today, we managed to get all sixteen panels up onto the roof, starting at the far end and proceeded to fit each one, sometimes needing to trim them down a little bit and clamping the edges down using the strips of 11mm OSB we made earlier. We had to drive the long screw into the roof, to seek out the old 50mm roof rafter inside the structure, and making sure we found it so we had a solid fixing.
    Because the old roof had regular slight hollows, we used lots of spray PU foam to fill this little gap between the new insulation panels and the old roof surface, in order to support the new panels, especially when we walk over the new roof whilst applying the roofing felt.

    Adding Extra Insulation to our Roof on our Temporary Living Quarters

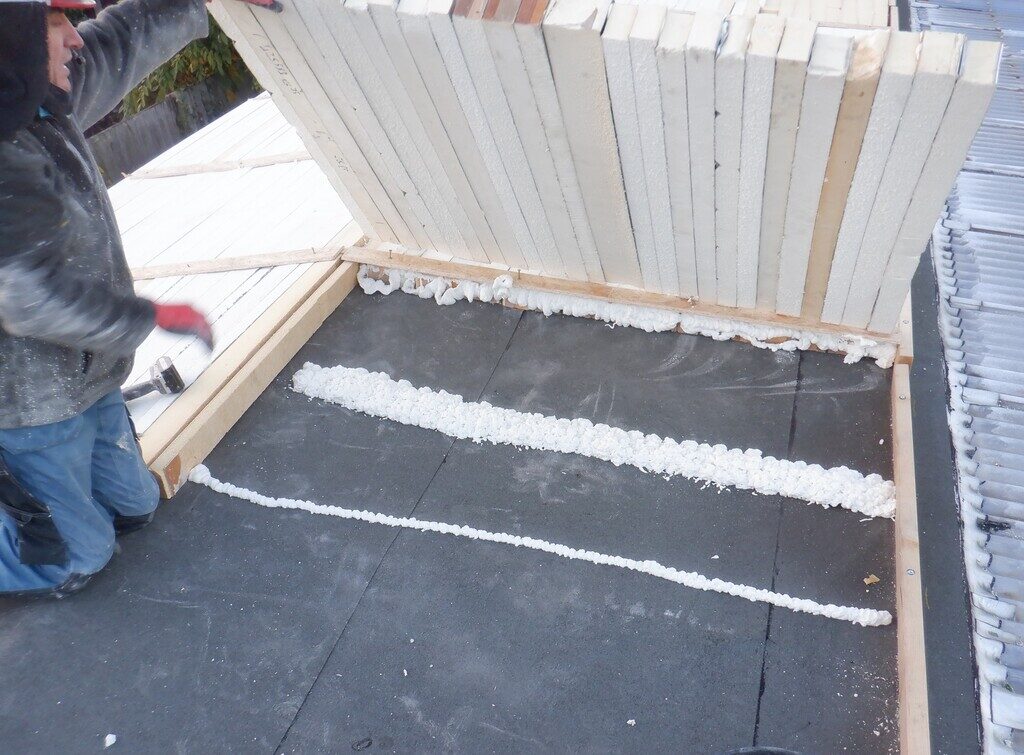
    Foam-under-the-sheet-to-fix-and-support-tehm


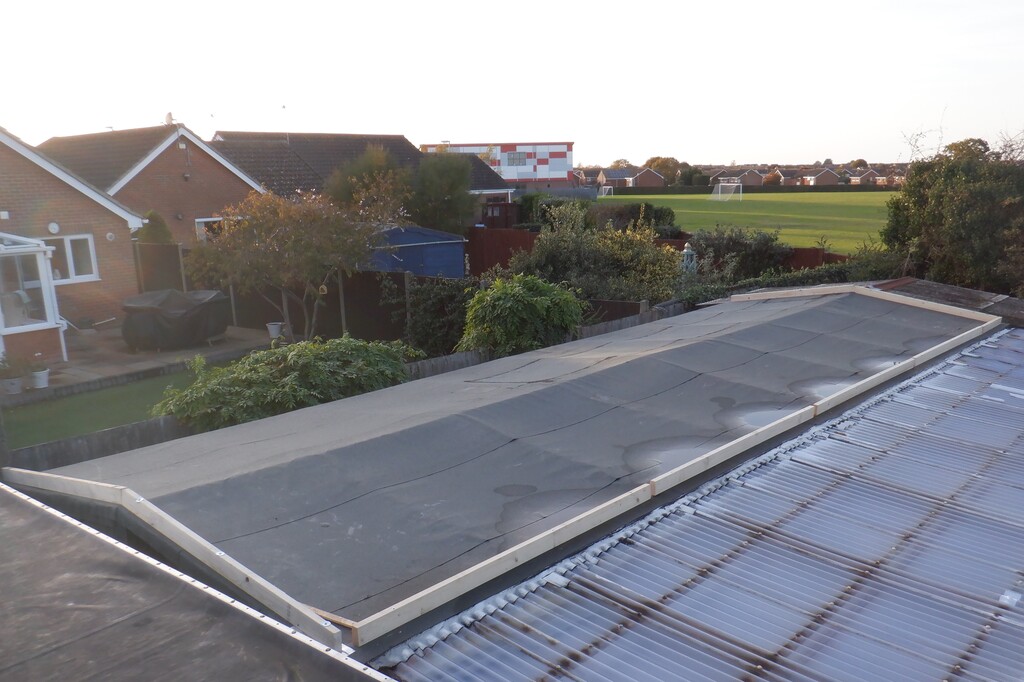
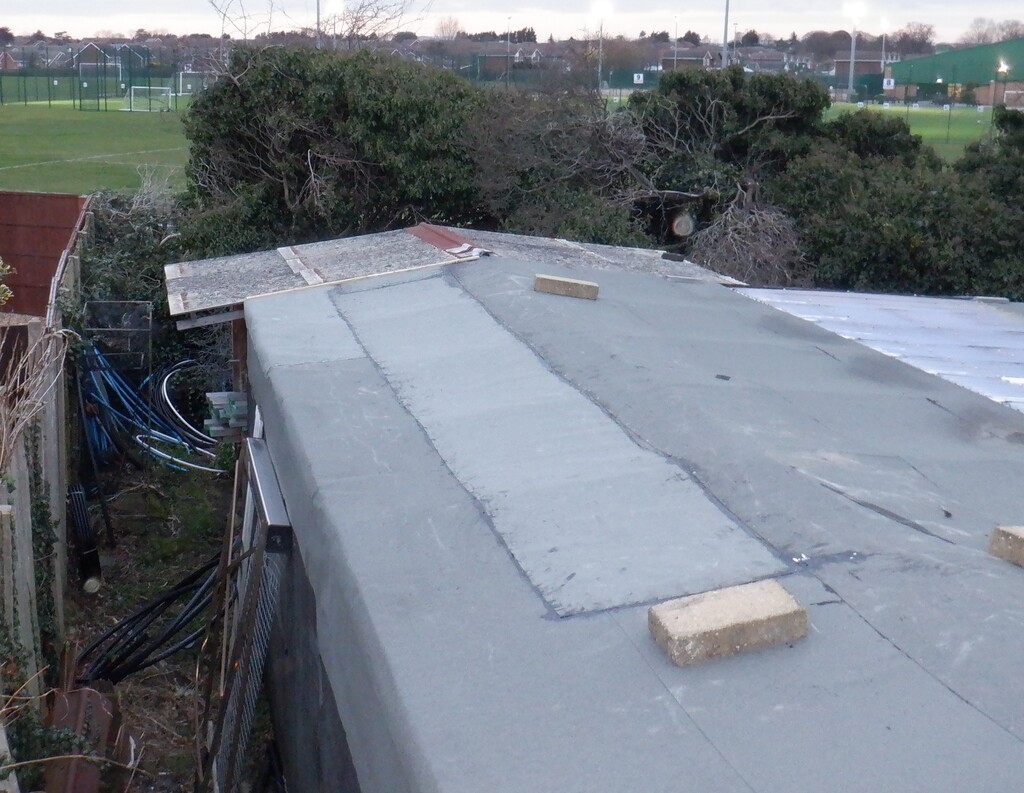
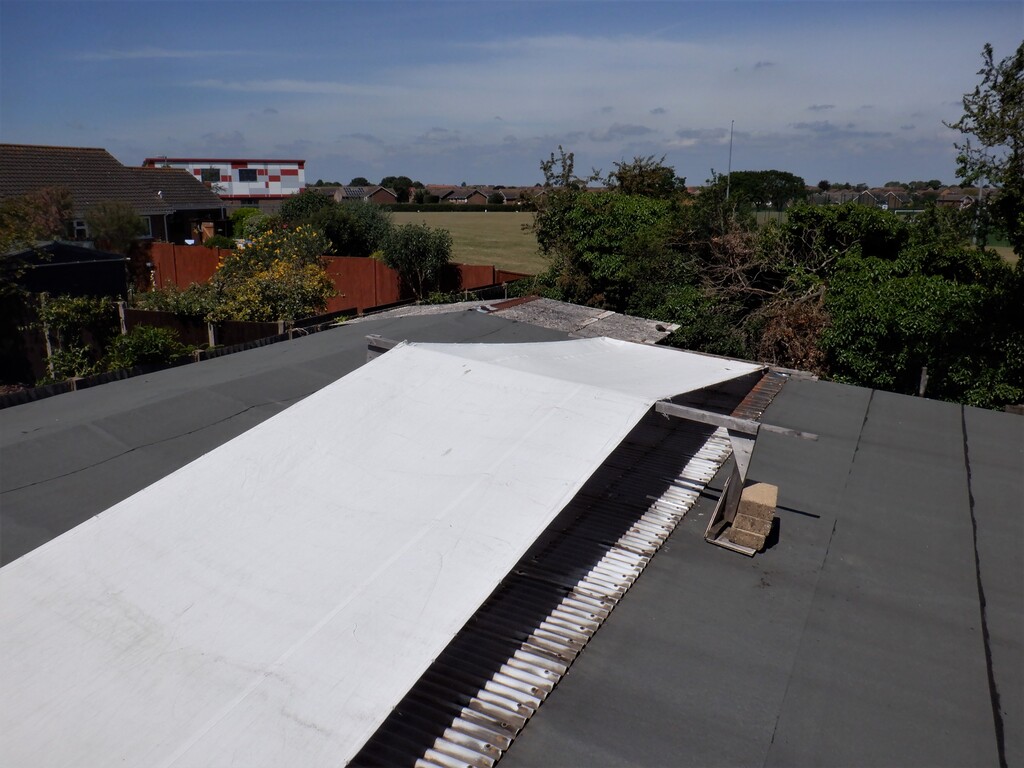
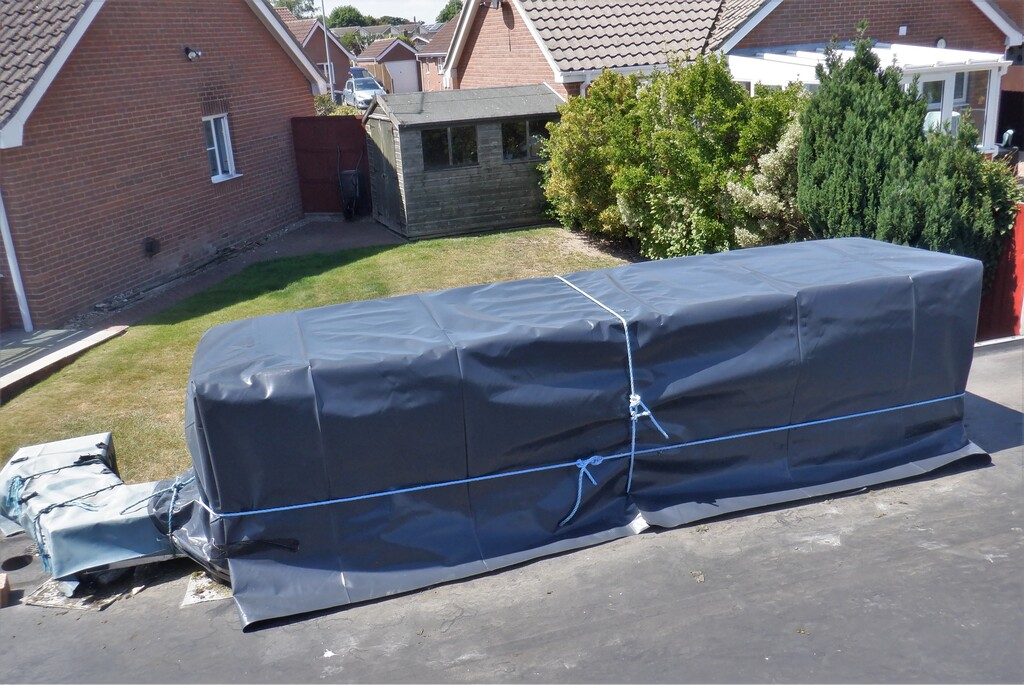
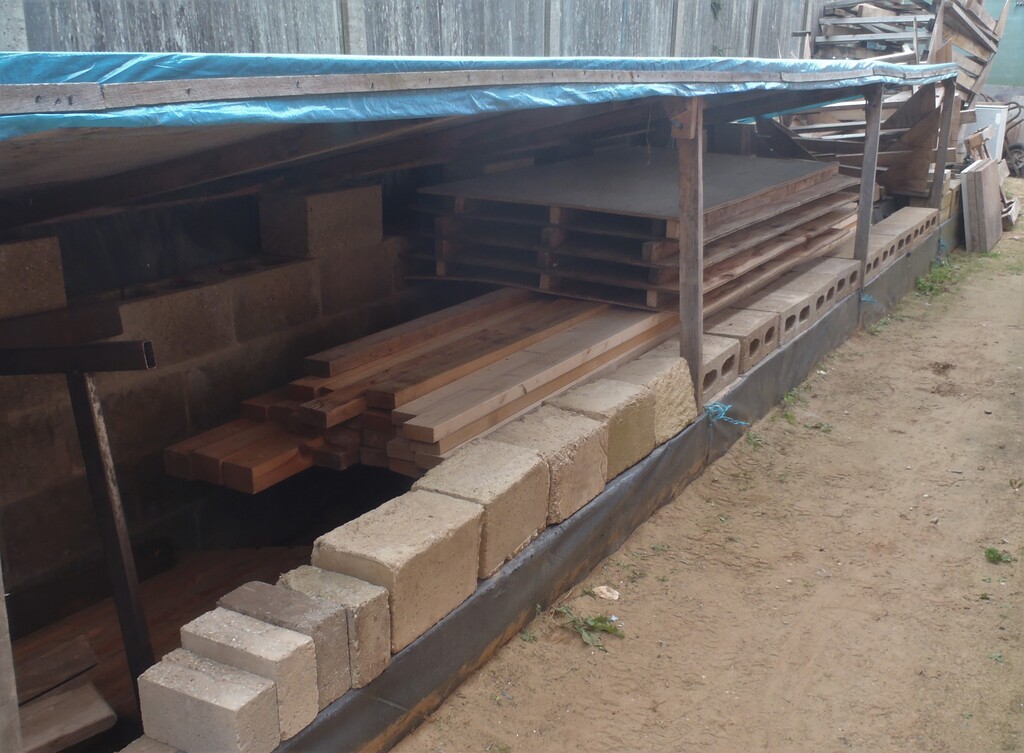
    We managed to get the entire roof covers by about 4pm and the last job to do was to cover this new covering with a tarpaulin, to make sure that the majority of the rain will be deflected away and keep it reasonably dry. The weather is very wet at the moment and we need to wait until we have a full dry day to get the final roofing felt glued and nail down.
    Adding Extra Insulation to our Roof on our Temporary Living Quarters

    All-boards-installed


    Now we wait …
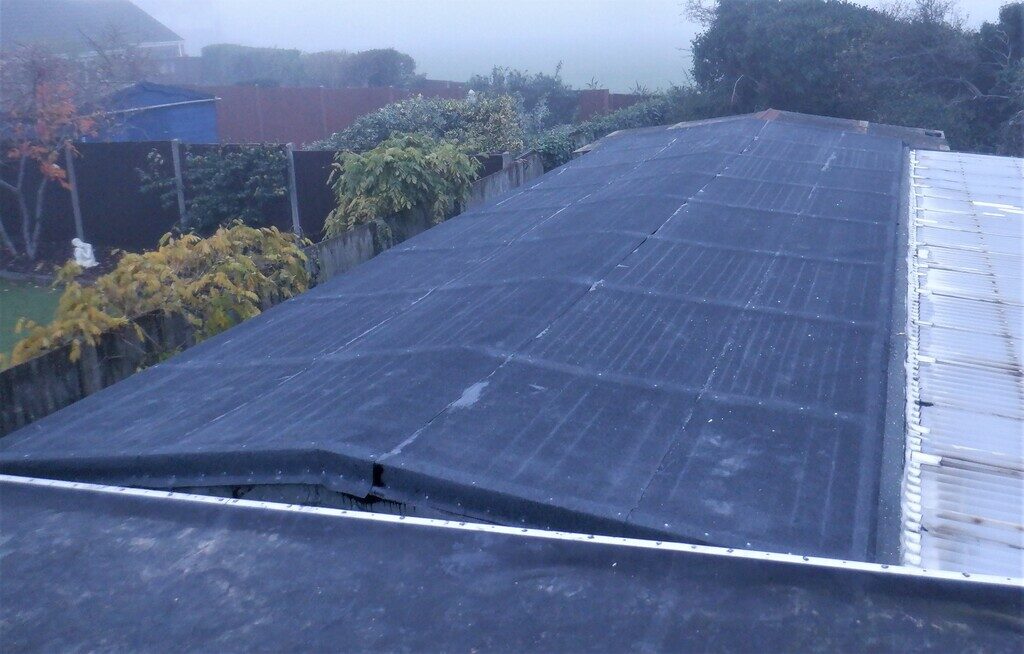
    We finally got the roof felt on a week later! It was the first dry day when we did not have other commitments, it turned a to be a very drear day with fog all day.
    The felt was rolled onto the roof and nailed around the perimiter and along the OSB fixing strips as well as gluing it to the roof at the overlaps and gluing the overlaps to them selves.
    Adding Extra Insulation to our Roof on our Temporary Living Quarters

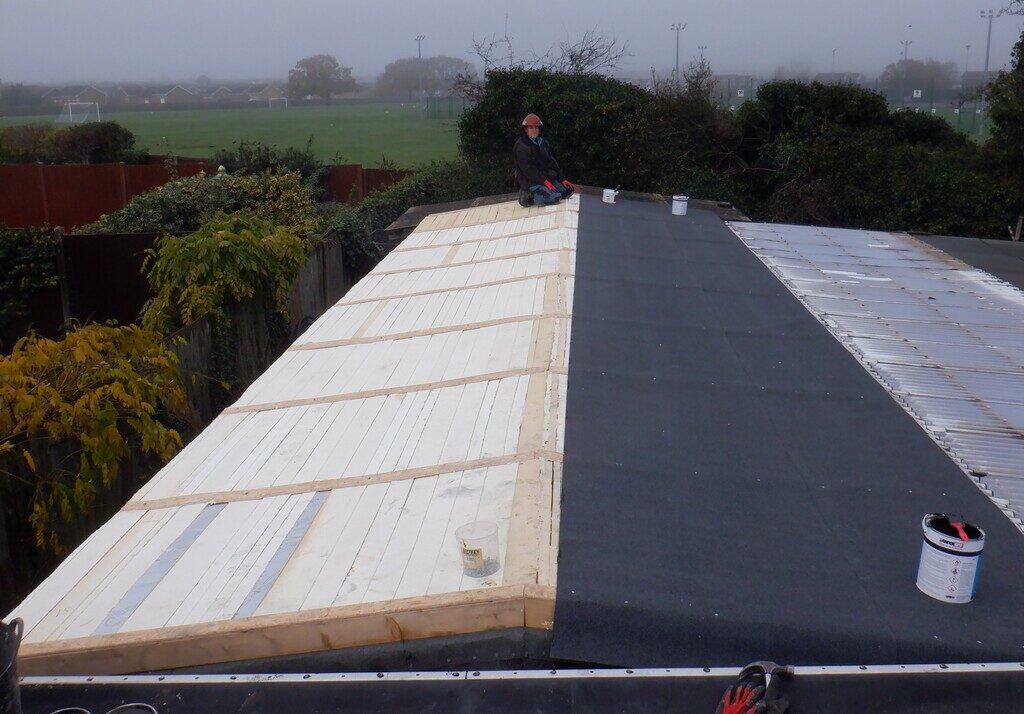
    Covering-the-insulation

    Adding Extra Insulation to our Roof on our Temporary Living Quarters

    All-covered


  • Second Piece of Damage Caused by Storm Eunice, Our Wooden Fencing

    We spent the last couple of days, a few hours on each day, repairing the fence bordering our Loke, that was damaged by Storm Eunice back on the 18th February 2022. She had snapped one of the metal post holders in half, leaving the spike buried in the ground, while the socket part with its wooden post still in it, and also still attached to the wooden panels, was flung across the garden and part the way out on to the Loke too. It had broken several pieces of the framework making up a panel plus literally snapping a corner out of another panel.

    Second Piece of Damage Caused by Storm Eunice, Our Wooden Fencing

    Storm-damage-to-fence-1

    Second Piece of Damage Caused by Storm Eunice, Our Wooden Fencing

    Storm-damage-to-fence-2

    Second Piece of Damage Caused by Storm Eunice, Our Wooden Fencing

    Storm-damage-to-fence-3


    After detangling the wooden panels from the fence post, unscrewing smashed support ties and other bits and pieces to get the panels separated, we were then took each one in turn into the house to repair and reinforce them back into some assemblance of normality. We actually repaired three in total, even though only two of the panels were lying on the ground, we found the first panel had some broken structs so that got done too.
    Next, was to remove the metal socket off the wooden post (it was clamped on so just a case of loosening a couple of captive bolts) and then digging out the buried spike, bringing both pieces indoors and cleaning them up using grinding discs and wire wheels to get the protective paint off so it was ready for welding back together. We found some iron strips of band and used them to reinforce the whole thing, with lots of weld points everywhere. After that we painted it green, using a metal paint to help prevent major rusting and left it to harden overnight.
    On the following afternoon, we proceeded to rebuild the fence, driving the repaired metal support holder back into the ground and then slid the wooden panels back into place. We had to relevel a couple of the concrete blocks under the middle panel but everything went back pretty neatly. We screwed all the wooden panels securely on to the post again to save them from slipping out in windy conditions.

    That concludes the repairs caused by storm Eunice and hopefully we won’t suffer another incident any time soon!!

  • Storm Eunice Ripped Several Pieces of Roofing Felt Off

    This afternoon we took to the sky and repaired a smallish section of roof on our Temporary Living Quarters, damaged by Storm Eunice a couple of days ago. It managed to peel off half a strip of roofing felt down at the far end of the roof and a smaller piece also down that end too. We had some spare felt in the garden shed, some nails and half a tin of bitumen horrible black sticky glue. First of all, we levered up the edge of the next strip of felt up the roof (it was going over the central ridge line), got the nails out and slid under the edge a length of the new felt. We used plenty of the bitumen glue to stick down the edge and then nailed everything together to make sure the wind didn’t pick up the felt and cause more damage while the glue is drying. Then a smaller piece slid under the previous strip we just done and applied more glue to that overlapping edge too, finishing off with another line of nails, plus a dozen nails to pin down the loose edge that bends over the edge of the roof and down the wall a little way.

    Storm Eunice Ripped Several Pieces of Roofing Felt Off

    Temporary-living-roof-repaired


    To make sure we did not suffer the same faith again, we screwed down a 6 foot length of batten across the end of the roof, to clamp down the ends of the roofing felt, and avoid the chance of another Storm coming along and ripping more felt off our roof!

  • Removal of Builder’s Rubble

    We took the opportunity to empty our builder’s rubble we have collected over the last couple of years. We had been loading up two separate ton bags with various rubbish like concrete blocks cut-offs, rubble, cement board pieces, sandy dirt and other builder’s junk that we couldn’t burn. We had teamed up with our neighbours and hired jointly a large skip which was loaded up with more builder’s rubble and dirt from the bottom of the Loke and the earth bank that separates us from the school field, and there was enough room left over to allow us to empty our own rubbish.

    Removal of Builder's Rubble

    Feb-2022-skip-filled-with-Loke-debris-and-building-rubbish


    One very full skip which will be taken away soon.

  • Lighting Installed Upstairs and Flood Lights over Great Room

    Today, we took an opportunity to install a new strip of LEDs up on the under side of the steel RSJ part of the Skylight. We wanted to rearrange some of the 100W floodlamps that were previously positioned to shine down lighting up the ground floor but that was before we had built the First Floor structure. So we bought a 45m length mains rated LEDs strip, we actually ended up with only 28metres (we got the difference refunded!) and we started at the North end of the house (over the Bedroom Three and Utility rooms) and split the strip into two lengths of 14metres to go down both sides of the Skylight. We used the 12mm thick plywood that we got installed up inside our Skylight and drilled a series of little holes for cable ties to clamp the LEDs strip up on the edge. We just managed to reach the fat steel legs (number 1 and 7).

    Lighting Installed Upstairs and Flood Lights over Great Room

    New-upstairs-lights-1

    Lighting Installed Upstairs and Flood Lights over Great Room

    New-upstairs-lights-2


    Then unconnected four 100W LED floodlamps from various places and got them installed over the Great Room to shine down over our work and saw benches. We used the Ground Floor lighting circuit to connect these lamps so we now have a very well lit work area in our Great Room and a pretty good illuminations upstairs too.
    Lighting Installed Upstairs and Flood Lights over Great Room

    New-great-room-floodlights

    Lighting Installed Upstairs and Flood Lights over Great Room

    Great-room-lit-by-new-lights


    We may have to put in a couple more lamps in the last rooms downstairs like the Kitchen, Bedroom One and the Entertainment Room so we can continue to work in the dark evenings now.

  • Sun Shield Taken Down and Thrown Away

    Today, the first thing of the new week, we went up on our roof of our temporary living quarters to take down the Sun Shield from over our long corridor transparent roof “window”. It was falling apart and splitting in lots of places, we could just tug at the material and it would rip quite easily, so we undid all the clamping piece of wood and unthreaded the rope, folded it up and dumped it into our bin. Looking back in our records, it seems that we created this version of the shield back in April 2018, see Sun Shield Over Corridor Created and Mounted for details of us doing sewing, so it has done just about three and half years of service, coping with the powerful radiation coming from our Sun.
    Next year, we will repeat the job of buying a new tarpaulin and making a new sun shield.

  • Sun Shield Patched and Installed over our Corridor plus New Waterproof Cover for Header Tank

    It is very very hot outside today, we had to repair the tarpaulin that provides a sun shield over our long corridor in our temporary living quarter and also replace one of the tensioning ropes.

    Sun Shield Patched and Installed over our Corridor plus New Waterproof Cover for Header Tank

    Sun-corridor-cover-Jun-2021


    The rope had frayed quite badly in the middle point where the whole cover is hoisted up to provide two sloping surfaces to shed the rain water. So we had to thread a new piece of rope through which was a bit fiddly. For the large tear, we found two thin oak strips and while pulling the tear closed, used the two pieces of timber and clamped across the tear using six screws alternatively driven from each side and holding everything together, hopefully for another year or so.
    Sun Shield Patched and Installed over our Corridor plus New Waterproof Cover for Header Tank

    Sun-corridor-Cover-repaired


    Then, we replaced the 10 year old waterproof cover, protecting our header tank that sits on top of our garage to provide a temporary water supply to the kitchen, shower and toilet downstairs. We cut another piece of DPM plastic measuring 2.1metres by 2.7metres long and rewrapped the rectangular structure and re-tied the rope back into place.
    Sun Shield Patched and Installed over our Corridor plus New Waterproof Cover for Header Tank

    Water-tank-recovered


    Next, we had a quick survey of our roof surfaces to make sure that there were no holes or wearing patches that might look troublesome for us in the future and we can report that it is looking good.
    That concludes this year’s annual maintenance for our temporary living quarters.

  • Spare timber Store Moved Outside to Swimming Lane

    Today, we decided to move the heap of timber planks we had stored inside our Great Room, on a raised shelving rack system.

    Spare timber Store Moved Outside to Swimming Lane

    Timber-storage-rack


    The main reason for tackling this job now, to move the timber outside, was because we needed access to our external walls to insert the insulation foam boards. We knew that we had to move this pile of various sized planks anyway, sometime in the future so we felt that if we did it now, then we would finish off the insulation task completely and not have it hanging over us.
    So the first job was to have a look at our swimming lane outside, to rearrange some of the items so we had enough room for the 4.8metres long planks.

    We pushed this and that bits and pieces around and was able to transport a collection of planks, ranging from 89mm by 38mm planks, some 100mm by 50mm ones and three big 100mm by 75mm planks to their new storage location, under cover in our Swimming Lane.

    Spare timber Store Moved Outside to Swimming Lane

    Moved-to-swimming-lane-storage


    The shelving system in the Great Room was dismantled and we now got a cleared area to allow us to gain access to the walls for the installation of the insulation chunks.
    The rest of the timber, the 63mm by 38mm type, is staying indoors because they will get used up to build all the internal rooms for both the ground and upper floors.
    Spare timber Store Moved Outside to Swimming Lane

    Tidied-the-CLS-stacks