Category: Walls

  • Slicing the Walls Up!

    We have been slicing up the walls in the last three days! We have cut out the windows (again) to let in the daylight, trimmed around the counter weight panels coverings

    We are slicing vertical slots to recess the upright shelving brackets (this reduces that annoying gap at the back).

    The garage is the place where all sorts of things will be dumped and we are making sure we have plenty of shelves to store the “Junk”!

    Just one more day of slicing slots into the last side wall and front wall then we can mount the metalwork!

  • Fermacell Mounted!

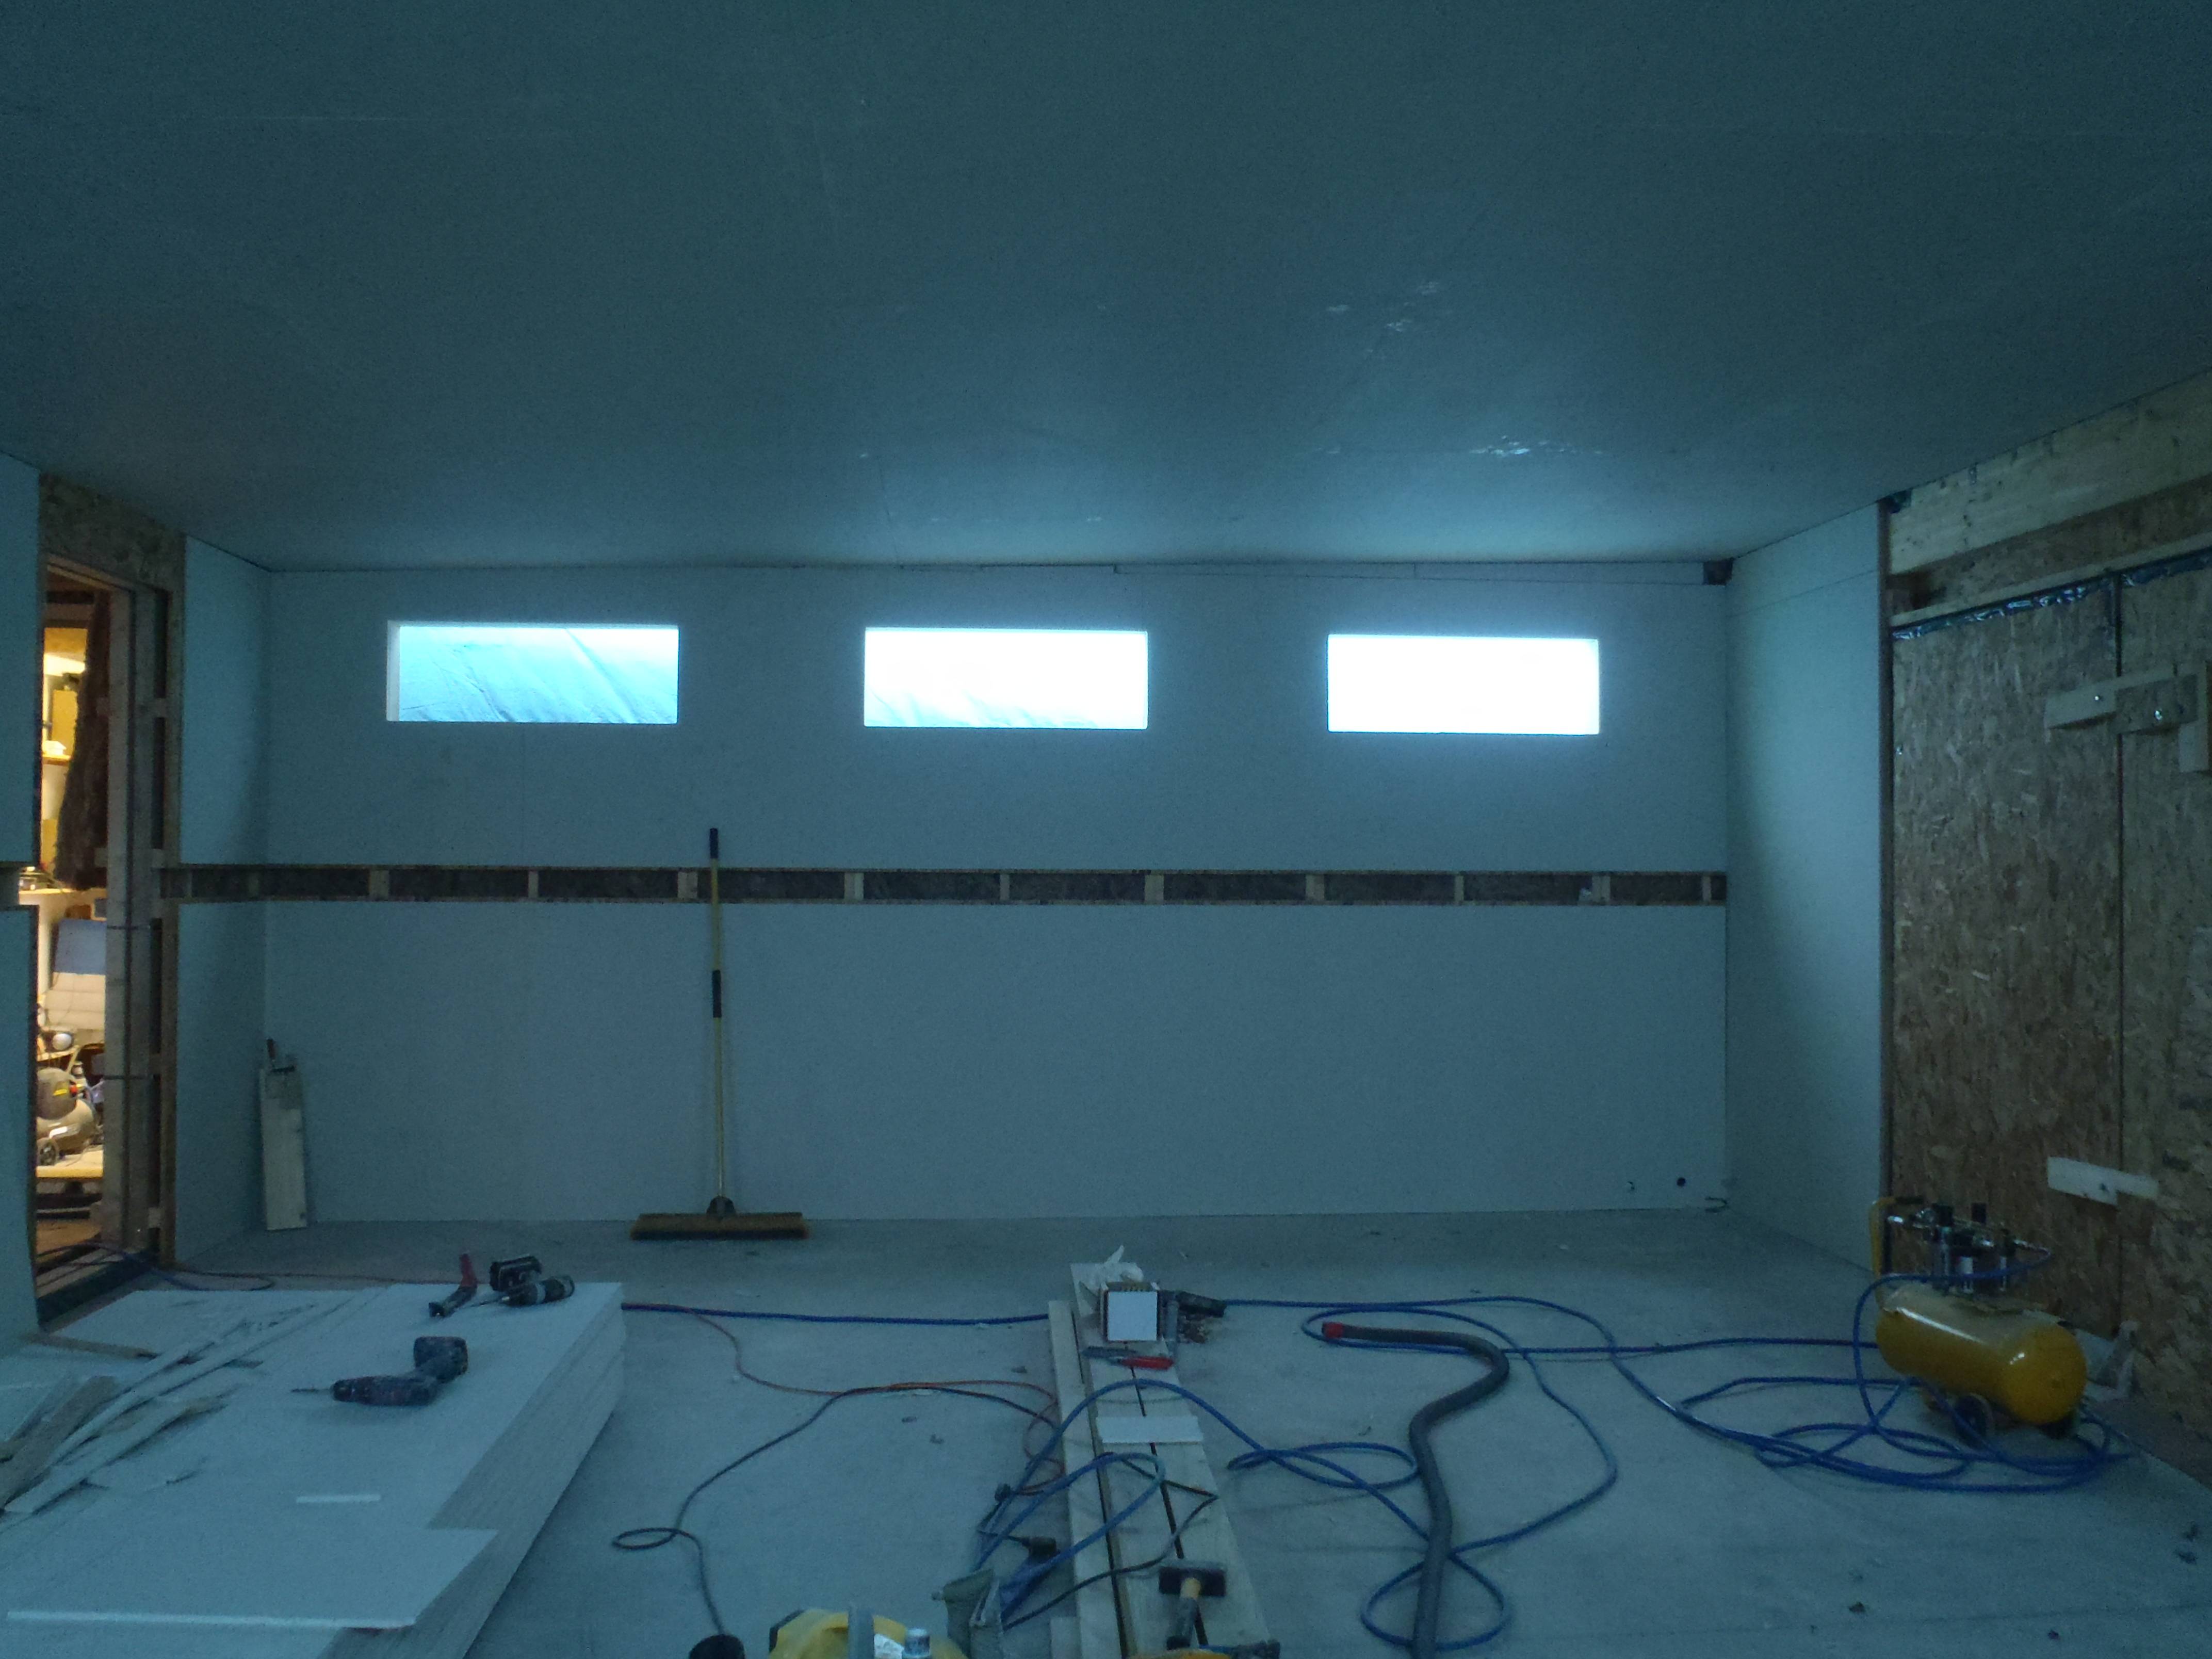
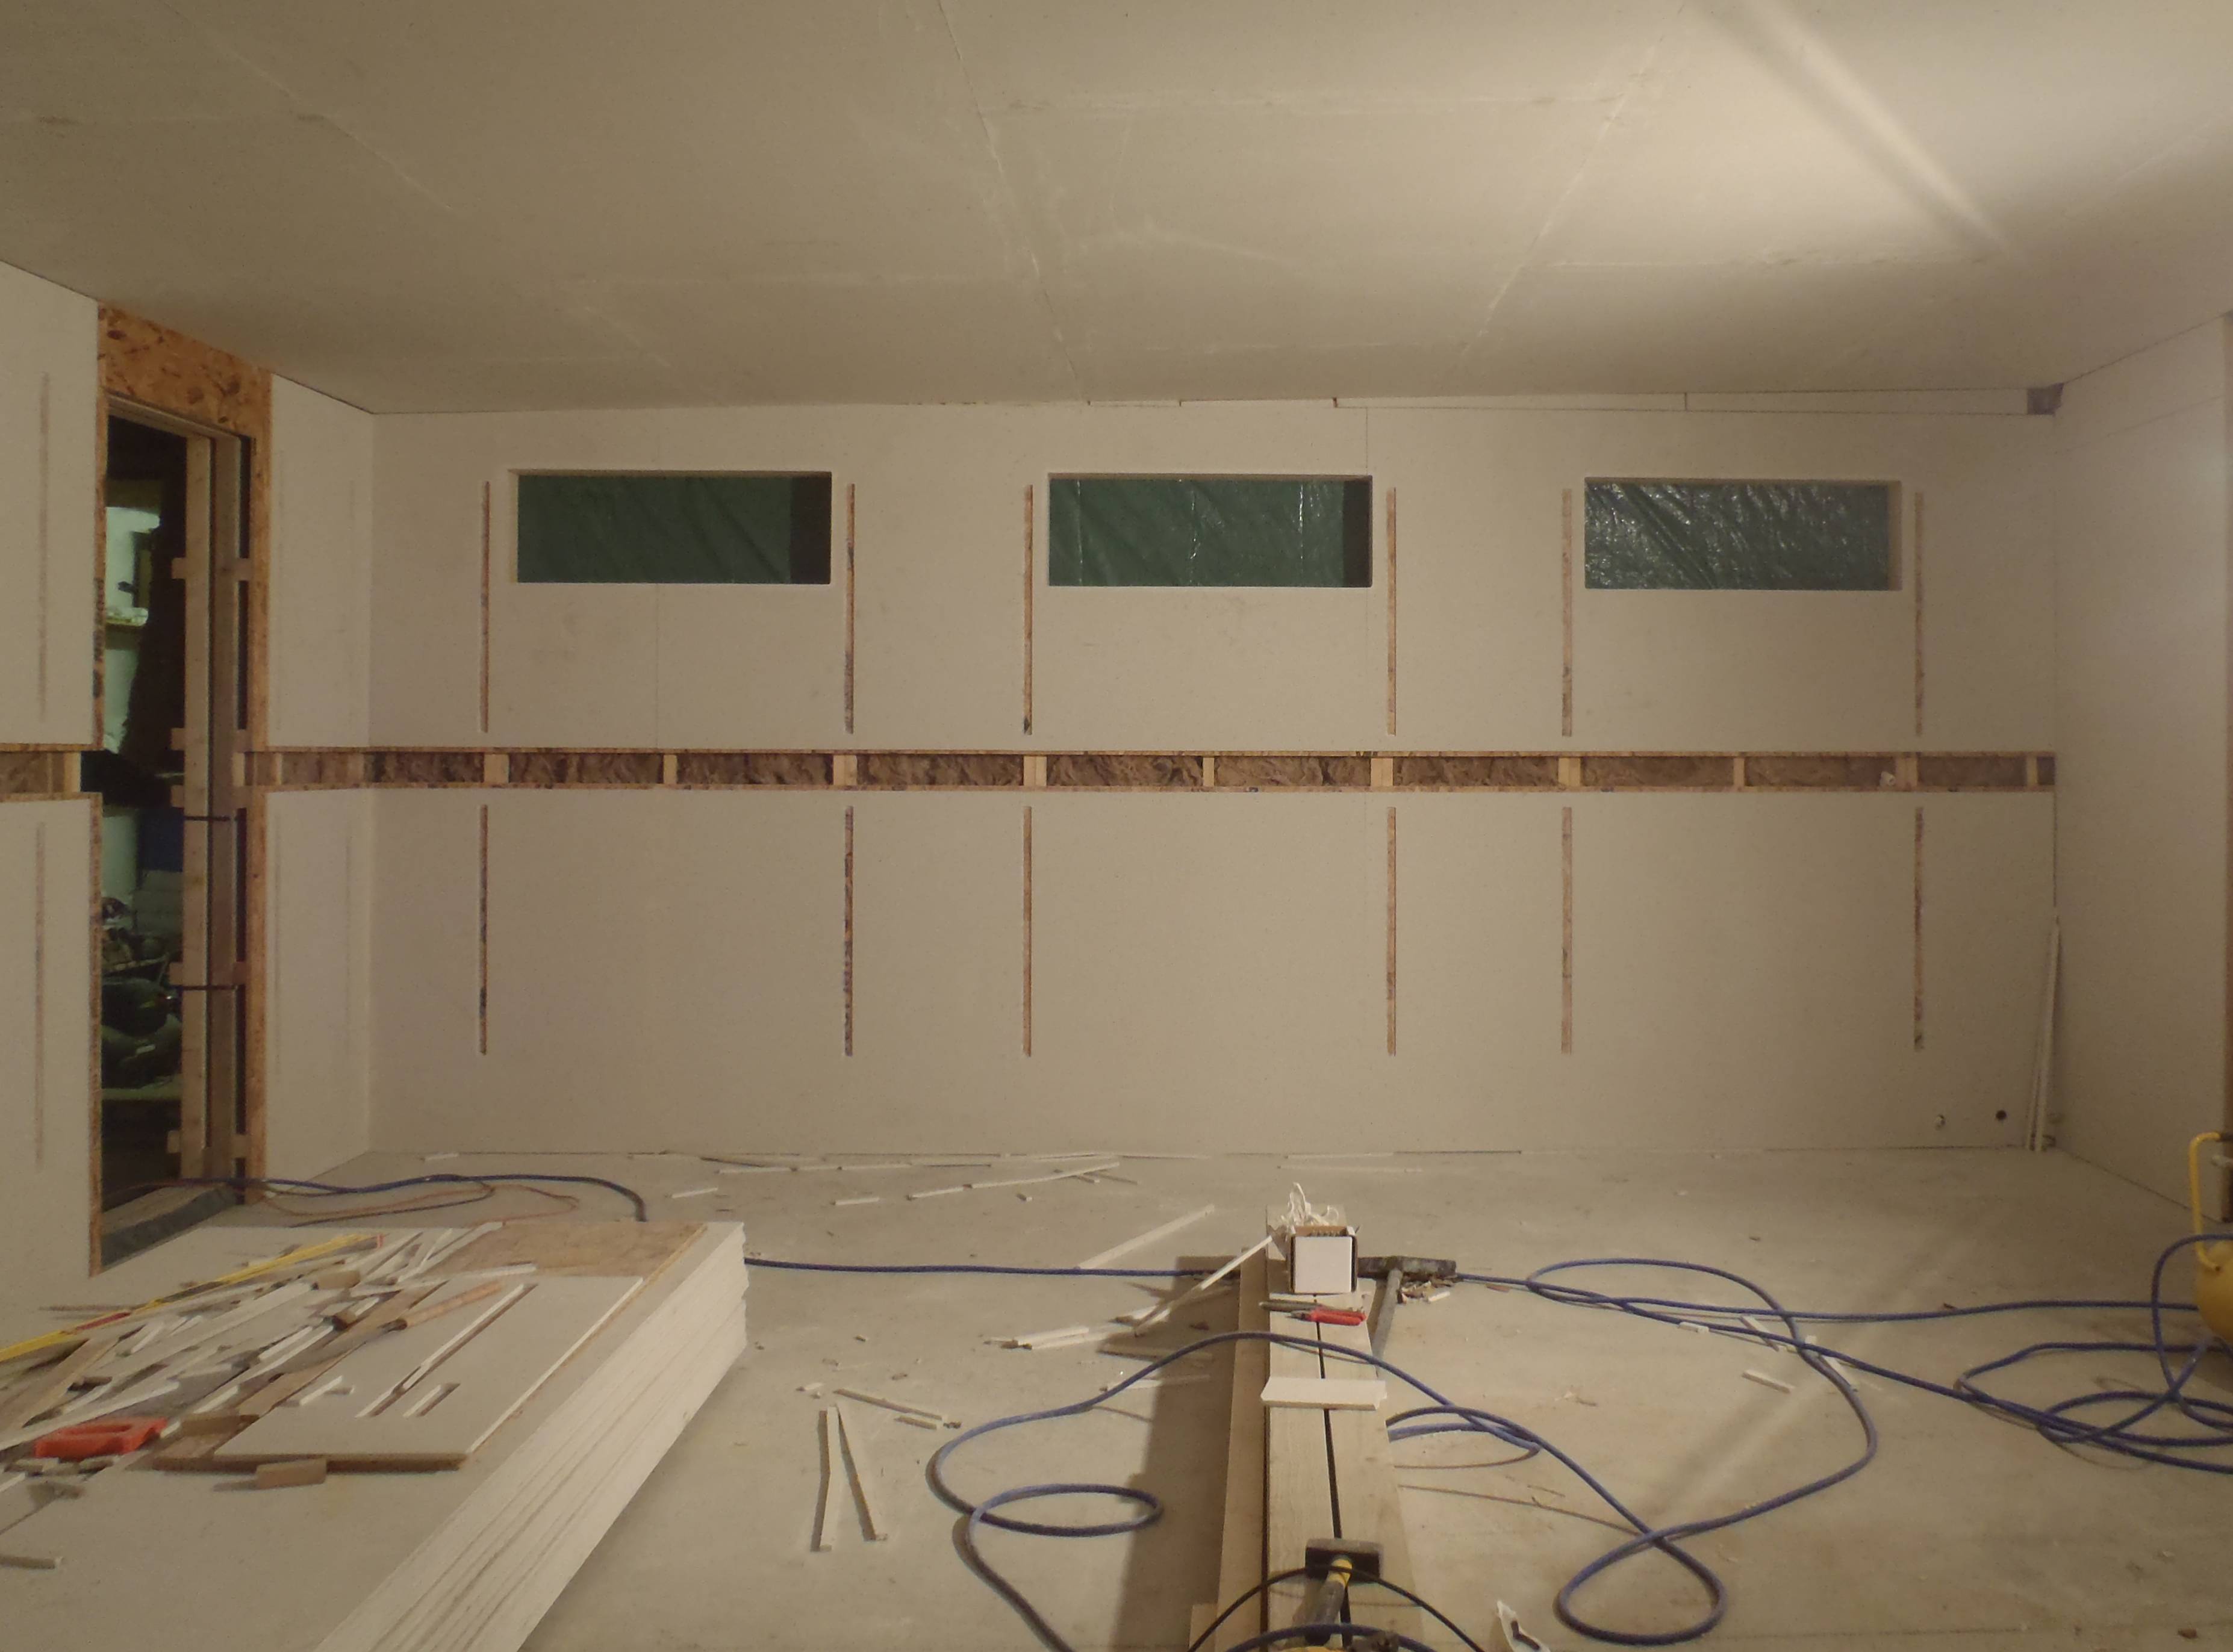
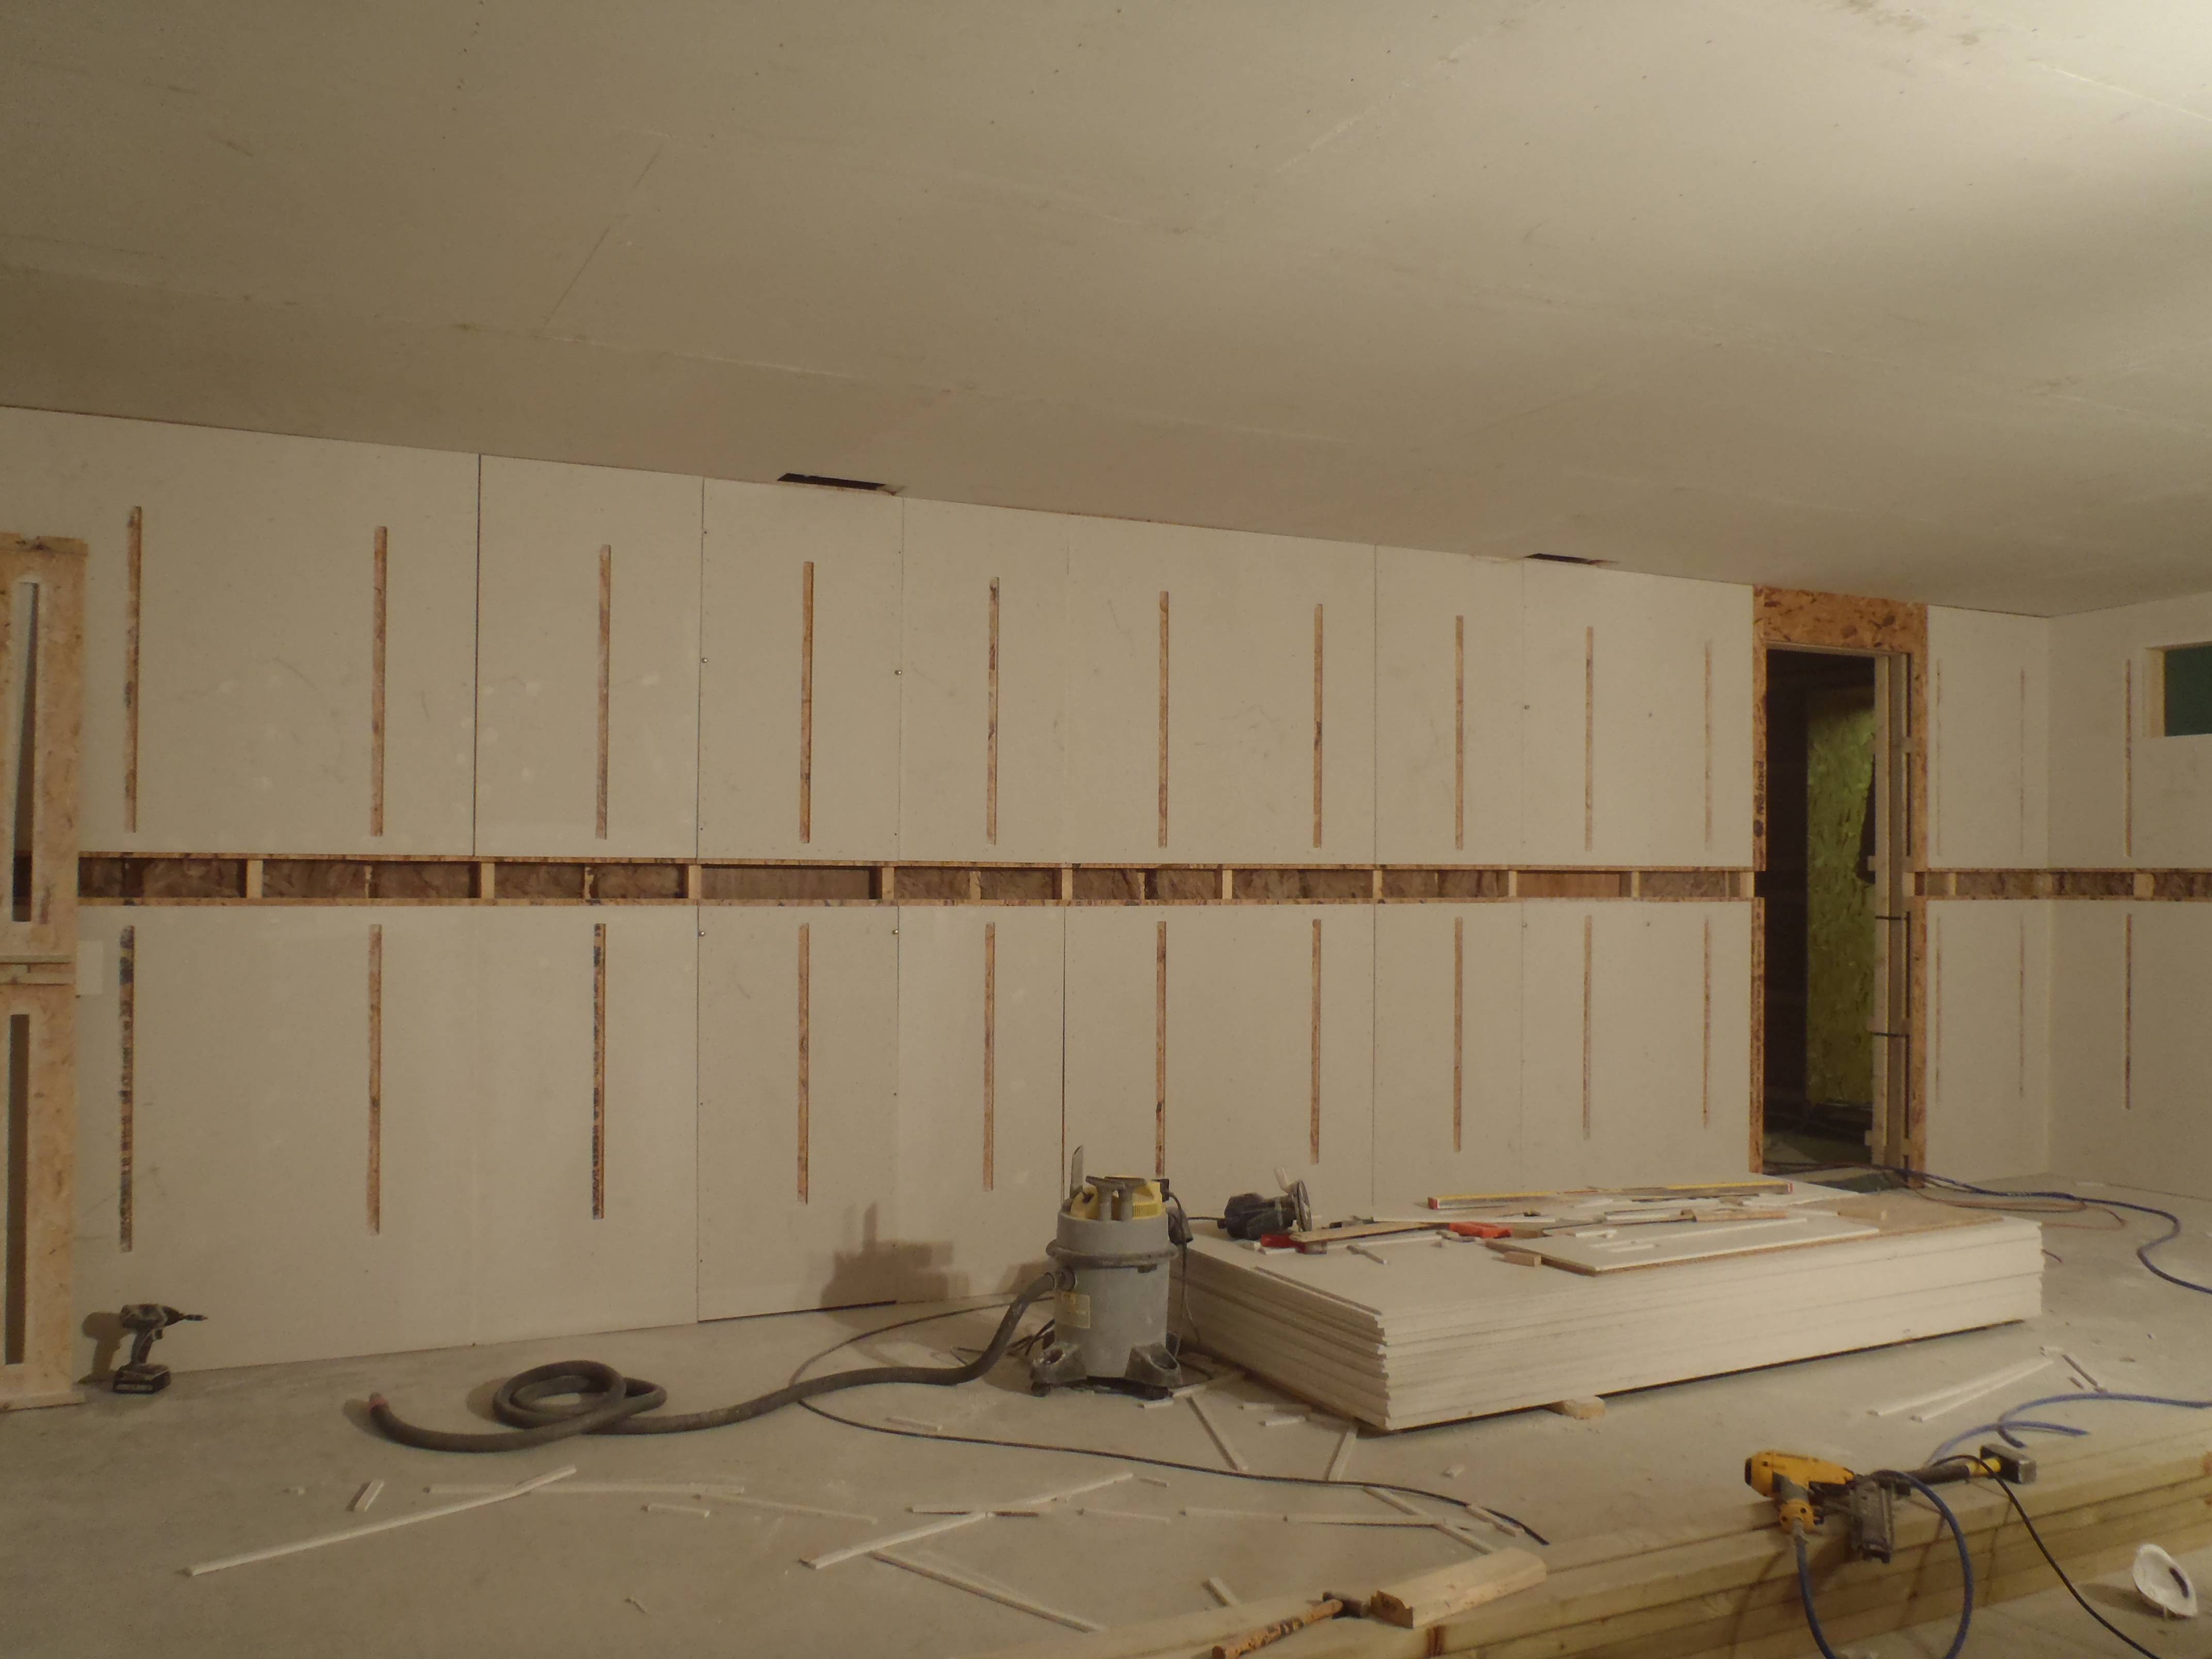
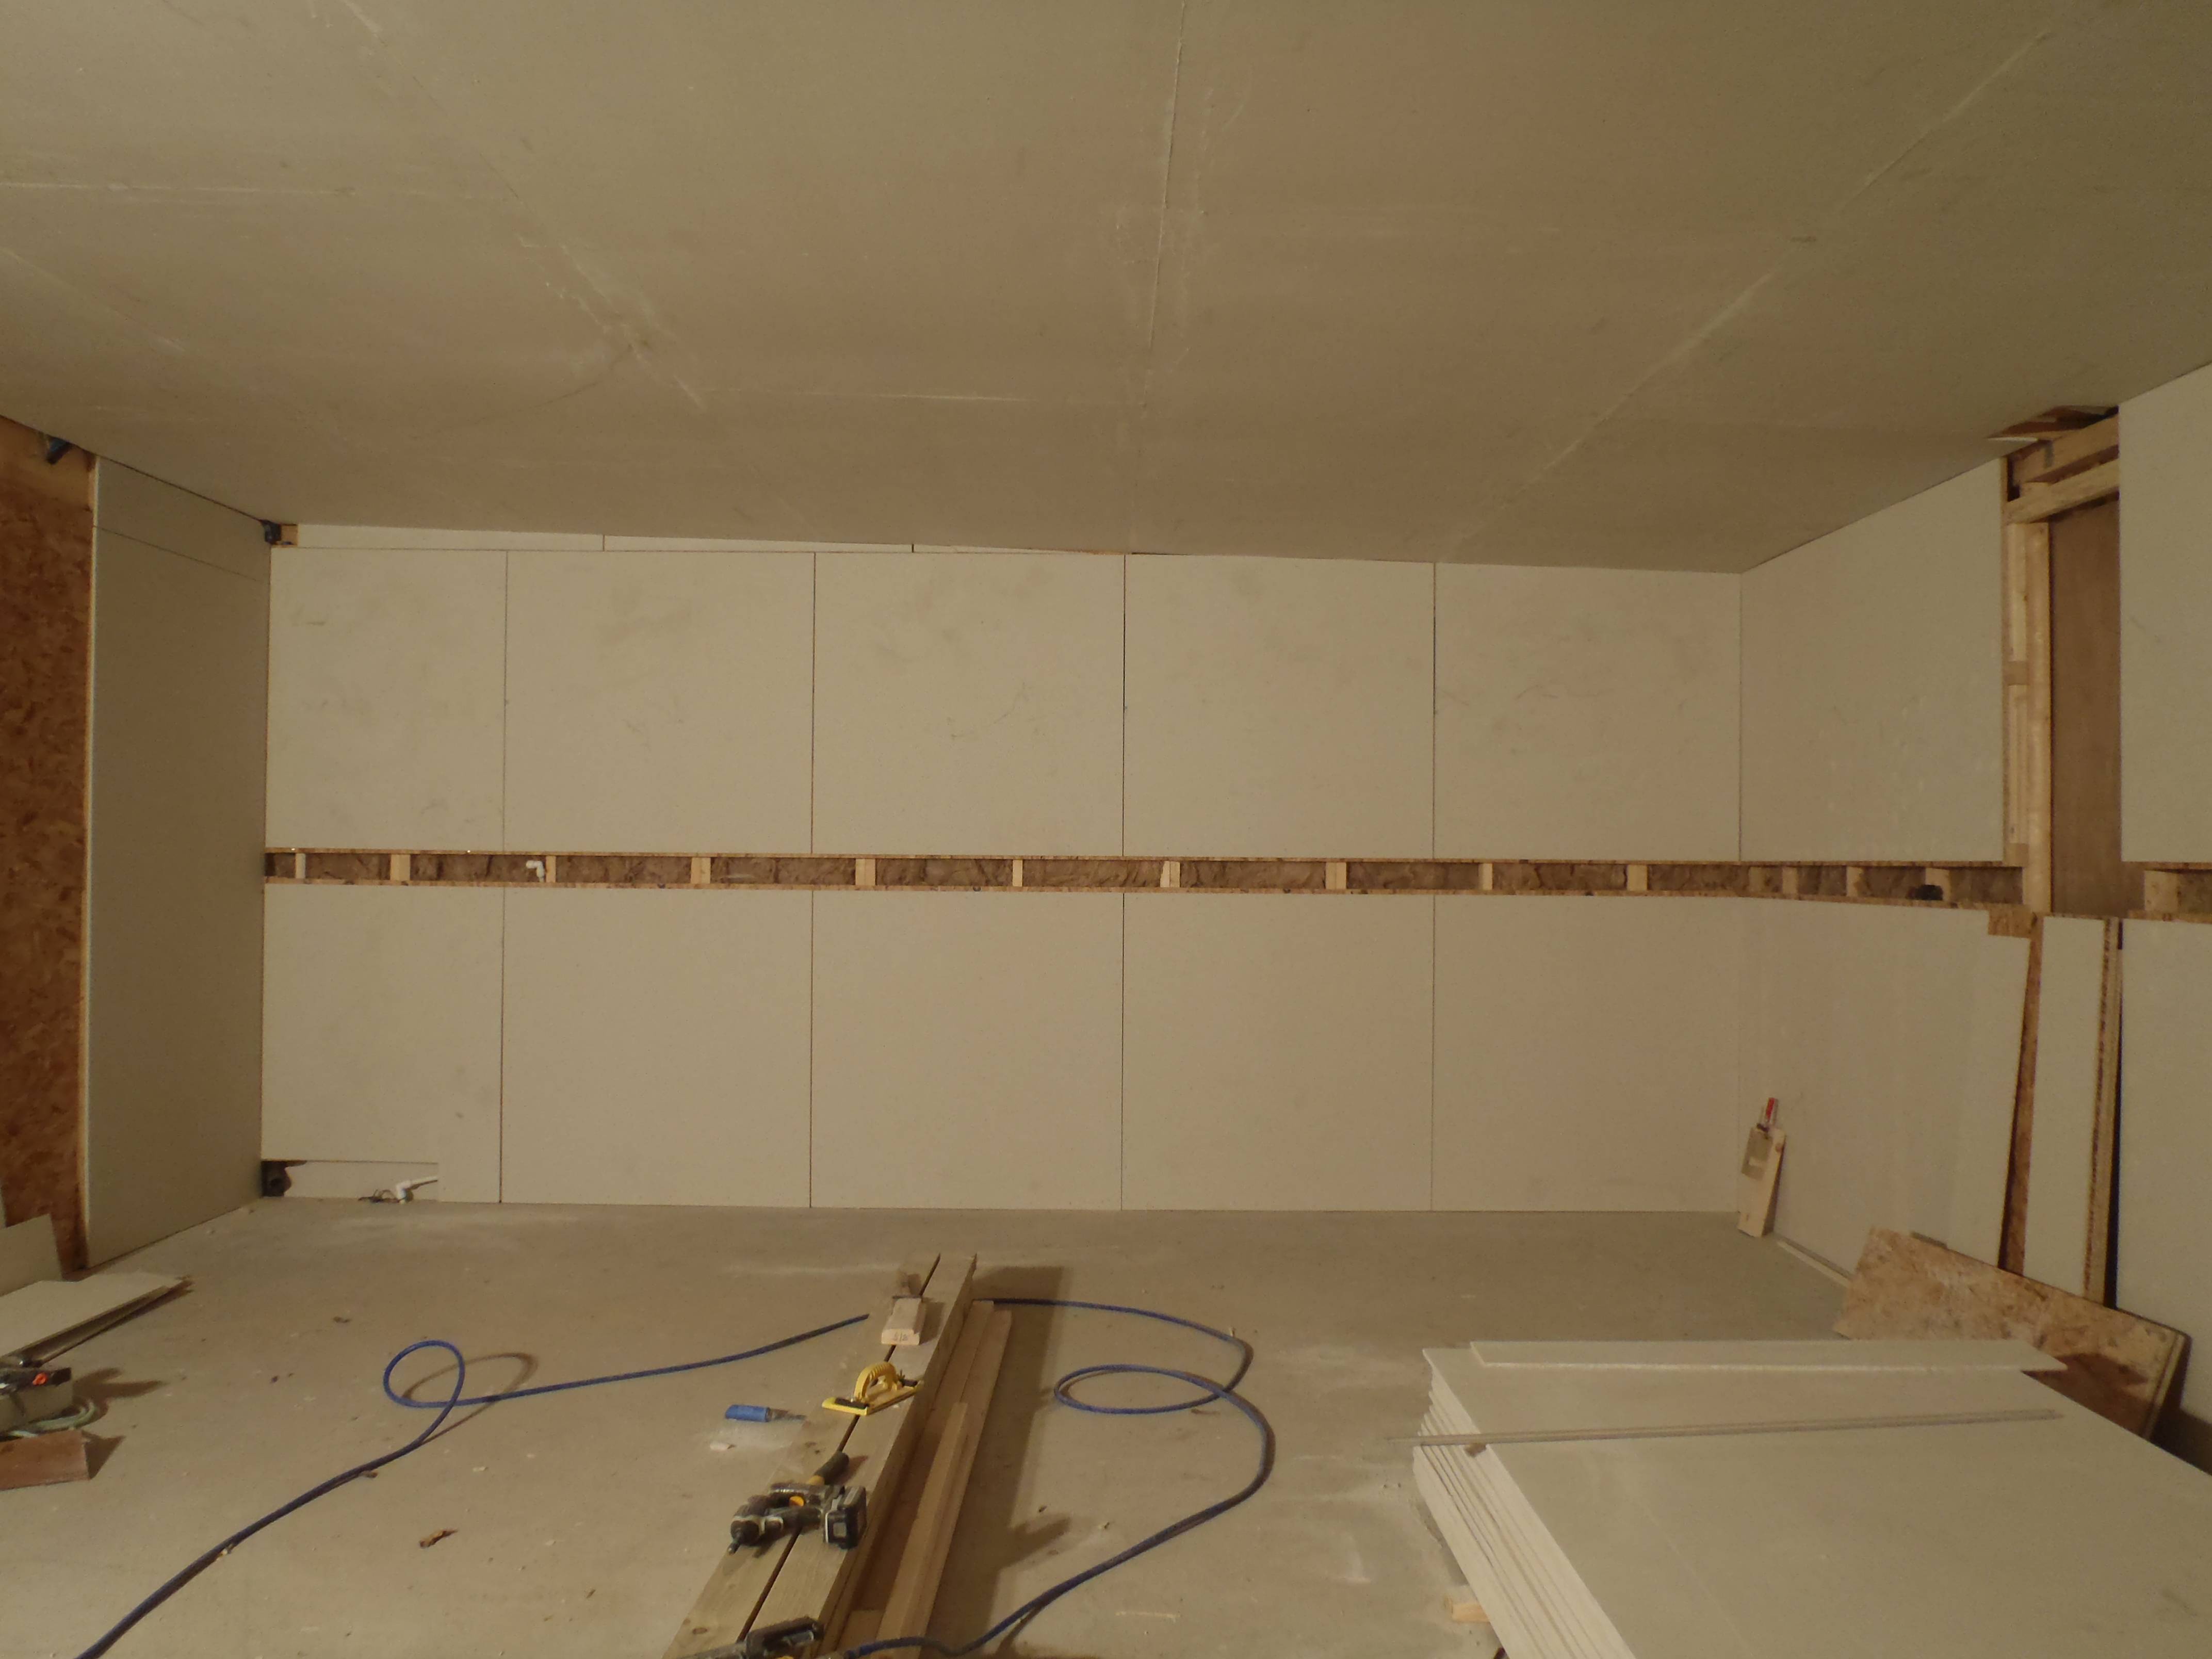
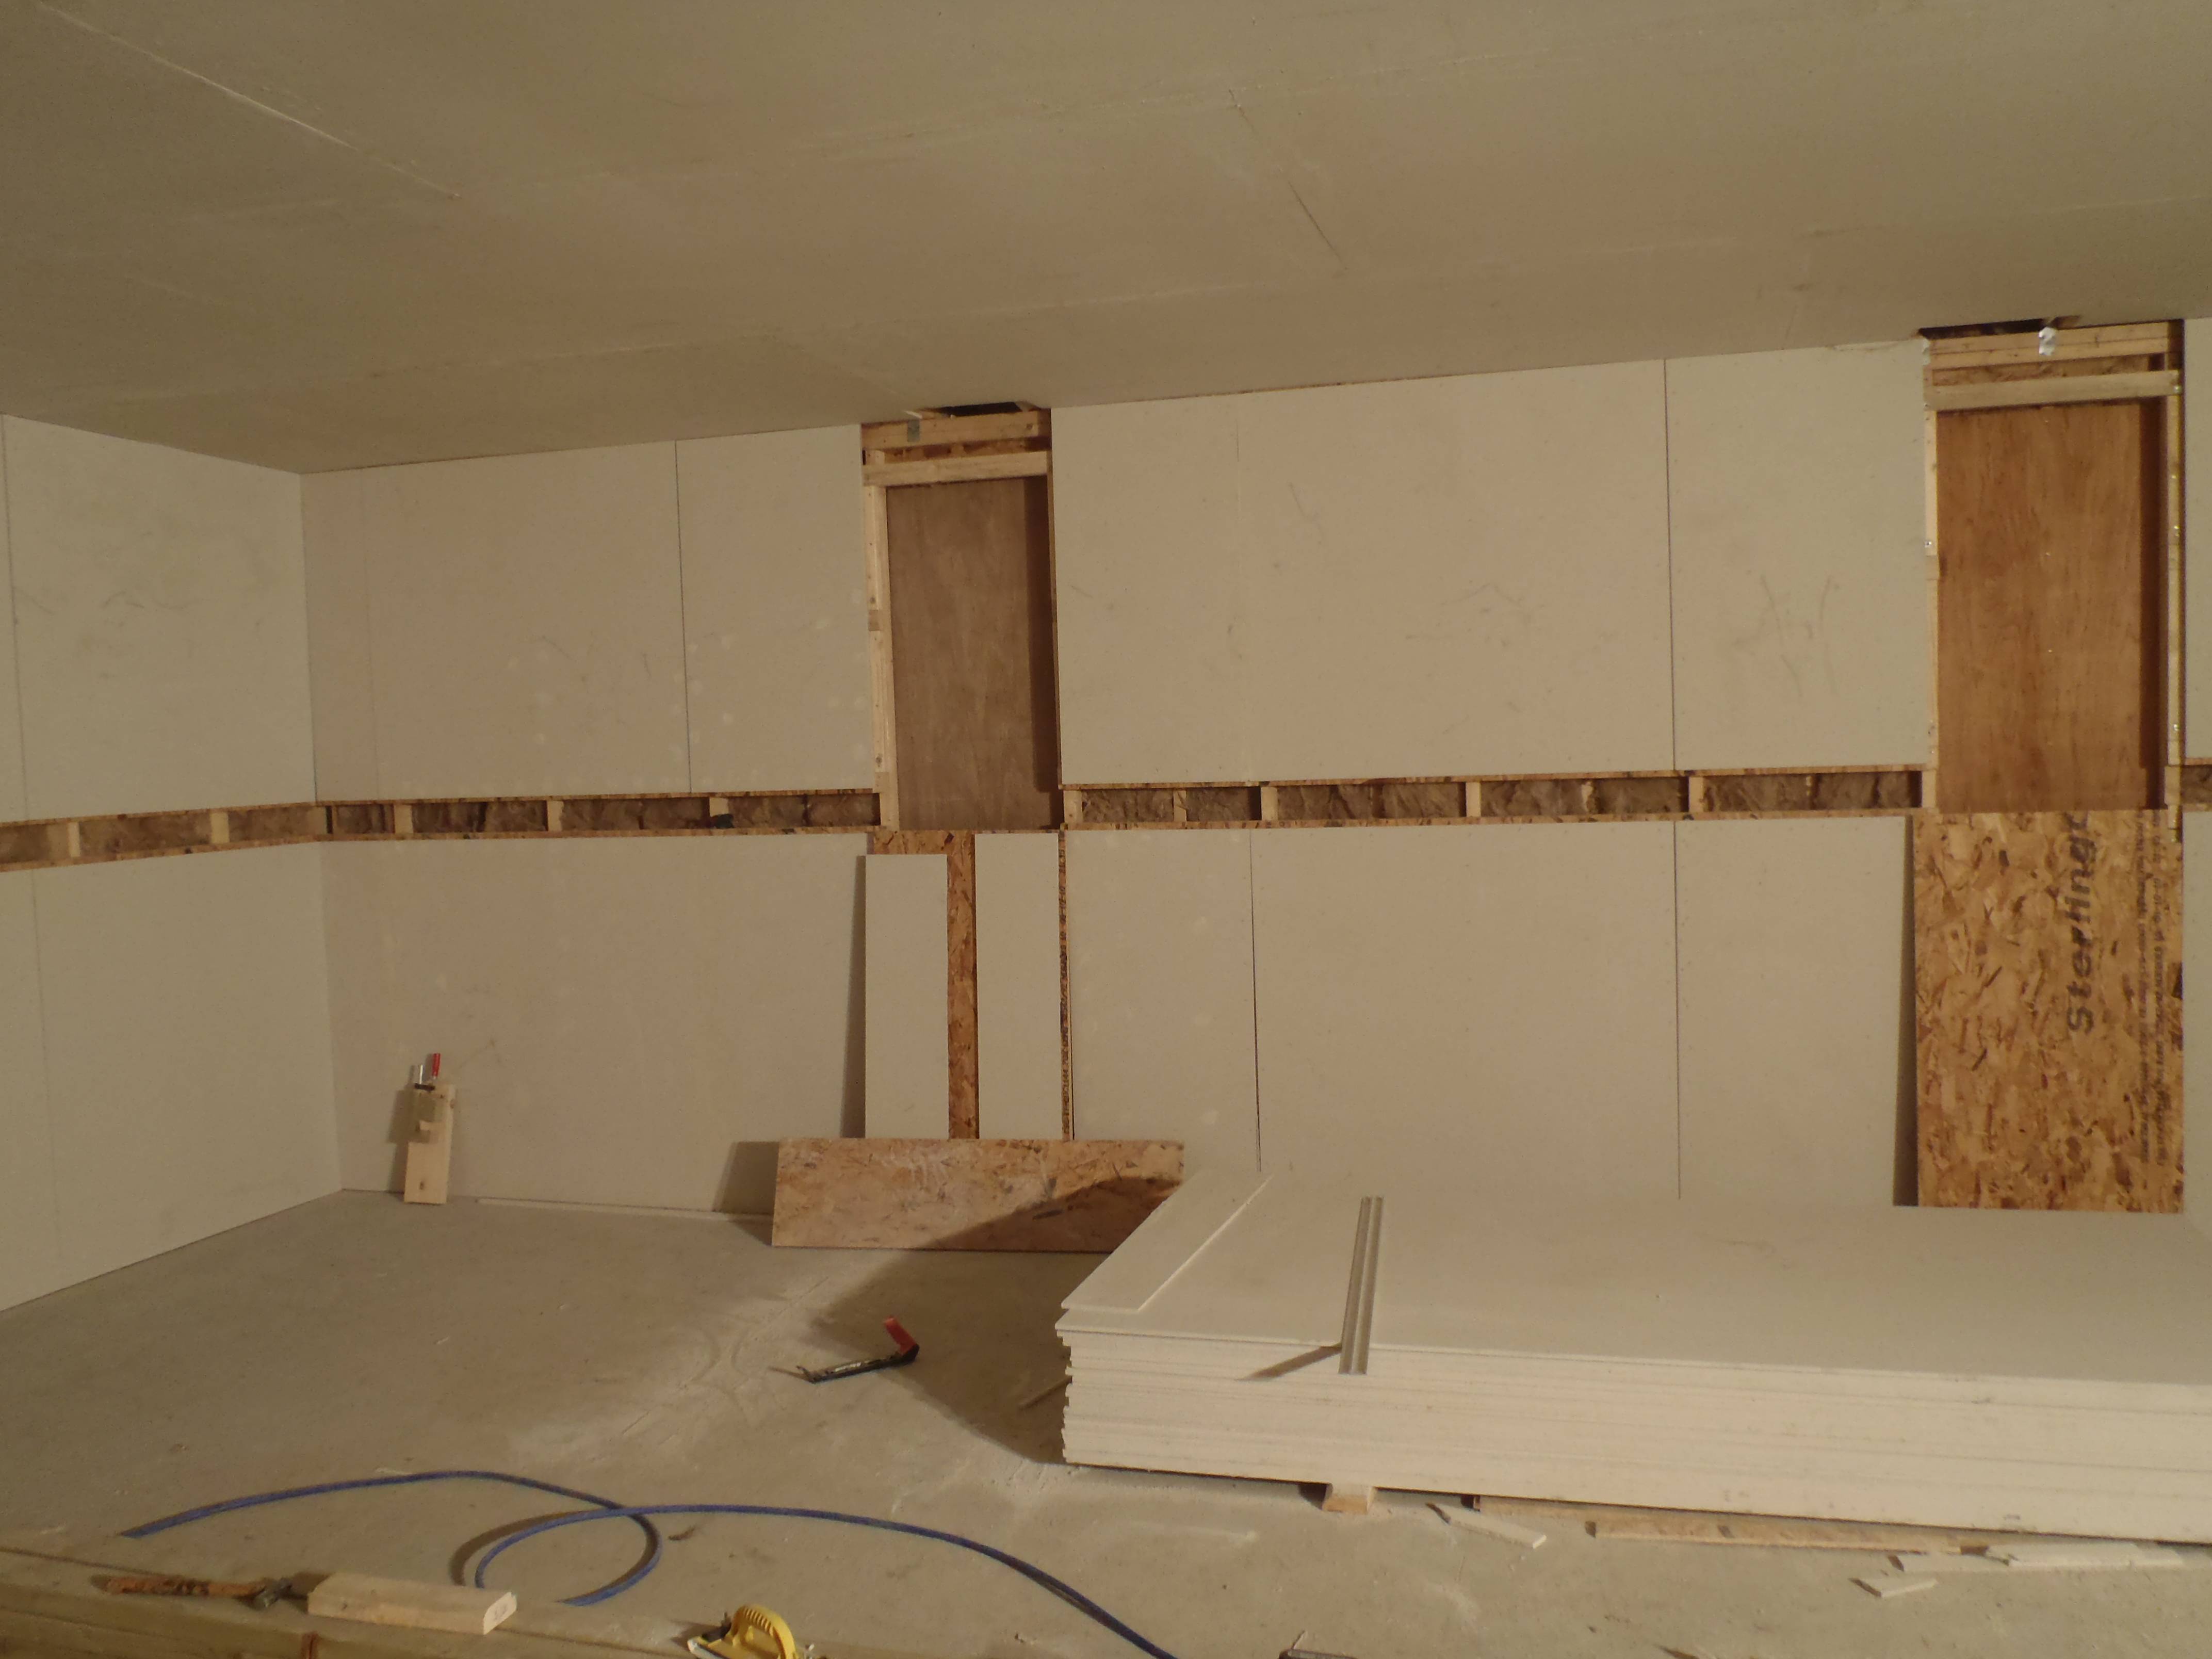
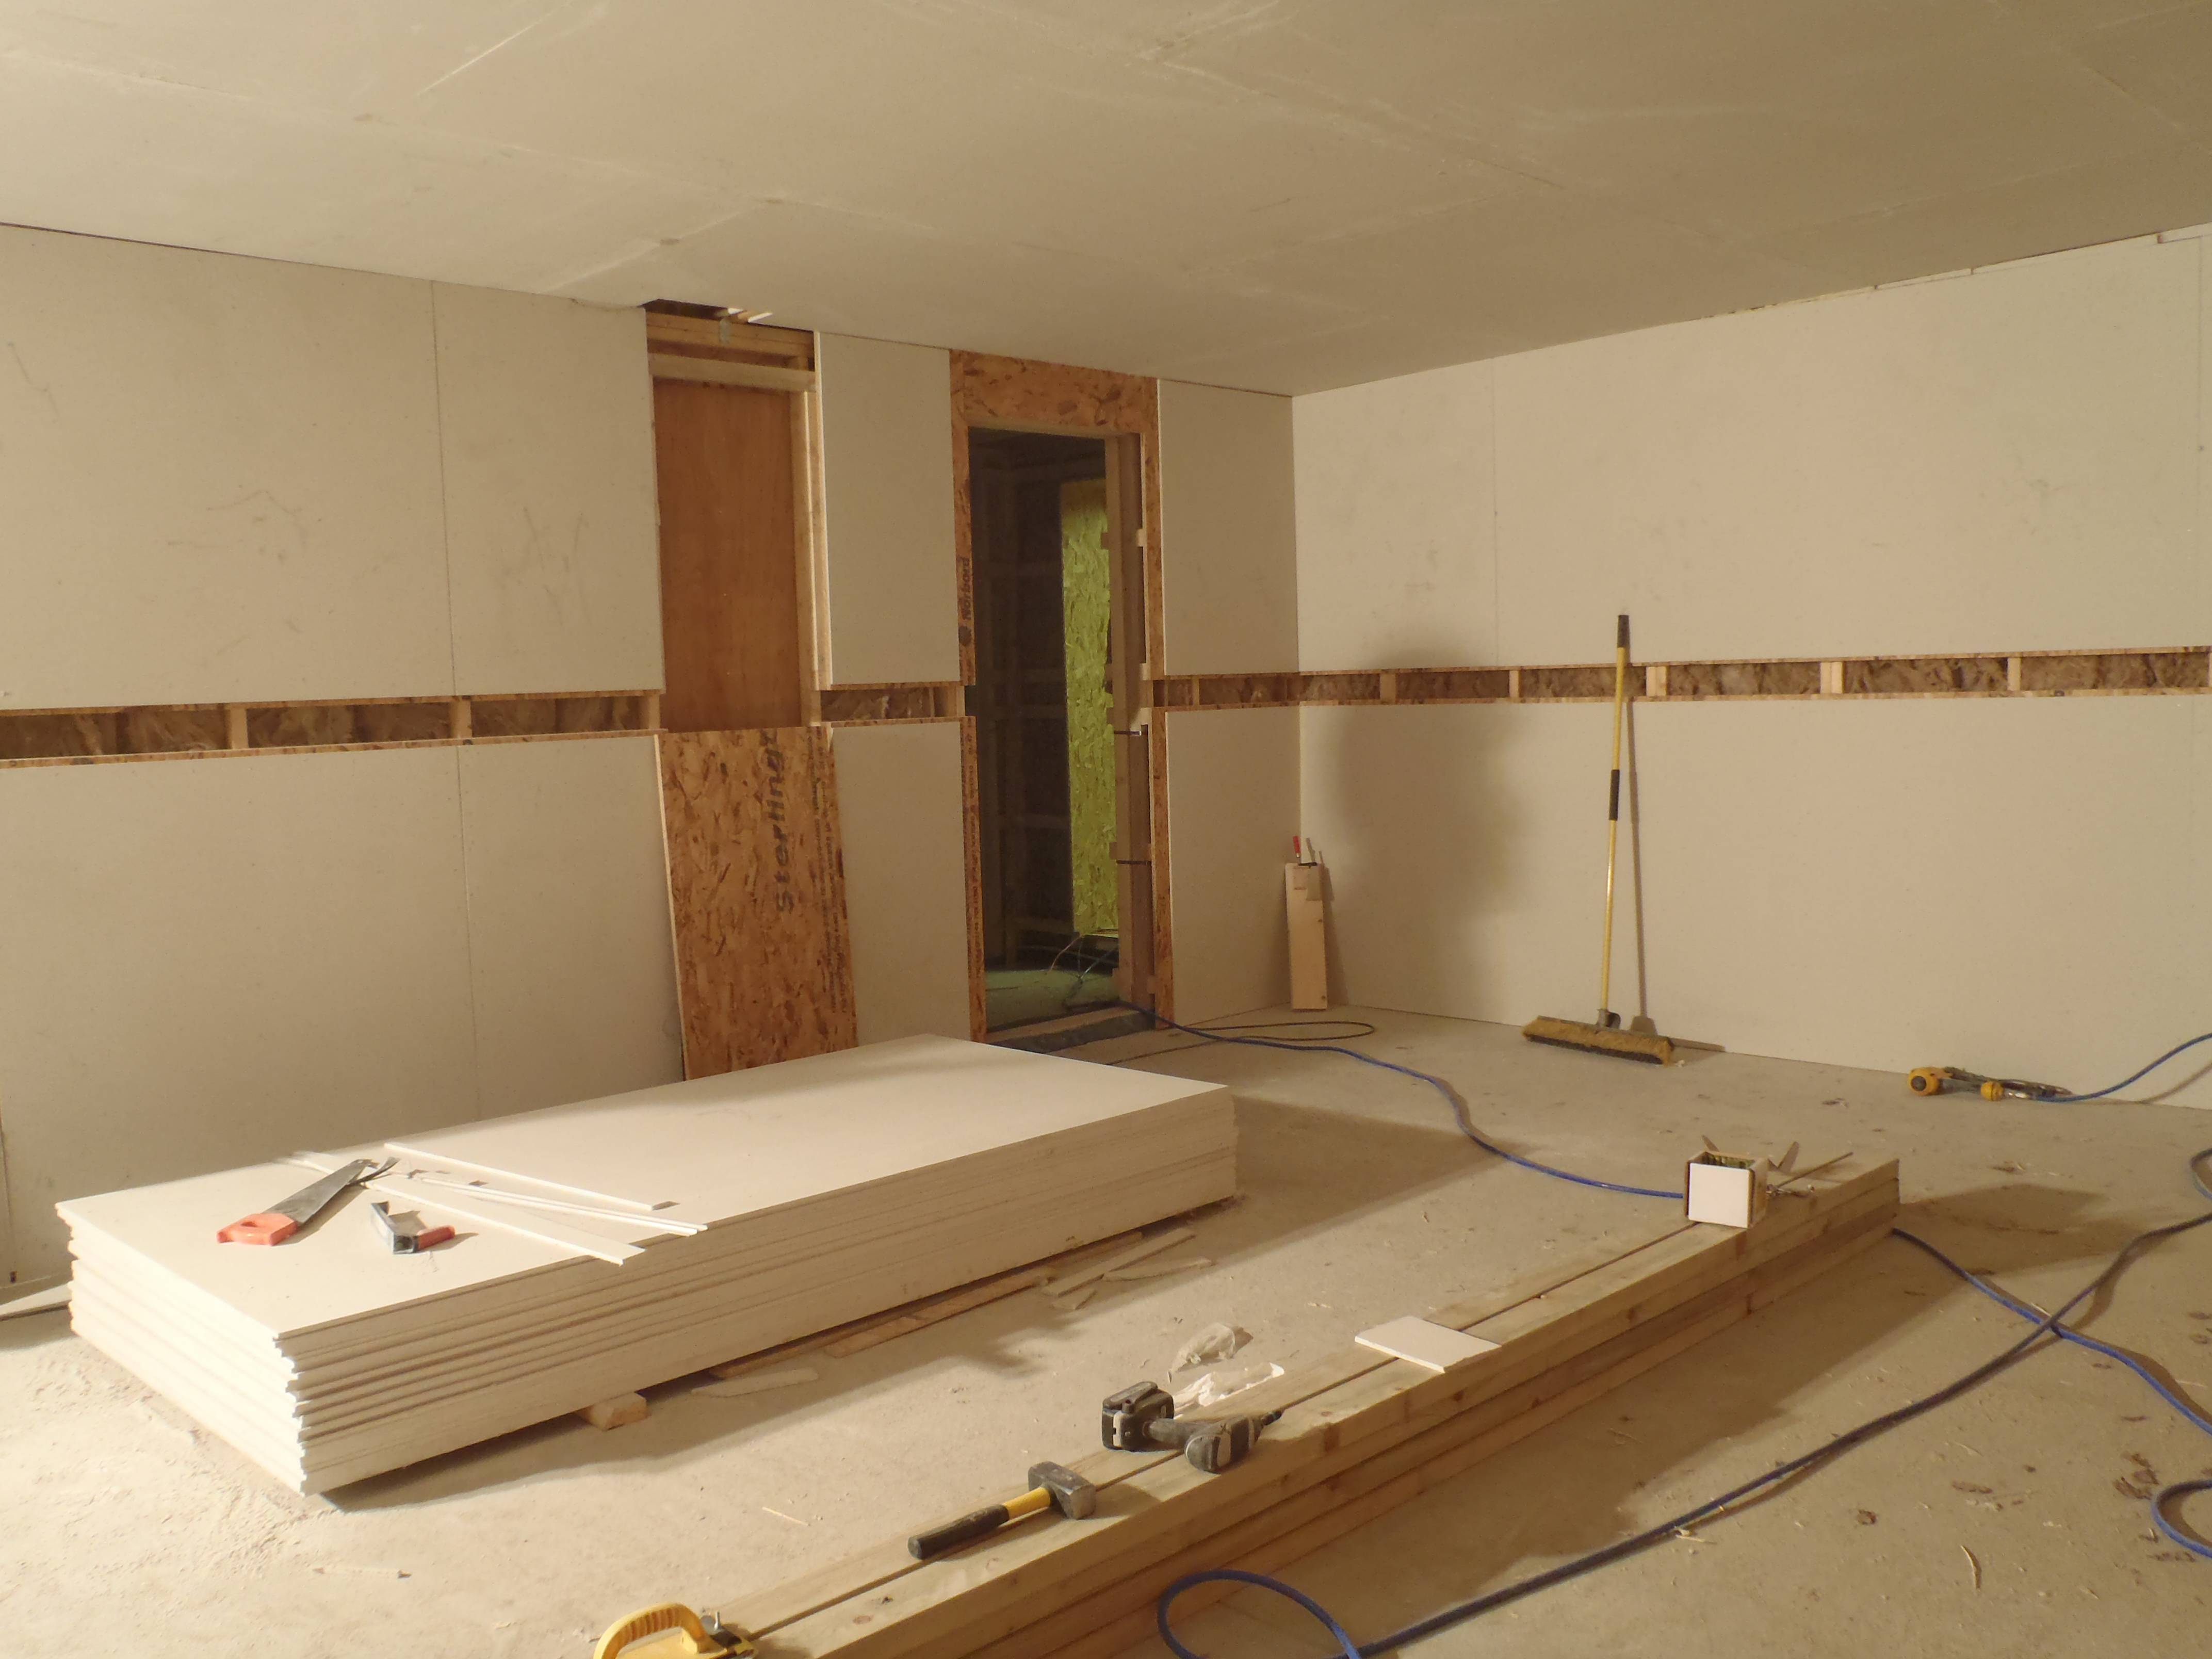
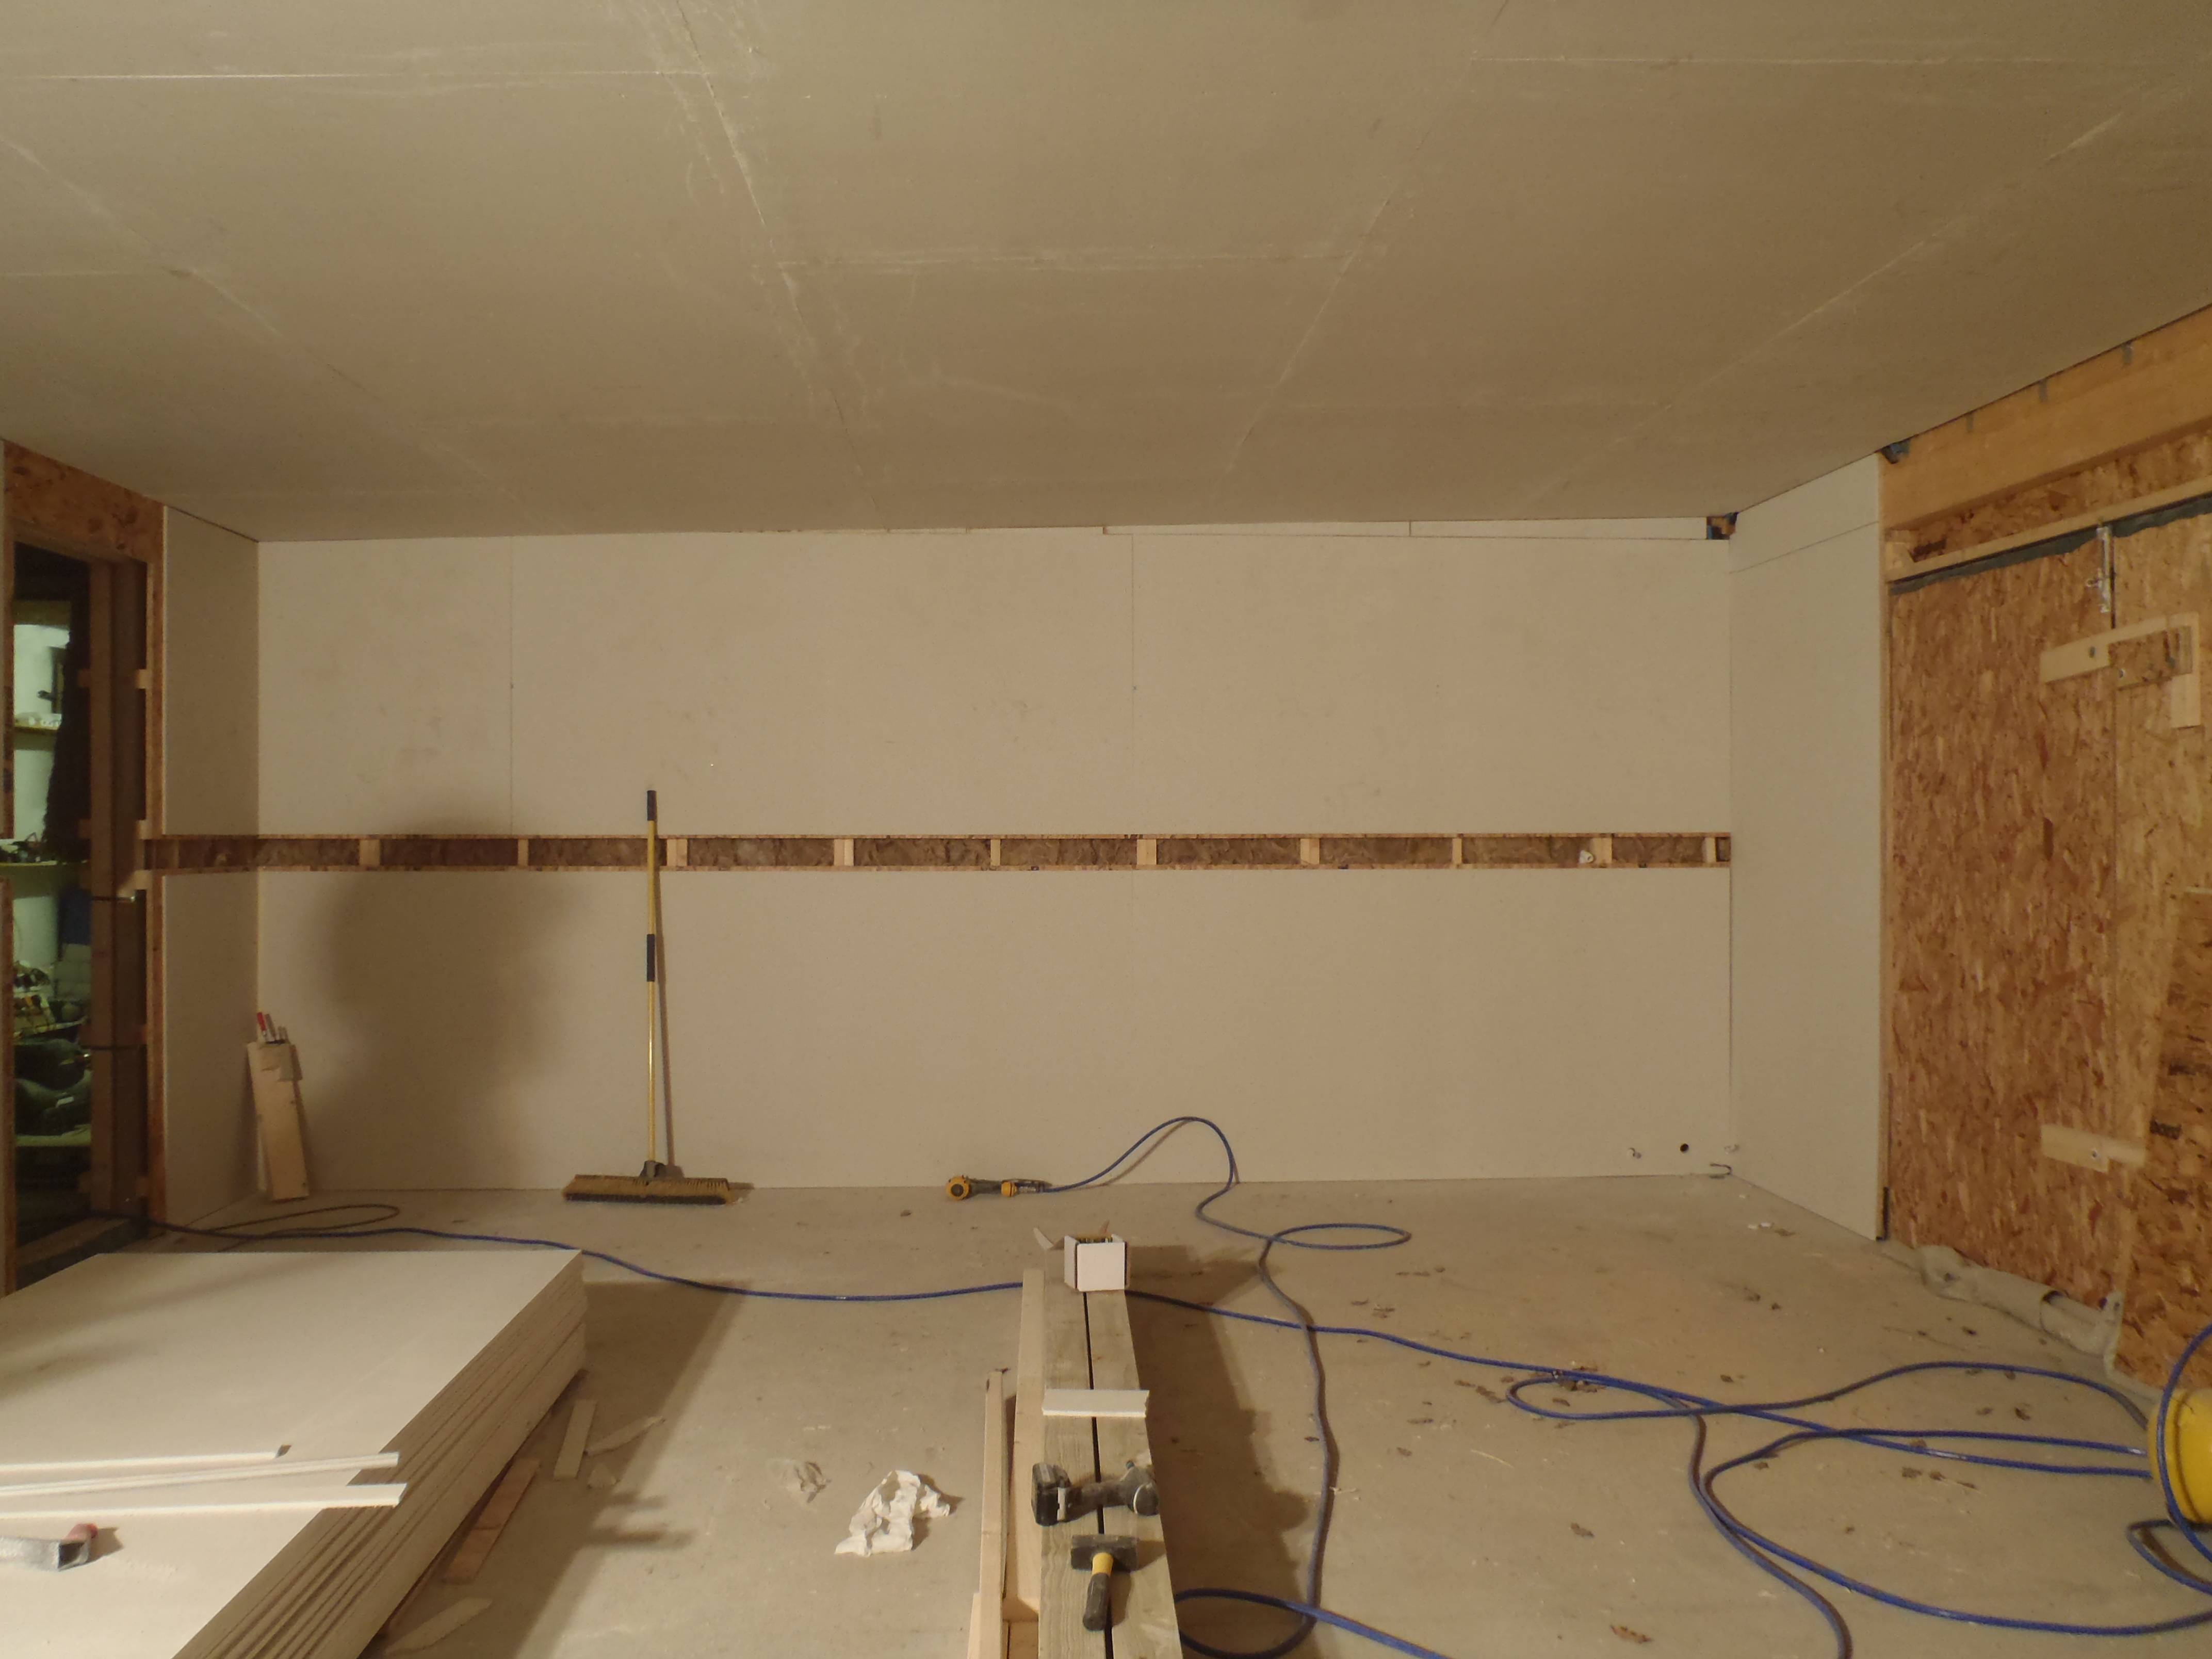
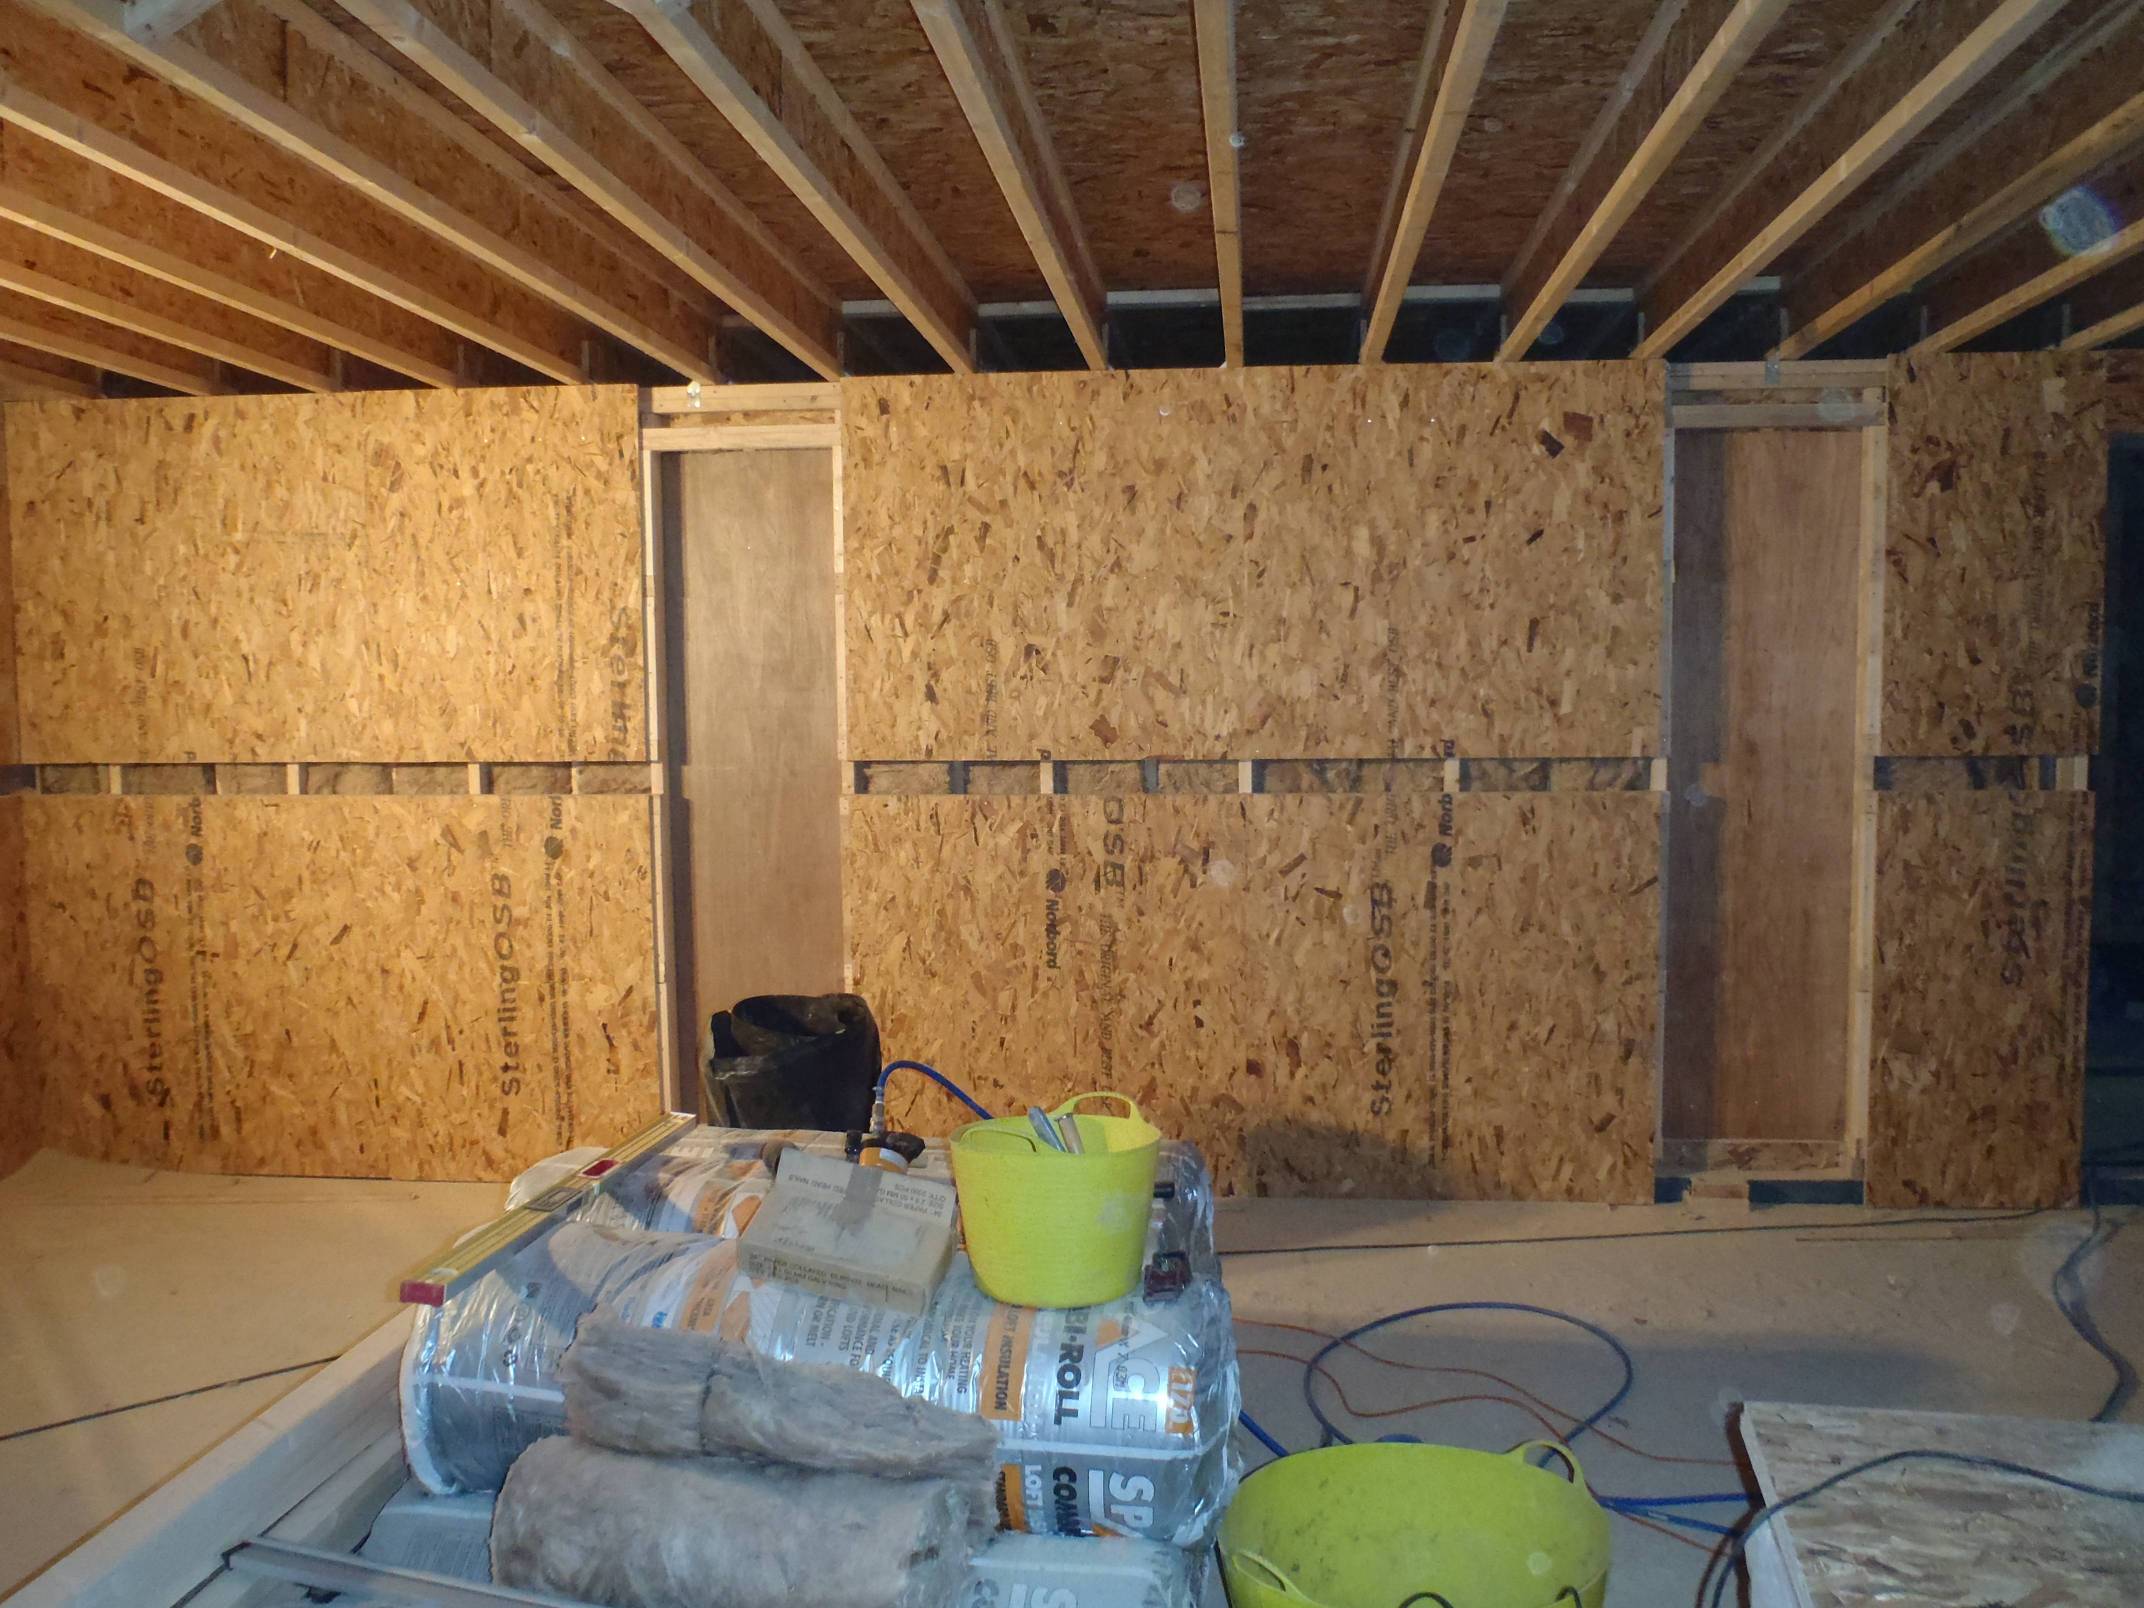
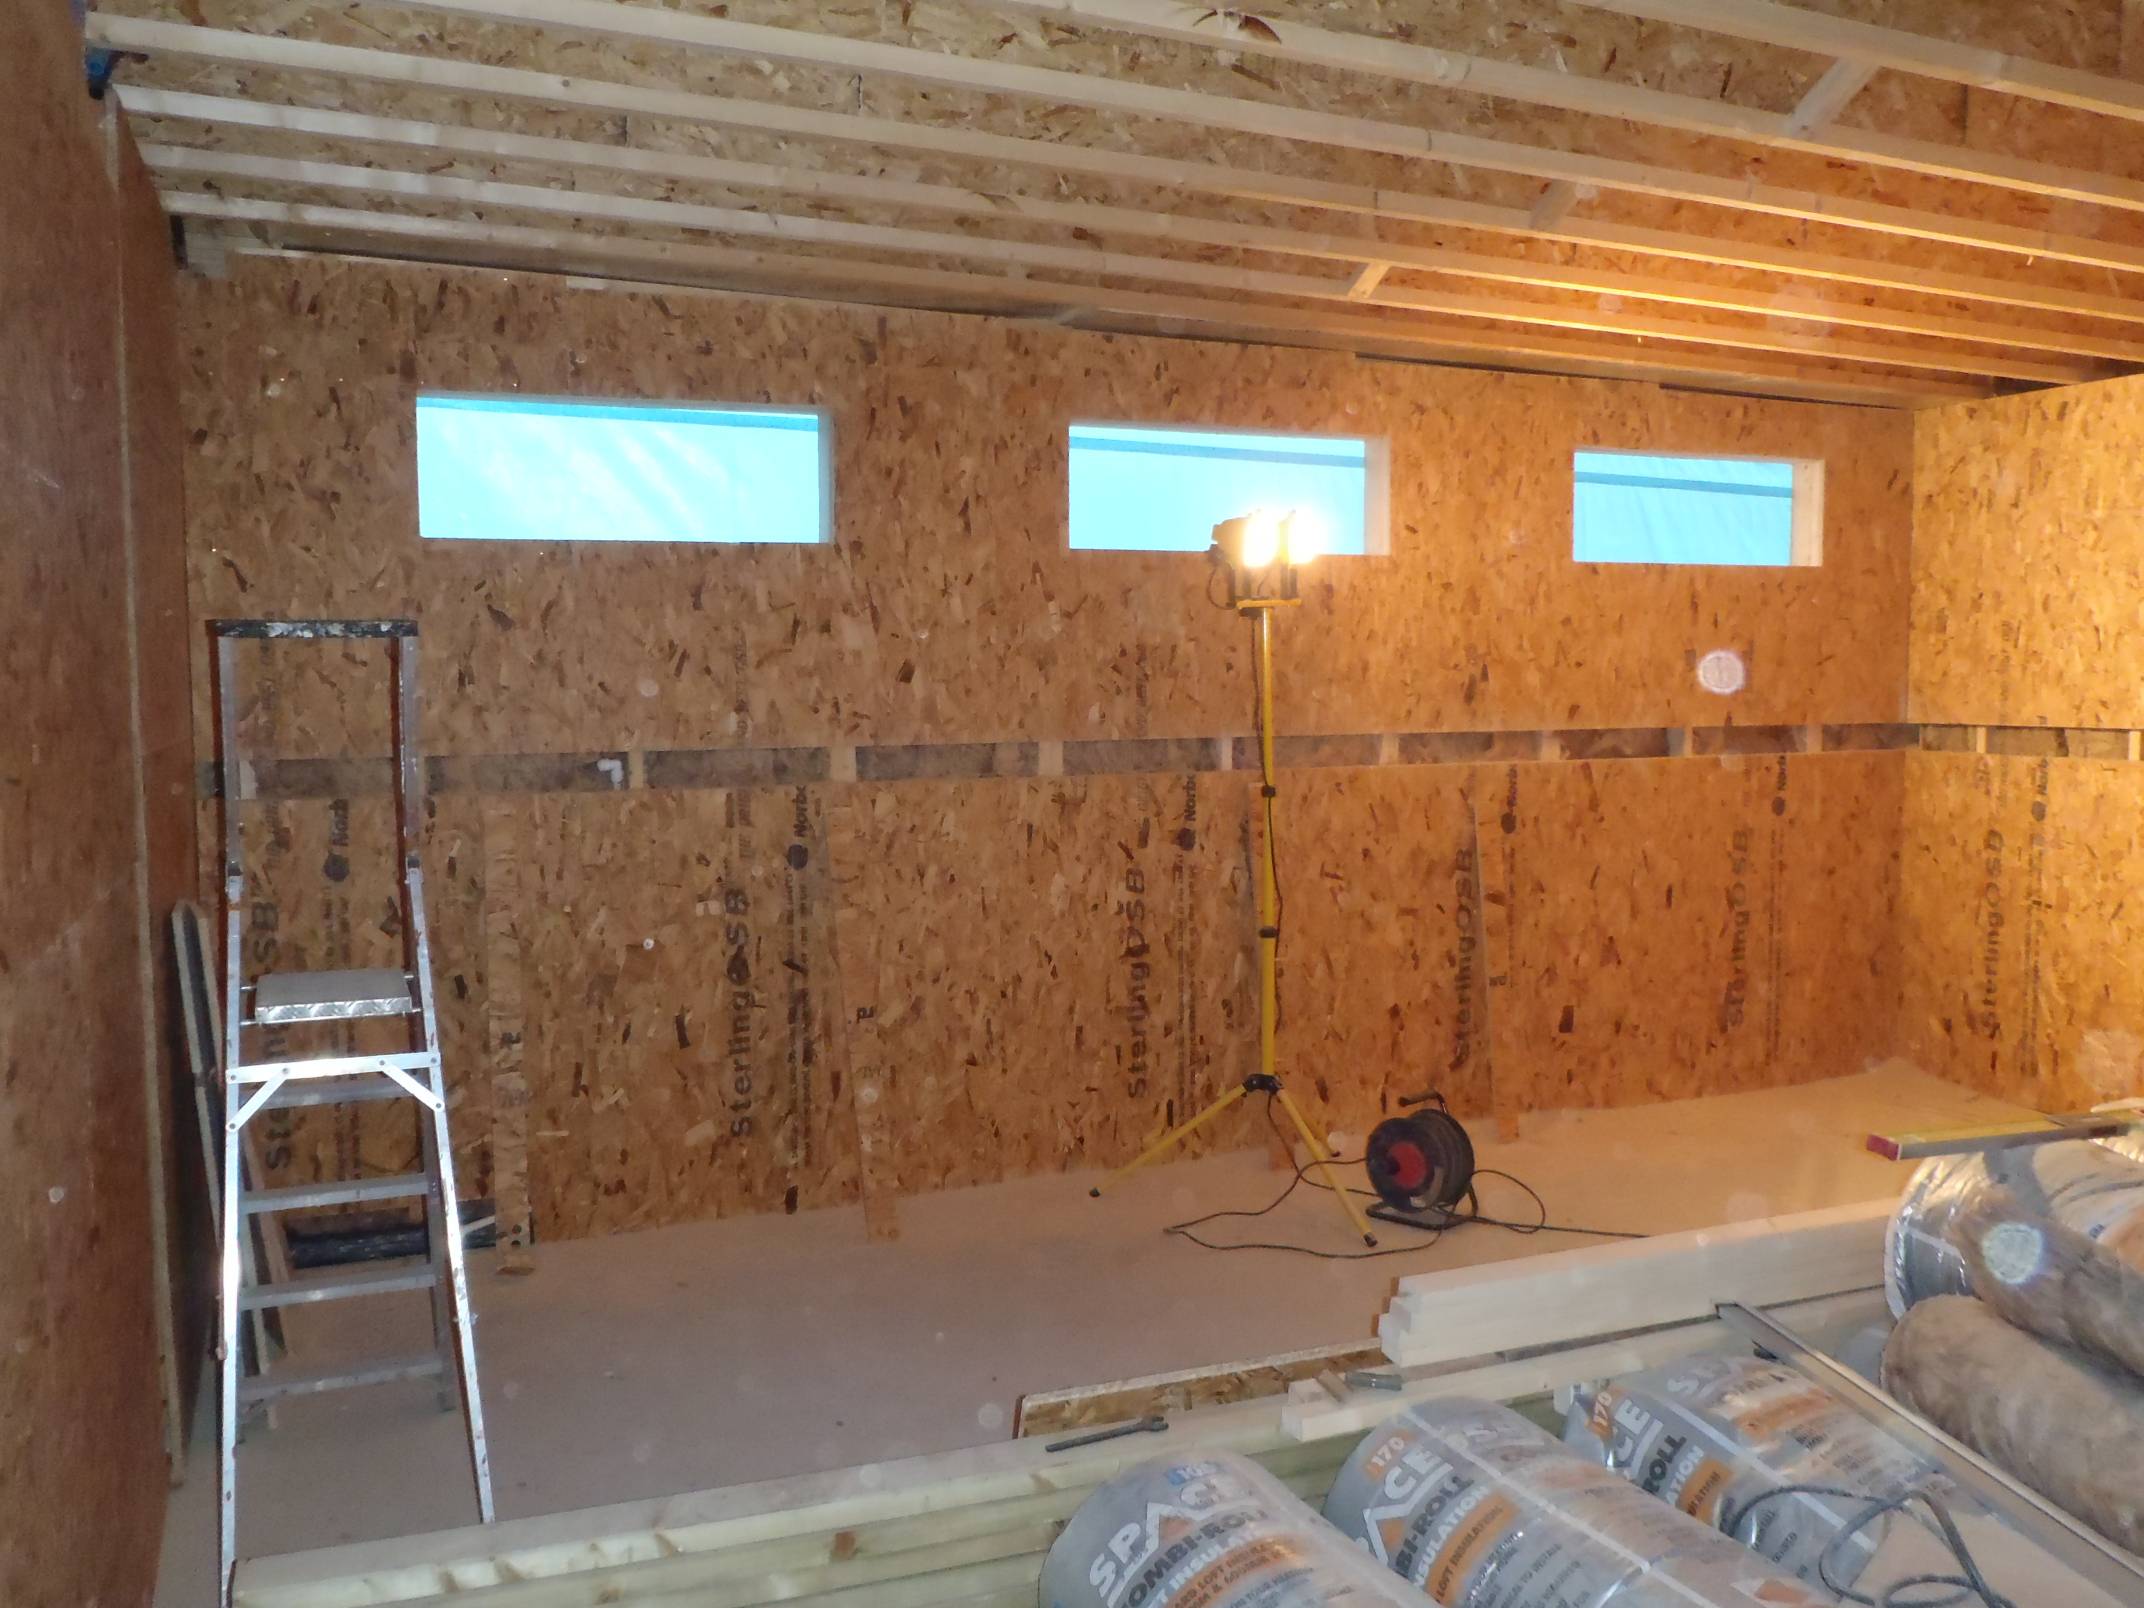
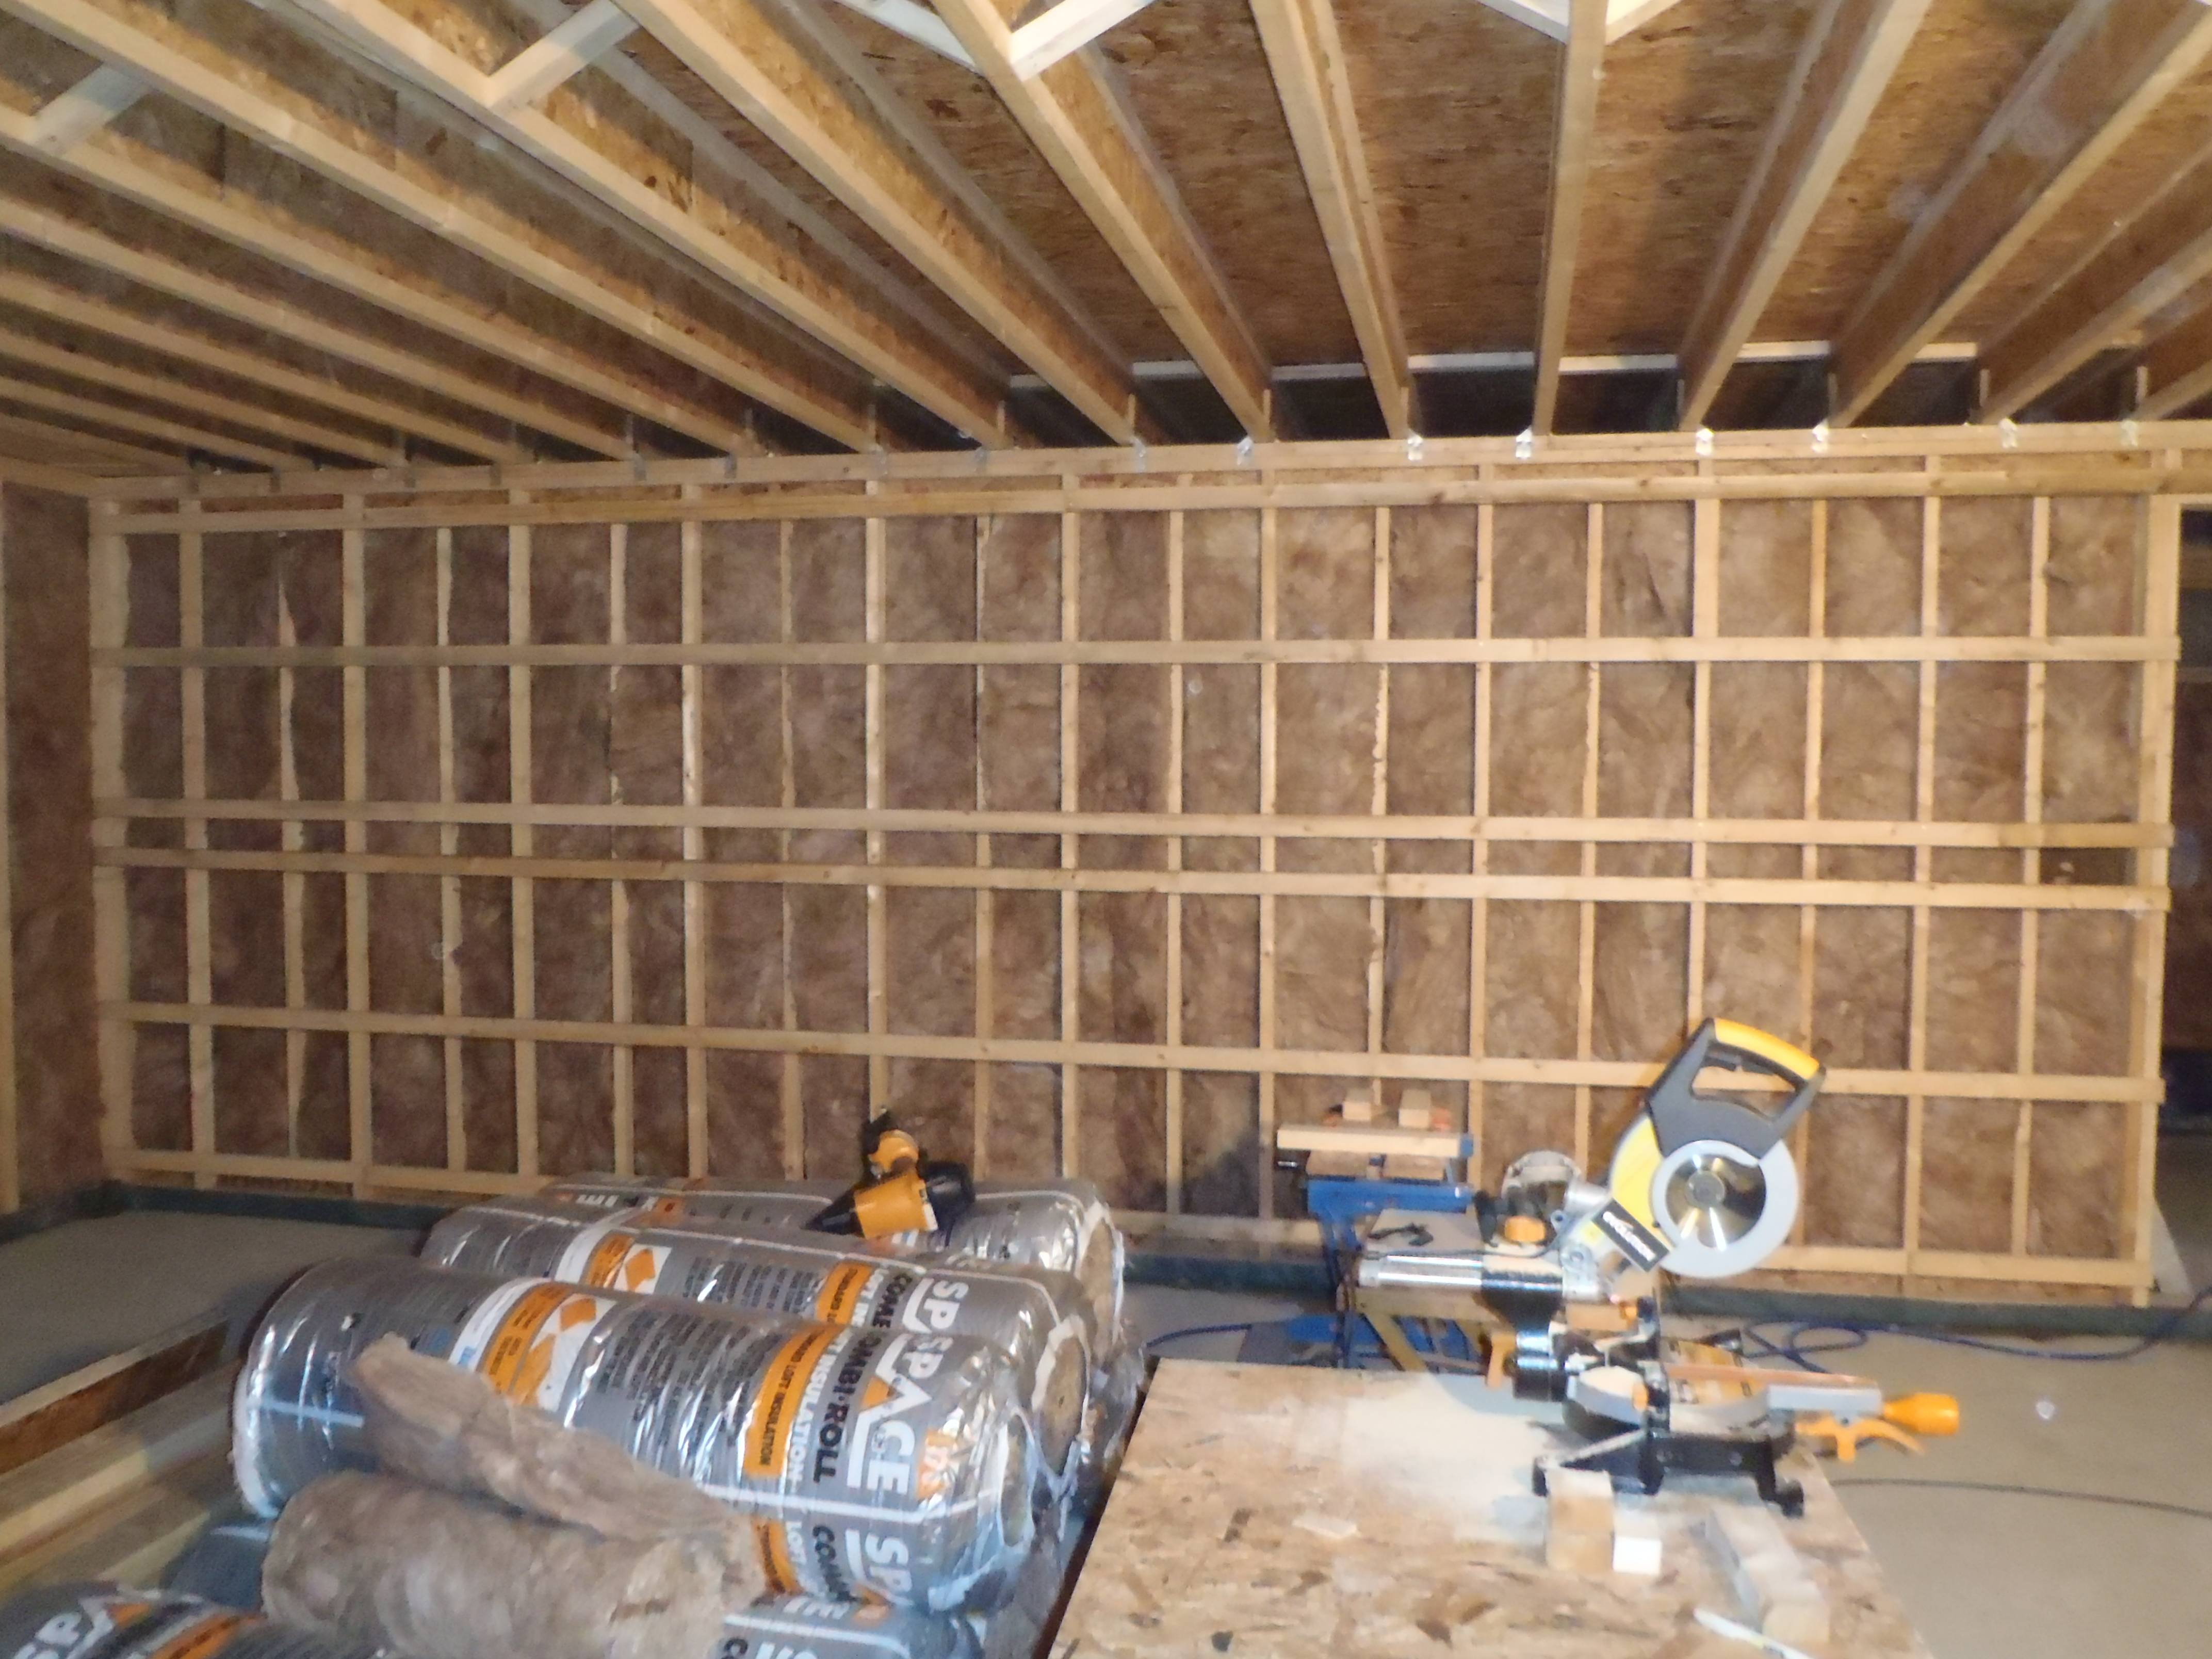
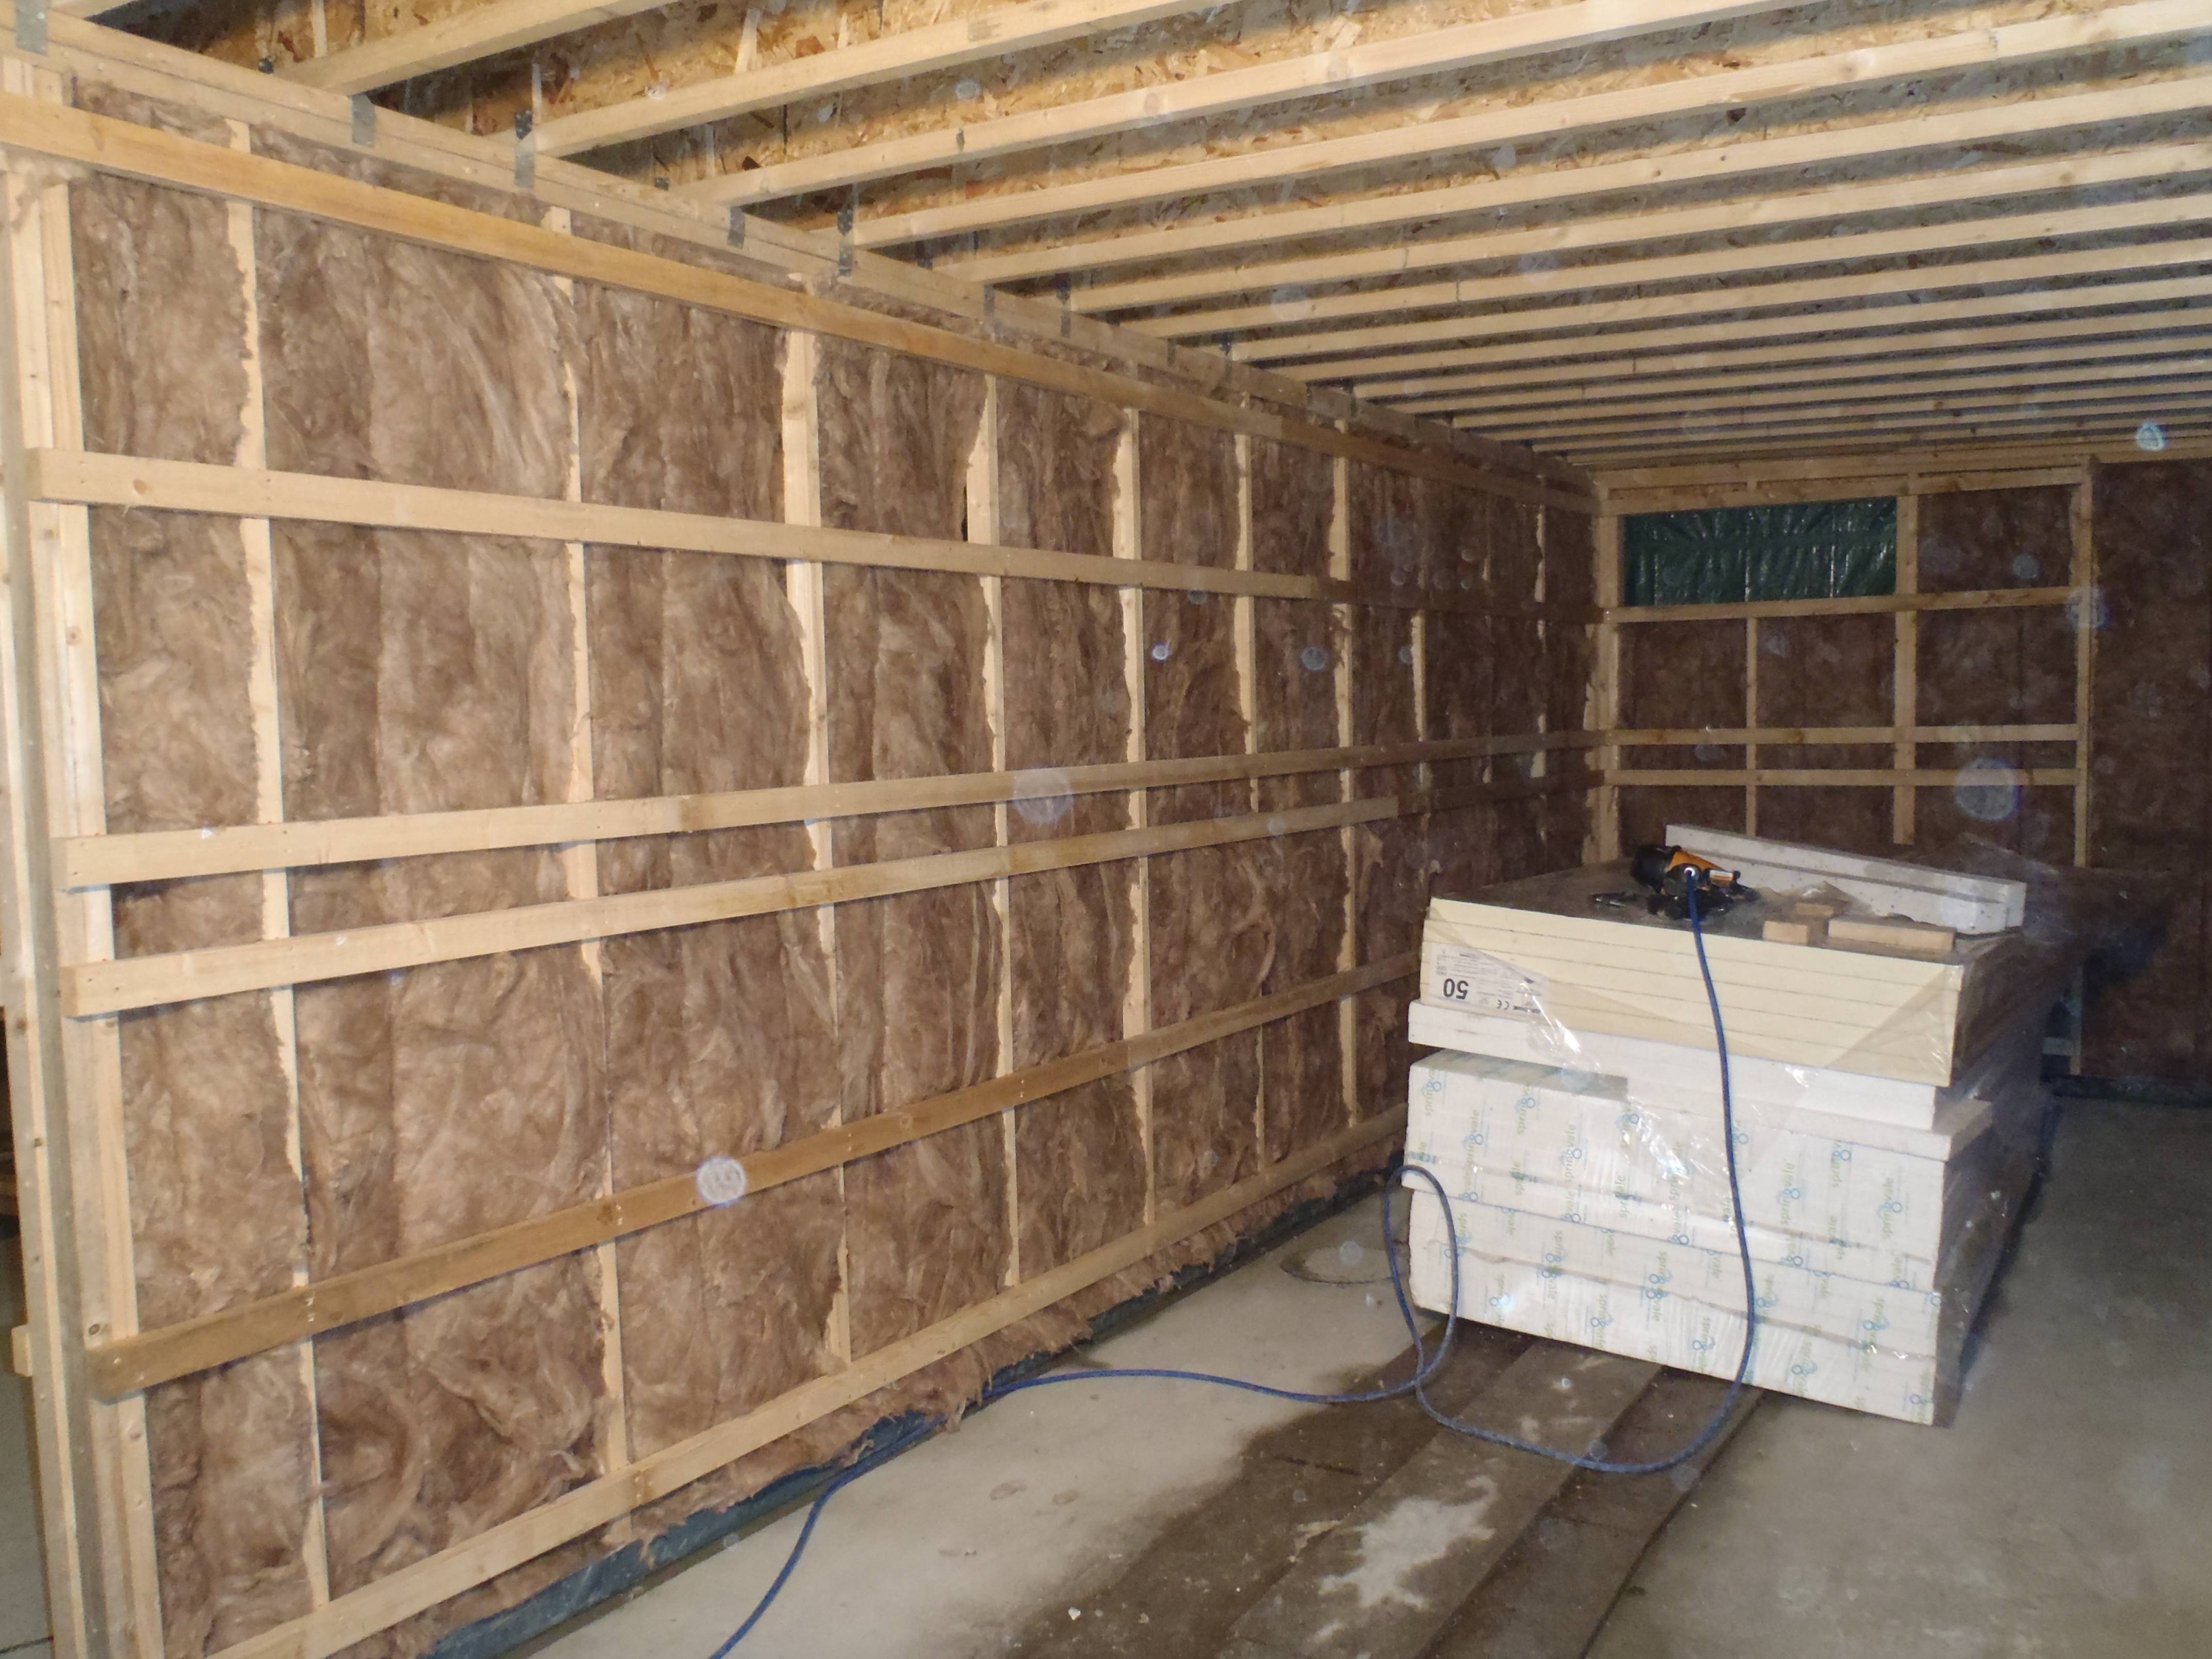
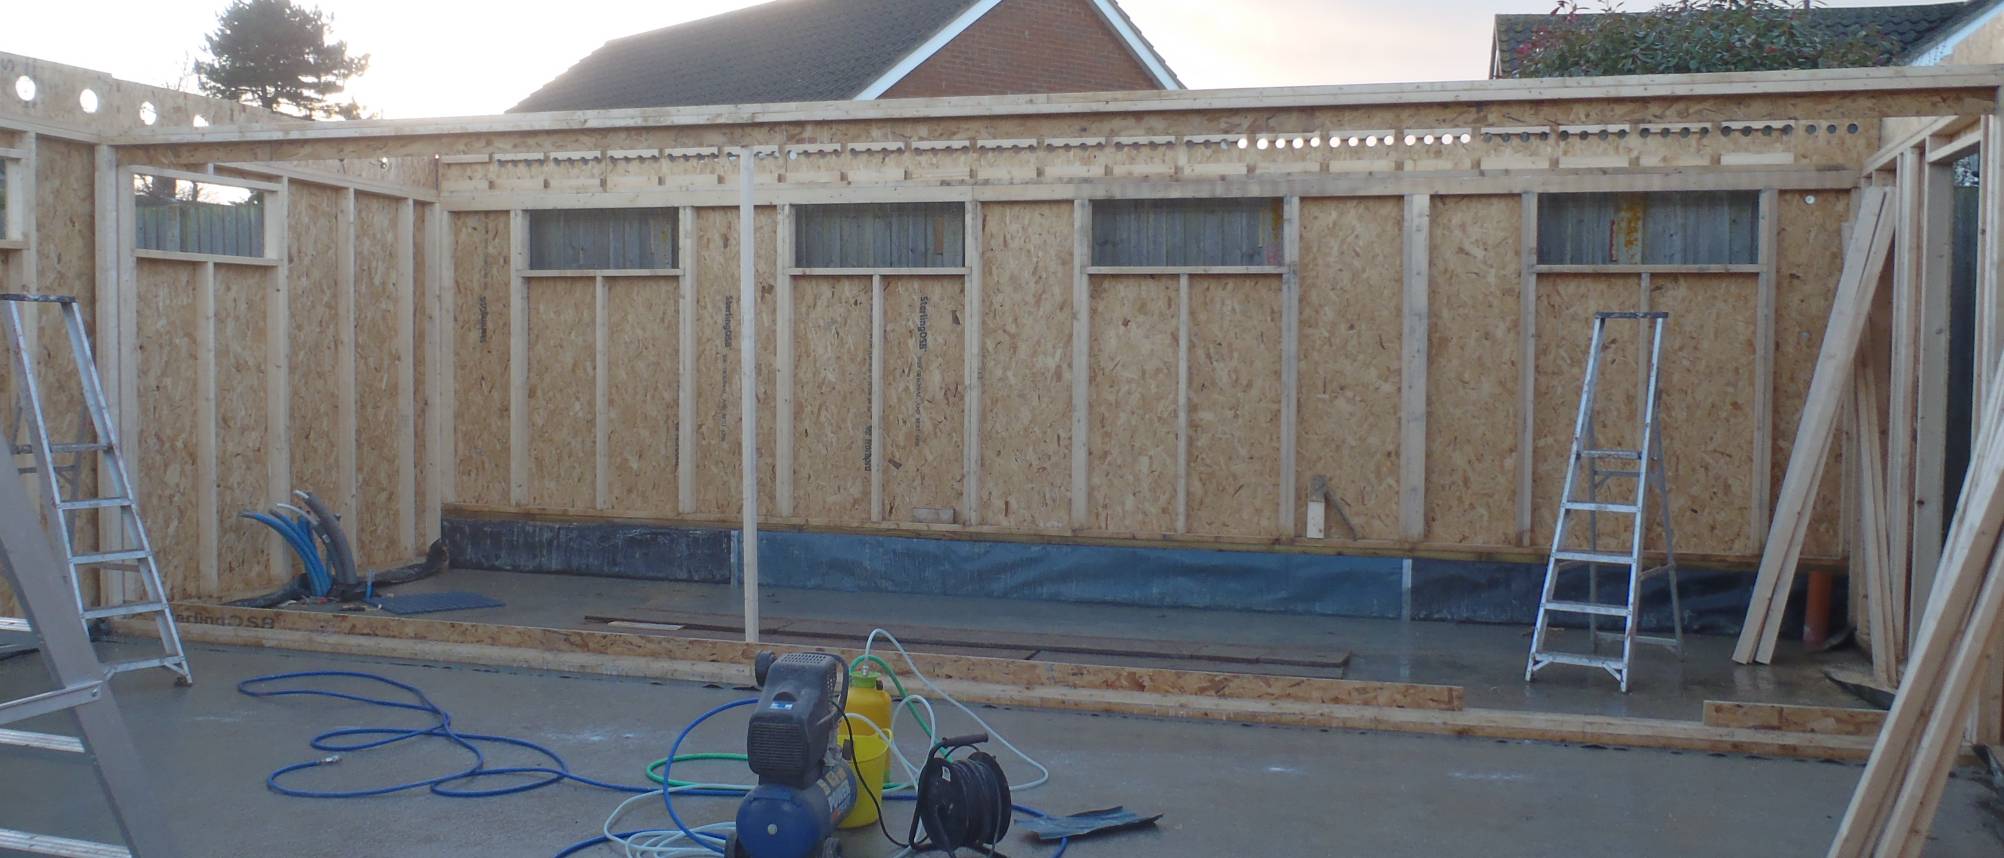
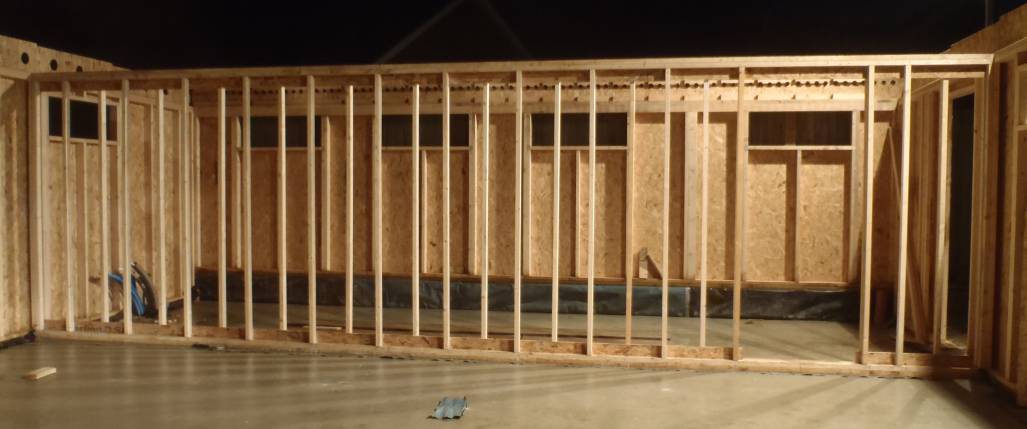
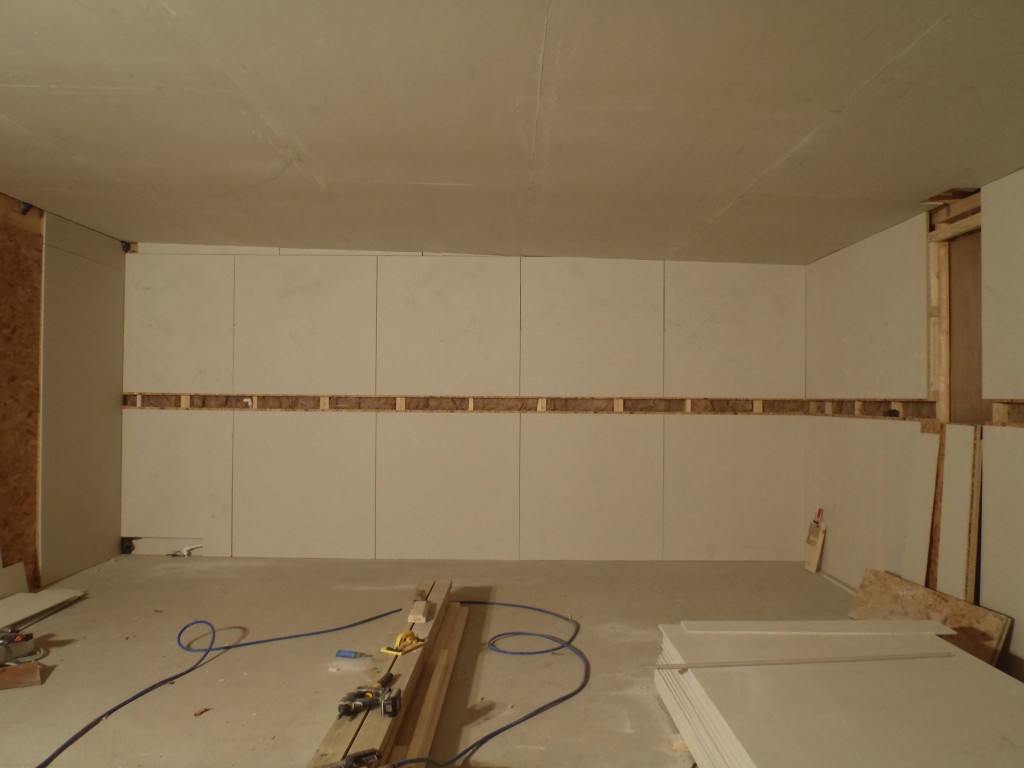
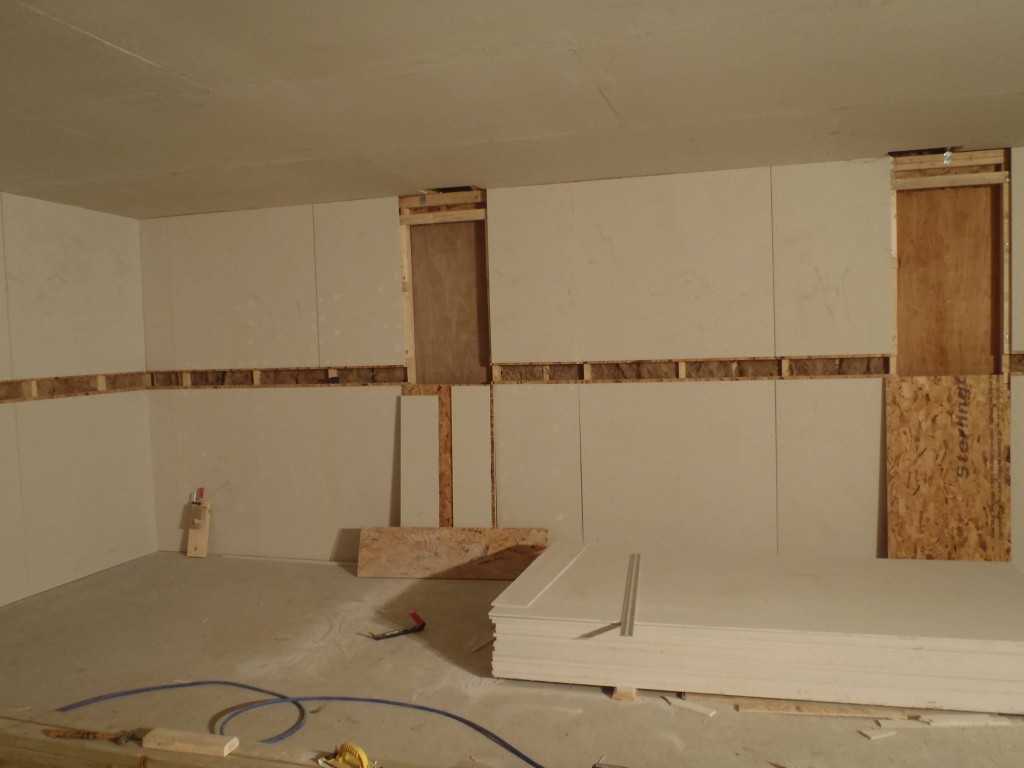
    We have spent the last three days putting up the Fermacell sheets on the walls of the garage. Virtually all four walls of the front half of the garage is covered now.

    Garage Fermacell on walls LF

    Garage Fermacell on walls LF

    Garage Fermacell on walls ML

    Garage Fermacell on walls ML

    Garage Fermacell on walls MR

    Garage Fermacell on walls MR

    Garage Fermacell on walls RF

    Garage Fermacell on walls RF

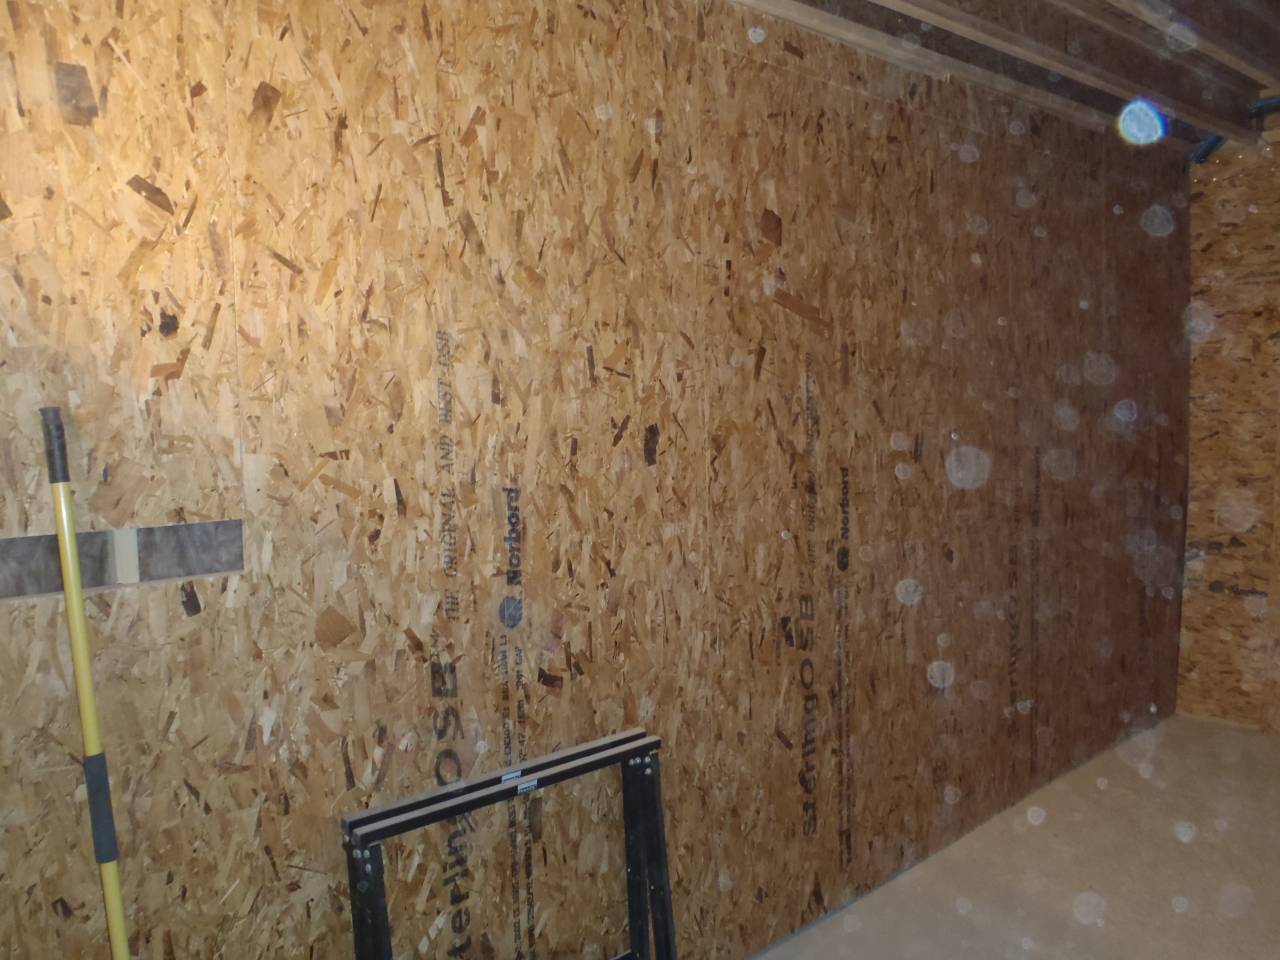
    We started using 38mm staples but decided to switch to the shorter 25mm staples as they seem to be holding just as well and the majority of the thickness (made of 18mm OSB and 10mm Fermacell) is only slightly deeper than 25mm! it is working very well so far.

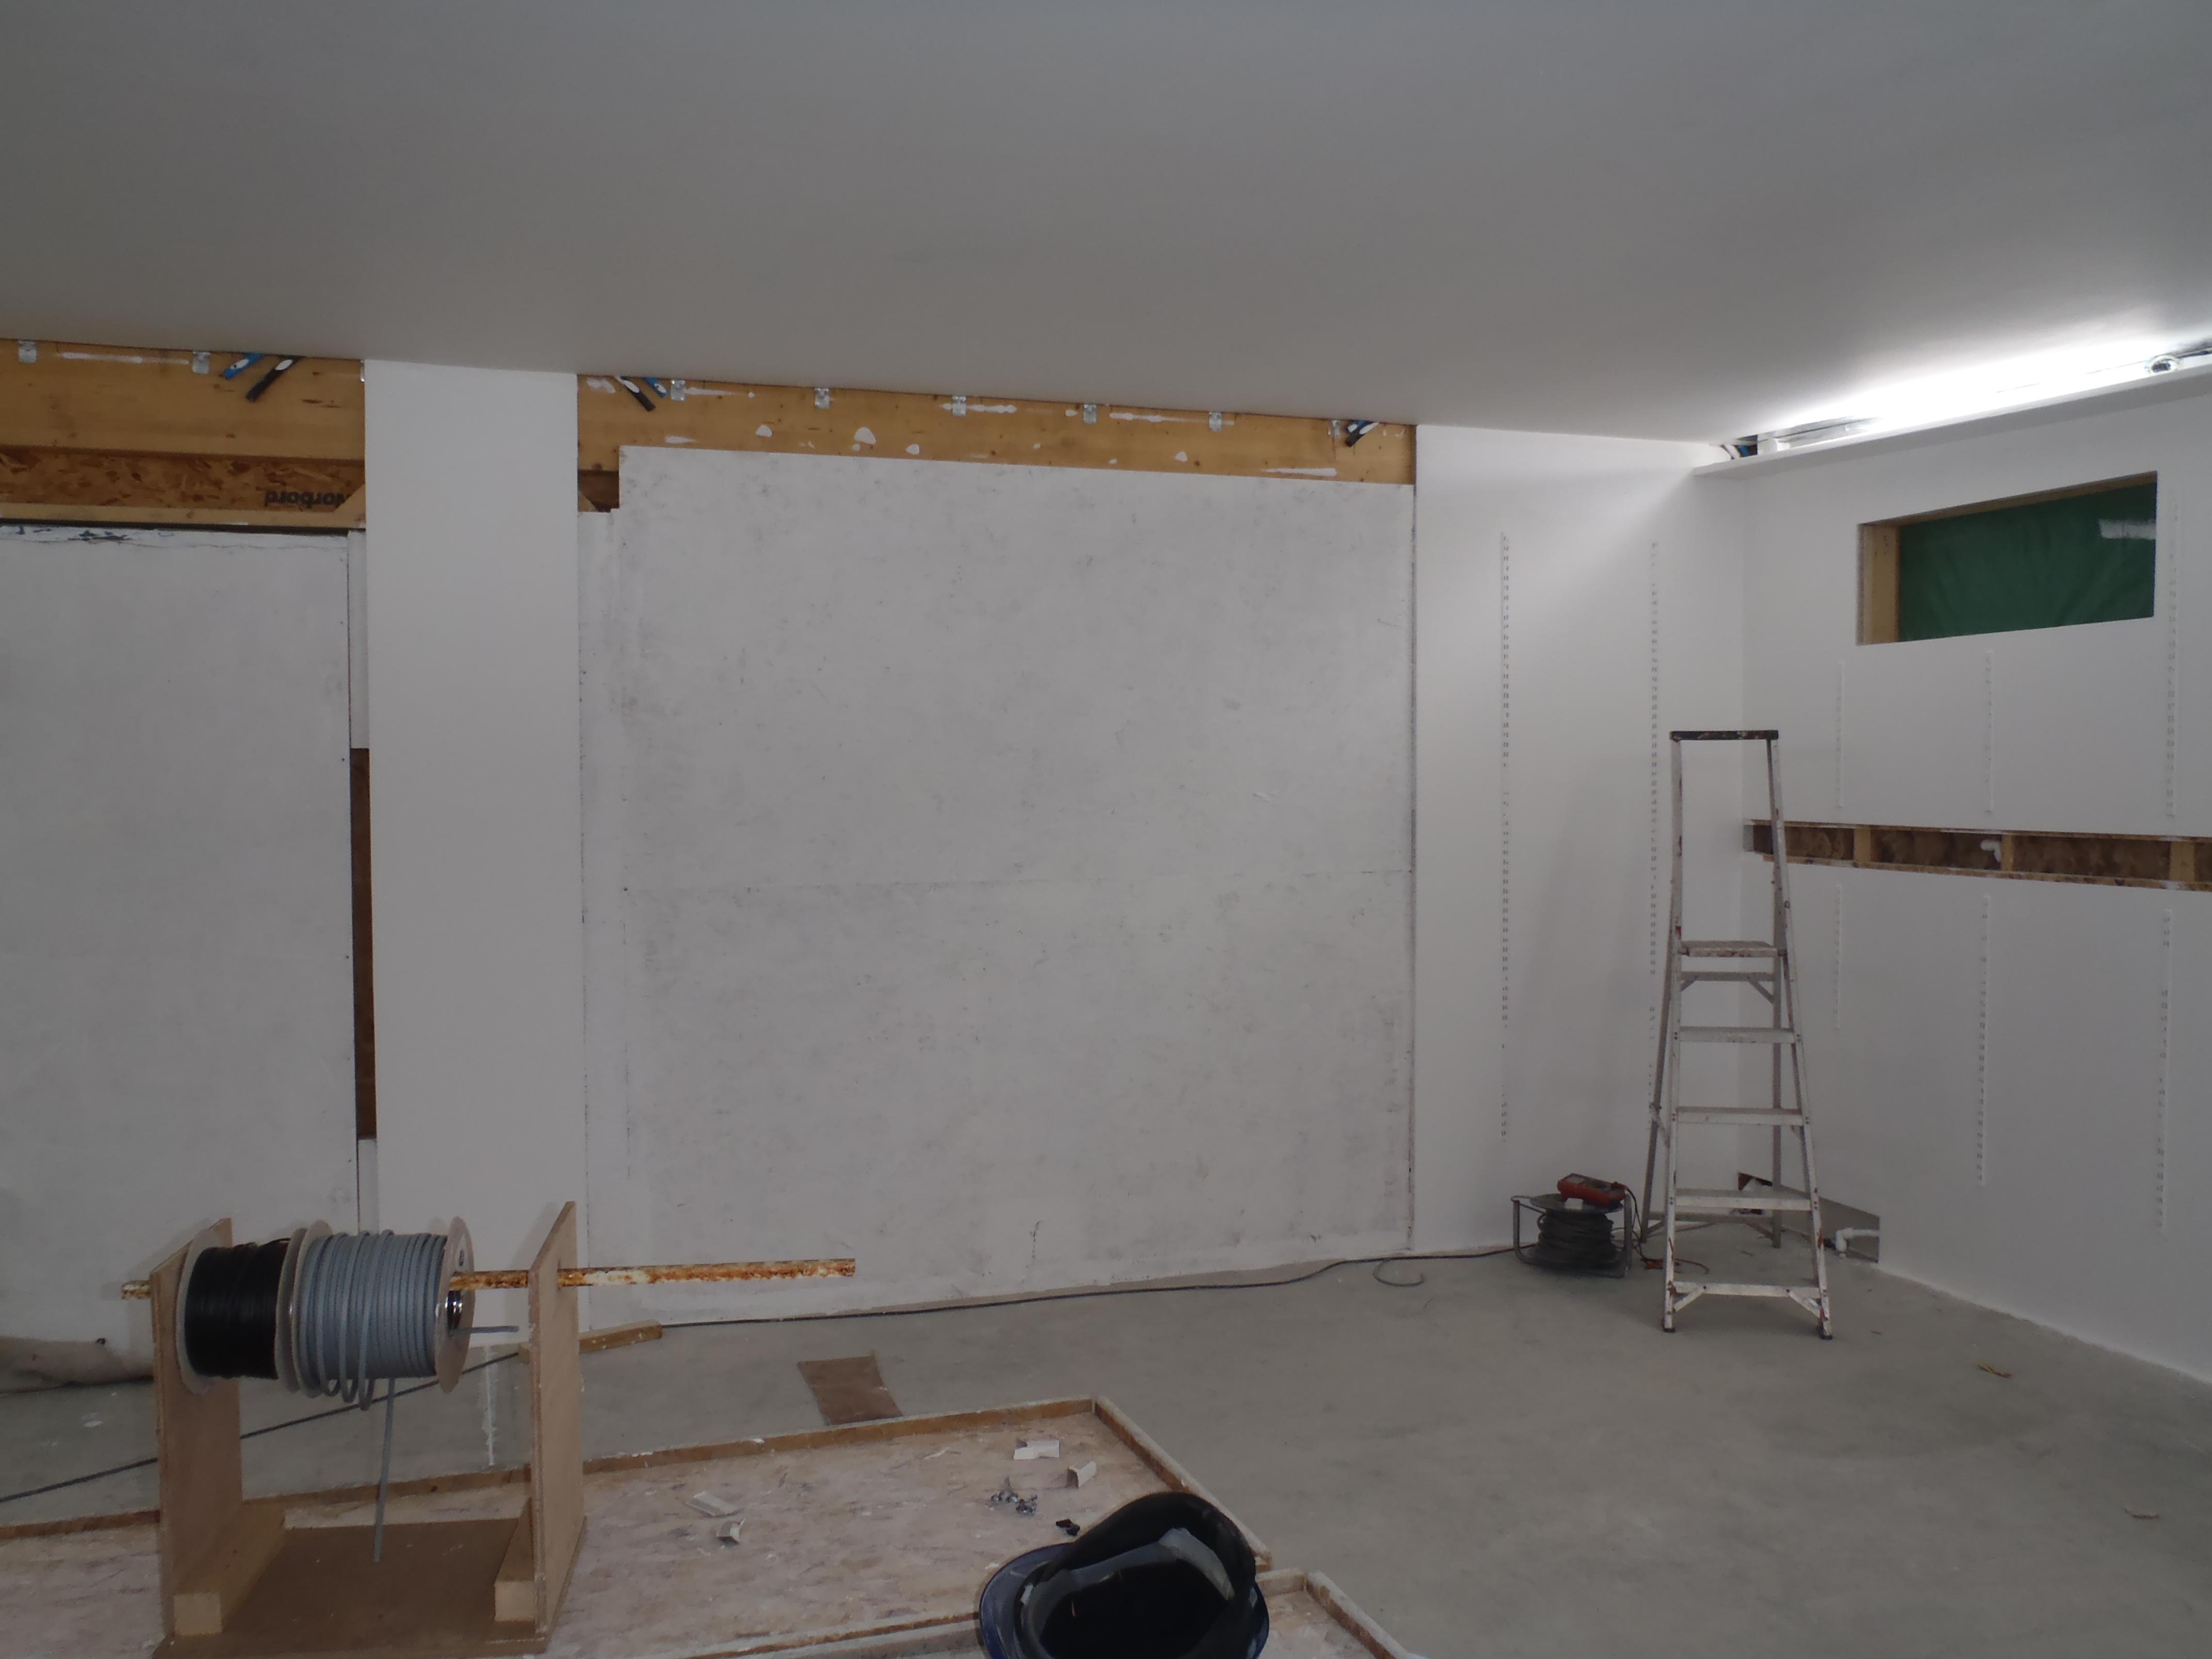
    Next we will have to fill in the staples holes and the joints between panels, we did a small test today and we are wondering if the filler supplied by the Fermacell people is the same as Polyfilla. We are planning to do further tests to find out.

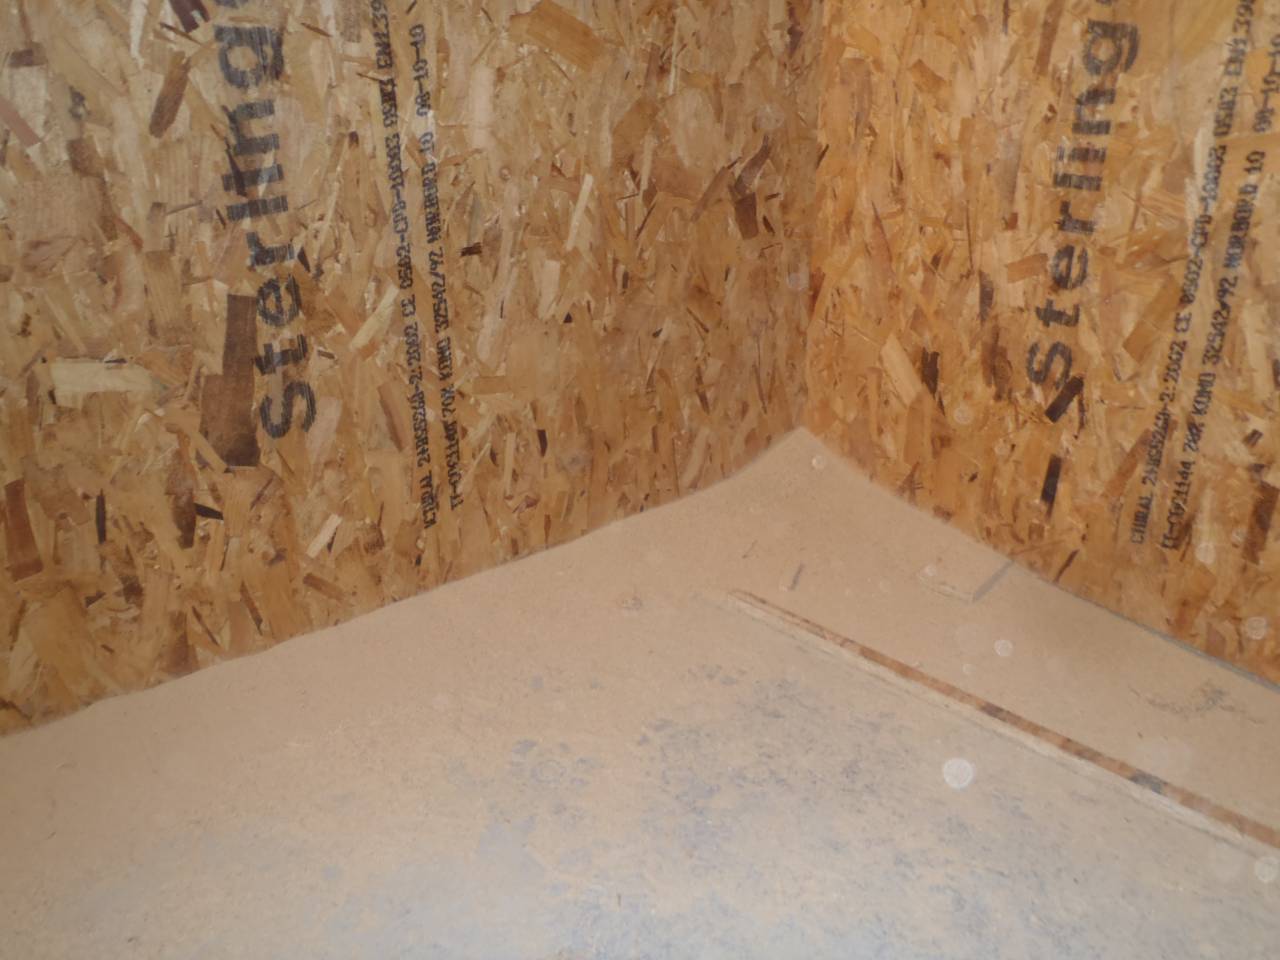
    The technique of snapping the boards at the cut line seems to be working ok as long as the “waste” piece is large enough to bend in one piece without breaking into smaller pieces. Just a quick wipe with the Surform to smooth off the slightly ragged edge and that is it. No flying dust from a circular saw! Thank goodness!

    The boards are very flat and very regular in thickness and are joining together very well. It is looking good! Can’t wait for the finished article!

  • First stage of interior wall completed

    The first stage of the interior assembly of the walls is completed, well at least the front part of the garage is!

    OSB Lining complete

    OSB Lining complete

    OSB Lining complete

    OSB Lining complete

    OSB Lining complete

    OSB Lining complete

    OSB Lining complete

    OSB Lining complete

    As you can see, there is a slot half way up the wall, called the The Utility Rail, open and ready for the electrical cables etc. It is a 100mm (4inches) high cavity all the way around the garage. This will allow us to have sockets anywhere we want as well as compressed air outlets, data network connections, vacuum ports and anything else we might think of in years to come!

    Drift of sawdust

    Drift of sawdust

    It was a pretty dusty environment we were working in but we had dust masks and thank goodness we had especially when we were sweeping the sawdust up!

    The Fermacell will go up on the ceiling first tomorrow and then on the walls themselves in a few days time. This will create almost the final finishing surface! Just nice brilliant white emulsion paint as the finishing touch!

    P.S. The light splotches on the photos are air born dust reflecting the flash.

  • First Layer of wall boards is going on!

    In the garage, the front part, we have been putting up the first layer of wall boards. This layer is made of sheets of 18mm OSB with the edges cut to form tongues and grooves interlocking structures to make a very strong joints without the need to keep aligning the sheet’s edges onto the horizontal battens.

    We have done the left and right hand side of the garage and have started on the middle wall.

    OSB lining on outside walls

    OSB lining on outside walls

    OSB lining on outside walls

    OSB lining on outside walls

    Once we finished the middle wall, we will then insert the glass wool insulation into the roof space and cover it all up with our new Fermacell. Then go around to place more Fermacell on the walls too! That would make the front part of the garage pretty much finished, apart from the lights, utility rail and electrical cables!

  • Conduits in Walls

    We have been inserting the conduits in the walls and other pipework! The electrics data and along with other pipes like compressed air, vacuum and water & waste.

    It is a fiddly work, routing the various lengths of plastic conduits up into the ceiling space for lighting circuits, smaller conduits for data cables and connecting compressed air to both sides of the garage and into the garden room too!

    but all this has to be done first before we can put up the base 18mm OSB boards.

    Garage Wall ducts

    Garage Wall ducts

    Garage Wall ducts

    Garage Wall ducts

    Garage Wall ducts

    Garage Wall ducts

    Garage Wall ducts

    Garage Wall ducts

    Garage Wall ducts

    Garage Wall ducts

  • Framed the WC and finished the battening

    We framed out the WC for the garage which will have just a loo and basin in it. Spent some time getting it square all round! Then we finished off the wall battens.

    WC Framing

    WC Framing

  • Counter battens fixed

    We have fixed up the 38mm x 63mm battens on most of the walls, these are to provide a services area behind the wall surfaces. The gap between the close together battens will be the ‘utility rail’ where sockets and switches will go.

    Horizontal rails fitted

    Horizontal rails fitted

    Horizontal rails fitted

    Horizontal rails fitted

    Horizontal rails fitted

    Horizontal rails fitted

    Horizontal rails fitted

    Horizontal rails fitted

  • Trimmed the Tops!

    And we also trimmed the excess material off the tops of the walls. The OSB boards were nailed to the very tops of the iBeams and noggins (on the front) to finally finish off the walls.

    Garage Lights Finished

    Garage Lights Finished

    There isn’t any more jagged steps in the sky line of the walls! All nice and smooth ready for the 18mm OSB boards! At last!

    Next is to man handle almost 30sheets of 18mm OSB boards each weighing about 35kg (77lbs) each! We are going to get hot so roll on the freezing weather! No sweat!!

  • Stainless Steel Mesh!

    42 square pieces of stainless steel mesh was cut and stapled over all the holes previously drilled a couple of days ago. The metal mesh will reduce the possibility of animal life getting into our roof cavity and getting stuck!

    The mesh covering the holes for the air conditioning system (on the left side of the garage) were additionally stuck down with a ring of construction bulk glue to ensure a complete seal. The iBeam immediately next to these holes now has similar holes more or less lining up. These will have a microfiber cloth (using a heavy weight geotextile material) stapled and glued to provide a secondary filter layer to further reduce large dust particles and micro insects from getting through and into our fresh air supply!

  • Interior Dividing Wall Framework is UP!

    Our middle wall inside the Garage is assembled and is UP! This wall is ready for the iBeams (roof rafters) to be thrown up, sit on the supports and fixed down!

    The sub-dividing wall between the garden room and the garage front part is made of two layers, in total 30 posts spaced 300mm (a foot) apart alternating from side to side. The reinforced top and bottoms beams have the extra 18mm OSB strips inserted, works quite well especially allowing us to position each post hard up against it and offering good support for the nailing gun!

    The two side walls came together very nicely and there was only a small leaning over offset of about 8mm so we pulled it vertically and tied it down waiting for the boards to be fixed on to lock it all up. In fact the roof boards will provide the racking in all directions! Front to Back, Left to Right and North to West too!!

    Well that’s the major load bearing wall finished, let’s roll on the moment in a day or so, when the roof goes on!