Category: Sewage

  • Second Line Completed and Third almost Finished too!

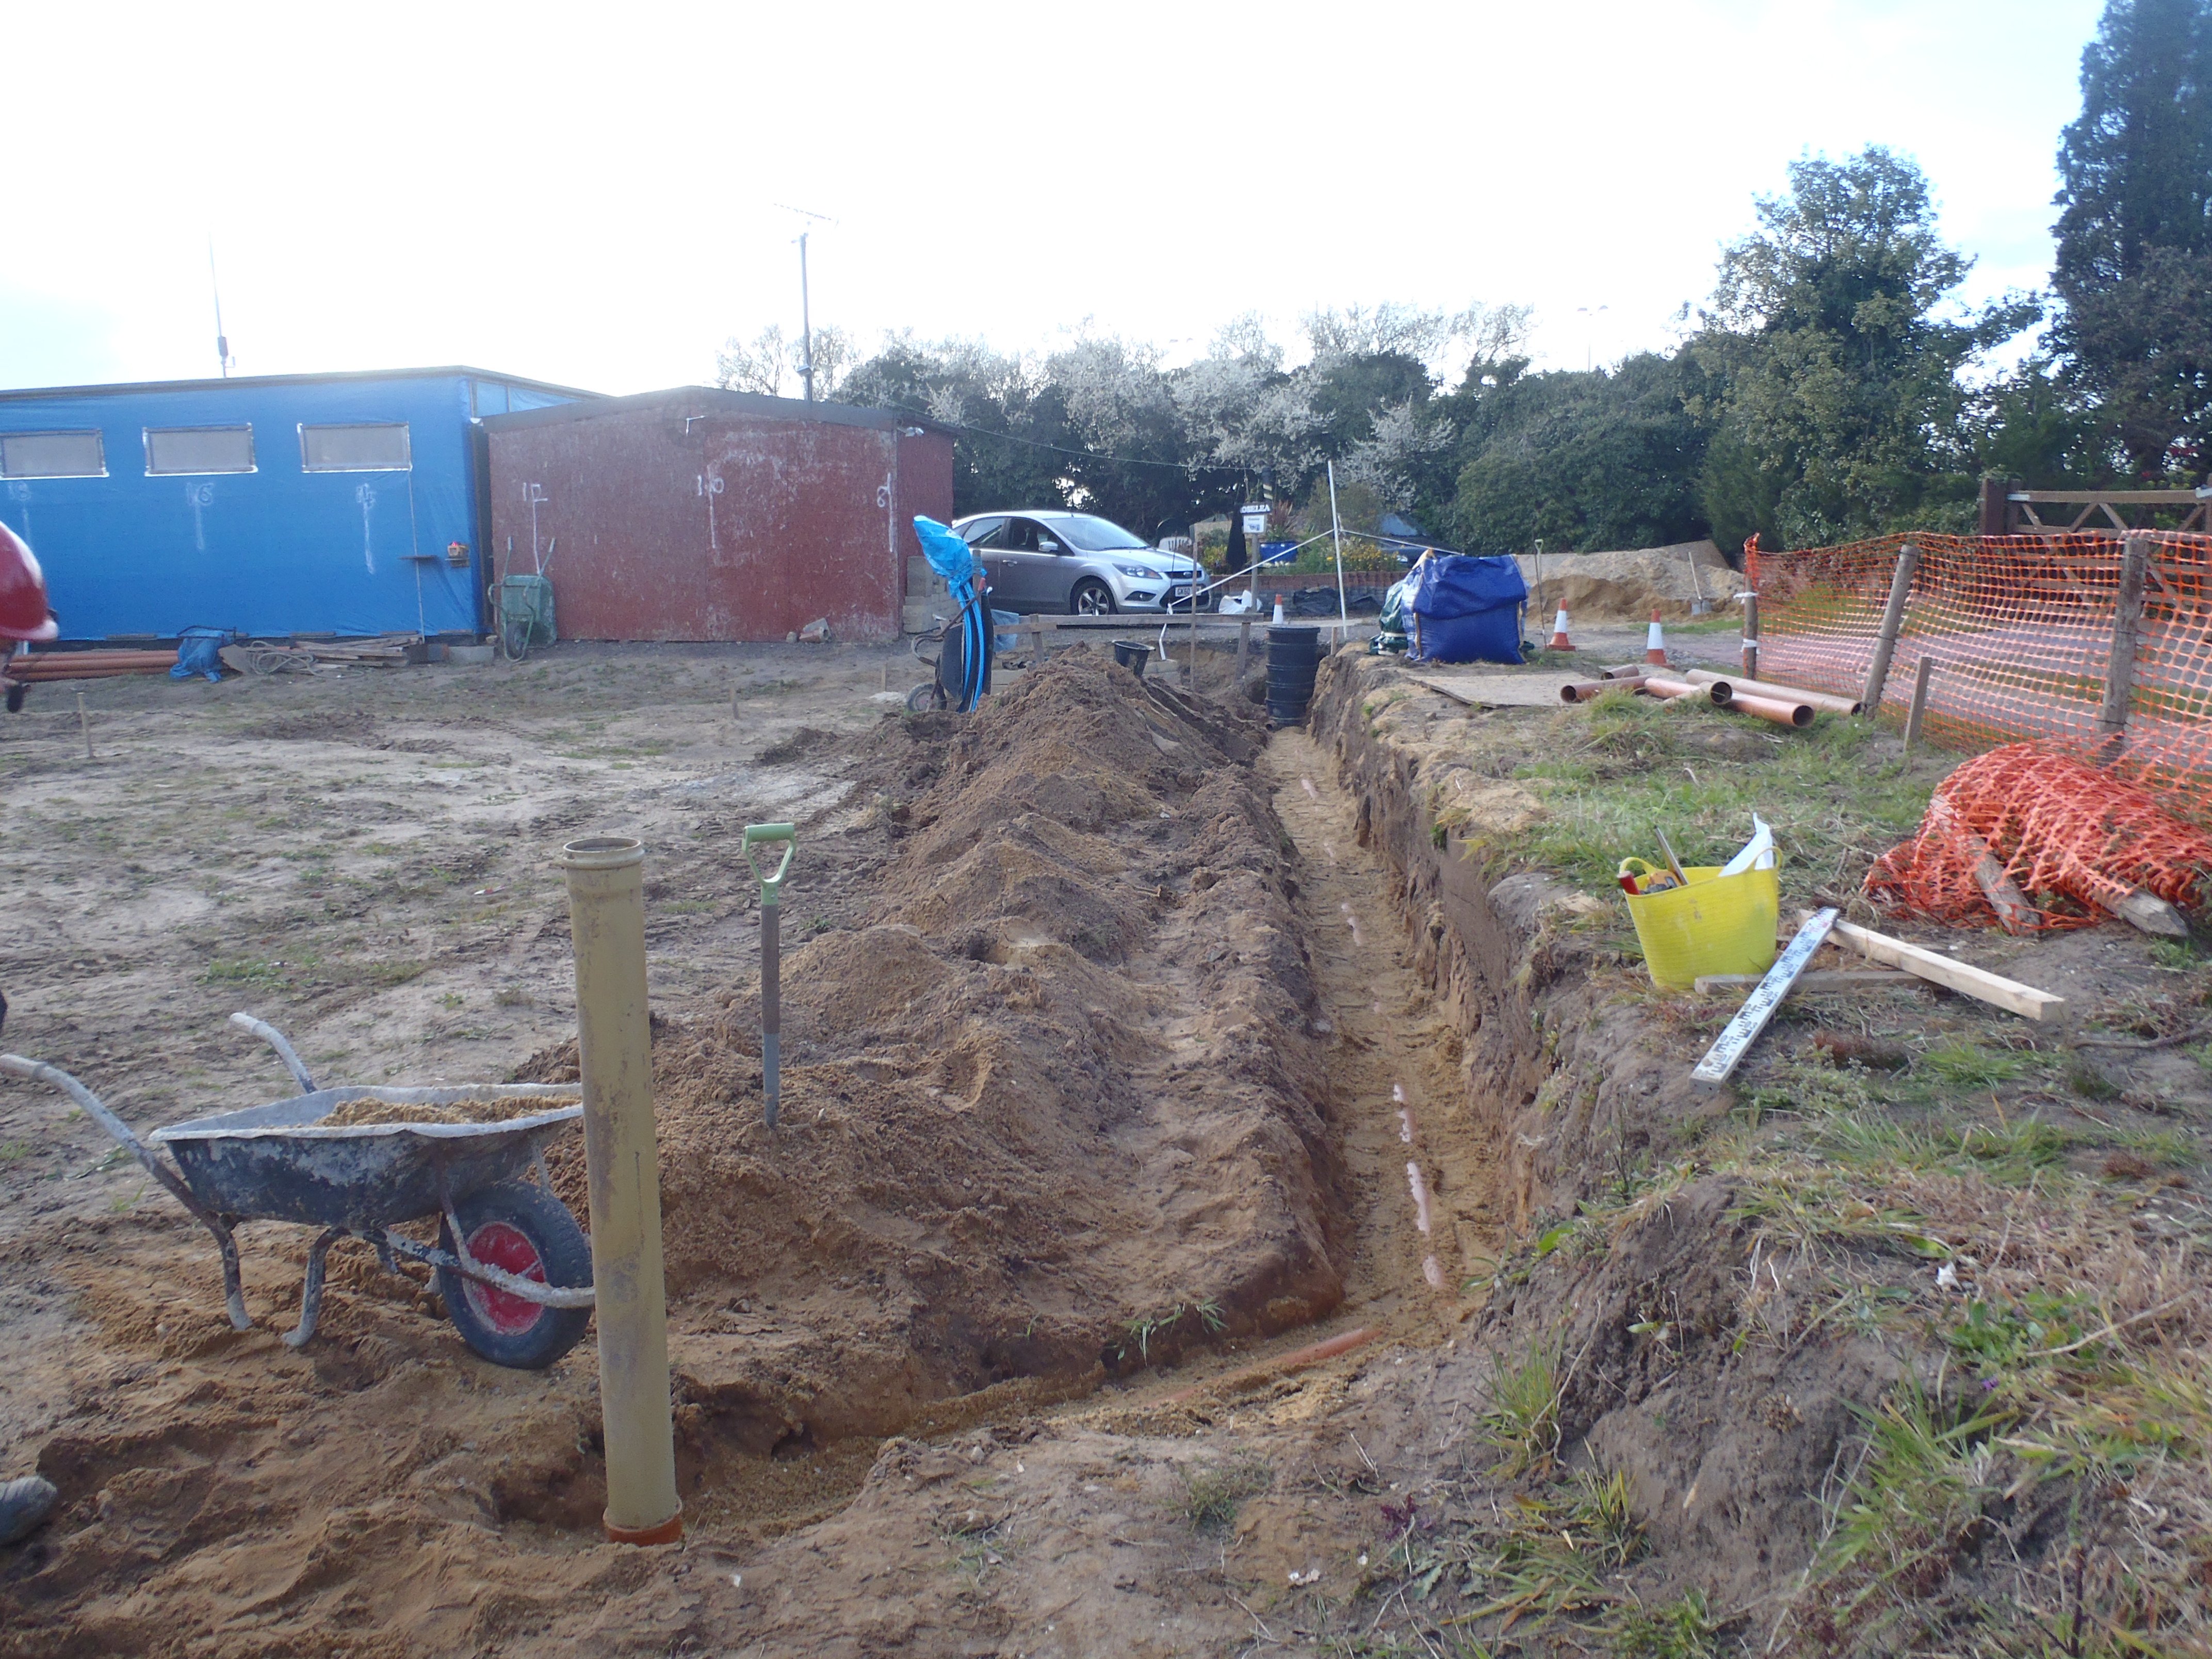
    Today, in glorious sunshine for most of the day, we completed the 2nd line
    of sewage pipes and got it bedded down in gravel before any further possible
    collapses of trench walls!! Nothing did after all but .. !
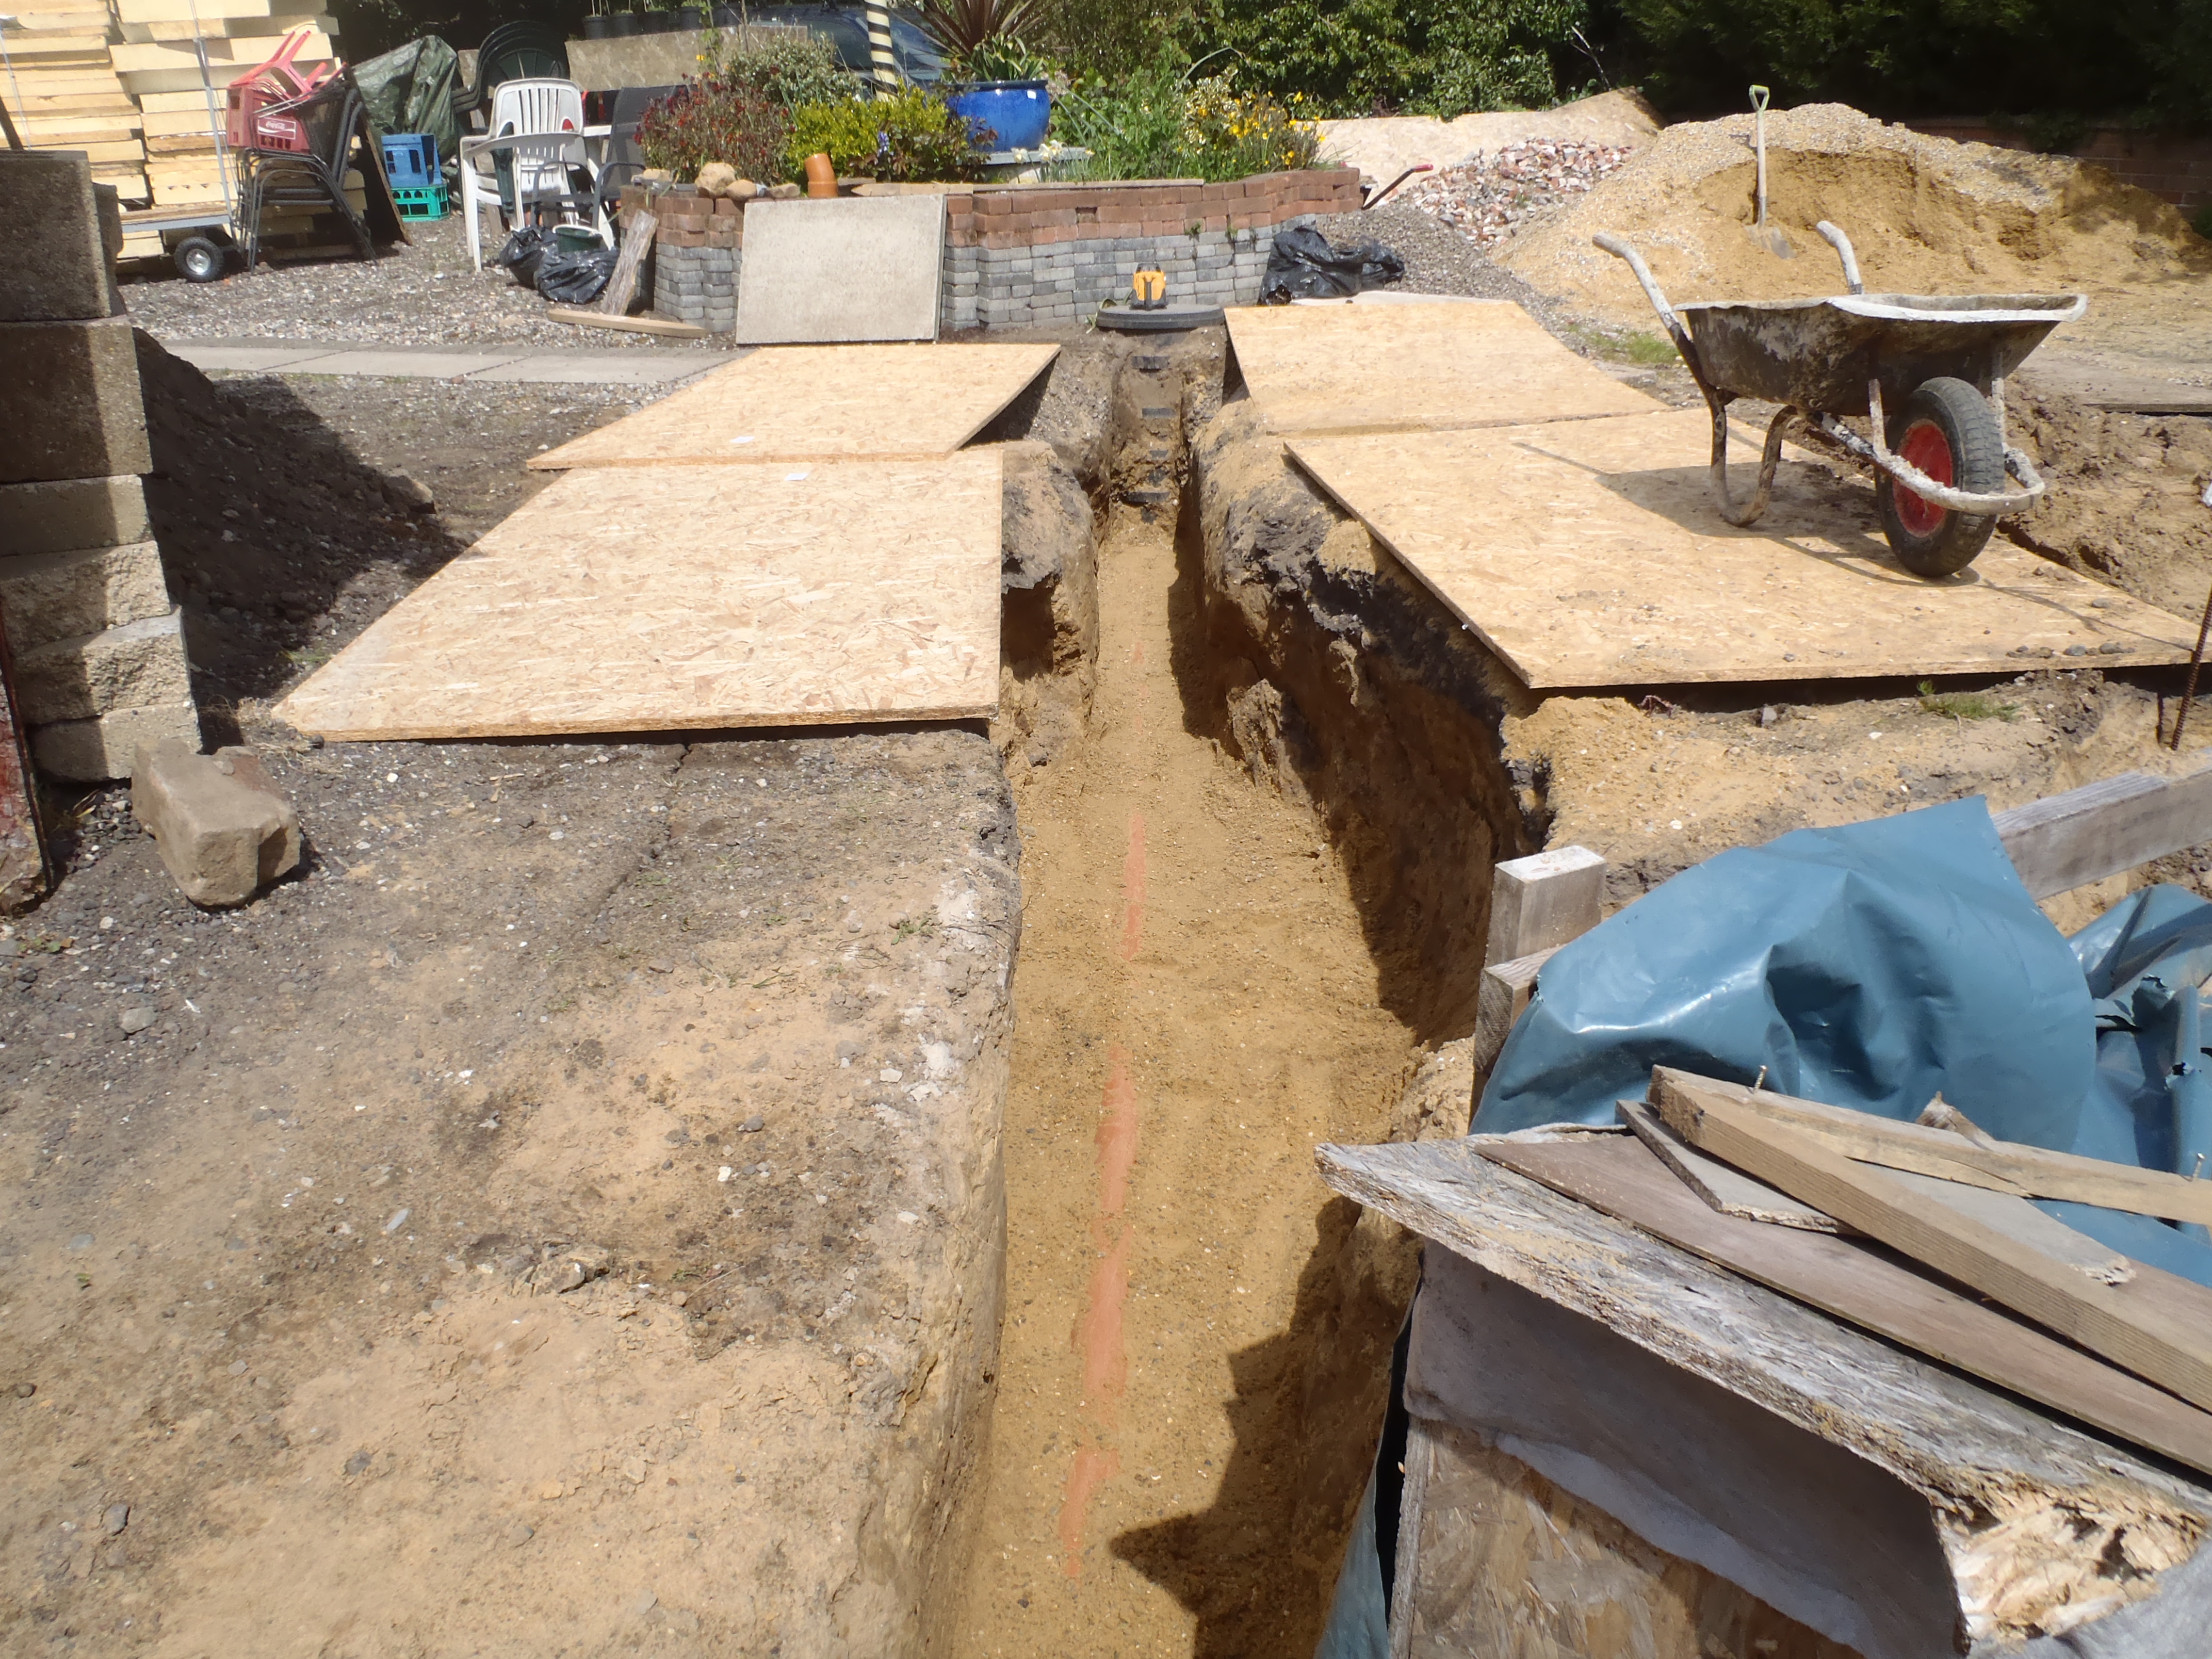
    Pipe-2-Laid-in-drive
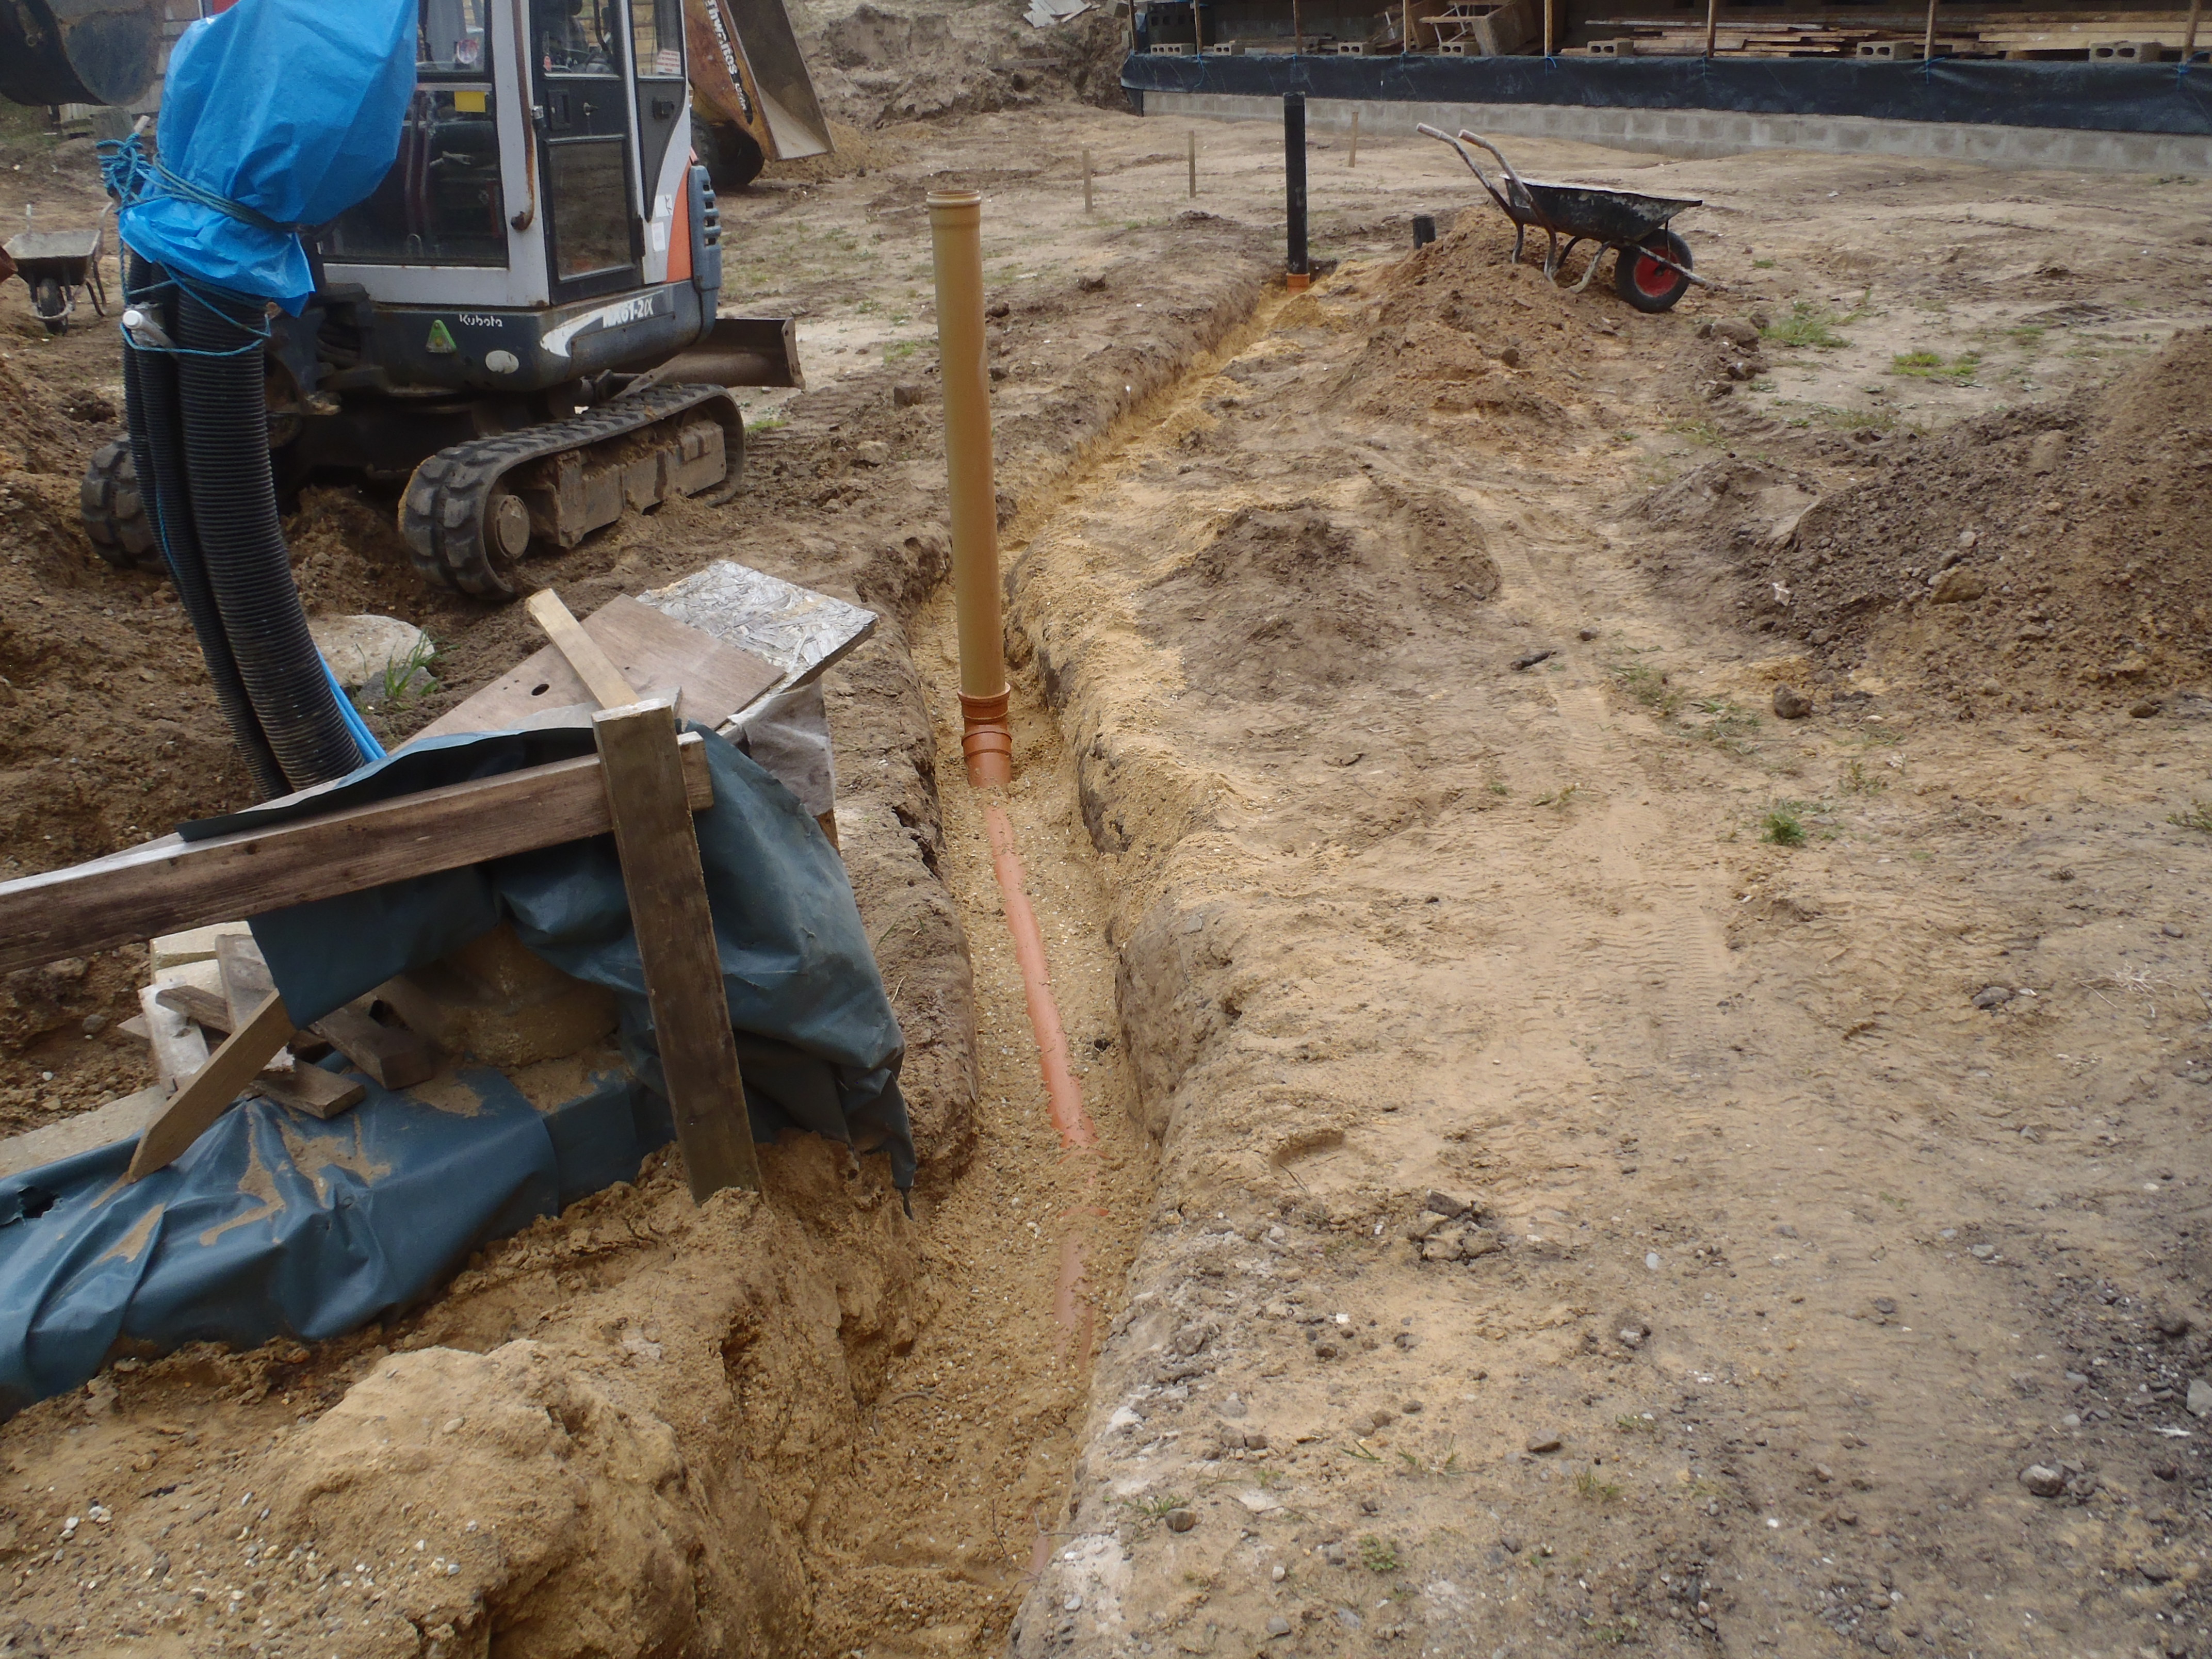
    Pipe-2-Laid-in-drive

    Pipe-2-Finished-2
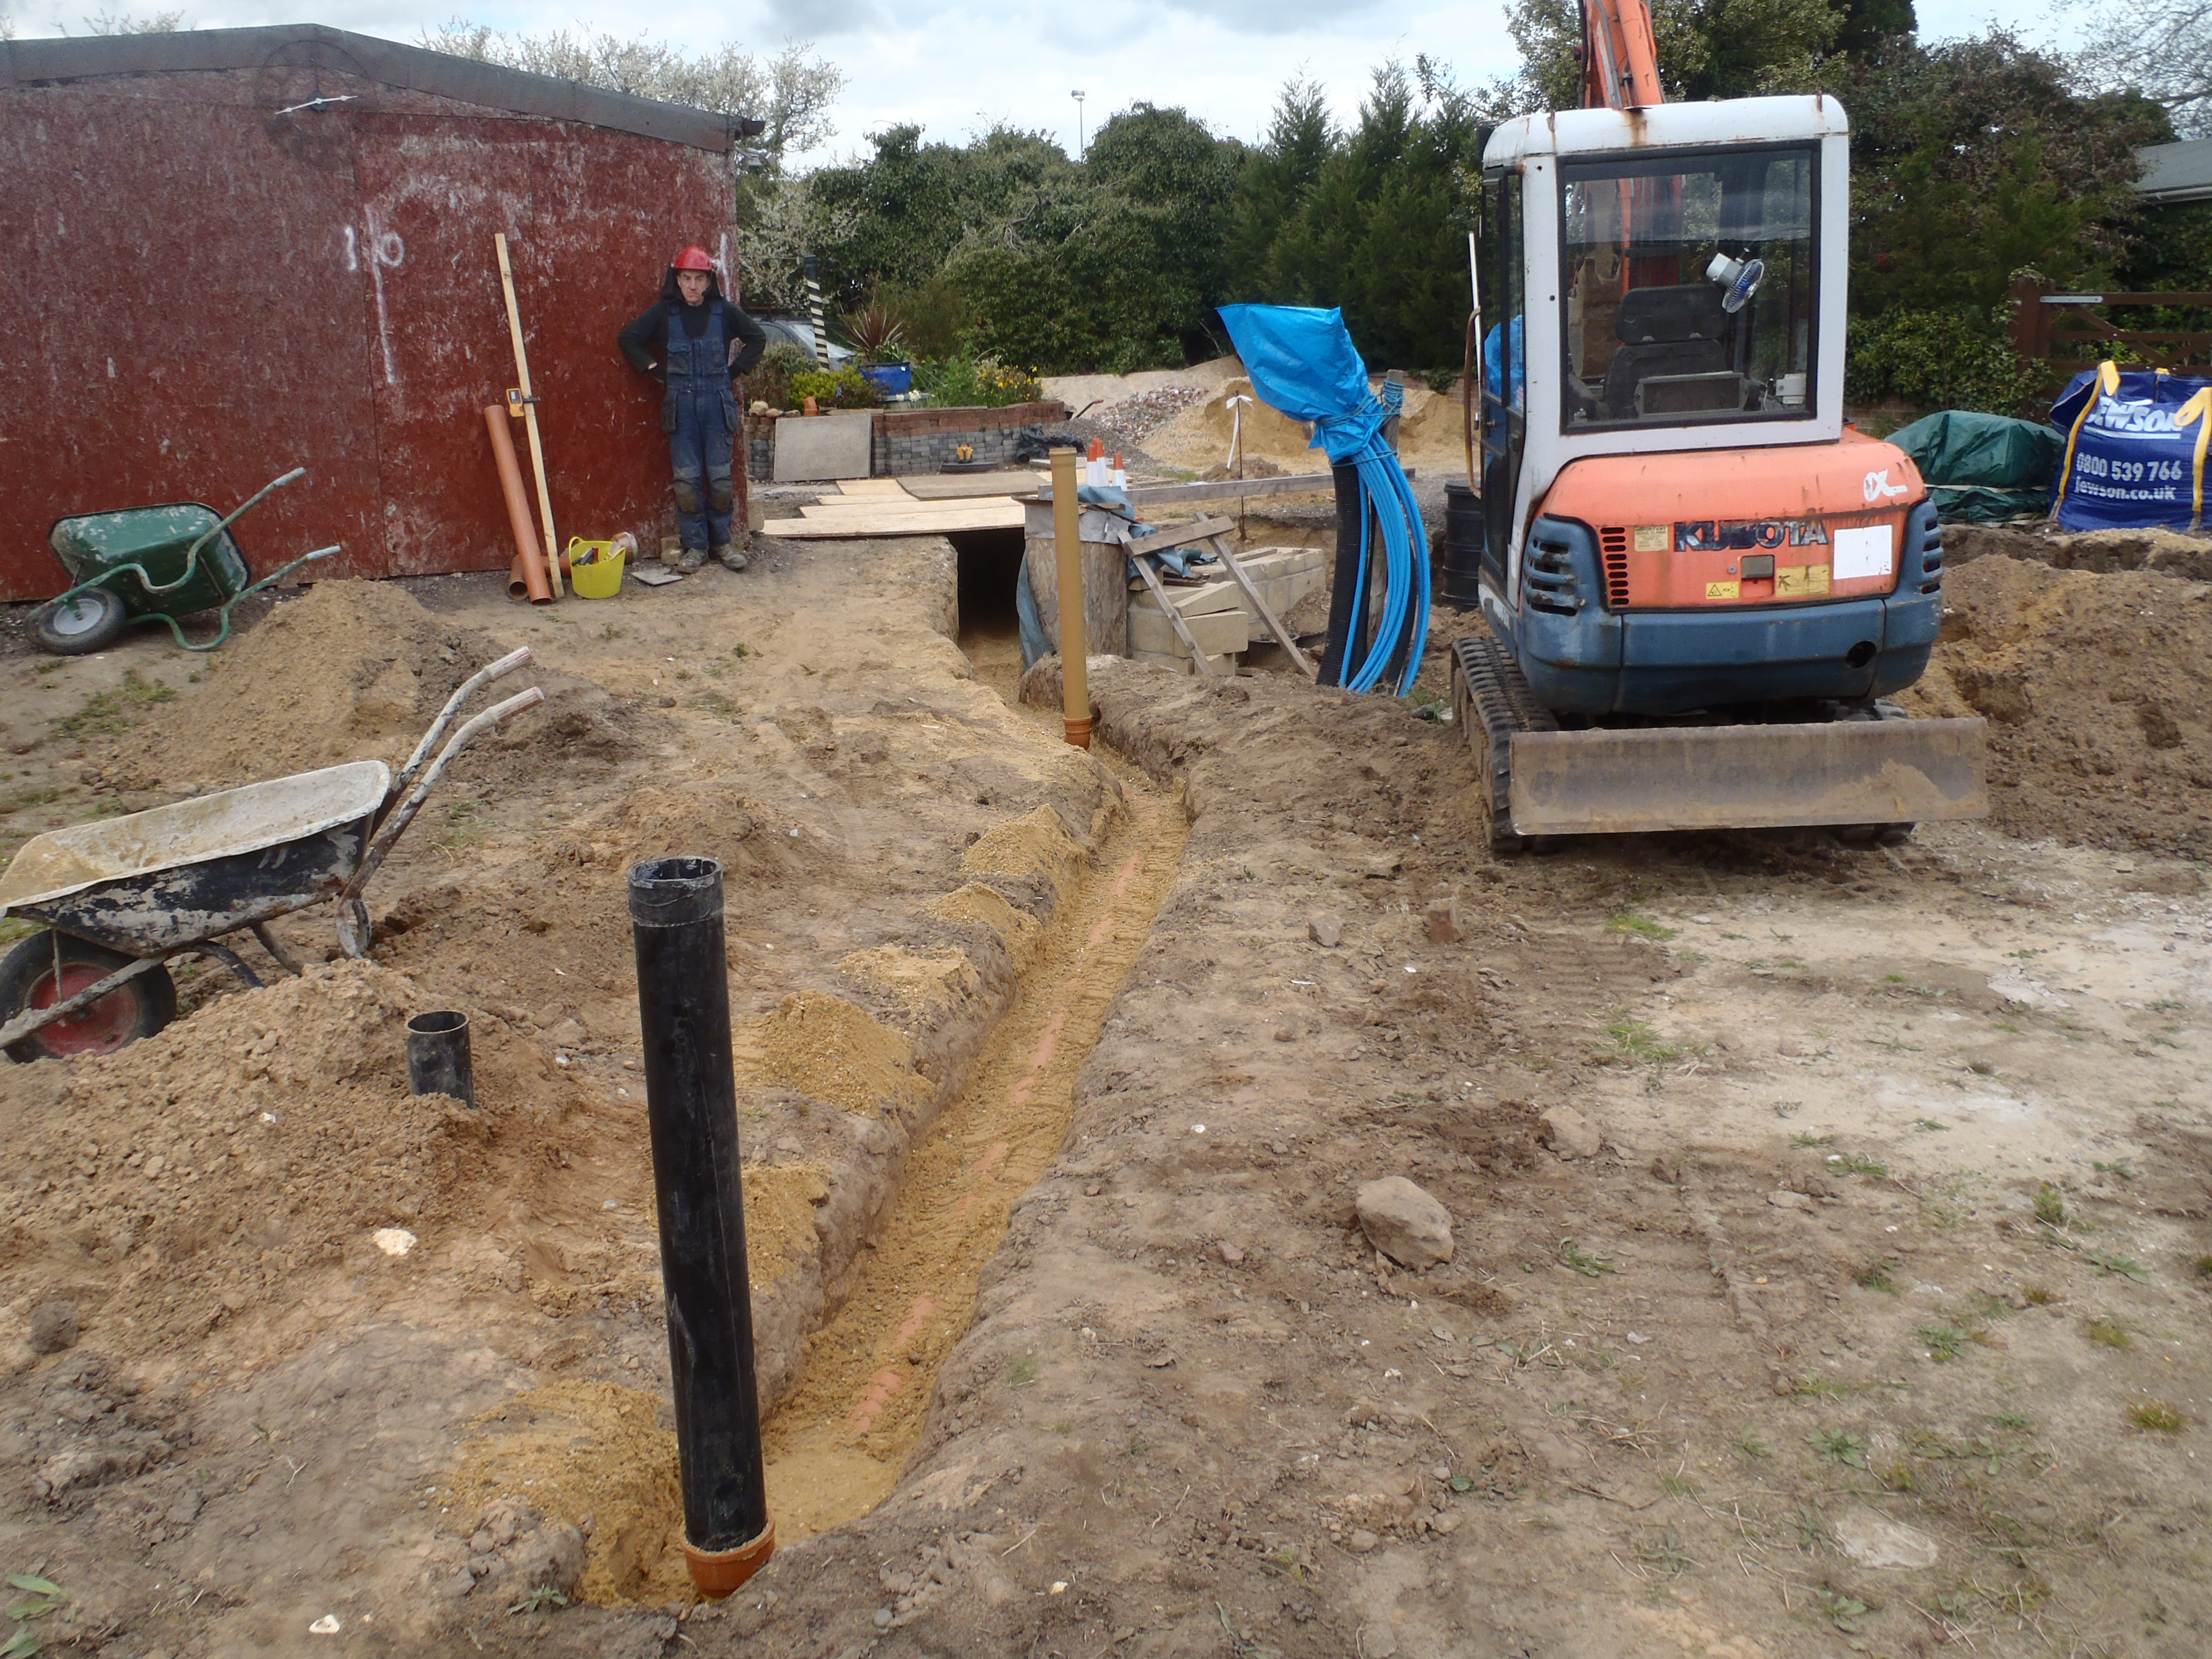
    Pipe-2-Finished-2

    Pipe-2-Finished-1

    Pipe-2-Finished-1


    The 3rd and final trench is now cut, and the pipe has been fitted together.
    We just need to bed that one into gravel and make sure the slope is properly
    maintained.
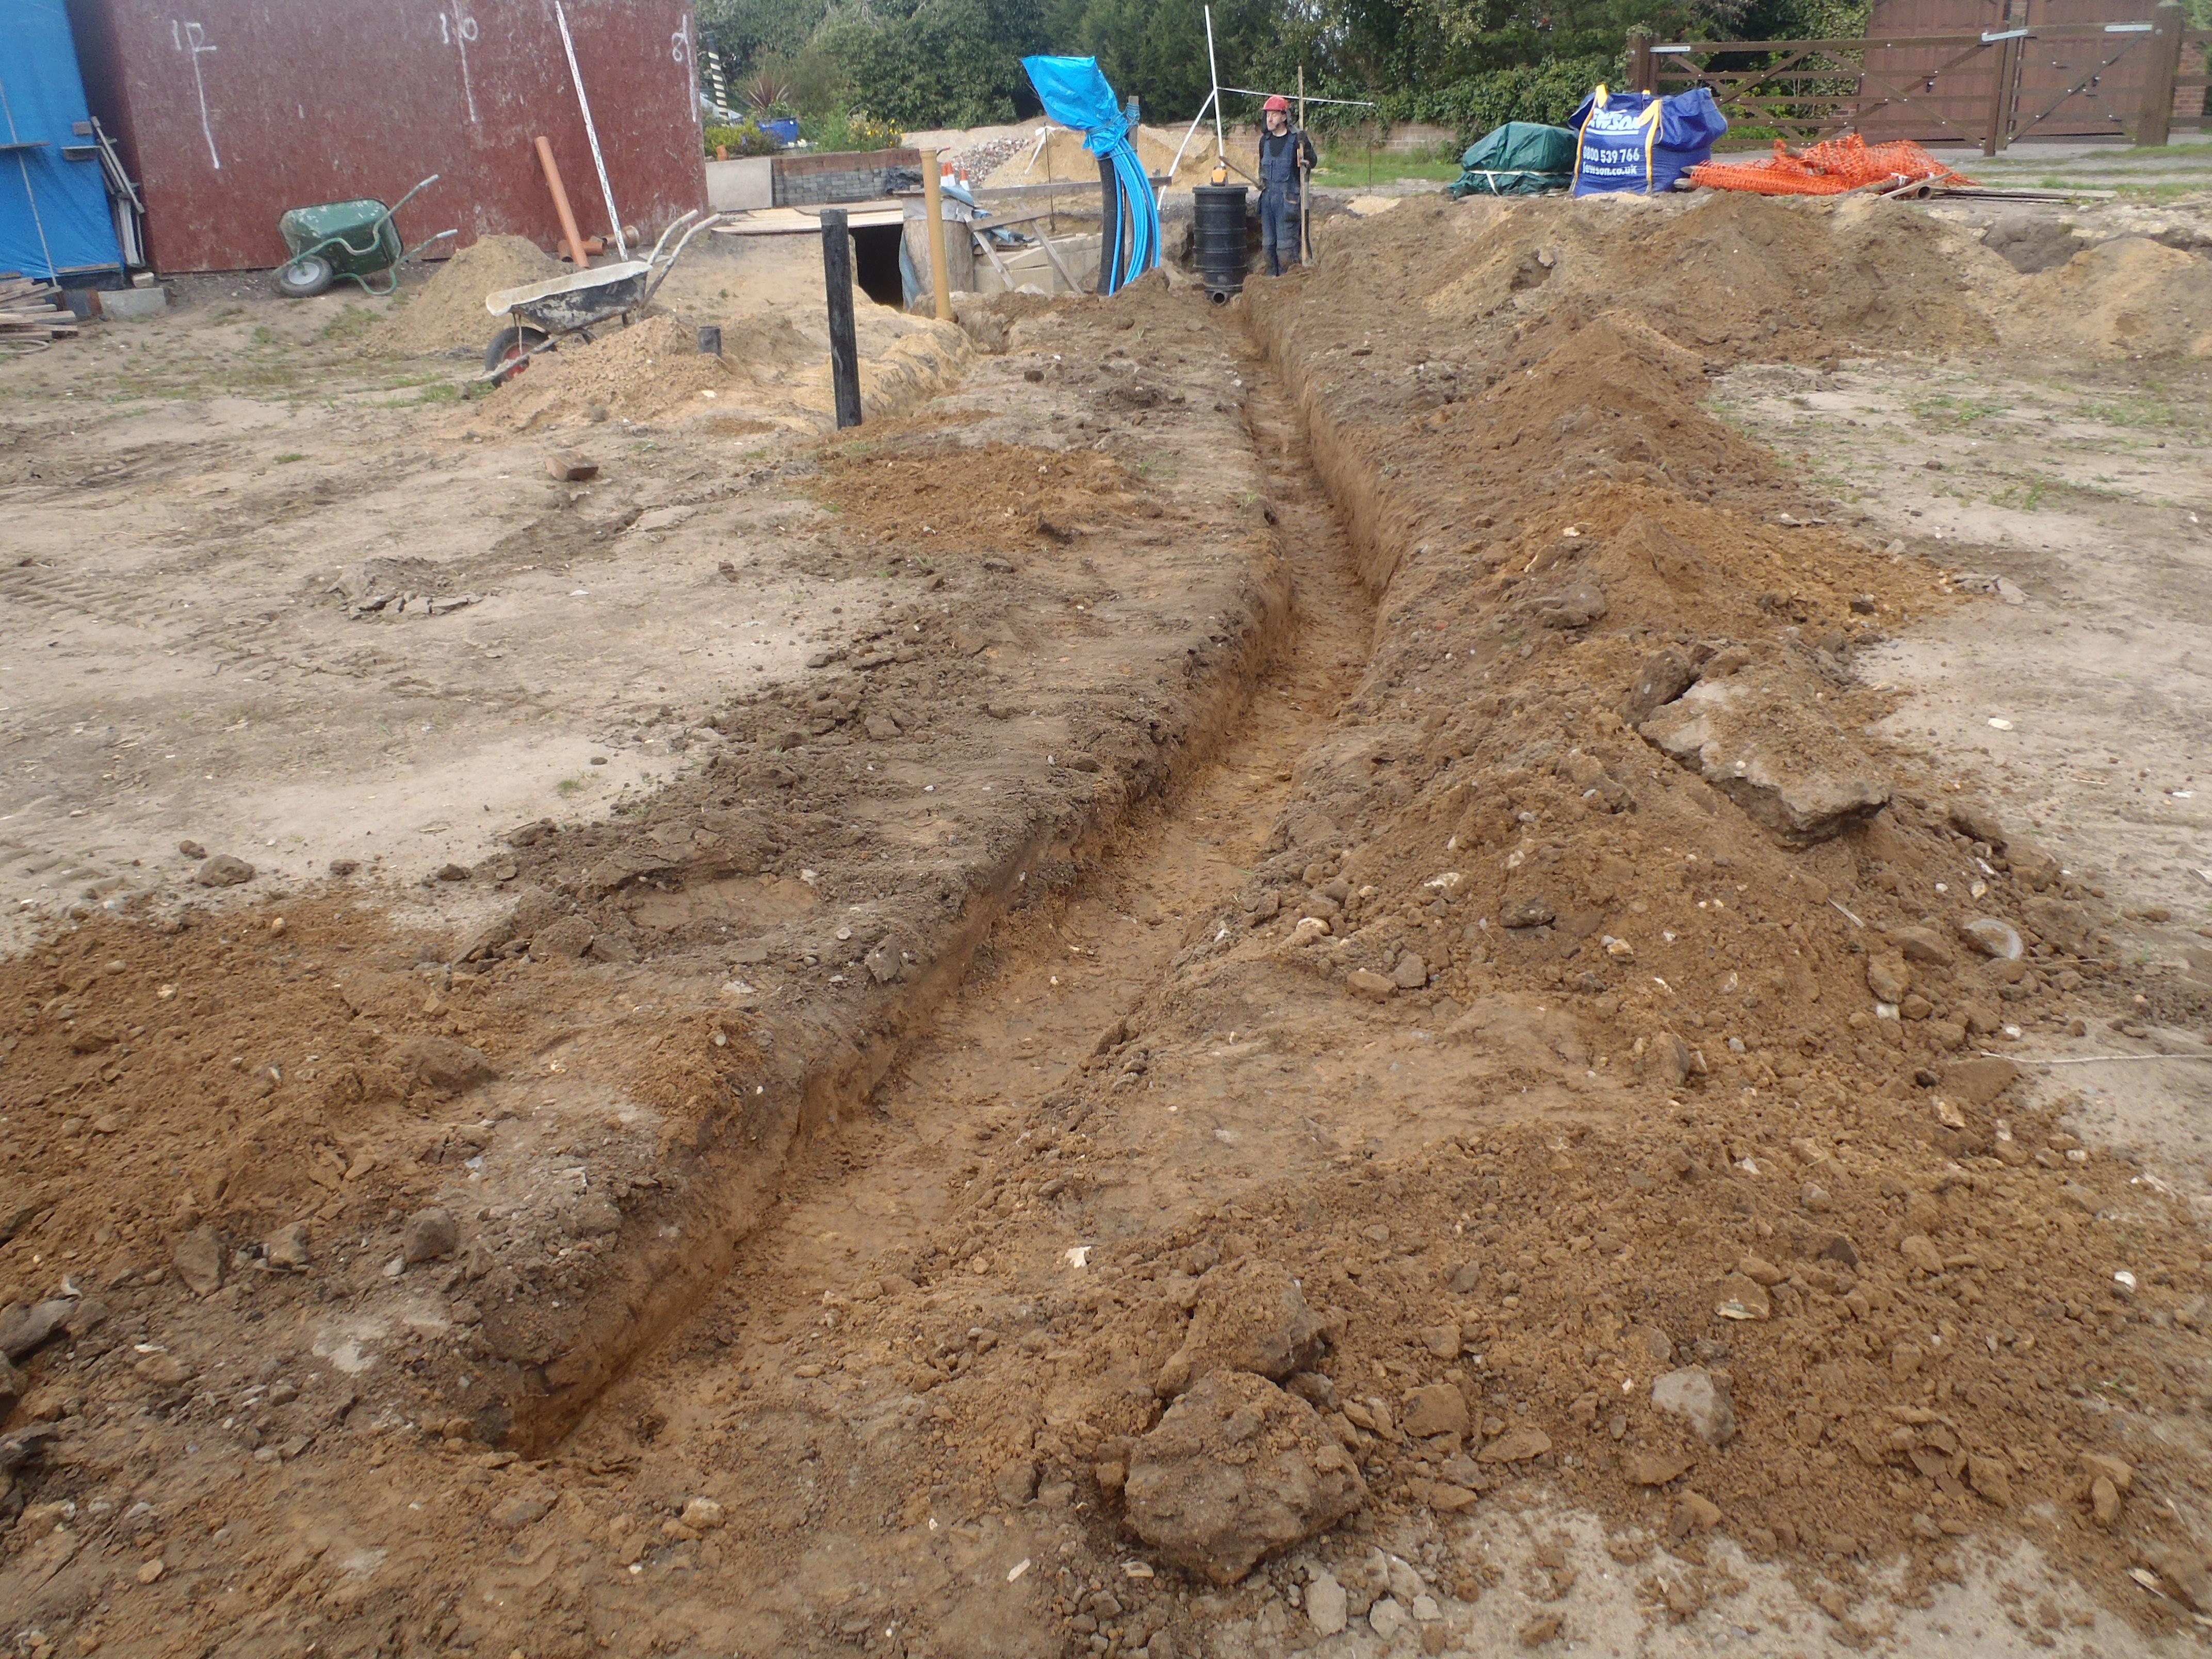
    Pipe-1-dug-out
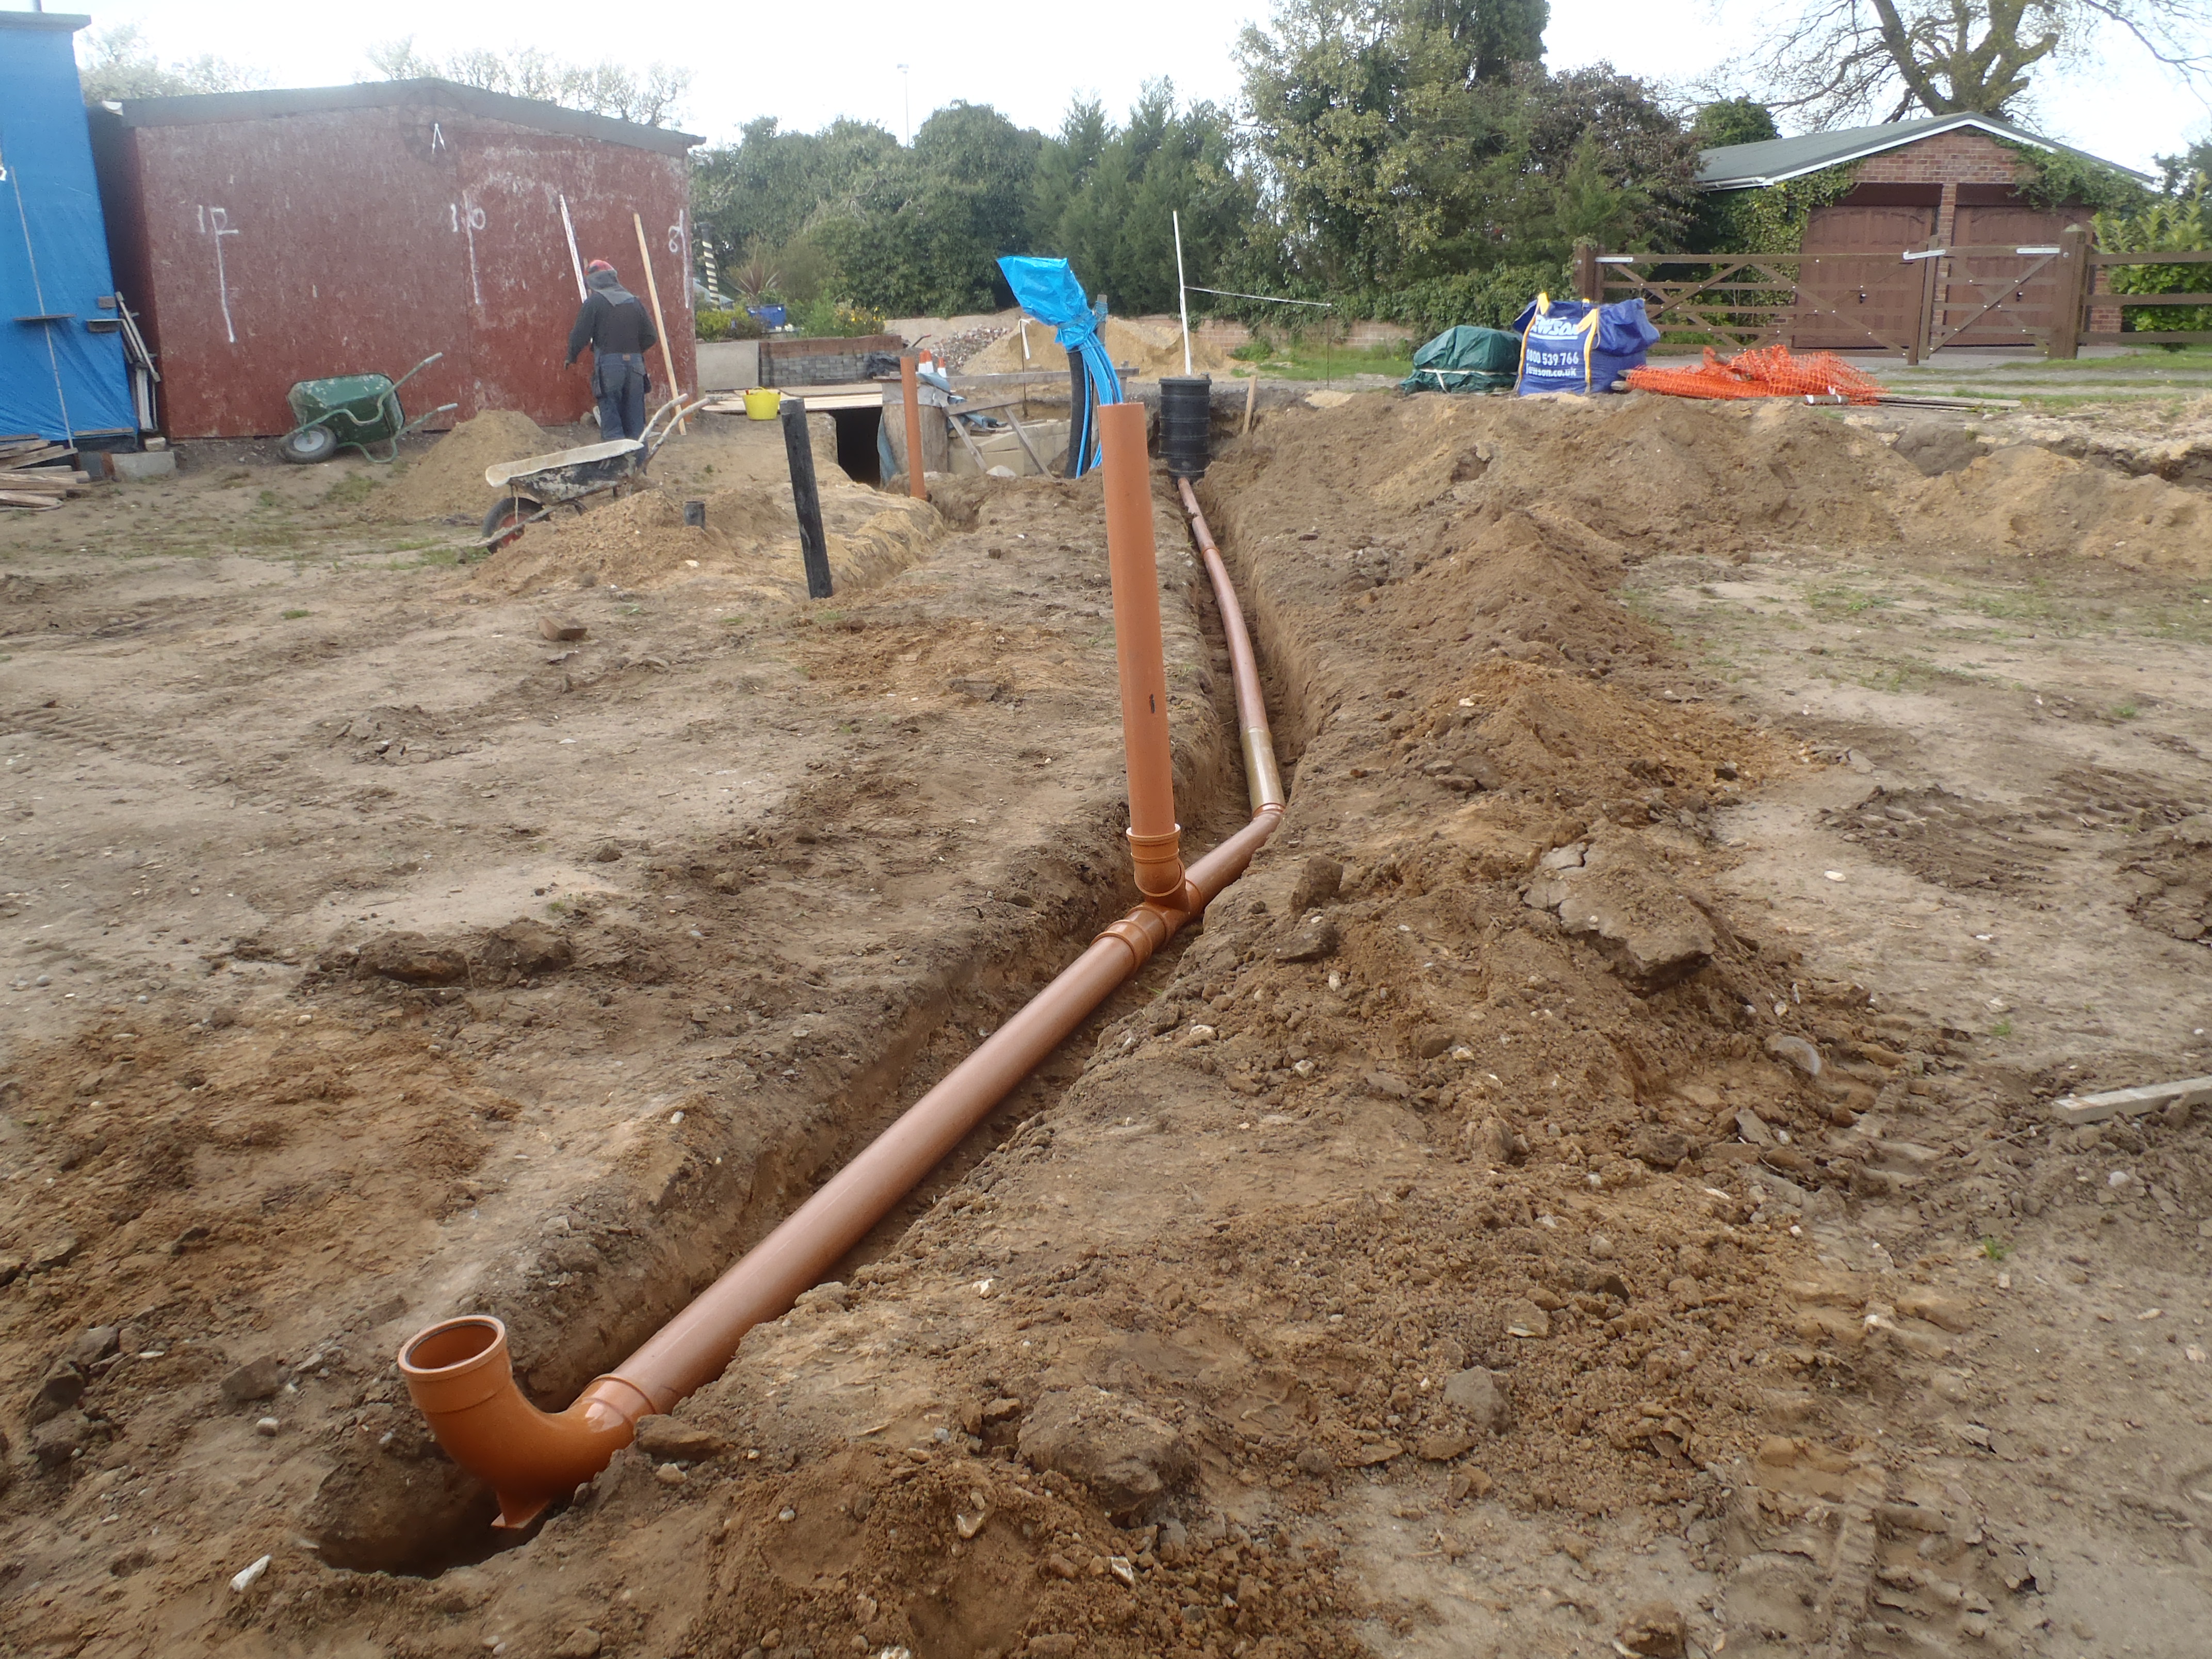
    Pipe-1-dug-out

    Pipe-1-pipe-inplace-but-not-leveled

    Pipe-1-pipe-inplace-but-not-leveled


    All the pipe runs goes downhill at an angle of 1° which is “1 in 57” which
    means 1 metre rise (or fall) for every 57 metres of pipeline. The
    requirement for sewage runs is between “1 in 40” and “1 in 80” so we got it
    smack in the middle, the one degree angle is very convenient for when the
    plans were drawn on the computer ? Smile!
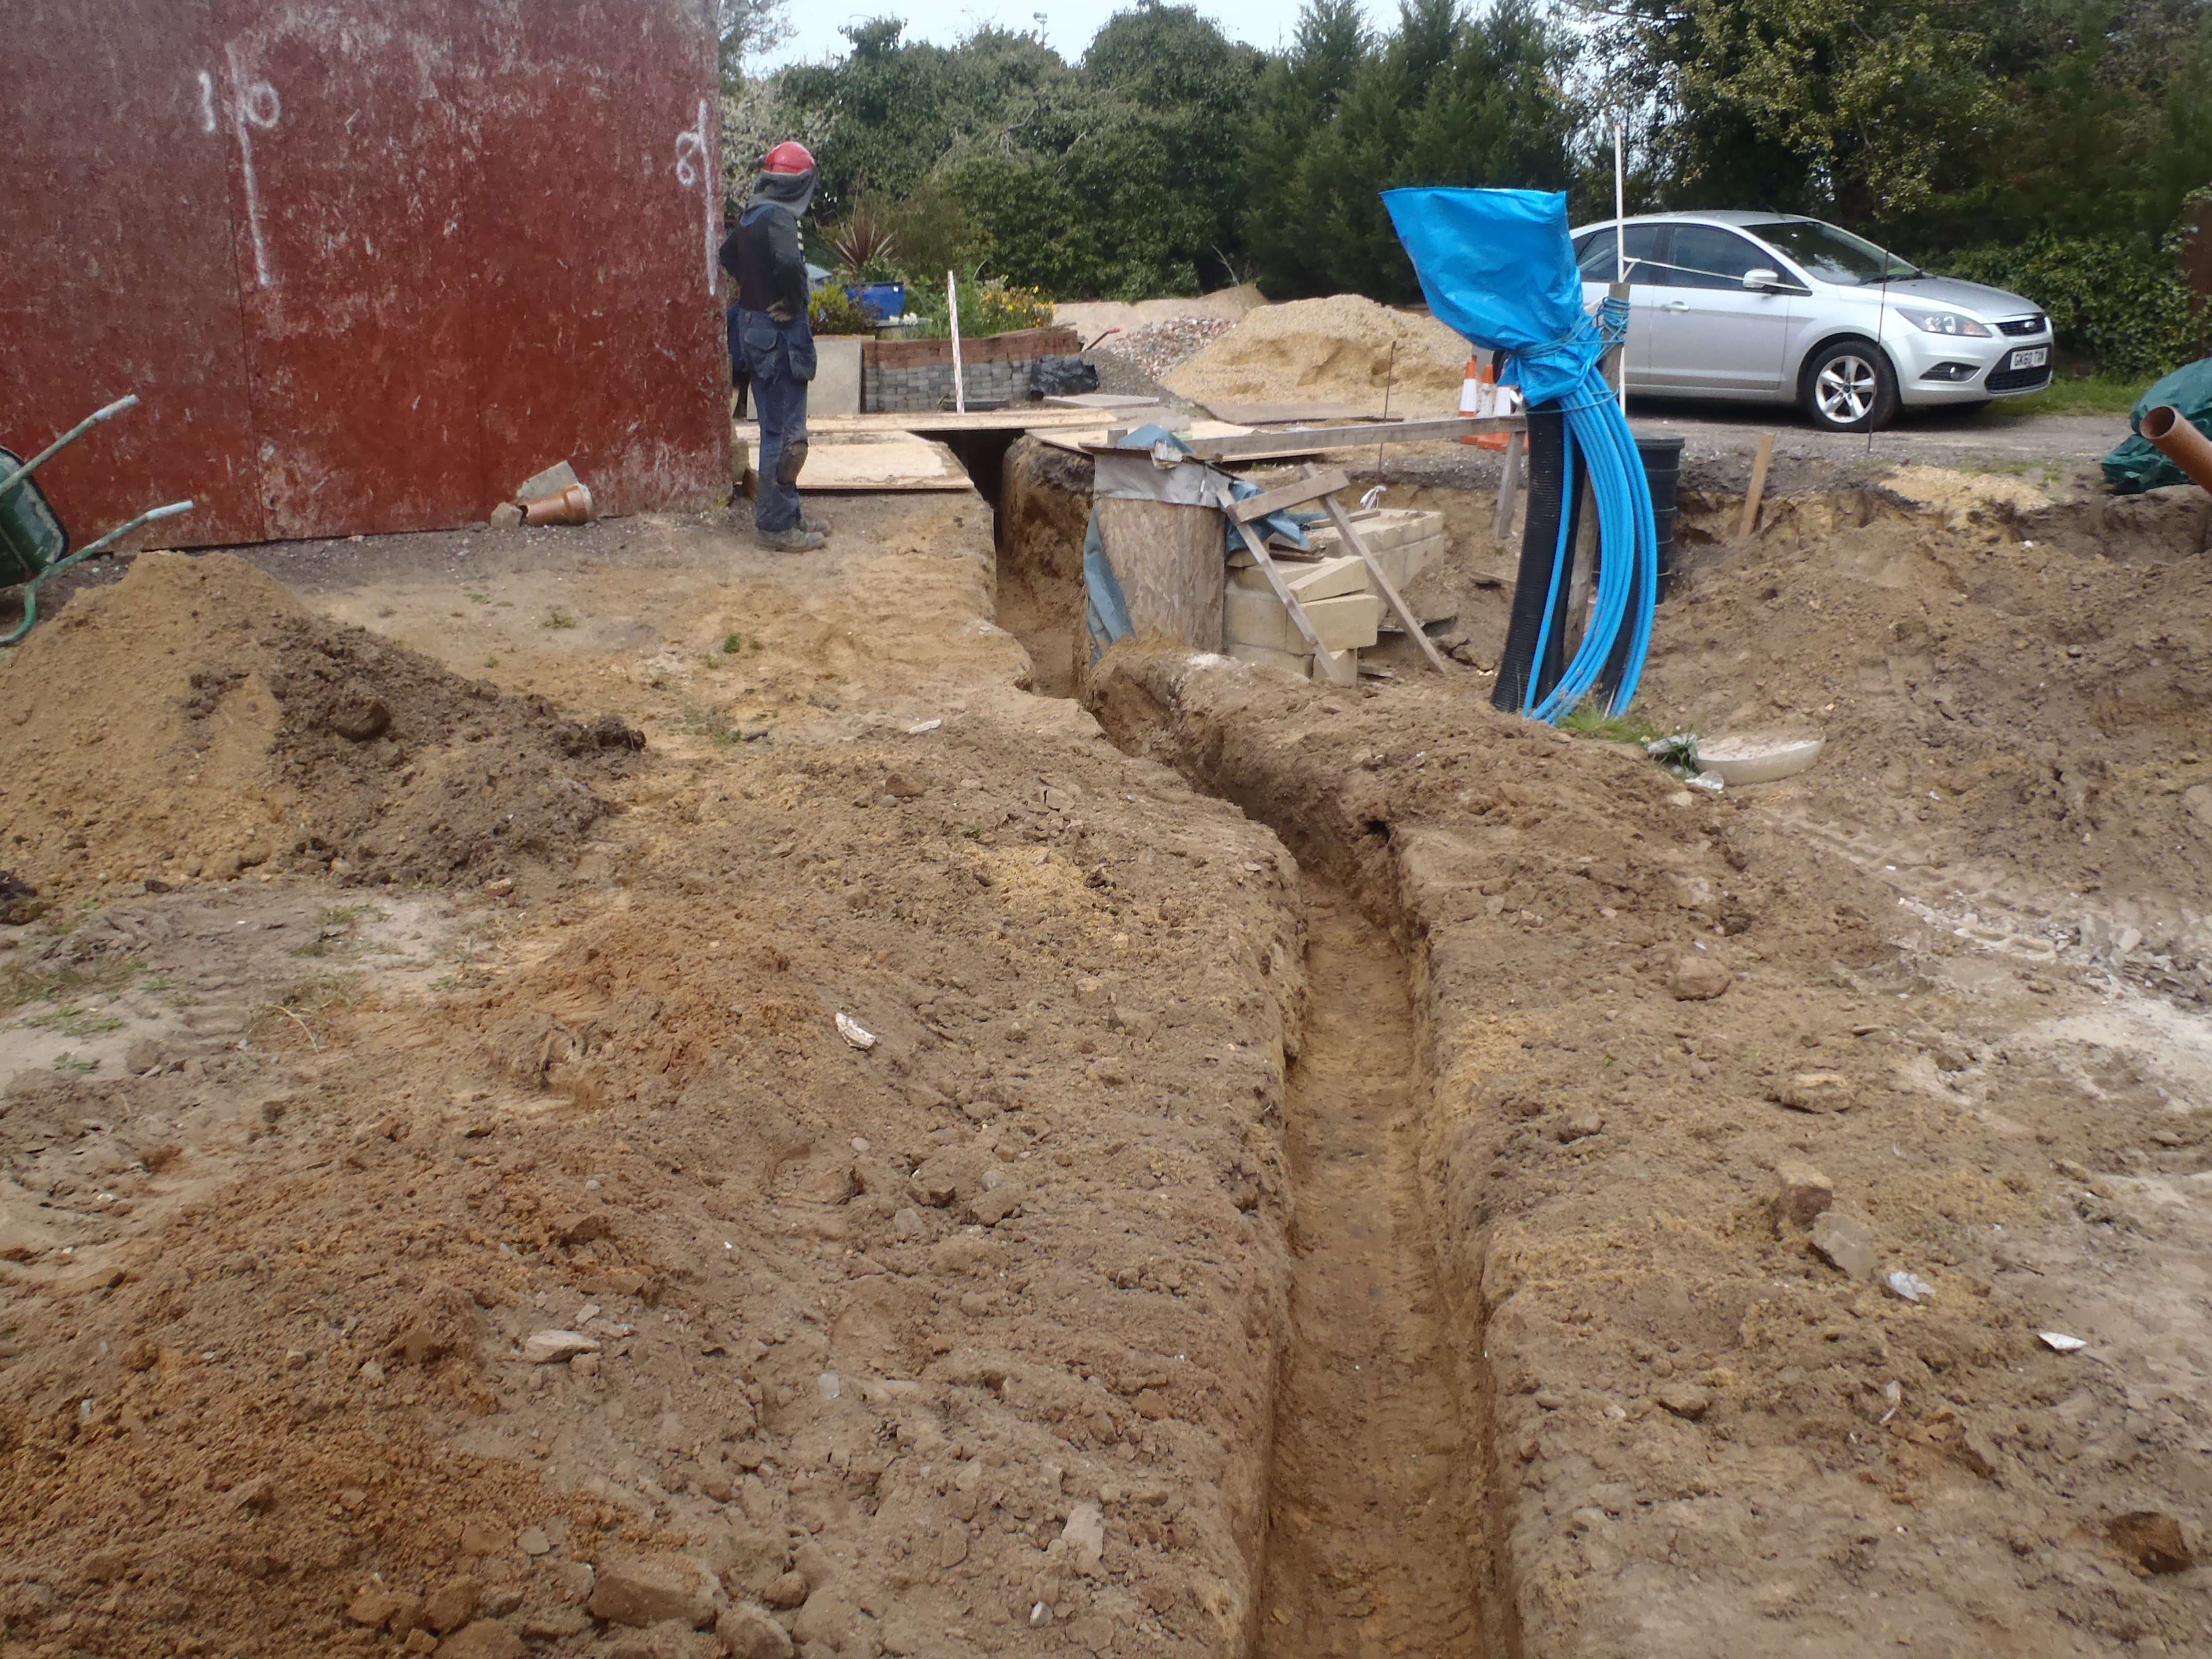
  • Dug out Pipe 2 Trench

    We have dug out the trench for the second sewer pipe today. We dug most of it by hand as it was shallow and easy to dig. We stopped when we realized we needed a 15 degree bend in the pipe and we only had 11.5 and 22 degree bends in stock. Stephen went and purchased the bends while Shaun went out to see a client.

    Second-pipe-run-dug-out

    Second-pipe-run-dug-out

  • Second Sewage Line Started

    Today, we started the more difficult sewage pipeline, the one that is
    running across our driveway. It was tight to get the mini-digger in pass the
    garden shed, the air “earth tube” chamber module, the flower bed.

    We started by scraping the road surface off (recycled tarmac chippings)
    along the line required, and then dug down 1200mm (4 feet) for the required
    depth for the pipe to run along, downhill towards the sewage processing
    unit.

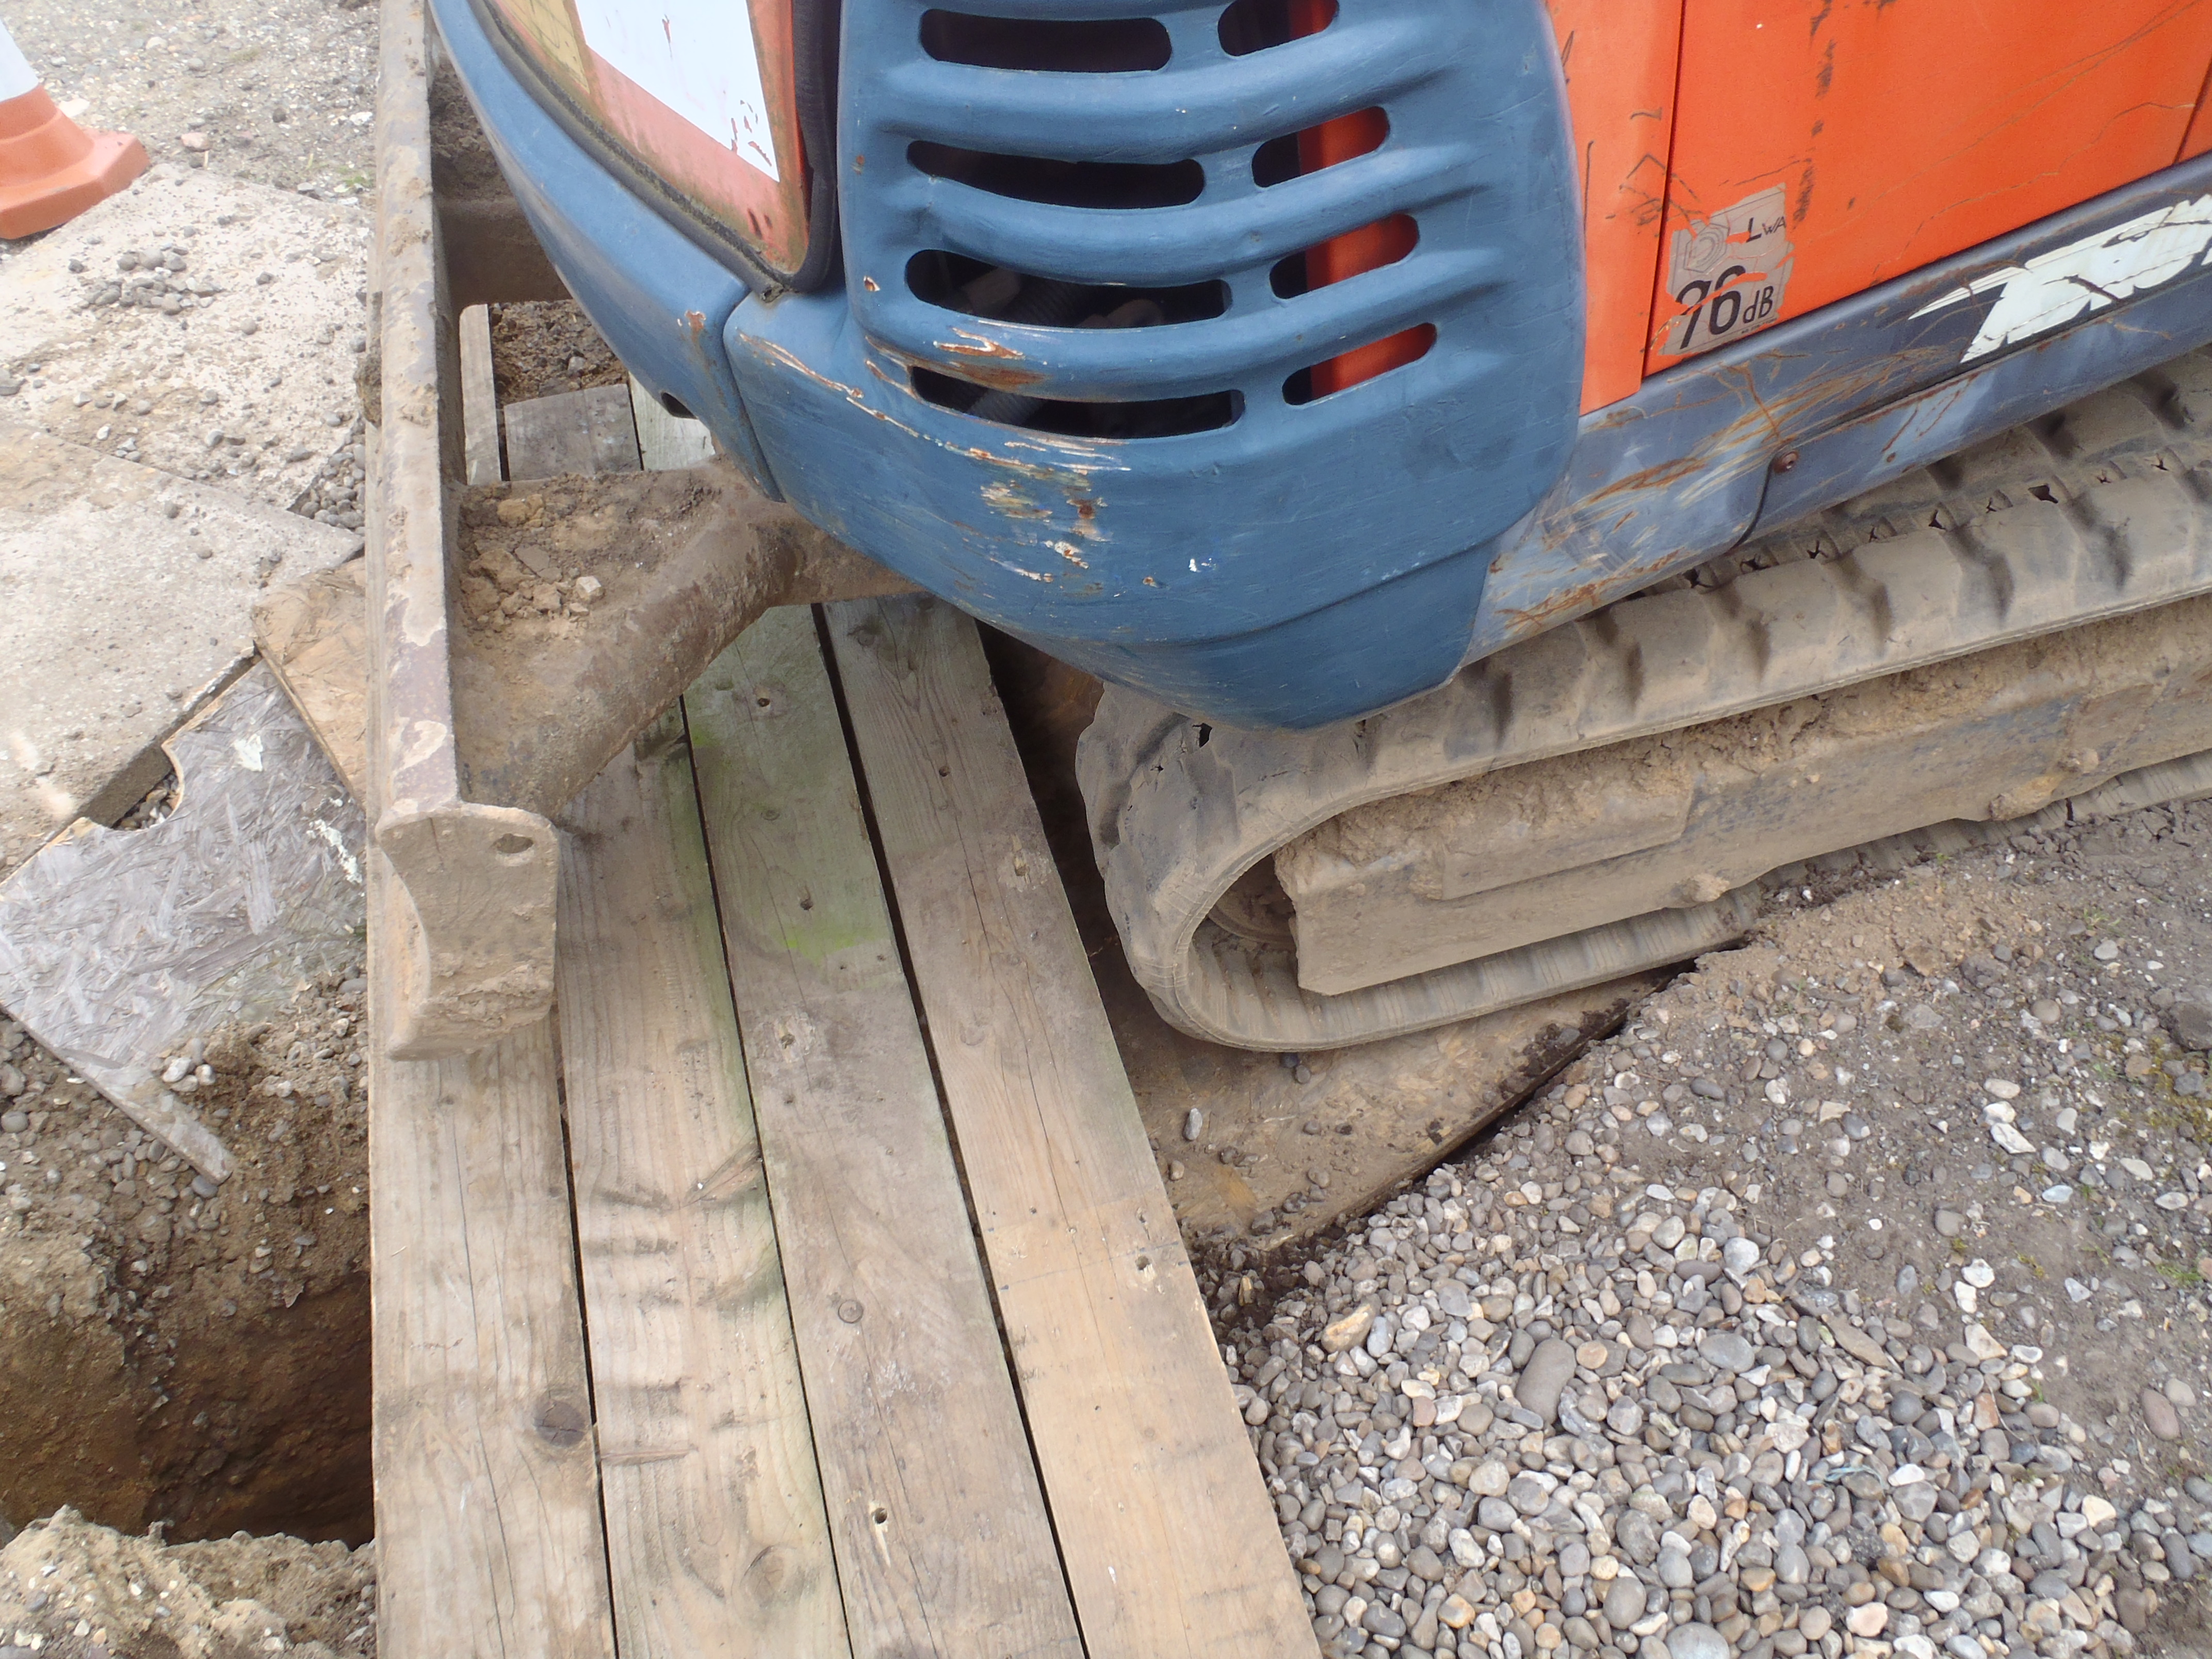
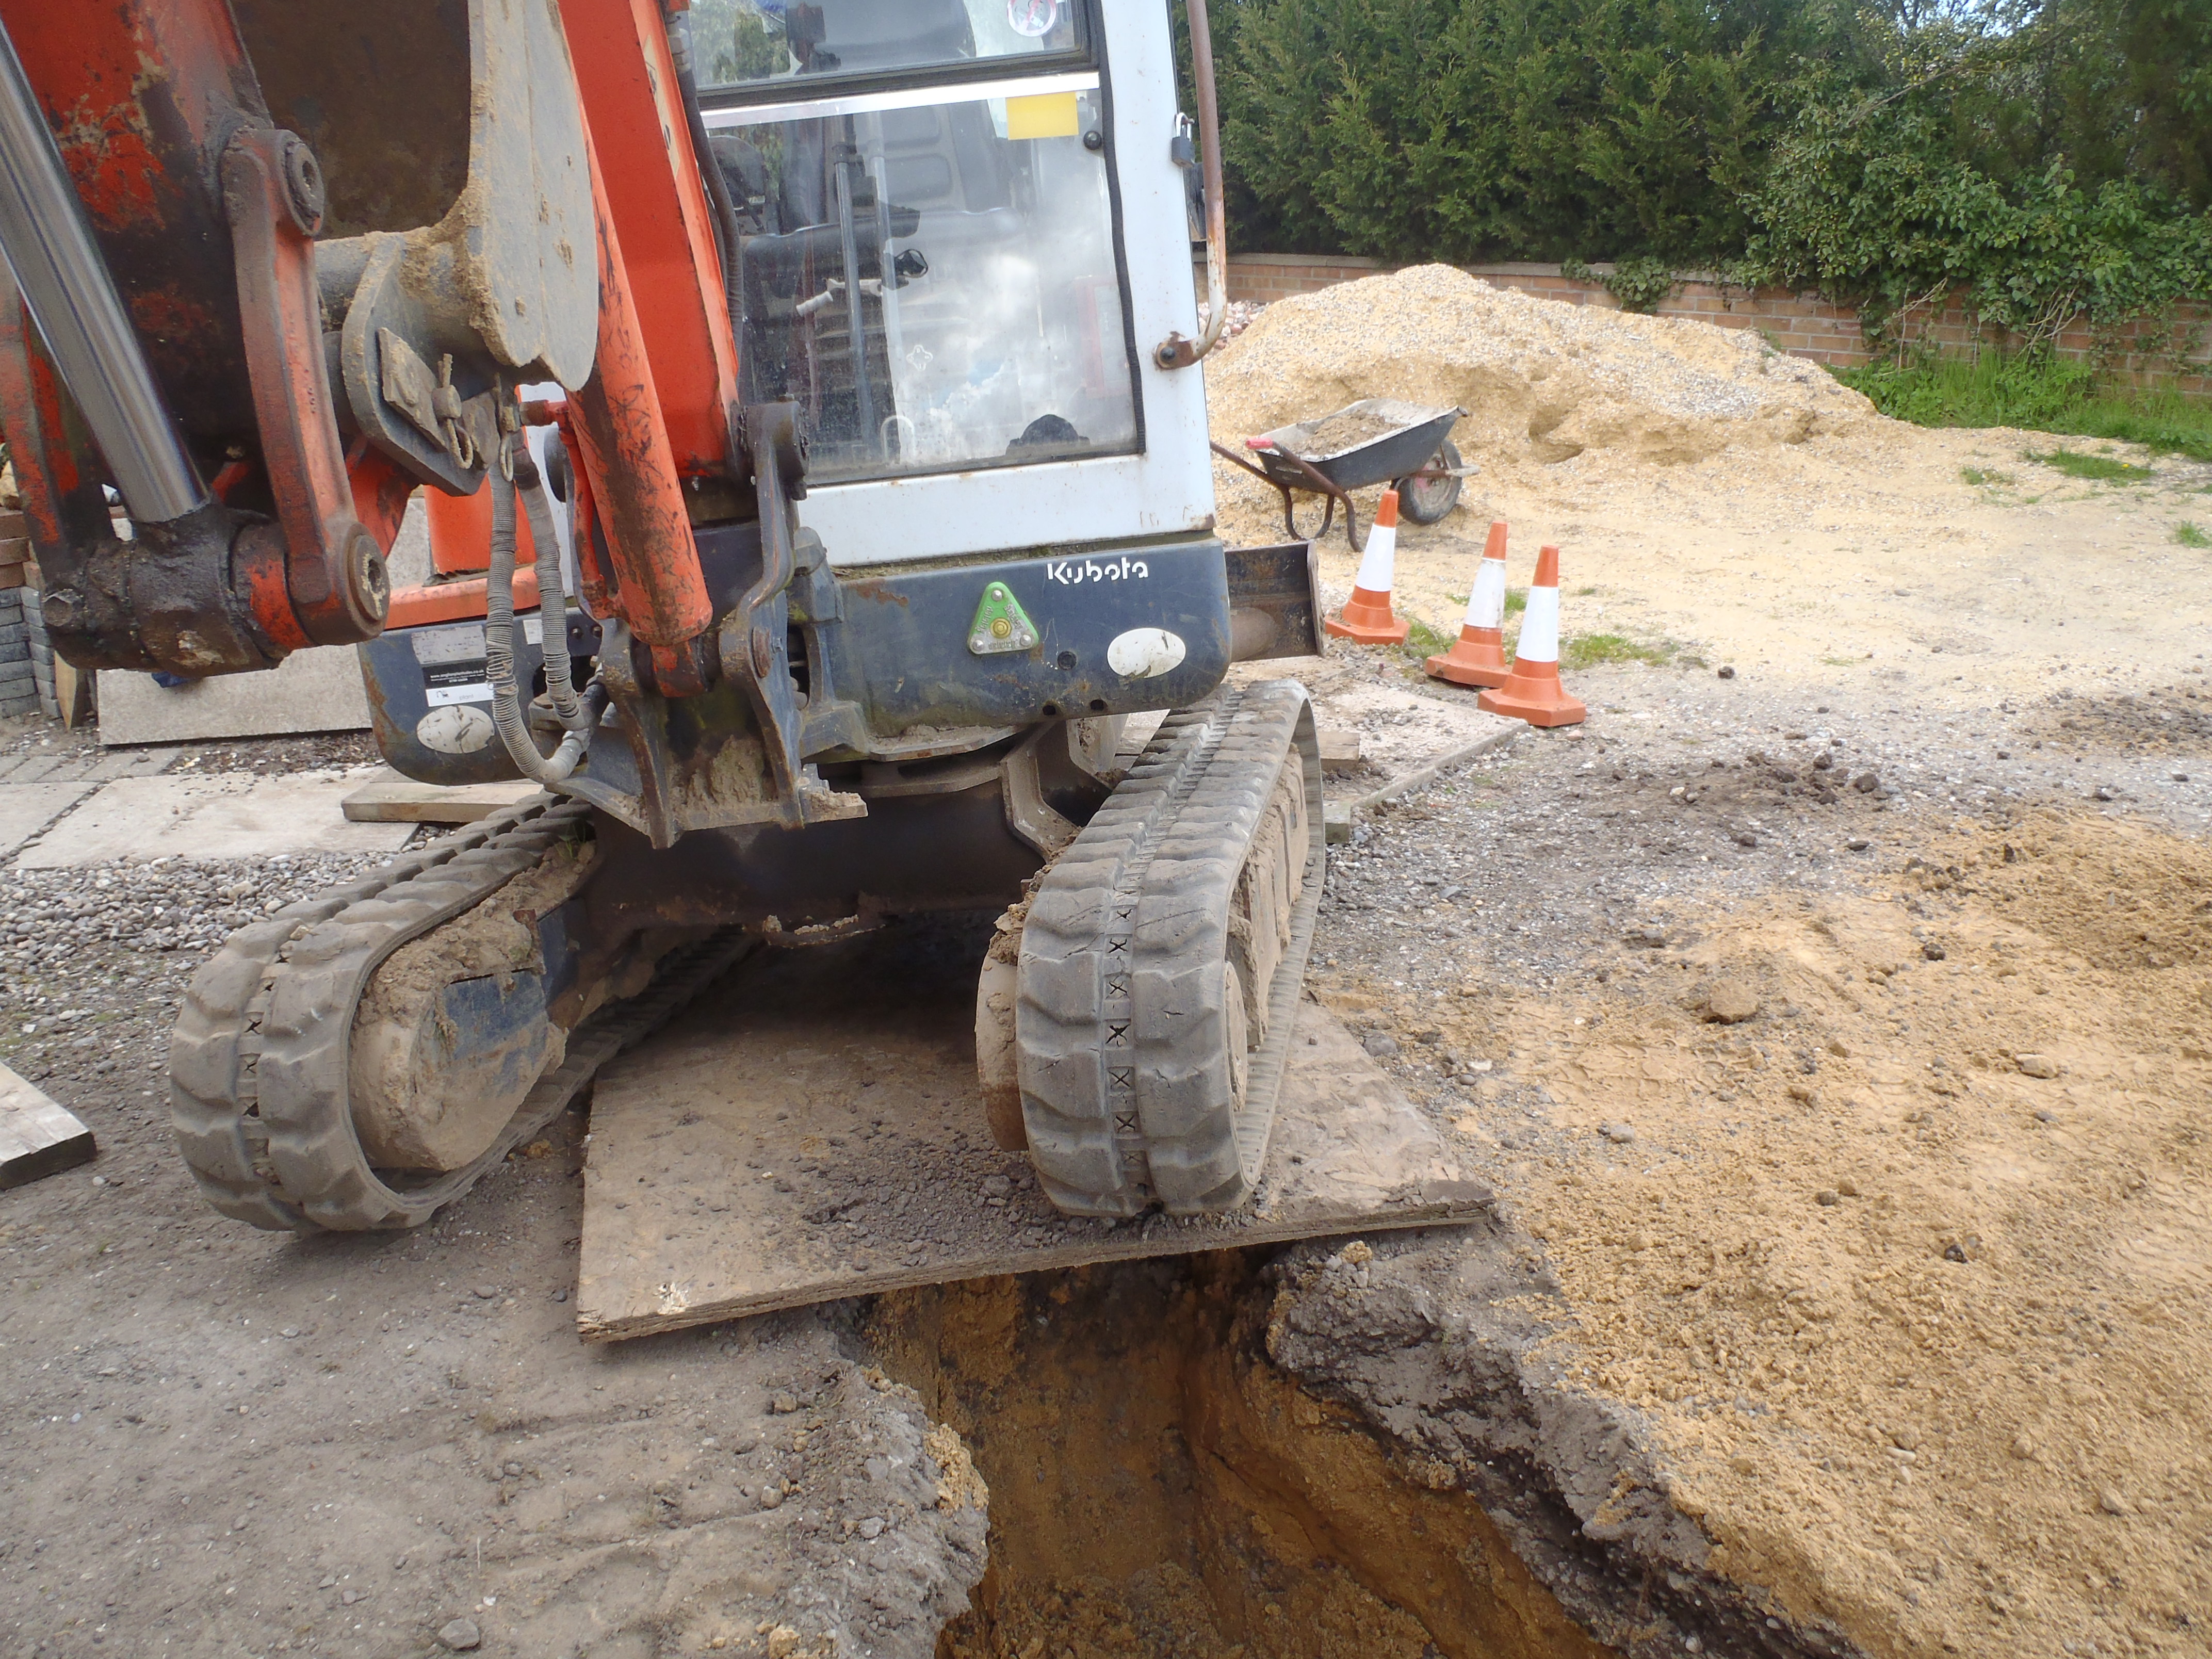
    We had a slight problem as the trench walls started collapsing. The sandy
    soil was too loose and didn’t stay up so we actually ended up having our
    mini-digger stranded at one end of the trench and when we tried to turn it
    to drive it out, it also moved the OSB sheet that was trying to provide some
    extra support and one of the tracks slipped slightly into the trench. We
    rescued the poor mini-digger by placing 2 by 6 inch timber planks across the
    trench and using the bucket arm to pressed down on solid ground to tilt the
    digger back up again and slide the timbers planks under the track. Then, we
    managed to drive it off and away from the “danger zone” – phew!

    Digger-nearly-falling-into-Trench-1

    Digger-nearly-falling-into-Trench-1

    Digger-nearly-falling-into-Trench-2

    Digger-nearly-falling-into-Trench-2


    We will have to finish off the trench by hand, the old fashioned way of
    digging! Oh well!!

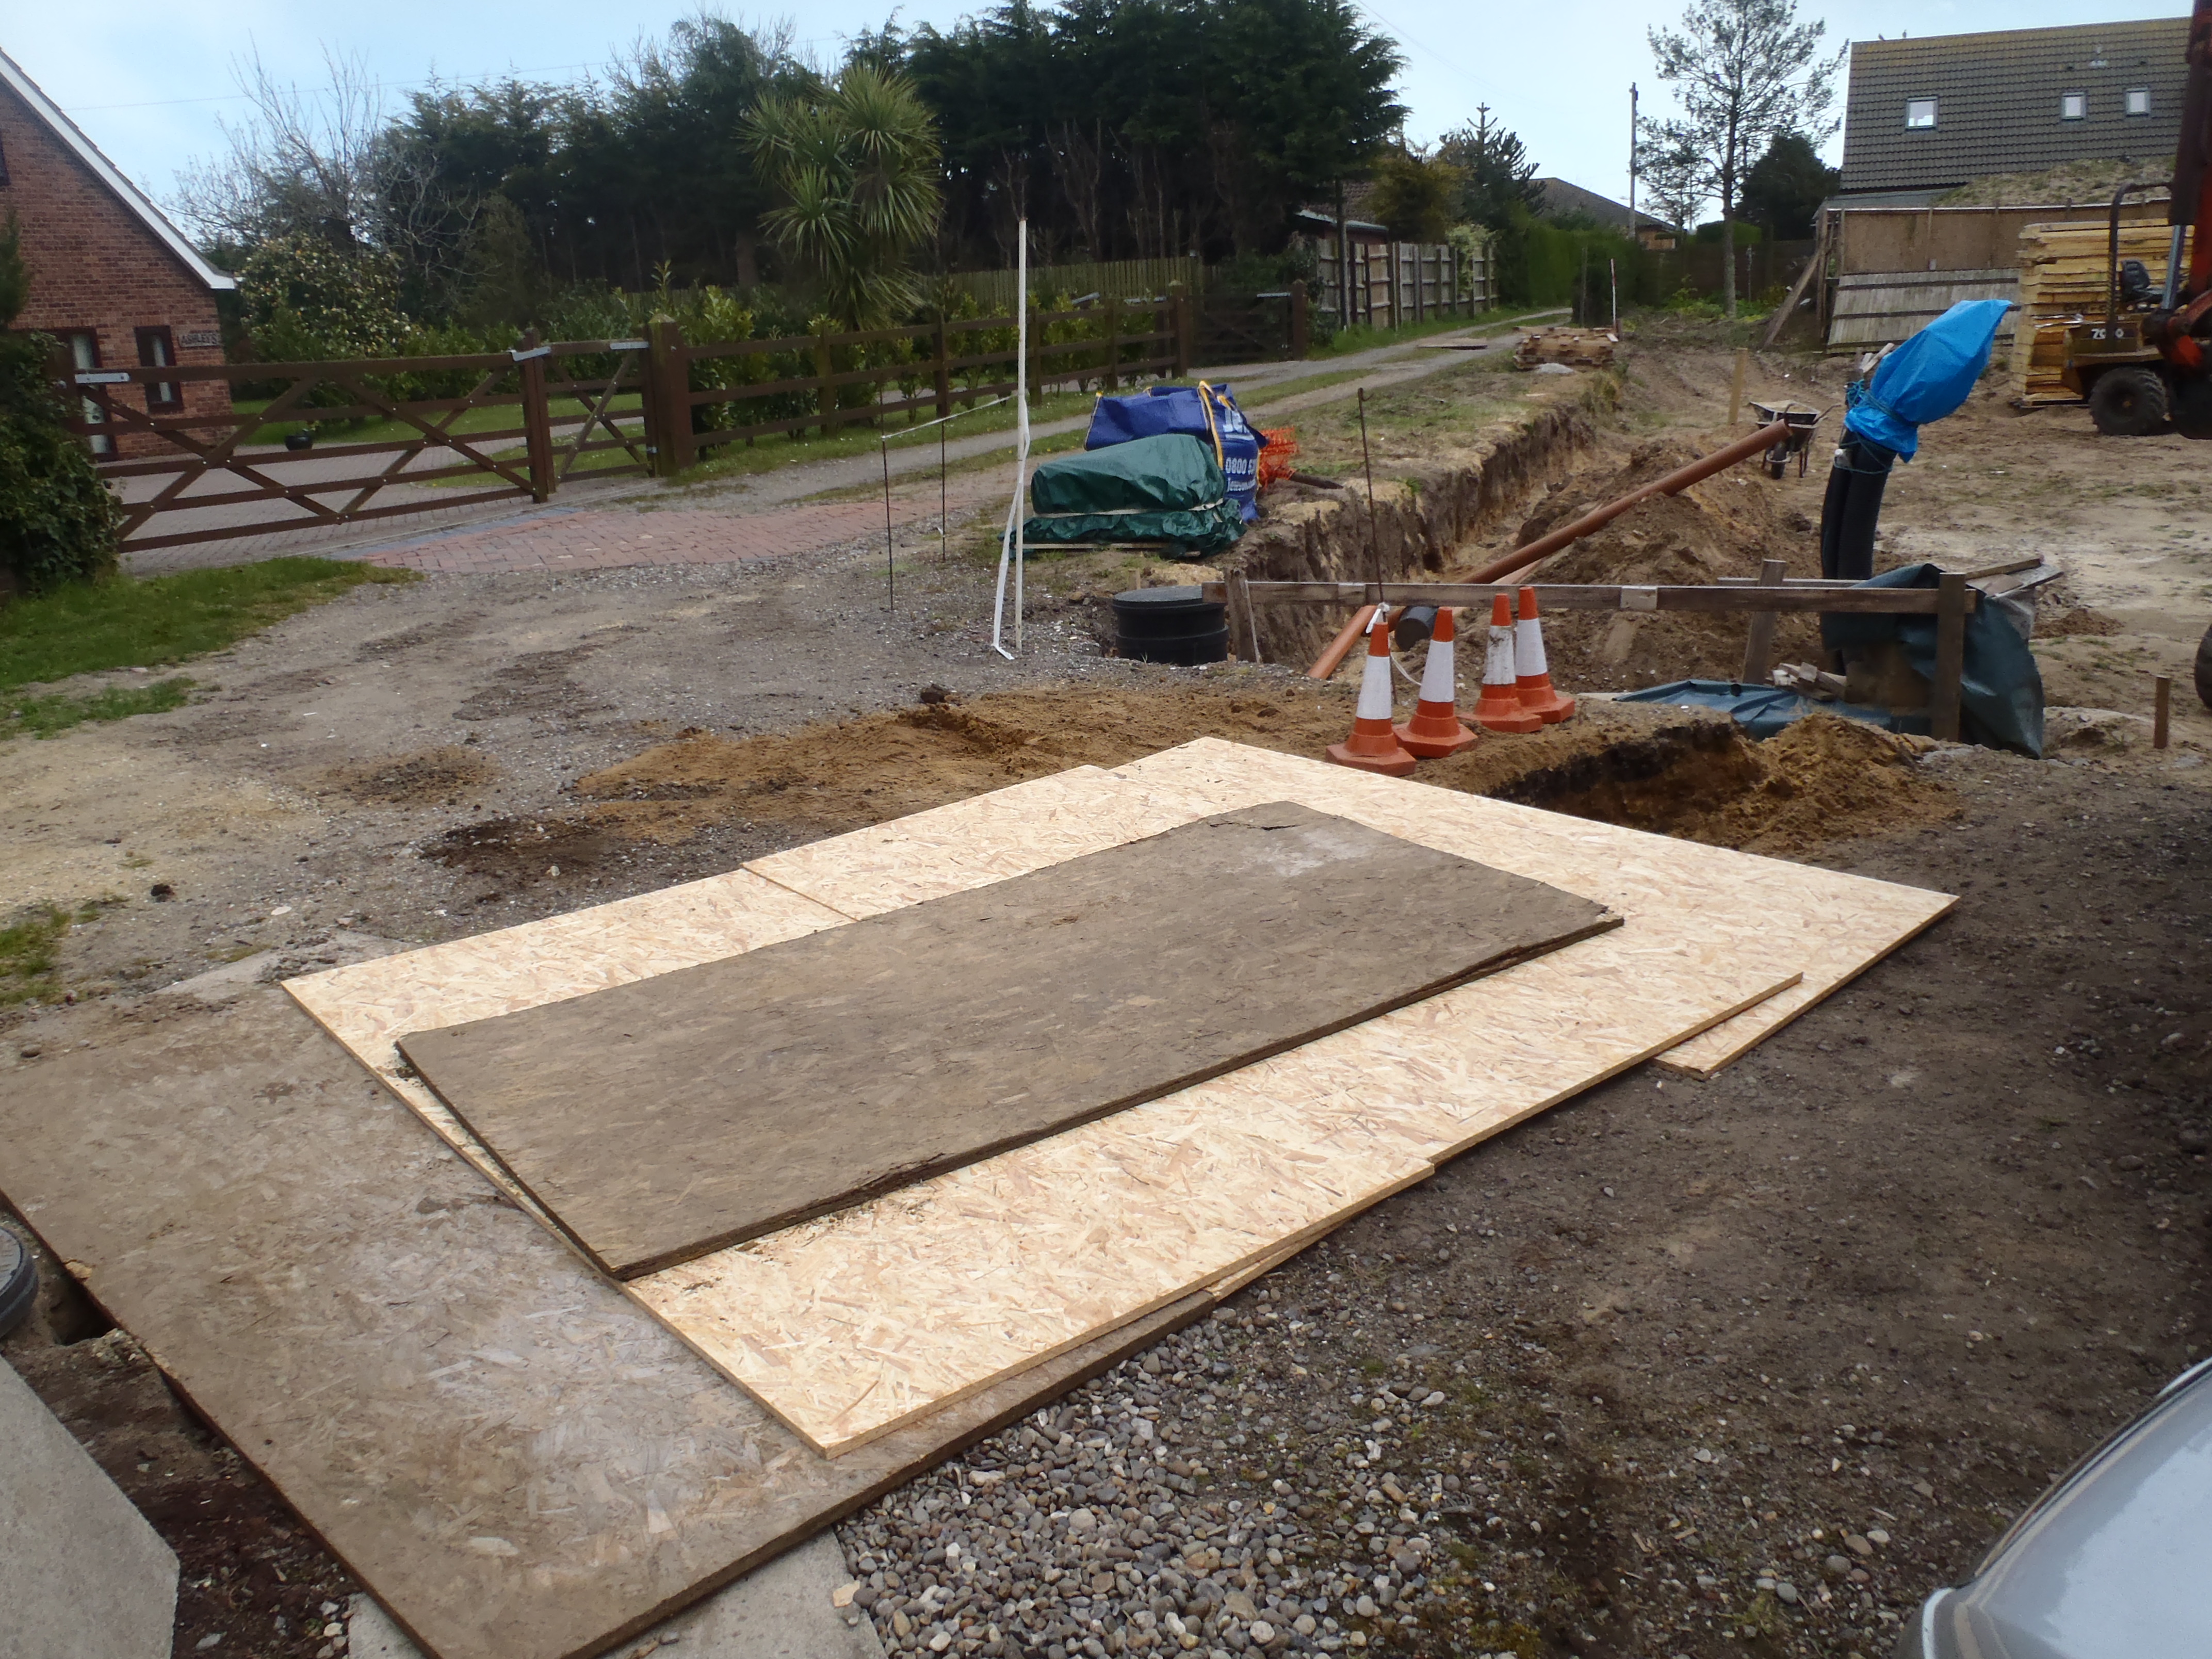
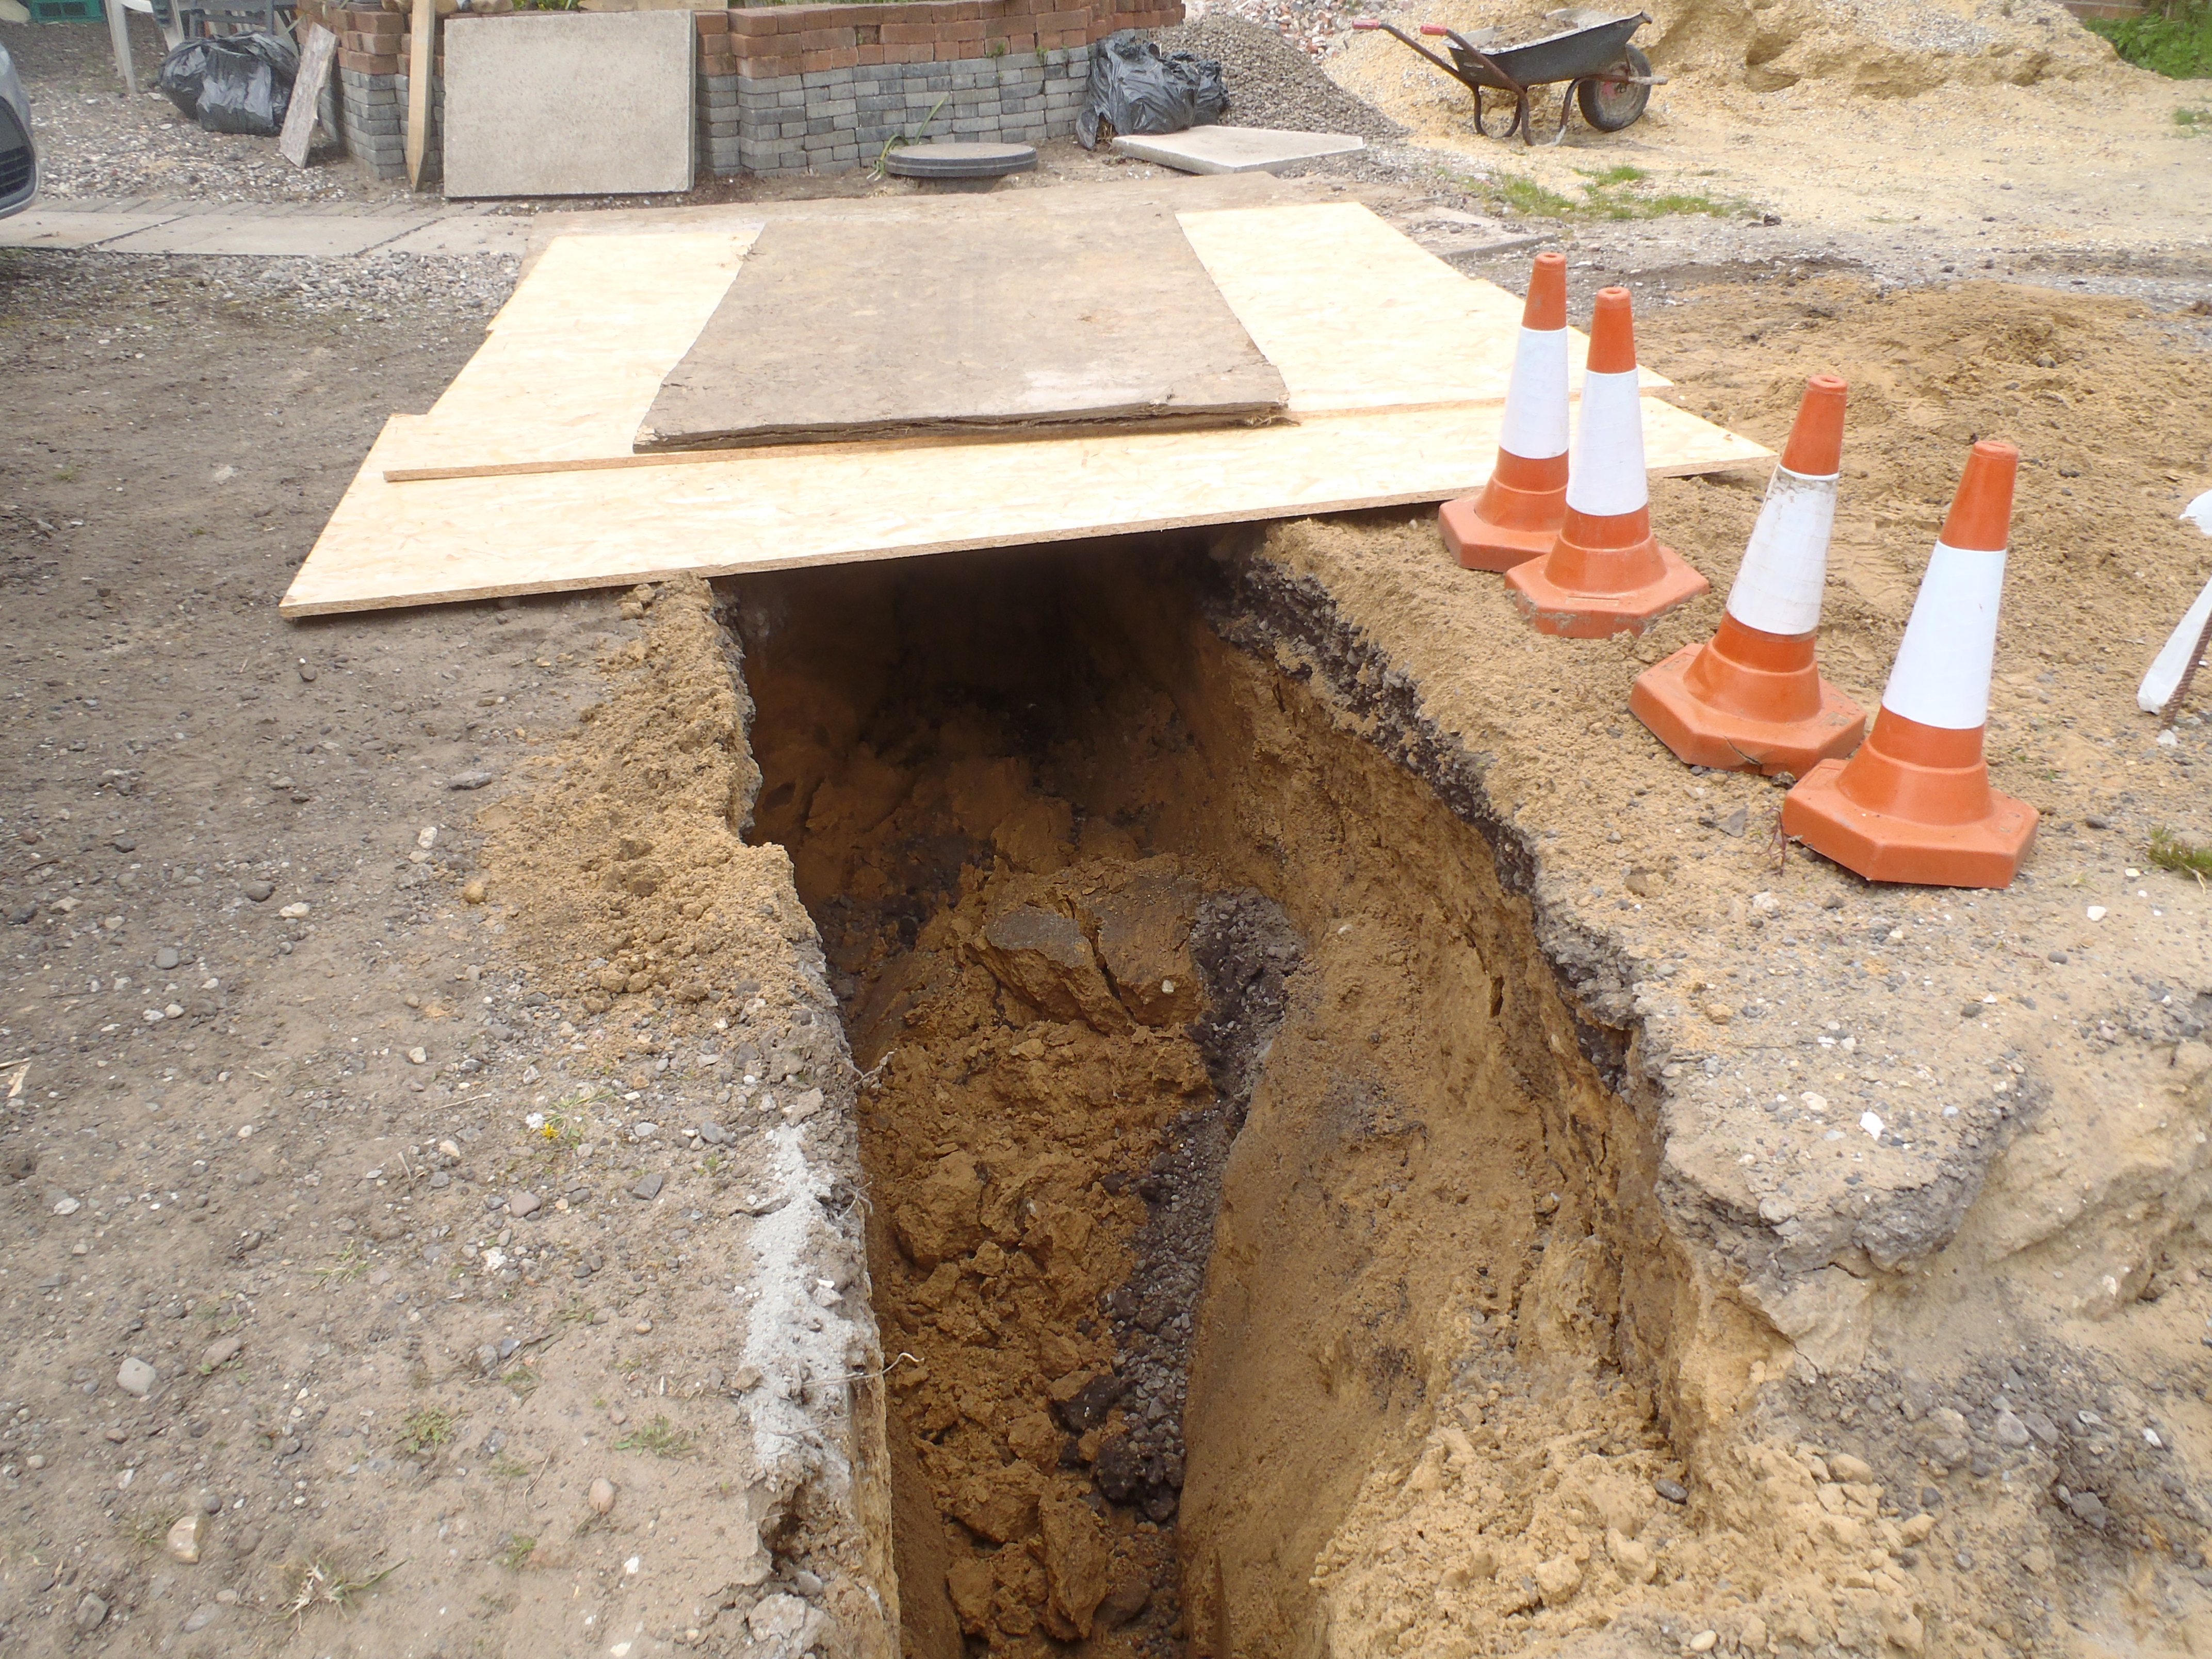
    The current three quarter done trench is now covered with three OSB boards,
    with another 2 on top plus a third layer on top of that too. this is to
    allow us to get our car out! Fortunately, the car went over the “bridge”
    quite happily – thank goodness!!

    Driveway-Trench-covered-up

    Driveway-Trench-covered-up

    Driveway-Trench

    Driveway-Trench


  • First Pipe Laid!

    Today, we did the 1st of three sewage pipes that needs to be laid in and
    under the house, before we put in the foundations and floor slab.

    Pipe-3-Laid

    Pipe-3-Laid

    This was a short one, from the kitchen and running more or less along the
    front of the house nearest to the Loke and terminating into the man hole
    junction just before the drive way.

    It has to be buried, starting at the kitchen end, 750mm below ground, and
    falling away downhill at the normal “specs” of 1 in 40 slope to arrive at
    the man hole junction point at 950mm deep. That was the easier one to do!
    Tomorrow, weather permitting, will be the one that has to go across the
    drive way and has two bends in it too!

  • Double Check Calculations of Sewage pipe Positions

    This afternoon, we spent the time going over the drawings, calculating the
    exact positions of the sewage pipes coming out the ground (and through the
    concrete slab). We also discovered that the swimming lane is pretty accurate
    and parallel to the house. This and the garage as the 2nd reference point,
    will form the basic alignment for the whole house.

    We created a spreadsheet of all the distances from each of the batter boards markers to all “interest” points on each of the three sewage pipes we have got to
    run under the house.

    We now have these numbers, we can start marking and cutting the narrow
    trench lines for the plastic pipes to go in.

  • Sewage pipeline approved

    Our Building Control Inspector has arrived! He is looking.. .. he is looking .. .. at our sewage pipeline .. .. he comments that the gravel stones looks larger than he is expecting but we explained that we ordered 10mm stones and that is what we got! We didn’t realise that it might be anything else! He is happy with that anyway as long as we pack down good and proper! His next visit will be to see our foundation formwork and state of the ground just prior to the arrival of the concrete!

    So we passed! Again ! Phew !

    I’m off to fill in the trench with a merry tune !

  • Conduit for Air supply

    We laid in the sewage pipeline trench an additional conduit, 50mm diameter empty, to take the rubber hose air supply to the sewage treatment unit when we move the air pump into the garage after we have built it! We nearly forgot to put the conduit in as we said we would a couple of months ago!! Glad we had wait for our Building Inspector to come and the delay allowed us to remember!!

  • Pipeline laid!

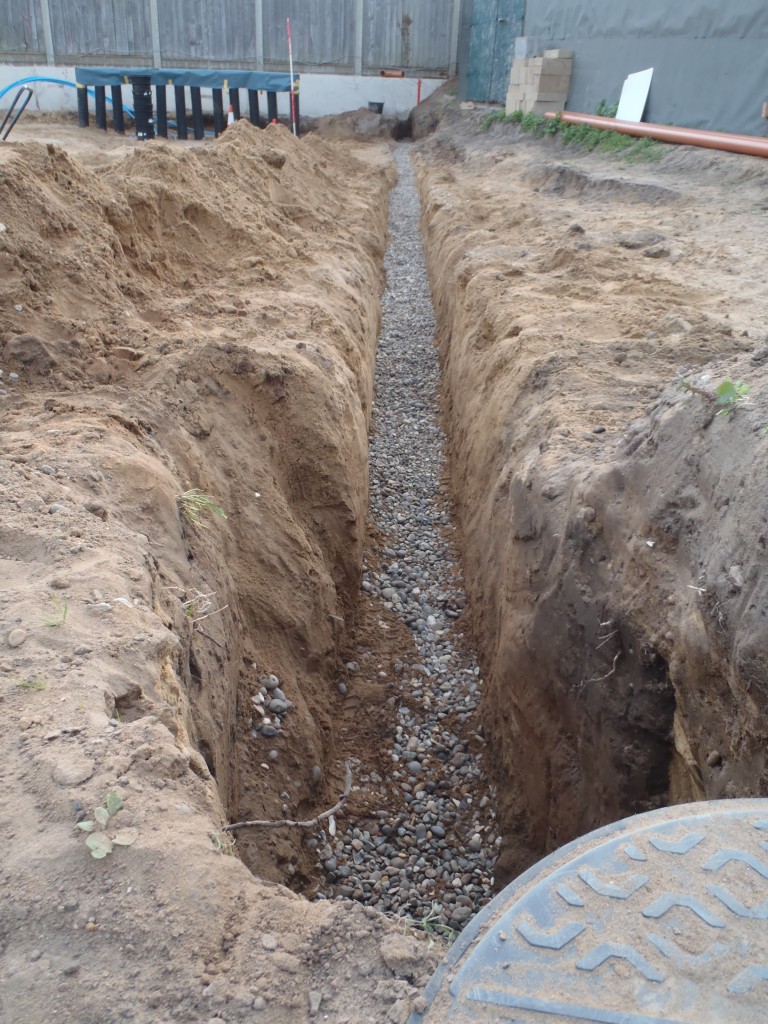
    The sewage pipeline from the garage to the manhole connection point just next to the sewage treatment unit is now laid and gravel placed around it to bed it in. We await for the building control inspector to come and err.. inspect! He should be back from his hols on Monday.

    Sewage pipe in trench bedded with gravel

    Sewage pipe in trench bedded with gravel

    While we wait, we will look at the utility trench on the left side of the garage and check the list of conduits and pipes and make sure we have everything we need!

  • Garage sewage pipe trench ready

    Marked out the position of the garage on the mass wall. The thick black vertical lines are the outside measured positions of the walls and thinner lines defines the foundations. This gives us the position of the sewage connection for the garage so we could markout and dig the trench to place the sewage pipe.
    shows the gravel in the trench

    We await for our building inspector to approve it.

  • Concrete Production Resumes!

    The new capacitor arrived (rather late in the afternoon !) and installed it in the cement mixer and it’s go go go! Or at least it will be tomorrow! Sharp!