Author: Shaun

  • Kitchen Cooking Section painted

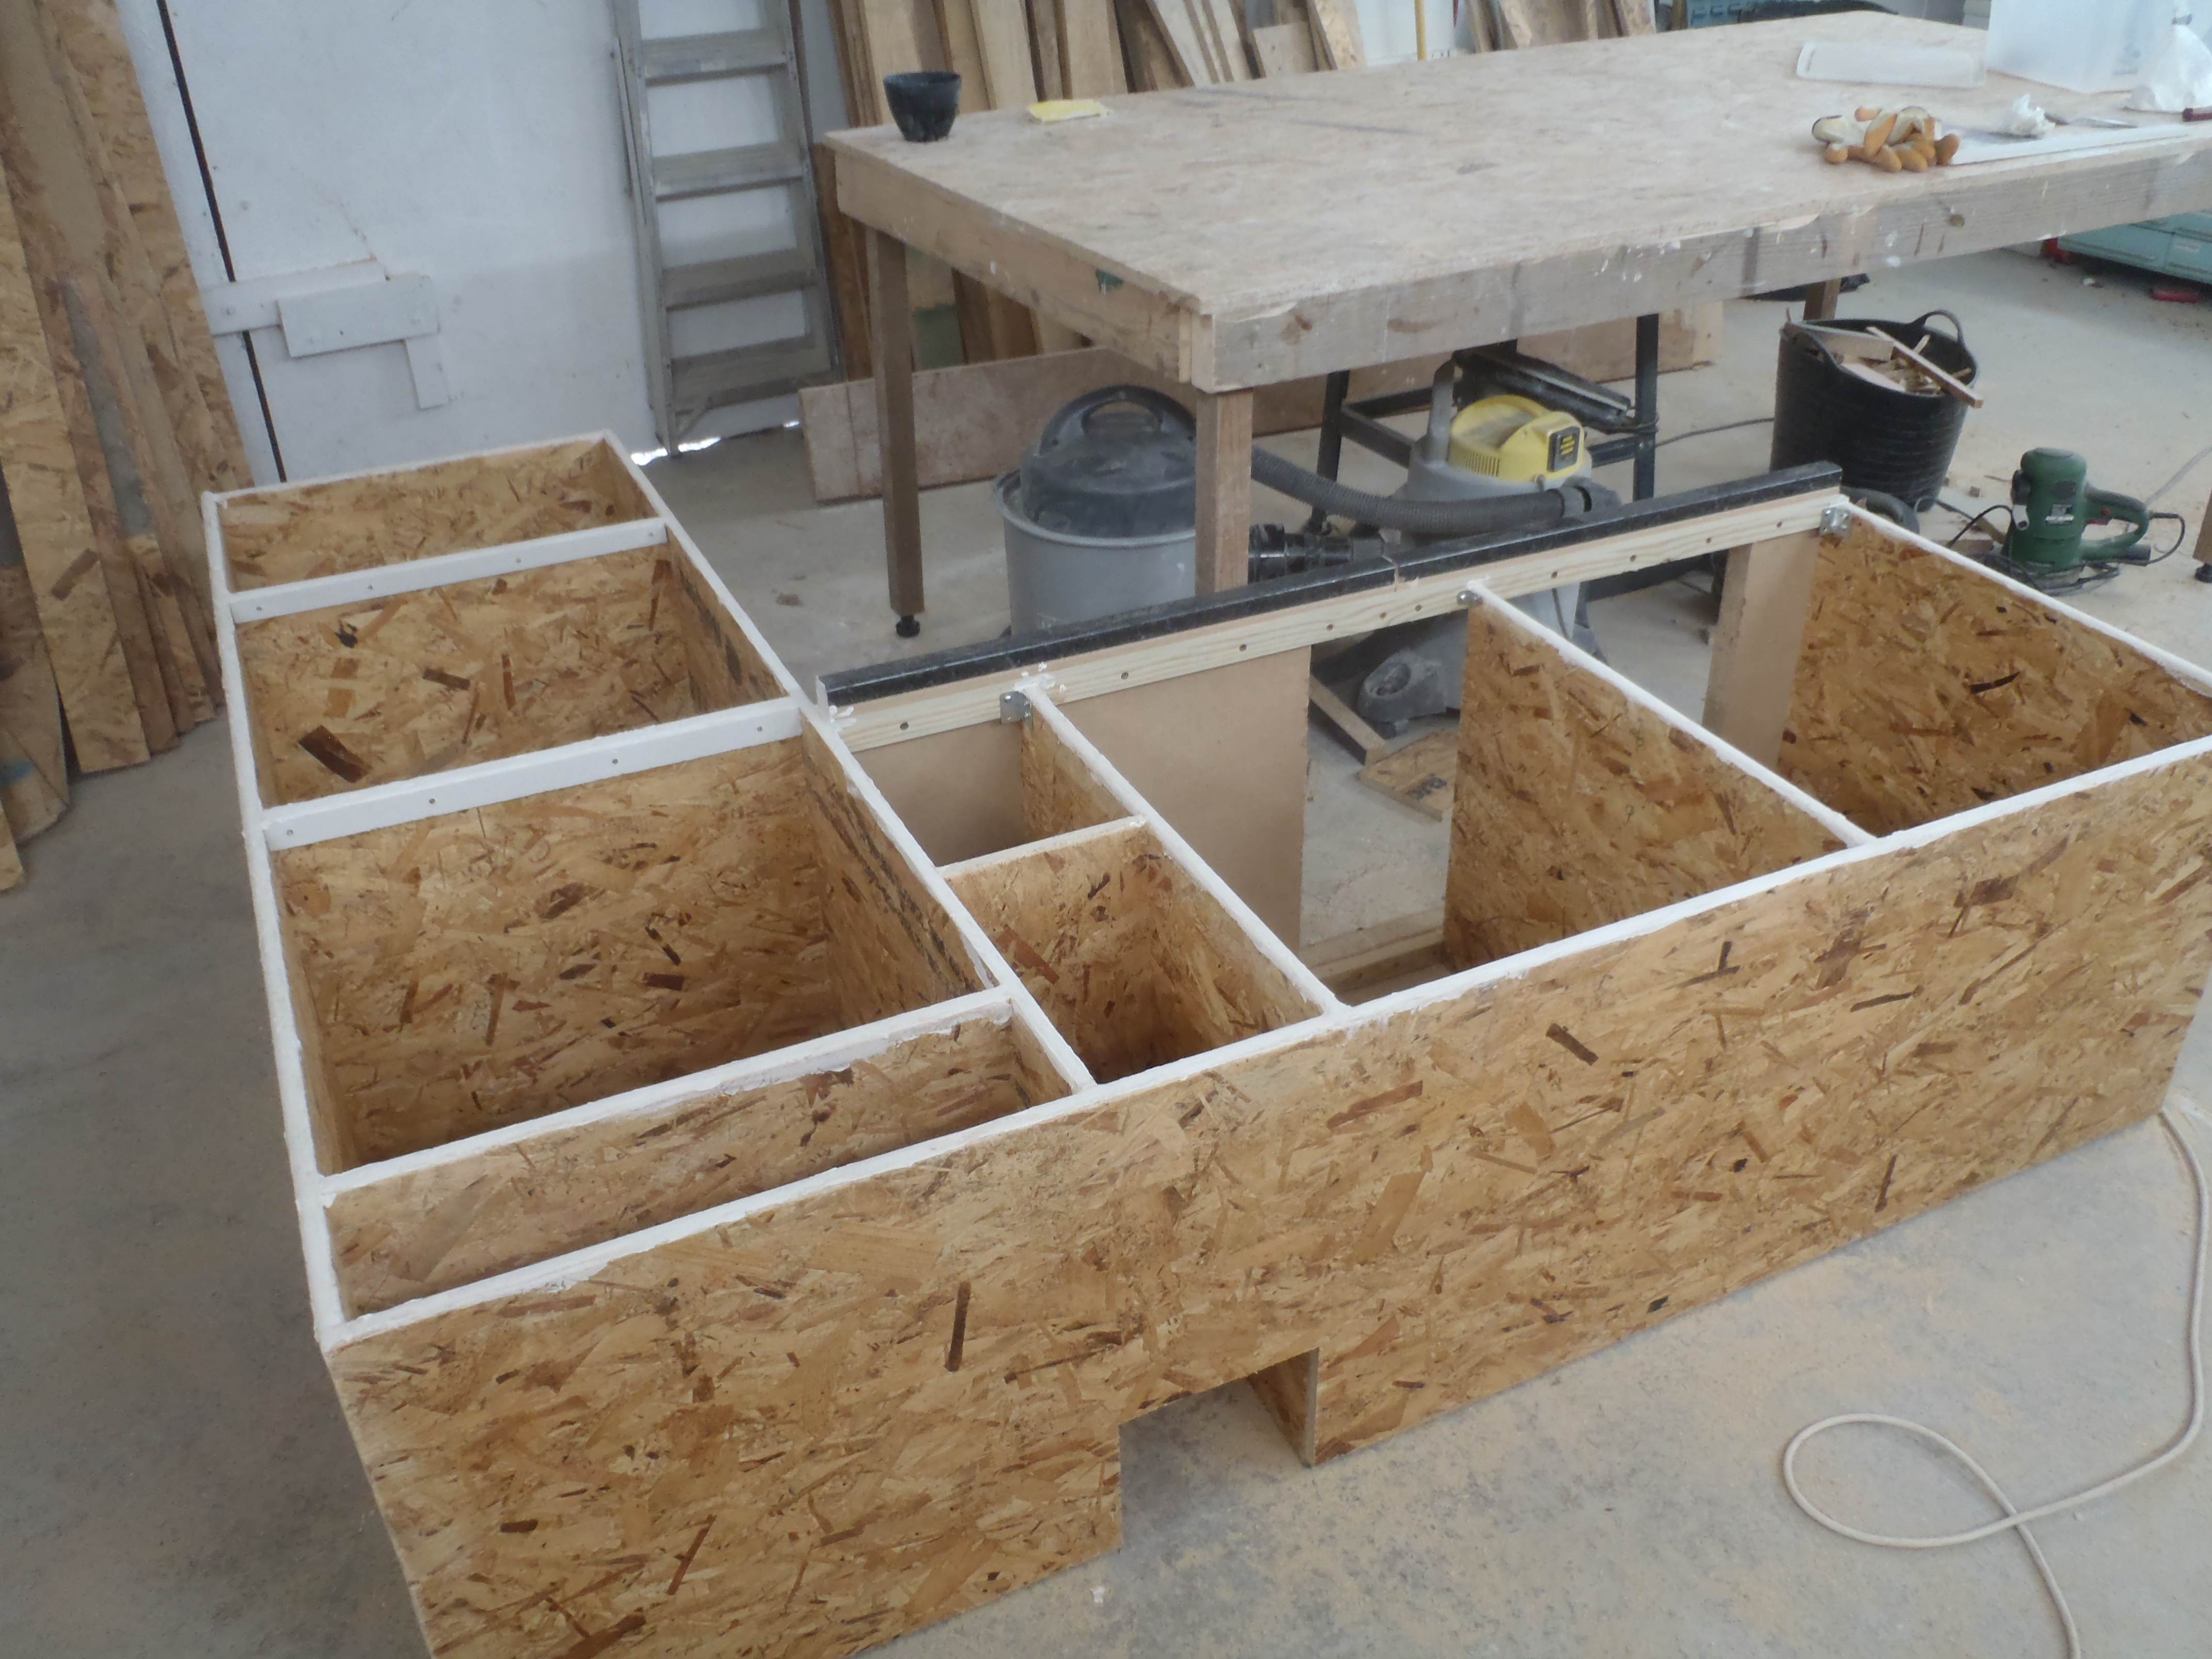
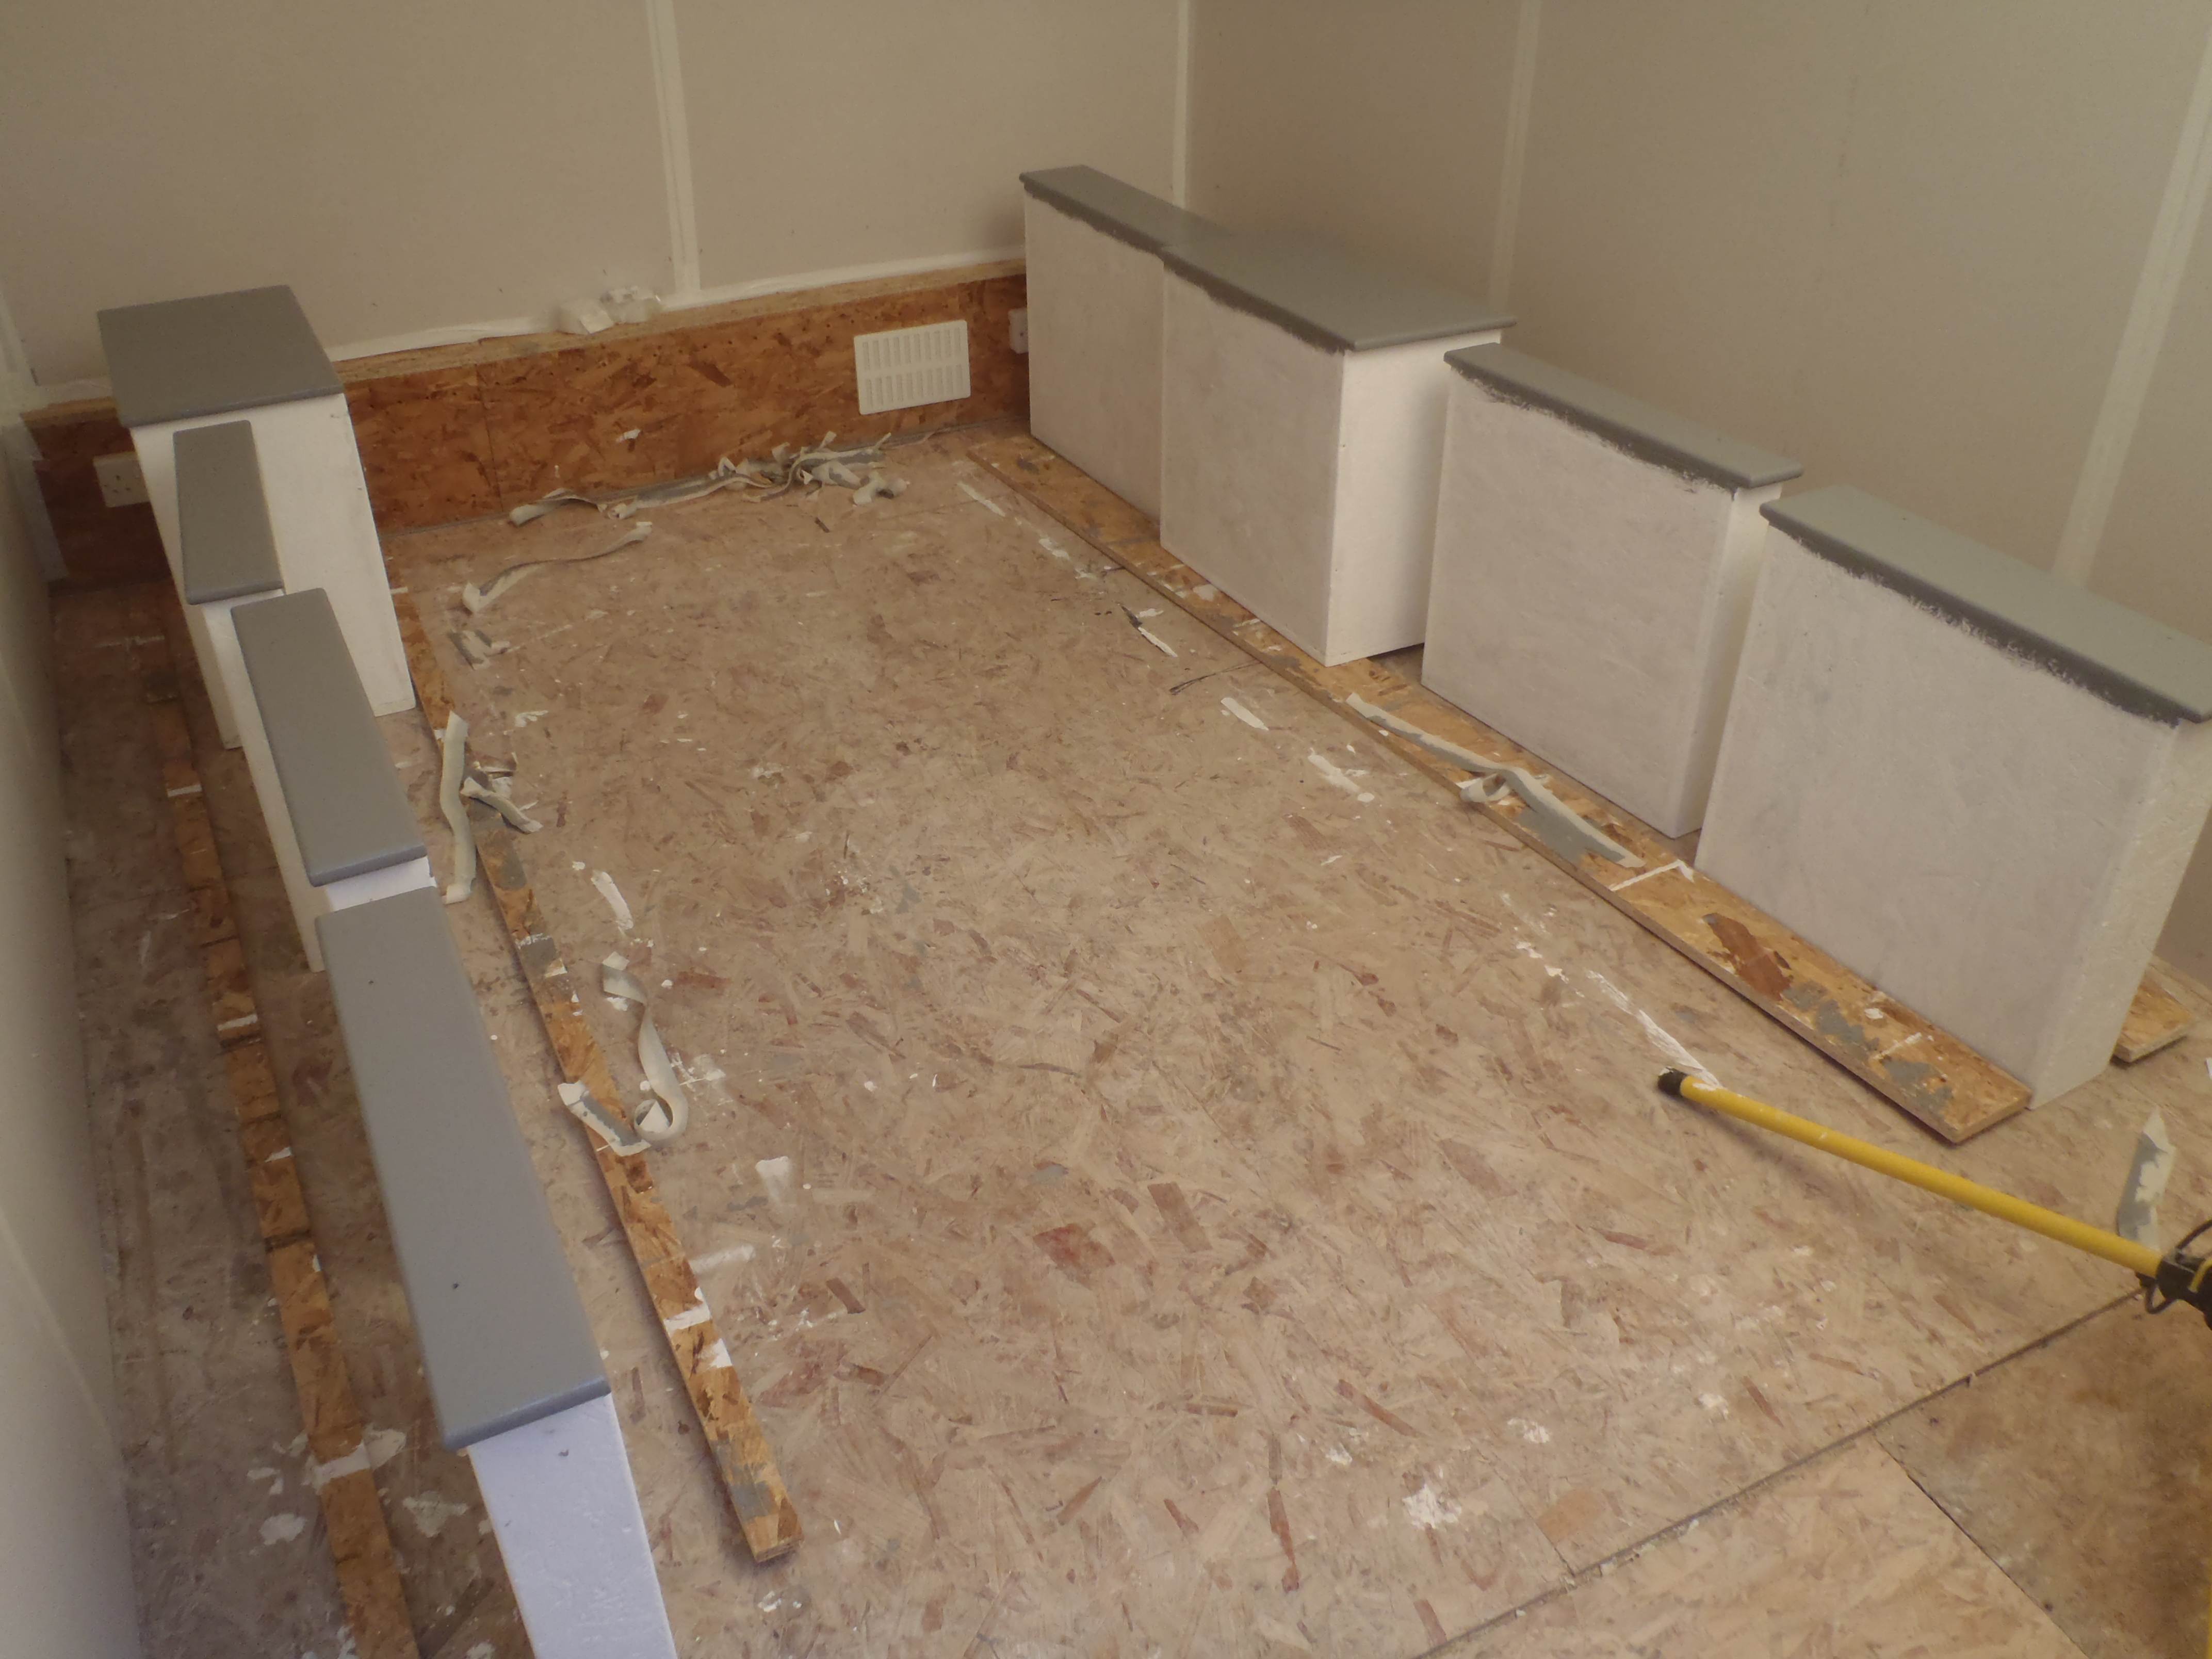
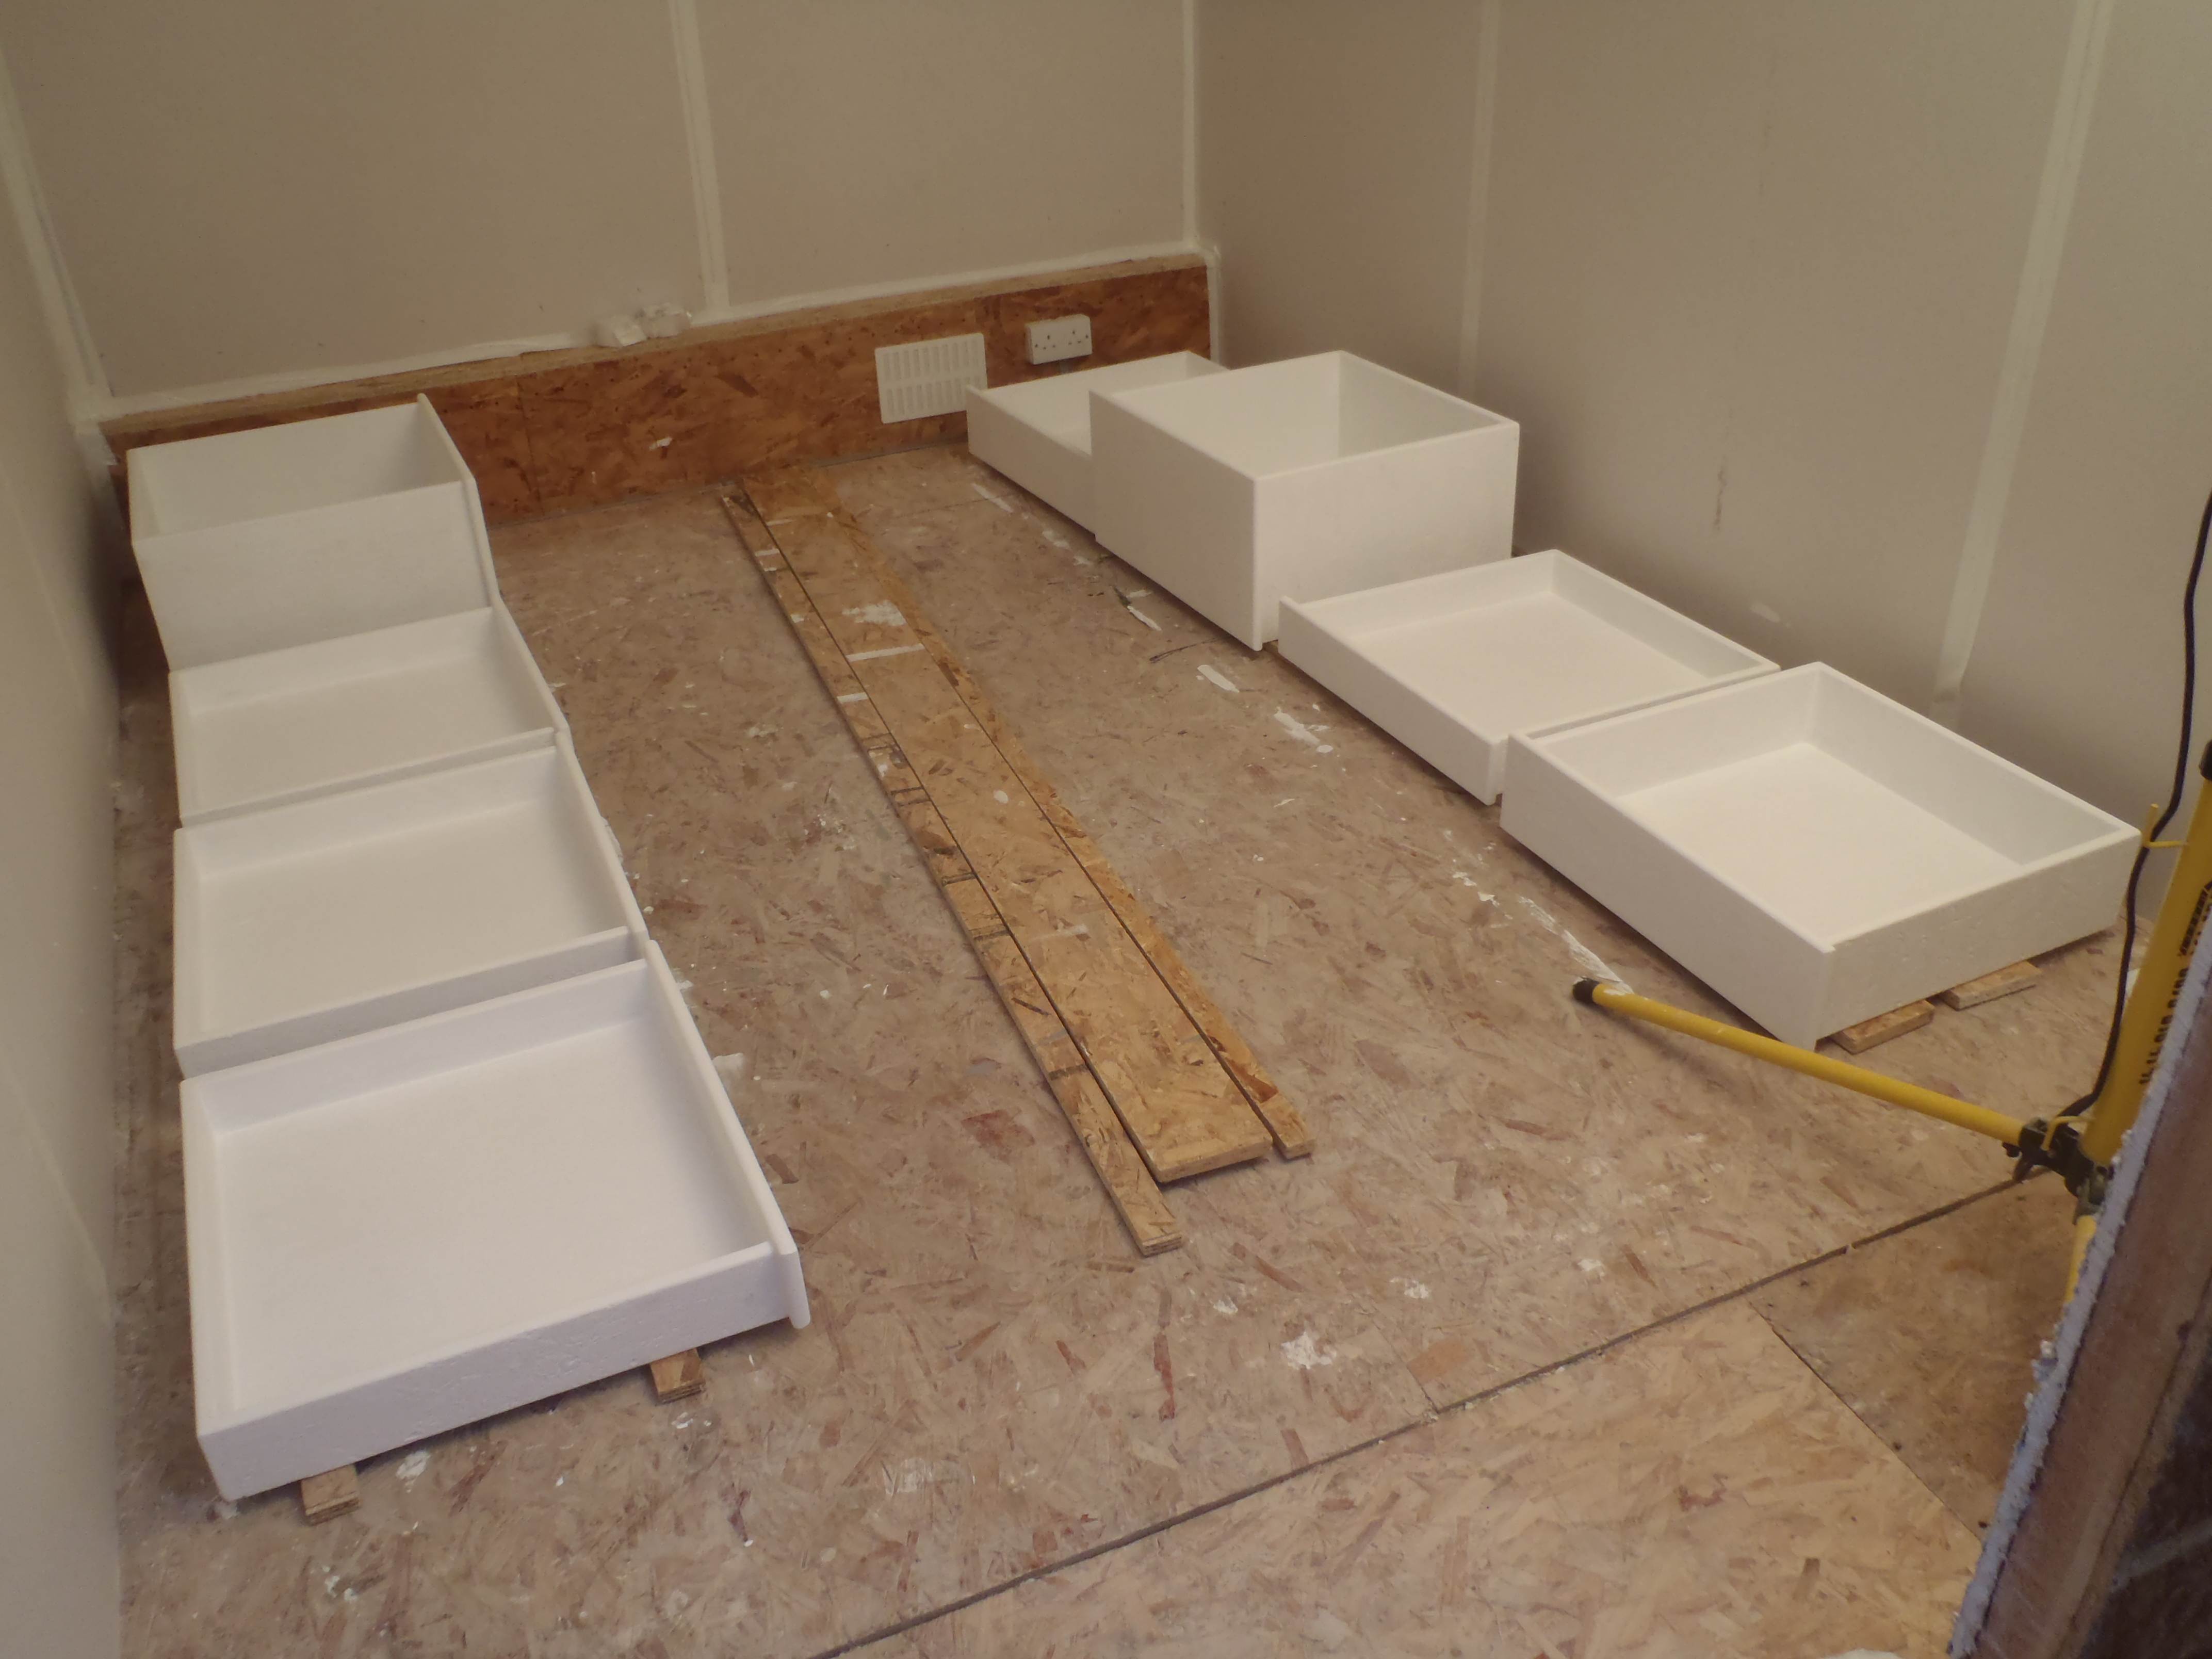
    The Cooking Section was rubbed down today and given several coats of paint (boring old white emulsion!) and one acrylic gloss coat! The drawers were fitted with their metal ball race double extension runners. But we discovered that our store of spare handles were the wrong size and the pre-drilled holes were set apart too far! We had eight spare in a box and we pulled one out to measure it which happens to be the bigger one in the box! It was only today that the discovery was made that all other seven handles were smaller!! We are surfing the web for more handles of the correct spacing and we found some!! Phew!

    Cooking unit - painted

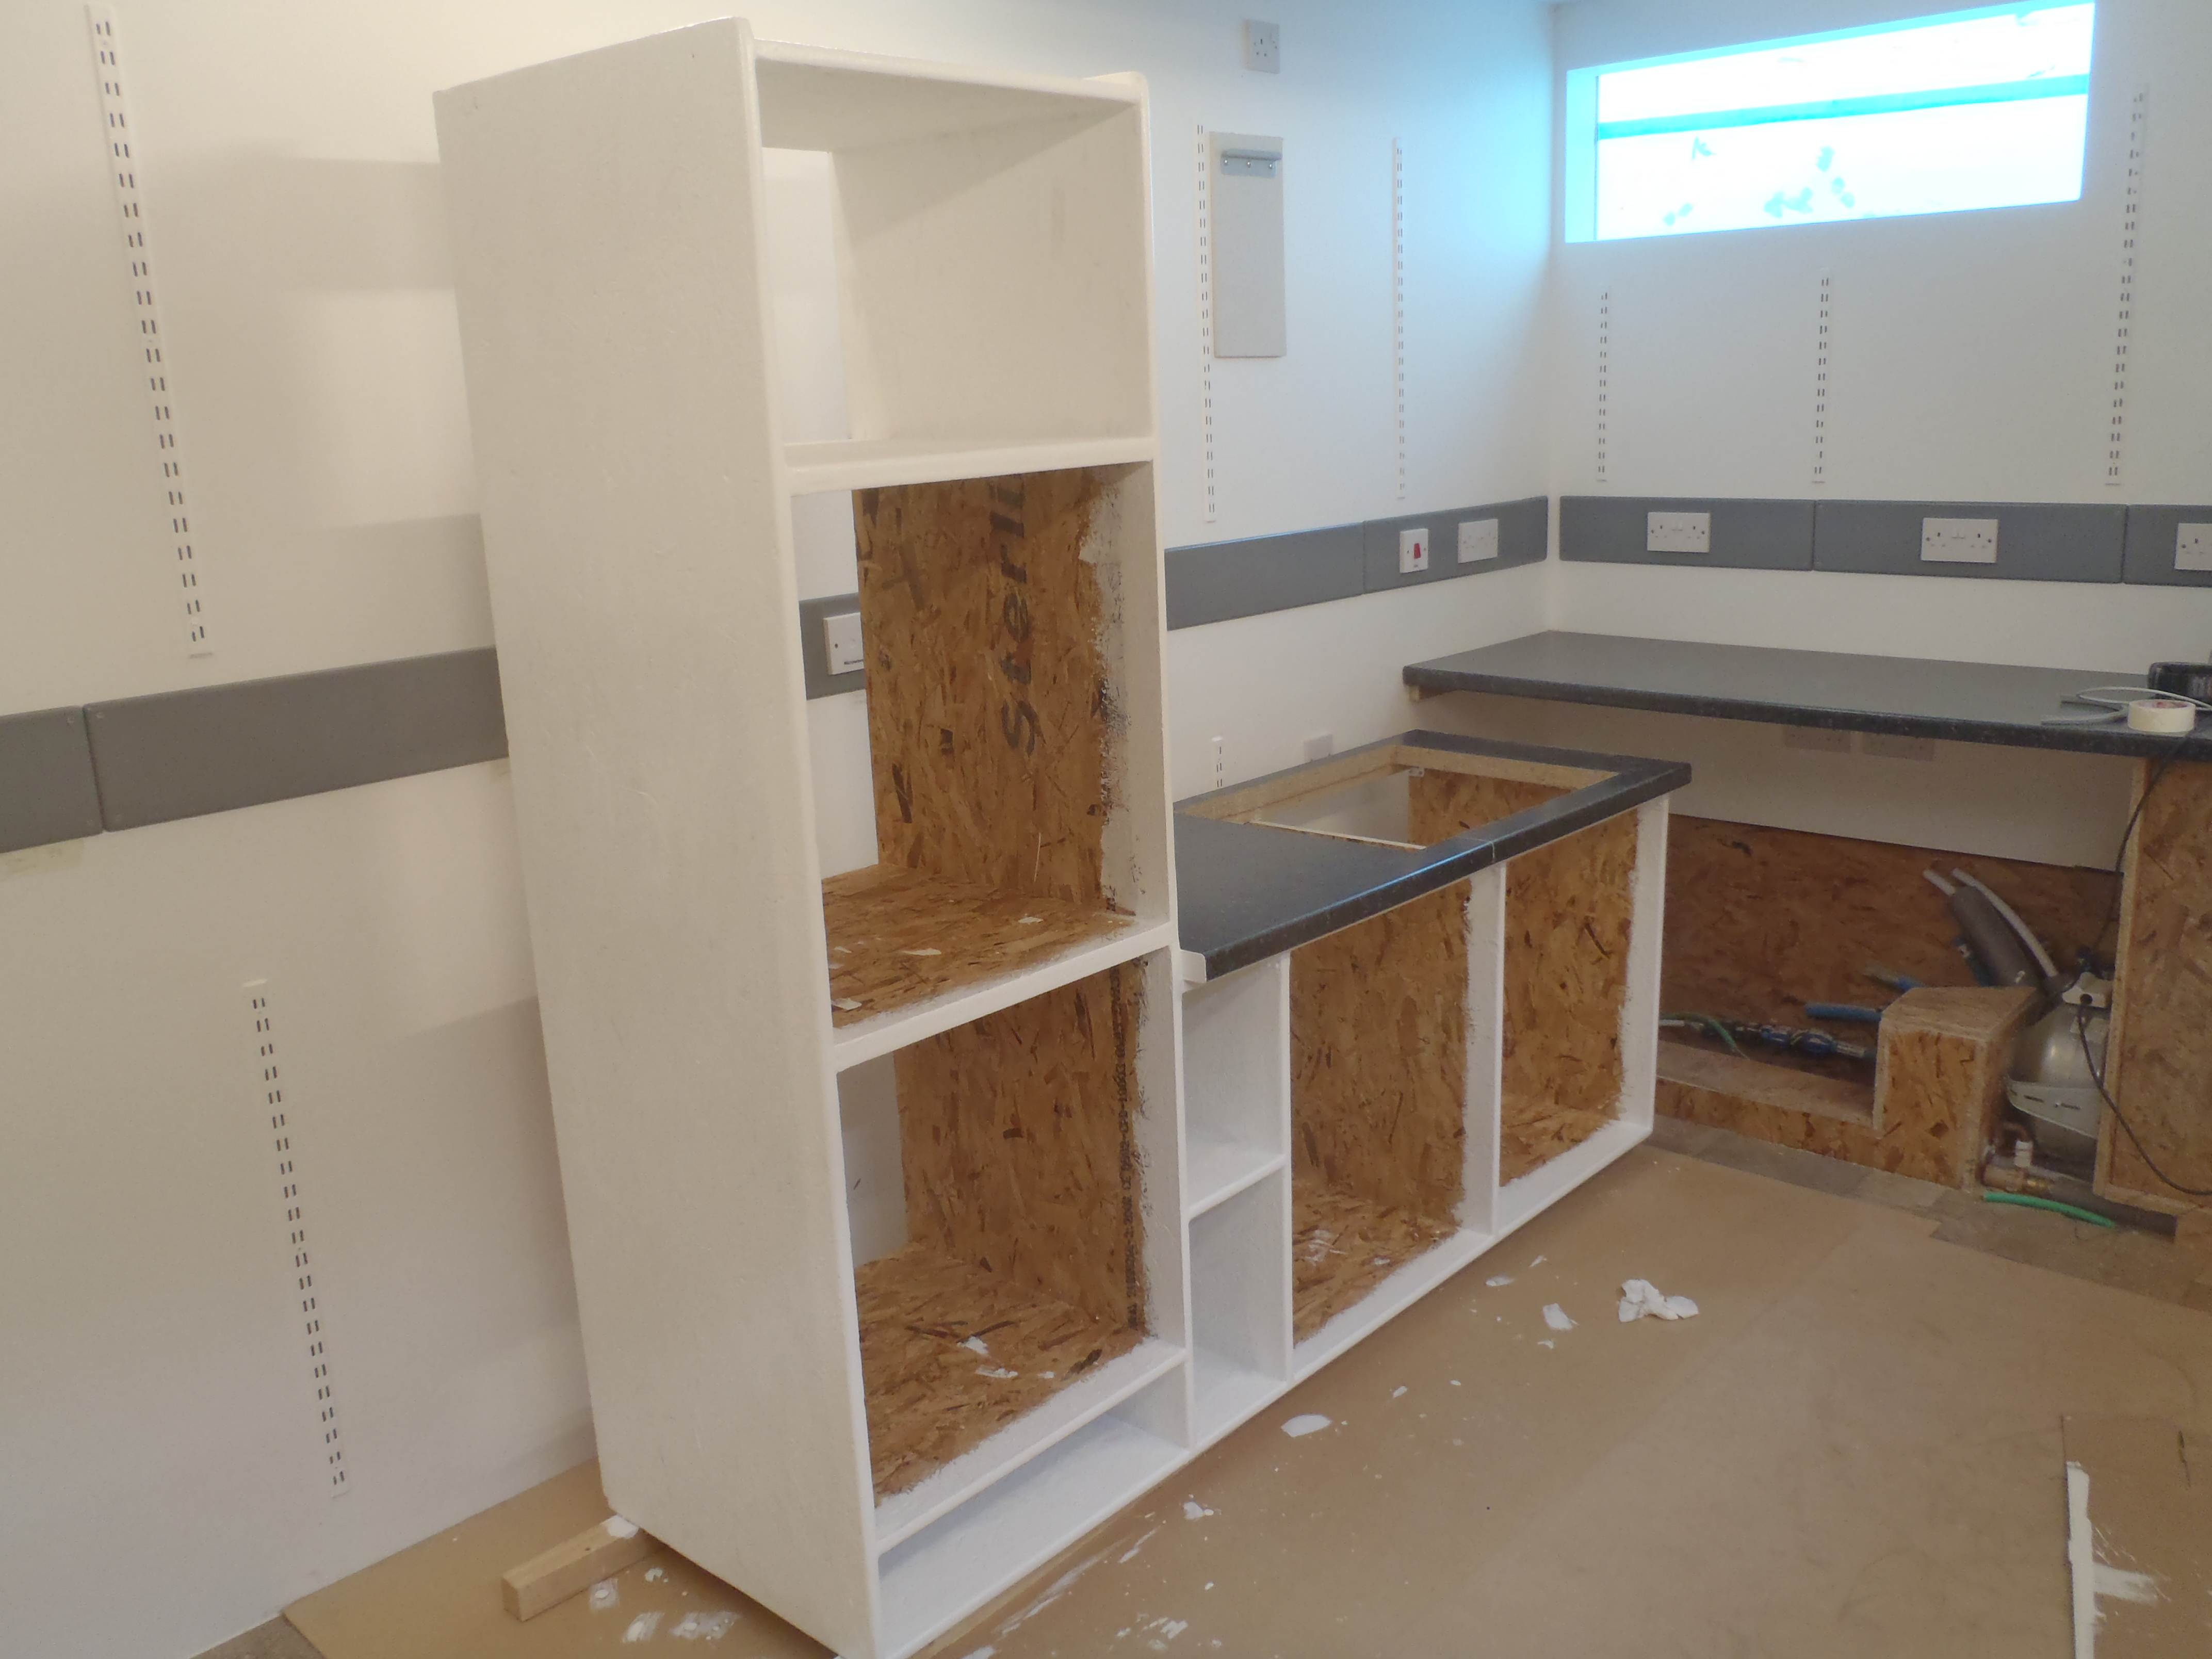
    Cooking unit – painted

  • Assembled

    This afternoon the Kitchen Cooking Section was assembled, with the worktop and the oven stack joined all together.

    Cooking unit assembled

    Cooking unit assembled

    All the edges were rounded, rubbed smooth and filled in with Polyfilla. This will be painted tomorrow with emulsion and then vinyl silk on top. This particular unit is only temporary so it is not worth putting in the time and money to make it just perfect!

  • Garden Room Utility Rail modules Completed!

    This morning the last of the modules for the Garden Room’s Utility Rail was put up. The last section was going around the toilet and the two doorways.

    GR Final section of electrics

    GR Final section of electrics

    But if we have a need for another electrical socket in the future, we can remove a module anywhere and replace it with a module already having the cut-out for the socket or switch being desired, and wired into the cable running inside the Utility Rail! For example we quite like to have some loudspeakers in the garage or the Garden Room and connect it to a MP3 music player with a remote control but we will wait until we have finished Phase 1 first!

  • Oven Stack Assembled

    Today we put together the Oven Stack! It is made up of a 150mm open shelf starting at the bottom of the stack, followed by two 600mm high selves for the two oven and topped with a microwave shelf being 400mm high. The sides goes up another 25mm to provide another open shelf right on top of the stack for saucepans and other pots!

    Test of Oven Stack

    Test of Oven Stack

    Also we joined together two left over worktop pieces to provide a surface for the induction hob to sit in. it was quite a fiddle to get the two edges square and flat and get the two surfaces smooth. We put in loads of a bulk PU glue to try and stick the ends together.

    Tomorrow we will cut out the hole for the hob and fix on two battens to reinforce the joint at the back and front of the worktop and start assembling the vertical side panels underneath the worktop and mount the drawers.

  • Garden Room Modules going Up Part 3

    The back wall of the Garden Room now has all its modules up and connected!

    GR Utility rail with fittings Pt2

    GR Utility rail with fittings Pt2

    Only the last section around the toilet is left to go.

  • Drawers Fully Painted

    Today we have finished the final coat of oil paint on the fronts of the eight drawers.

    Draws fronts painted Grey

    Draws fronts painted Grey

    Draws fronts painted Grey

    Draws fronts painted Grey

    The undercoat went on this morning and then the full gloss late in the afternoon. It is the same mid-grey colour as the Utility Rail modules.

  • Utility Rail Modules Mounted Part 2

    The continued job of putting up the modules on to the Utility Rail carried on today with the additional task of fixing sockets into the wall itself, 300mm below the Utility Rail at the positions of each appliance like the washing machine, dishwasher, waste disposal unit and tumble dryer!

    GR Utility rail with fittings Pt2

    GR Utility rail with fittings Pt2

    GR Utility rail with fittings Pt1 Mk2

    GR Utility rail with fittings Pt1 Mk2


  • Drawers base layers Painted

    The drawers for the Cooking Section were painted with Acrylic paint acting as both primer and undercoat as stated on the tin. The whole thing was covered but the front and insides were done twice and even three times for the bottoms inside. This is to build up toughness and finally the front is now ready for the coat of oil undercoat and full gloss.

    Draws all primed and coated

    Draws all primed and coated

  • Draw modules final touch up

    The eight draws were sanded down and a final touch up with Polyfilla was done today. Painting will start soon, with the primer first, then a coat of white acrylic to provide the basic undercoat and a full gloss mid-grey just for the fronts, to match the colours of the utility modules.

  • Utility Rail Modules Installation Part 1

    The Garden room is coming together with its Utility rail modules being installed, half of them are up so far!

    GR Utility rail with fittings Pt1 Mk2

    GR Utility rail with fittings Pt1 Mk2

    The rest to be done tomorrow.