Author: Shaun

  • Pipes from Roof to inside Garage

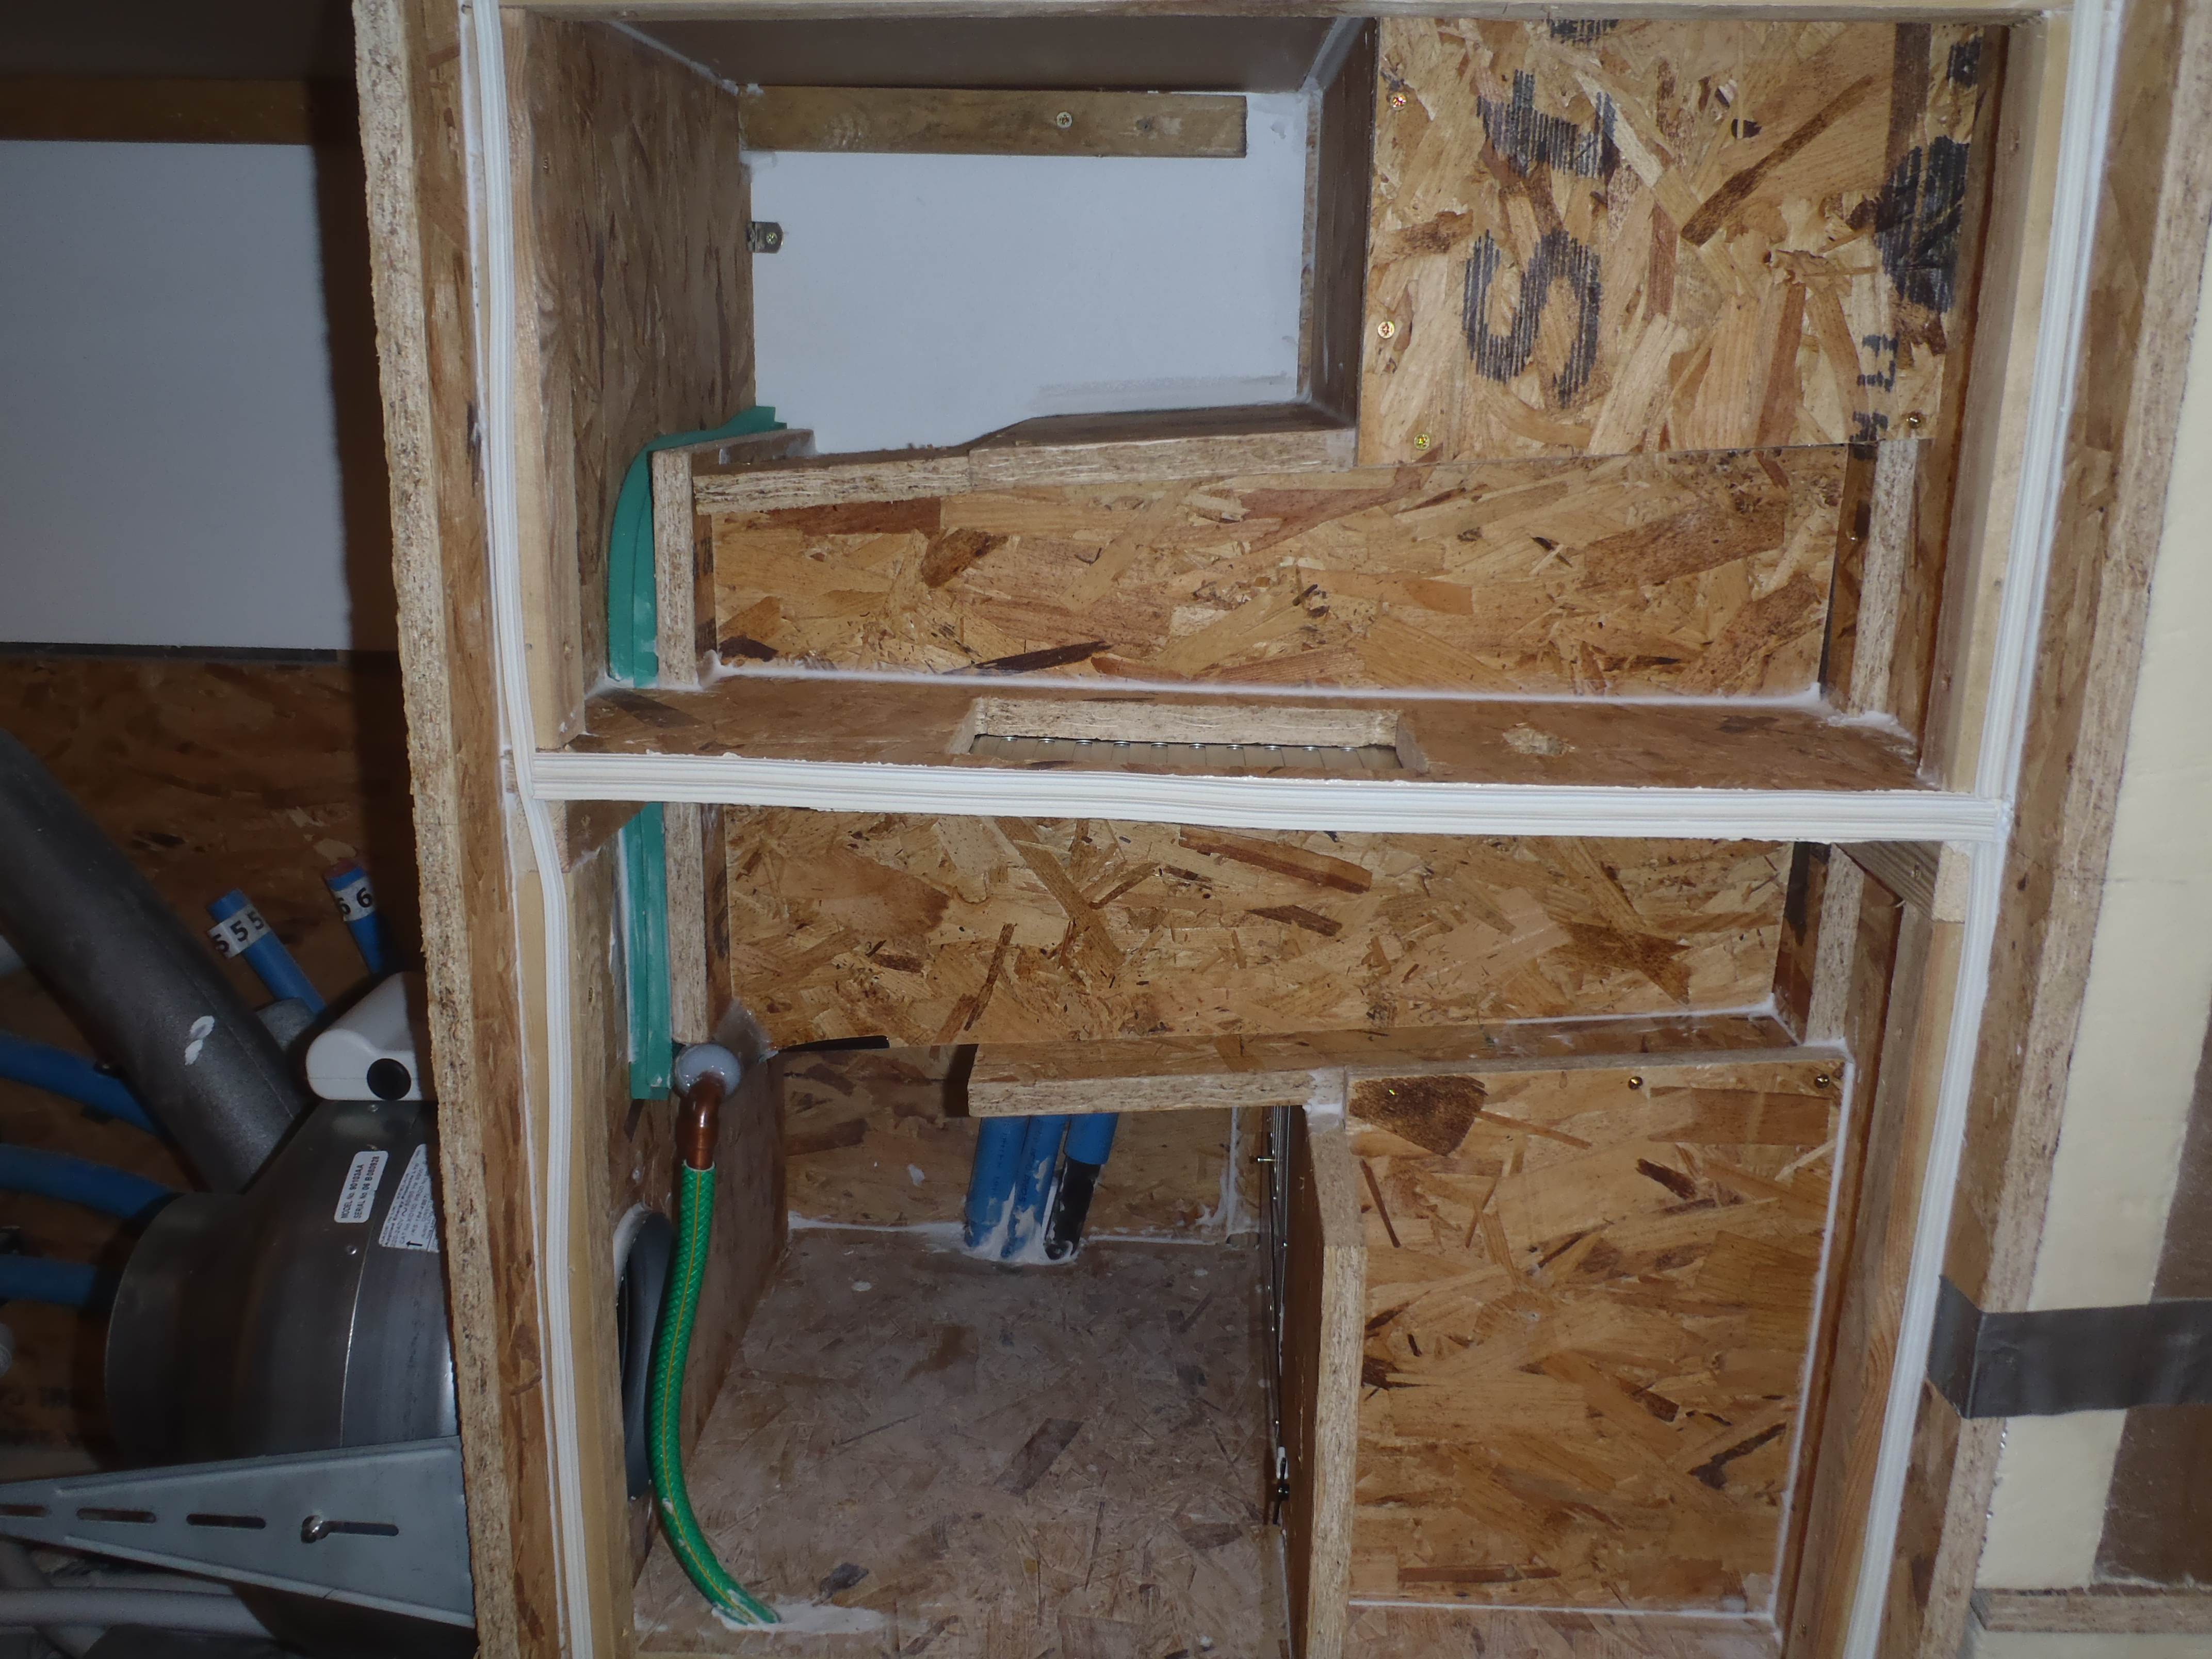
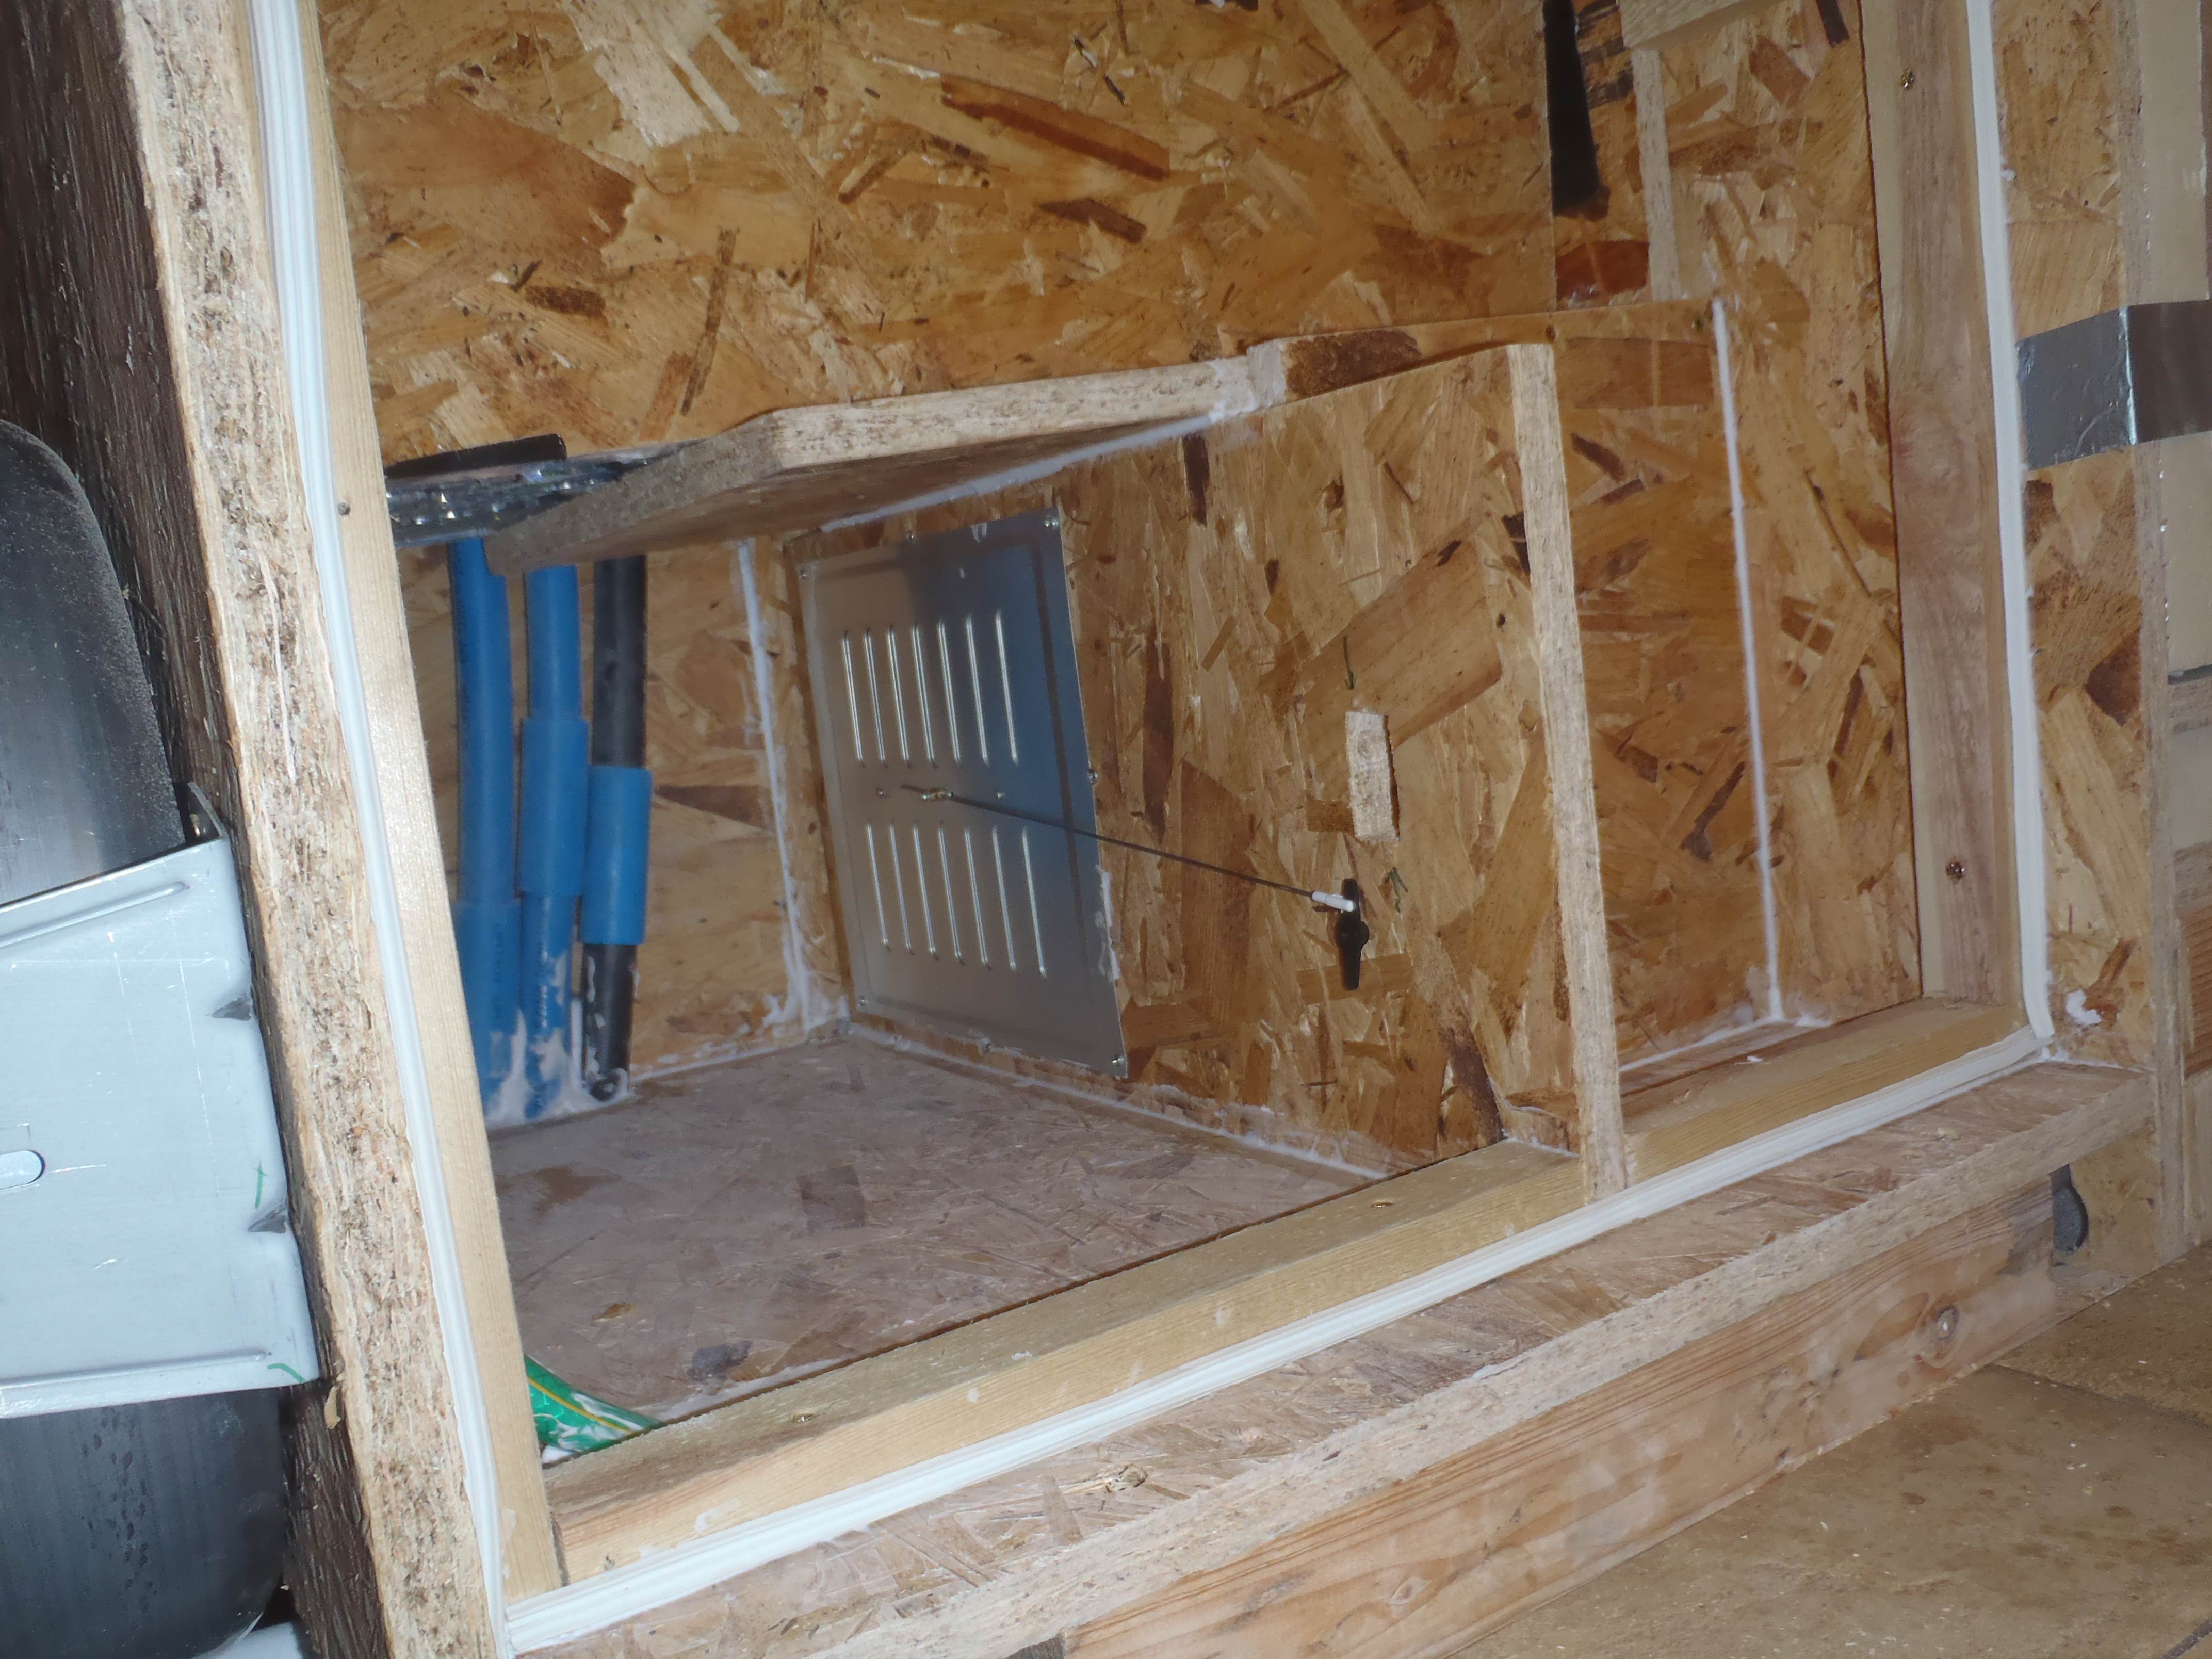
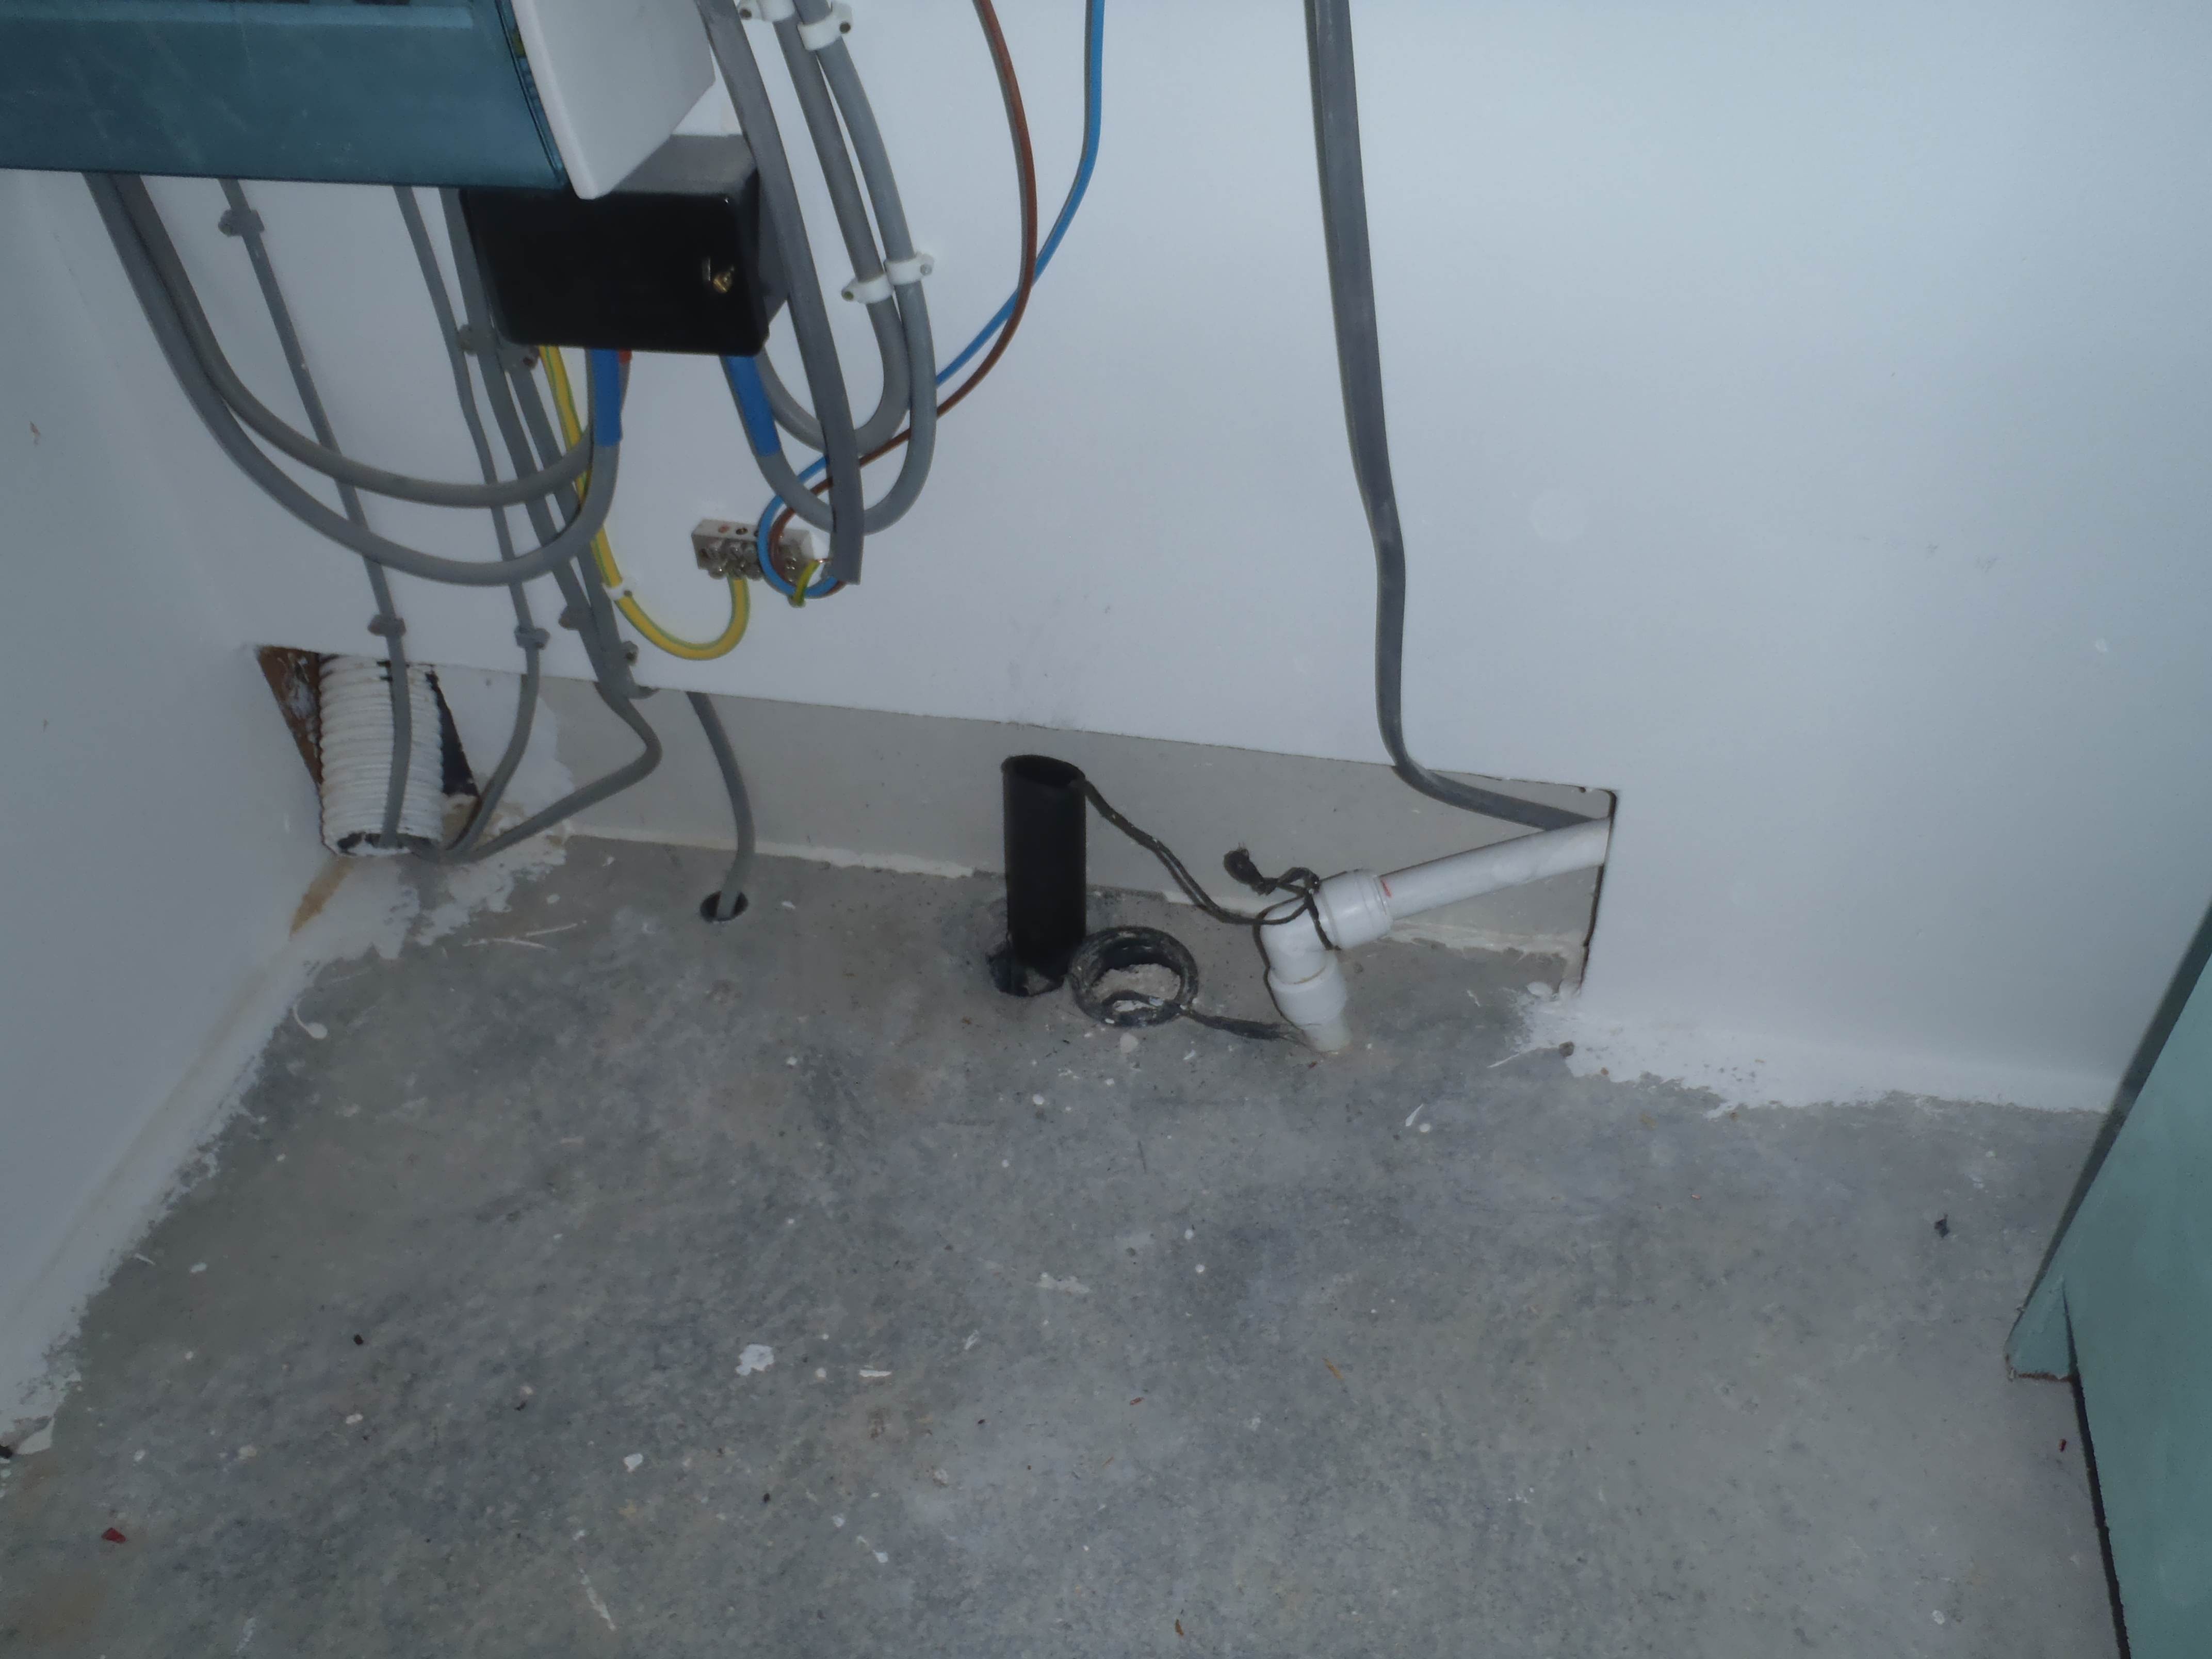
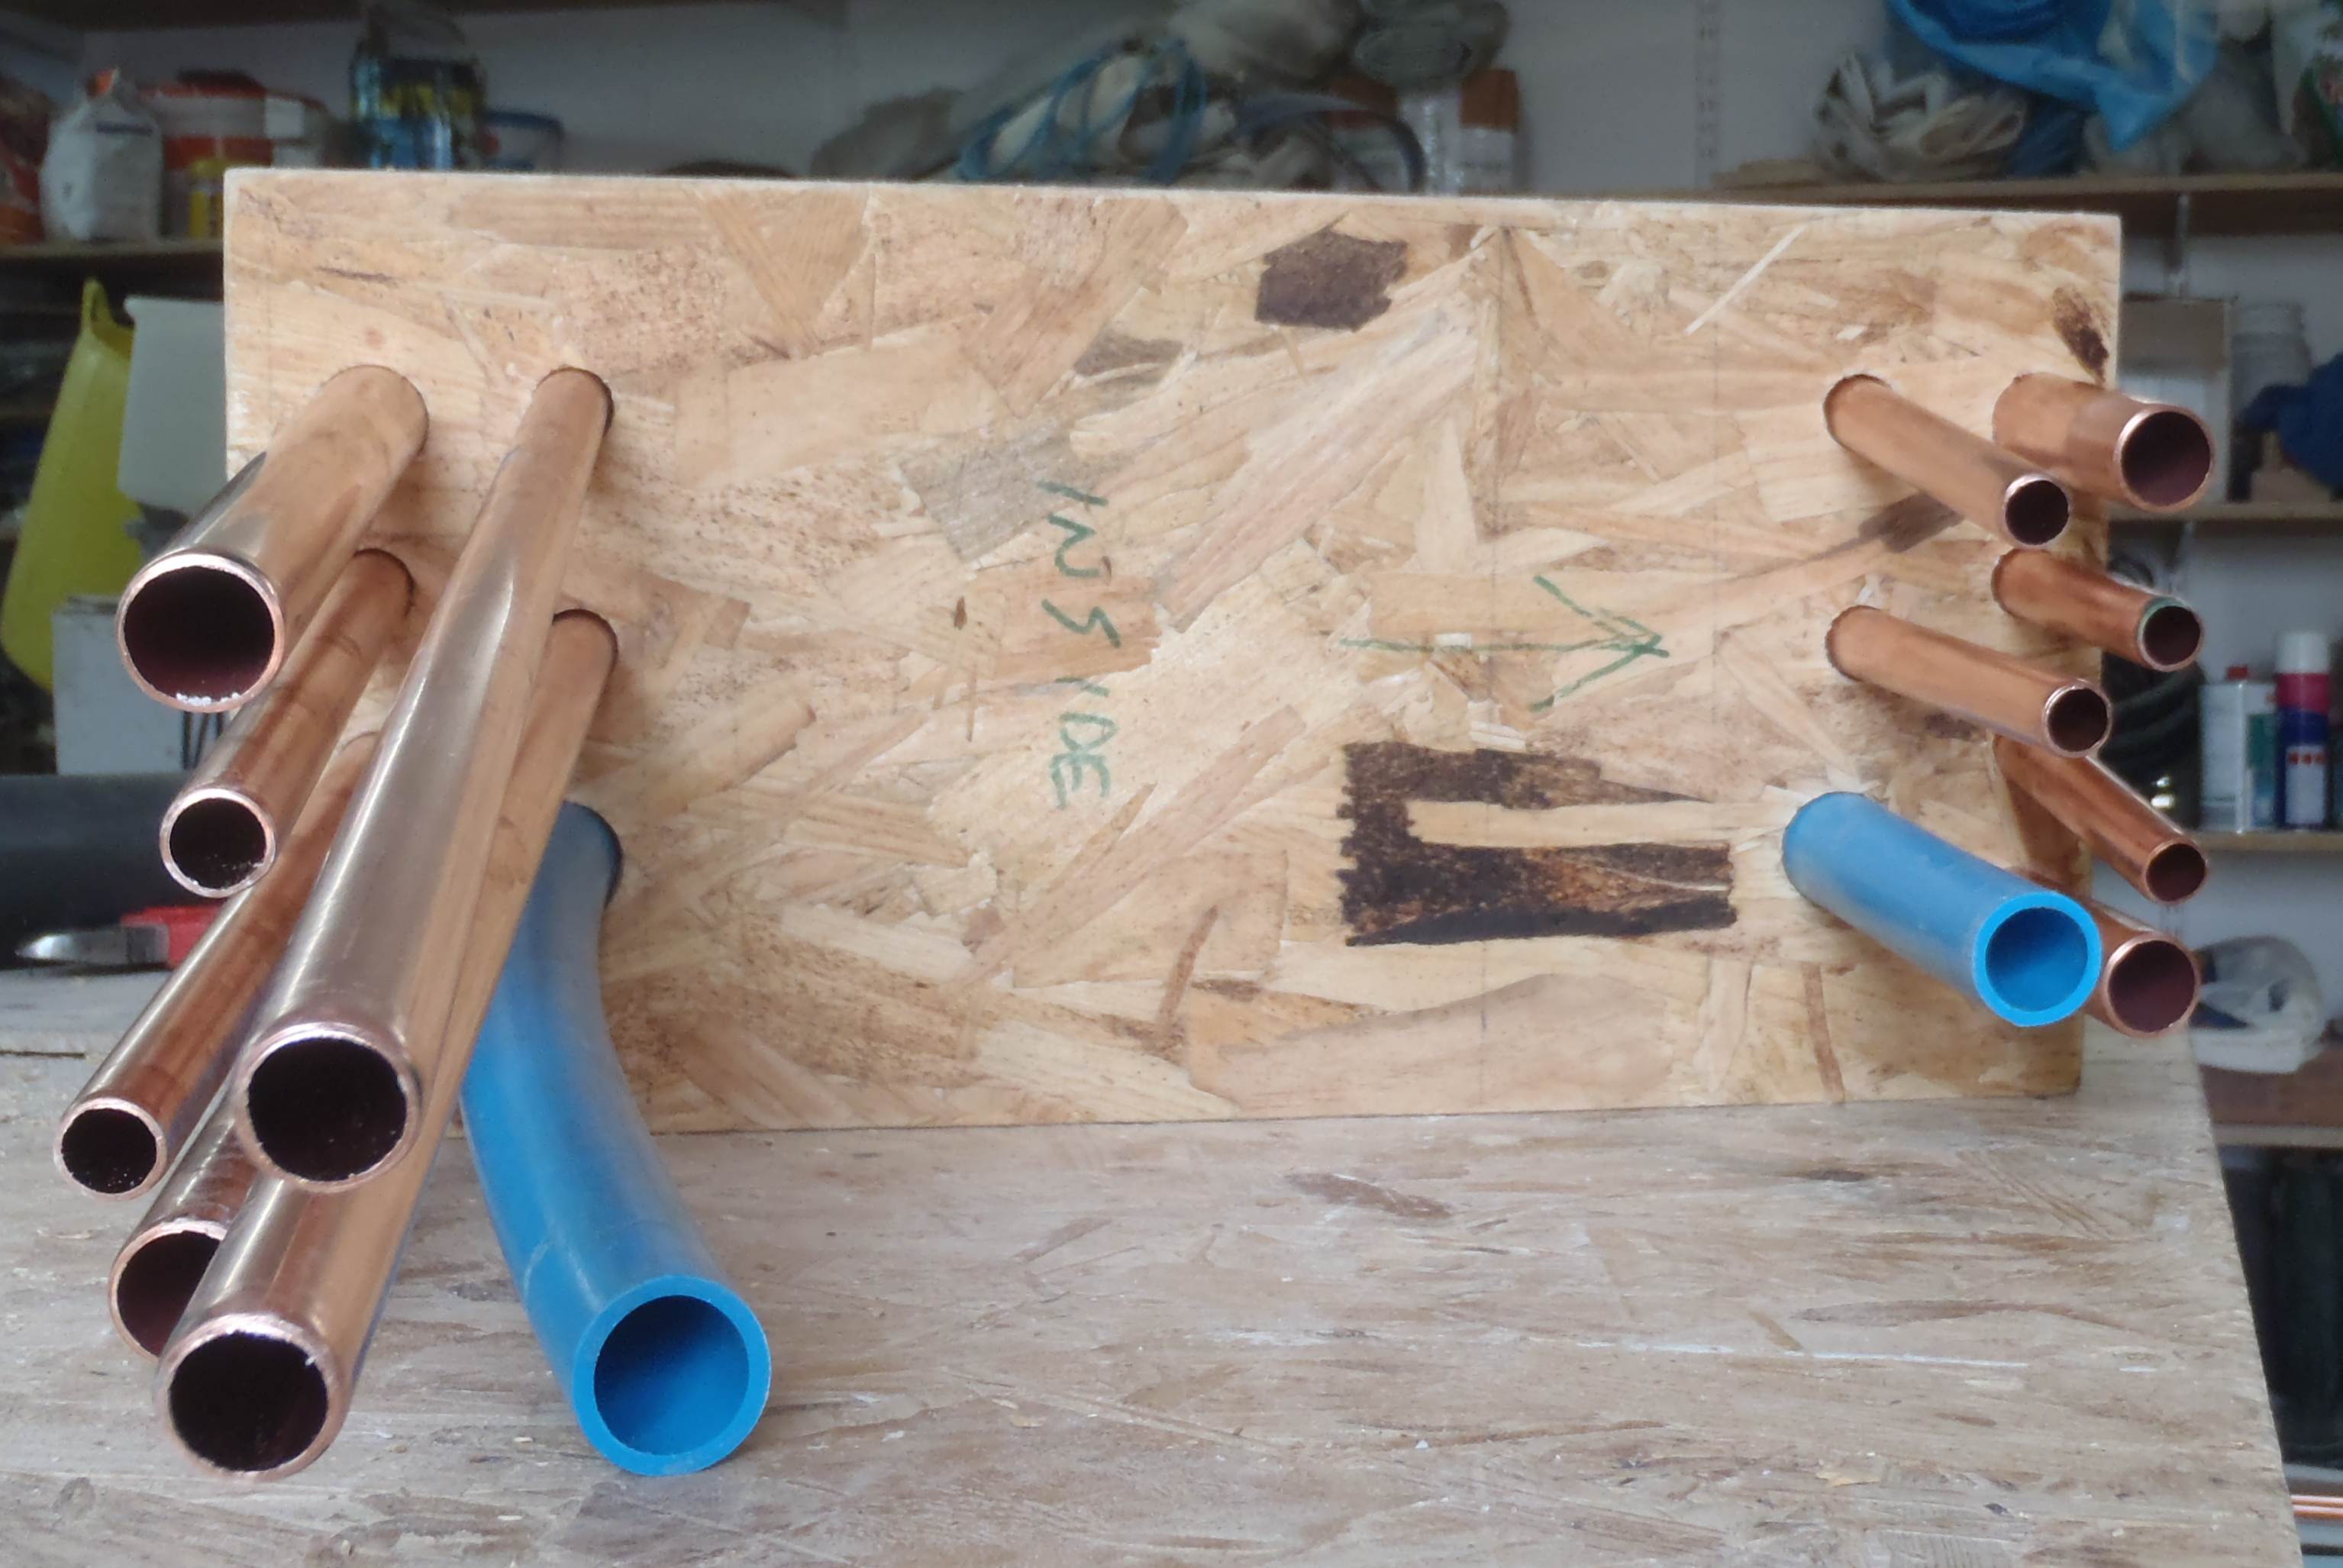
    we carried on making the “U” shaped set of pipes to take the various water pipes up to the roof to the header tank and to our future solar water collectors. A mixture of 15mm copper (4 pipes) and 22mm copper (2 pipes) plus one plastic electric conduit. They go out through 7 holes out of the back wall above the hot water tank, bend upwards to pass the Oak Facia board and bend back onto the roof.

    Today we have finished soldering 4 of them and screwing together the other 2 copper pipes (the last 2 pipes has to withstand high pressure and temperatures so soldered joints of the standard lead/tin kind isn’t strong enough). We bent the plastic conduit (25mm) by heating it up using a hot air gun and pushing inside one of those 22mm diameter coiled springs to help keep the walls from crumpling up and bending it on a jig!
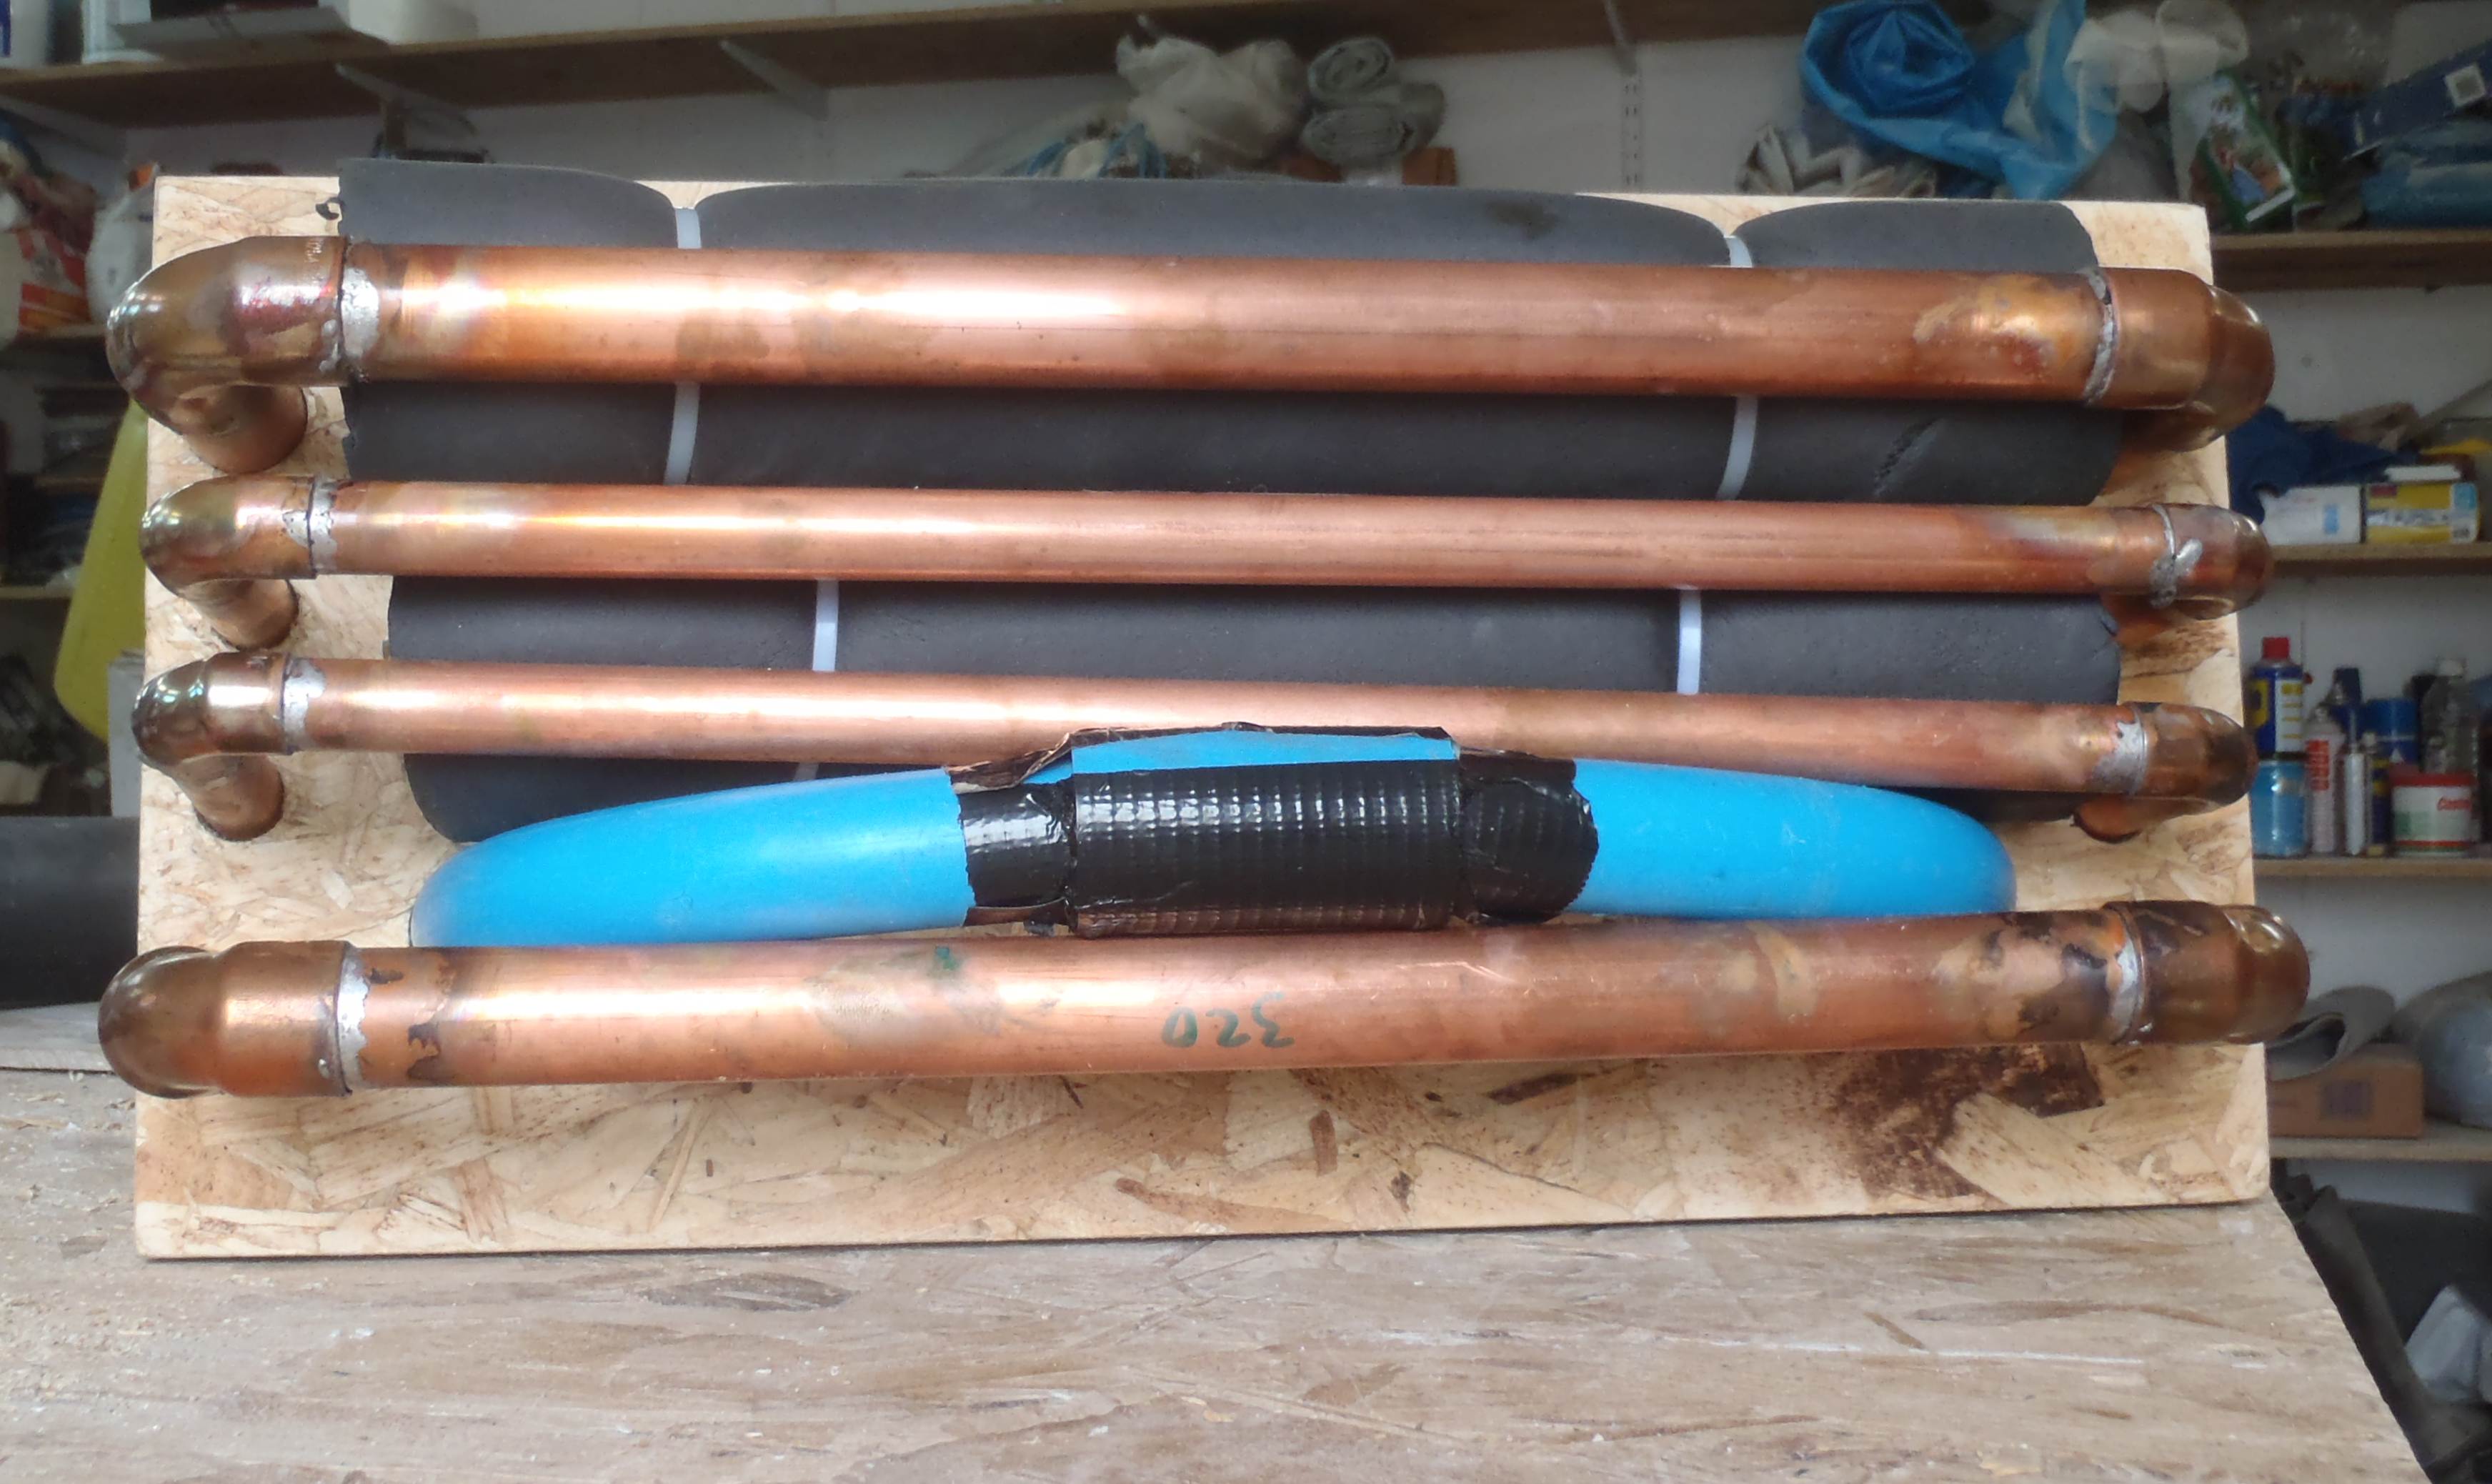
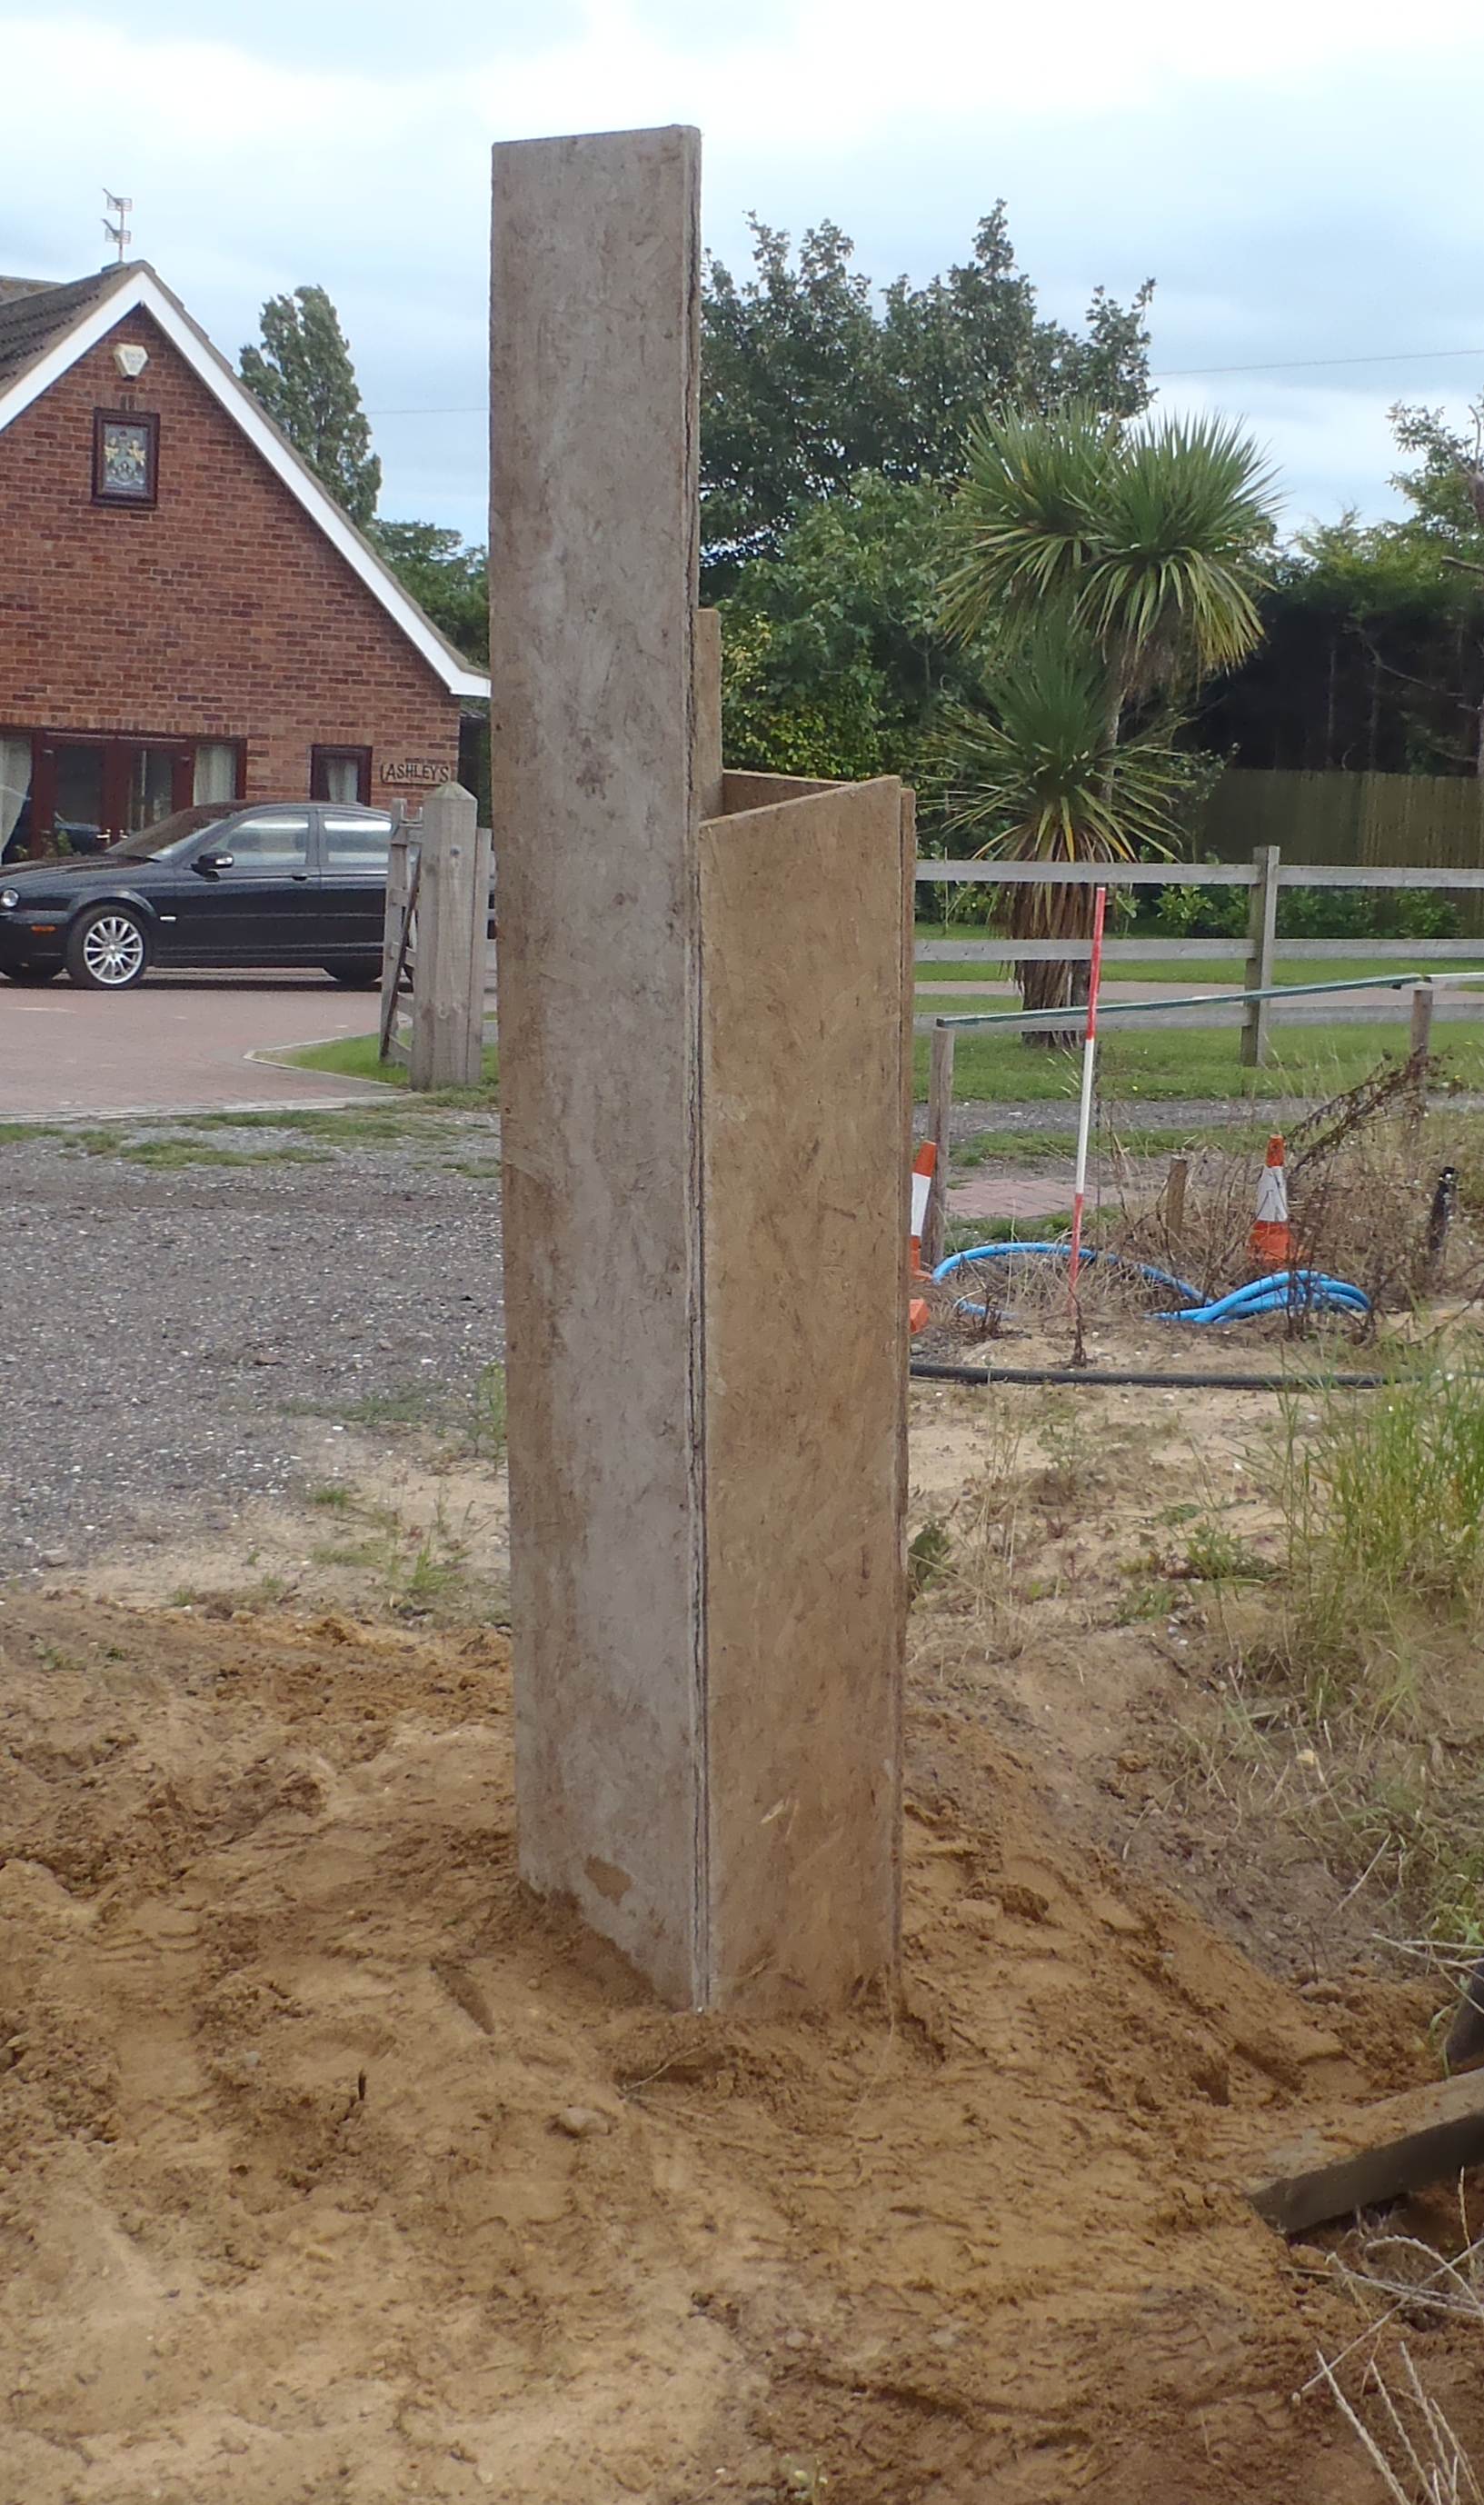
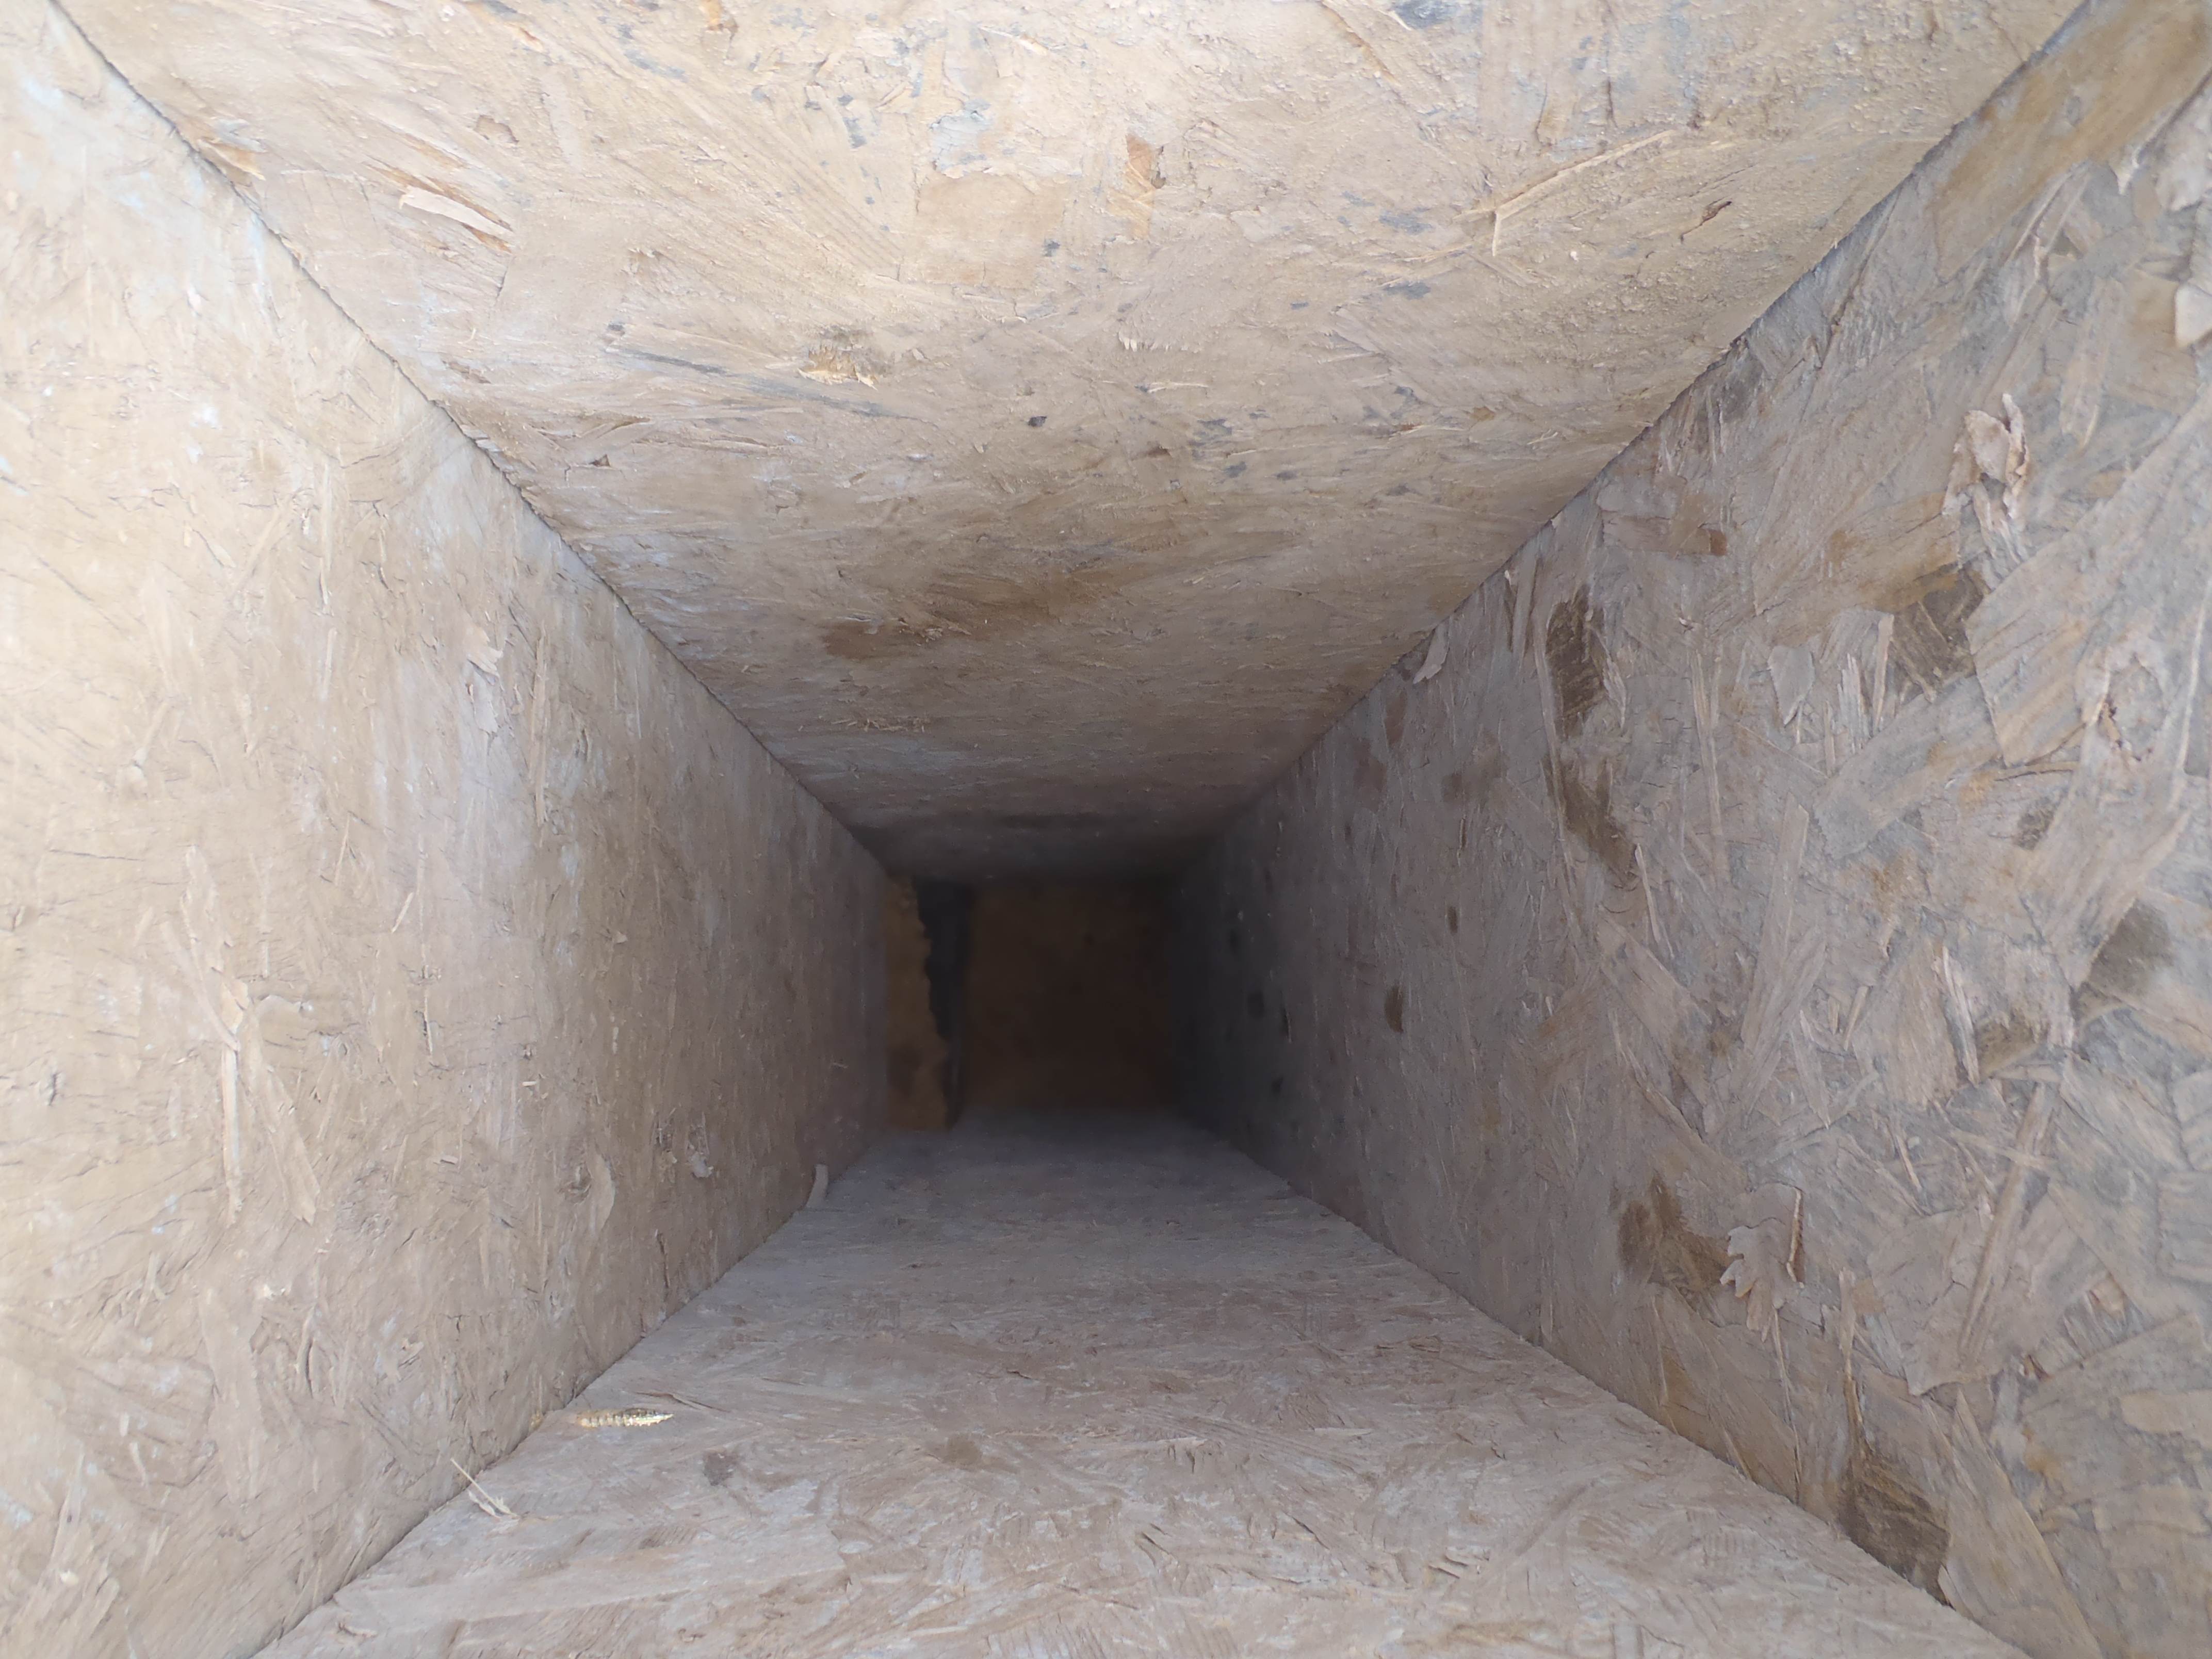
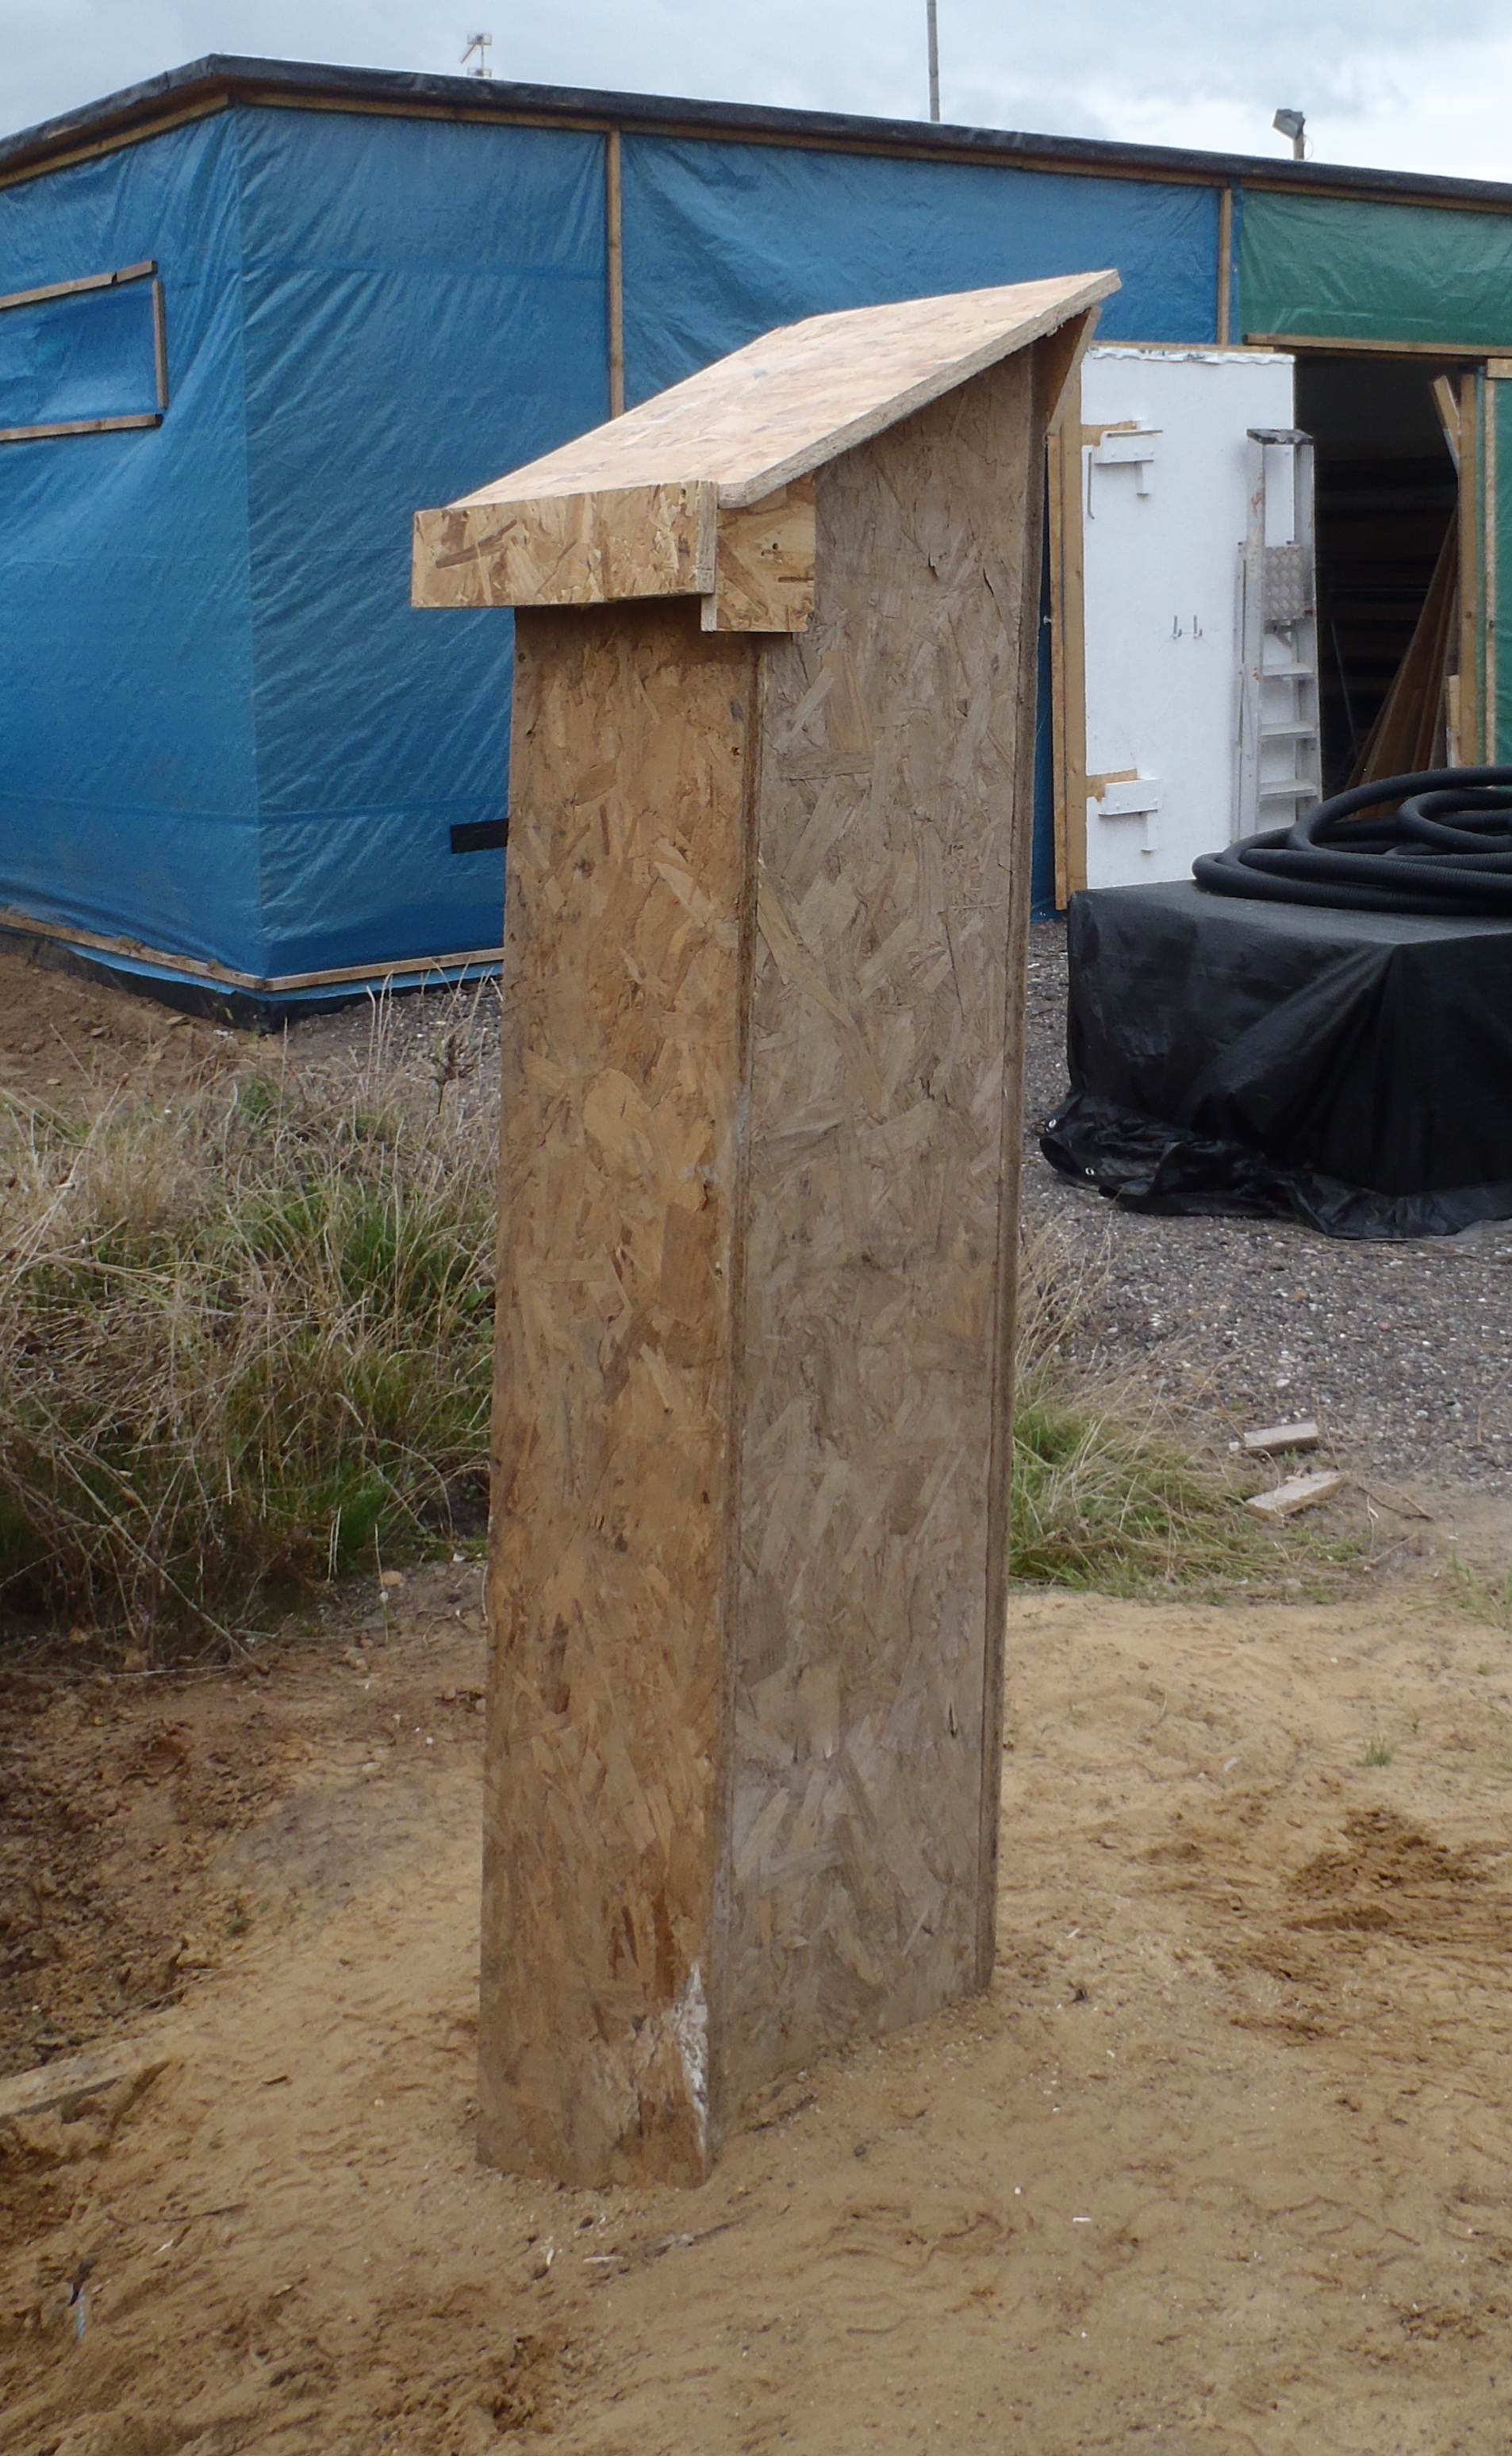
    Roof bypass pipes

    Roof bypass pipes


    Roof bypass pipes

    Roof bypass pipes

    Tomorrow we can put it up and start connecting the mains water to the header tank and the see if it works!!

  • Temperature of Air through Earth Tubes

    We started running and leaving on the extraction fan for drawing air down and through the Earth Tubes to see how far the temperature will go (up or down) or stabilised. We switched on yesterday with a temperature reading at 21 degrees Celsius and cleared the Min/Max memory feature on the temperature sensor. The probe is inside the air con unit just before the input end of the fan. This means that the air comes up out of the Earth Tubes and travels along the concrete floor slab quite a fair distance before reaching the fan and the probe. There will be quite a significant thermal mass stored in the concrete itself. We will see if the temperature goes down overnight.

    – – – Next Day — –

    Today’s temperature reading is now 17.4 degrees Celsius and the Min/Max recorded values were 17.1 and 20.0 respectively. The outside temperature was recorded to have dropped down to 10 degrees Celsius. So at least one thing is working already and that is the outside air temperature and its variations is being removed!

    We have reset the Min/Max again this evening.

  • Utility Trench Finished!

    We have completed the task of laying down the three remaining utility supplies; Water, Telephone and Electric.

    Electricty duct and incoming cable

    Electricty duct and incoming cable

    Today we connected our new water supply pipe to the existing pipeline coming out of the meter. It was a mixture of plastic “new” pipes and iron “old” pipe (running off towards the old little cottage). We didn’t know that the plastic / iron adaptor was specially designed to allow the whole adaptor to slide fully along either pipe, we had to assume that this wasn’t possible and decide how to fit a new length of pipe between the meter and the iron pipe without bending or breaking anything! So we dug an extra couple of metres to uncover more of the iron pipe. We hacksawed at that point and moved the original adaptor along to that point (and this is where we discovered about the special design of sliding along!). we then put in a T junction jut after the meter and then finally connected to our new pipe!

    Water connected to mains

    Water connected to mains

    Then it was the nerve racking point of turning back on the water and see what leaks we got!! NONE!! Yippee!

    The garage now has water going to it and the outside tap on the front of the garage now gushes lots of water on demand!

    Trench all filled in

    Trench all filled in

    The whole trench is now filled right up to ground level.

    It is the turn of the Engineers from the telephone and electric companies, who will be called in, to do the final “mile” or rather “yard” to their “live” cables and equipment. This will happen in a few weeks time when we have moved into the temporary quarters!

  • Utility Trench — The last stretch is Cut!

    The last segment of a trench, the utility trench, is finally dug! All the way to the water meter, alongside the Loke, passing the mains electric cable (a rusty iron clad cables) and the point where the telephone will join into our land.

    The trench is 400mm wide and on average 1000mm deep and about 30metres long!

    Final leg of utility trench

    Final leg of utility trench


    Final leg of utility trench

    Final leg of utility trench


    Final leg of utility trench

    Final leg of utility trench

    At the bottom of the trench , we have already laid down the water pipe and telephone conduit and later on we will have the main electrical conduit higher up (about 300mm ).

    Utility trench with water and BT

    Utility trench with water and BT

    Tomorrow, weather permitting, we will fill in the first layer of sand and dirt on top of the water pipe and telephone conduit. And then lay in the electrical conduit and finish filling in using the rest of the dirt.

  • Air Ducting Under floor

    We have finished investigating the problem with our under-floor ducting and why it was not blowing through with sufficient volume of air. It seems to be clear in the channel between the two layers of PU foam (not completely sure without resorting to a fibre optic camera!) but it was noticed that there were many leaks along the concrete floor and the side walls of the channel.

    We think that much of the air is leaking out on both sides of the channel but we cannot reach them and put in a caulk filler, except for a short segment where we can lift the floor cover up from over the Earth Tubes. It was quite noticeable that even just that small segment after it was filled with the caulk filler, the increase amount of air flow. But alas not enough for our temporary living quarters!

    We have learnt a valuable lesson with air ducting! Seal It Up!! Do not assume that a large wooden joint screwed together is a perfect seal!

    The state of this ducting is just about ok for the Garden Room and Garage when it comes solely into its own. But for now we will have to put in another temporary ducting to deliver fresh air to our temporary living quarters.

  • Air Heater coil

    The final part of the air con unit was built today and connected to the ducting running under the floor. The heater water coils was mounted inside a mixing chamber which was connected to a low voltage water pump and in turn connected to the hot water supply.

    Air heater coil

    Air heater coil

    But switching on the air fan to push air down the ducting to our temporary living quarters and the toilet, did not show any sign of flowing air!! Oops! Where is the blockage? Tomorrow we will have to investigate!

  • Chimney Erected!

    The chimney has been erected at the beginning of the Earth Tubes to allow fresh air into the garage and the temporary living quarters!

    Earth tube chimney

    Earth tube chimney


    Earth tube chimney

    Earth tube chimney

    The square chimney made out of old 300mm (a foot) wide 18mm OSB sheets, screwed together and placed against the concrete tunnel coming from the concrete box above the ends of the Earth Tubes. It sticks above the ground about 1500mm (5feet).

    Earth tube chimney

    Earth tube chimney

    a layer of geotextile was stapled over the opening to stop large dust particles and insects from getting into our tubes! And a lid with vertical guards to stop the rain getting in too!

    Earth tube chimney

    Earth tube chimney

  • Repair of Gutter soak-away

    The temporary storage shed building and its gutter have been showing signs of being blocked. So we had a look at the down pipe to the soak-away module and cleared out a couple of inches of flowers and leaves! We put a mesh in the top of the downpipe to stop this! But also discovered that the soak-away modules had sunken by an inch or so which means the downpipe is missing the entrance hole! We extended the pipe!

    Now it is all sorted!

  • Air Con Unit motorised and sealed

    Stephen finished off his assembly of the air con unit by fitting servo motors and connecting rods to the air vent shutters. He also sealed the cover on the front with draught excluder rubber strips.

    Heat exhanger installed

    Heat exhanger installed


    Heat exhanger installed

    Heat exhanger installed

    Next is the little last piece connecting the heater to the air ducting already in place under the floor.

  • Underground Electric conduit replacement

    To meet our electricity distributor’s requirements regarding the underground conduits, we had to replace our original 50mm twin wall conduit with their 40mm solid wall tube. It was a pain but we got there!

    Inside the garage, the new conduit is now poking up from the concrete floor slab and cemented in place alongside our other 50mm conduit which goes off to the main house, which we are happy with.

    Replacememnt electricty ducting

    Replacememnt electricty ducting


    Replacememnt electricty ducting

    Replacememnt electricty ducting

    Now we need to complete the rest of the trench to the point where the electric cables enter our plot, weather permitting!