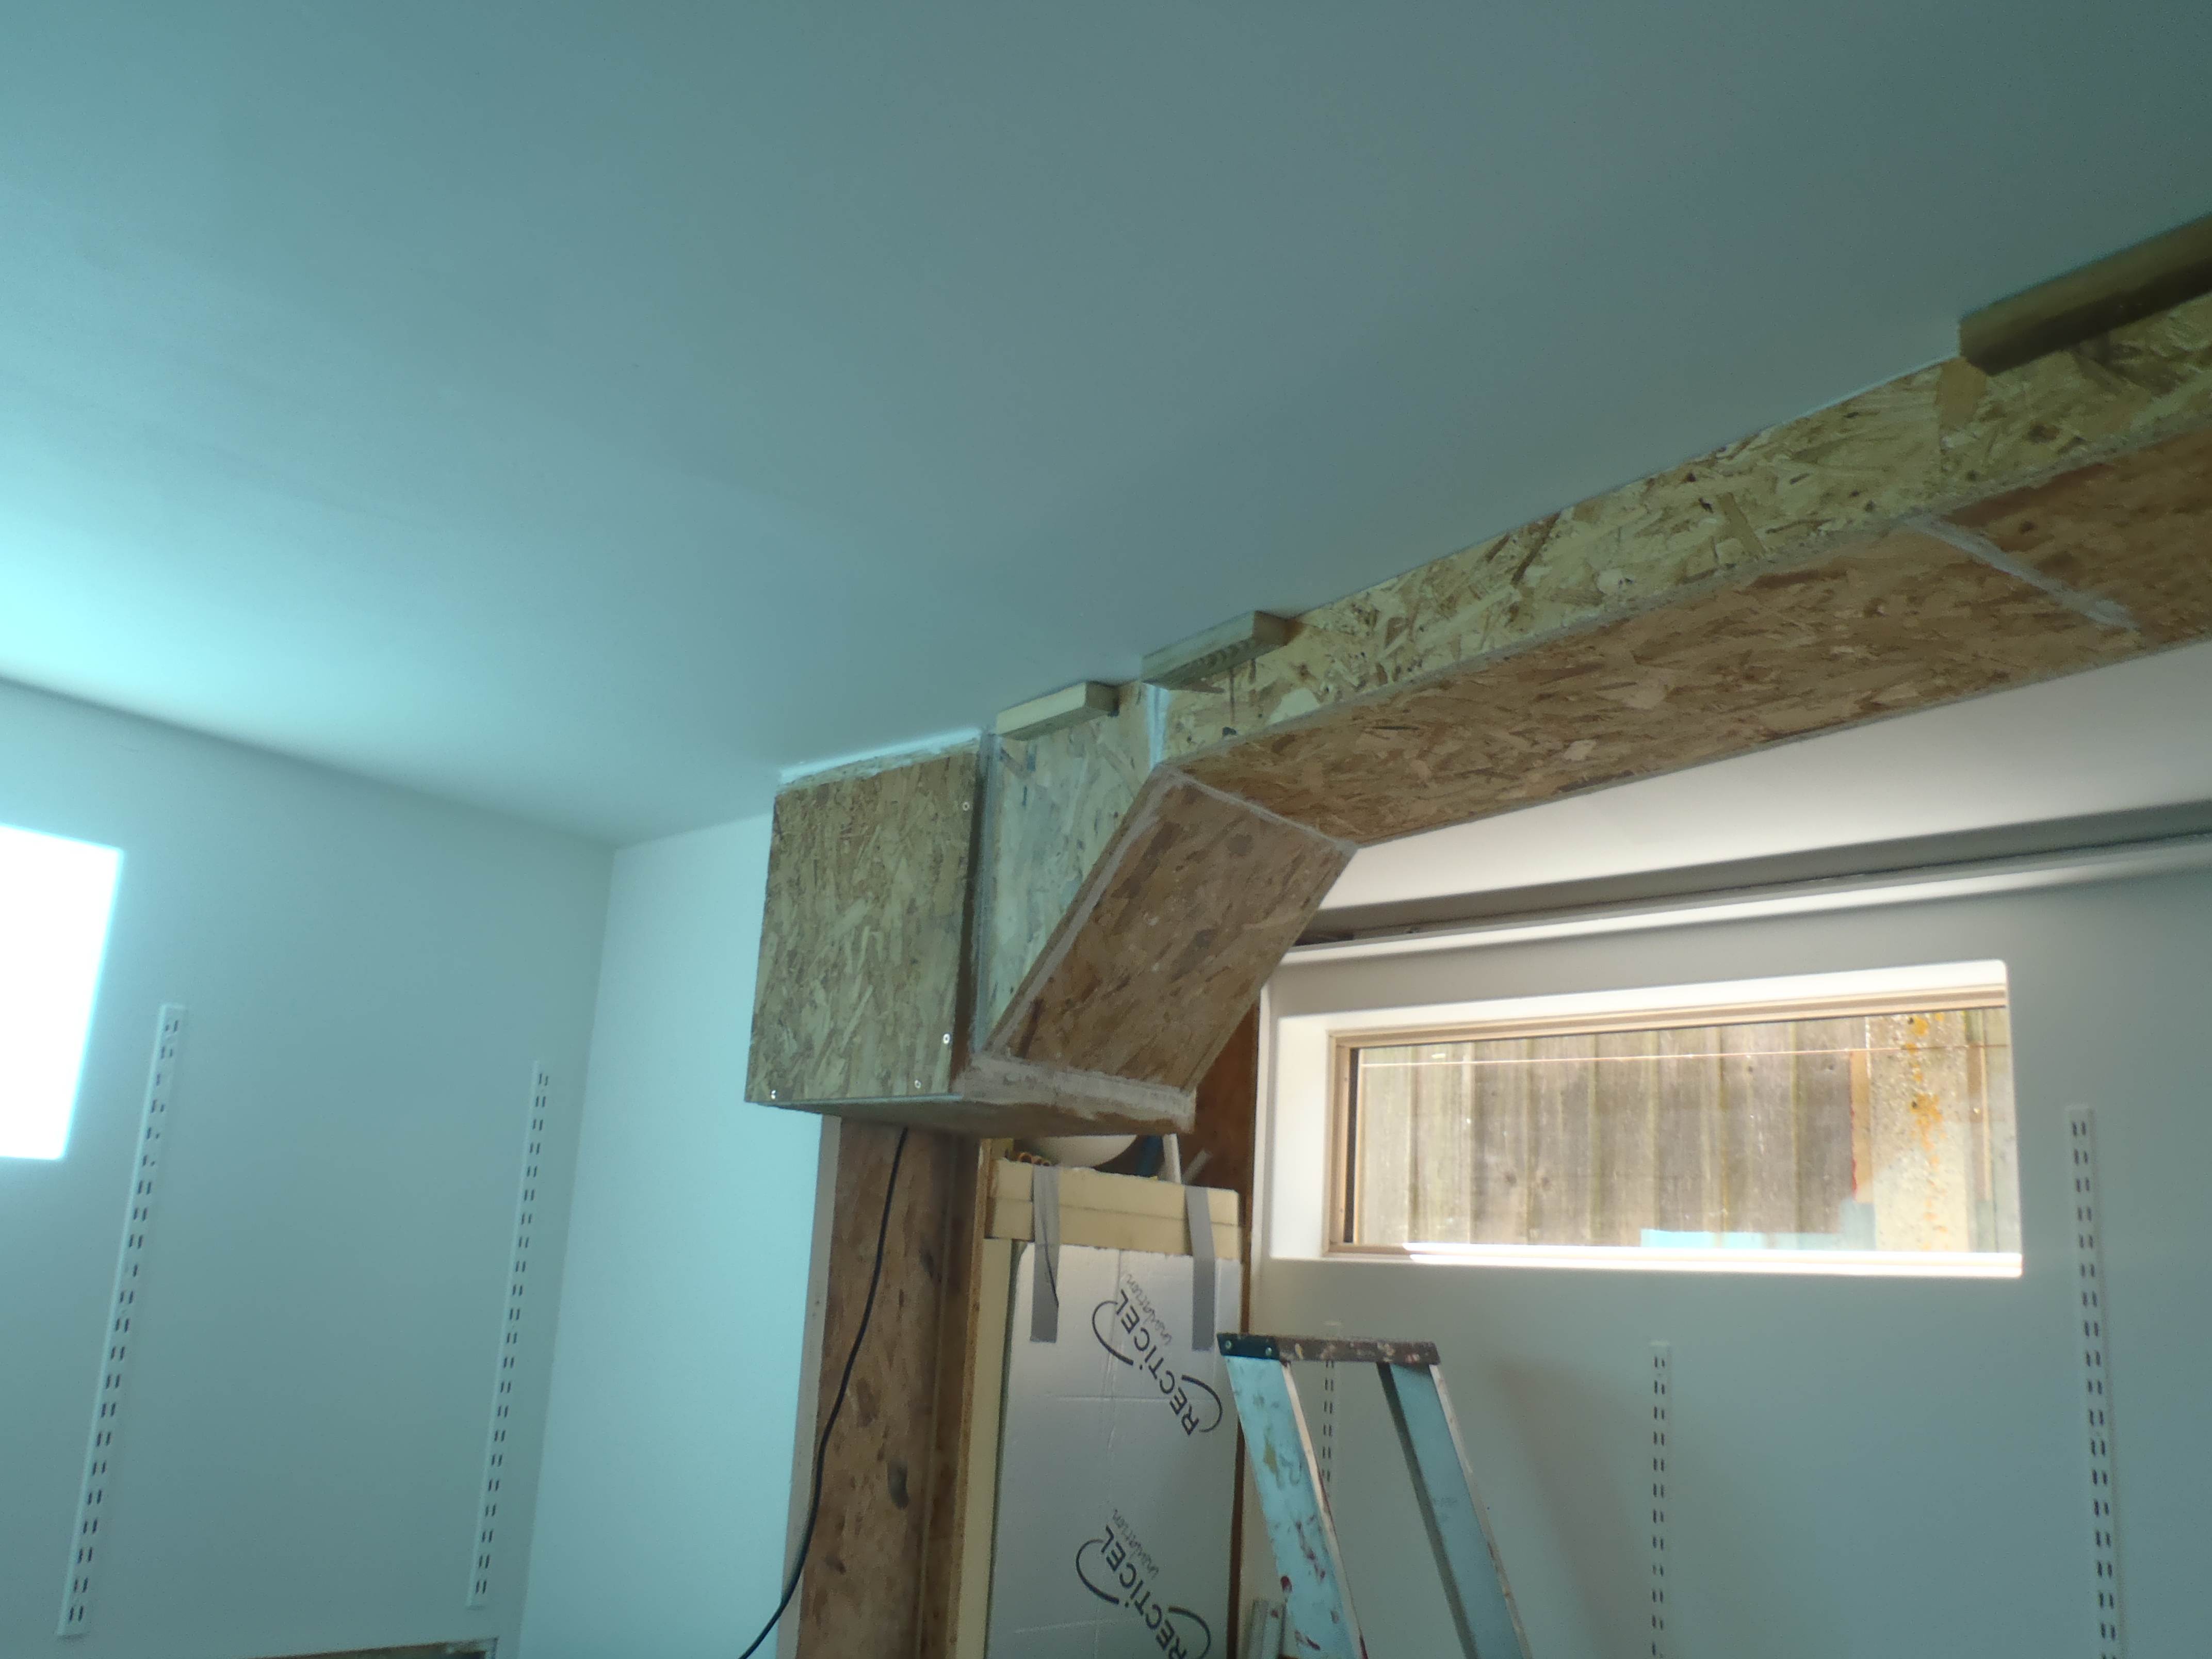
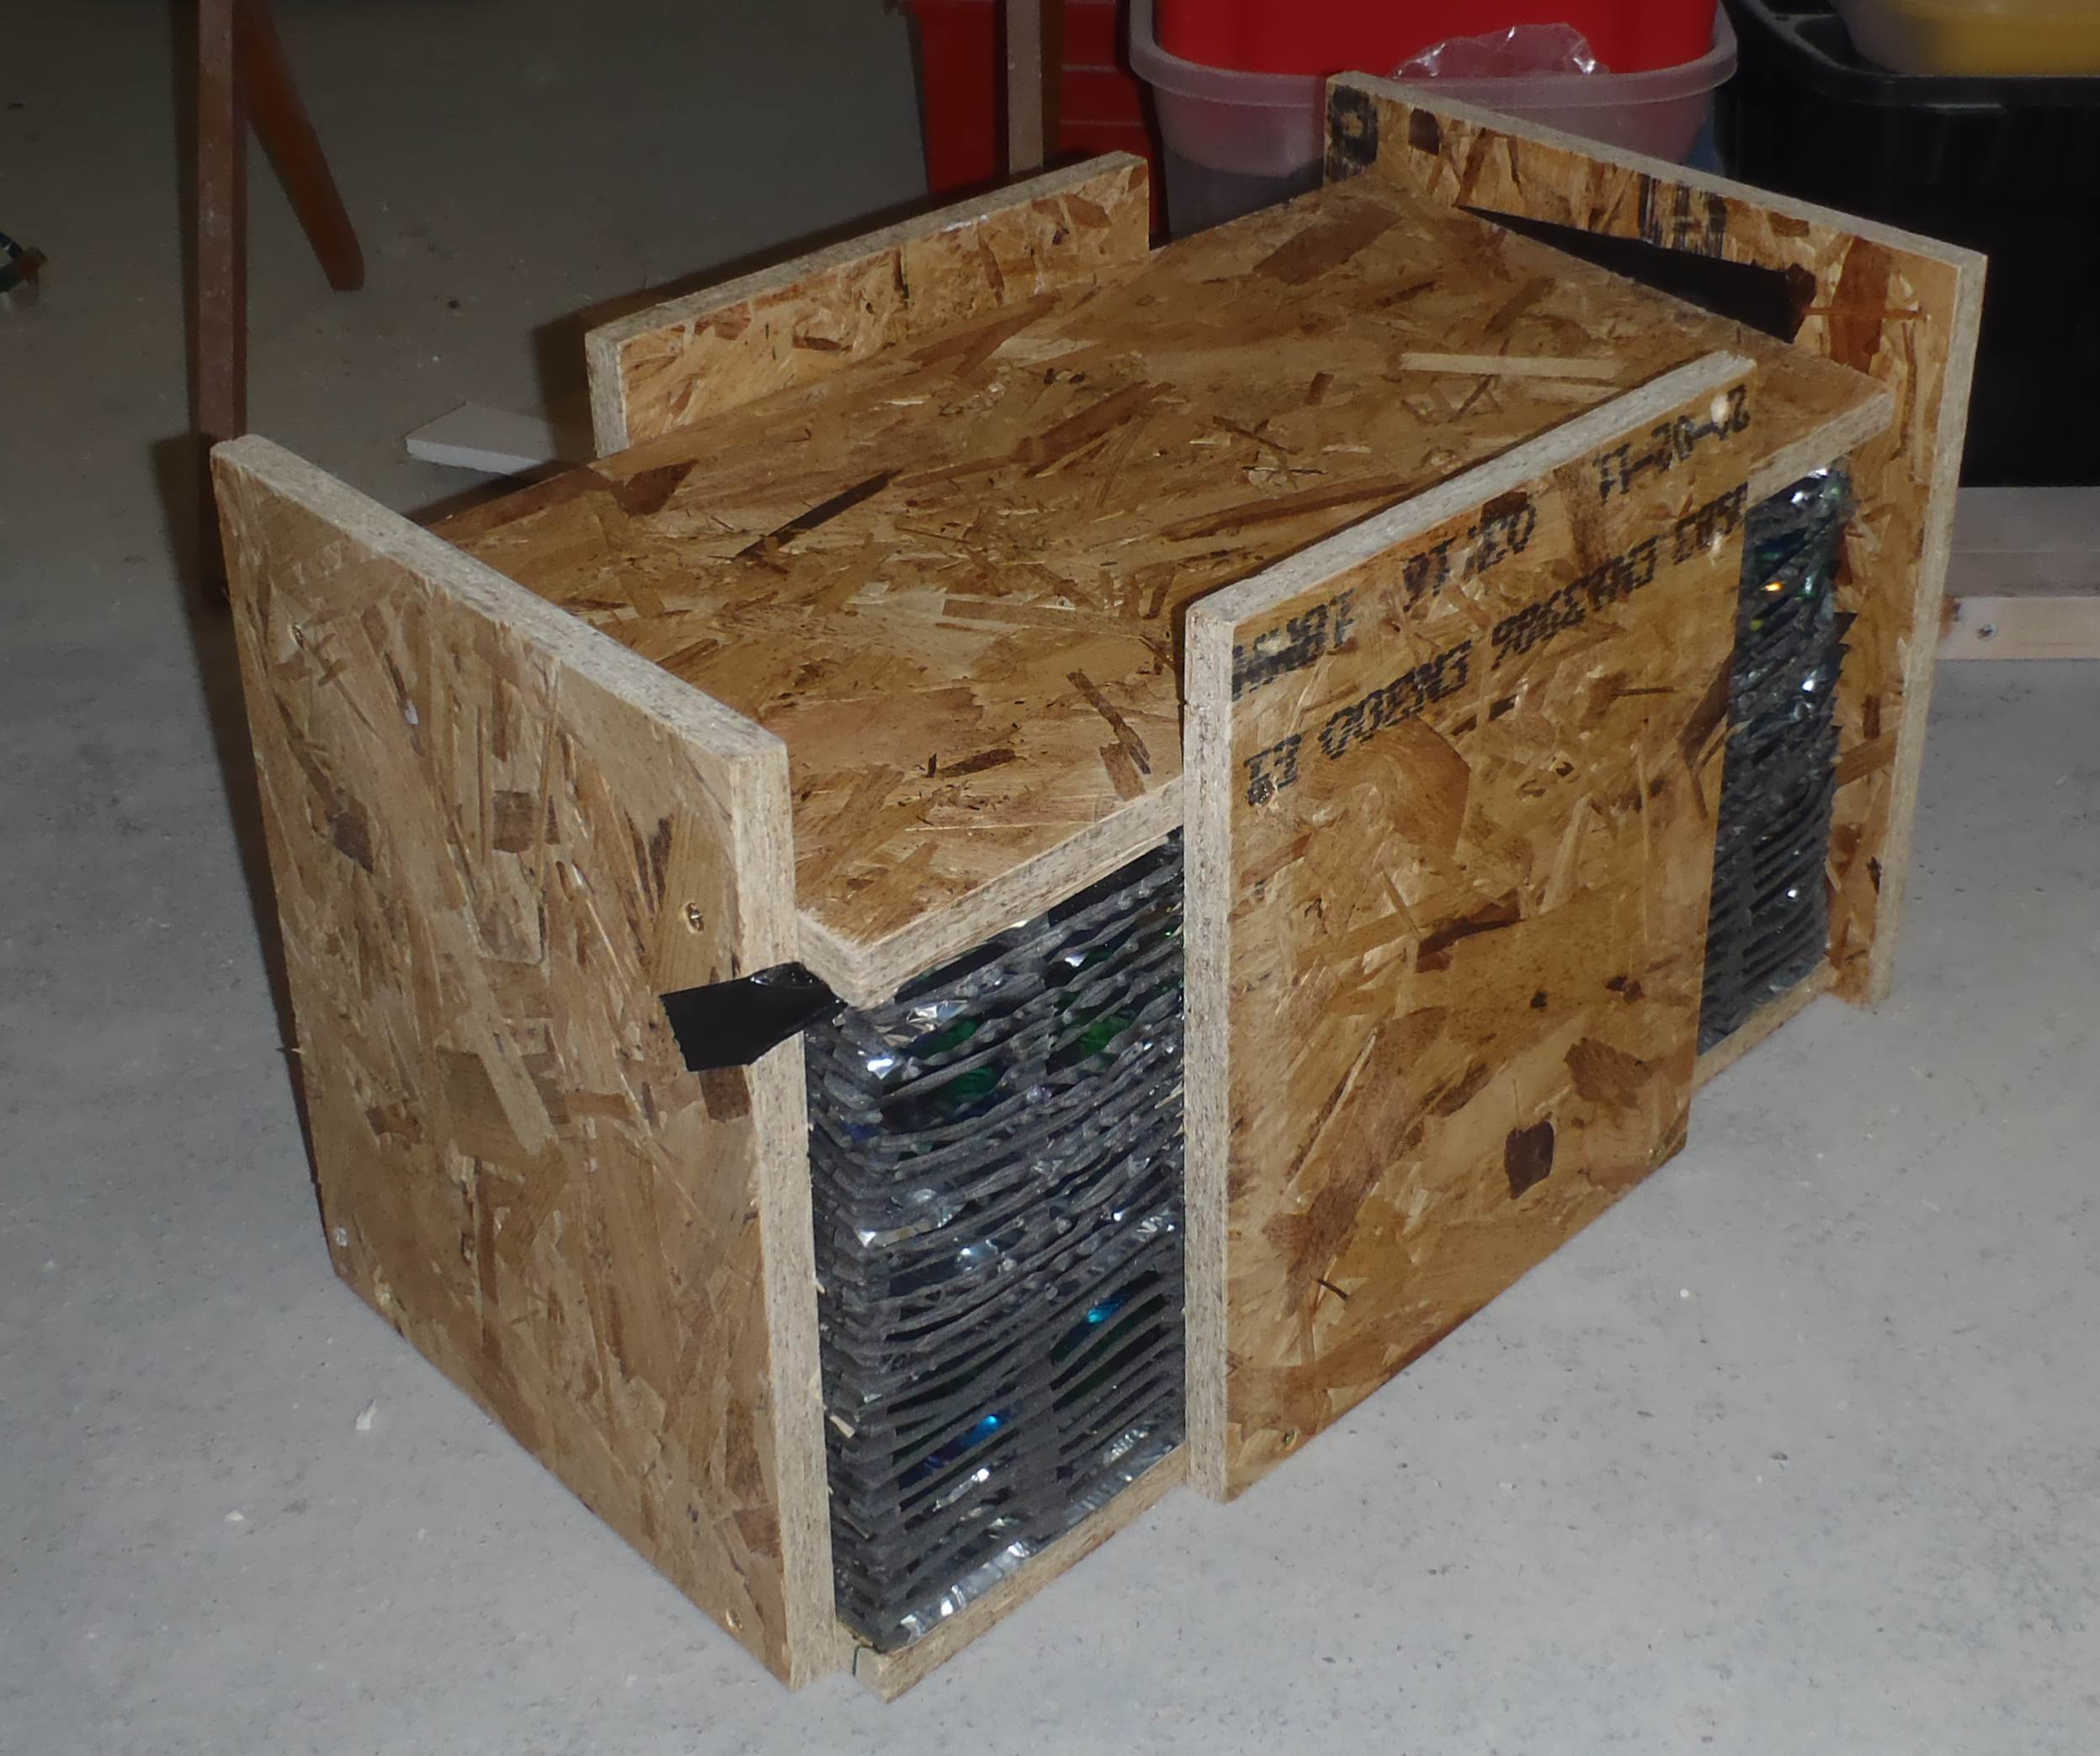
The air con unit is now assembled together and the “old” extracted air is now going through the heat exchanger and blowing up the chimney to the outside as waste.
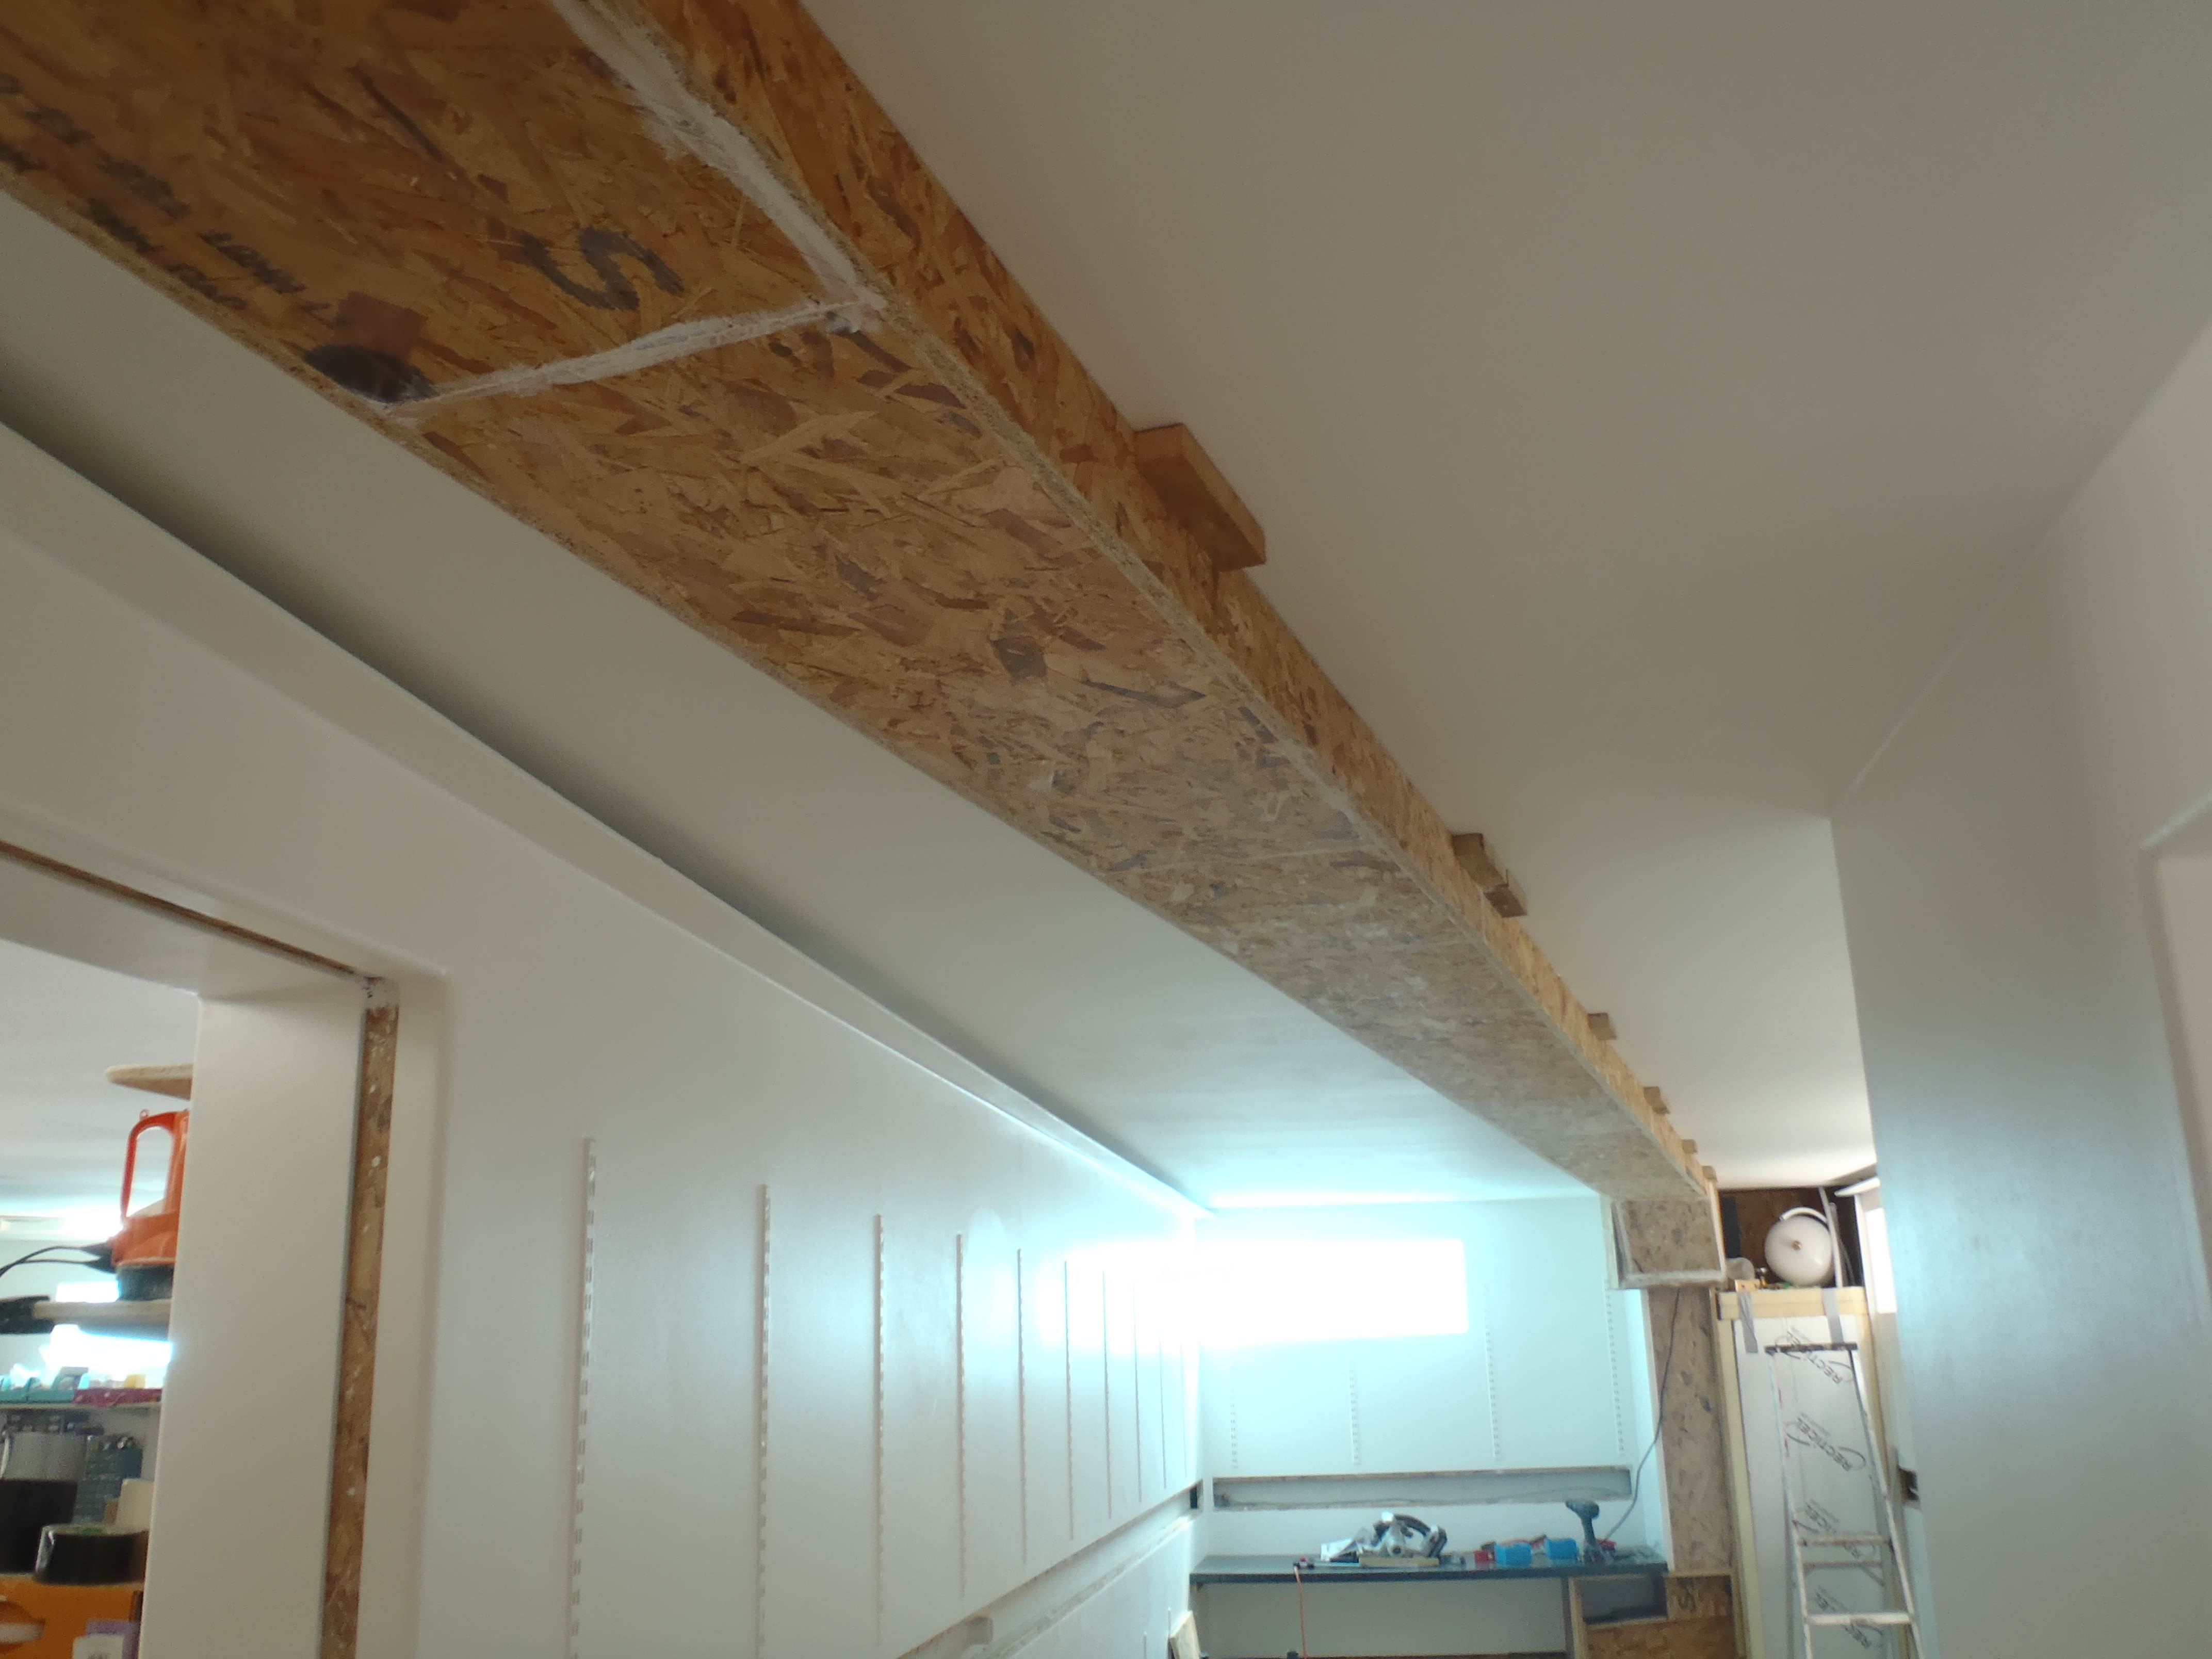
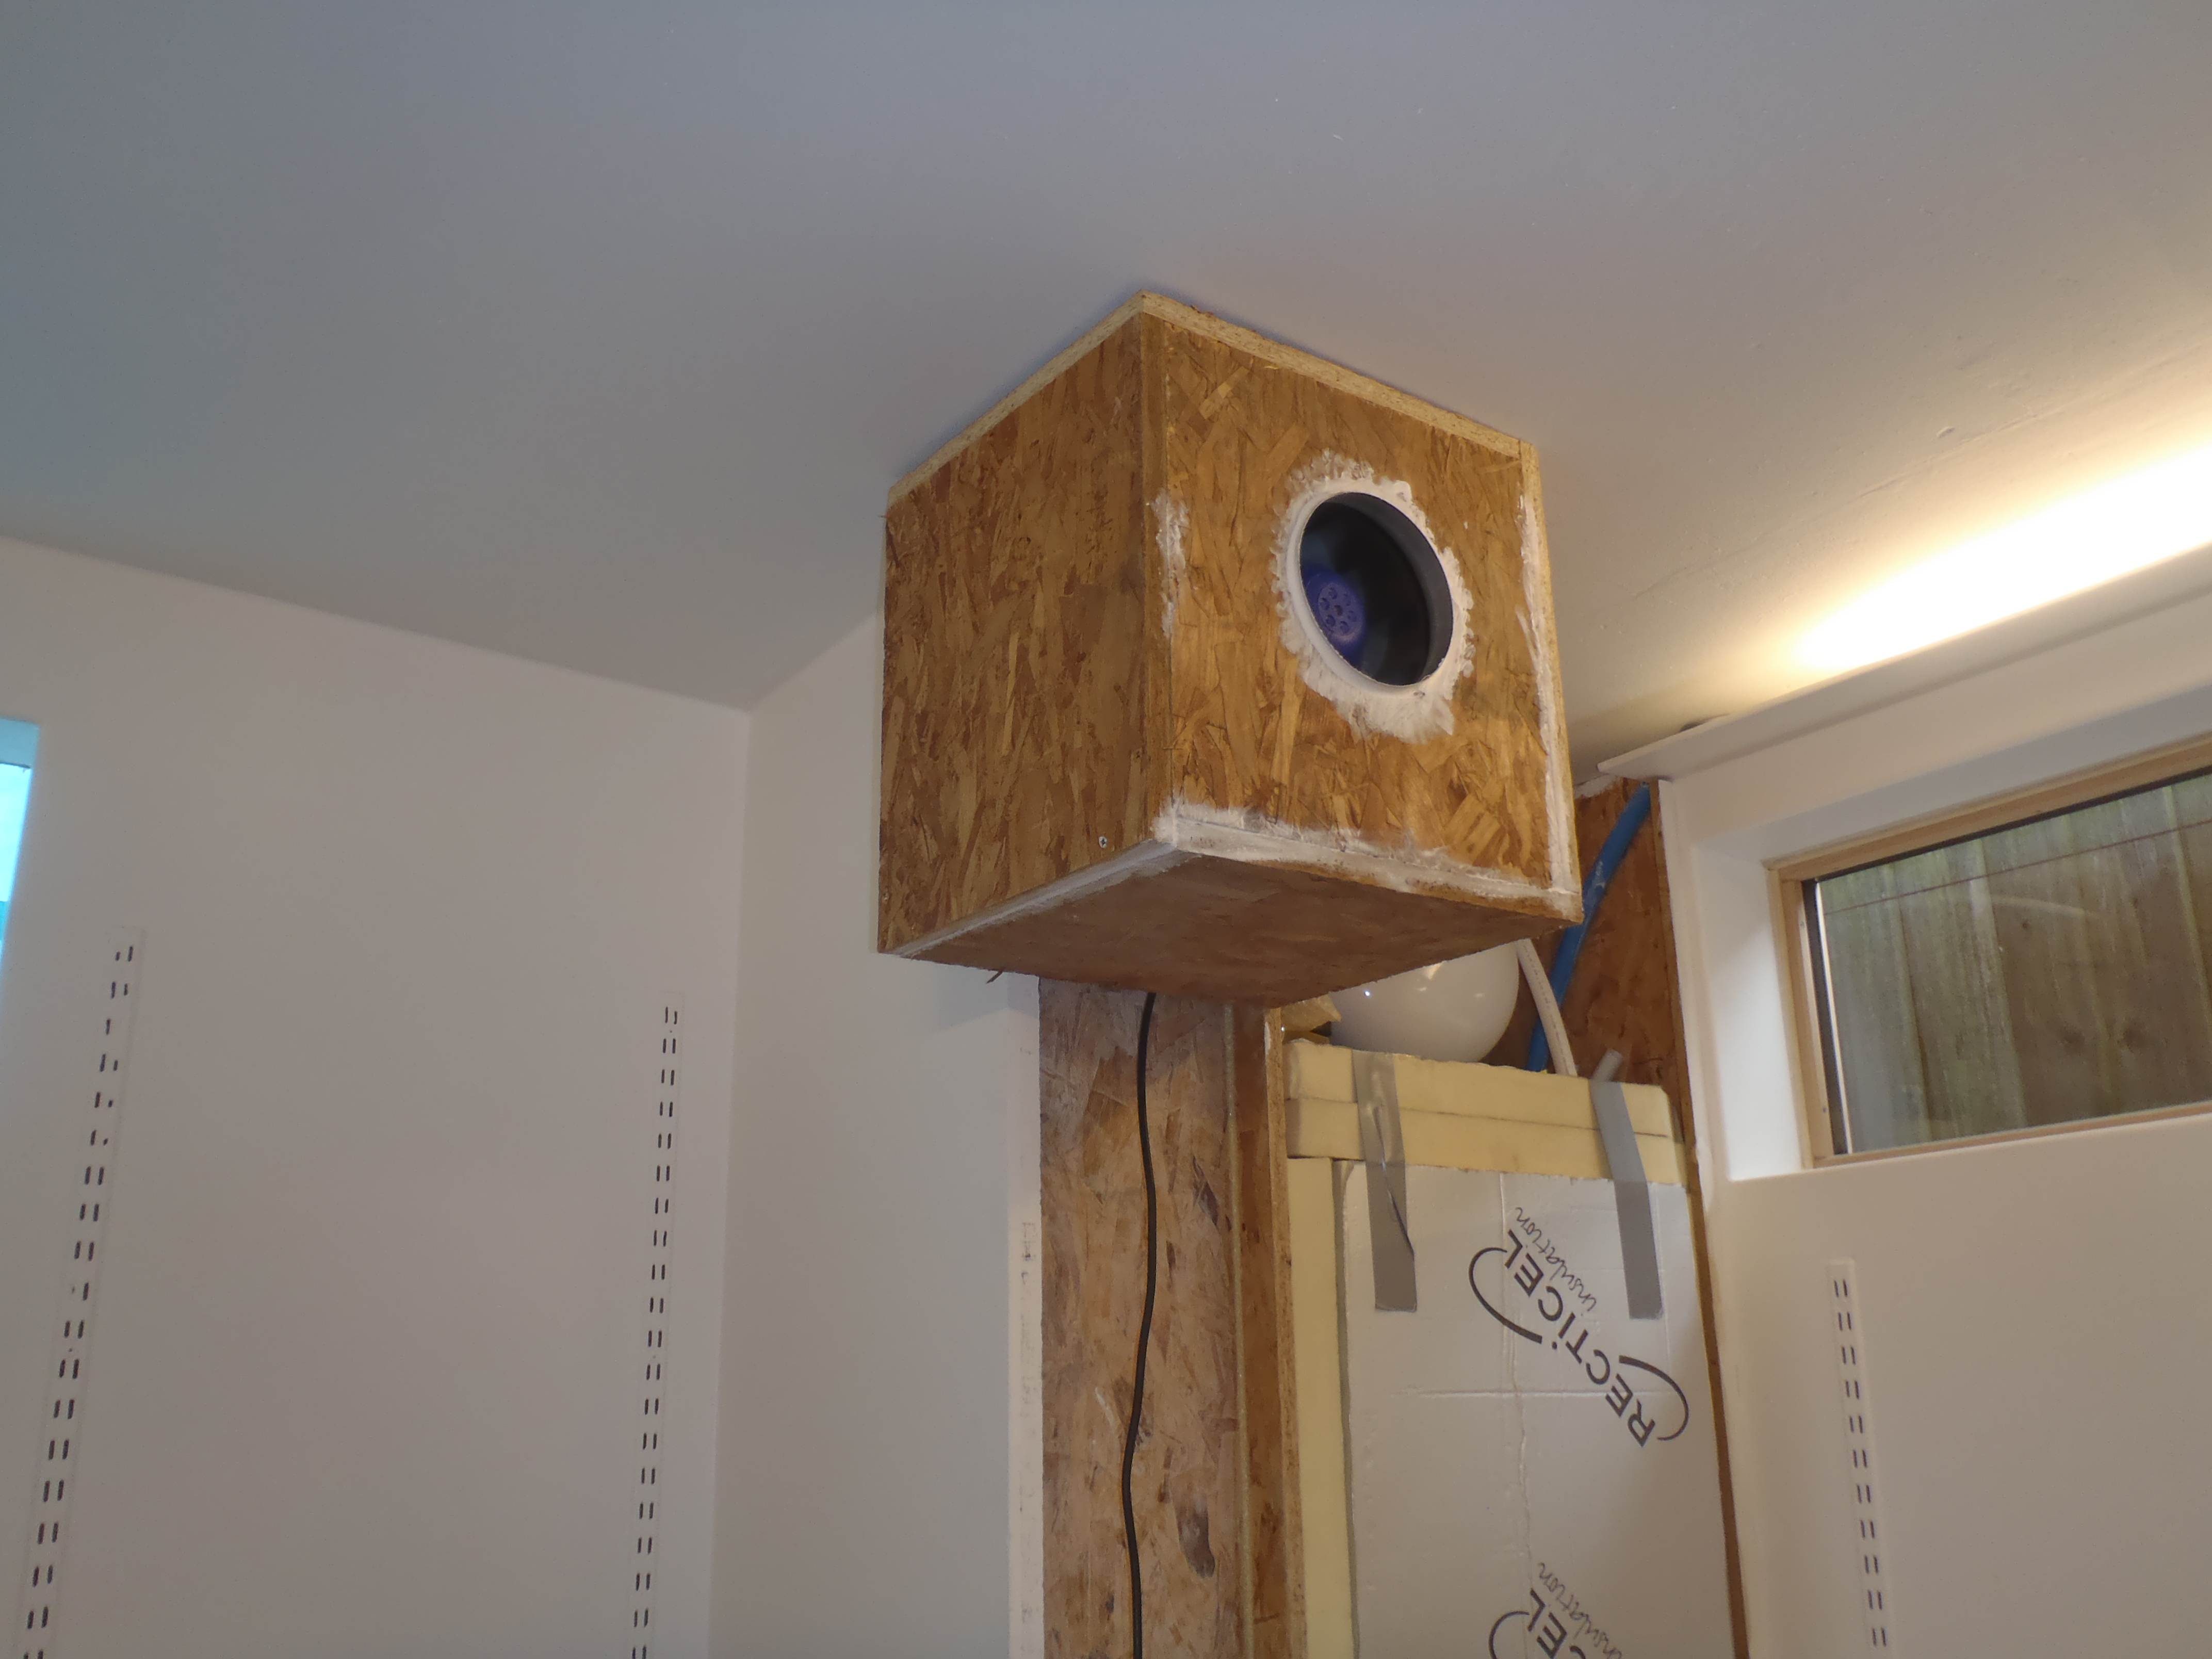
The second fan is installed ready for operation but it will not be working much at all until we have provided a chimney at the very beginning of the earth tubes over by the main house! the other end is still underground waiting for the main house to be built but we can put in a temporary chimney to benefit from drawing in fresh air and cooling it down through the buried earth tubes.
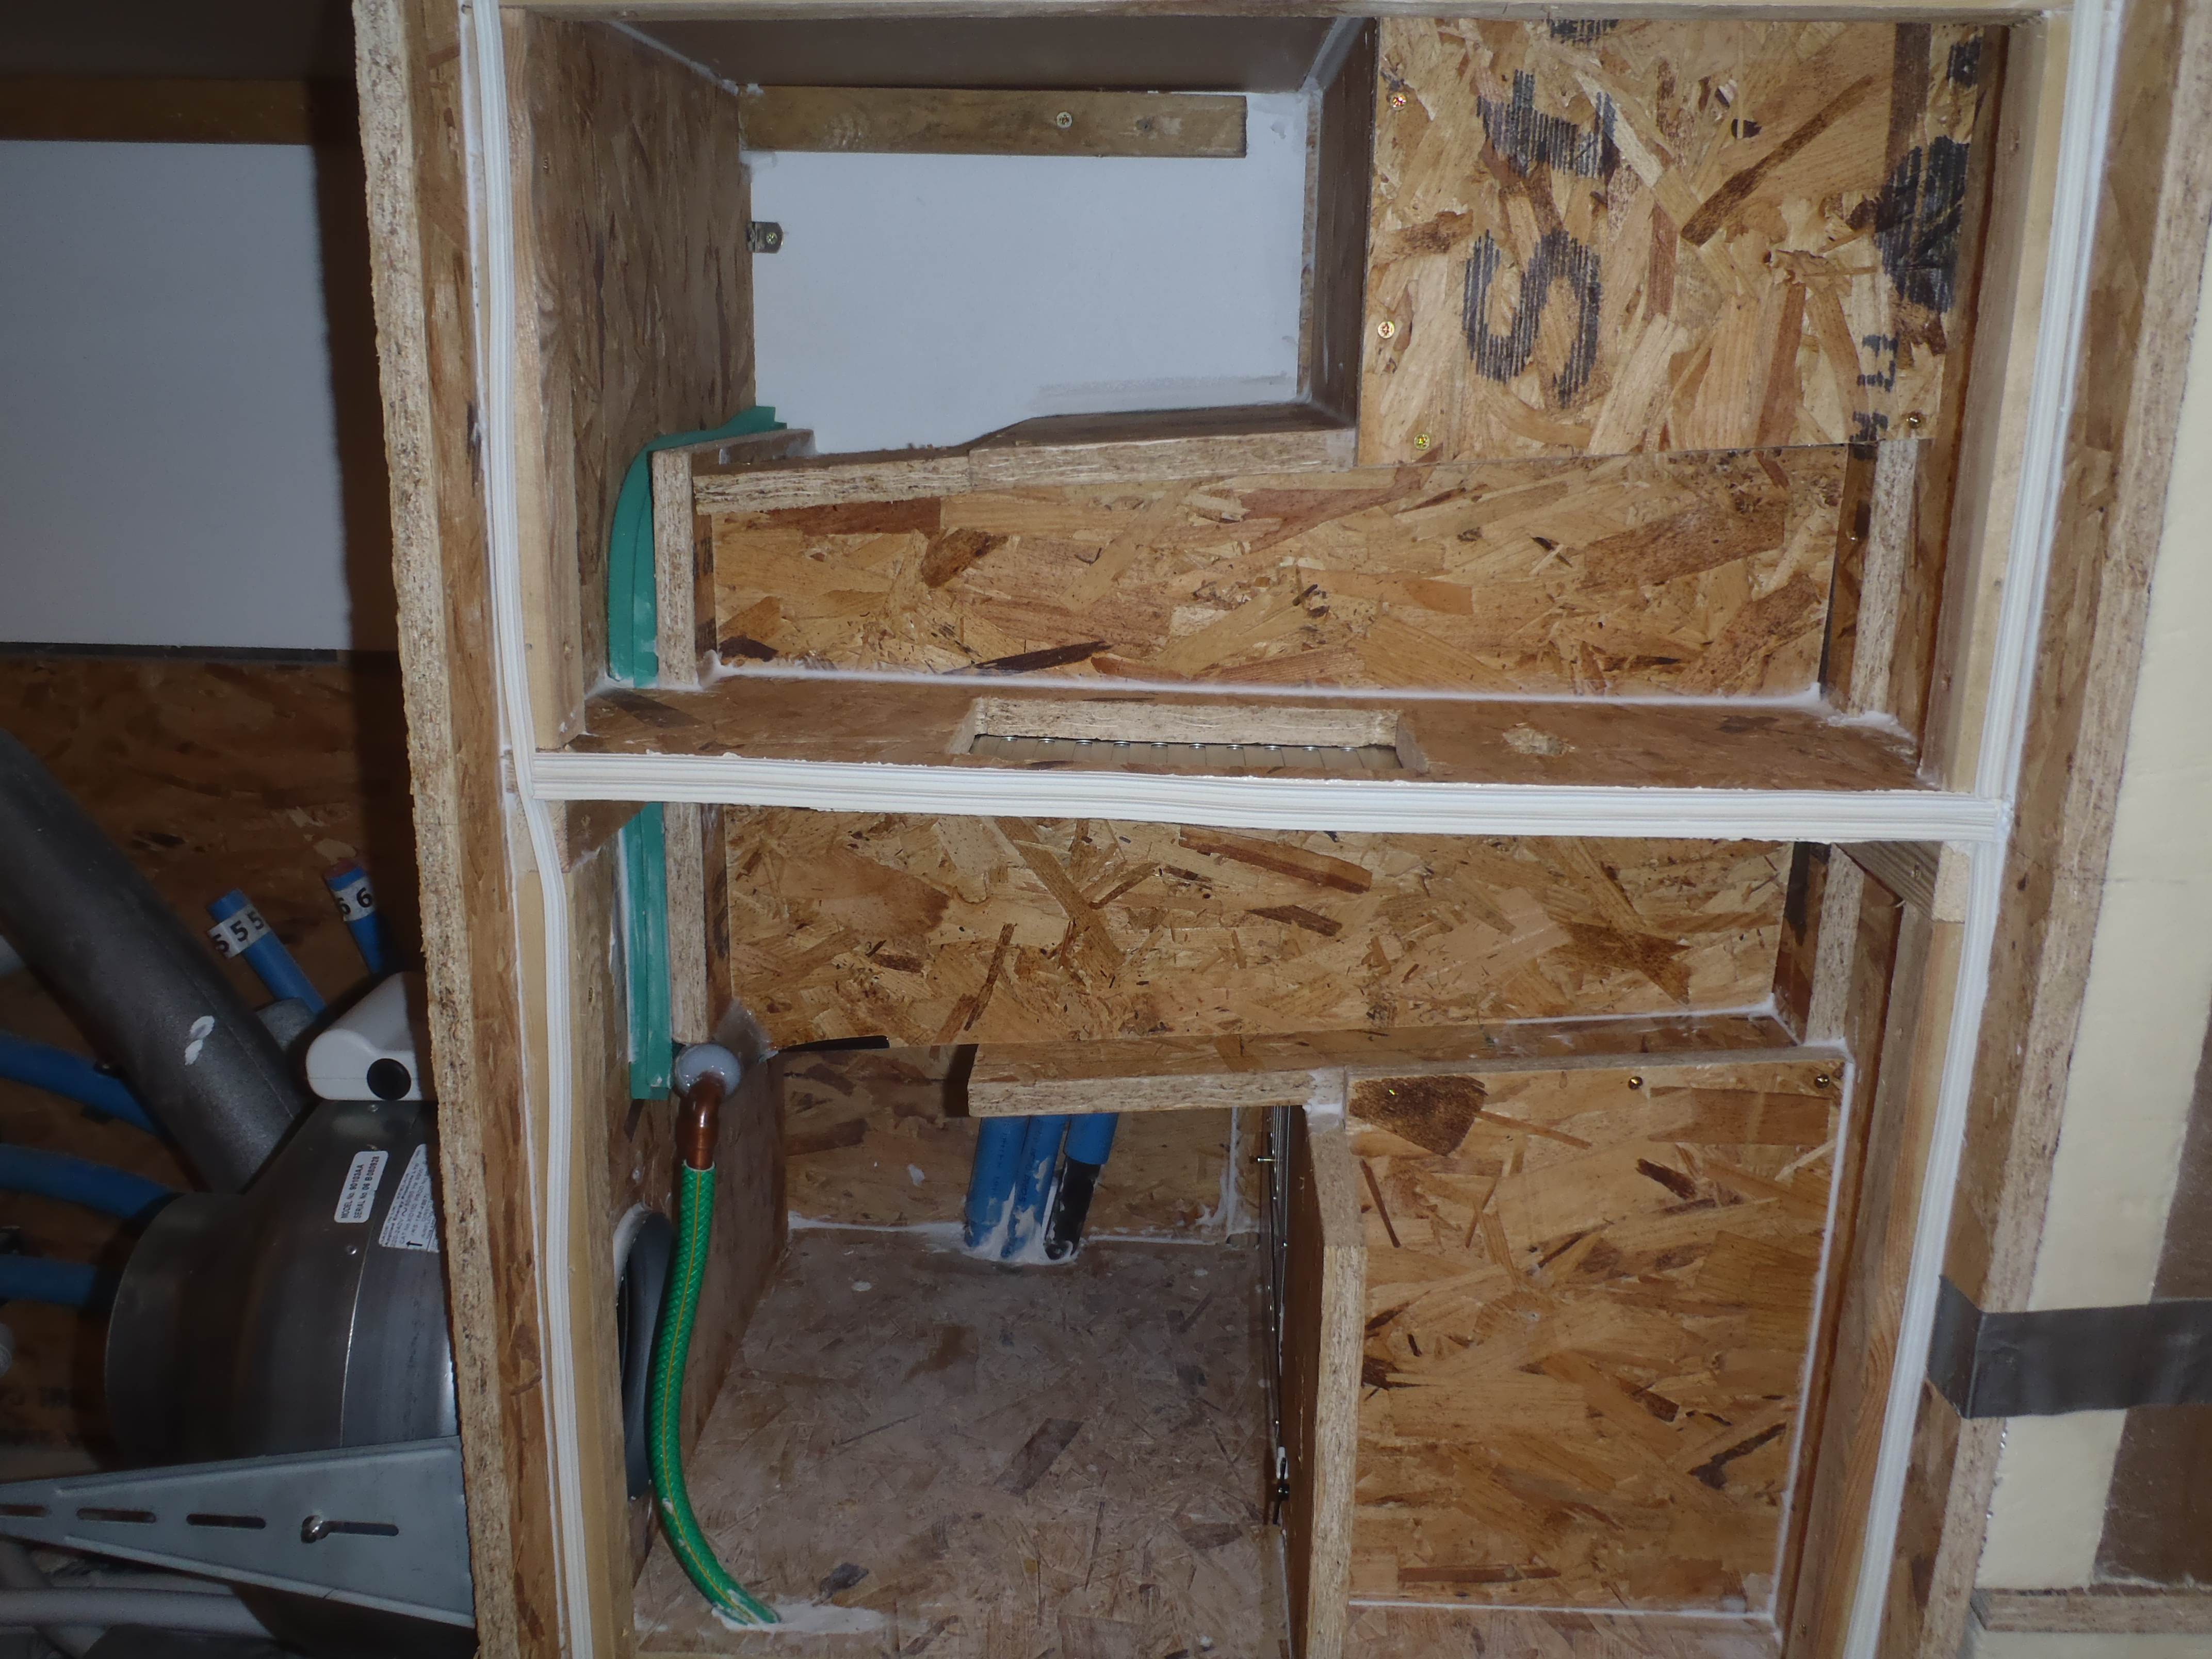
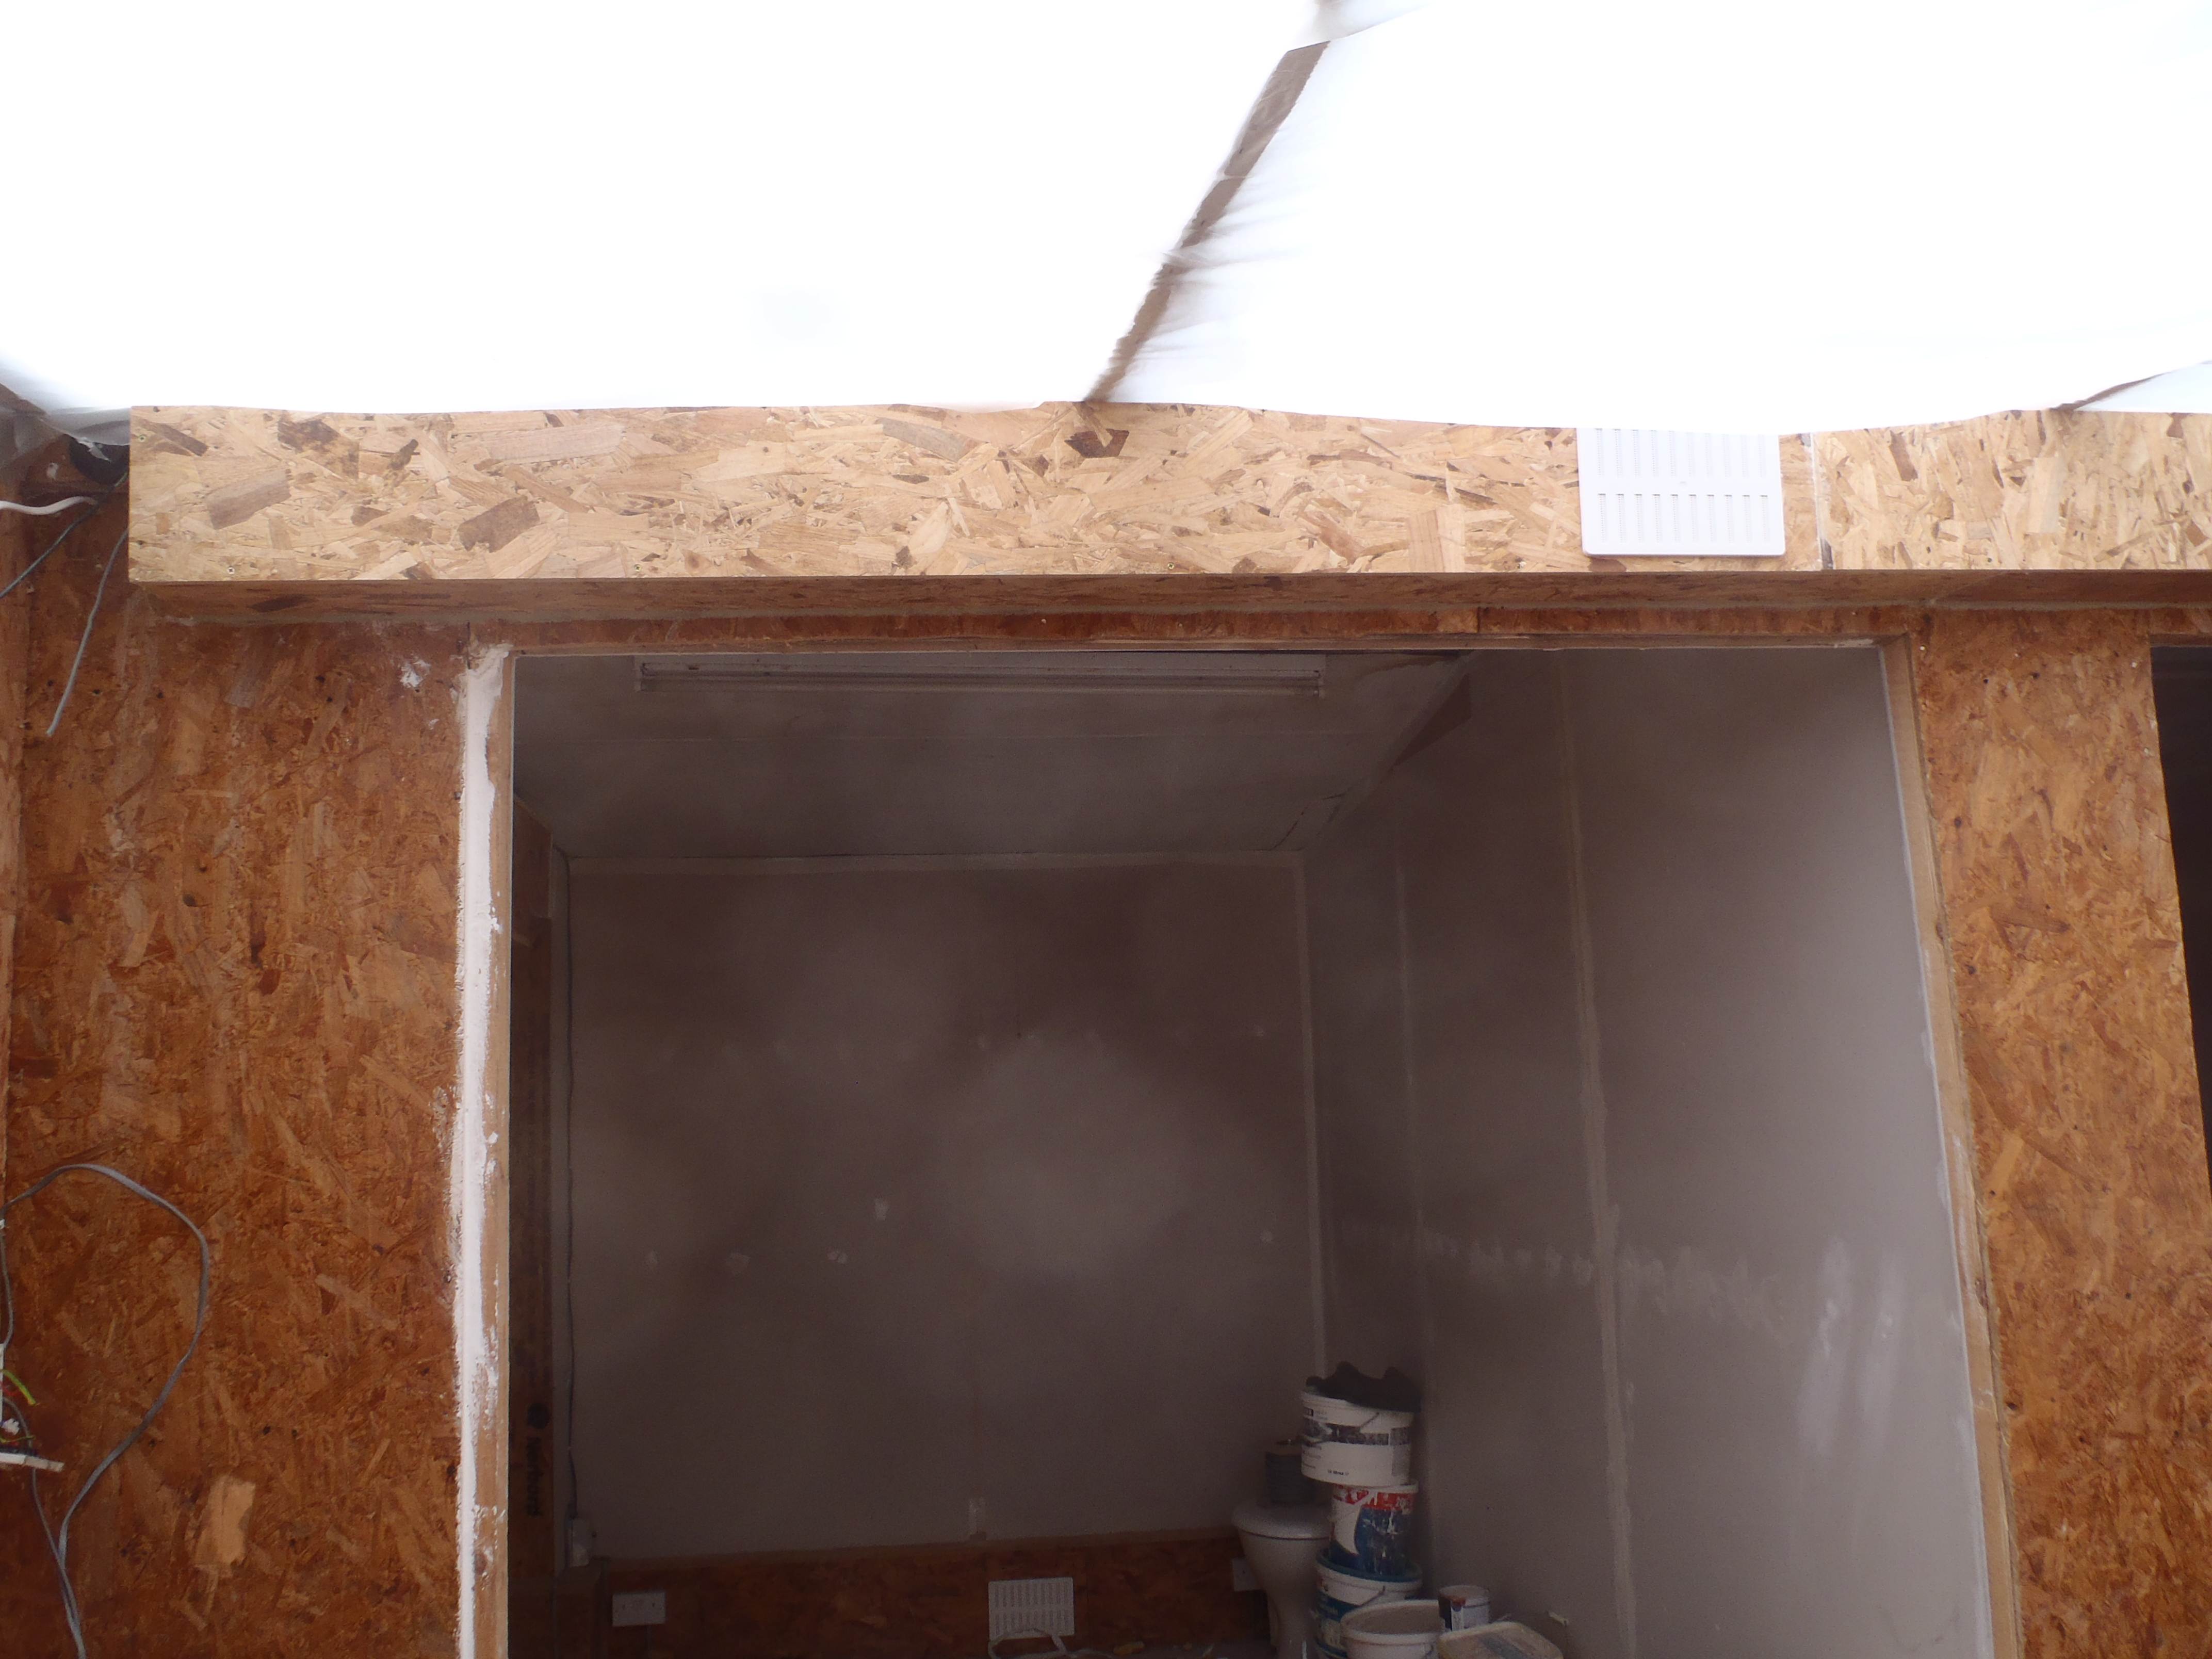
Heat exhanger installed
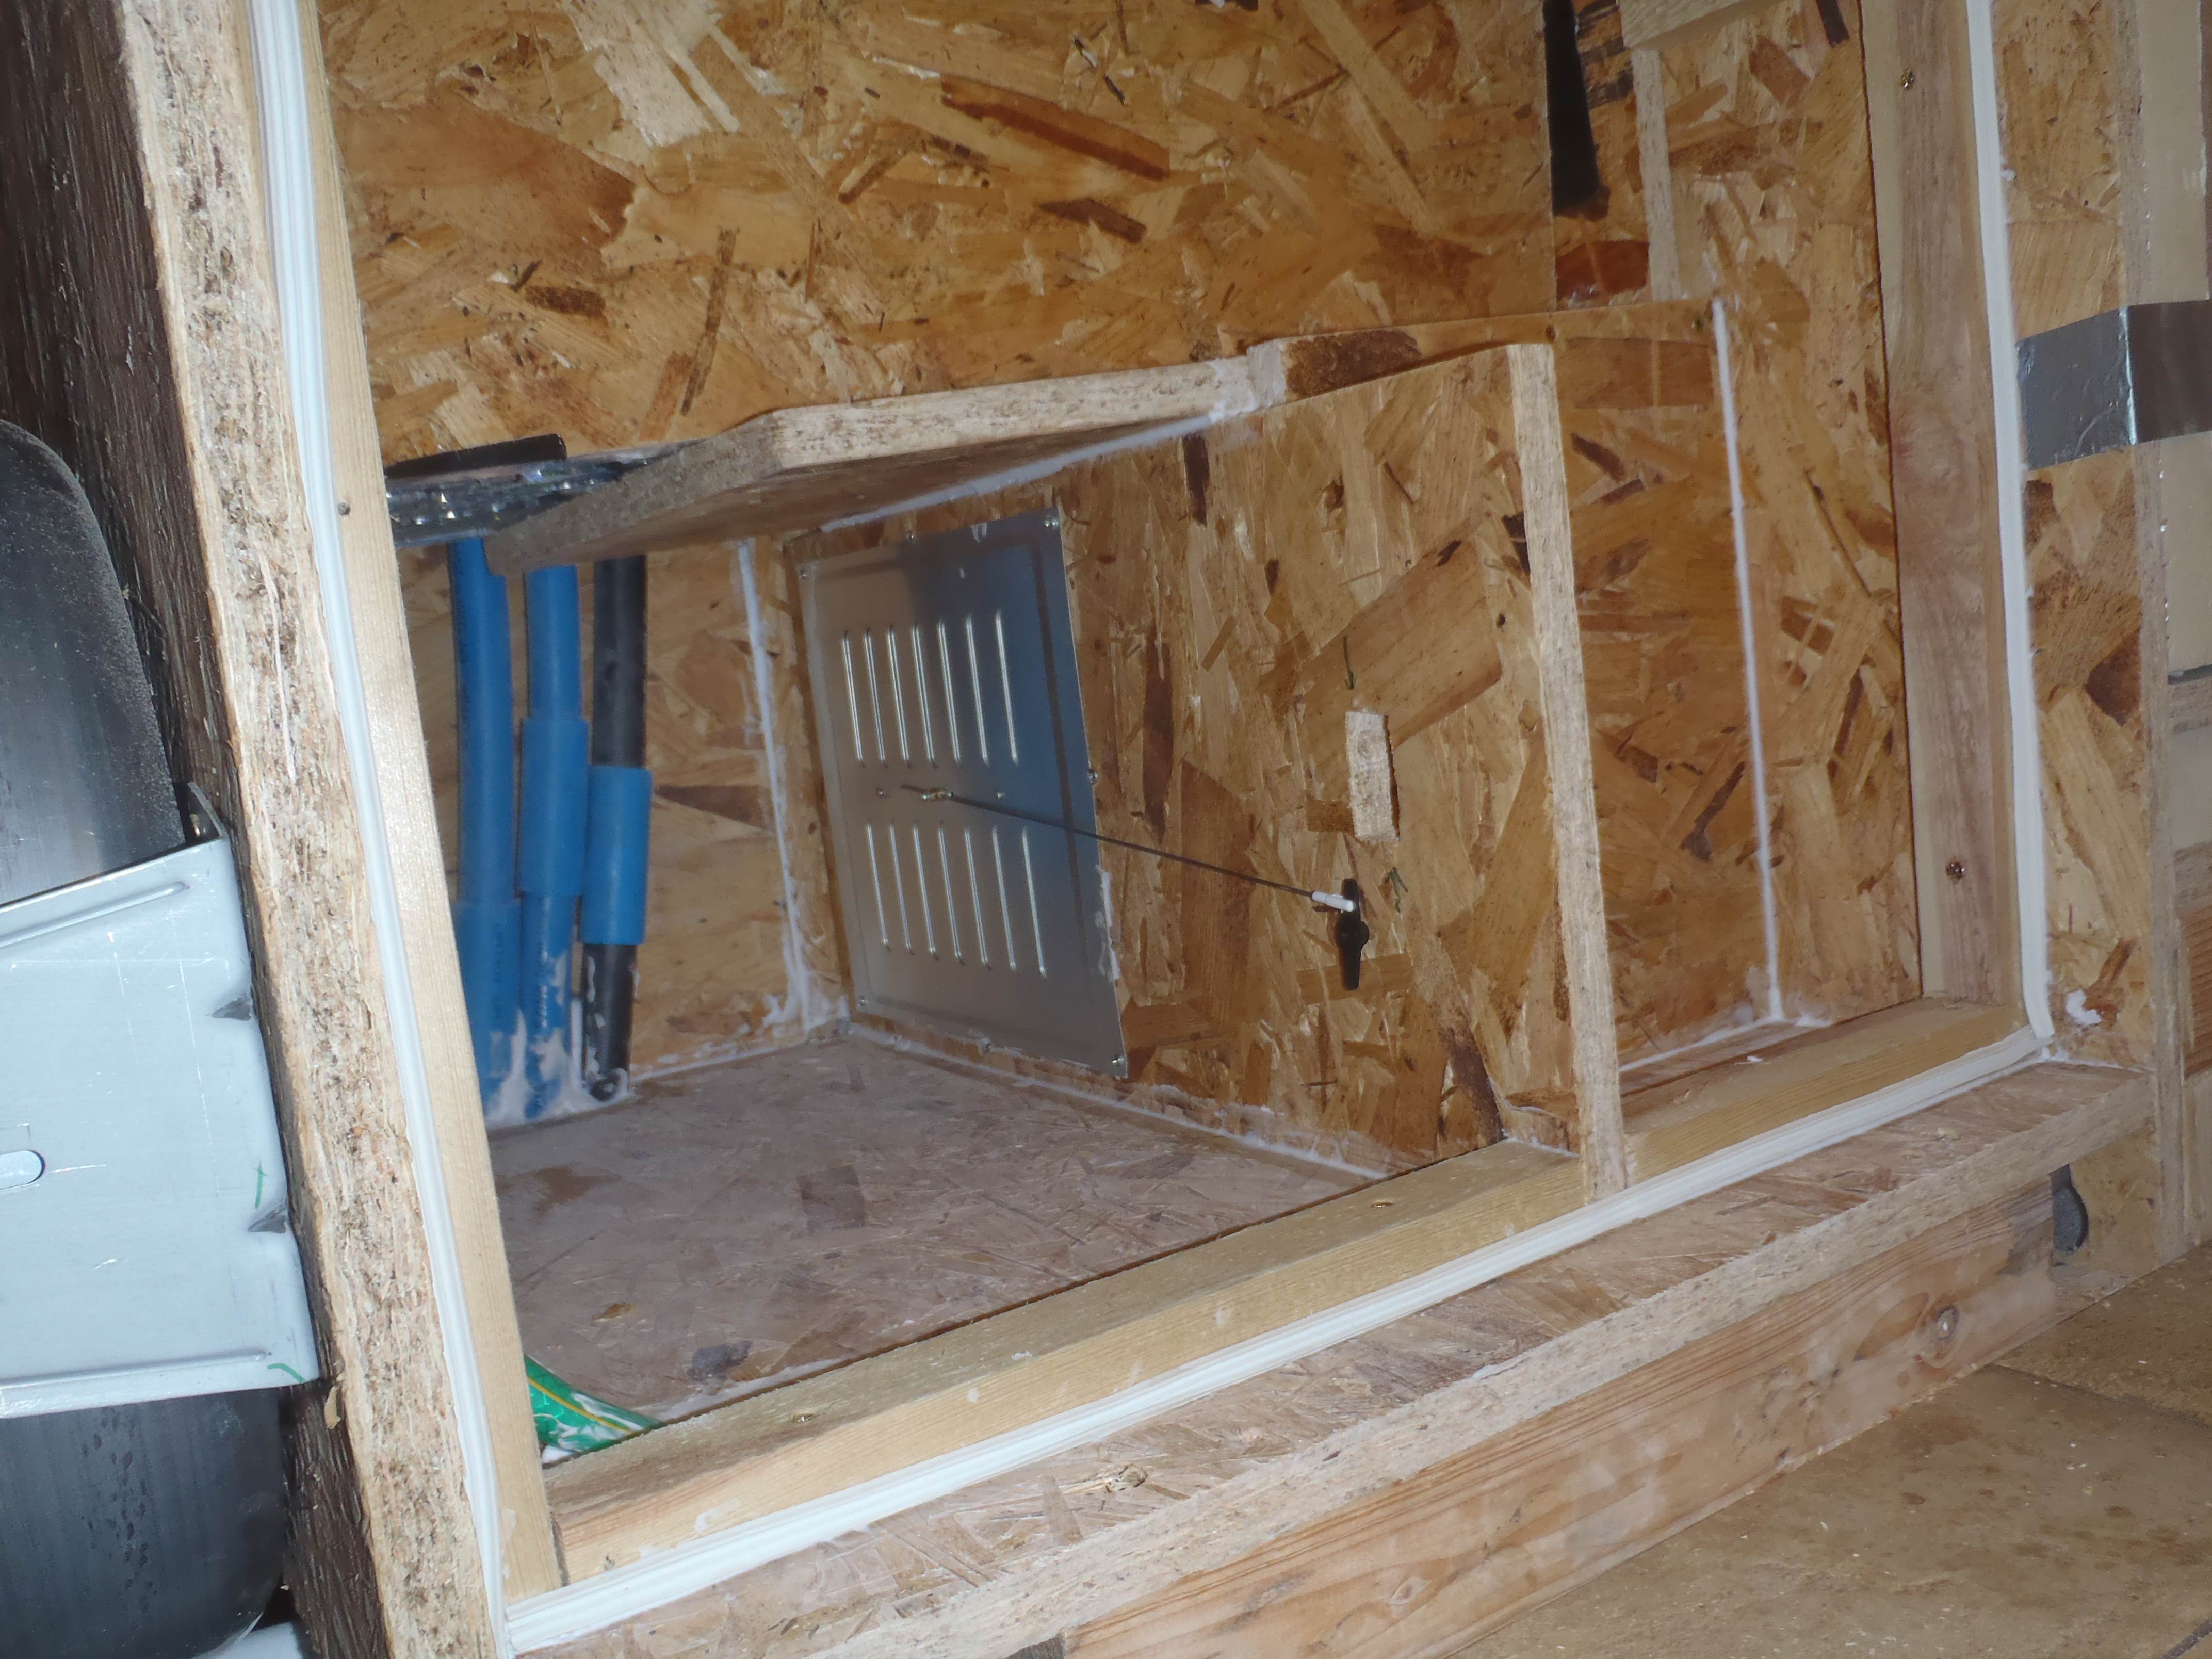
Heat exhanger installed
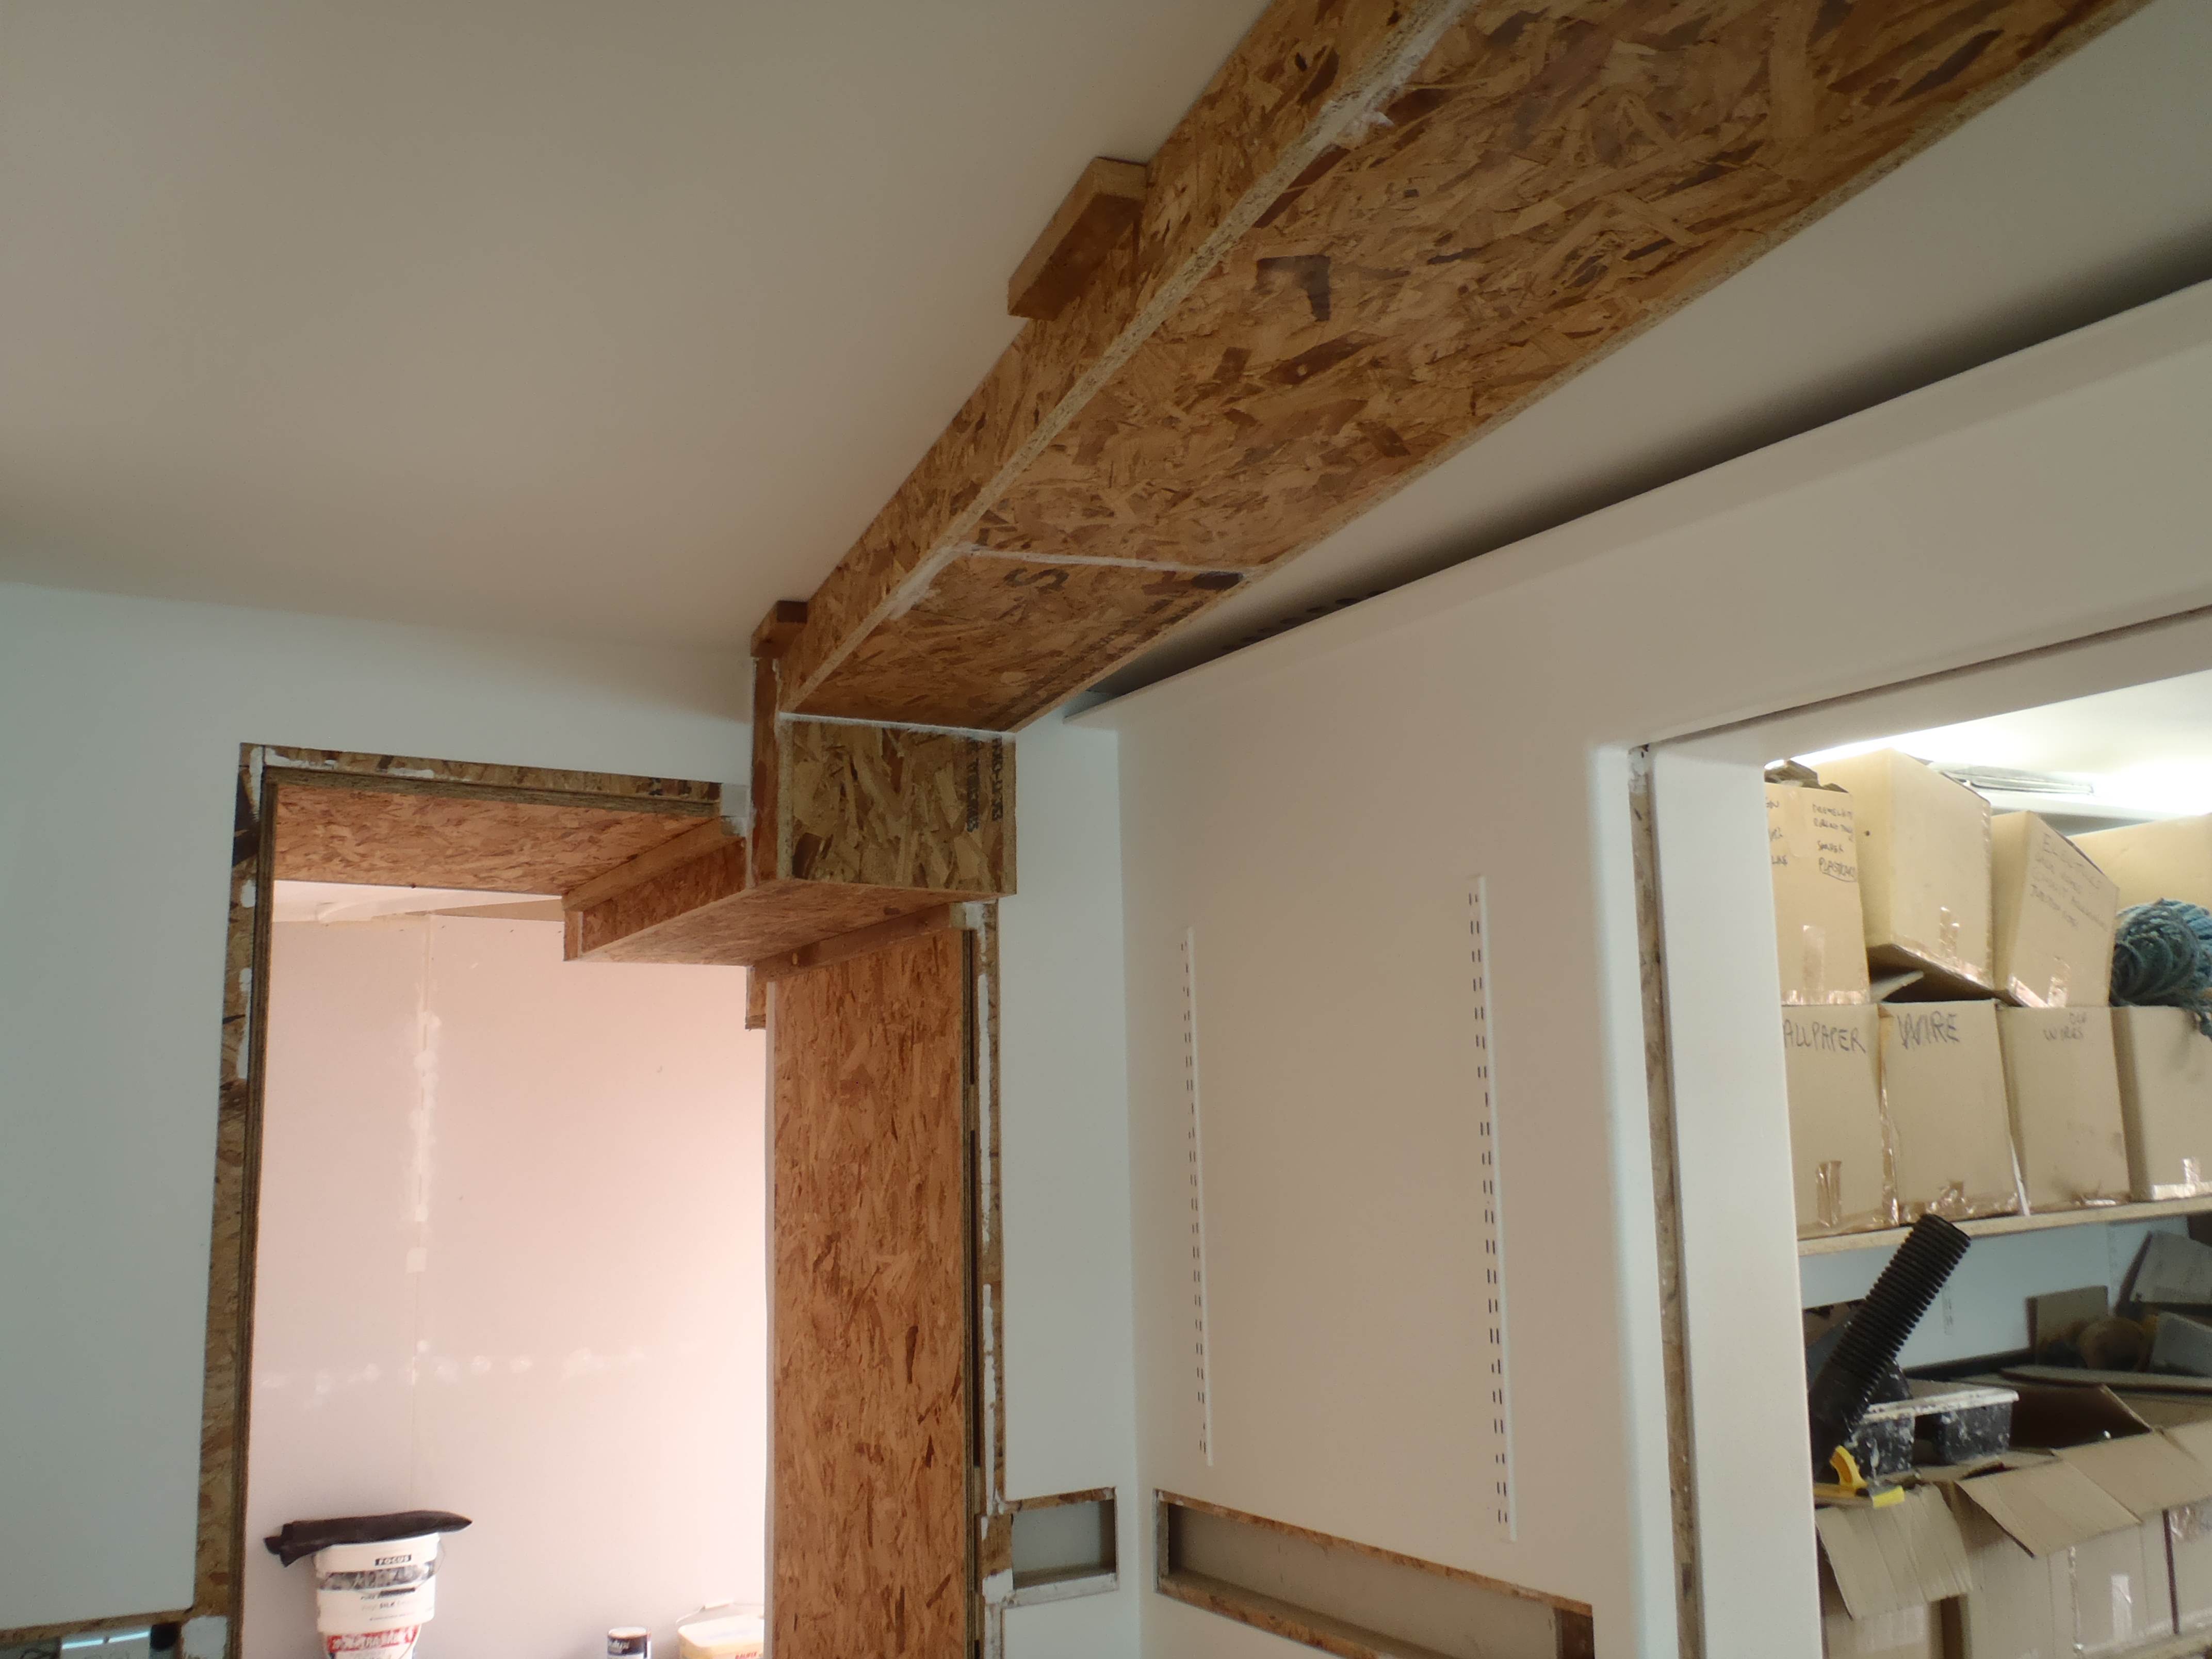
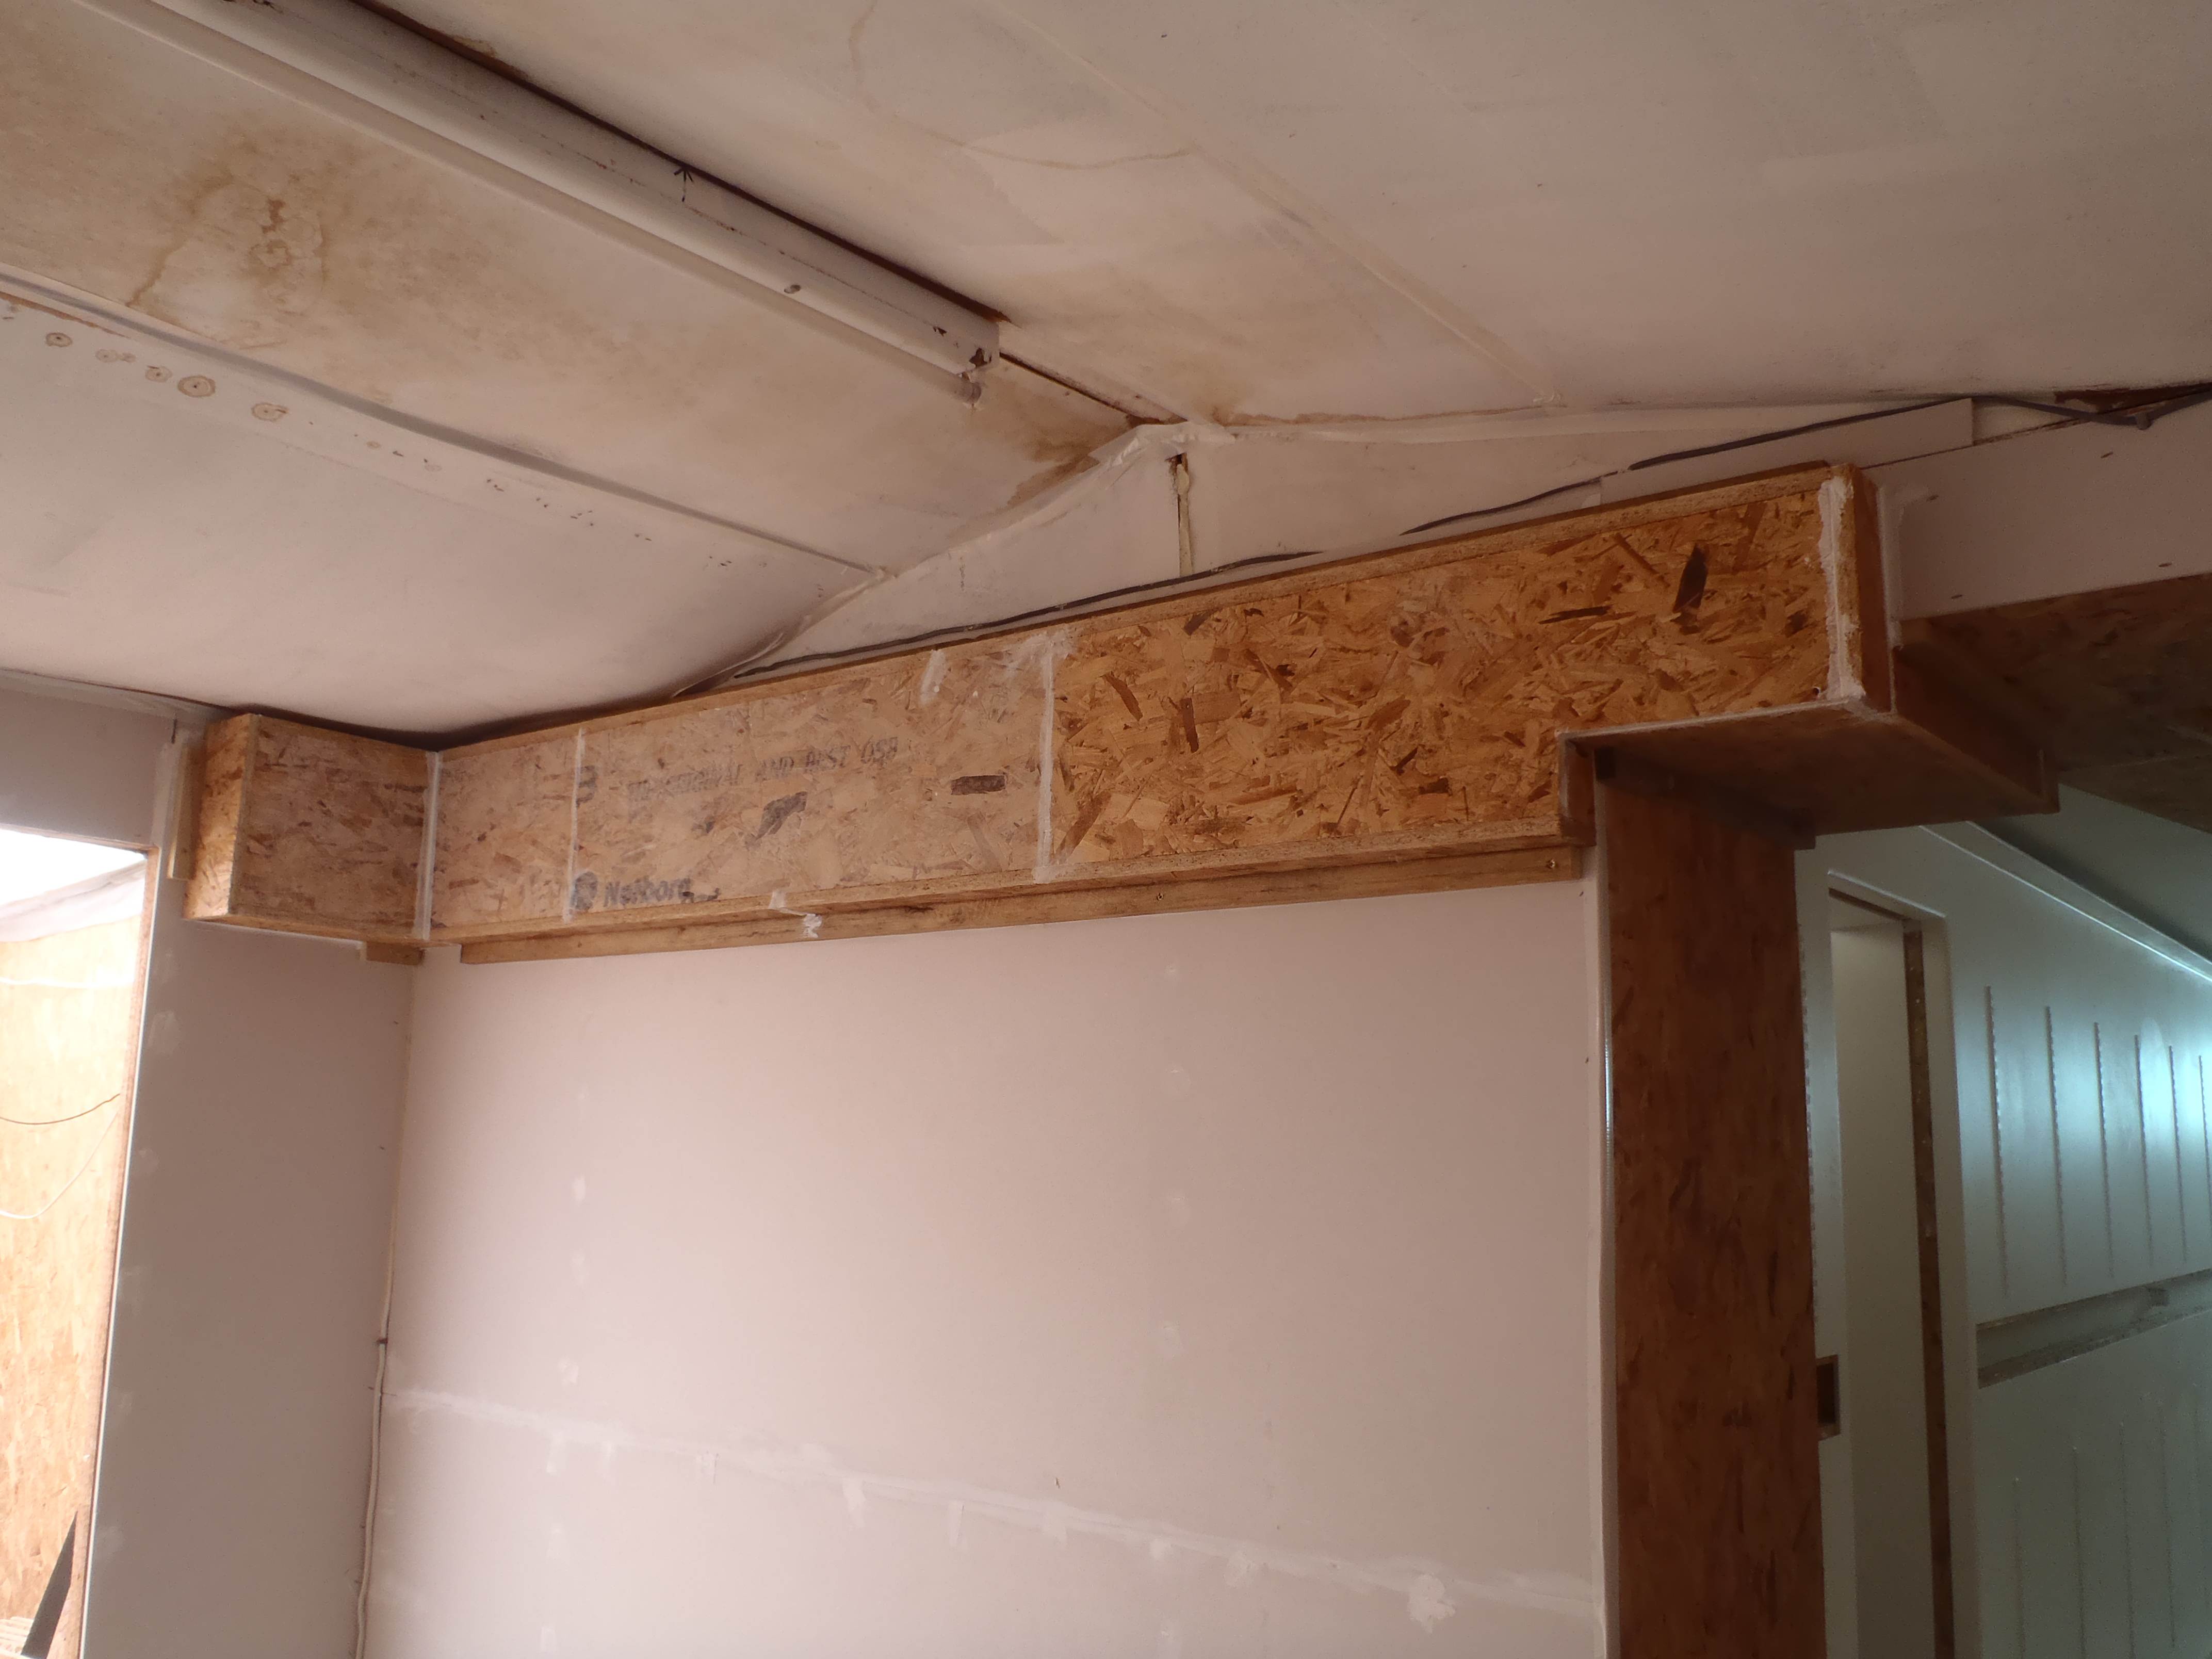
It is getting there!