The Oak Window frame we glued yesterday seems to have come out ok. For our first one, it is not too bad, just a little joint creep! We will try and watch out for that with our 2nd frame we have done today.
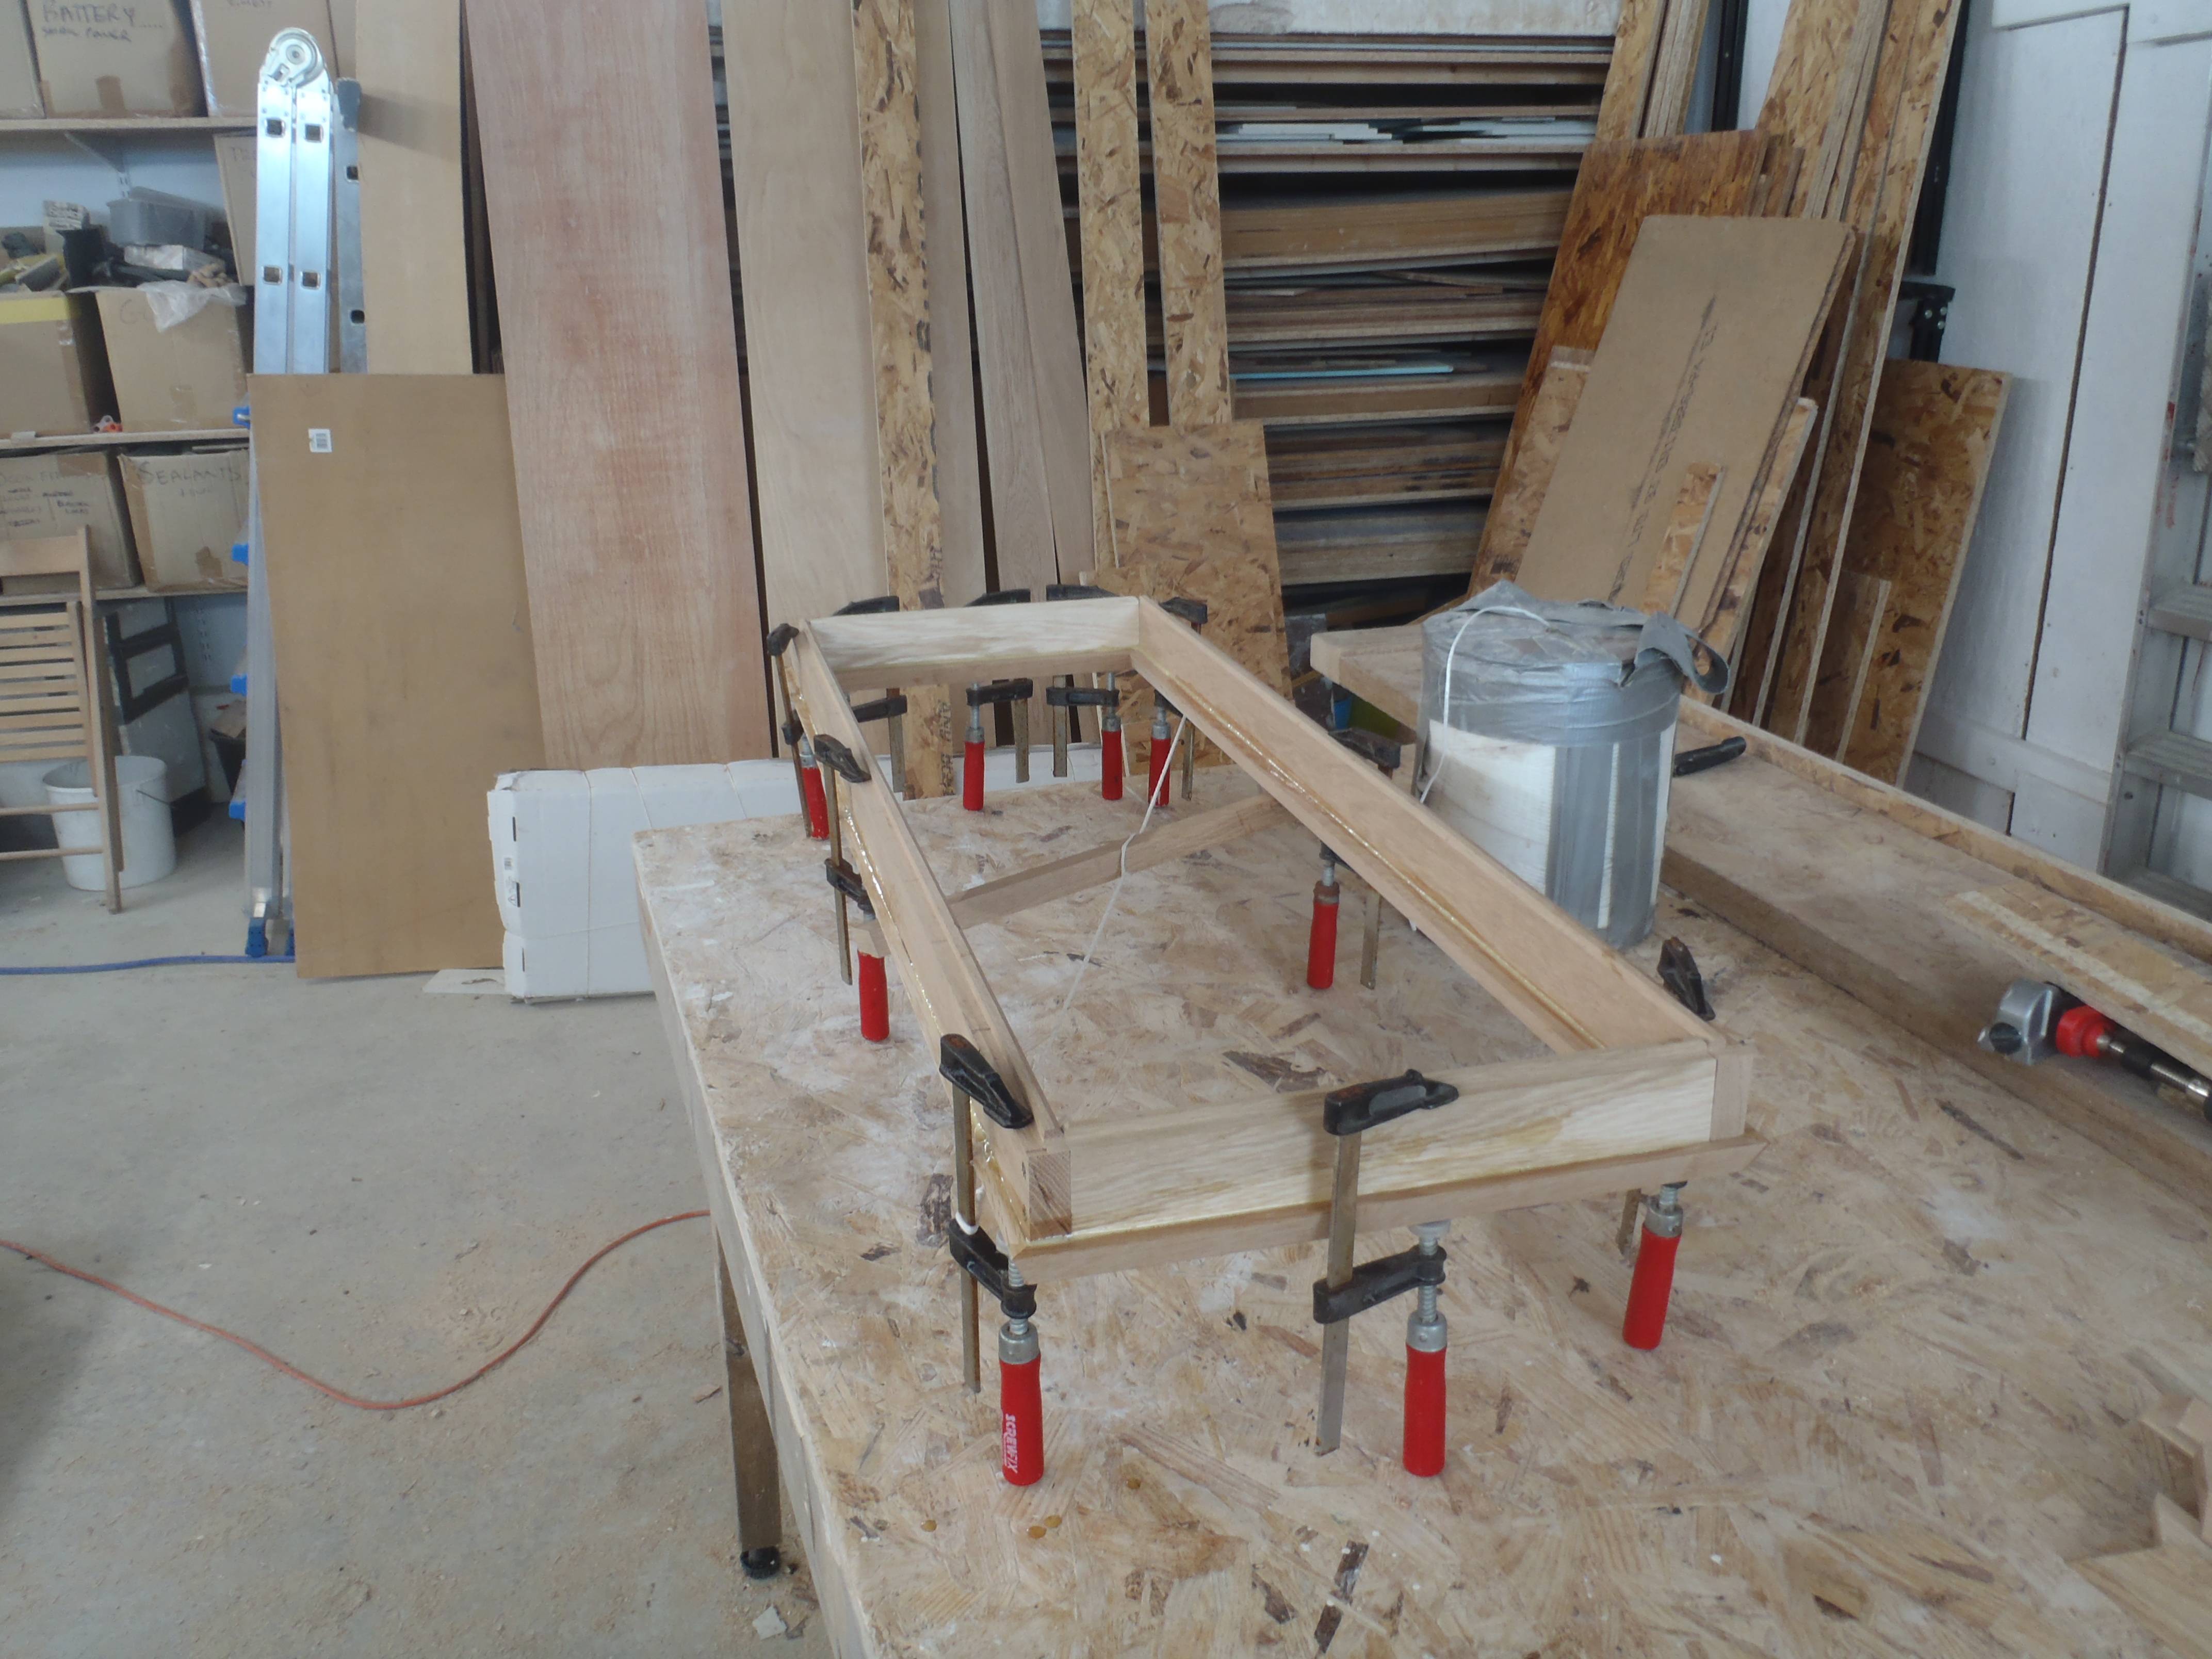
First Frame completed
The Oak Window frame we glued yesterday seems to have come out ok. For our first one, it is not too bad, just a little joint creep! We will try and watch out for that with our 2nd frame we have done today.
First Frame completed
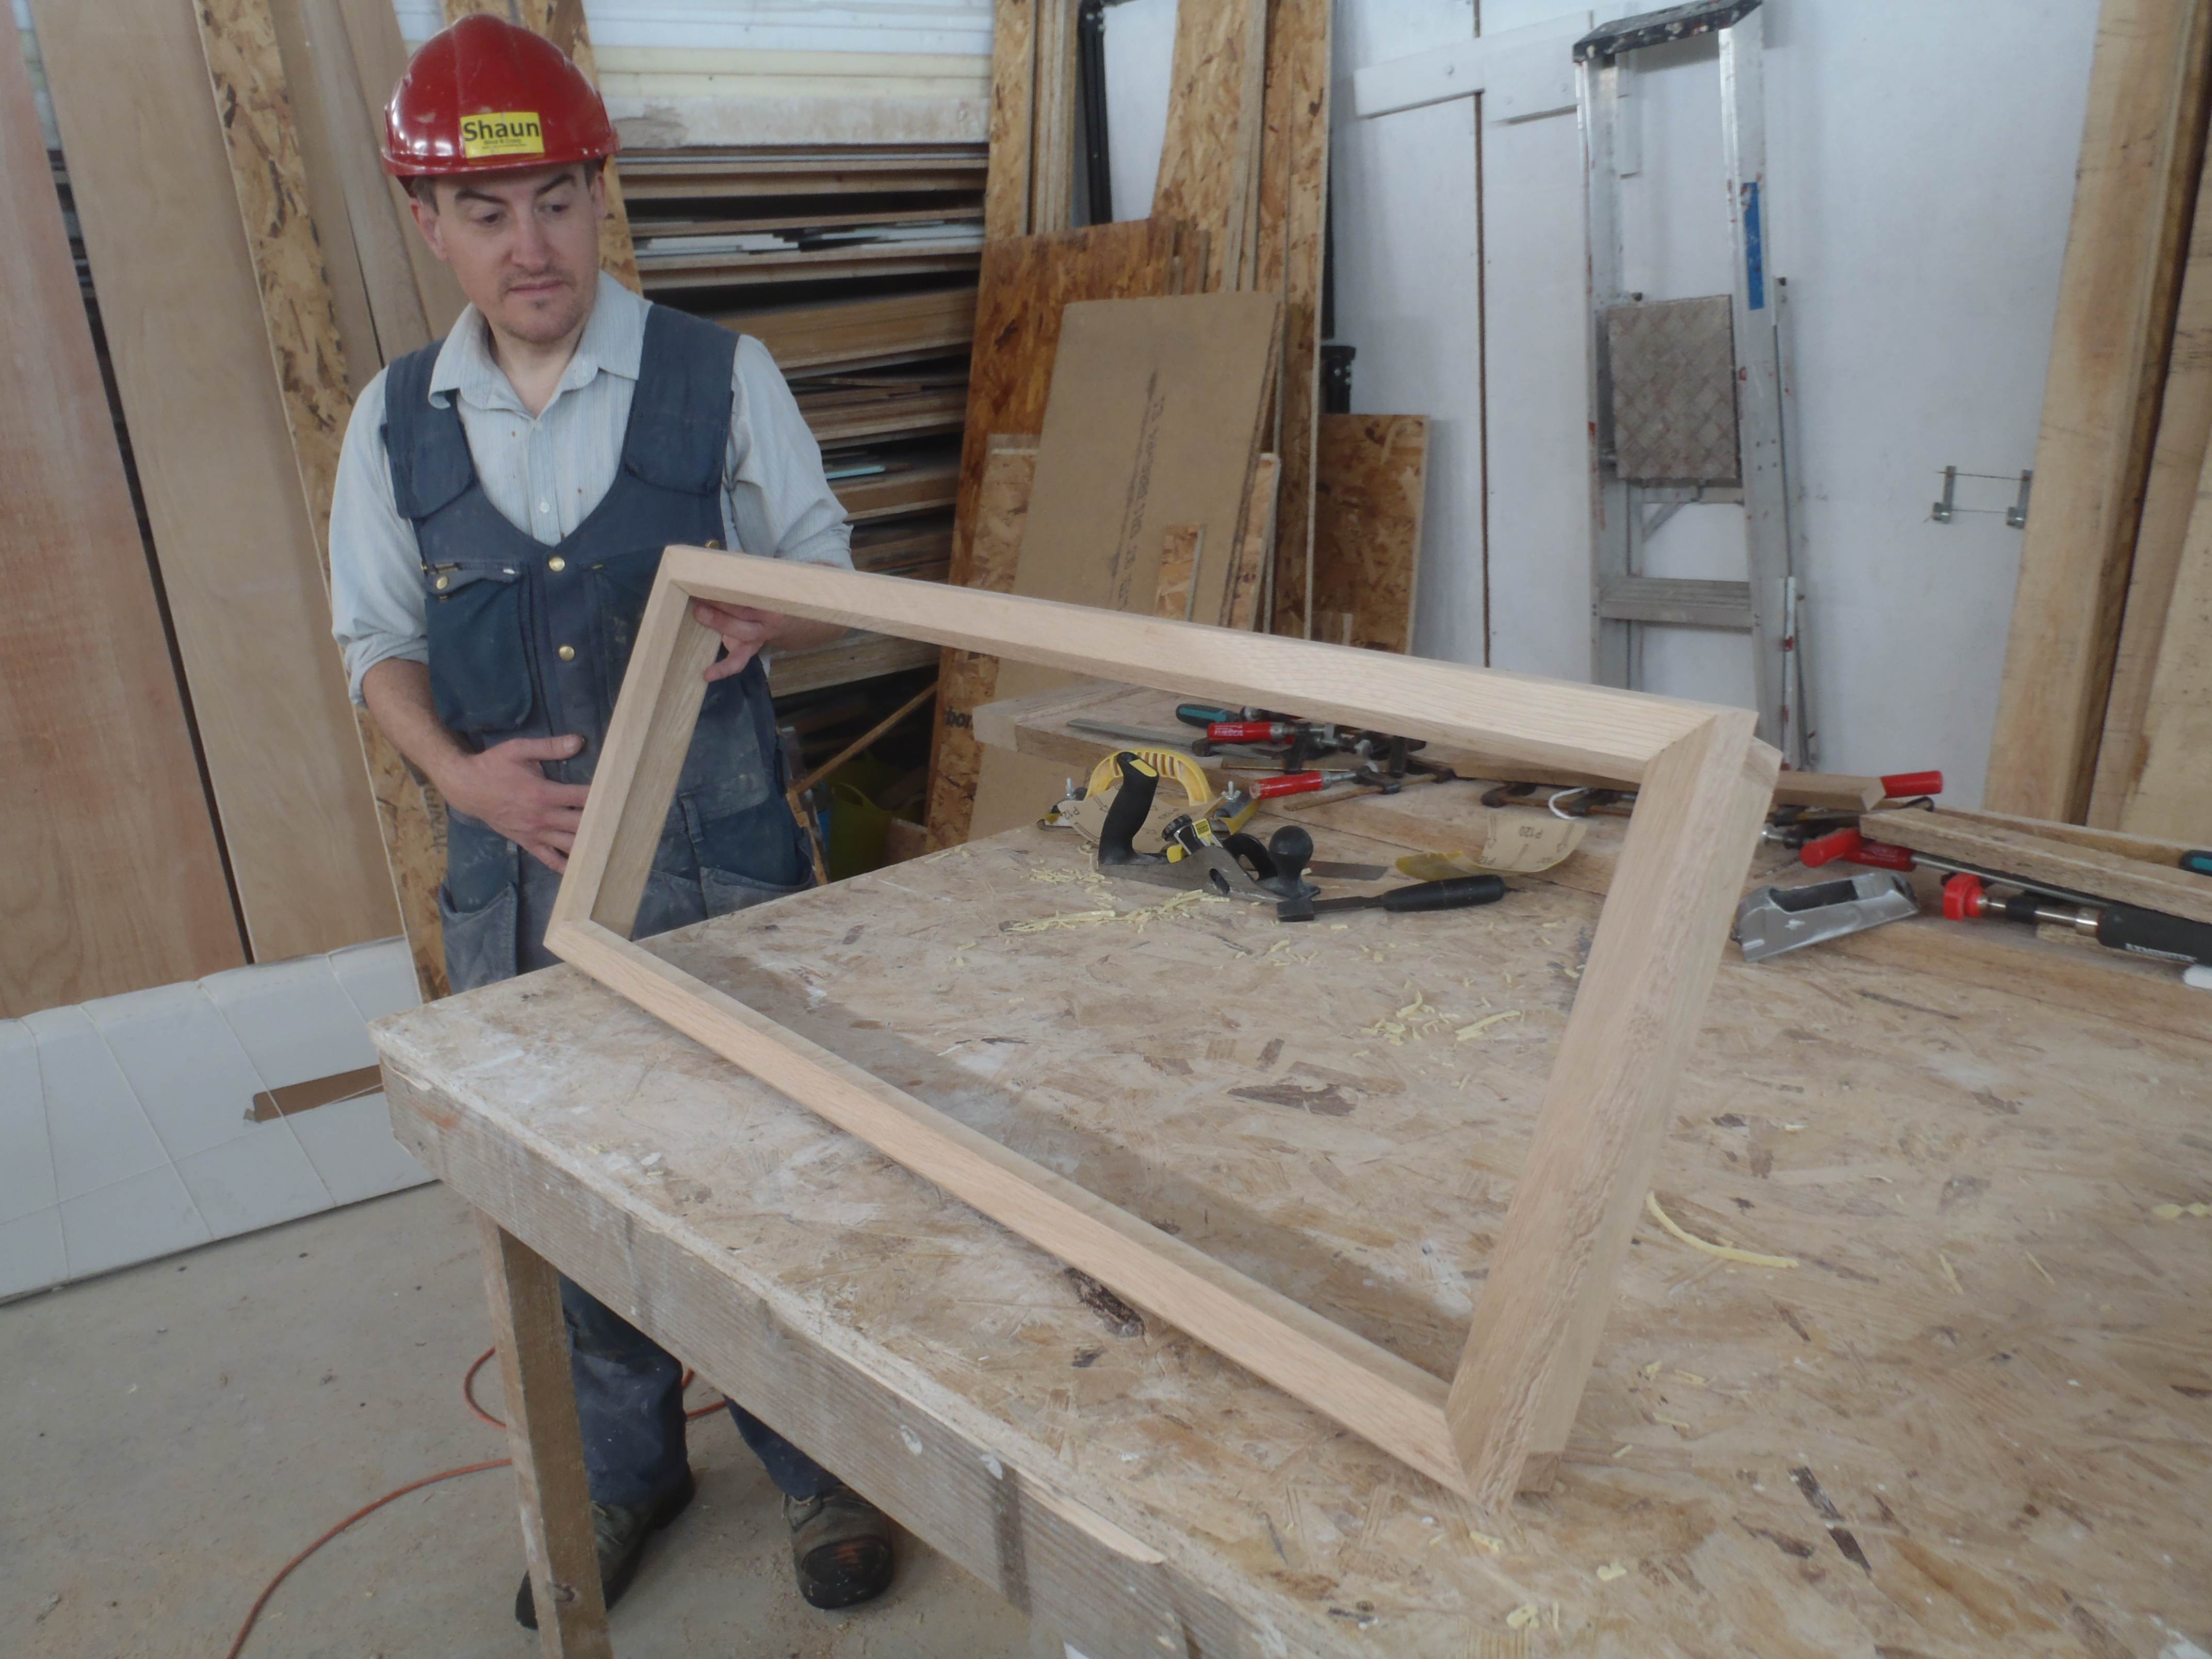
Over the last three days, we have been trimming and fitting together the frame work for the four back windows in the Garden Room. It is taking time to get all the pieces sorted and ready for putting together. Each window has 8 pieces of Oak, 4 on the inside and 4 on the outside forming a “T” to press on the outside surface and positioned around the edge ready for the glass.
Yesterday we butted the inside pieces together and screwed them to form a rectangle.
Today we mitred the 4 outside pieces and got all of them (inside and outside) fitted together and adjusted to be square.
Finally we glued one set with PU glue for weather proof longevity! We hope it turns out ok in the morning!
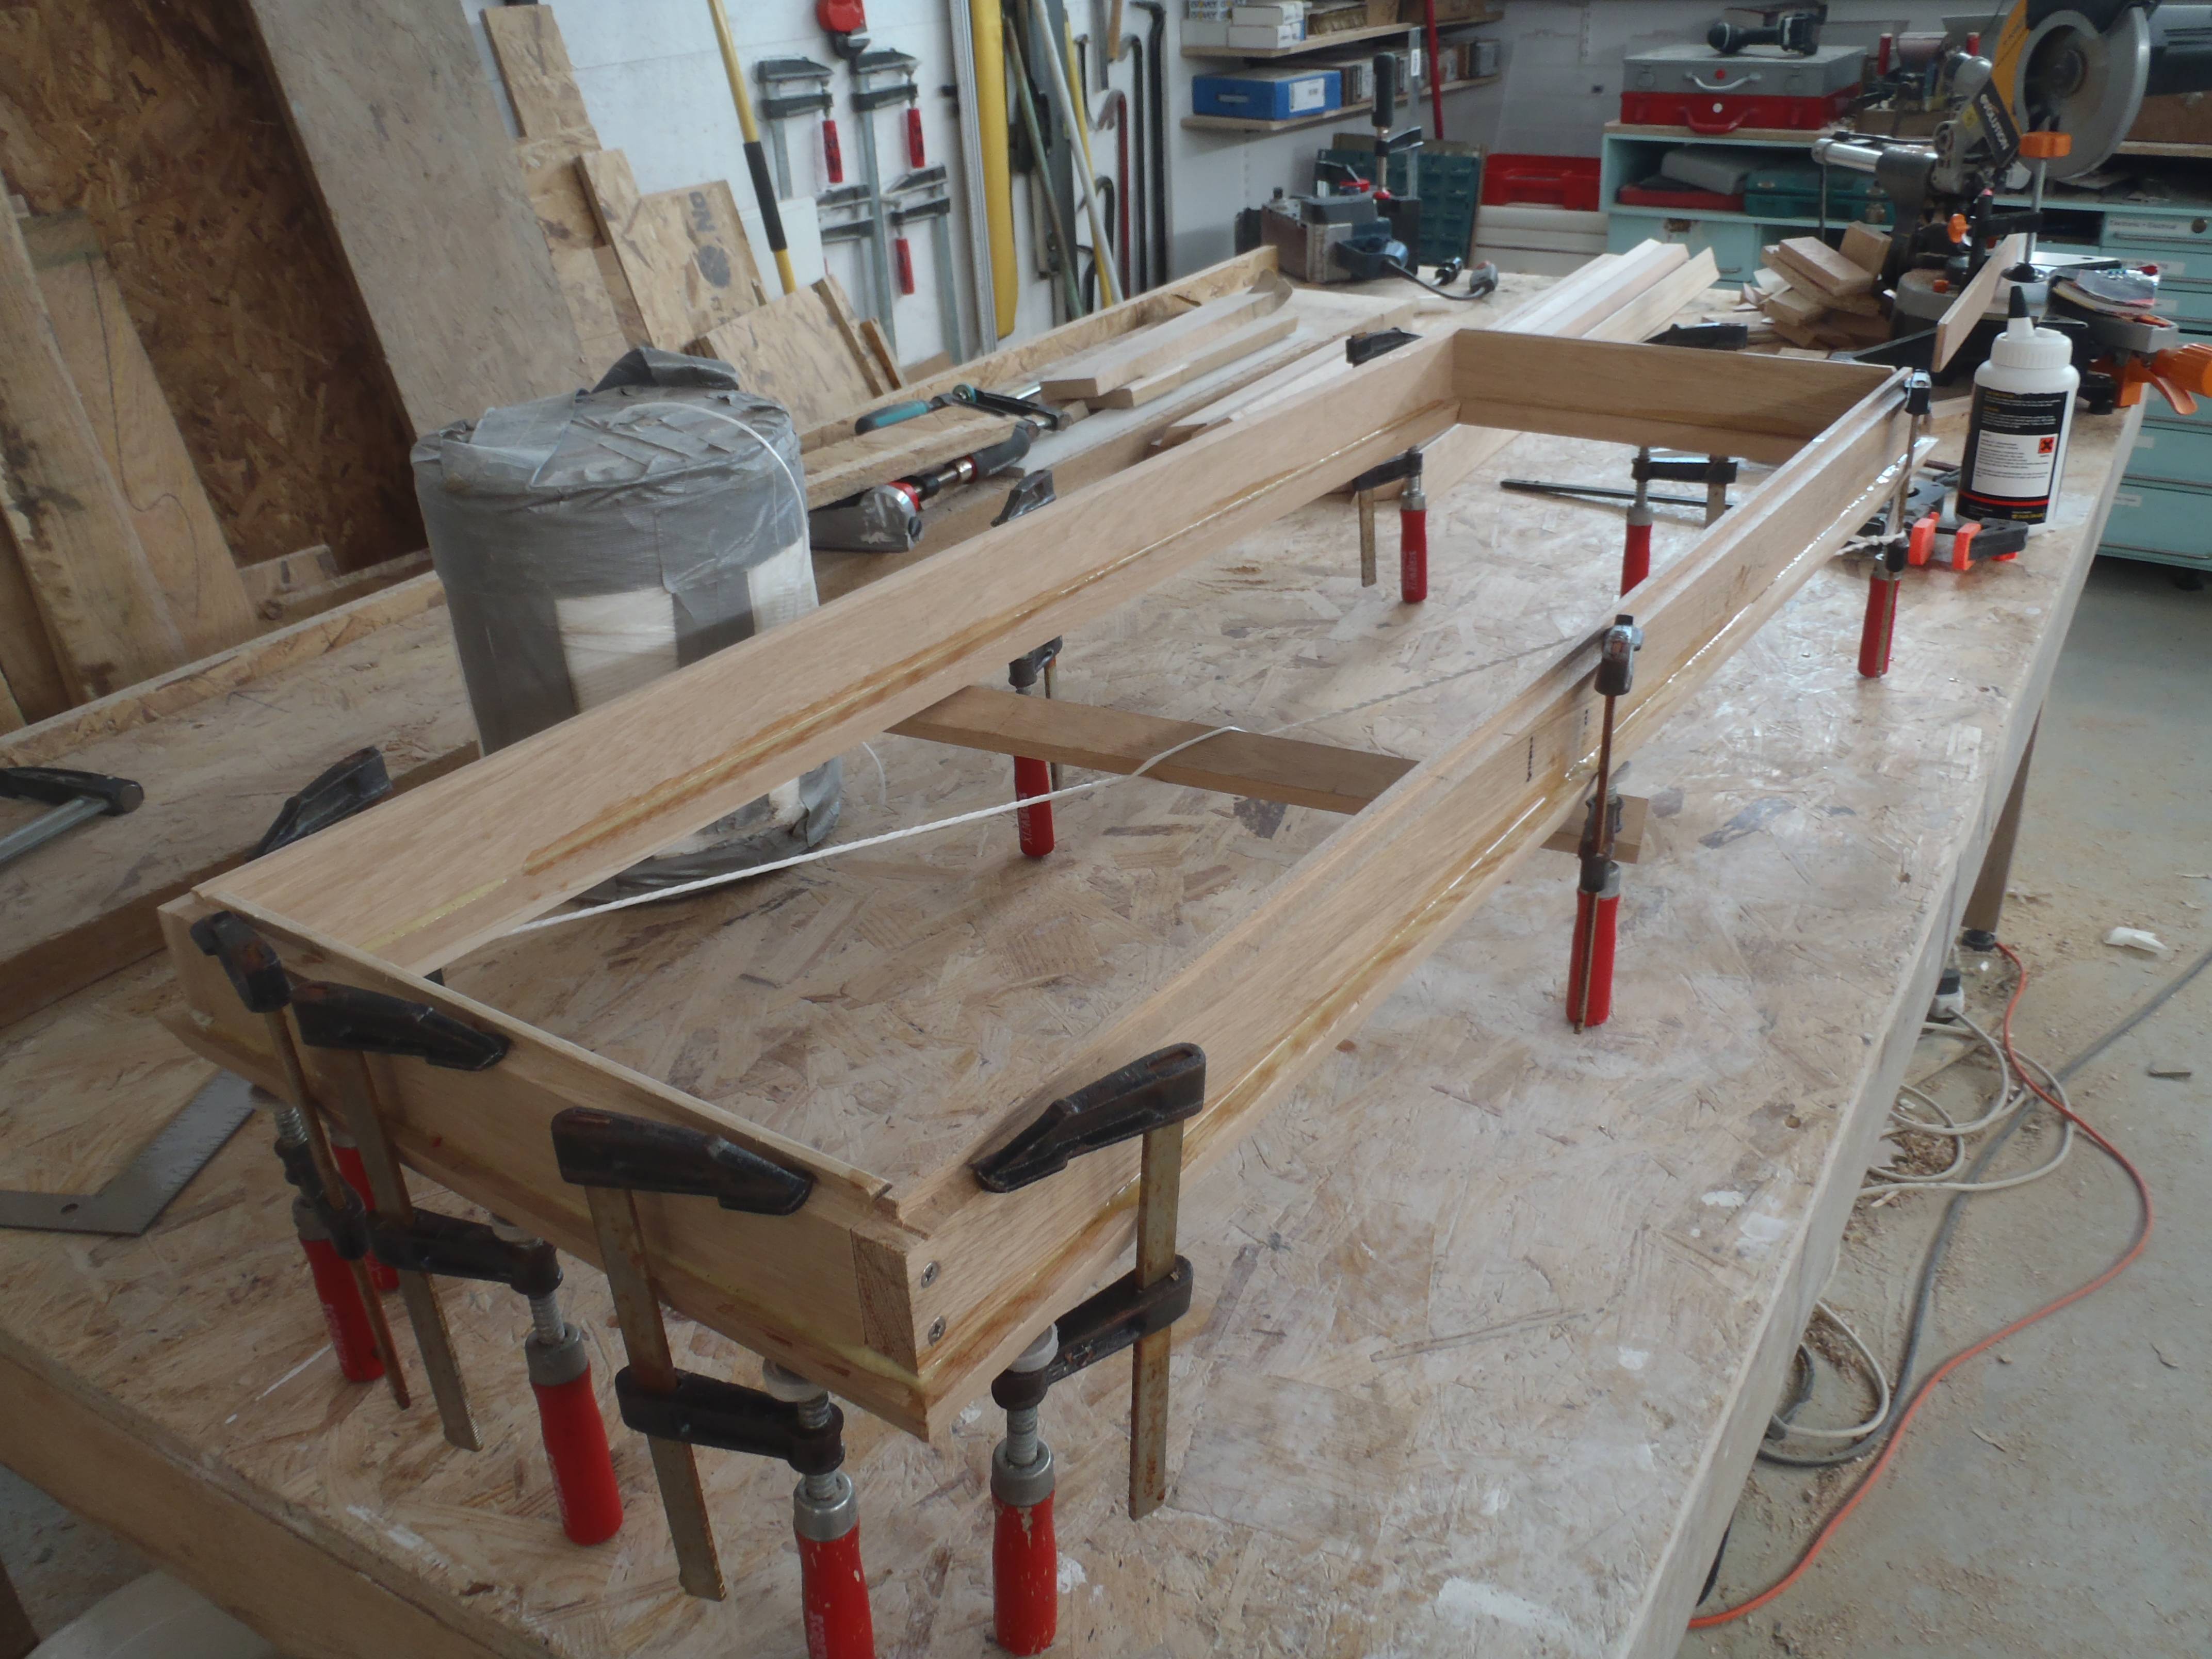
Window frames – 1st one glued up
Window frames – 1st one glued up
The other three frames will be completed tomorrow!
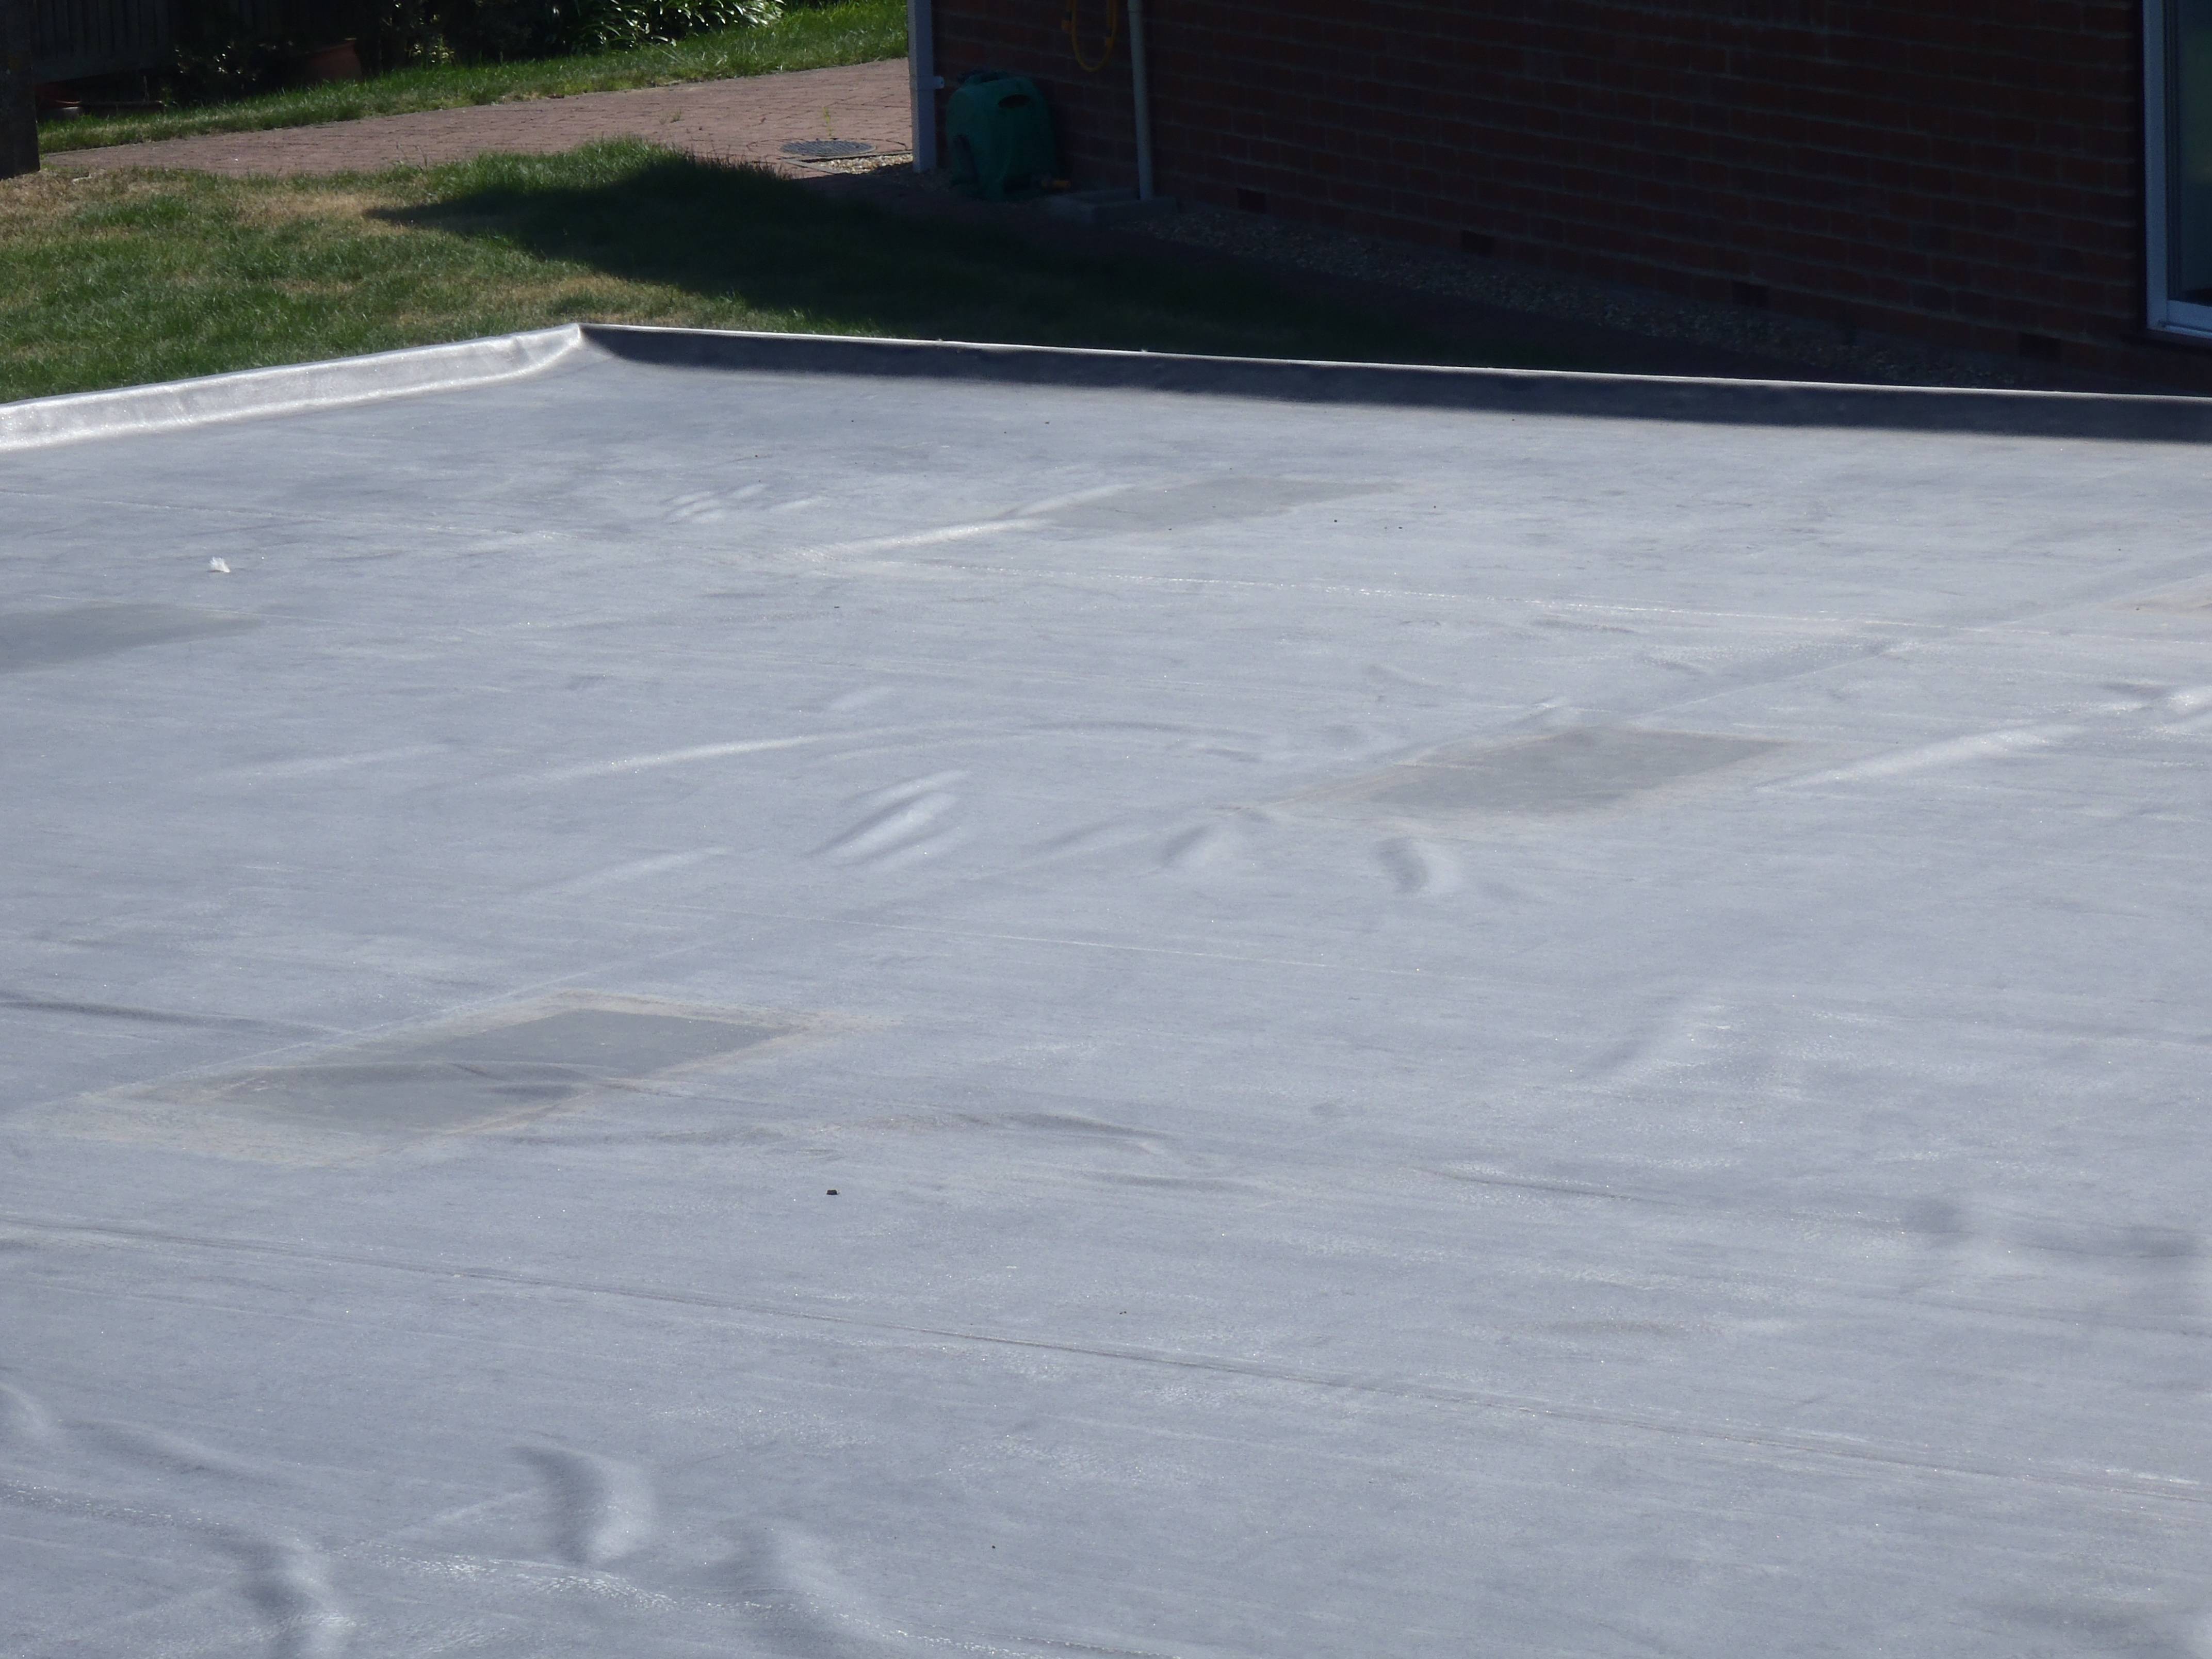
Today the final finishing touches were done to the roof. An aluminium grip bars were screwed down all around the edge, clamping down the rubber membrane with mechanical grip in addition to the glue we have already used. We needed nearly 200 stainless steel washers and screws to do the job!
That is the garage roof done! Now we wait for the thunderstorm to come and test it for us!
A 110mm (4inch) dirty great big hole was cut into the rubber membrane! In the back left corner of the roof is where we have the rain water drain pipe coming up through the roof and today the major operation of cutting into the waterproof skin was made and fitted the special flappy rubber flange connected to a piece of 110mm plastic pipe which slid into the waiting pipe behind the hot water tank. The special rubber had a coating on it which very strongly binds to the rubber roof membrane (after the roof membrane was treated with a rubber primer and scrubbed!). the final seal was extremely sticky and very strong. There was only one chance to get it right! And it was ok! Phew!
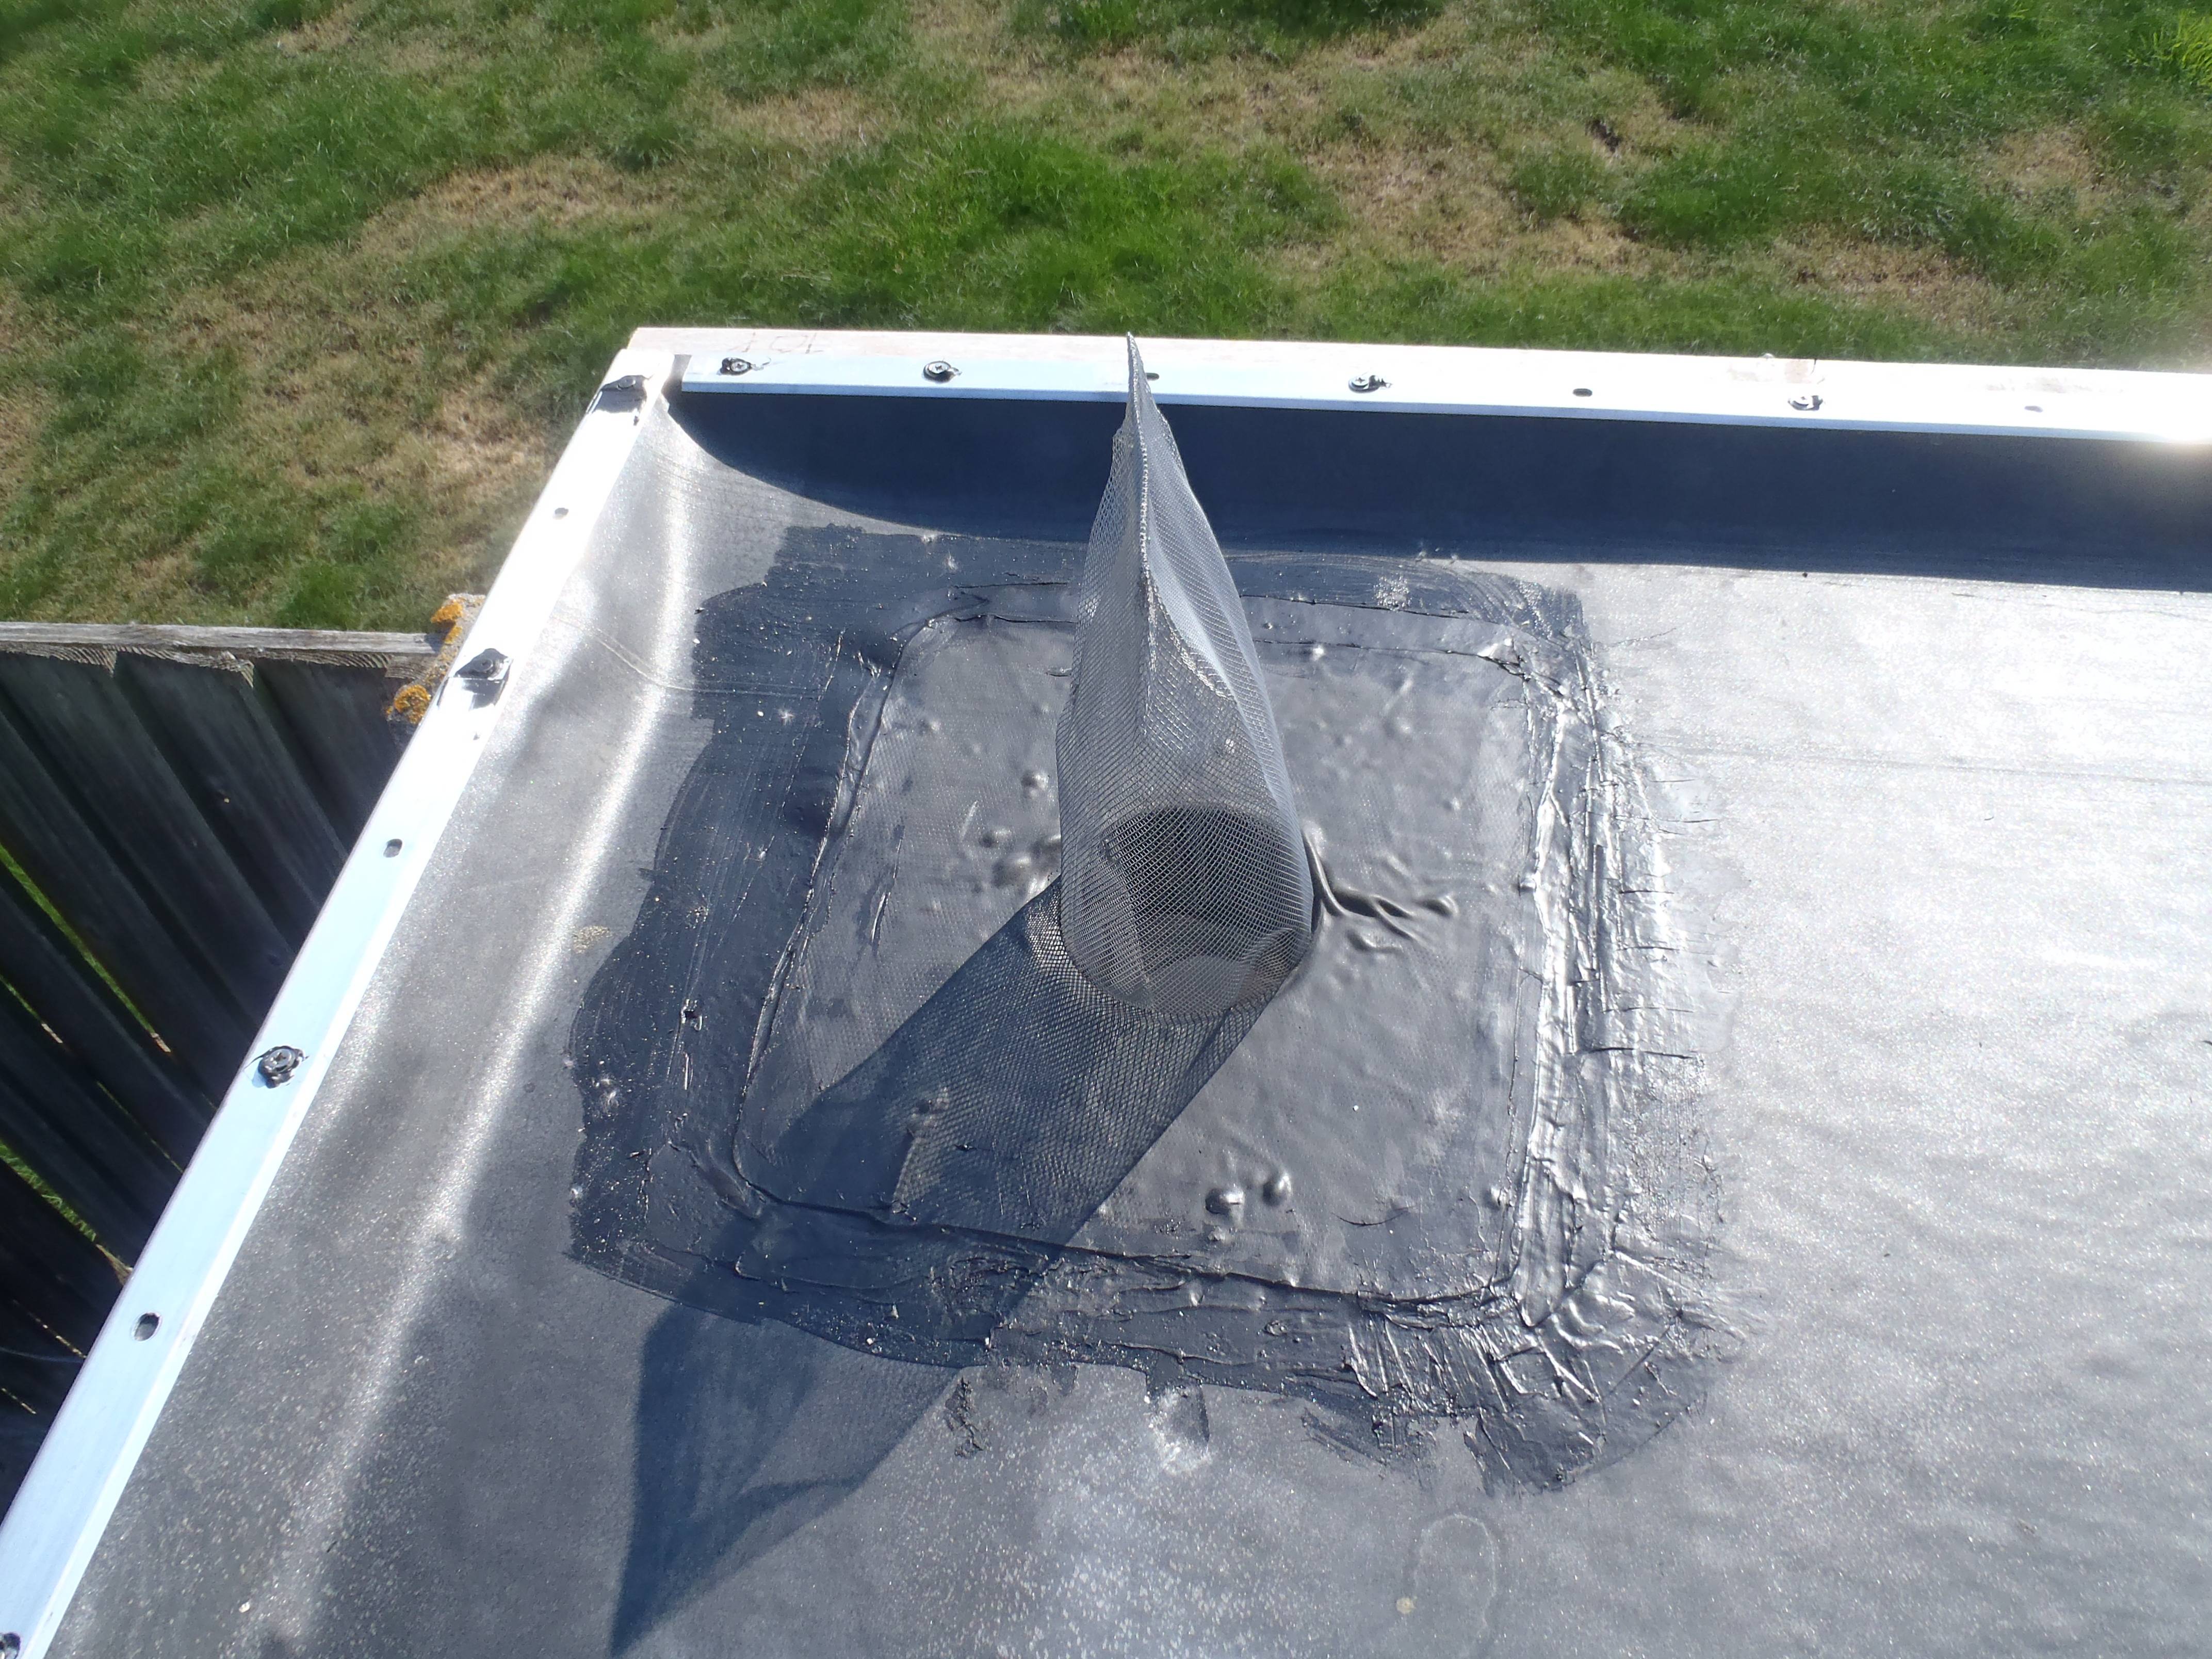
Roof drain hole
A stainless steel mesh was coiled up and stapled together using stainless steel staples (naturally) and carefully jammed into the hole to provide a filter to stop leaves, moss and other larger bits and pieces from floating into the drain system.
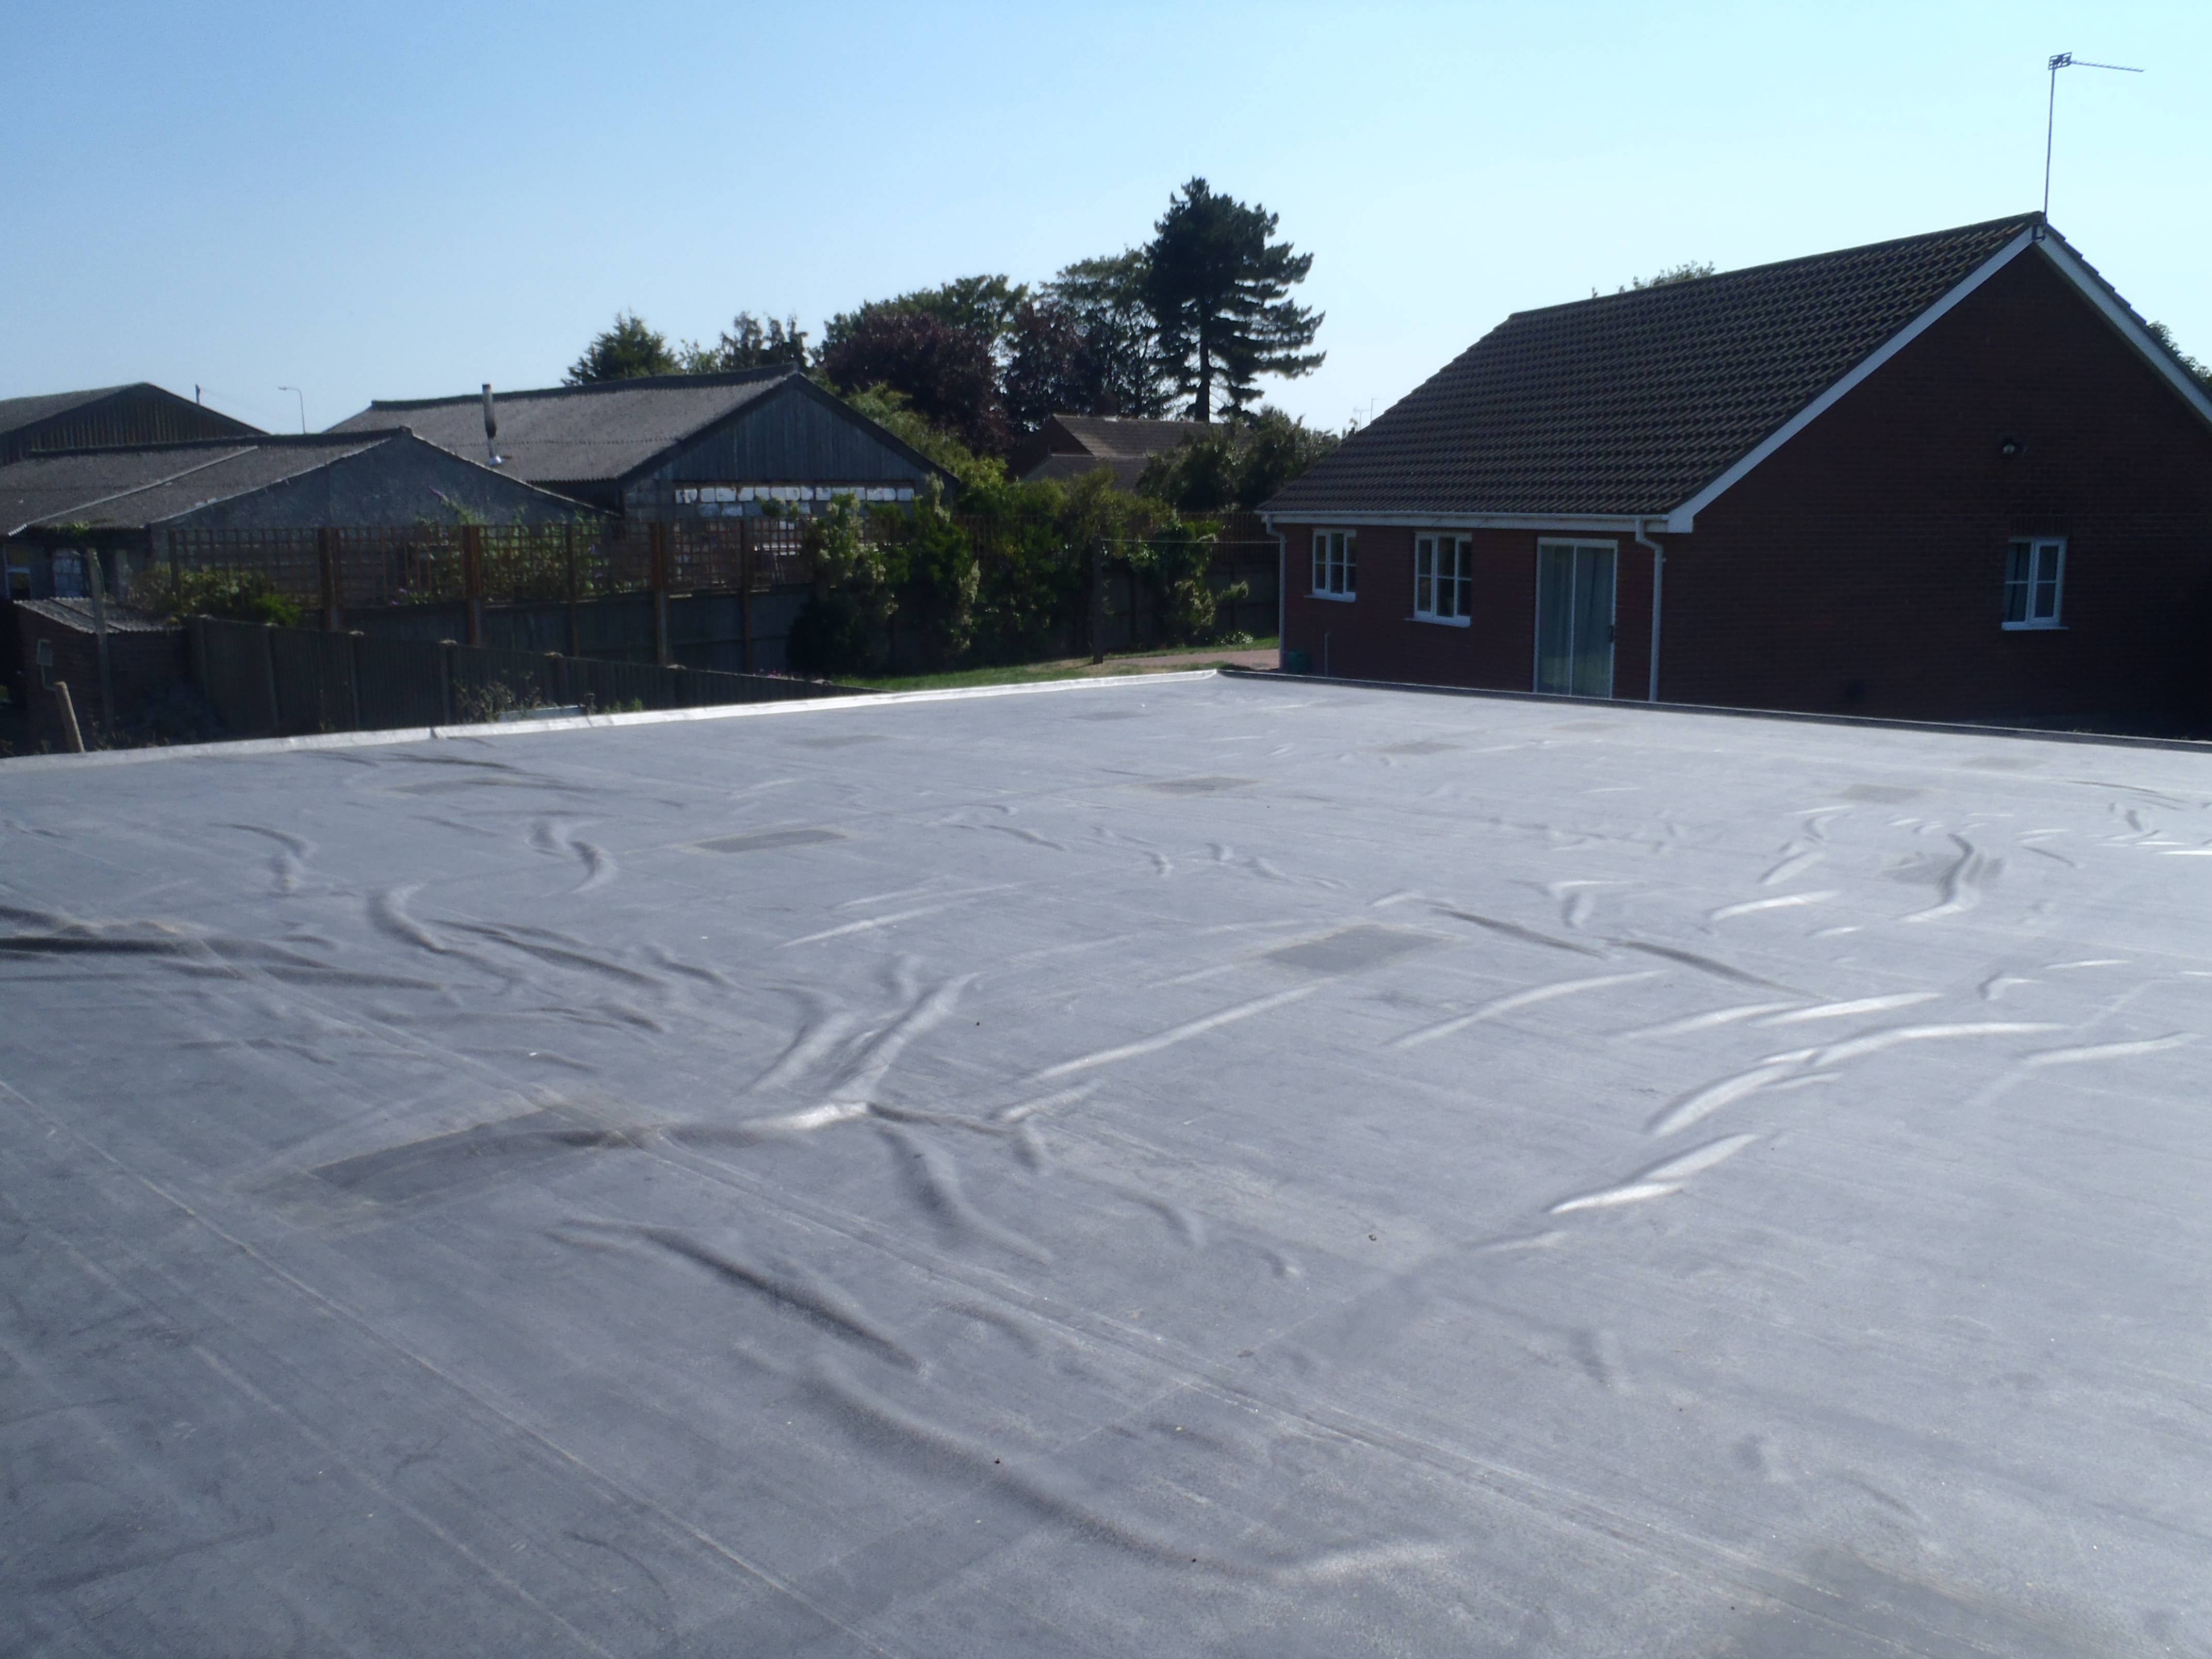
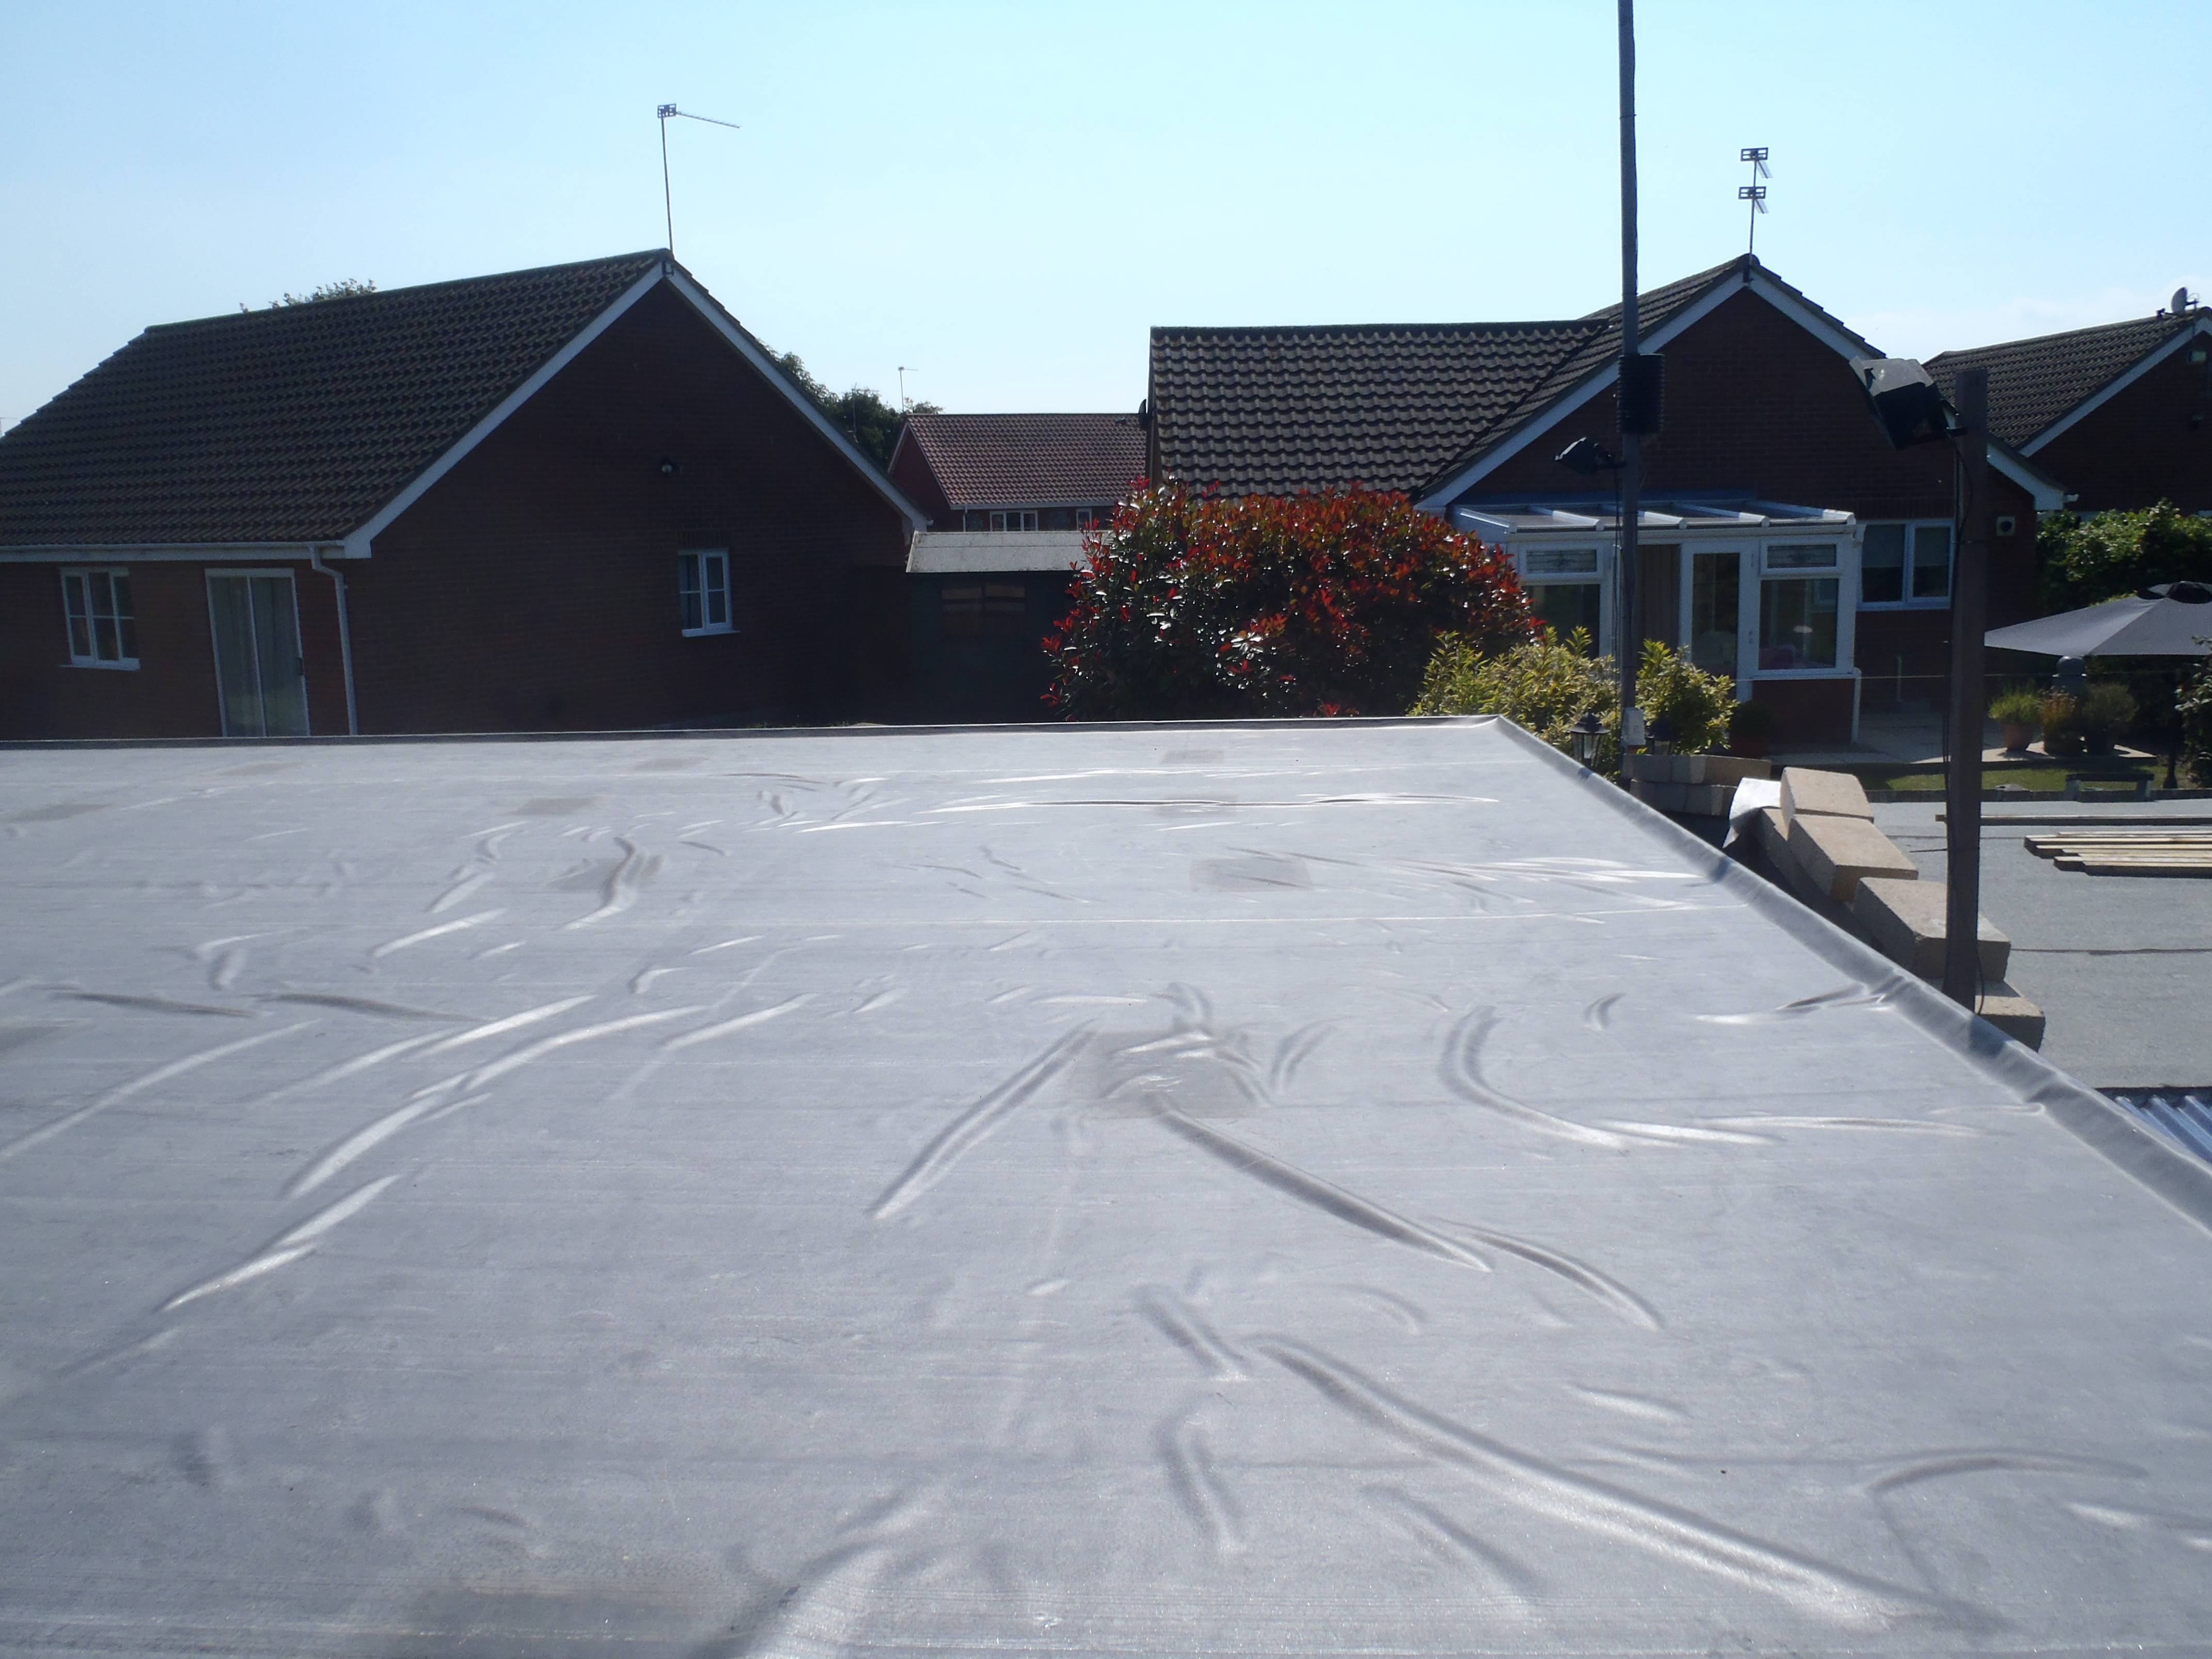
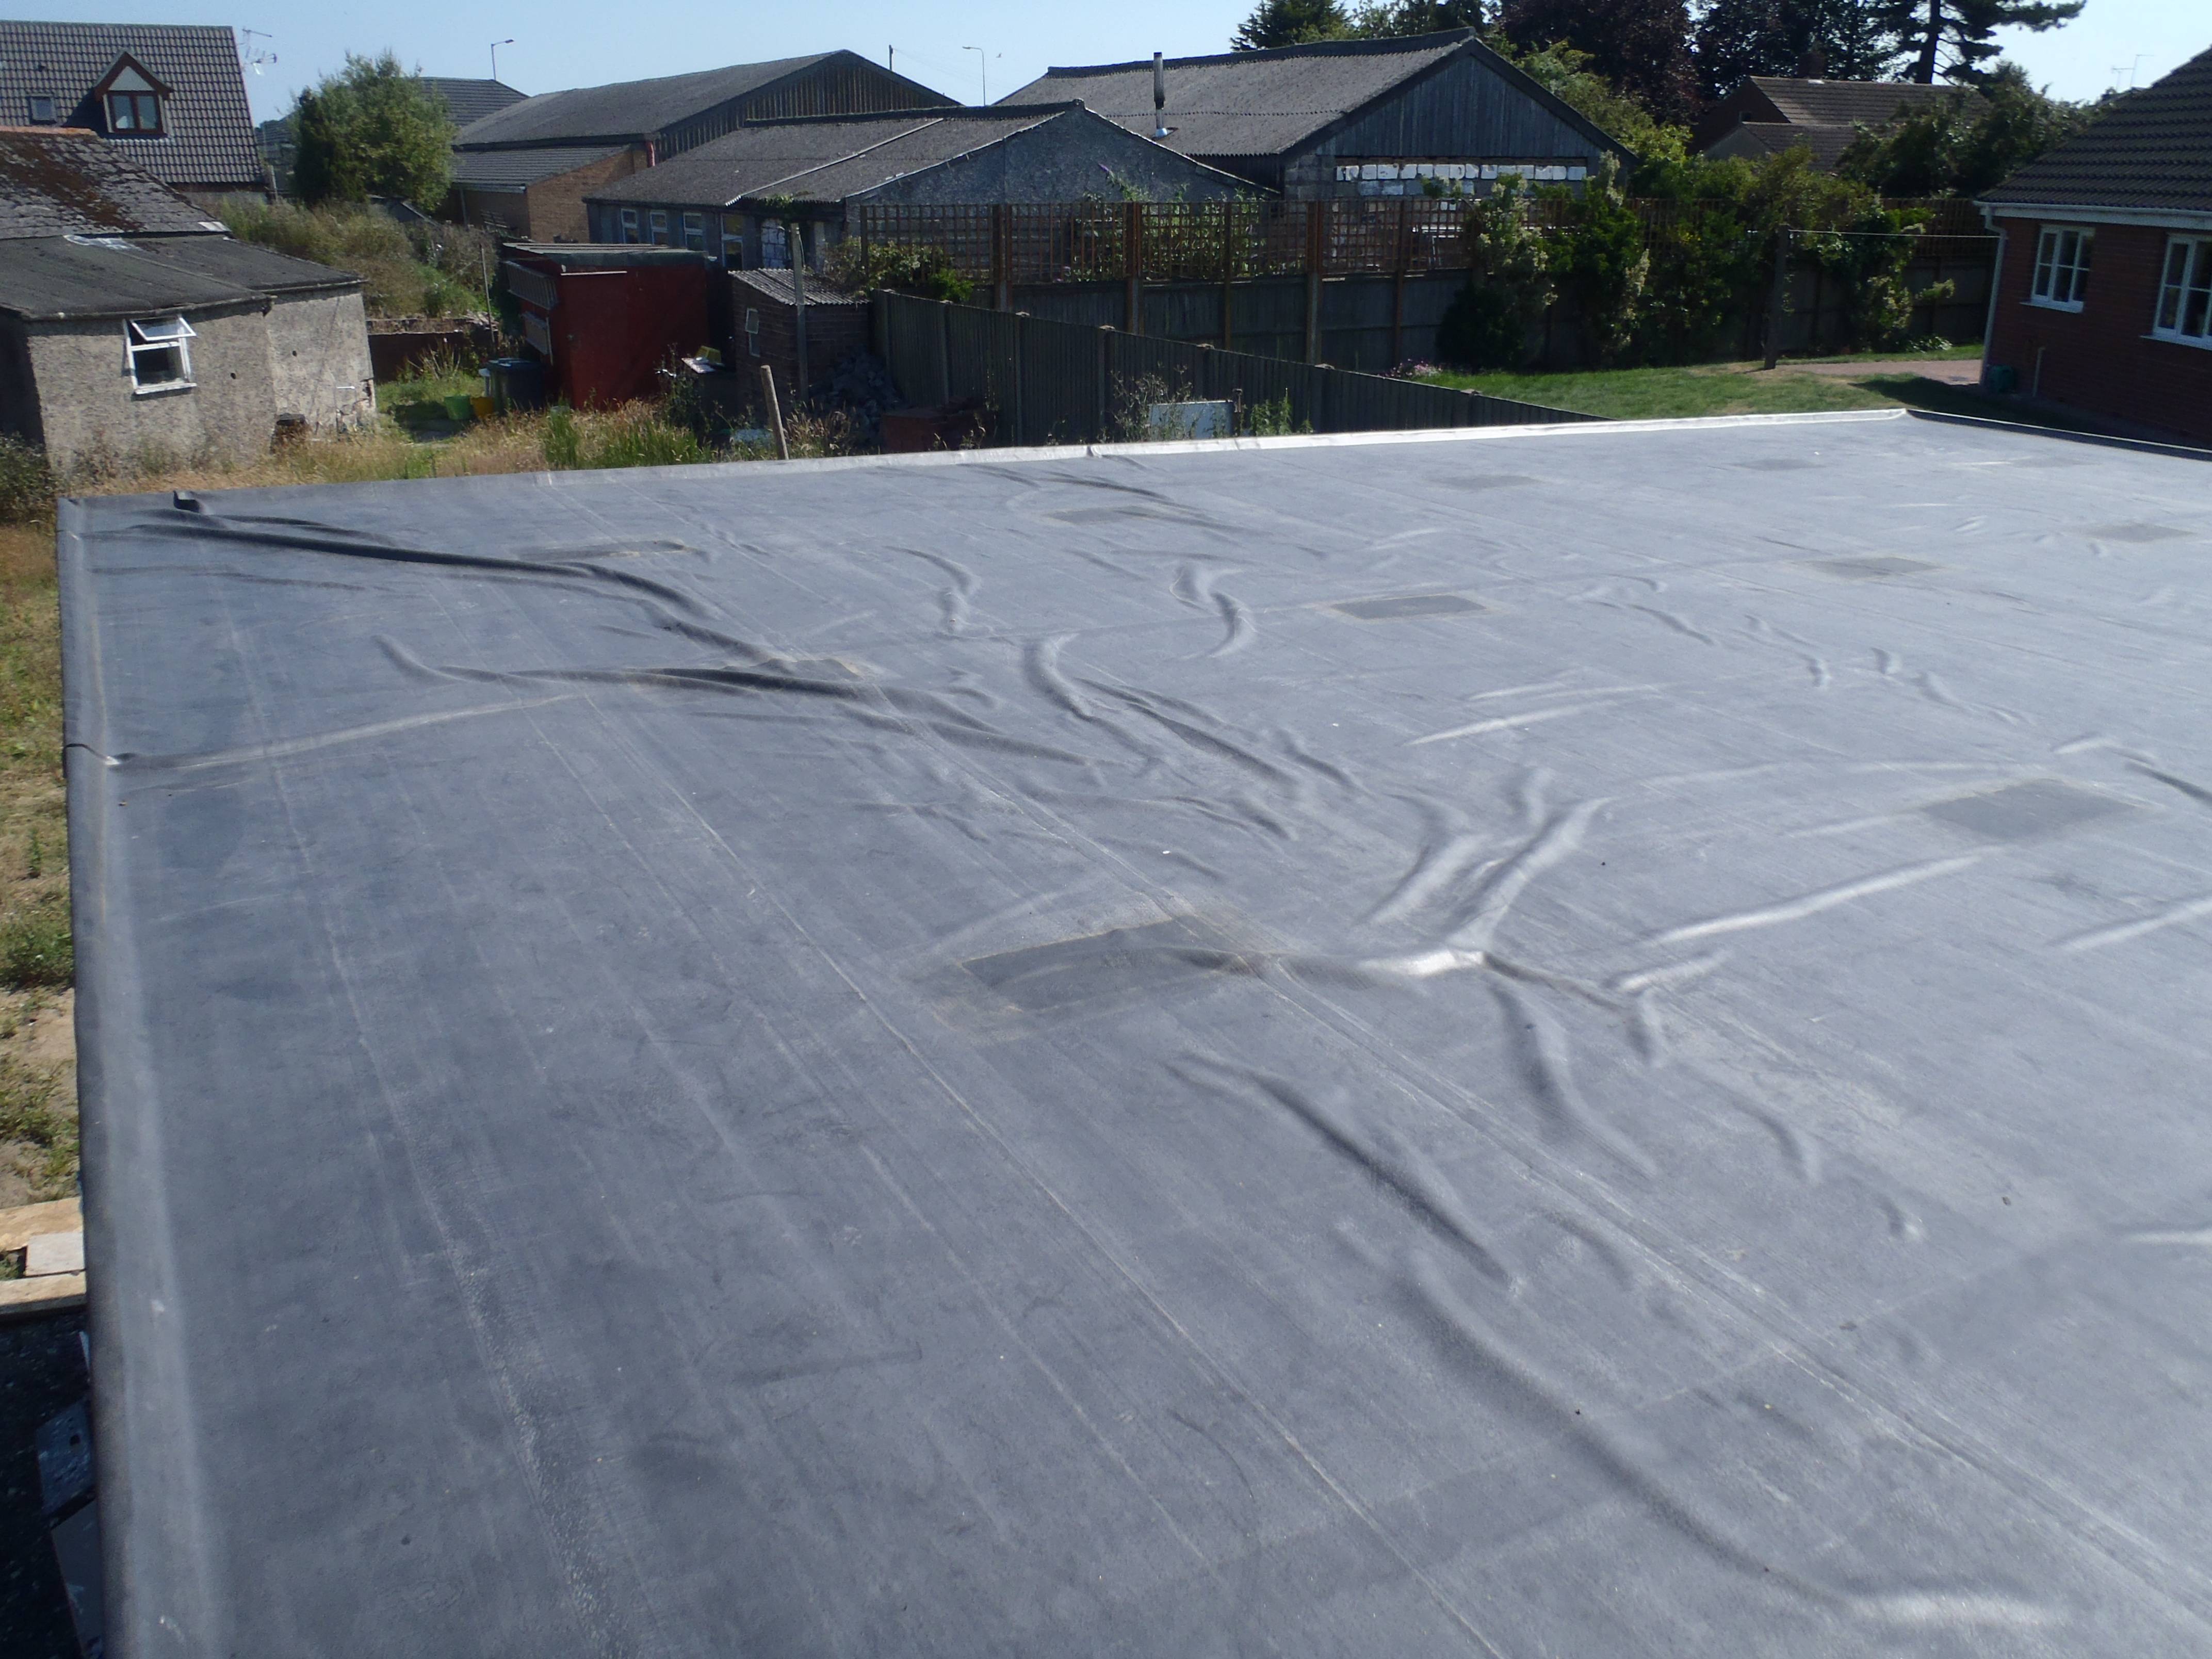
Today, in the blazing sun, we glued the rubber membrane down on the roof of the Garage. It was very hot on the roof and especially the black rubber was absorbing huge amount of heat from the Sun! we were forced into doing narrow strip before the glue dried on us!
Roof ready for glue
Roof ready for glue
It was quite tricky trying to keep the rubber smooth without any ripples and unfortunately we didn’t quite make it! There were lots of things we could have done in hindsight but mostly it was so hot that we had very limited time.
Rubber stuck down
Rubber stuck down
Rubber stuck down
Rubber stuck down
Rubber stuck down
We folded the rubber over the edges to provide a complete waterproofing seal for the whole roof. Just the rain drain connection left to do in the morning.
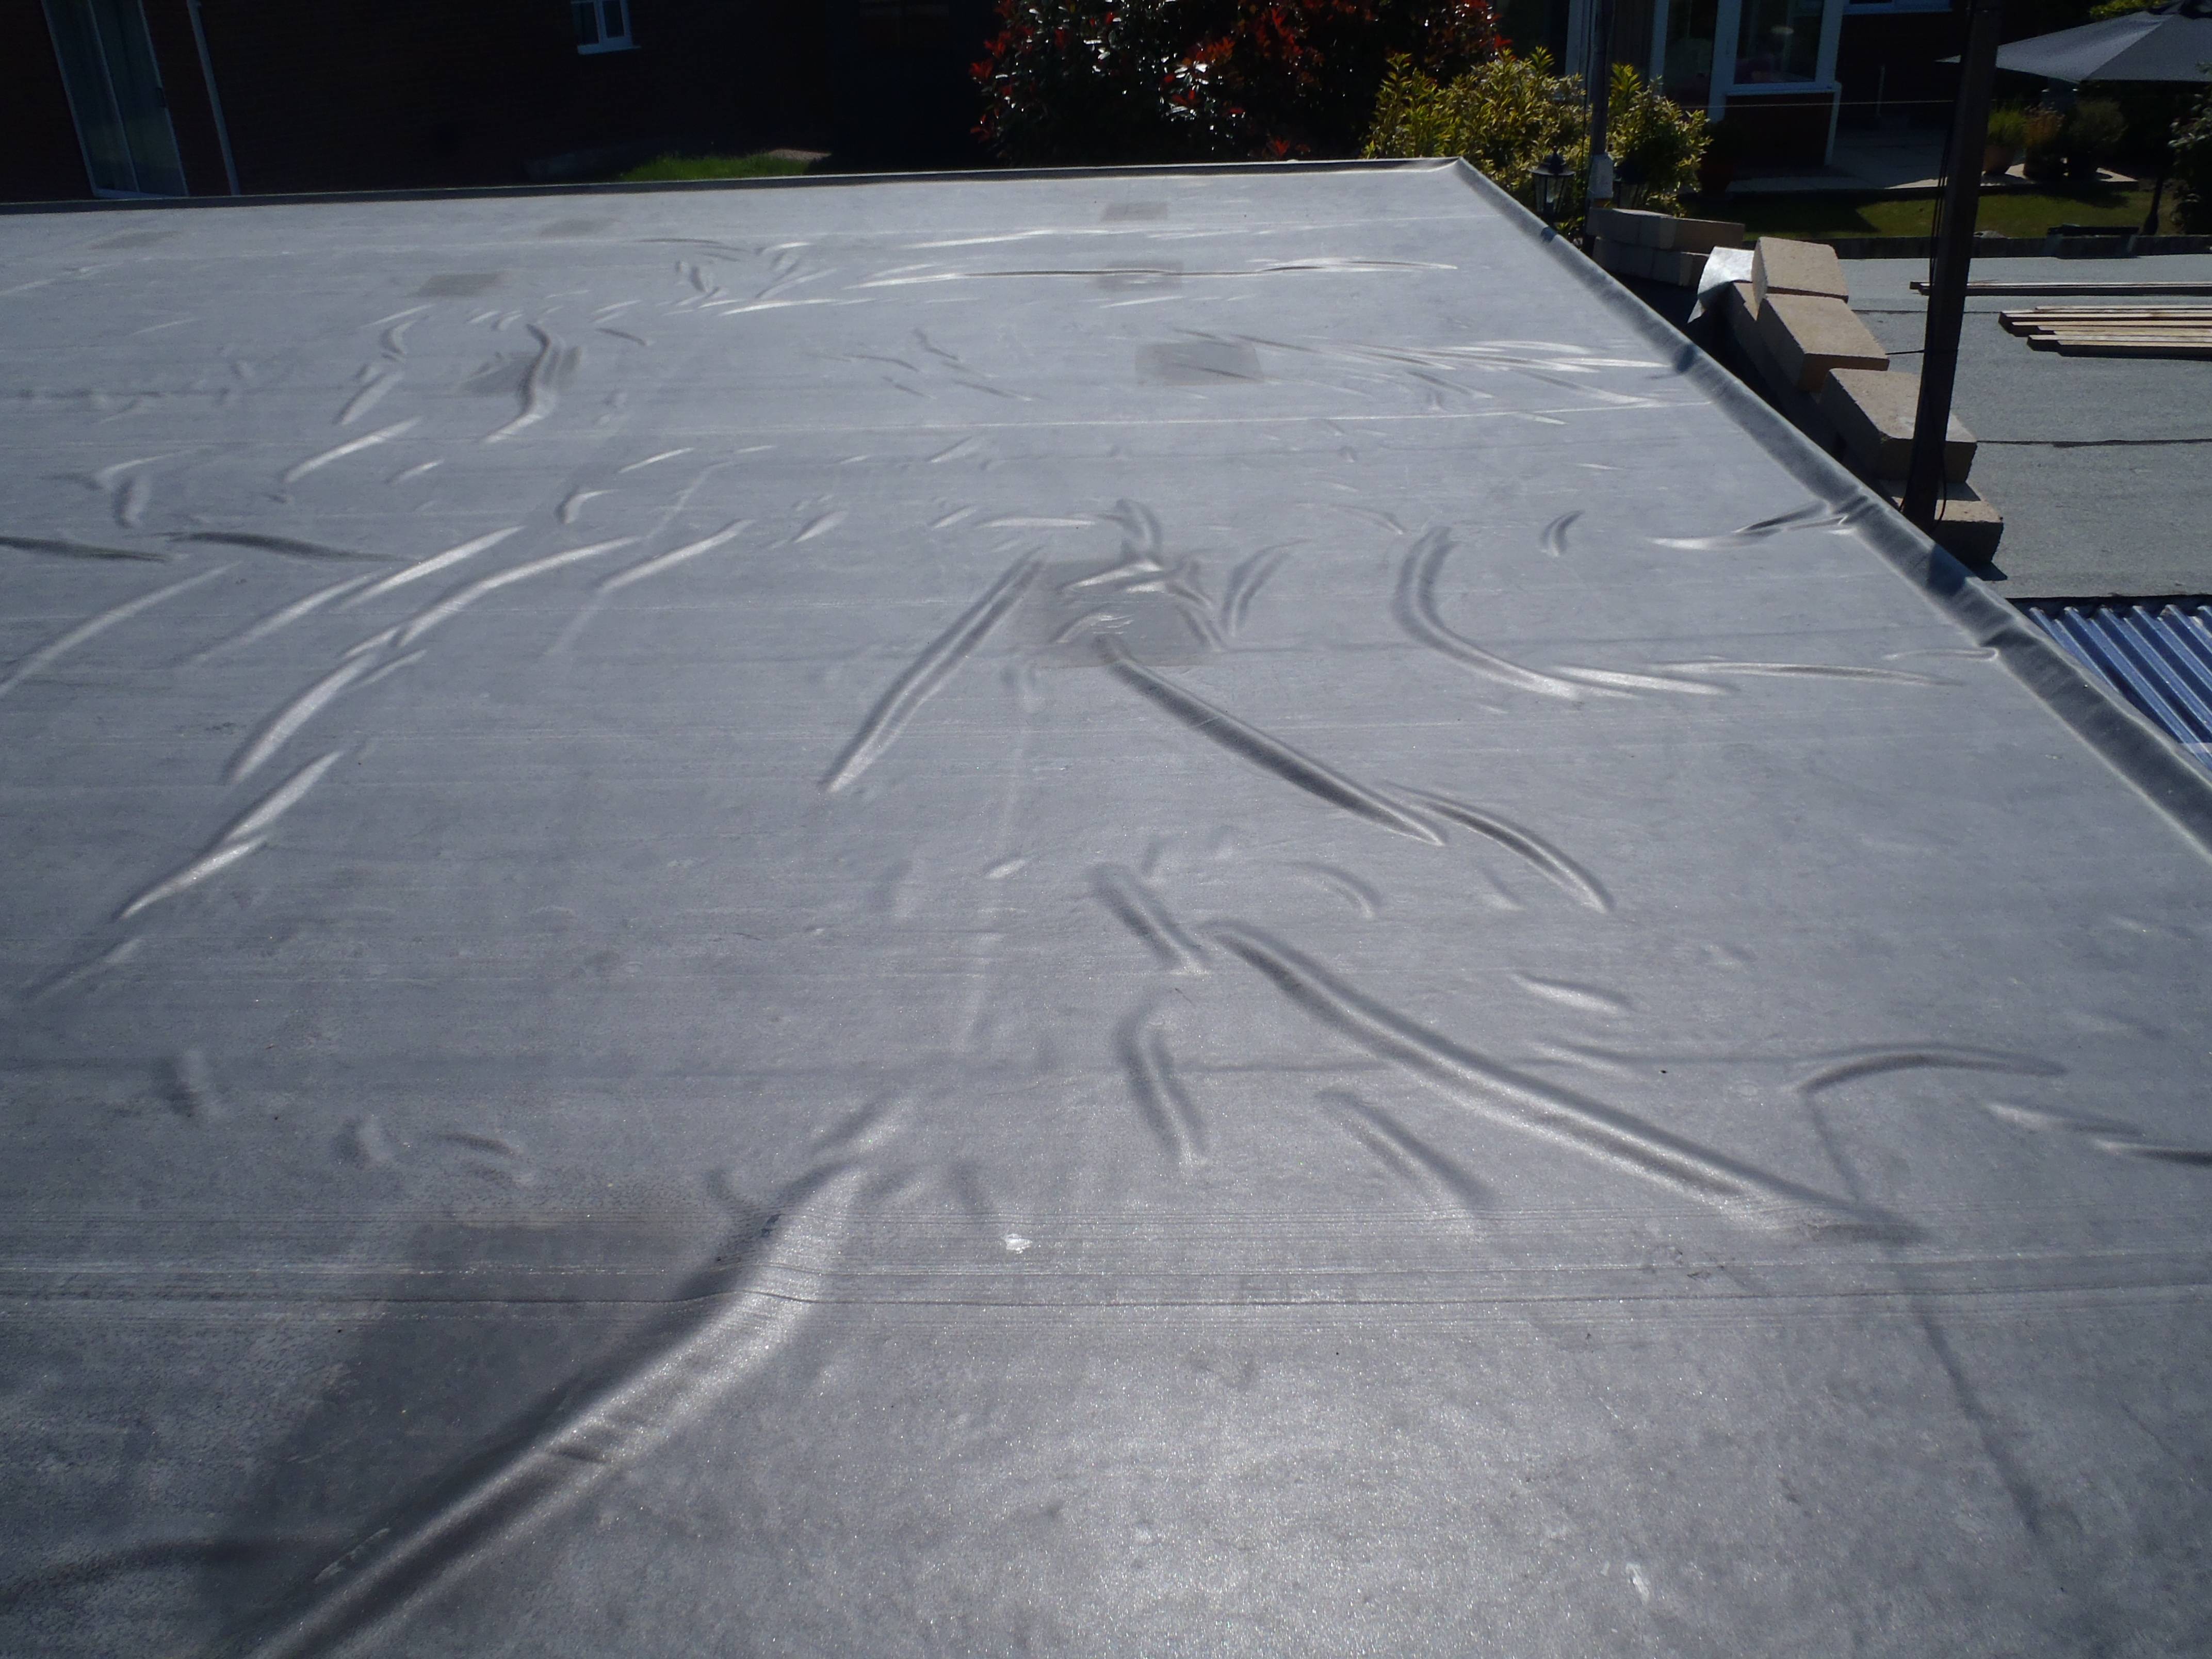
At least we can say that our roof is water tight not barring the wrinkles! We thought we would cover them up with a layer of small round stones! We had previously calculated the load bearing of the roof to allow for a 25mm thickness of stones!
We have measured all the windows in the Garage (11 of them) and all of them came out within 2mm! phew! We are currently asking for double glazing prices for a basic unit without all the fancy coatings. After all these windows are just in the garage!
In the meantime, we have finished planning the Oak frames and sliced them up into each individual piece. We need to cut a small slope on the pieces that will go outside to encourage the rain to run off. We have ordered a 22degrees angle cutter.
The air duct along the back wall is now fitted. Plus also have put up some plasterboards on the corridor wall. Have removed the lights out of the Sun Corridor so we can put up another air duct to capture the waste hot air for recycling.
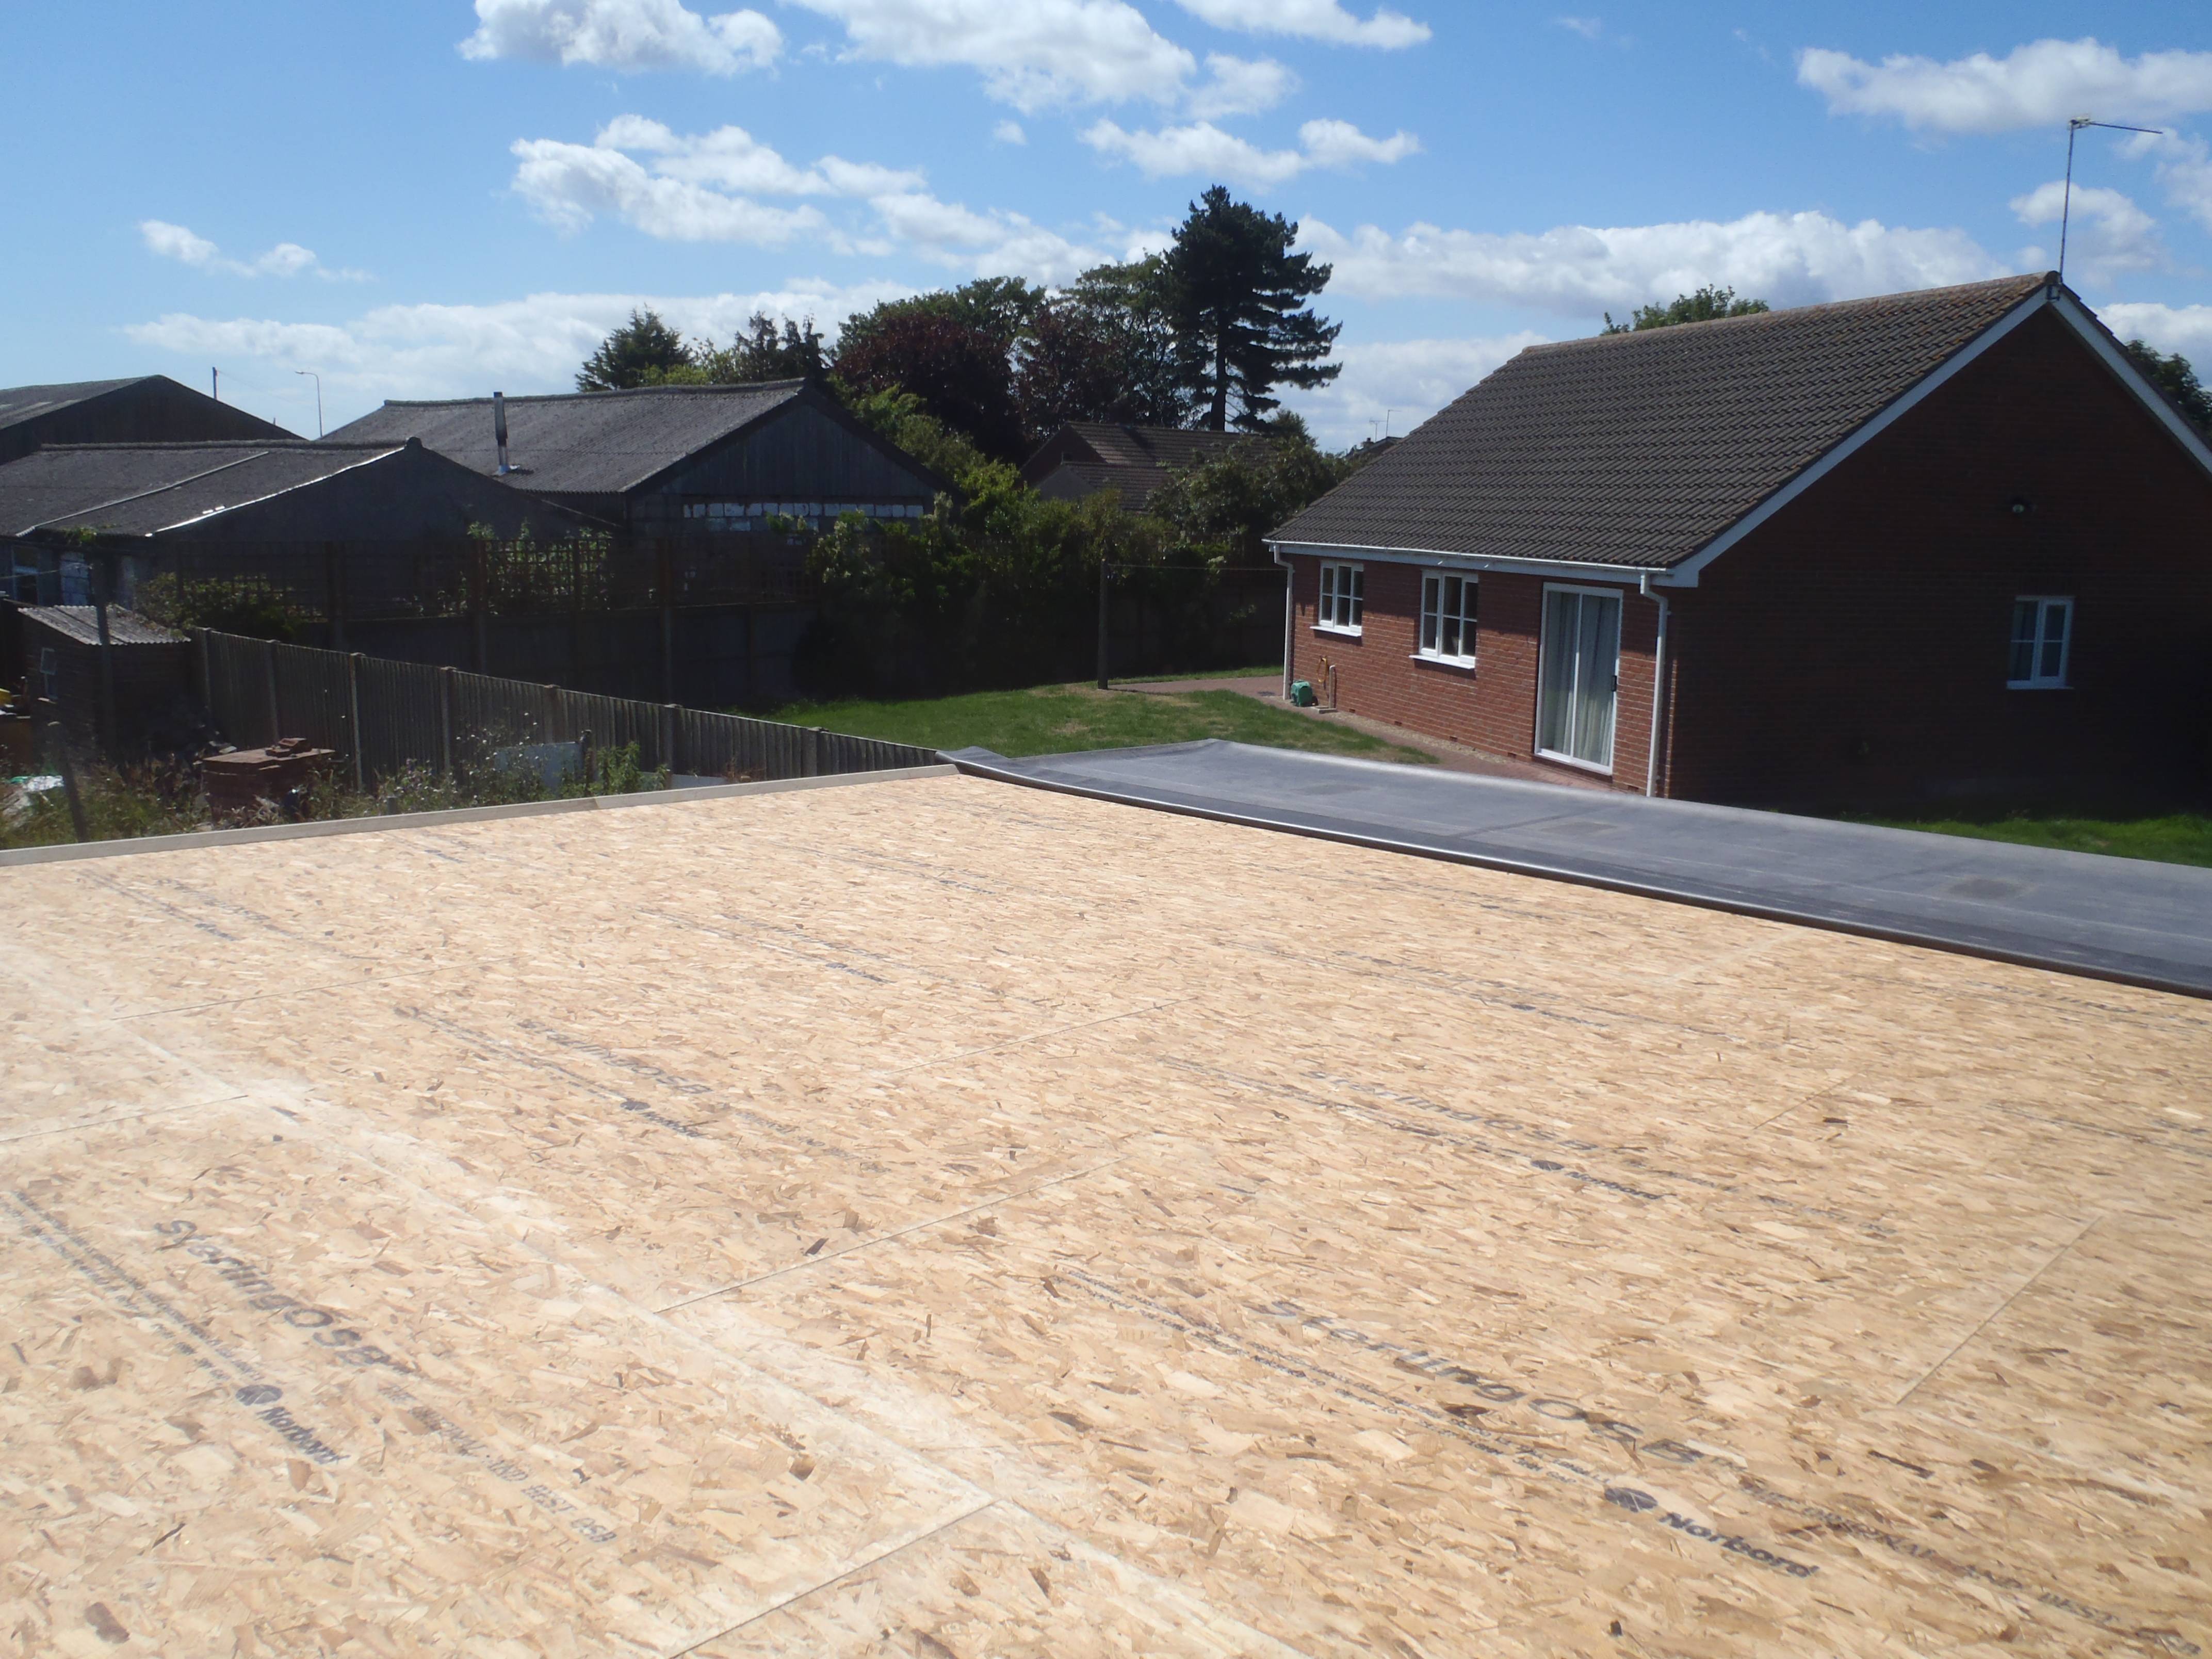
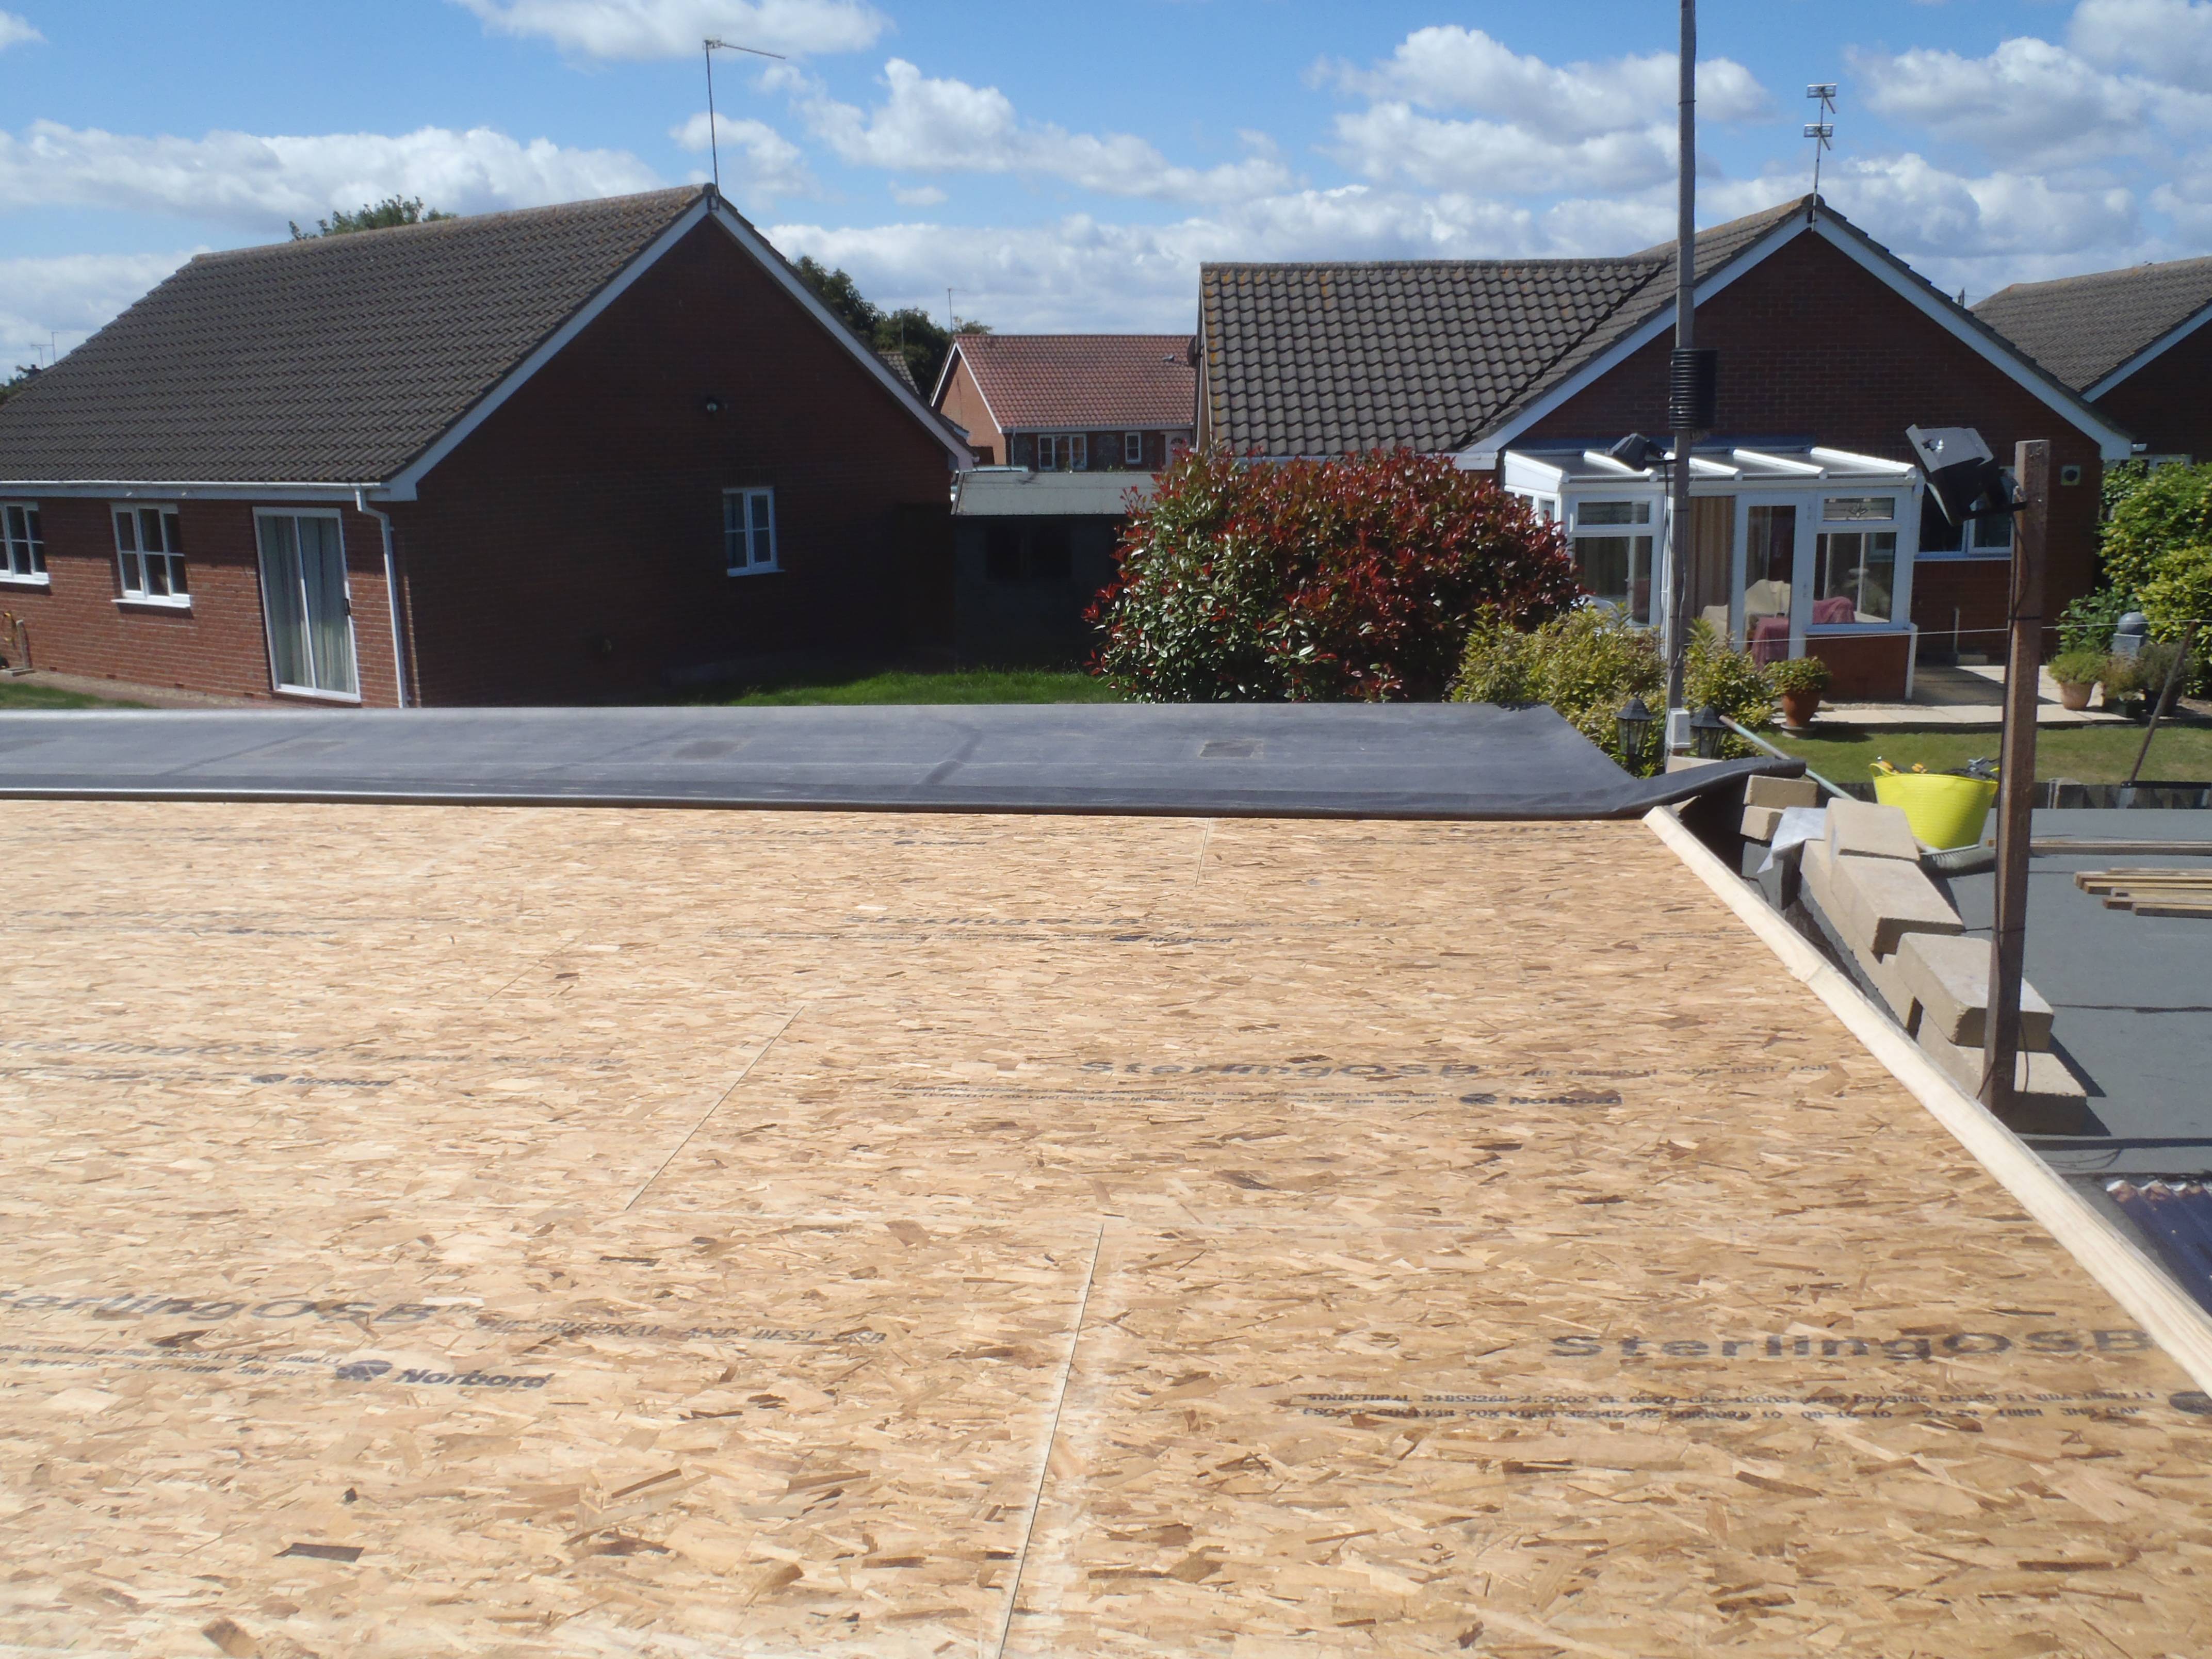
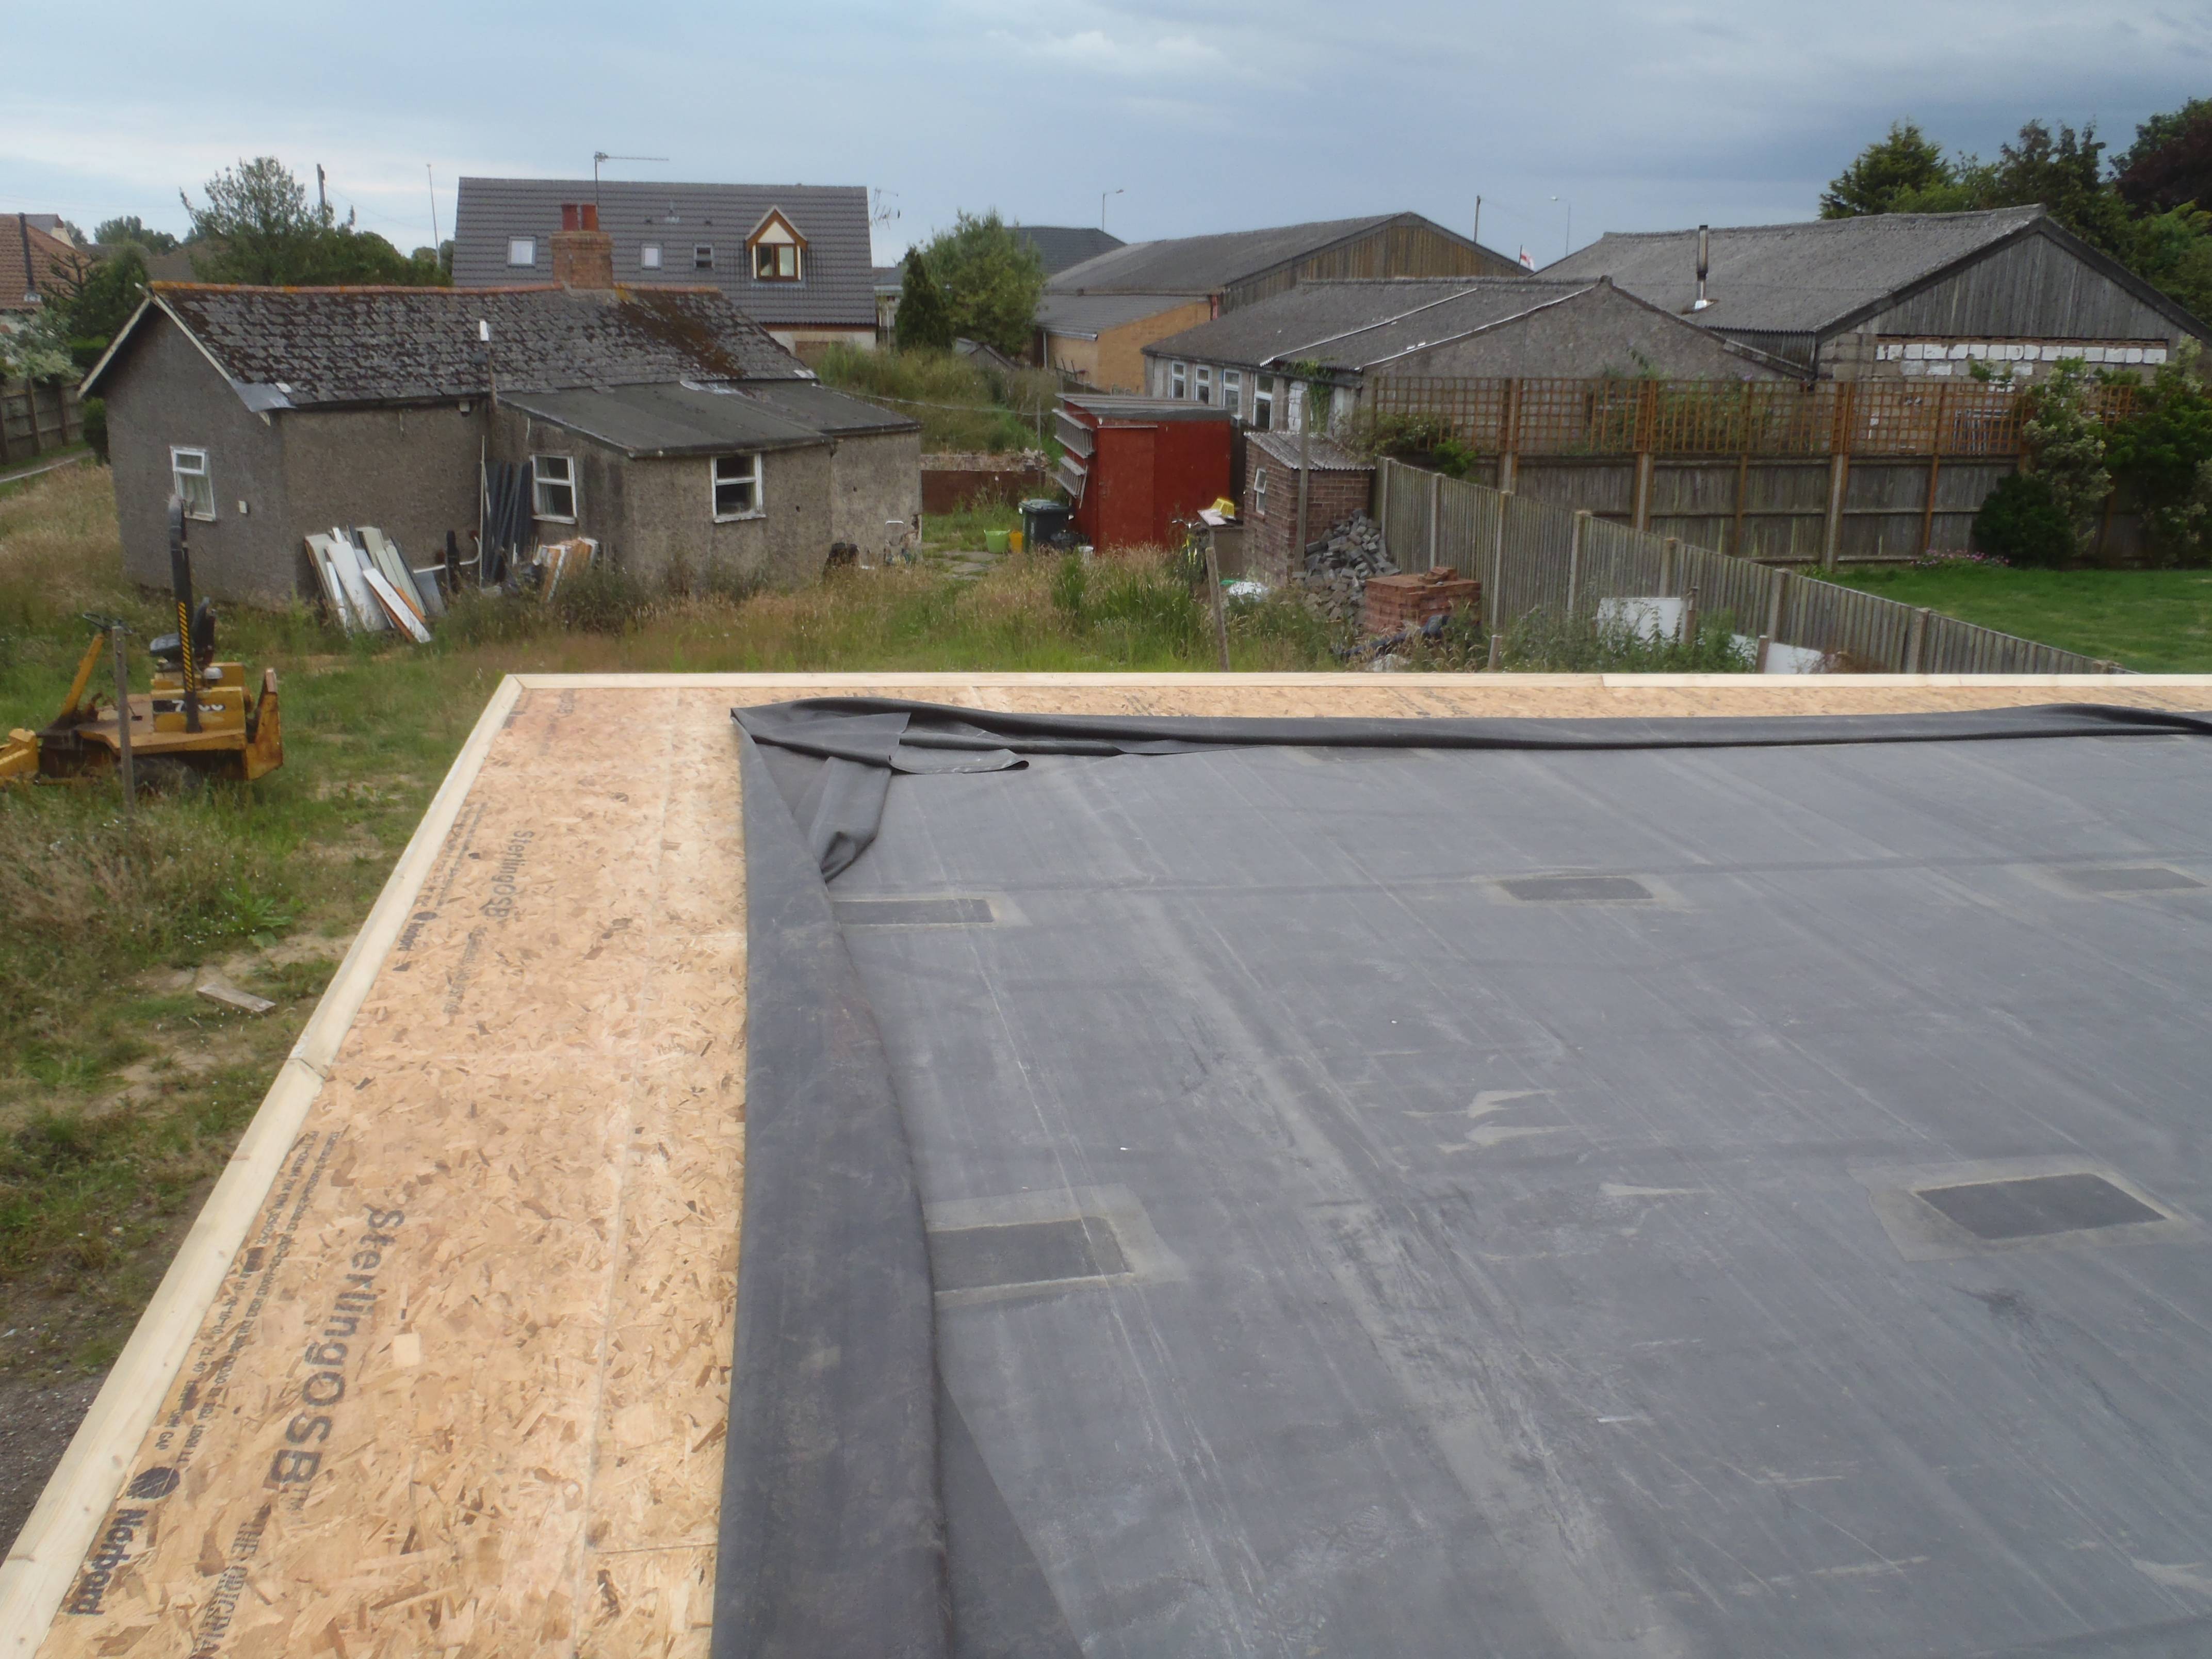
Today we took advantage of the clear weather to finally finish off the roof we put on 6 months ago! Mostly we have been waiting for the weather to get warm enough so that the glue will dry and cure properly in the required 48hours the instructions states.
We went around the three sides (the back edge was done a couple of weeks ago) trimming the excess OSB boards off! We calculated that we needed an overhanging distance of 120mm before the Oak facia boards sticks down. This distance is made up of two layers of vertical and horizontal 25mm thick battens and 19mm of Cedar wood coverings, with a 50mm air gap around behind the facia and up and over the Cedar to allow the whole wall to breathe.
Next we glued and screwed the sloping boundaries made of a 100mm by 50mm Pine timber sliced diagonally at 45degrees to make a chuck of solid edging with 25mm flat tops and 75mm bottoms. The corners were mitred together.
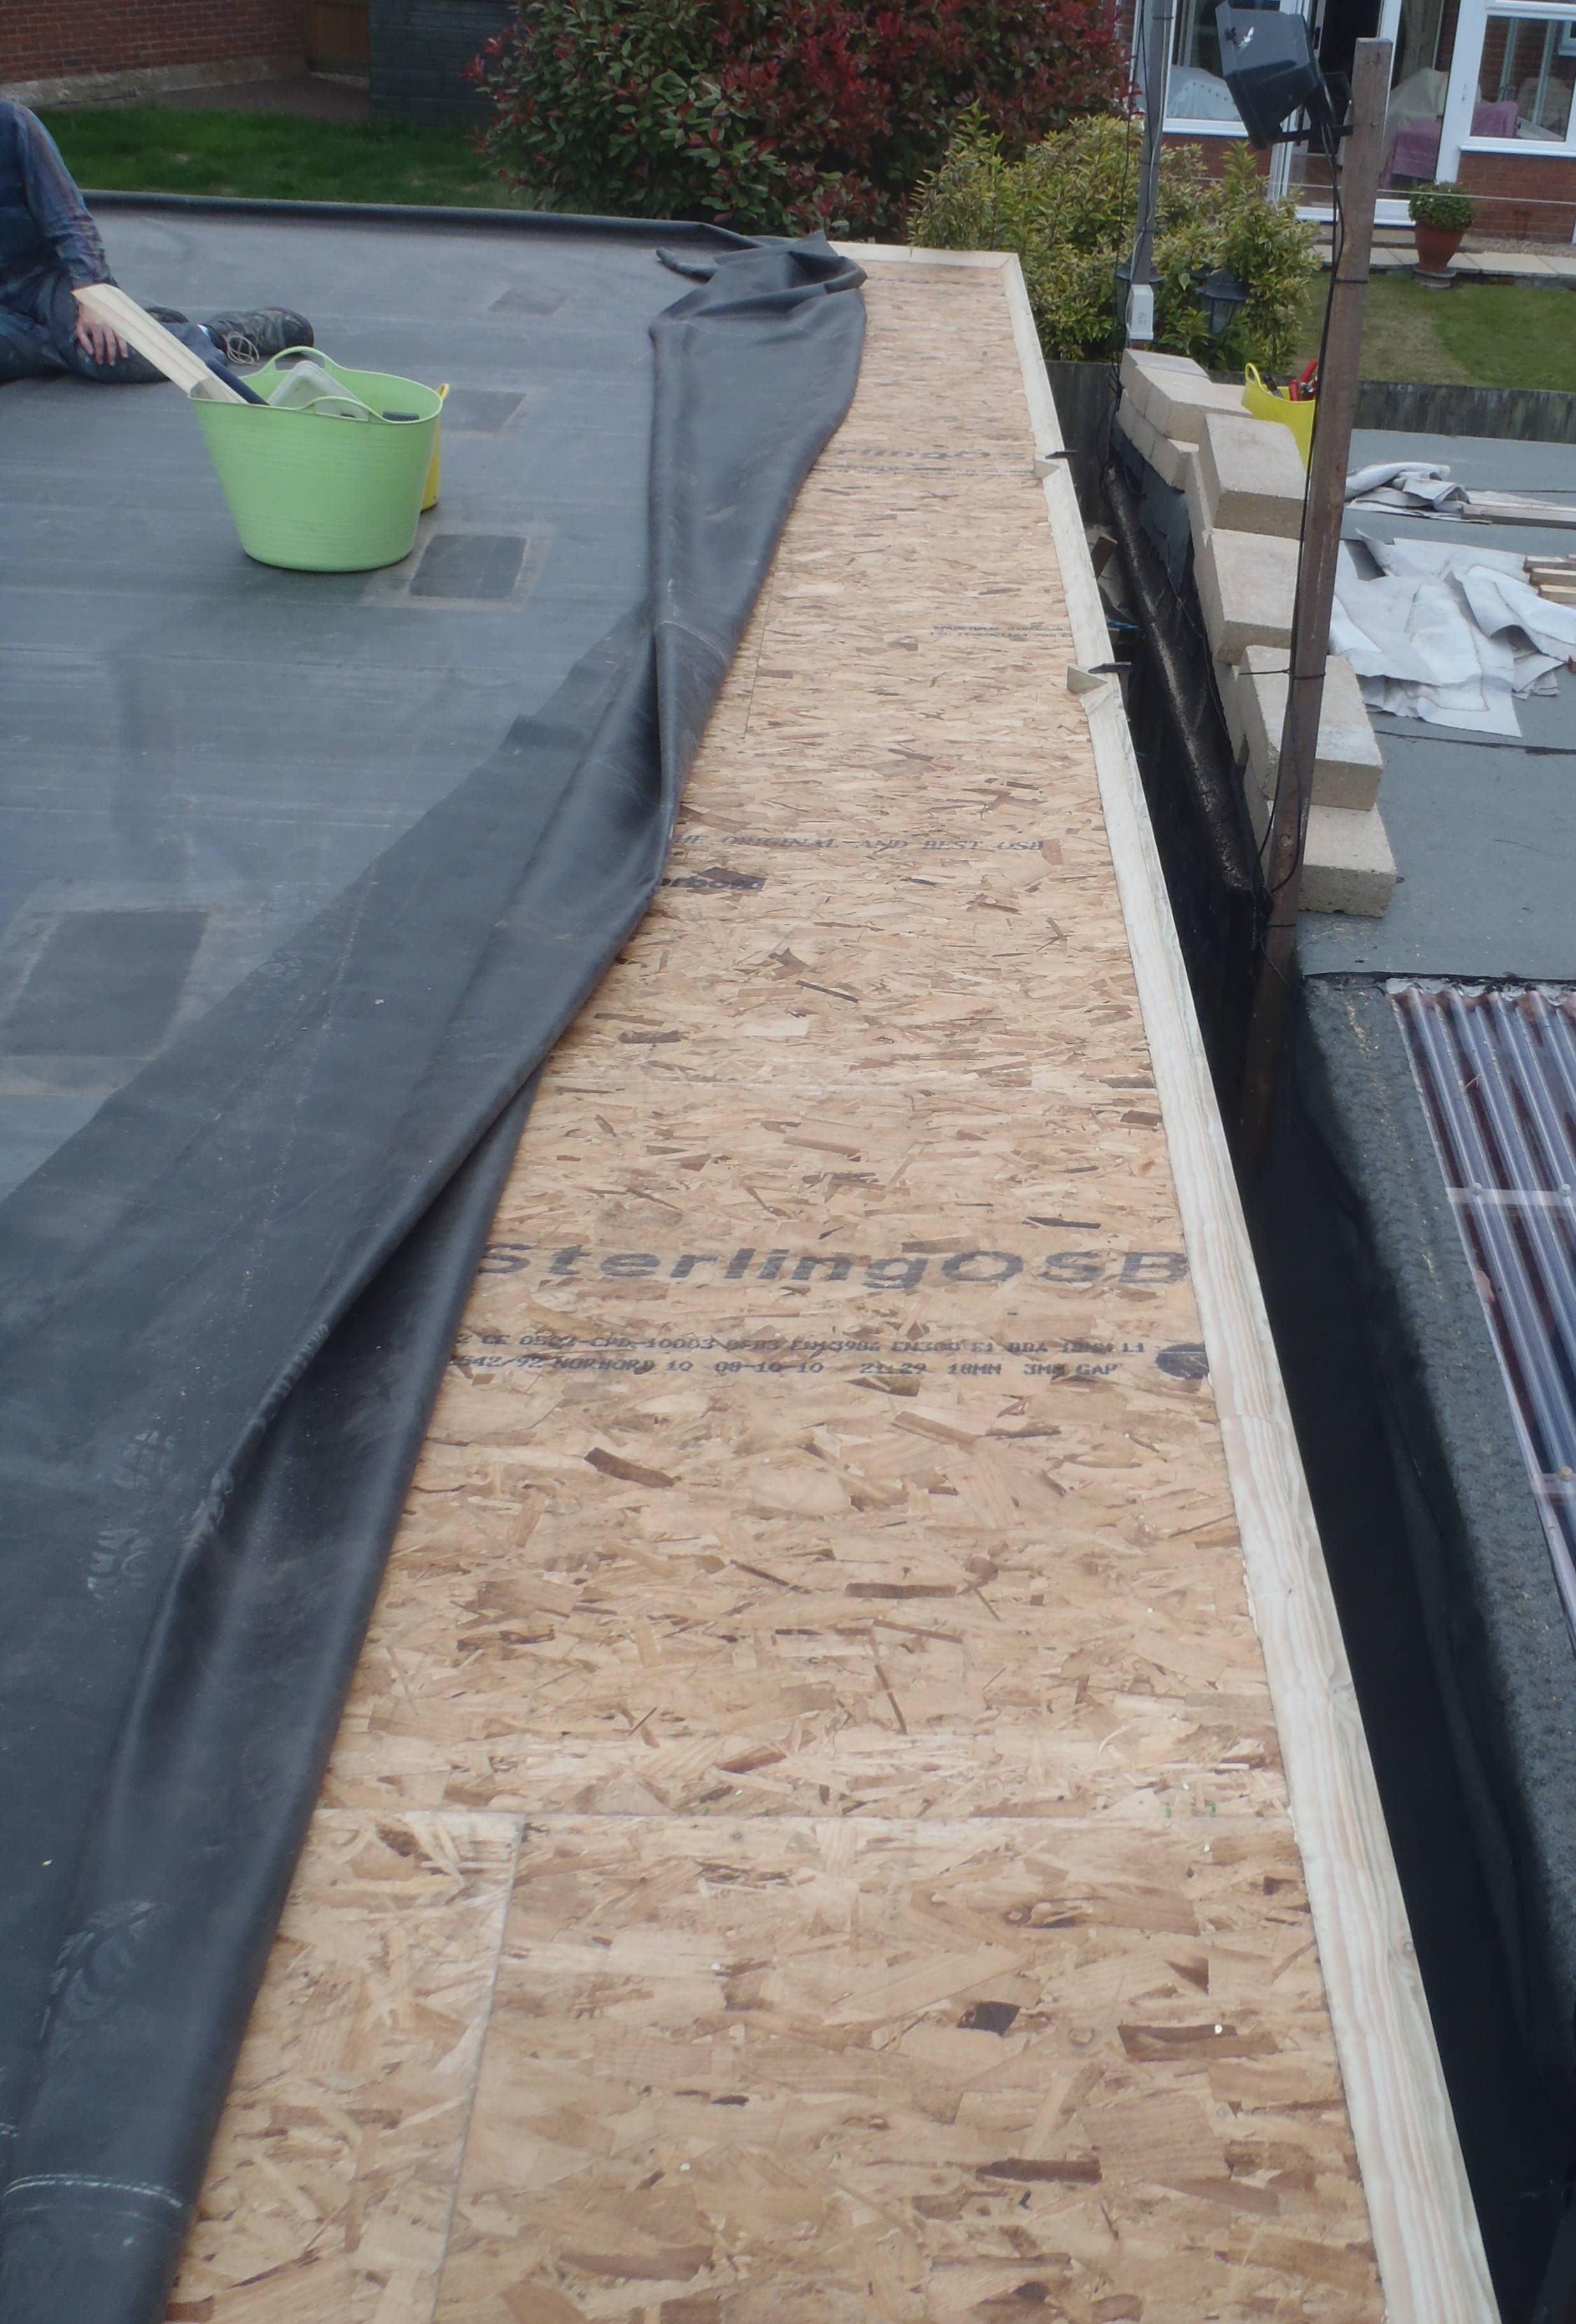
Roof – Upstands fitted to last 3 sides

Roof – Upstands fitted to last 3 sides
Roof – Upstands fitted to last 3 sides
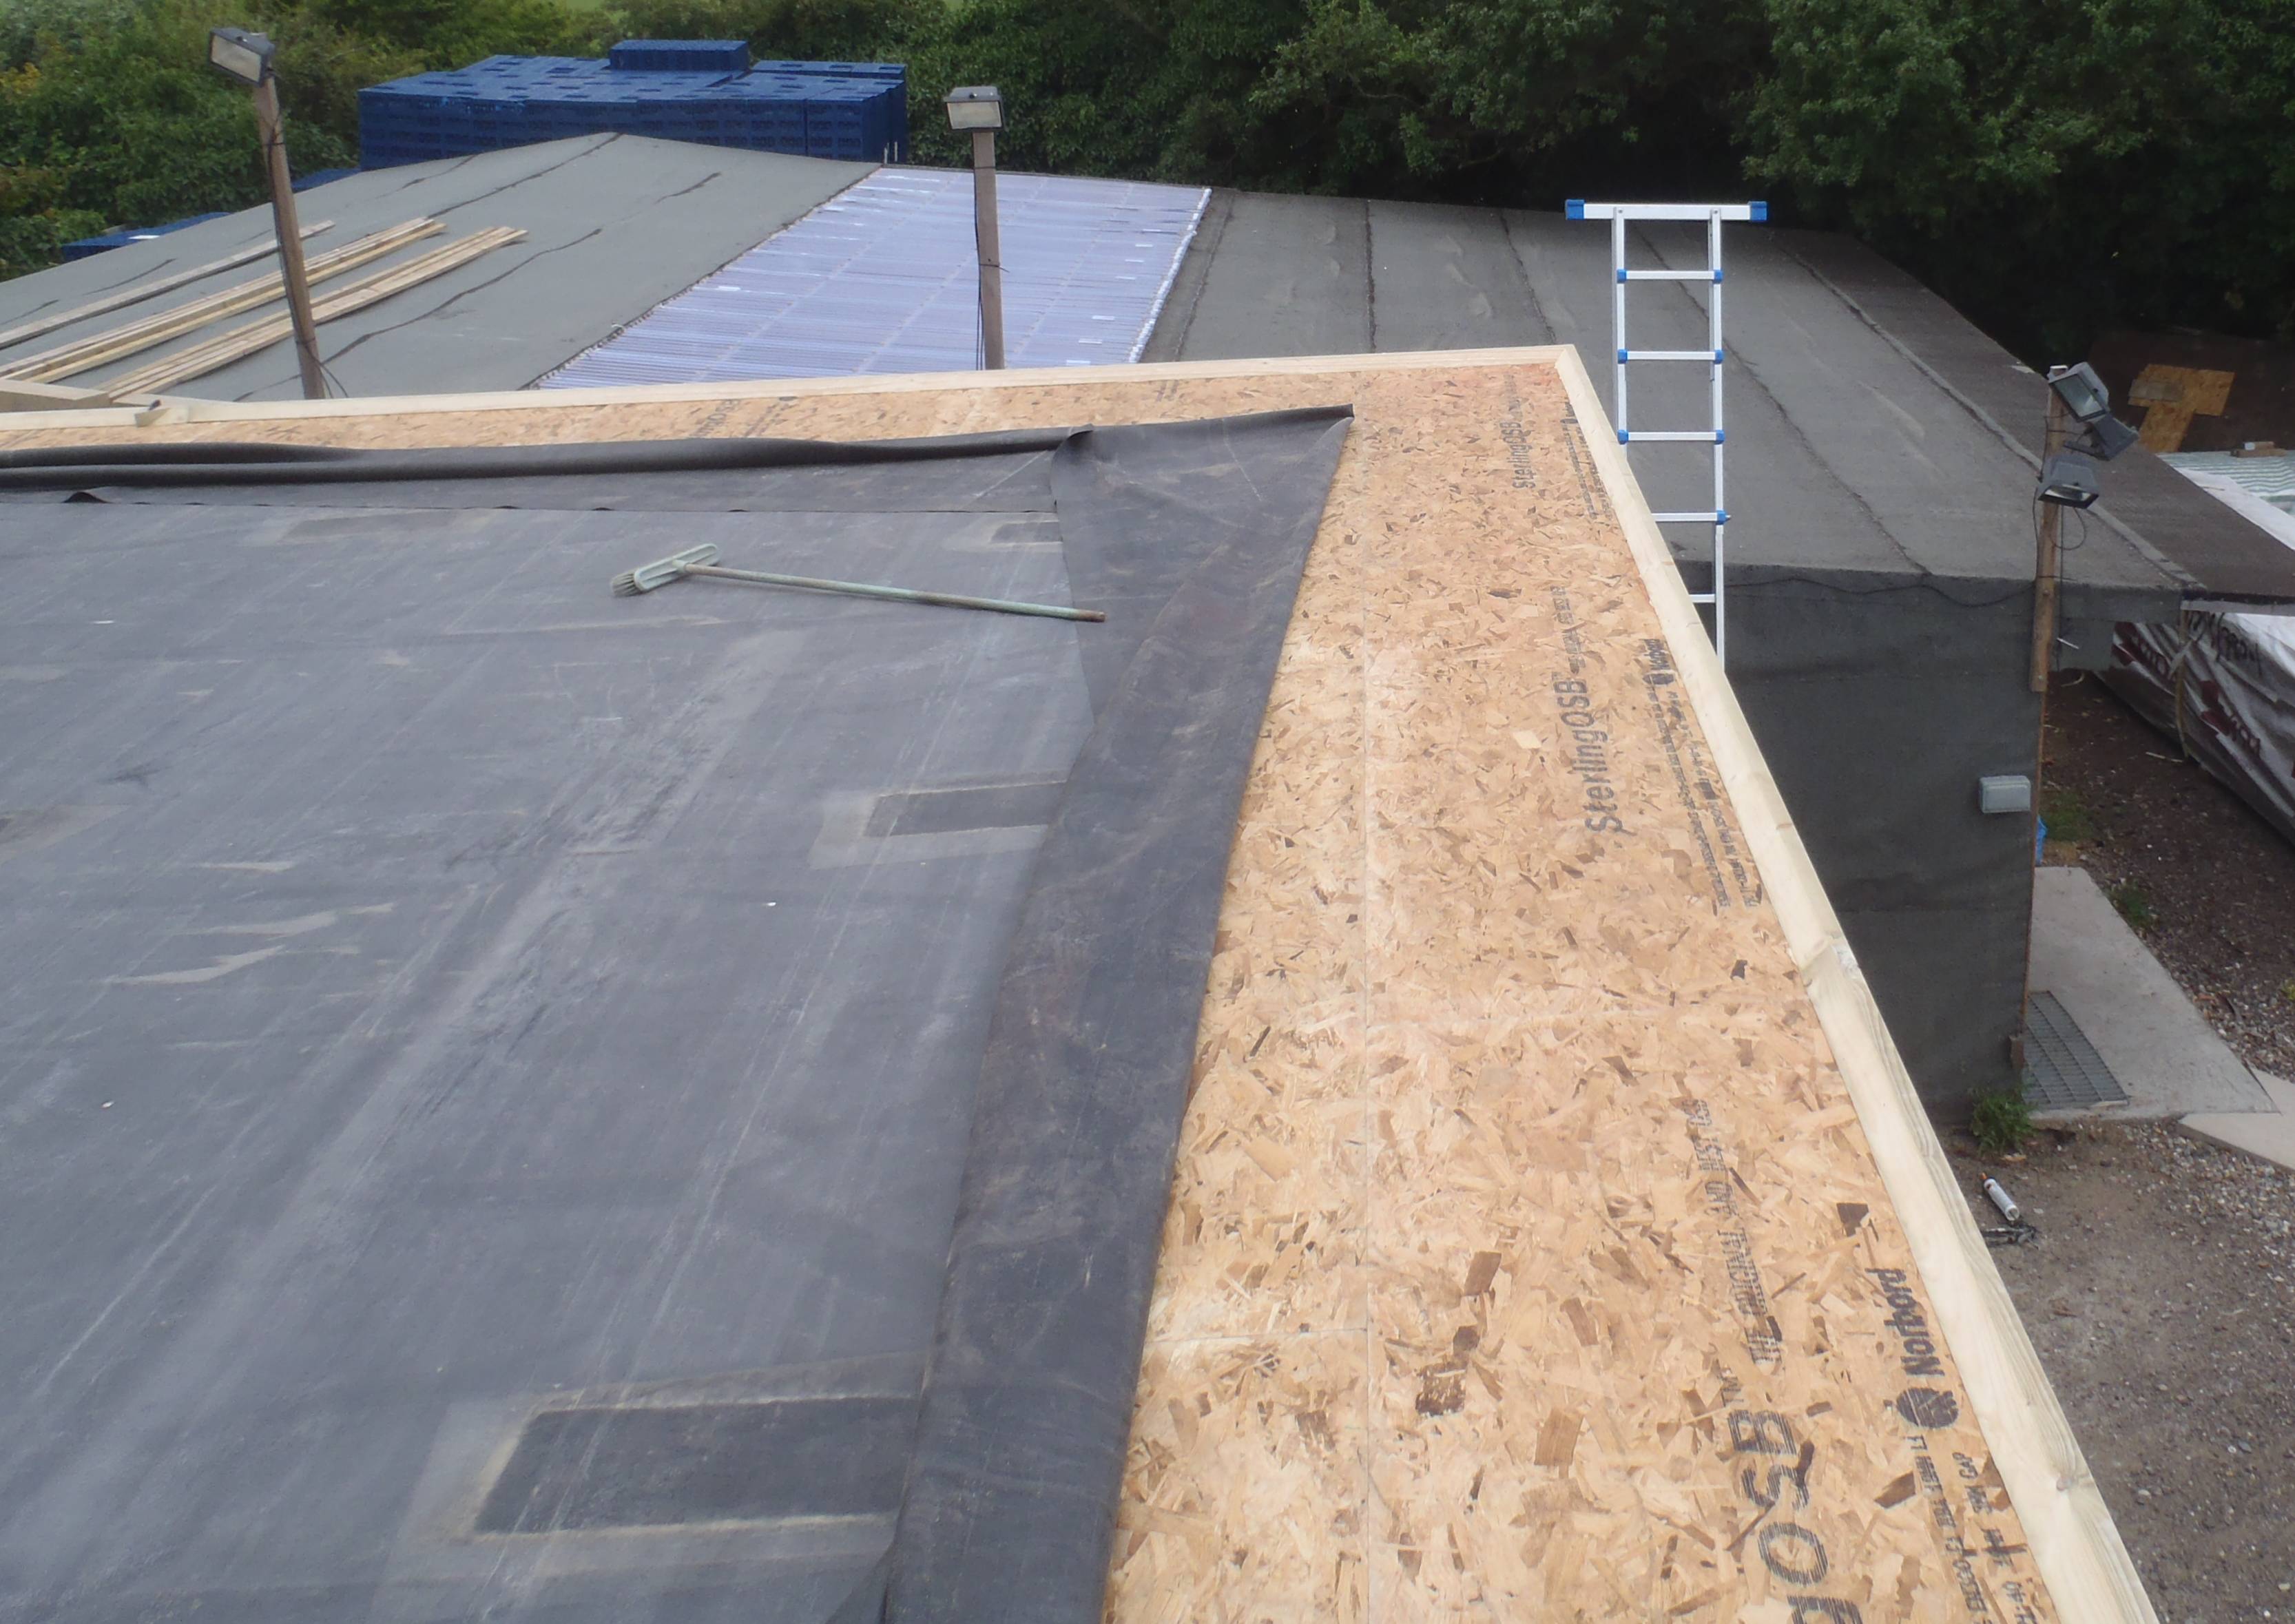
Roof – Upstands fitted to last 3 sides
We covered up again just before the rain started drifting in! Phew!
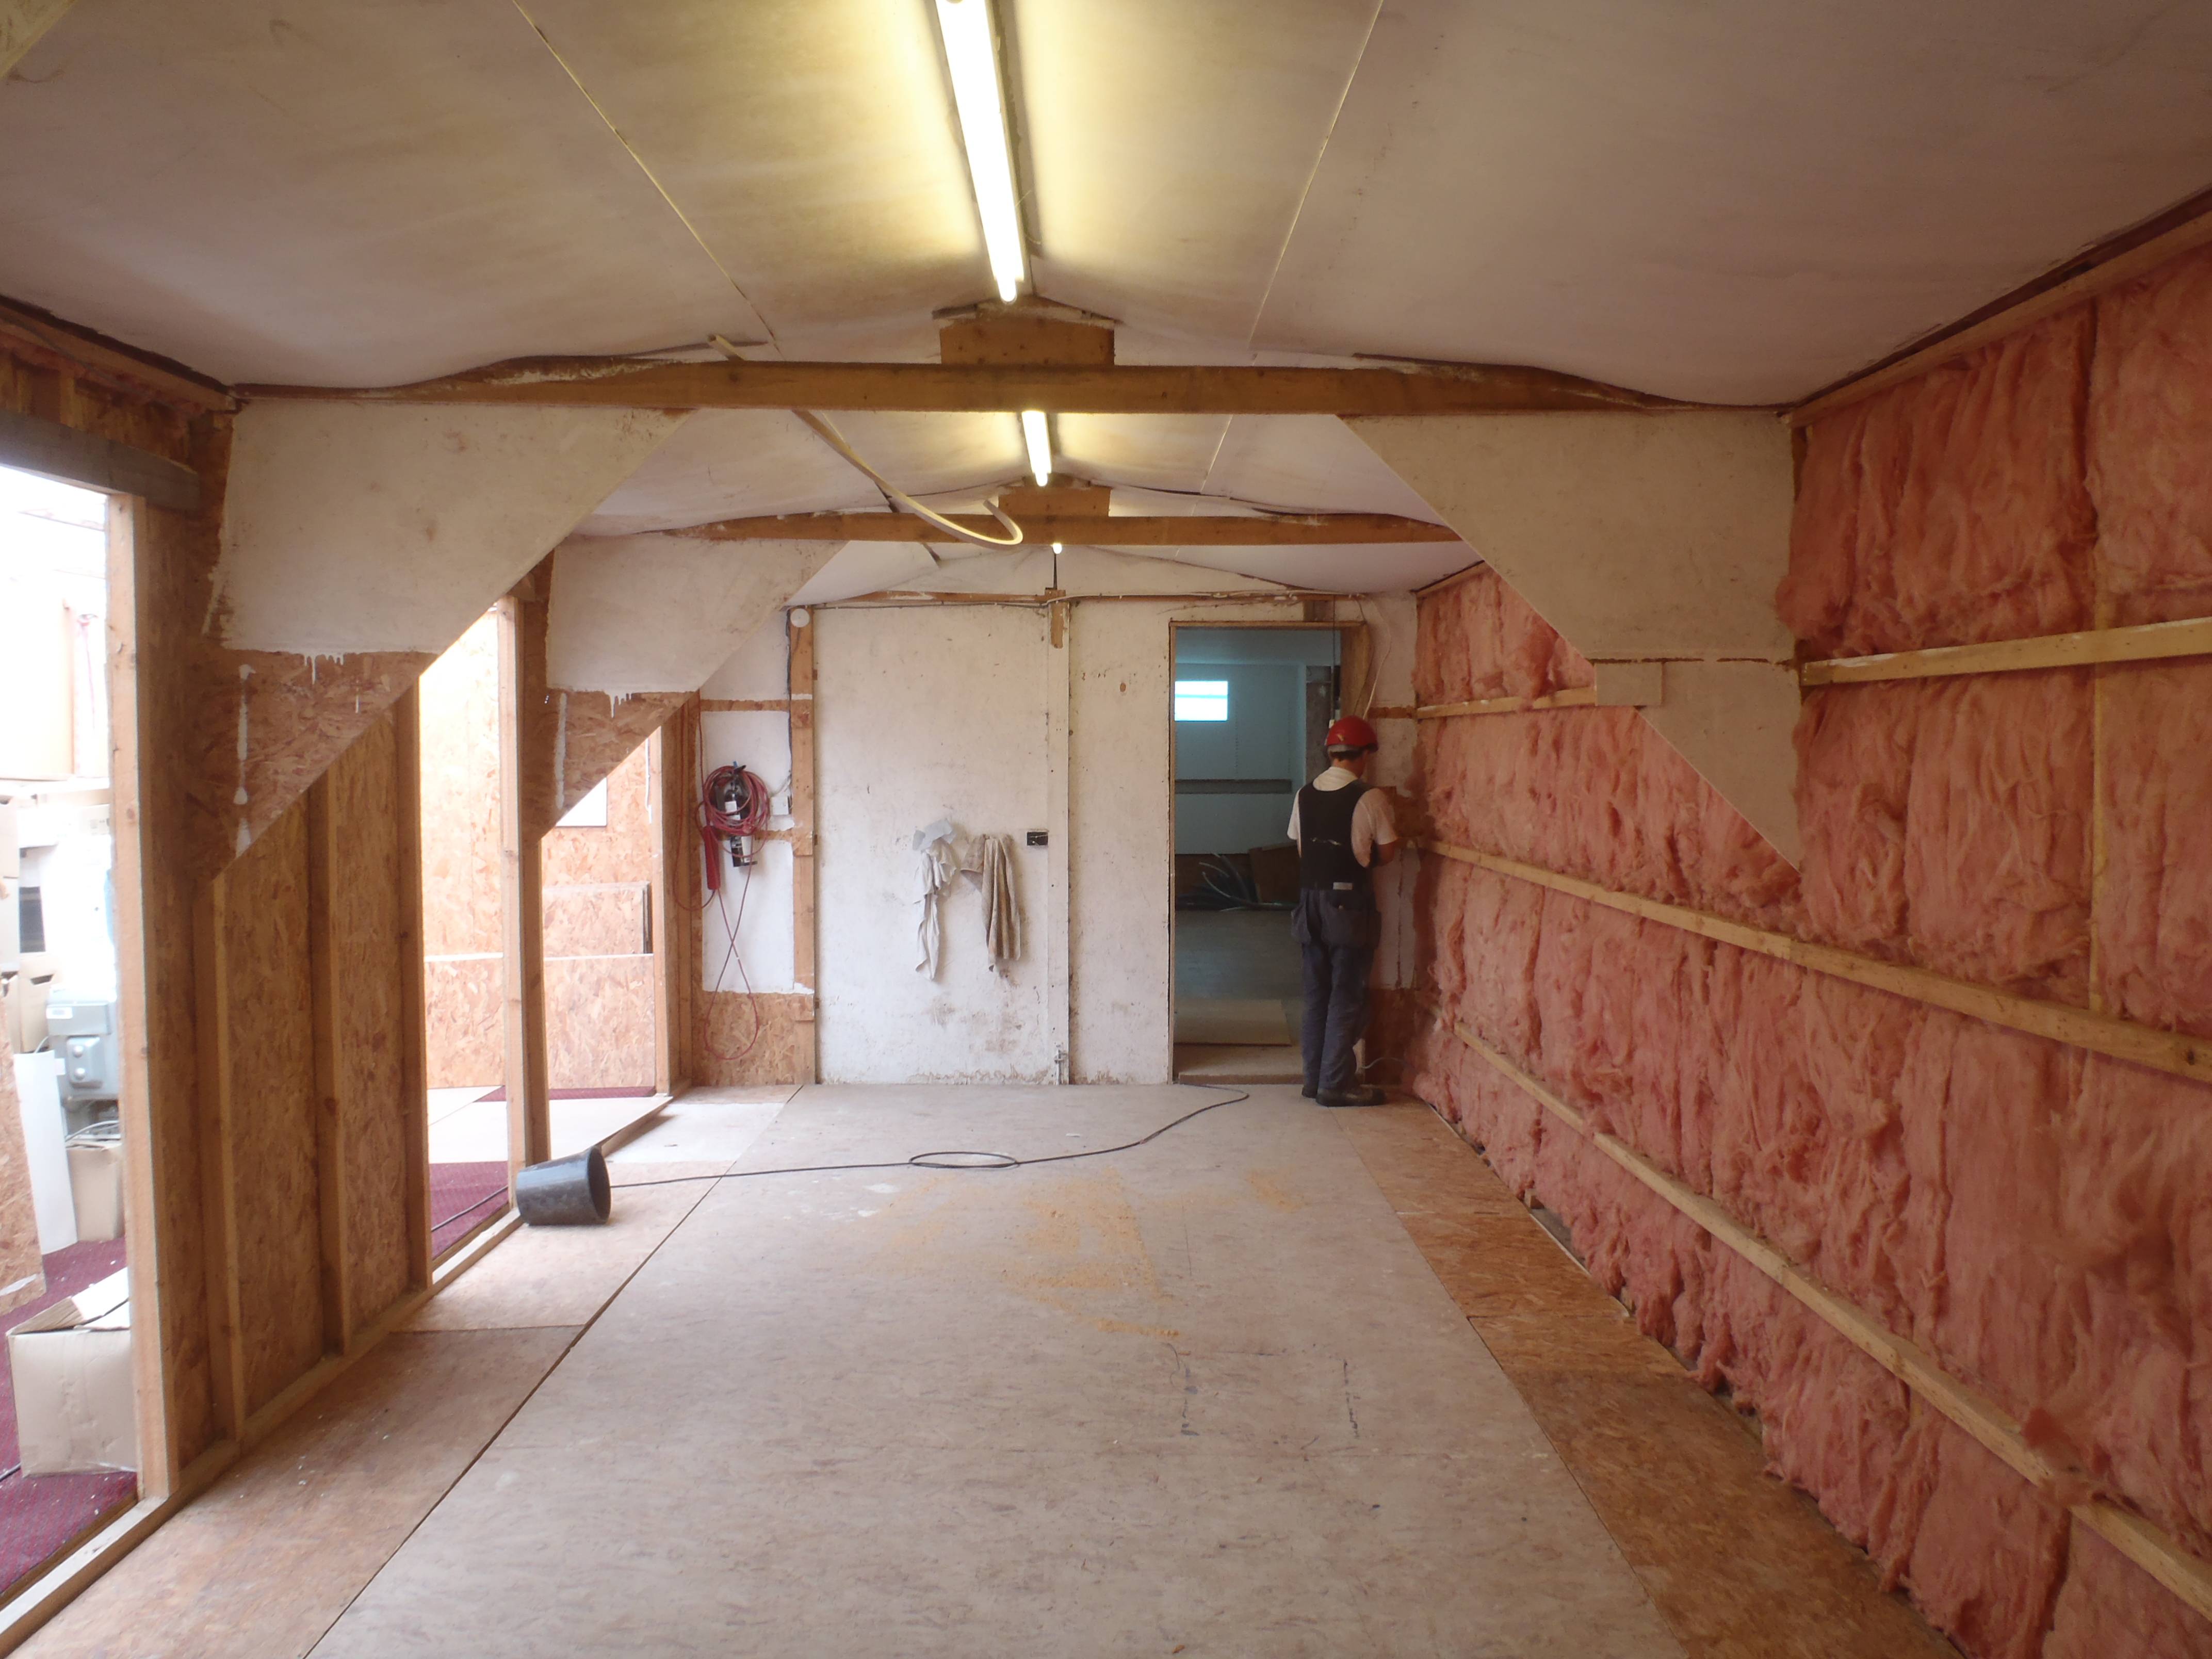
Today we started putting up the plaster boards in the temporary living quarters. We went straight along the back wall in one go with 8 sheets and then 3 sheets across the end.
It was fairly simple.
Just very hot indeed! The Sun Corridor heated the place up to well over 35 degrees Celsius !
Build the air duct on the back wall and then the partition walls next.
we sorted out the electrics to allow us to nail up the plaster boards. Currently the electric cable comes in from under the floor into the old storage shed and soon this will be replaced but not right now! We levelled out the floor with 11mm sheet of OSB down the sides and it is now ready for the 50mm thick Polystyrene foam boards.
We had a little fire in the incinerator to get rid of odds and ends which were accumulating in a corner of the storage shed!

Shed empty ready for bedrooms
Shed empty ready for bedrooms
Now we can start putting up the plaster boards and building the air conduits and finally the partition walls!