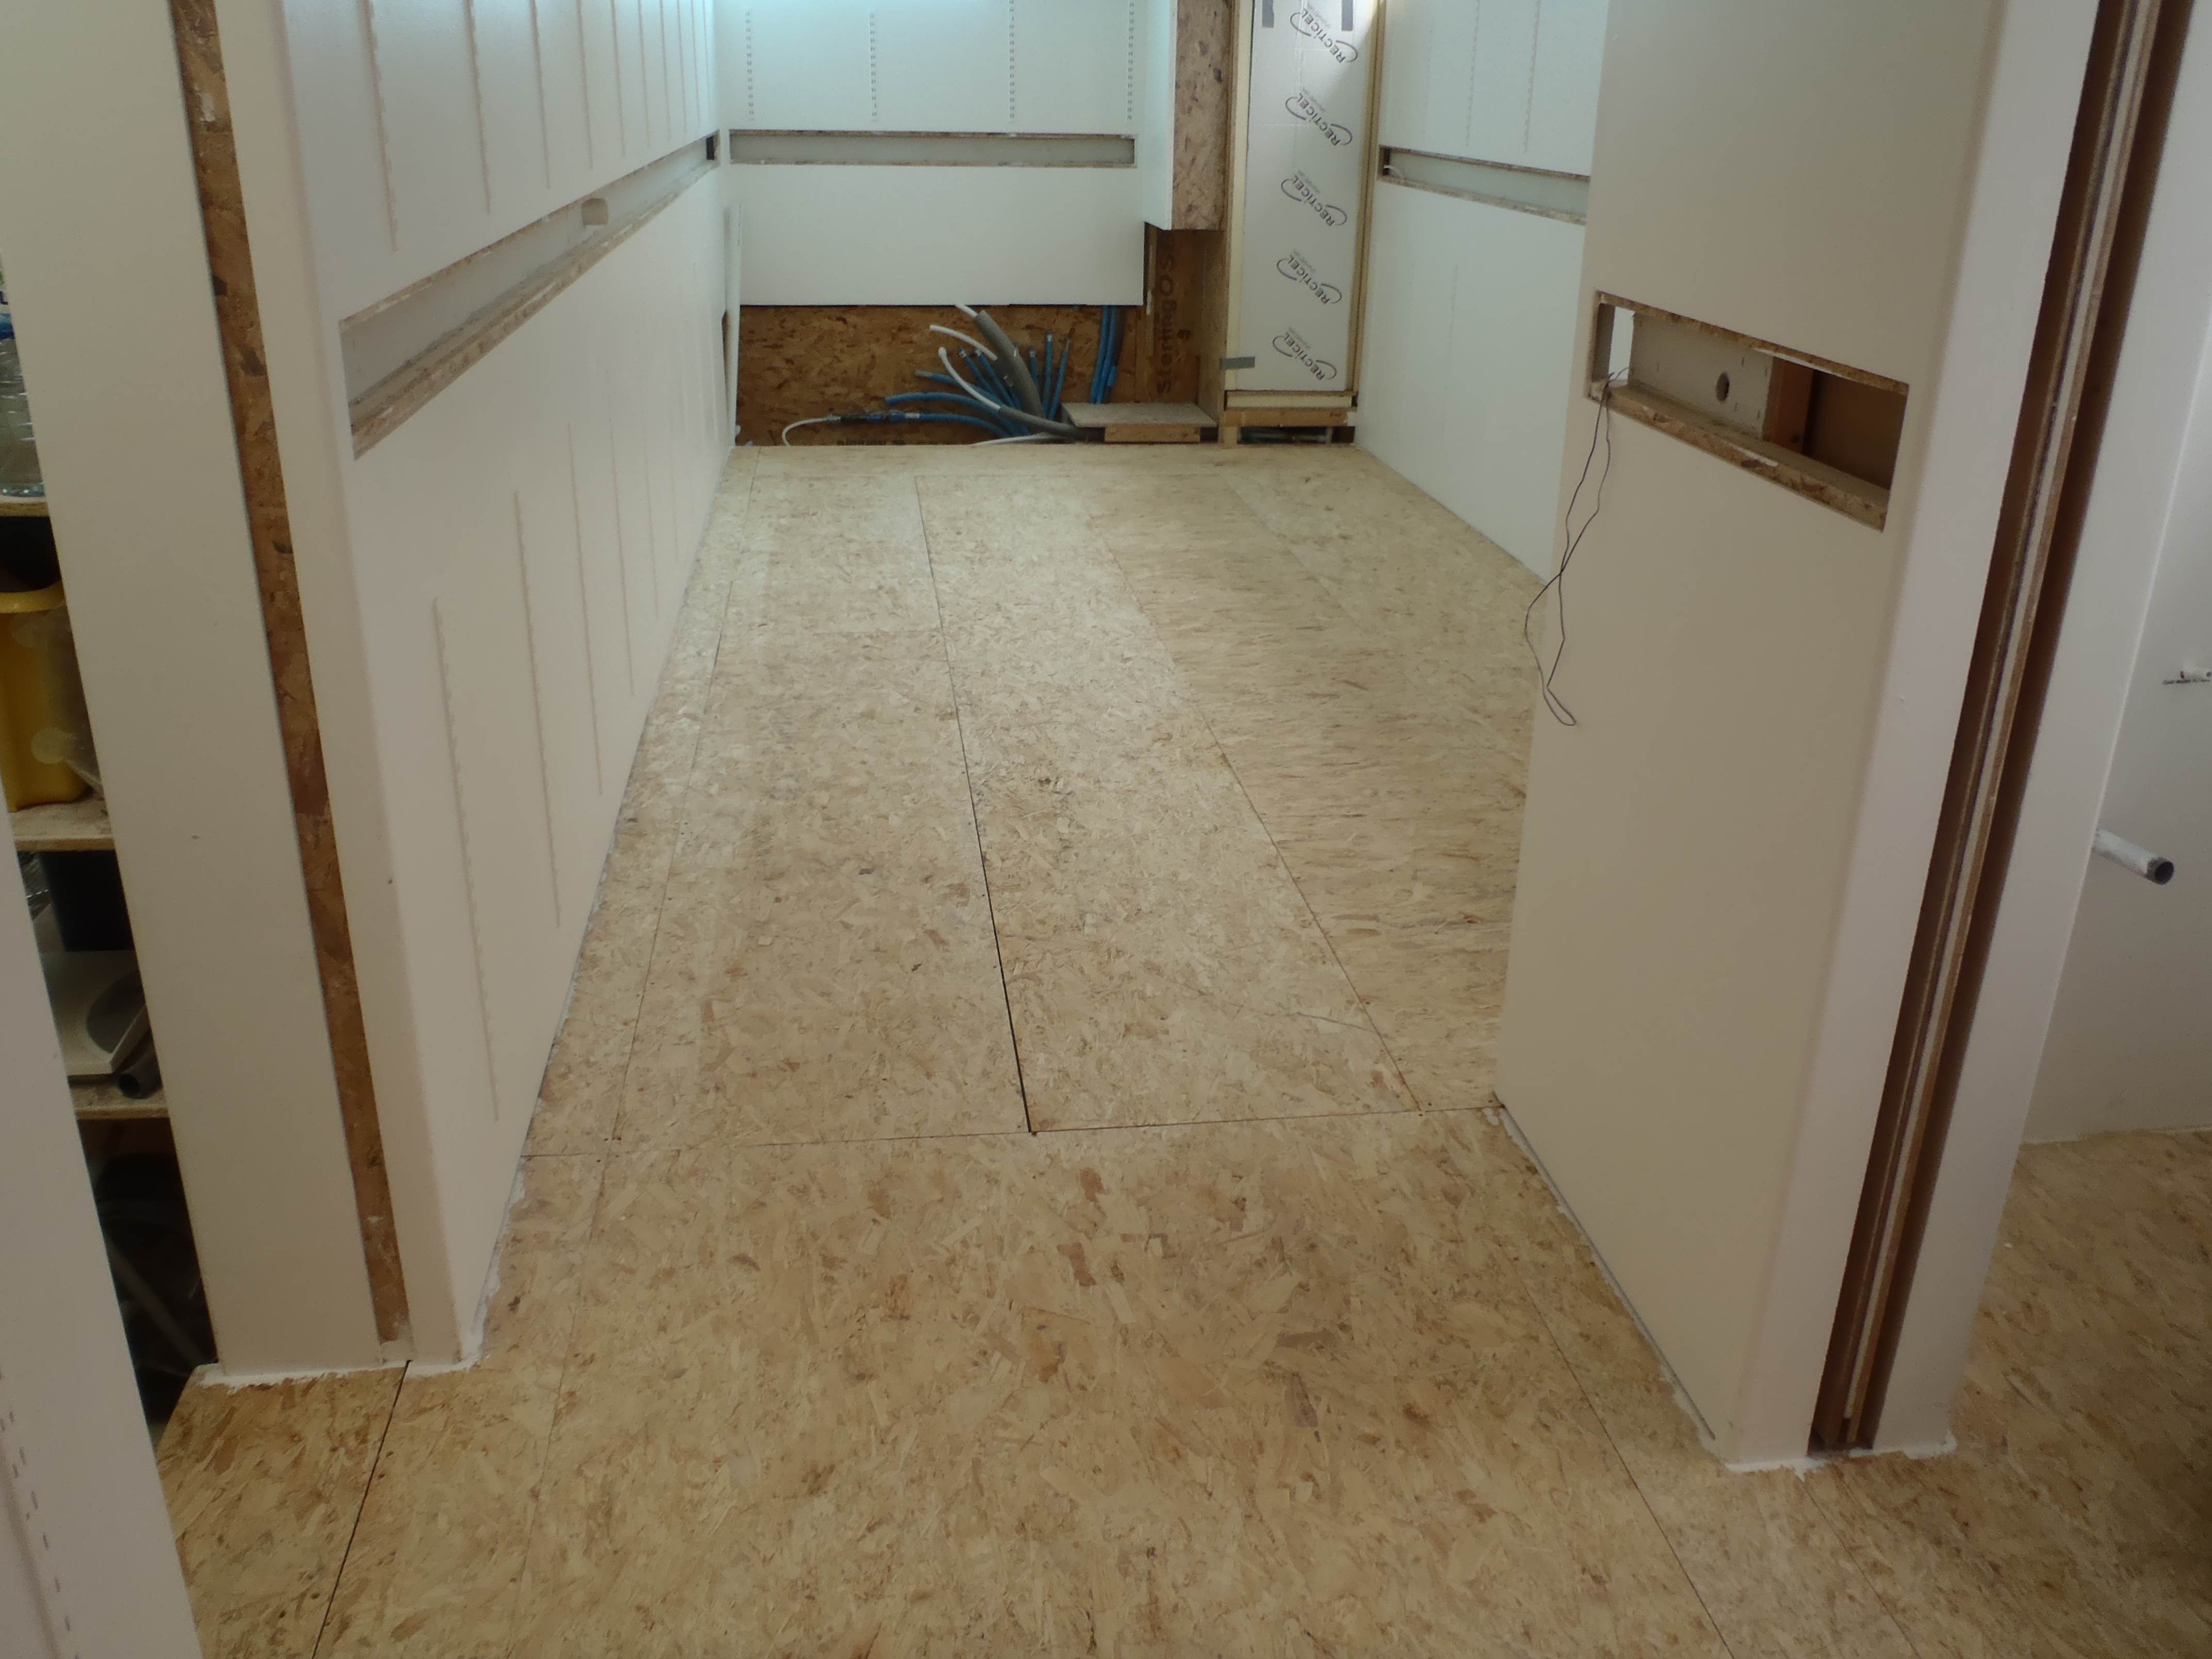
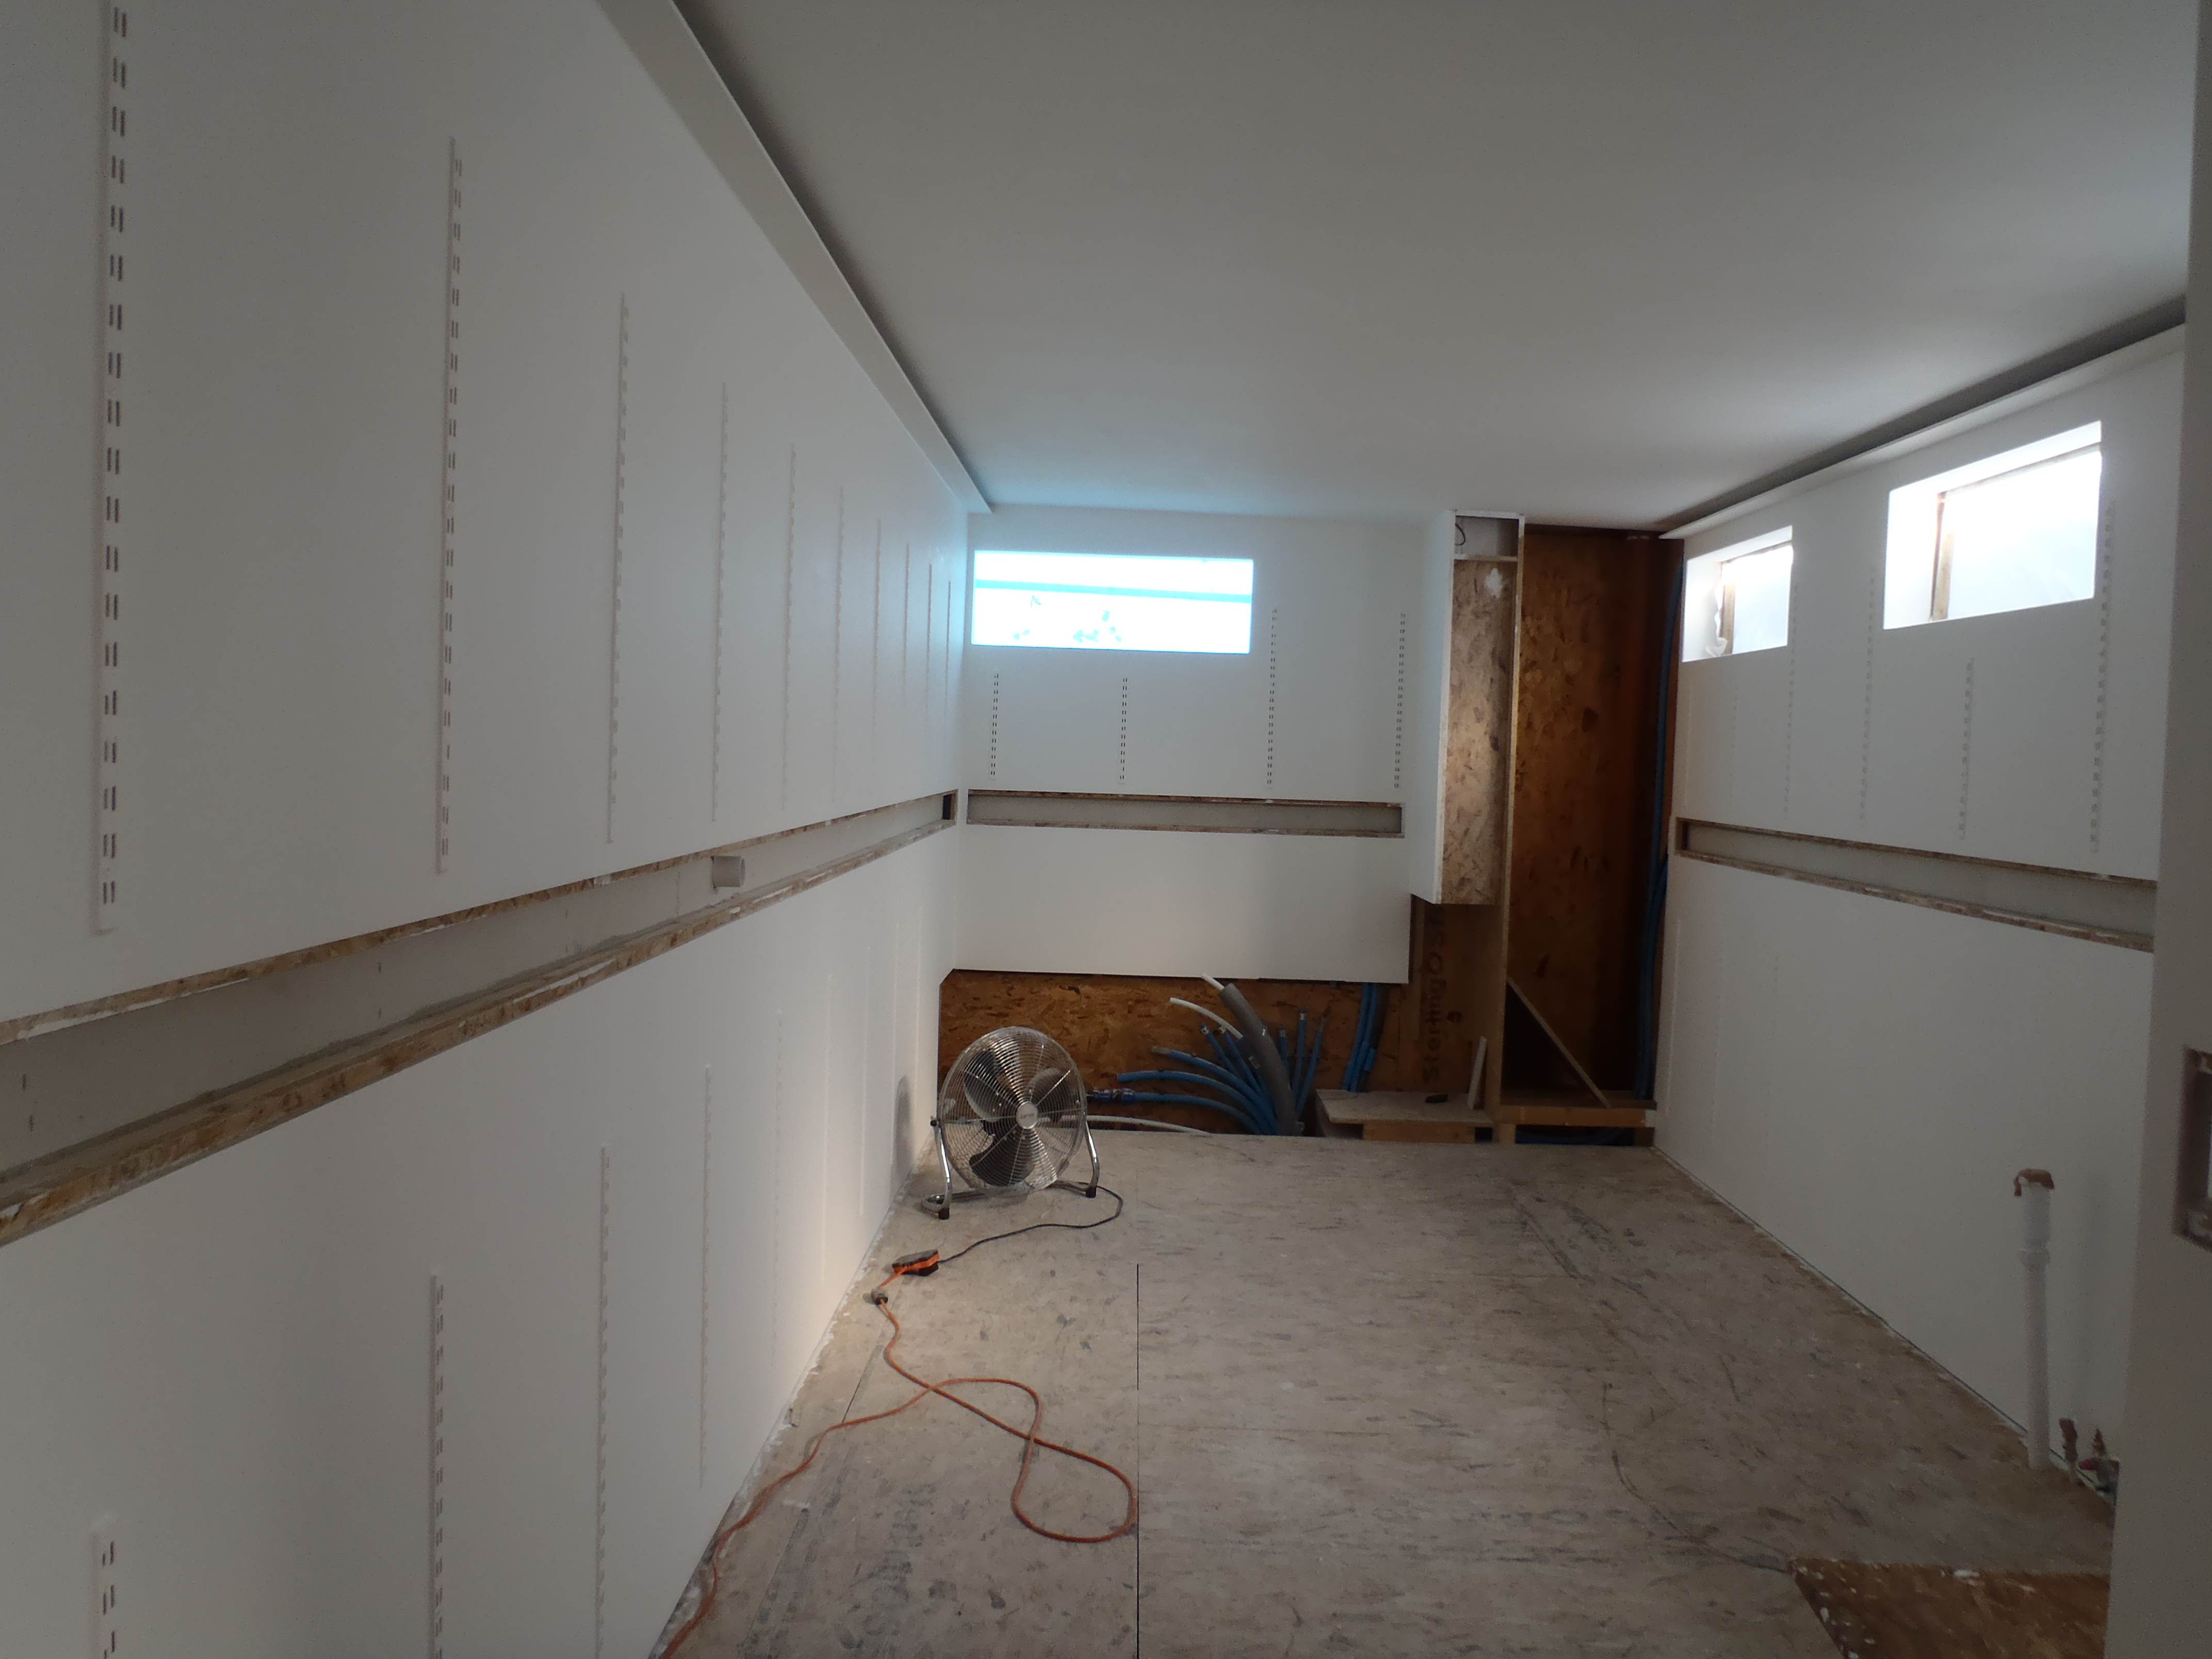
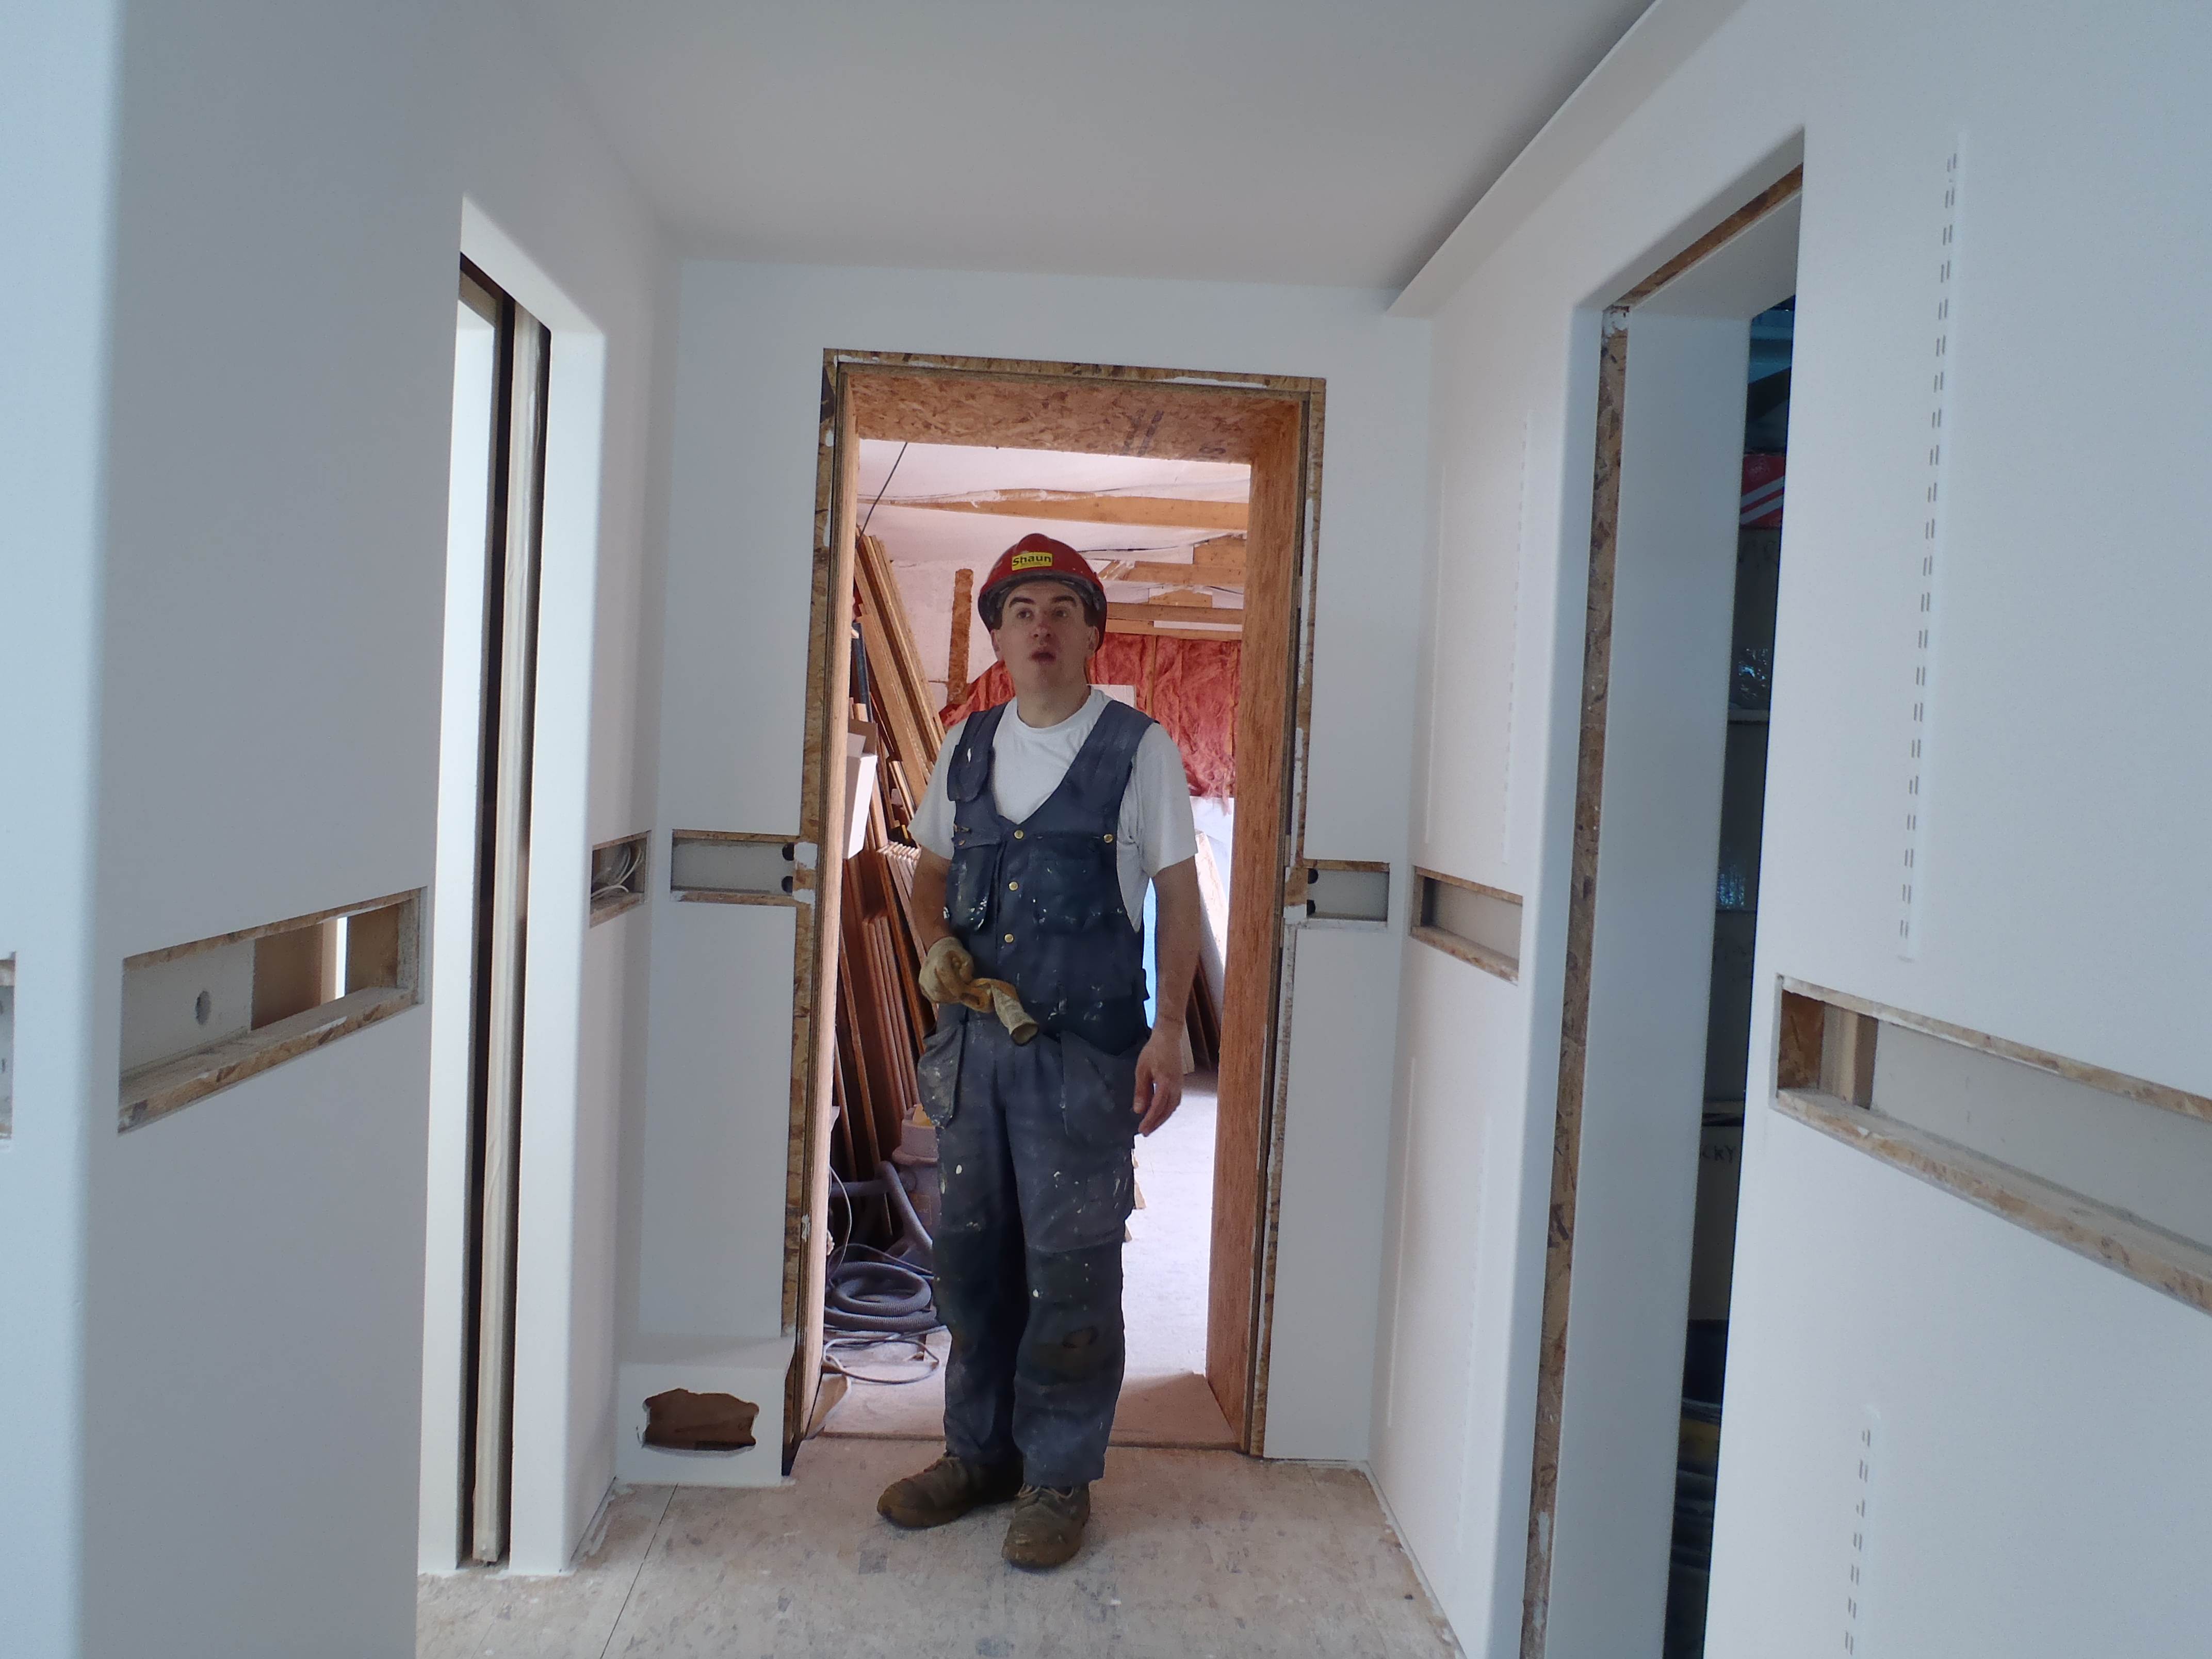
Yesterday and today we revealed our trap doors in the garden room. The laminated flooring covered everything up, all glued down, including the two trap doors!
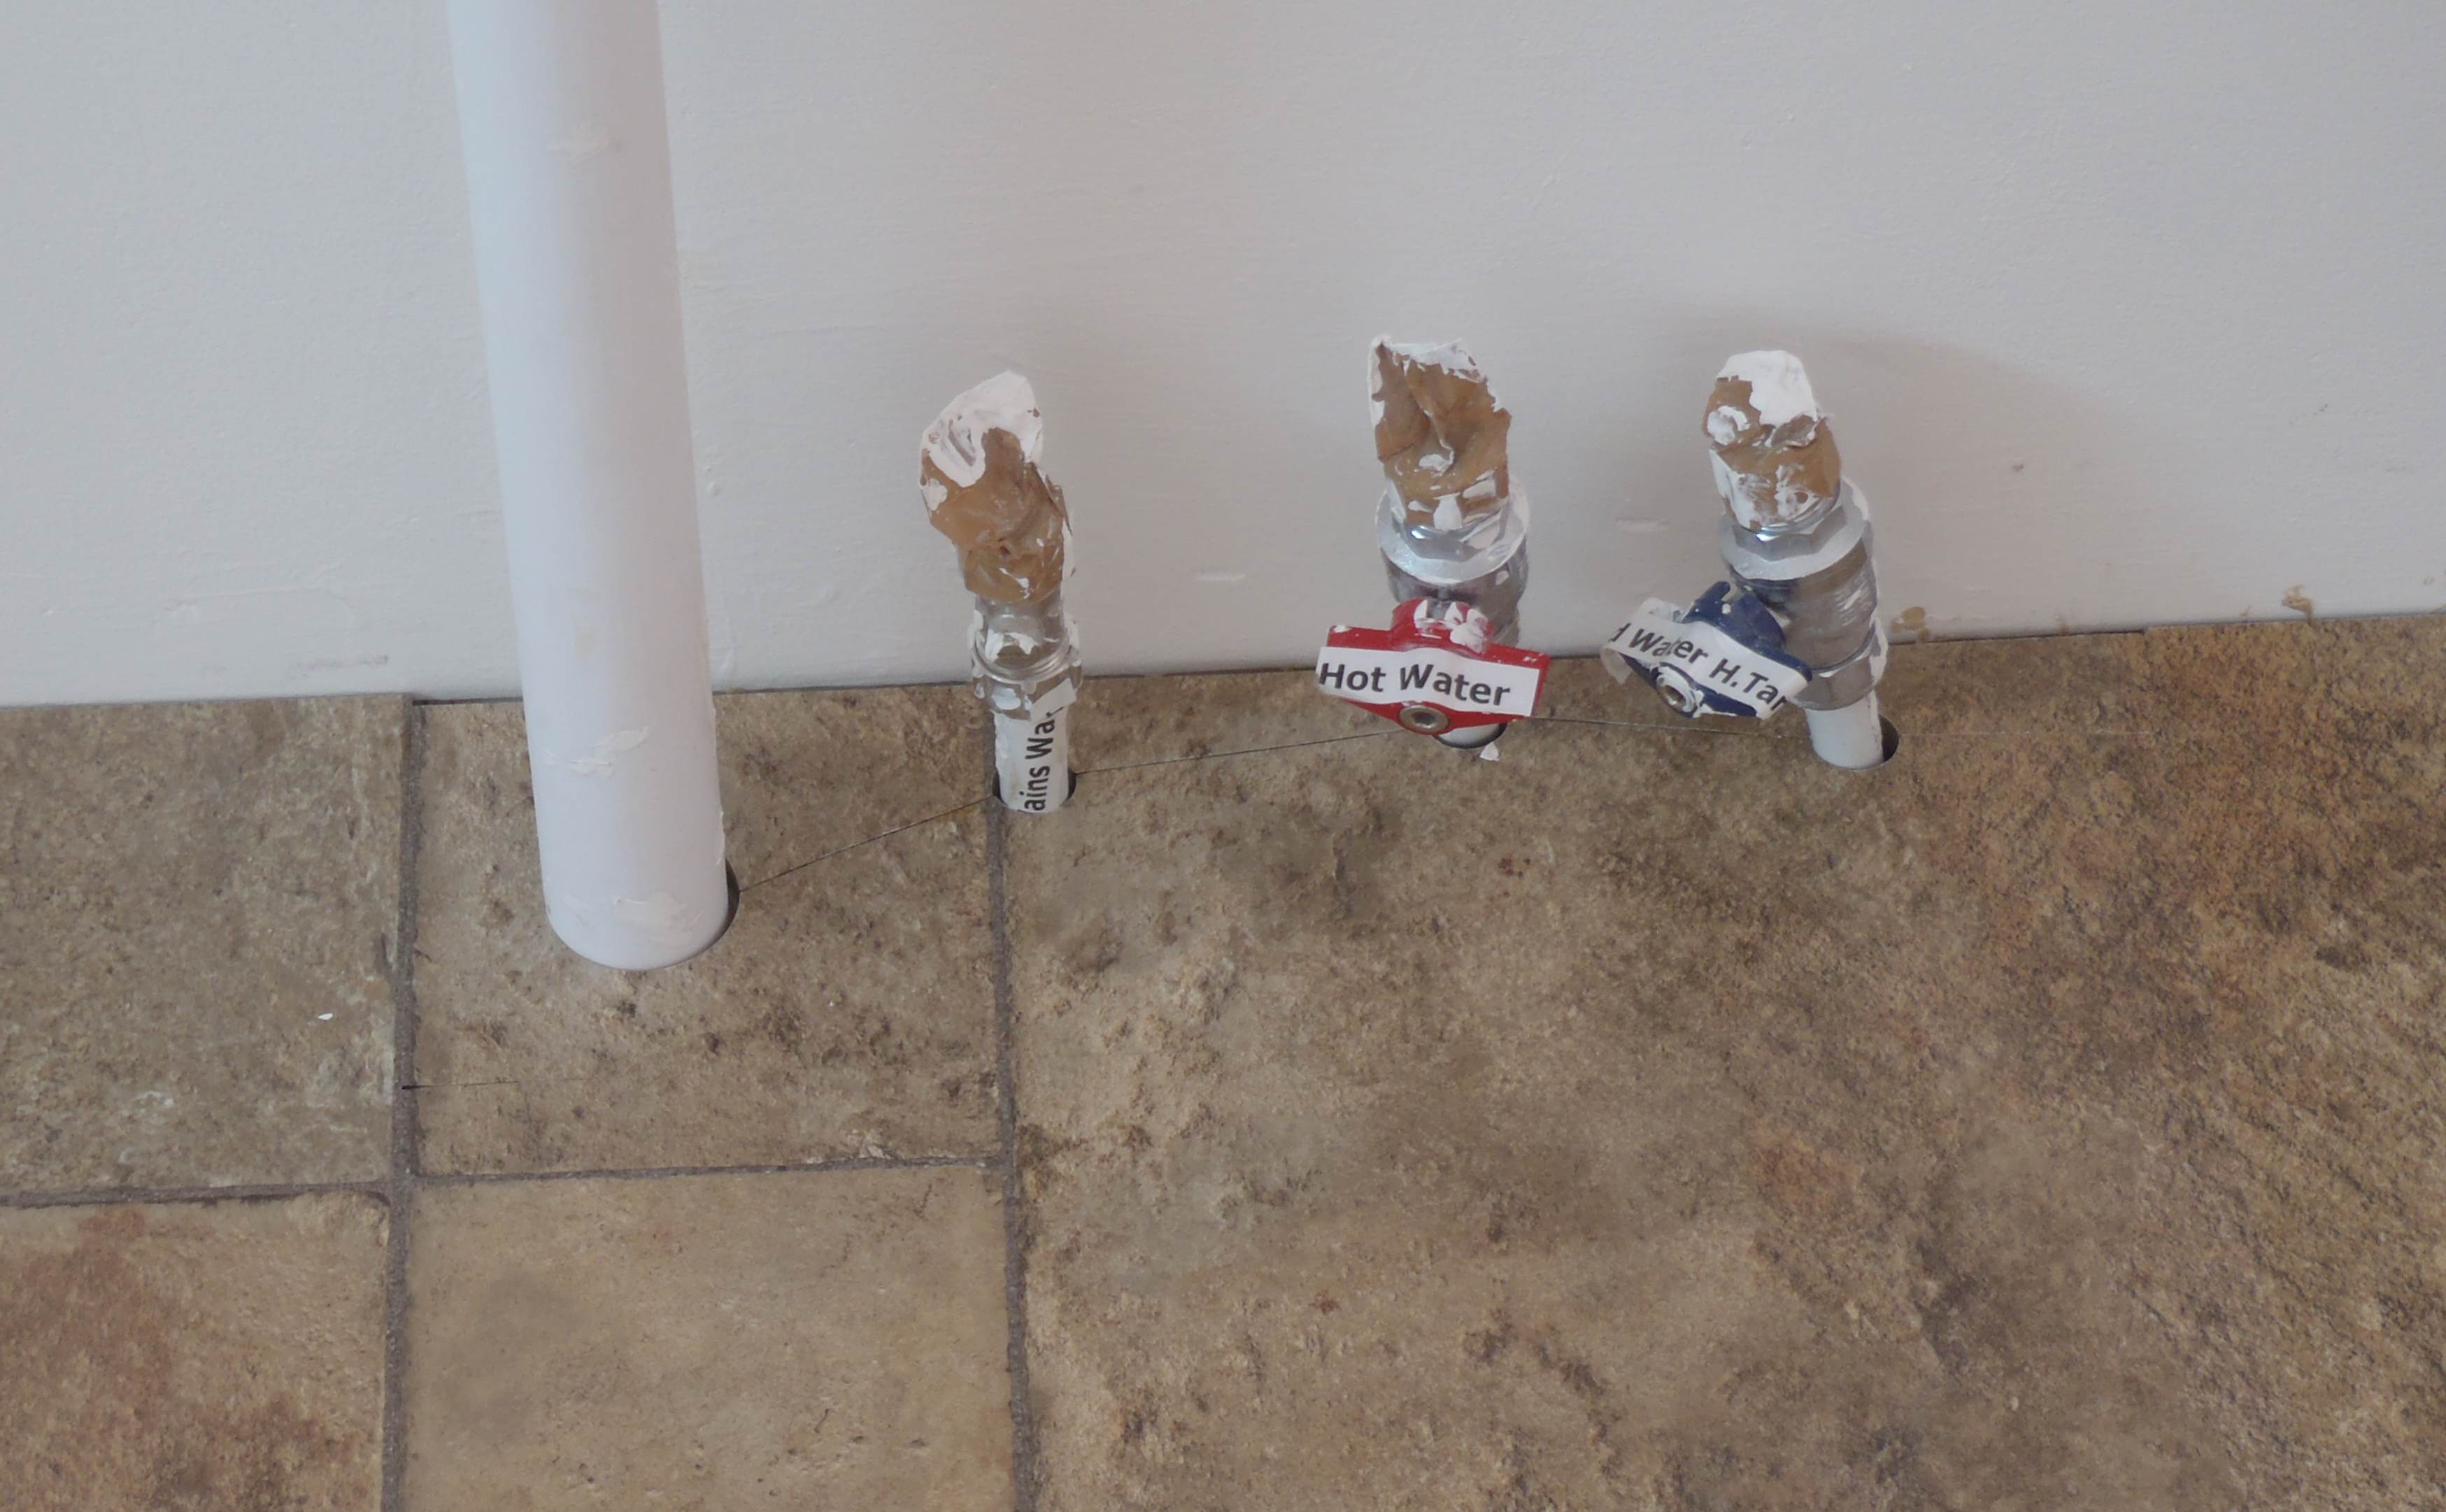
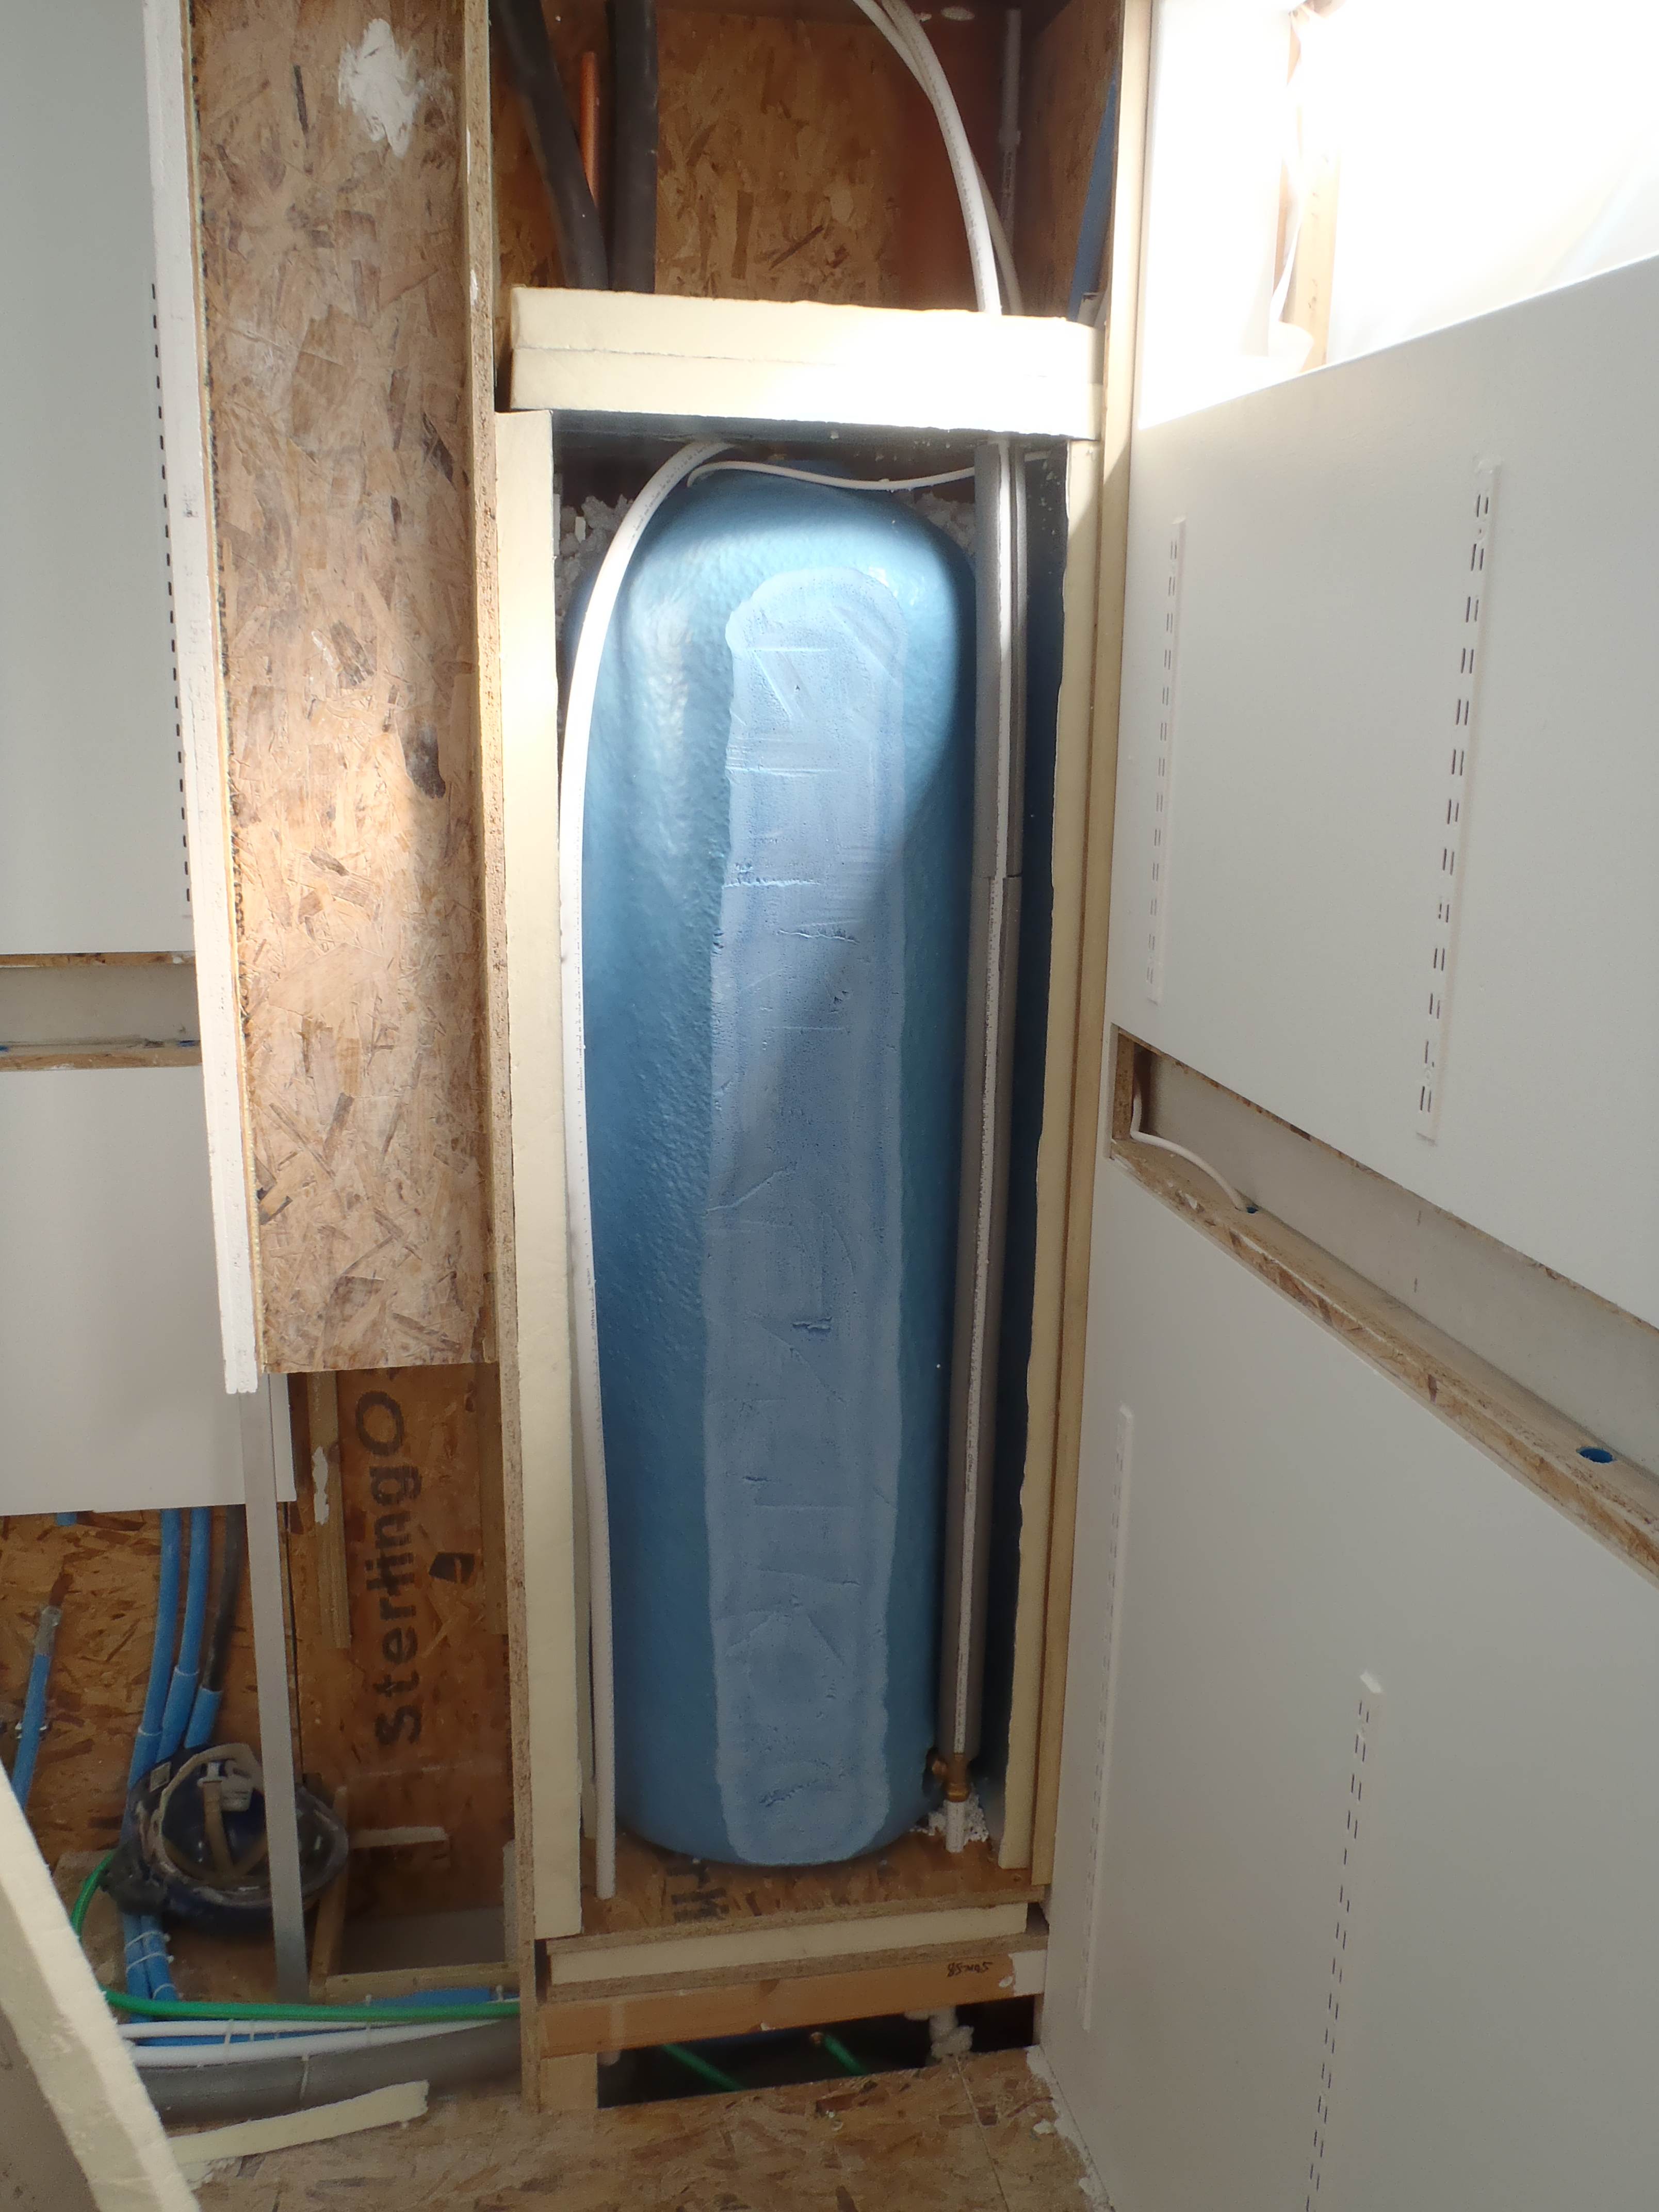
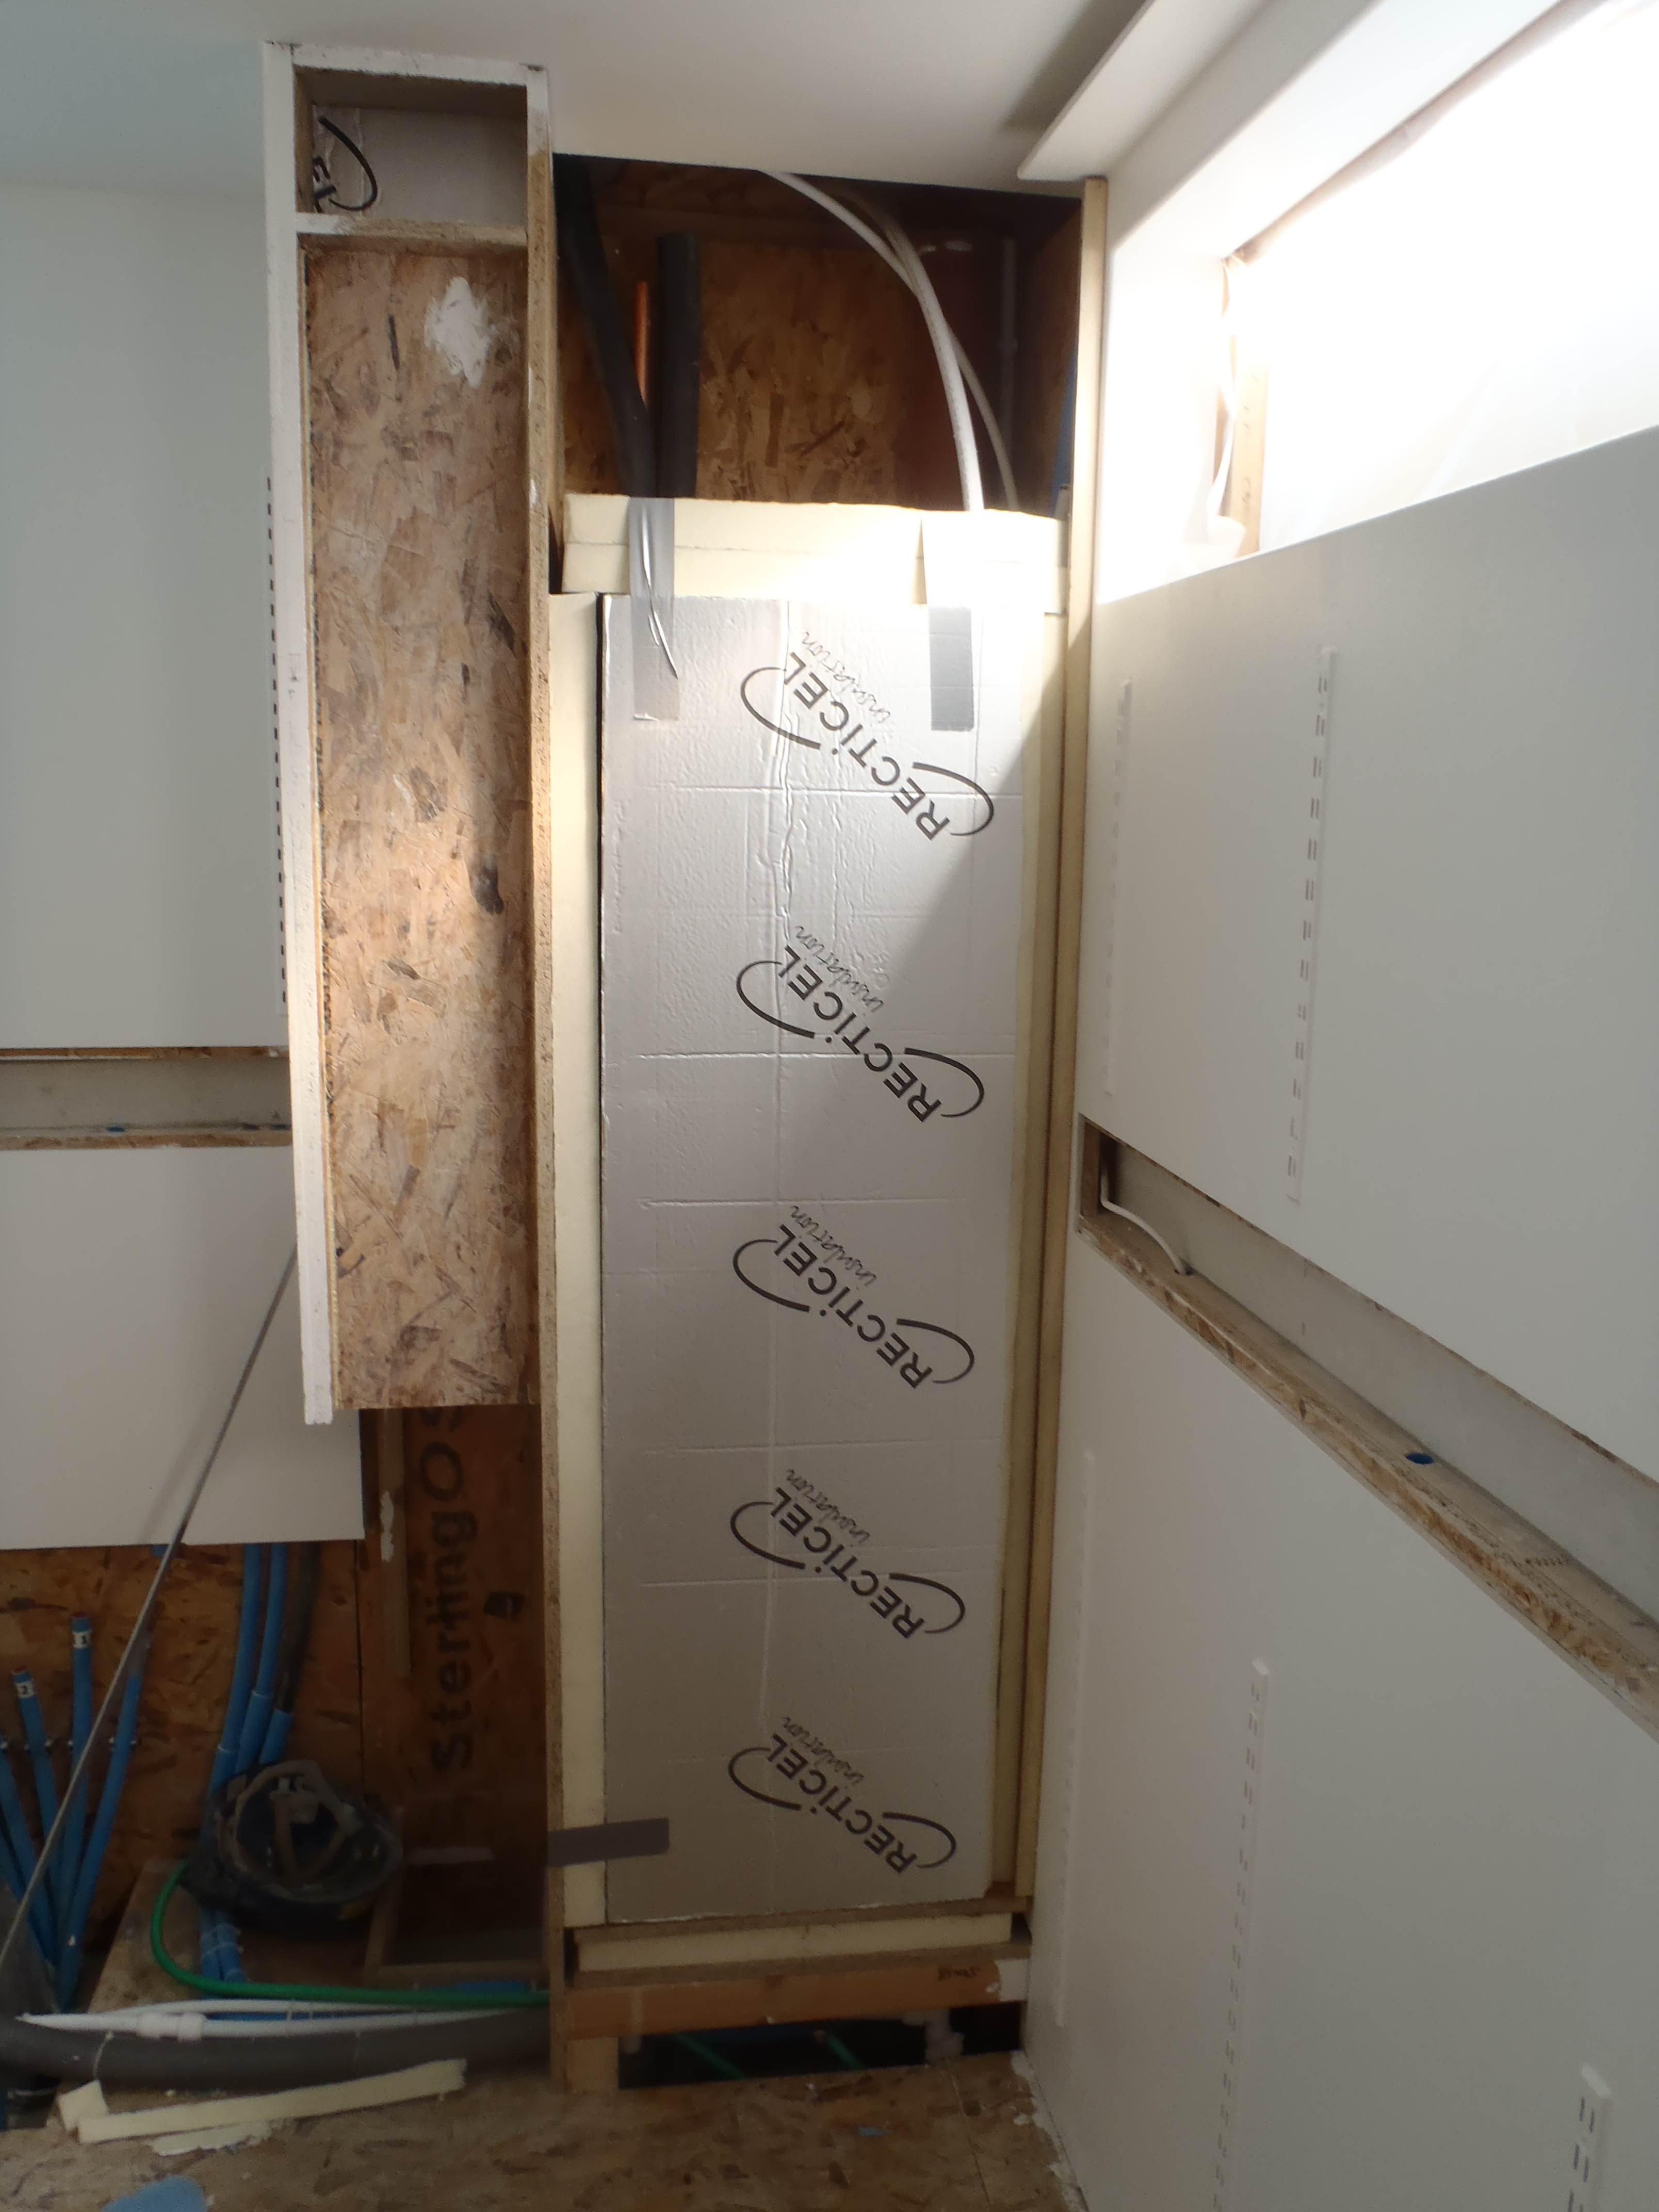
These doors allow us access to the underground 15000 litre rain tank and the Earth Tubes (12 150mm (6inches) air pipes) coming up out of the floor concrete slab.
We carefully measured exactly the position of the edges of the two doors and drawing the marks on masking tape stuck down on the floor, got our cut line sorted out. We then got the straightest timber plank we could find and using double sided sticky carpet tape, stuck down the plank as a guide for the battery circular saw. The blade thickness is only 1.6mm so it would be a nice not so obvious groove.
One trick we did here, is to run the saw backwards! I mean pull the machine backwards along the guide so that the teeth were spinning towards and cutting downwards into the surface of the lamination thus avoiding chipping the nice finish. Normally the blade cuts from below and rips its way upwards and explodes out of the surface causing little jagged breaks in the cut edge. Well normally you would saw from the reverse side but we couldn’t do this as the floor was all stuck down!
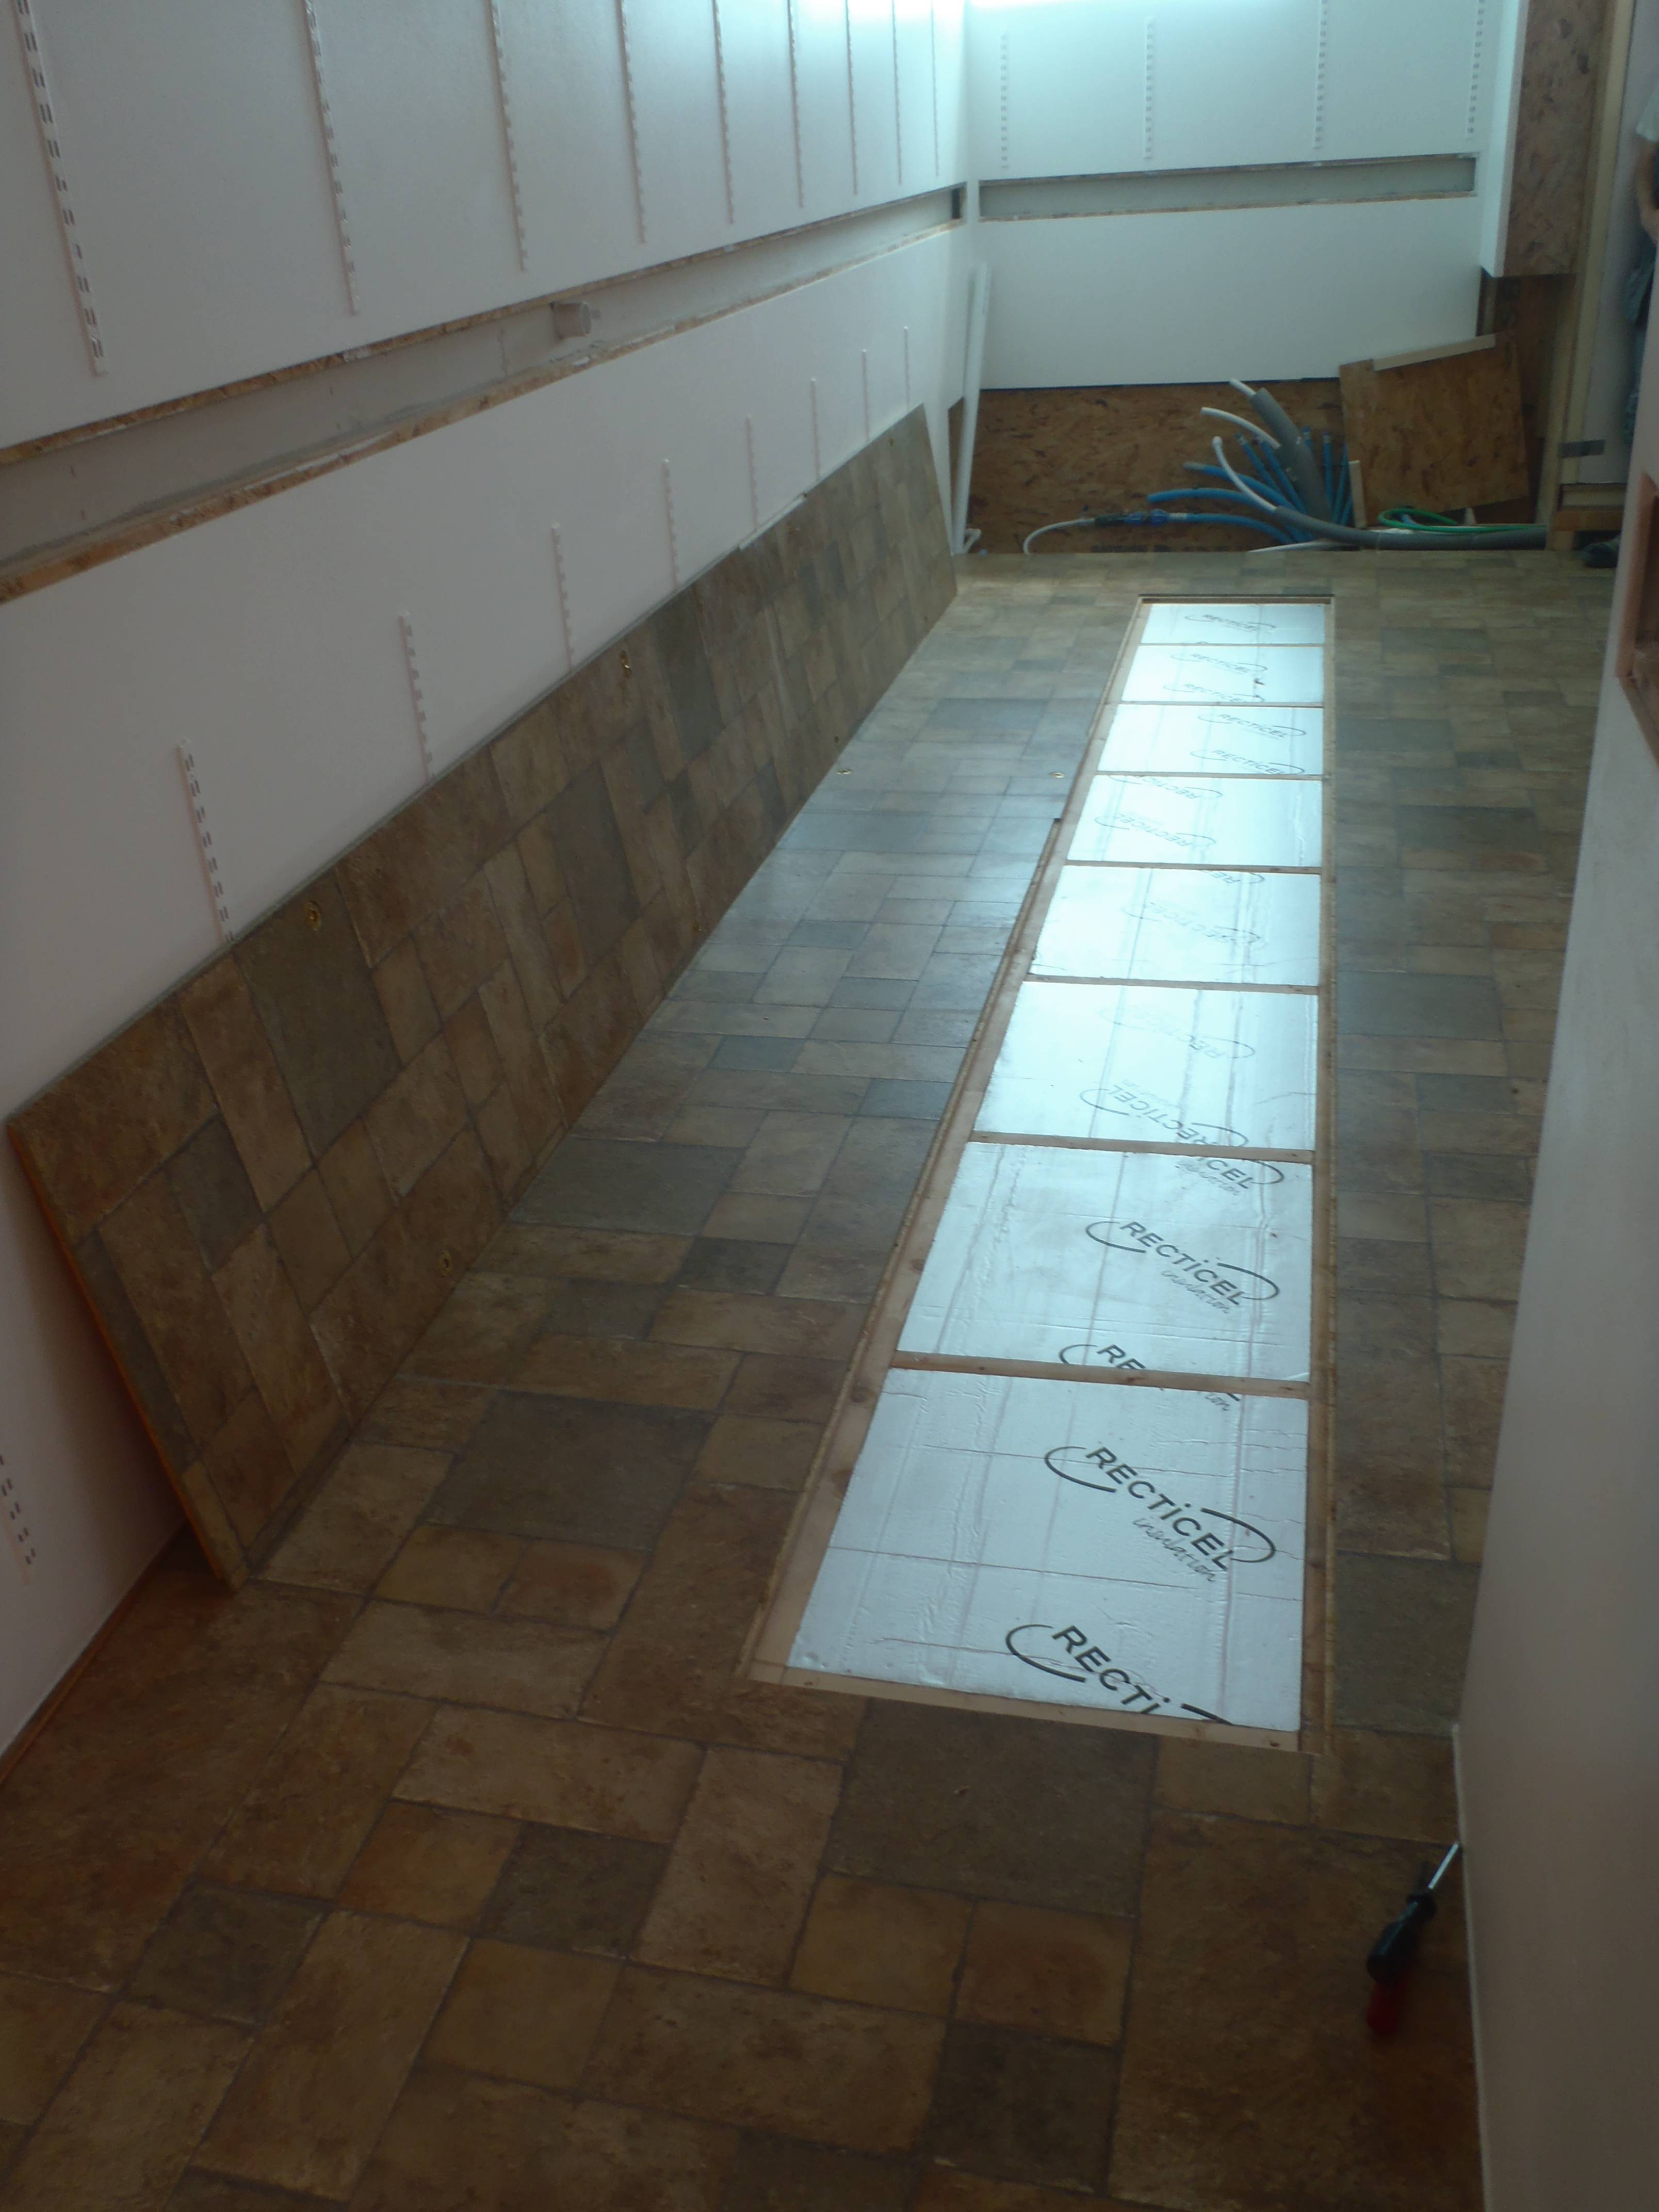
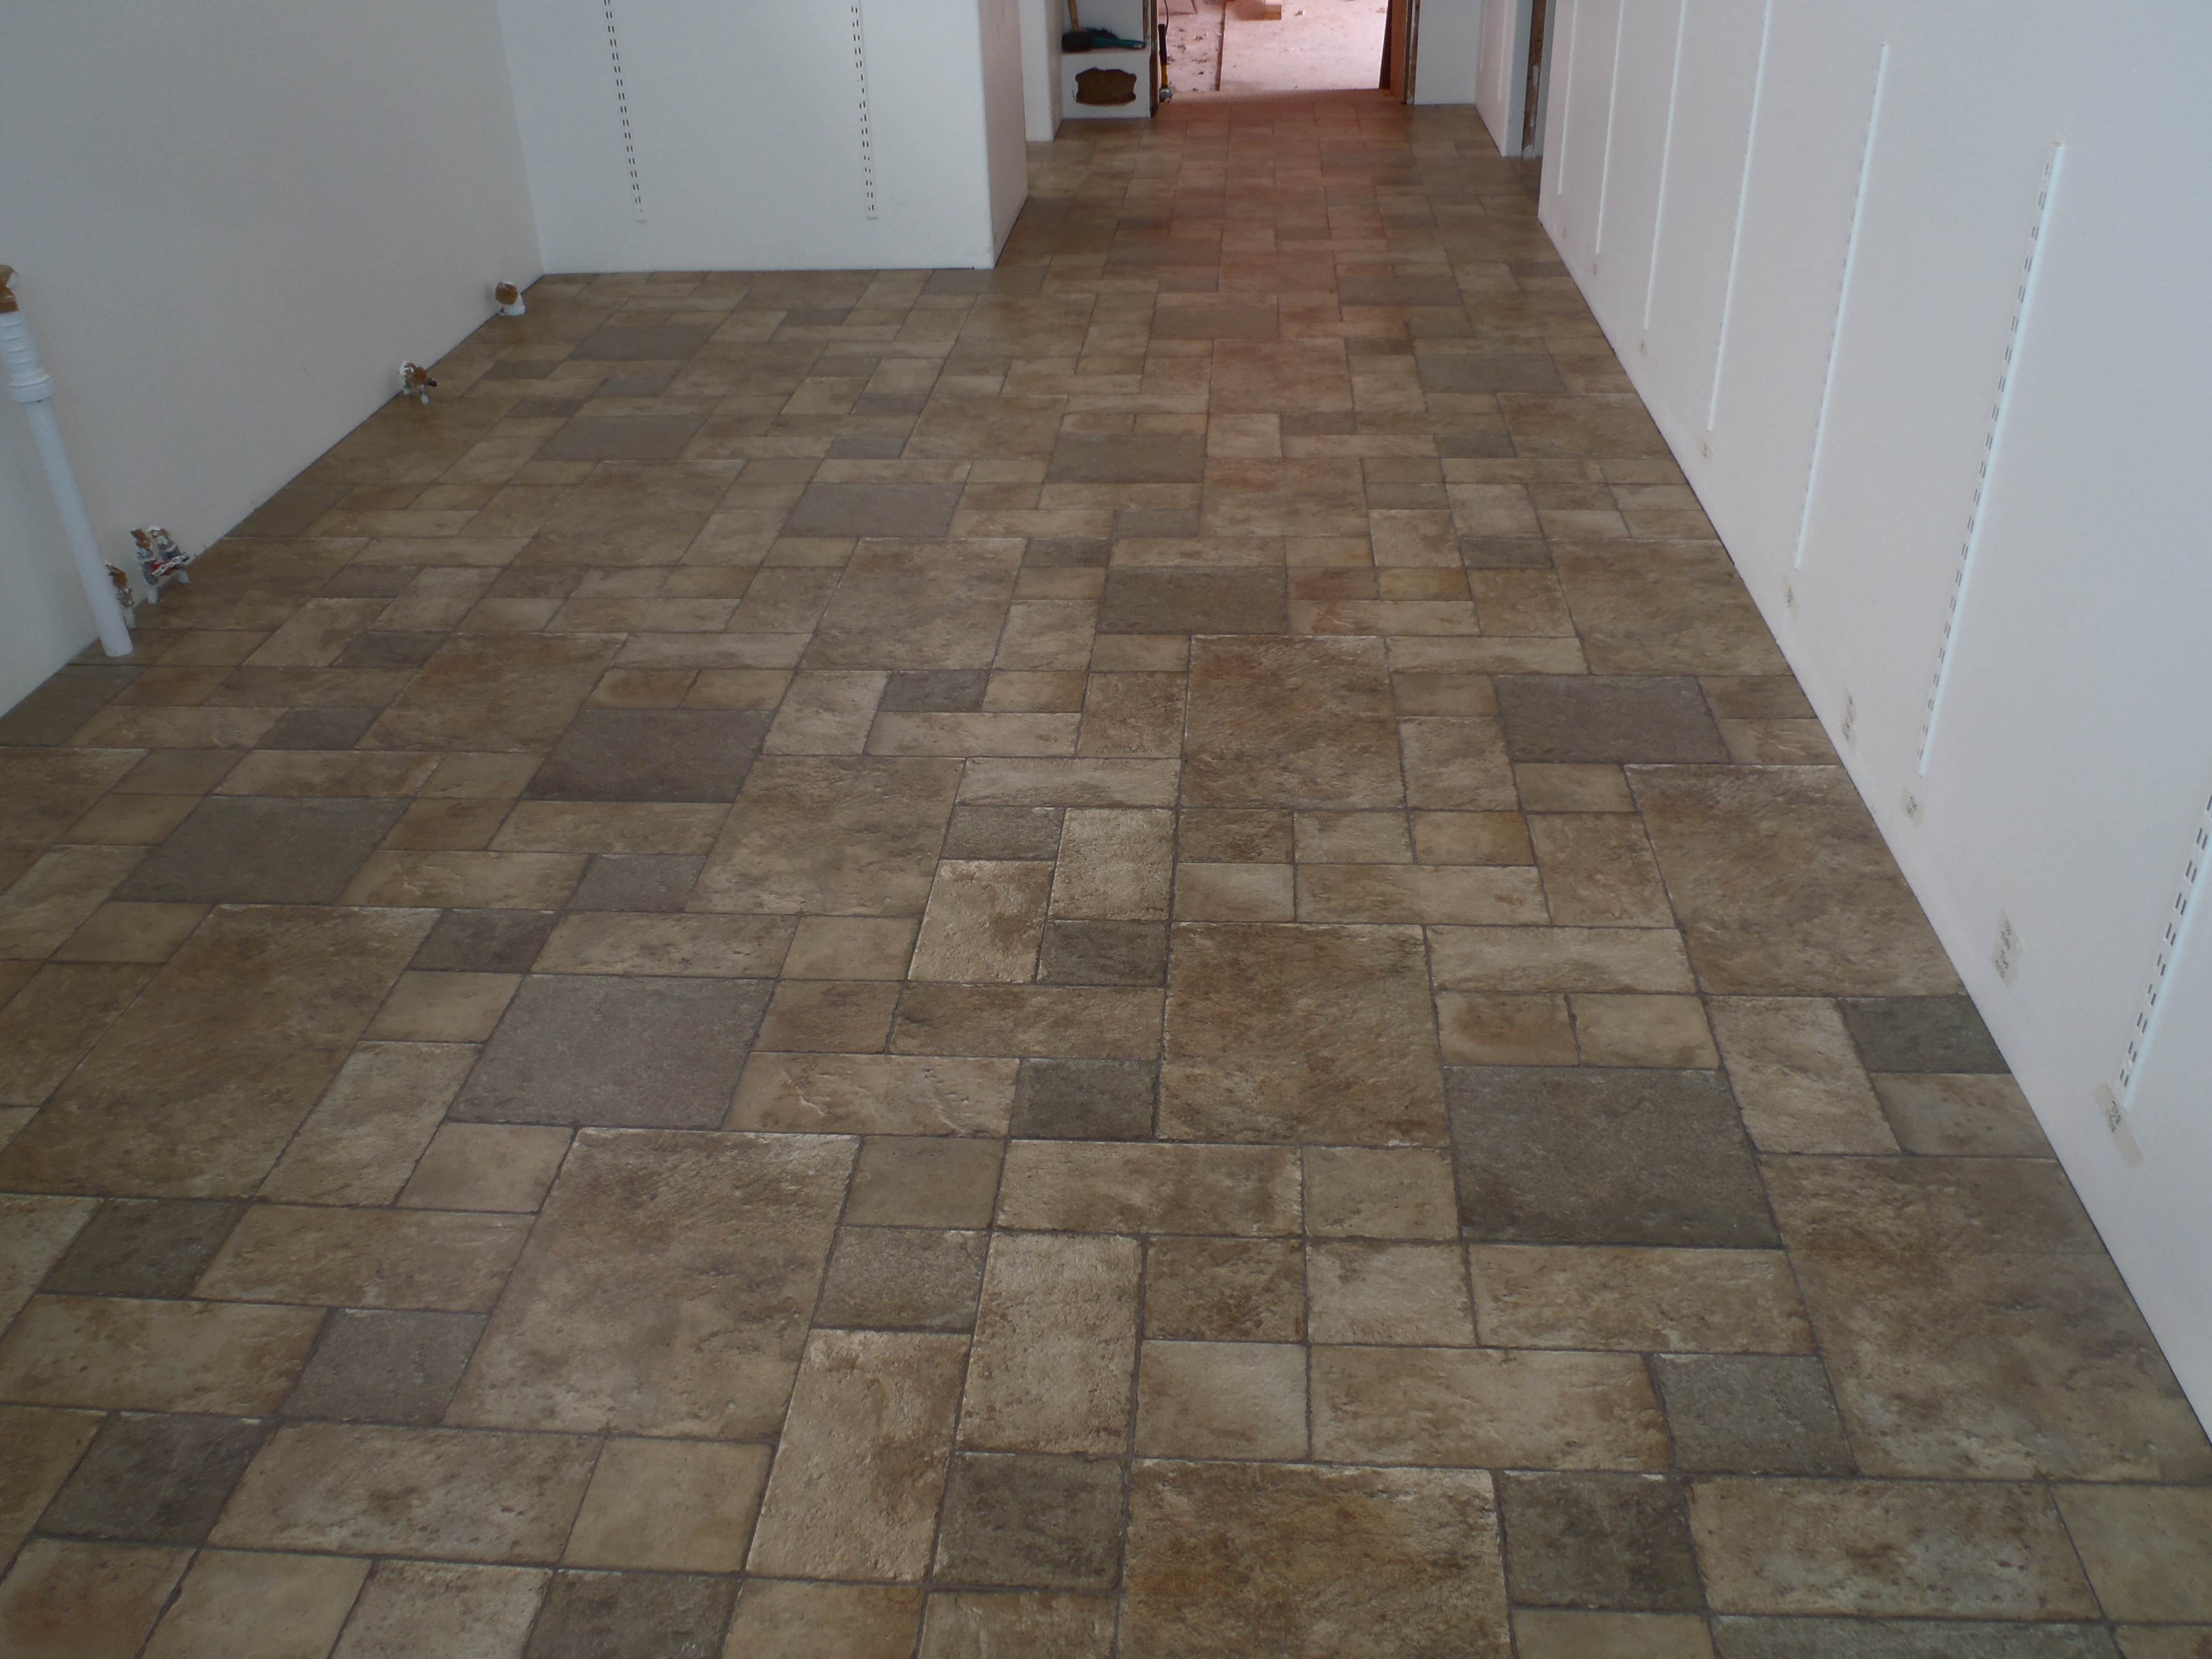
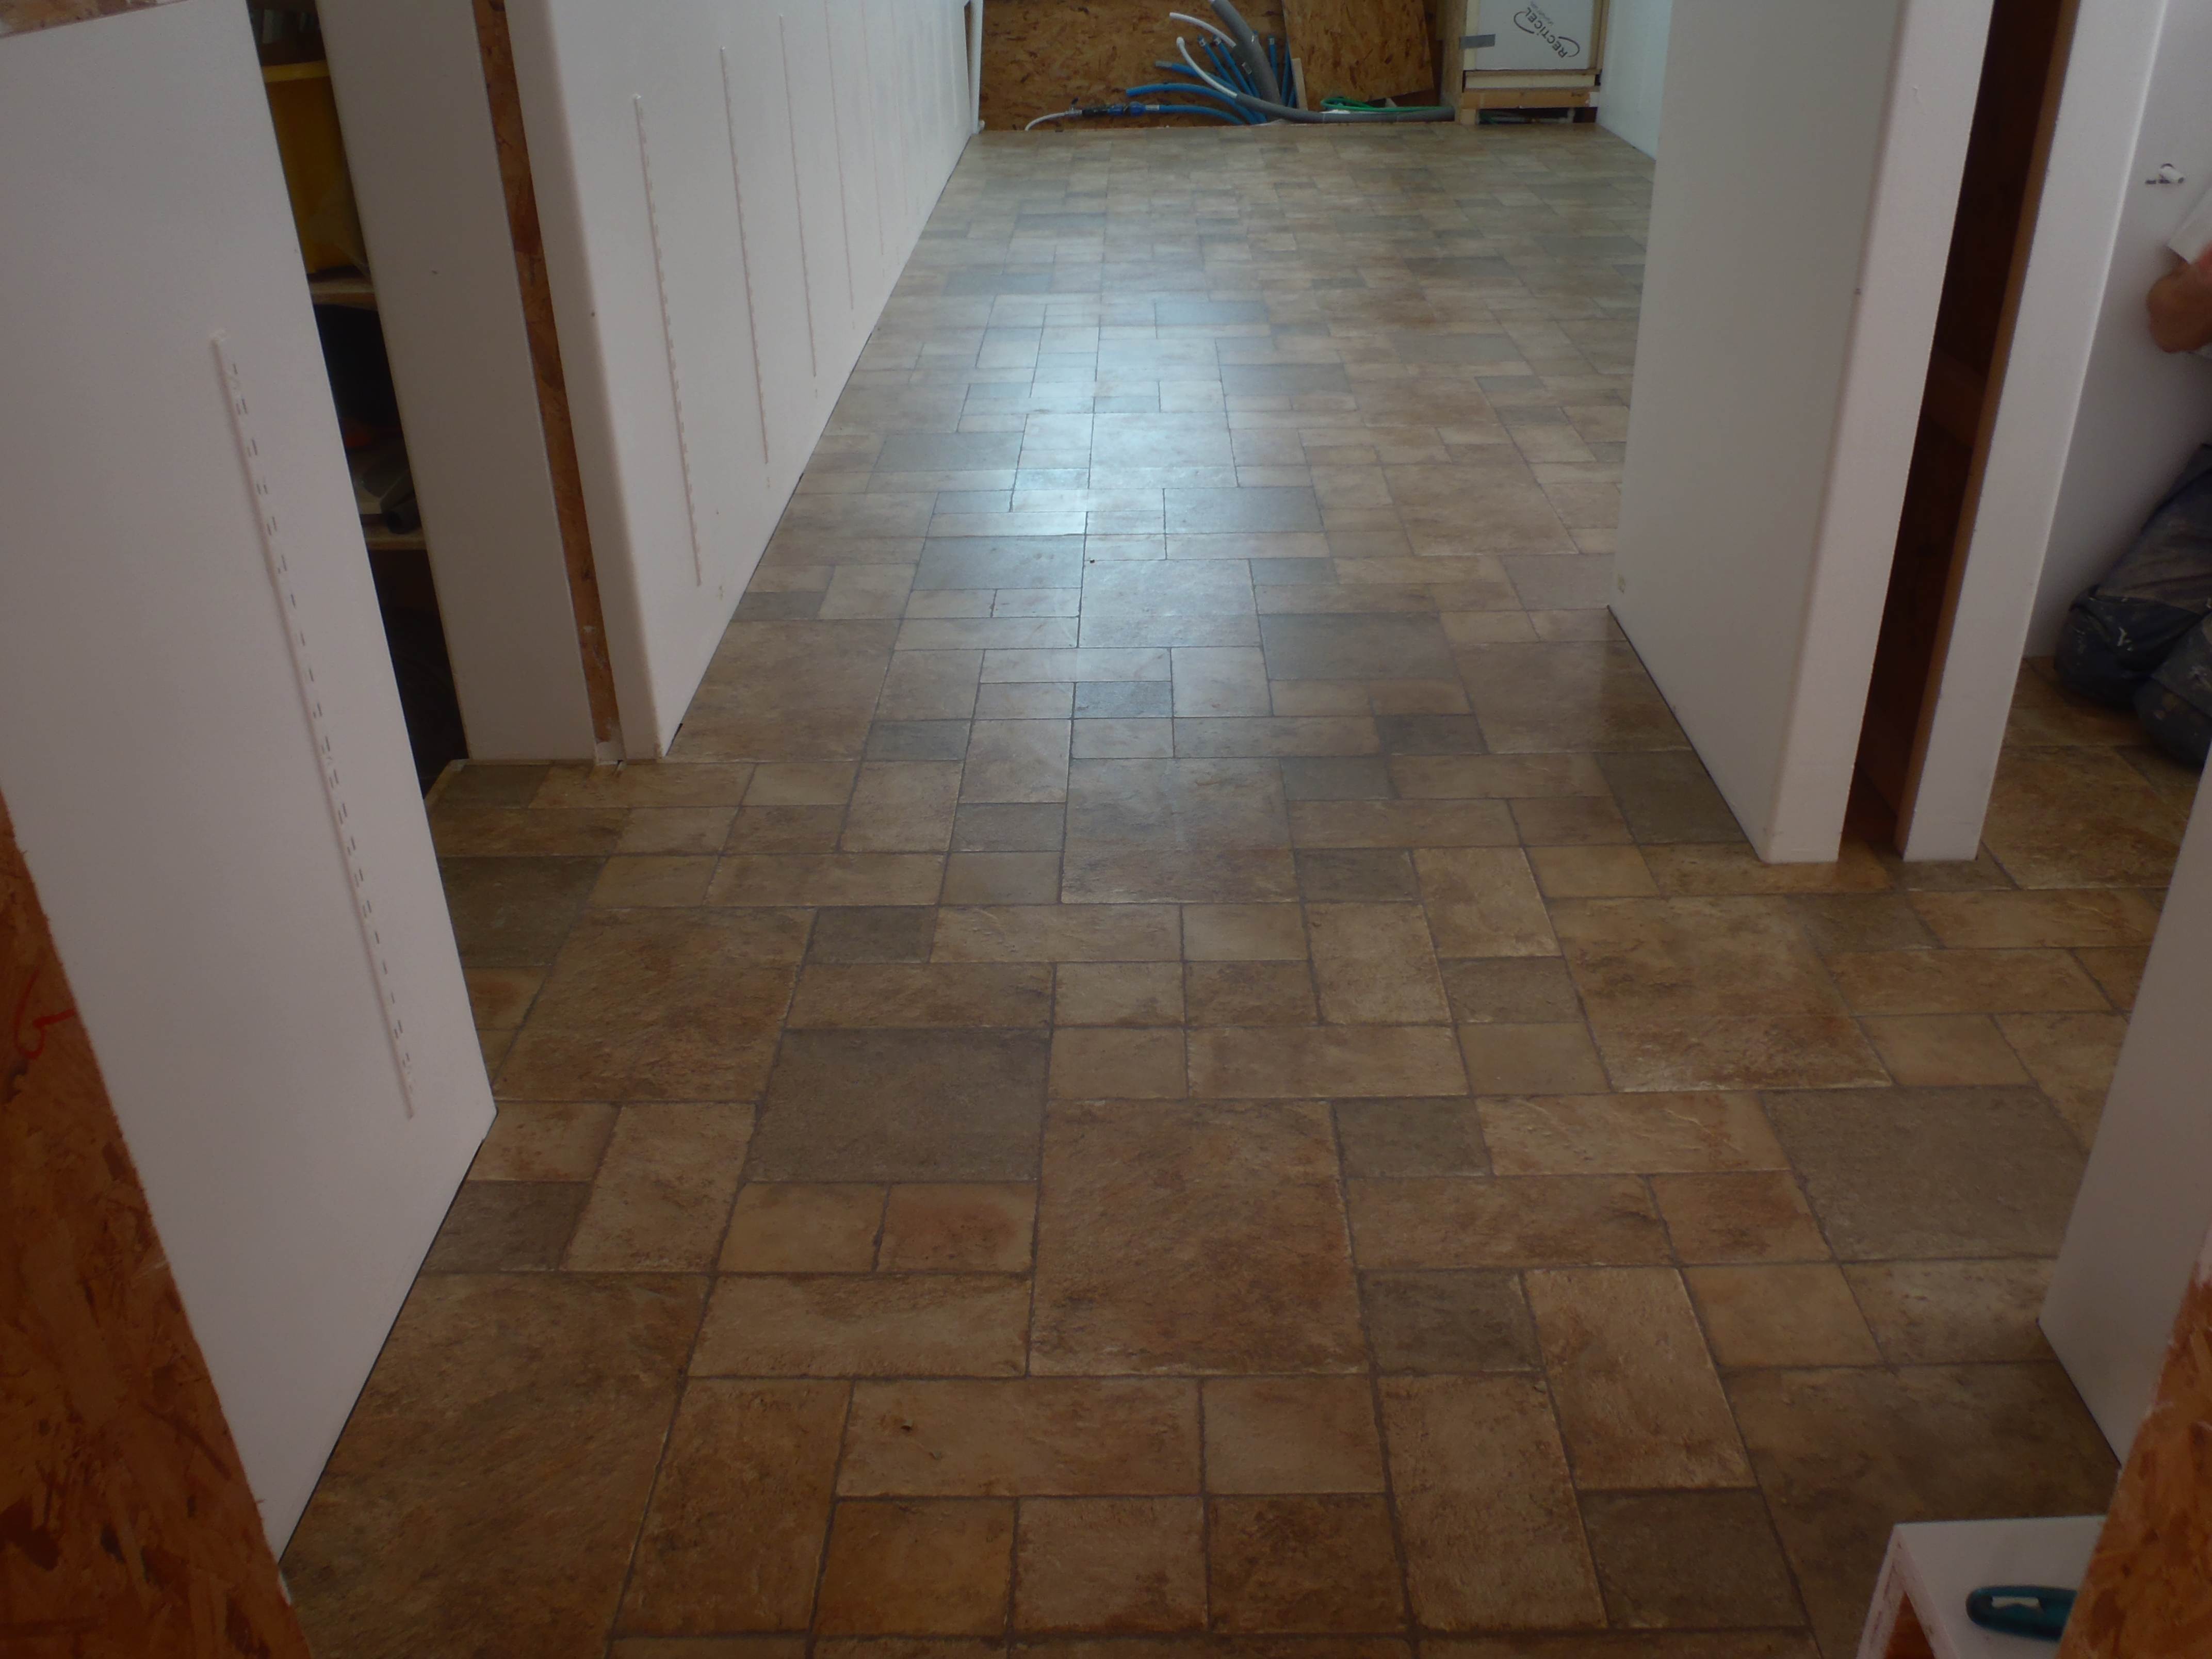
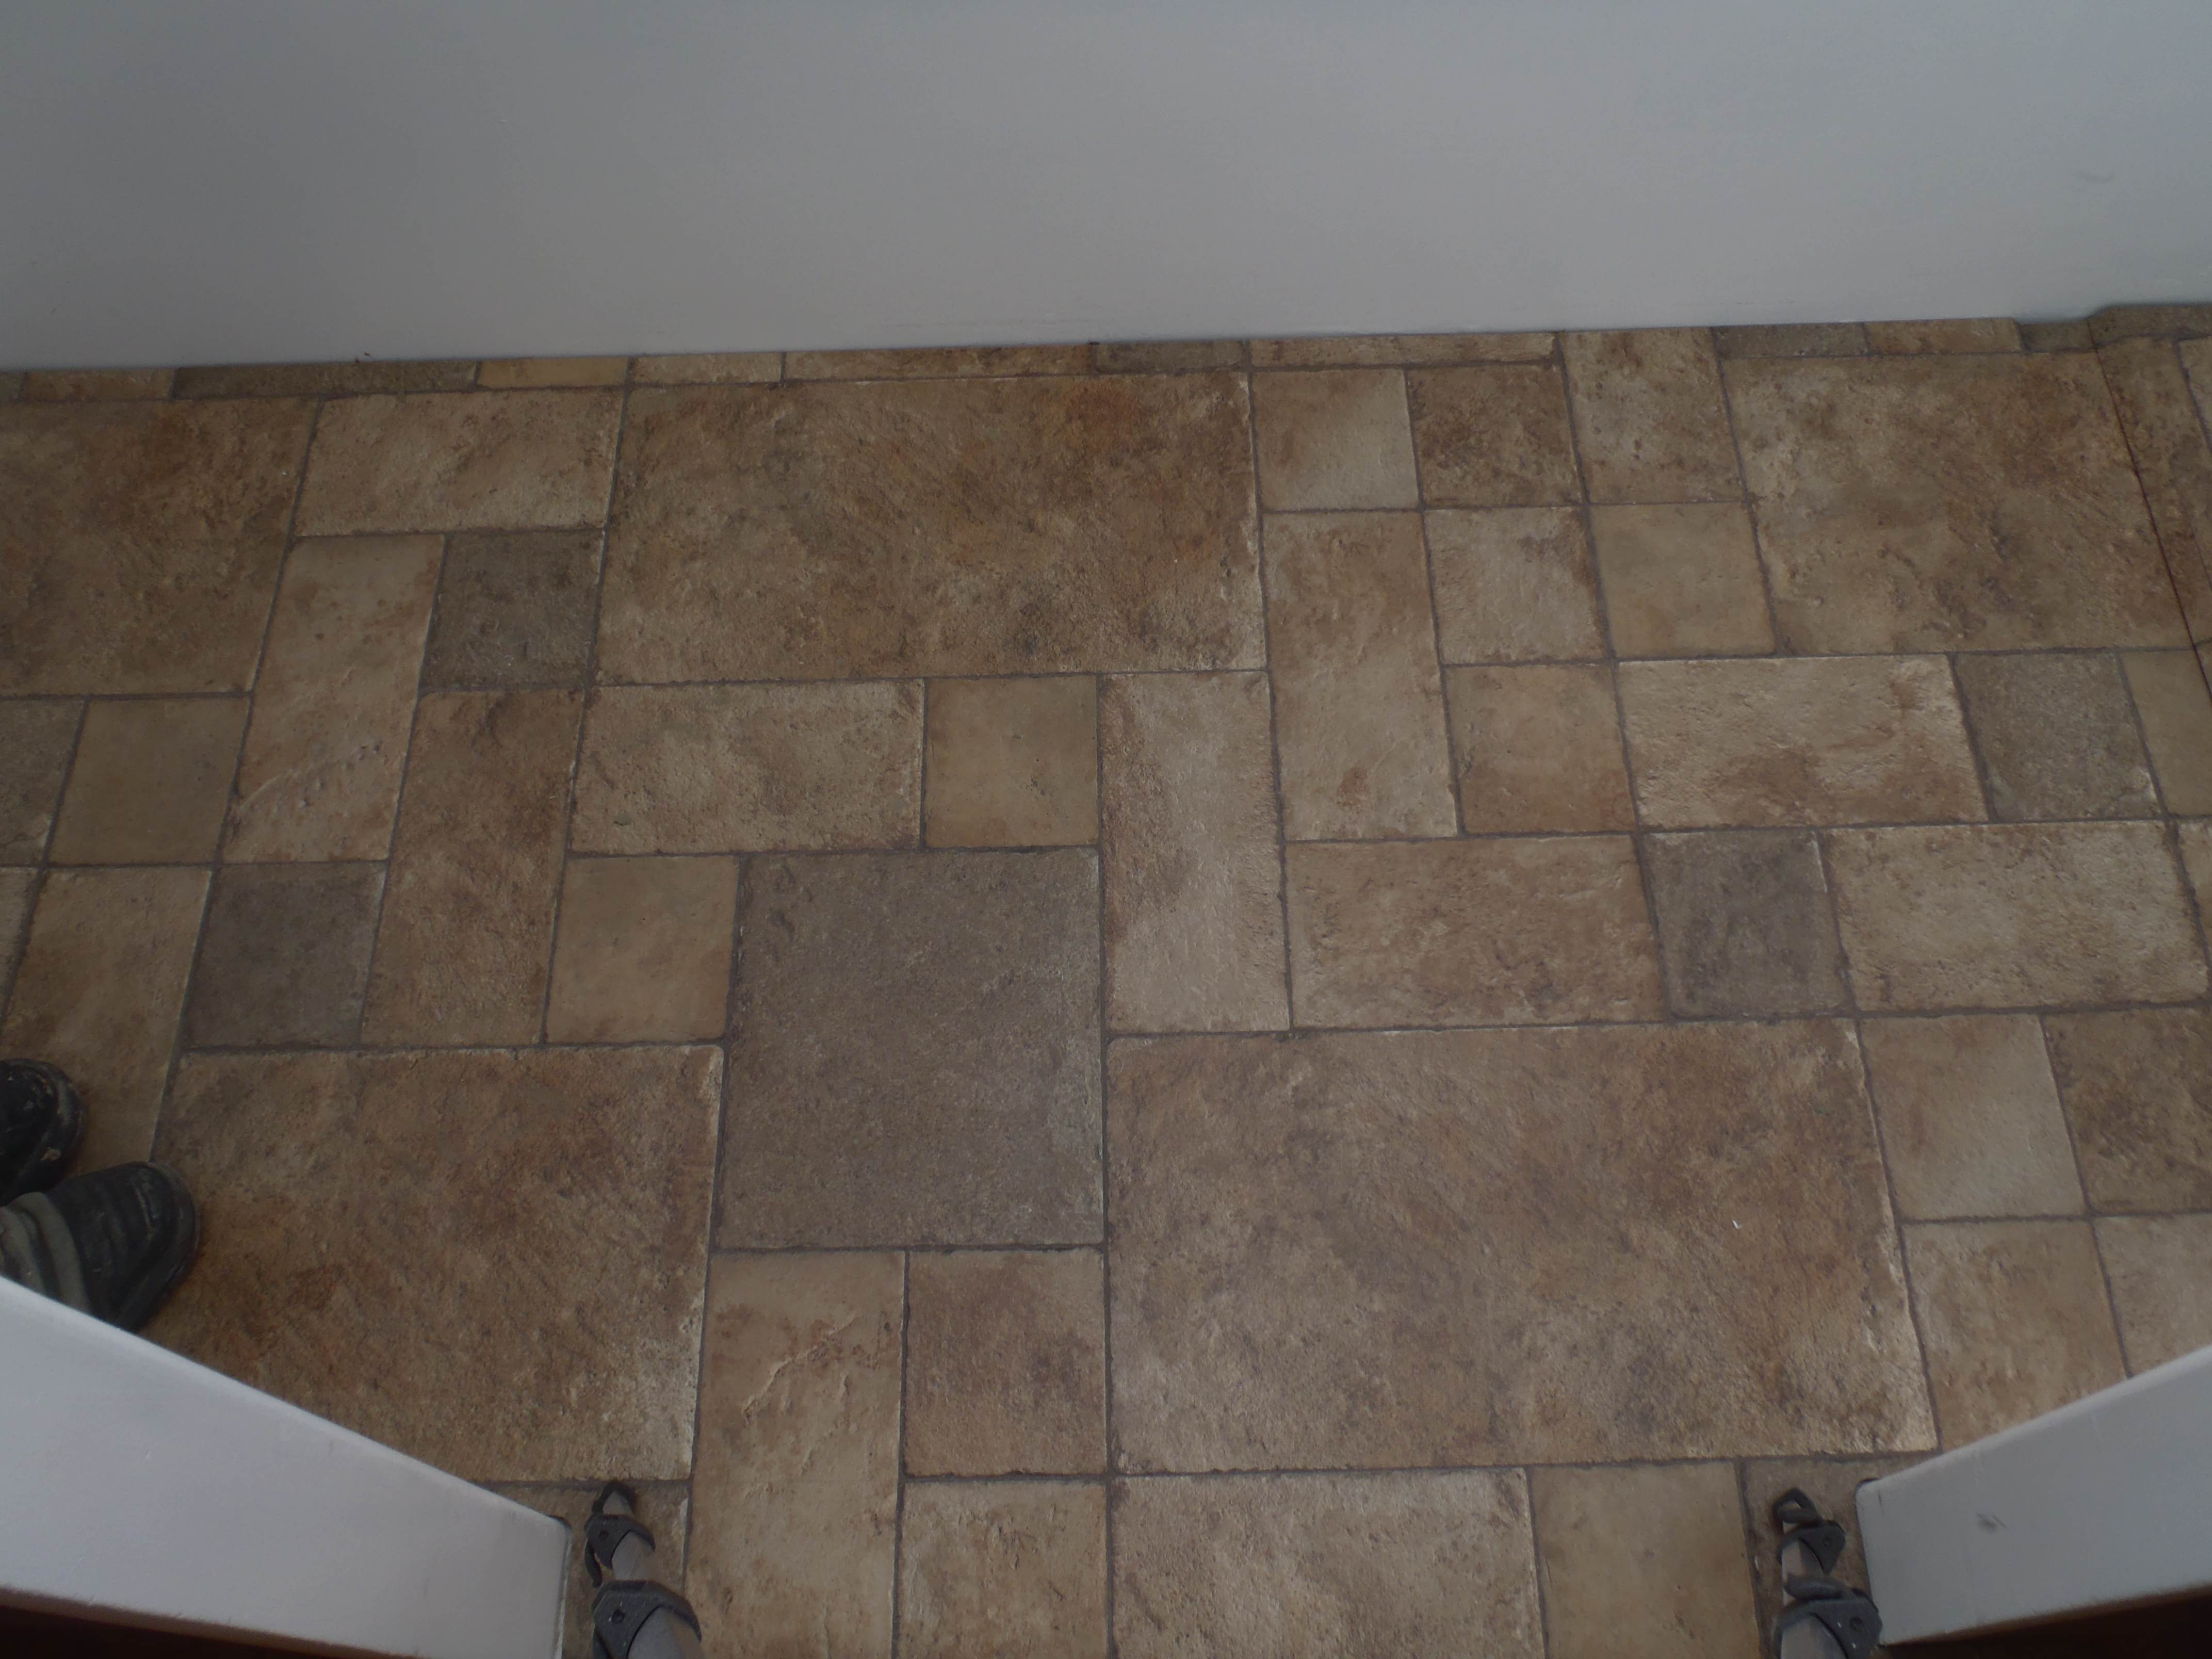
GR Access hatches in Laminate floor

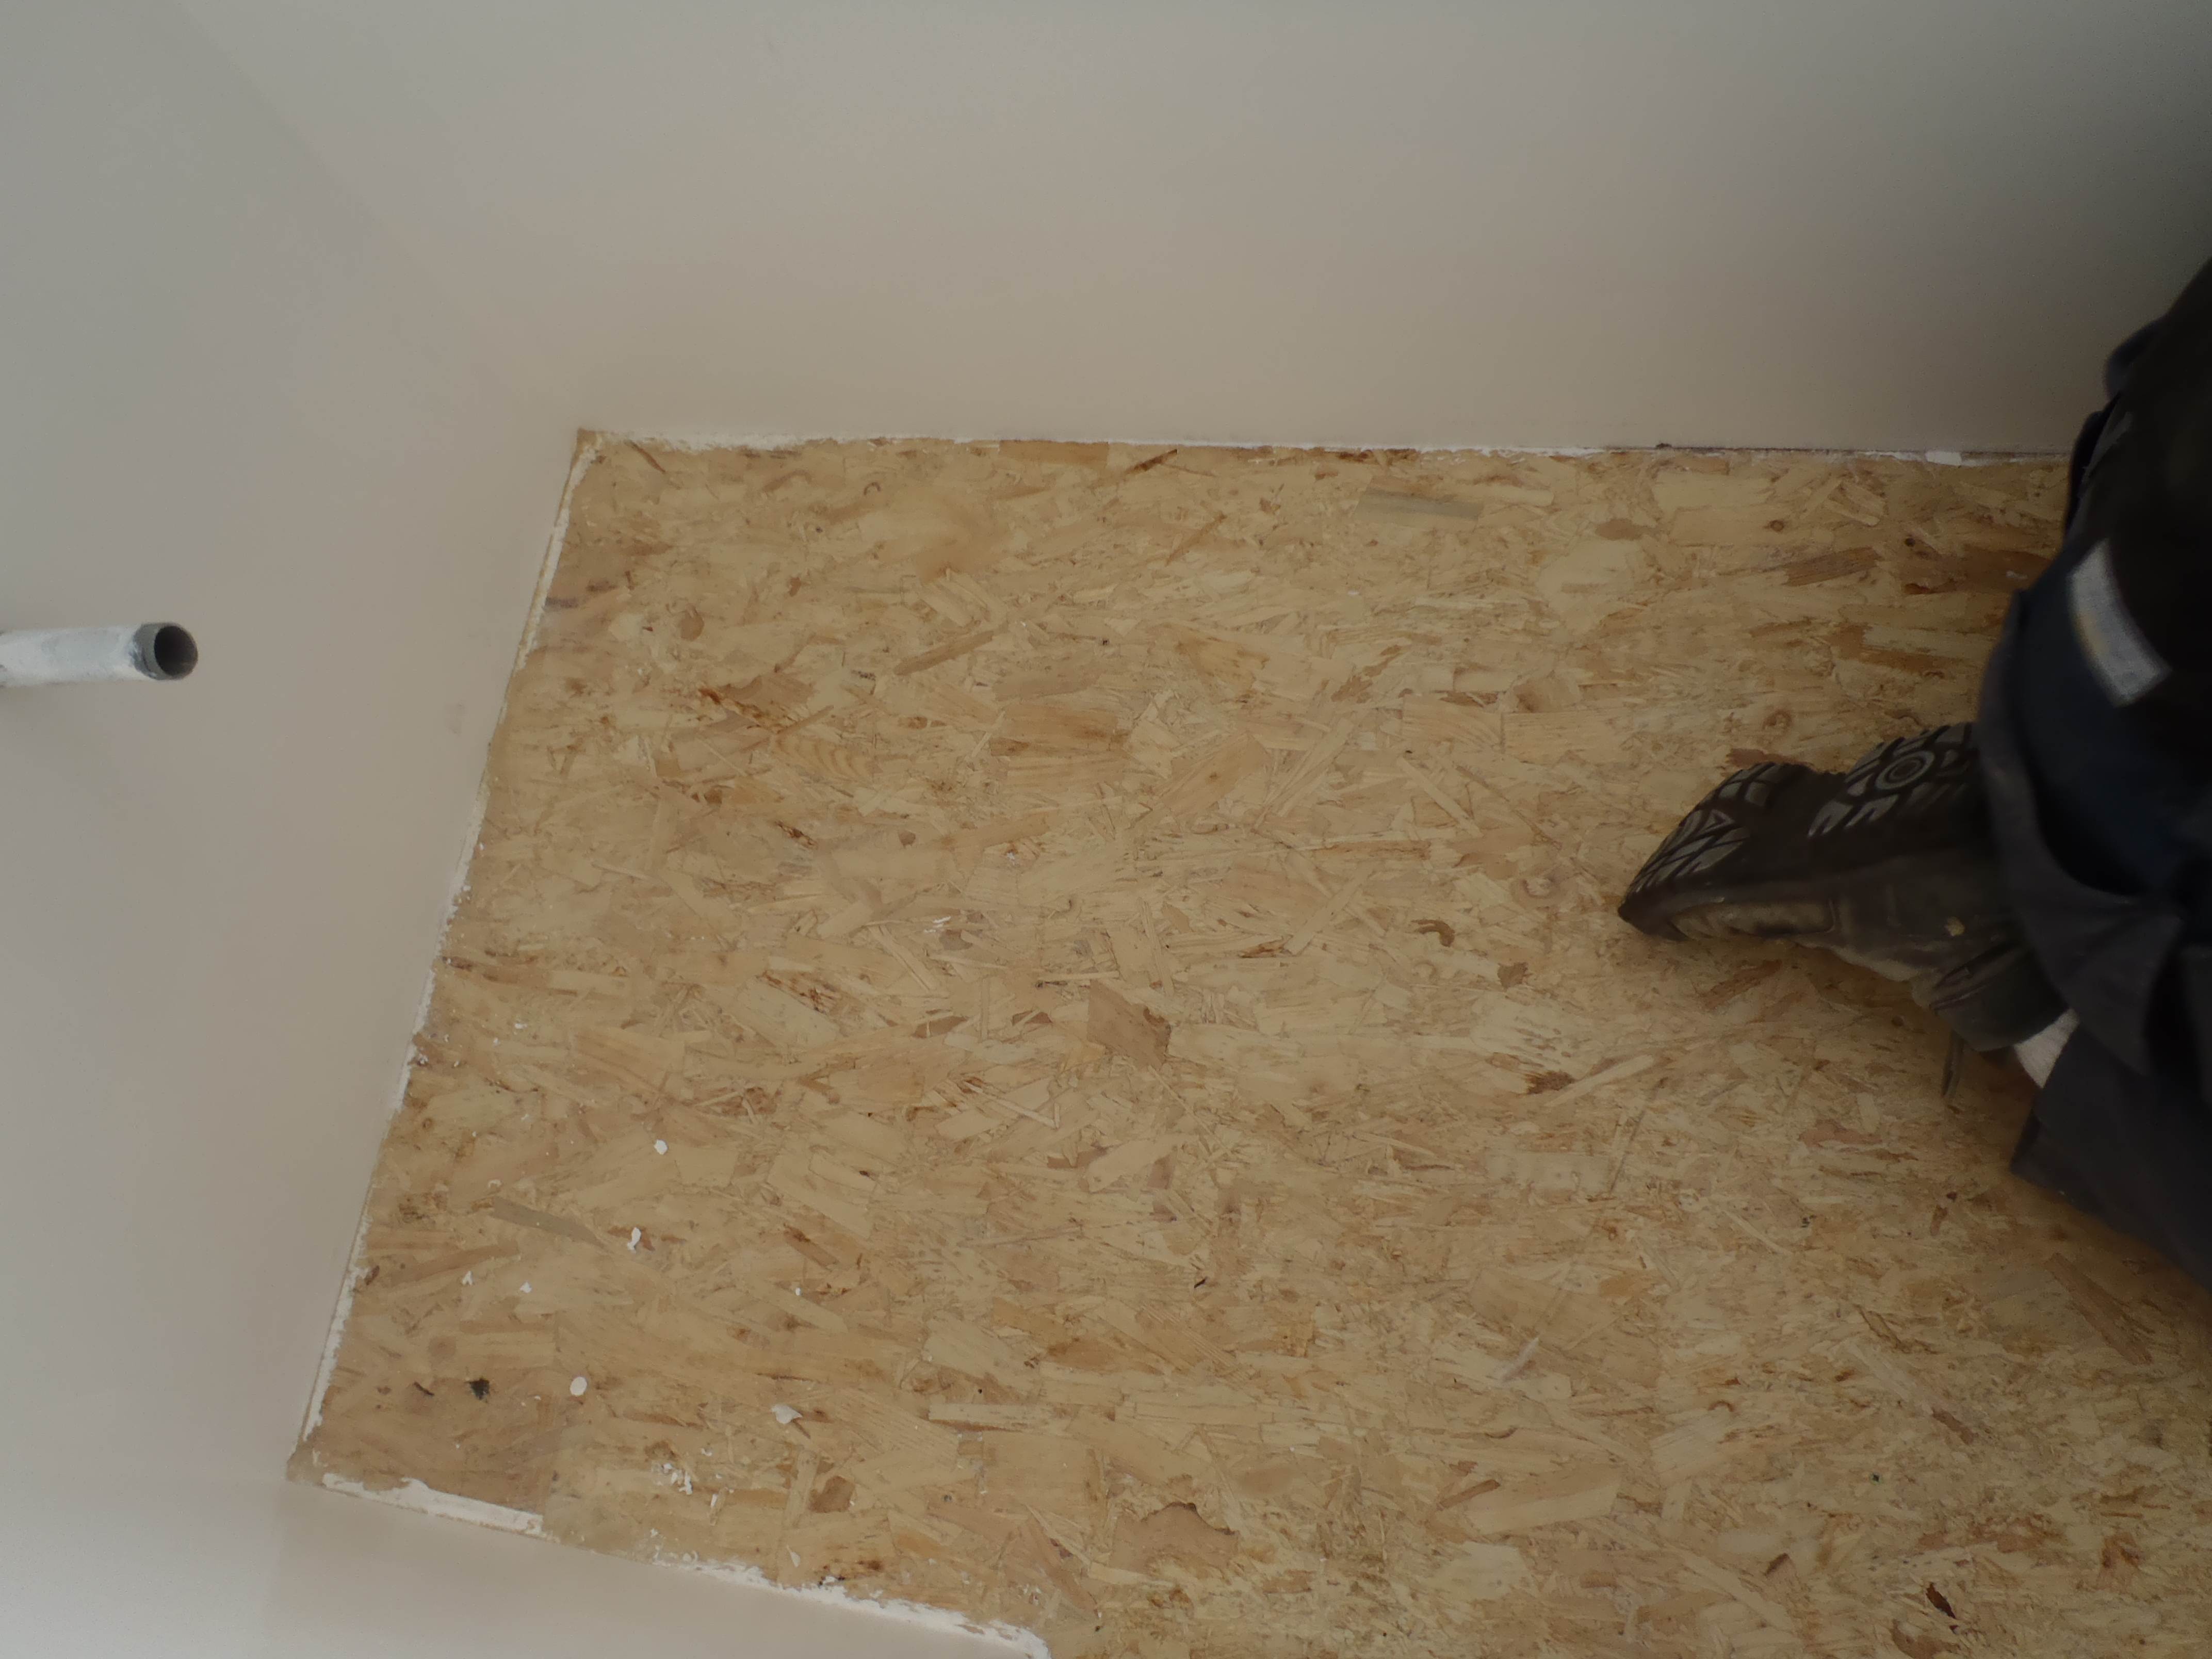
GR Access hatches in Laminate floor
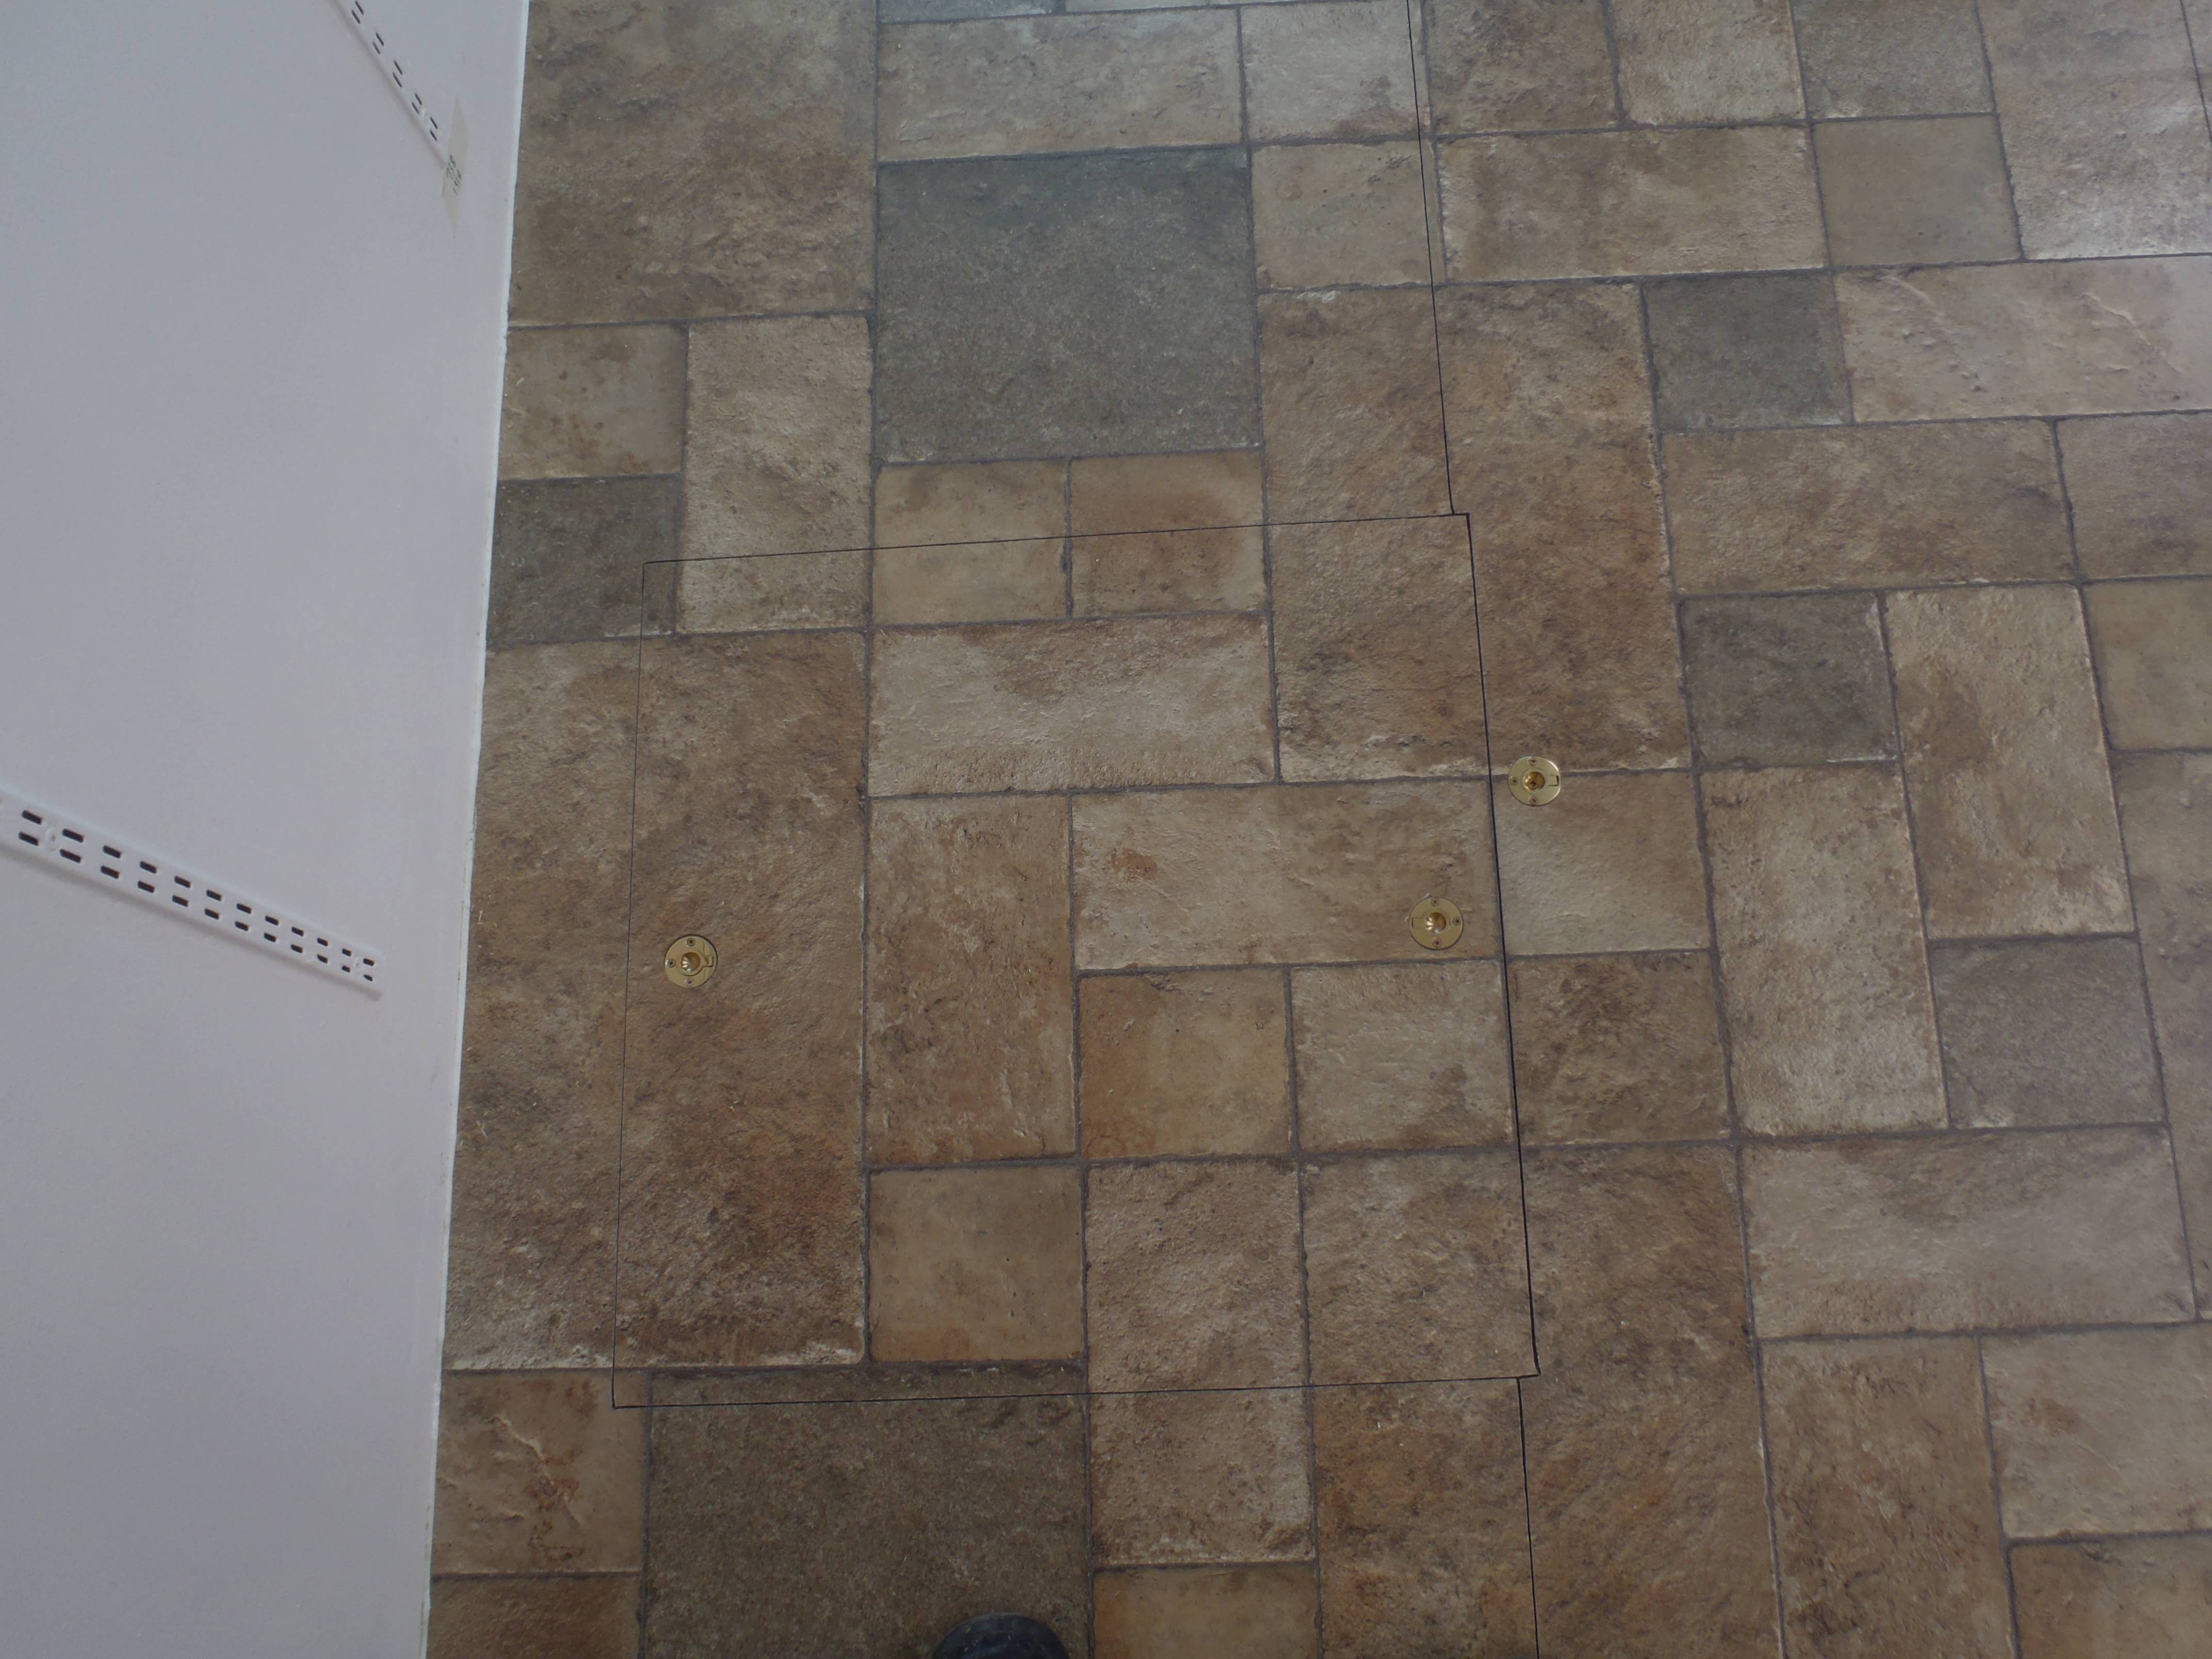
GR Access hatches in Laminate floor
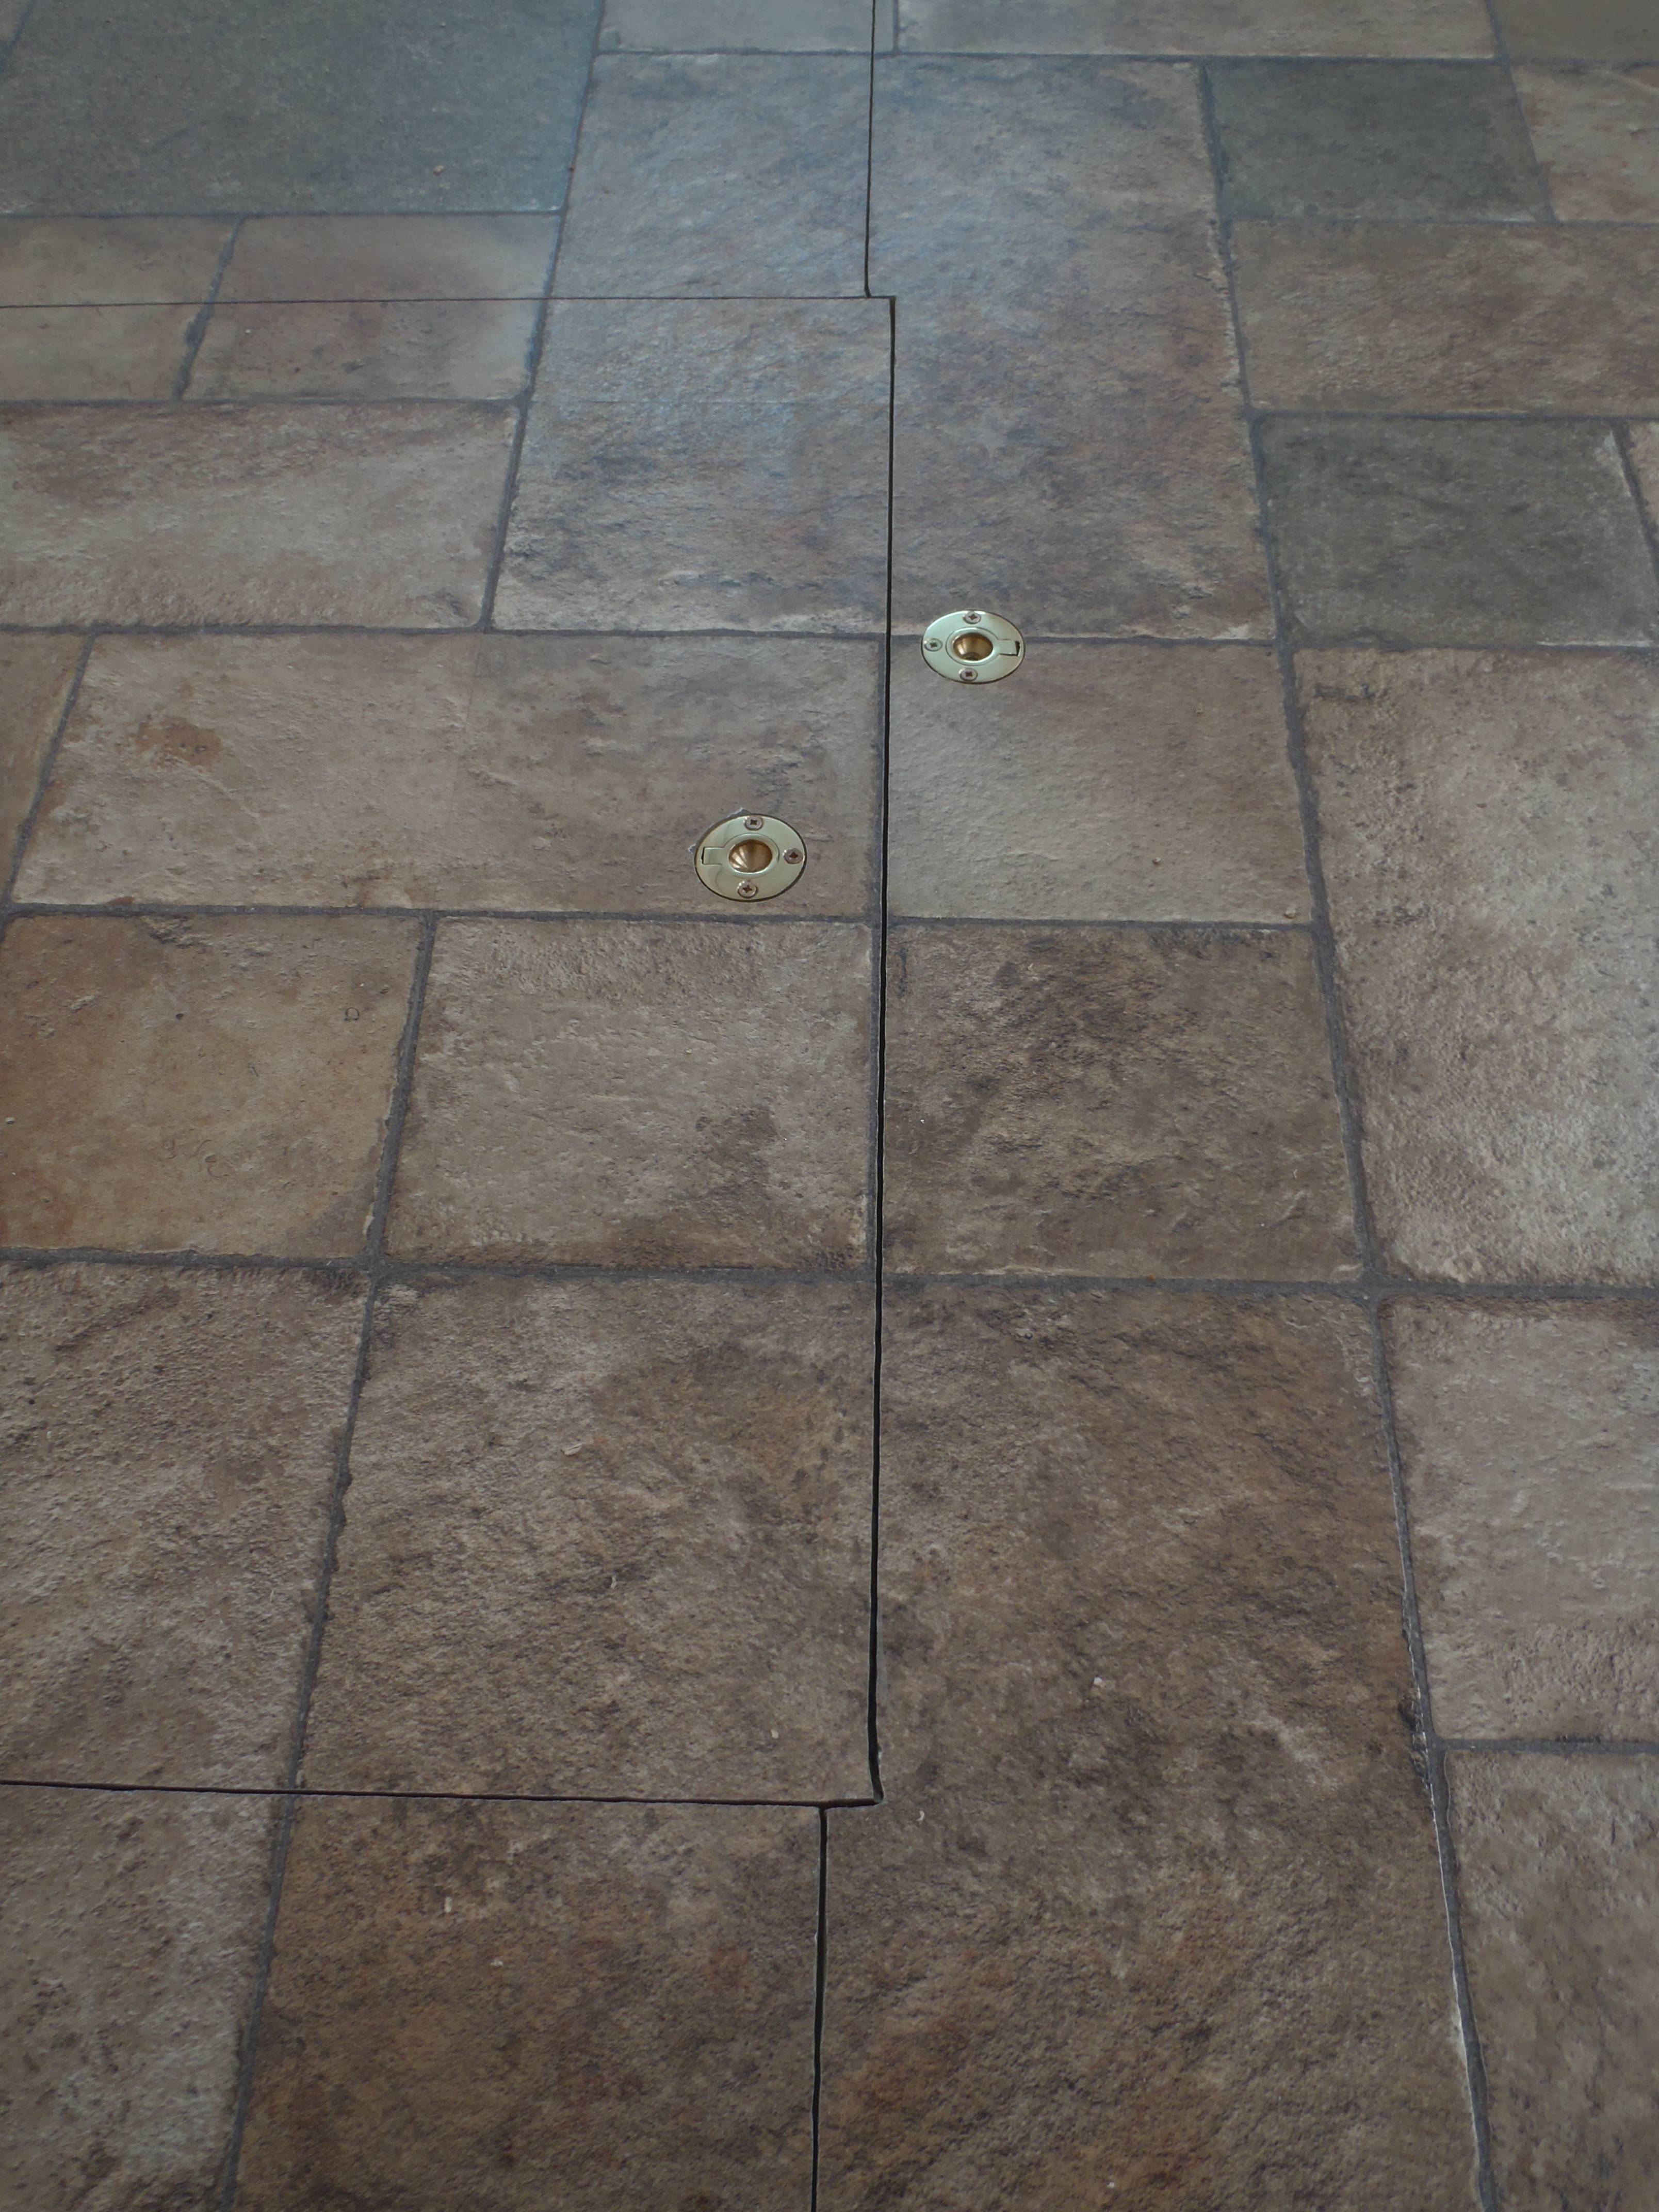
GR Access hatches in Laminate floor
It came off very well indeed! We then put into the trap doors little brass ring pulls to aid in lifting the doors. We did another trick where we drilled a hole in the bottom of the brass fitting to allow us to screw down the trap doors to stop them bouncing up or warping.
A good result!